Hello again.
I’ve been away a while. My freelance (graphics) had a surge and I’ve been tied up.
I also had a setback that bummed me for a while. But, hey, get back on the horse.
It was dark times at the work bench, so I neglected to take photos.
In a previous post, we saw how my primer coat started.
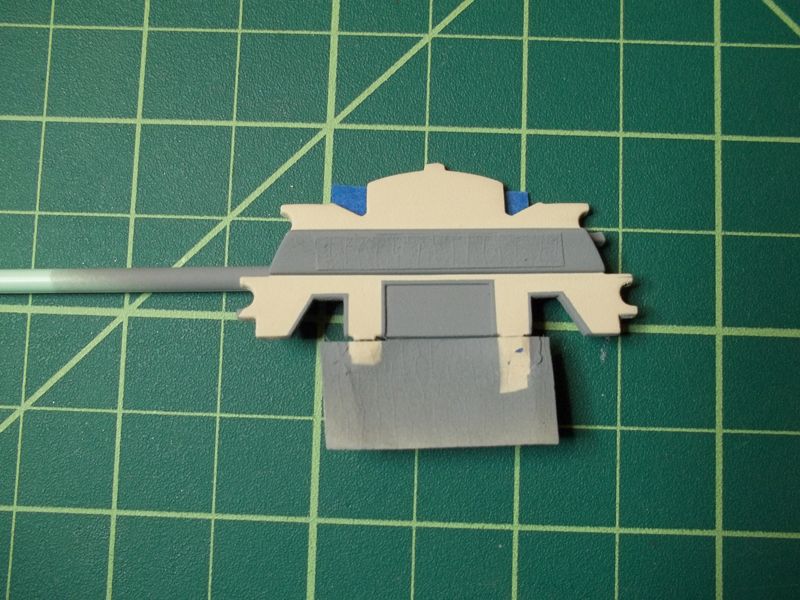
I did what sanding I could on the parts and repainted.
It came out better and I started layering paint, even waiting a day between coats.
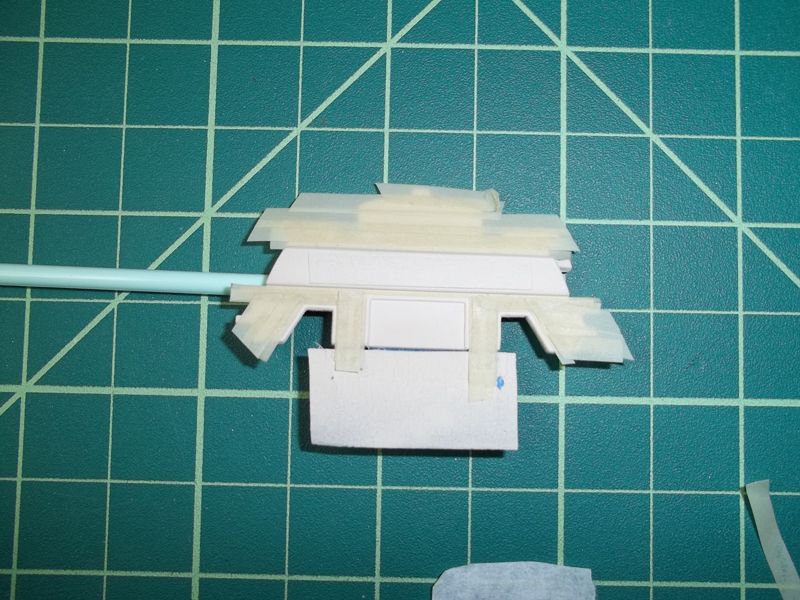
I was having a dilemma with the side shuttle walls.
Since the outer ribbed surface of the clear wall parts help bring light to the outer hull windows, I needed to do all my light blocking in the inner surface only.
If someone can explain how to combat the following, please tell me.
I was having the hardest time getting light blocking paint to fill in the inner corners. I even put my airbrush as fine as I could and sprayed directly into these corners, which helped, but when I put a flashlight behind the part, the inner corners would still glow.
I would think the corners would be catching paint.
At any rate…
I didn’t like how it was going and wanted a clean slate.
I started looking into methods to strip the parts.
I read about alcohol, Simple Green, brake fluid, etc.
I got a can of Testor’s Easy Lift Off (ELO).
It took some scrubbing, but I eventually got through all the layers and down to the clear plastic.
I had wondered if the ELO would fog the clear plastic, but the only fogging was where the paint had been.
Oh the pain…
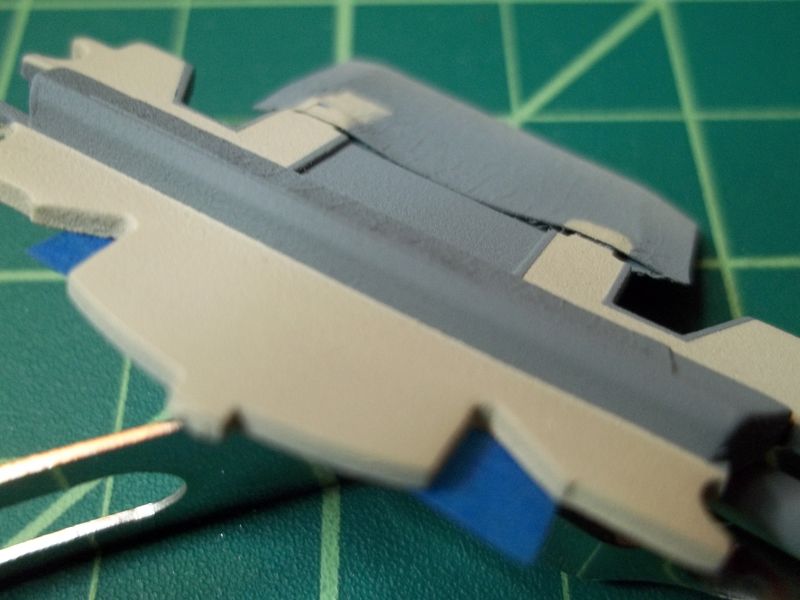
After the cleaning process, I started noticing stress fractures appearing on the wall parts. Both side walls were cracking around the small pod room in the center of the part as well as a few other spots. The cracks were all the way through.
I brushed some liquid glue over the fractures in hope they would bond. At this point I’m treating the parts like they are made of (cracked) eggshell.
I eventually got back to my final color coat of Sand (window areas are taped off).
Now, I’m happy. So far so good.
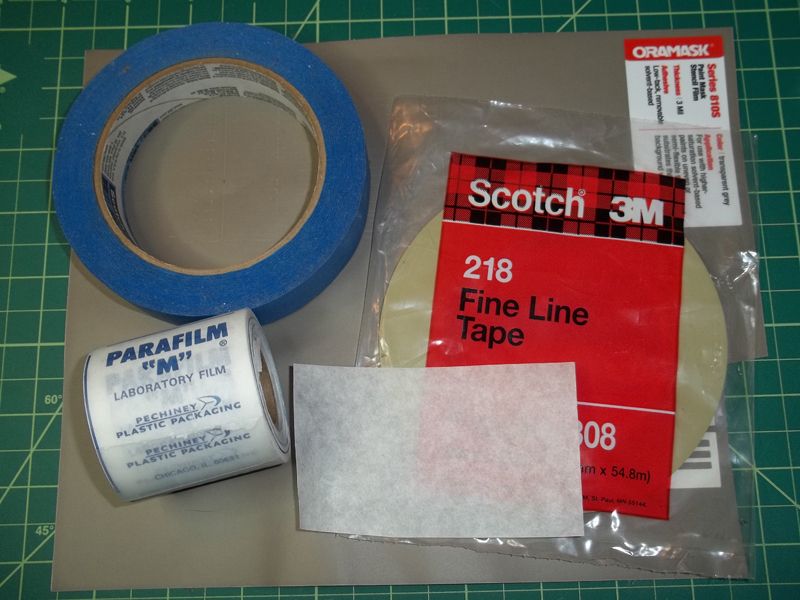
Next: My research into masking materials.