Rocket Rider
Active Member
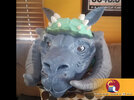
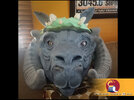
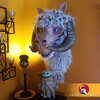
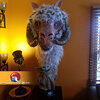
Hi all, here is a little something I did this winter, as I am getting more and more comfortable with that foam clay material.
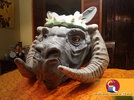
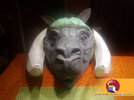
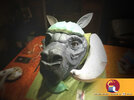
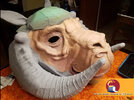
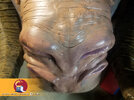
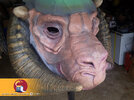
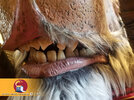
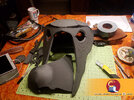
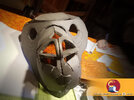
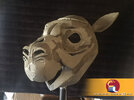
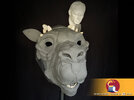
I started with my usual, a " skeleton " made of EVA foam, roughly cut and adjusted. There's no need for fancy, clean shapes at this point, as the organic nature of the final texture will cover all the crude facets of the head.
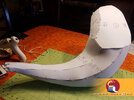
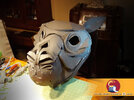
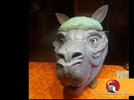
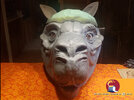
Keep in mind that being a little more accurate on matching shapes allows for smaller gaps to fill with the Foam clay, though. it also saves material and unnecessary struggling time trying to shape a form with just foam clay when an underlaying, well-adjusted EVA flat cut piece would have done the job.
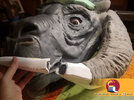
I started with my usual, a " skeleton " made of EVA foam, roughly cut and adjusted. There's no need for fancy, clean shapes at this point, as the organic nature of the final texture will cover all the crude facets of the head.
Keep in mind that being a little more accurate on matching shapes allows for smaller gaps to fill with the Foam clay, though. it also saves material and unnecessary struggling time trying to shape a form with just foam clay when an underlaying, well-adjusted EVA flat cut piece would have done the job.

")