TracynOrdo
New Member
Figured I would start a thread here for my Jango build as over the next couple of weeks or so I am planning on doing a complete teardown, overhaul and rebuild of the costume with the intention of bringing it up to spec for 501st and Mandalorian Mercs approval. I've been a long time lurker here, and am a massive admirer of some of the awesome talent people show here.
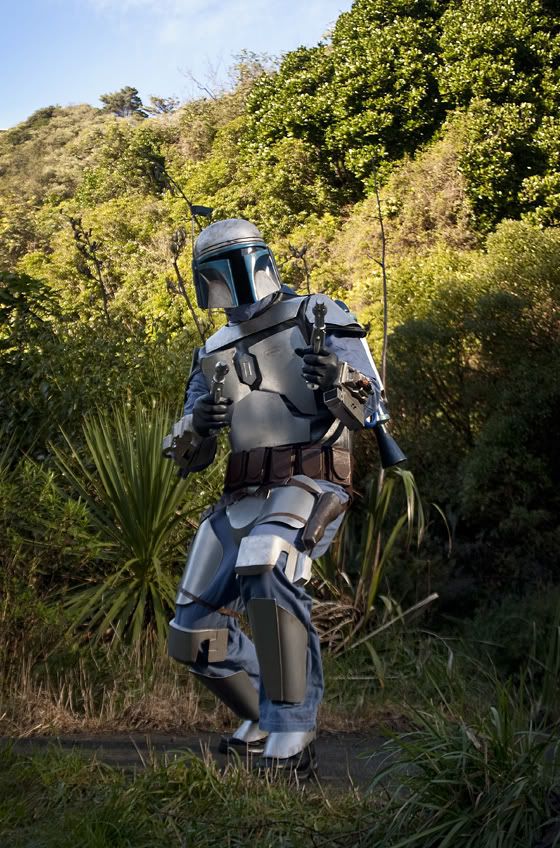
Here is where it is at currently
A brief overview of how I scratchbuilt everything so far;
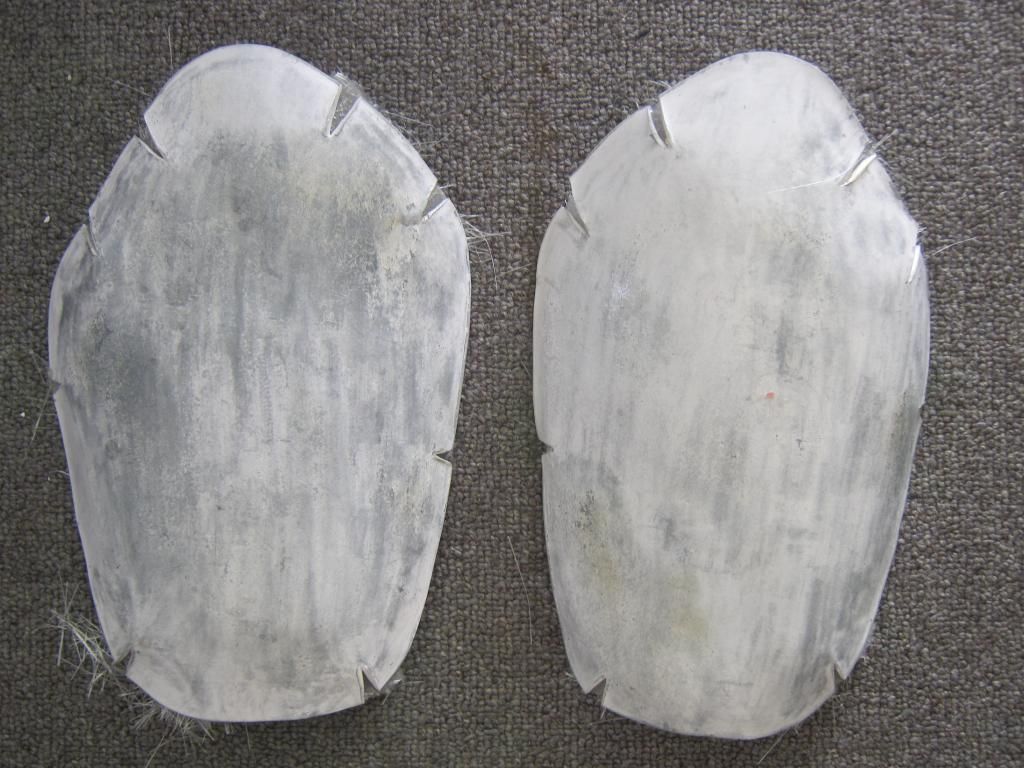
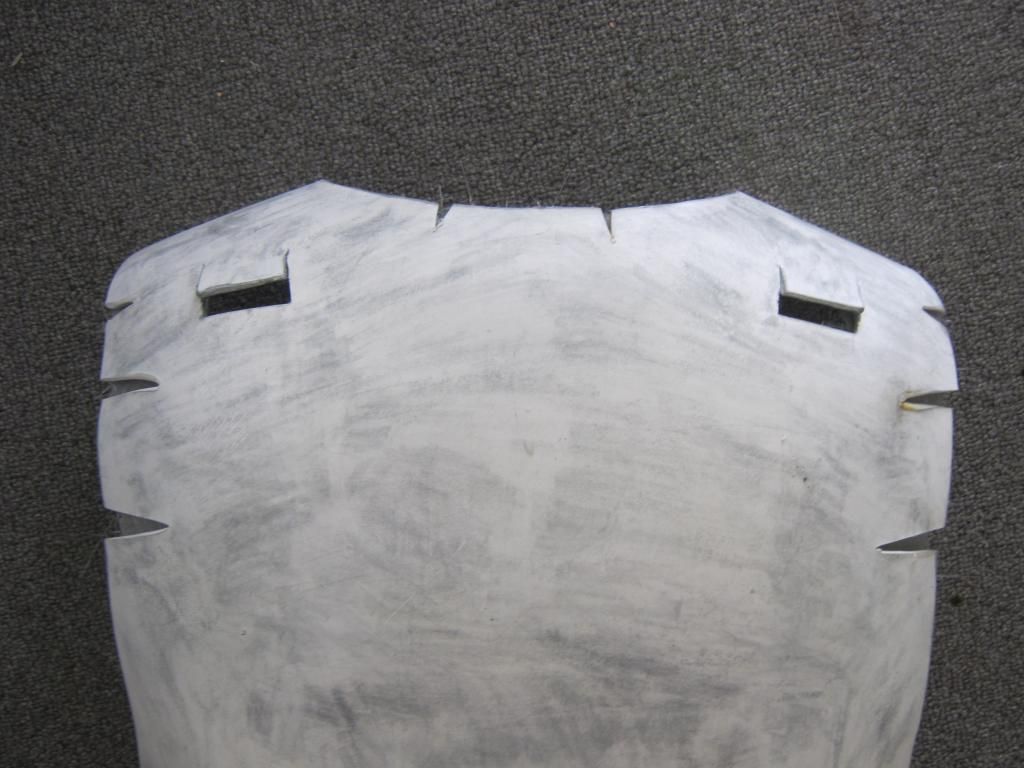
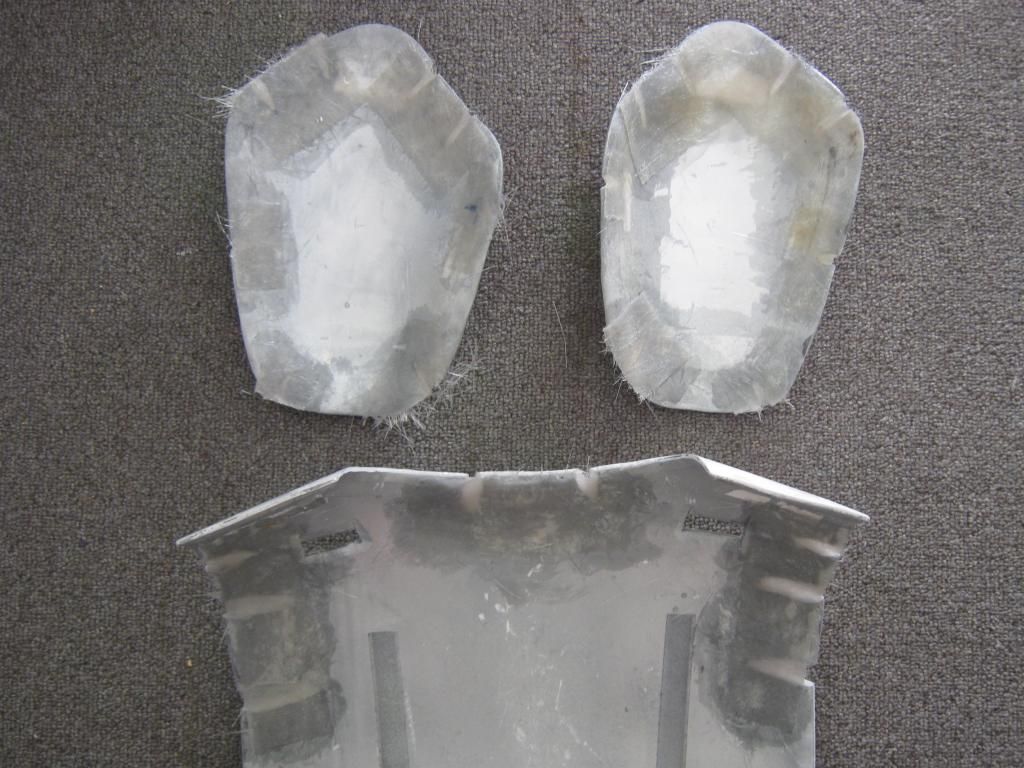
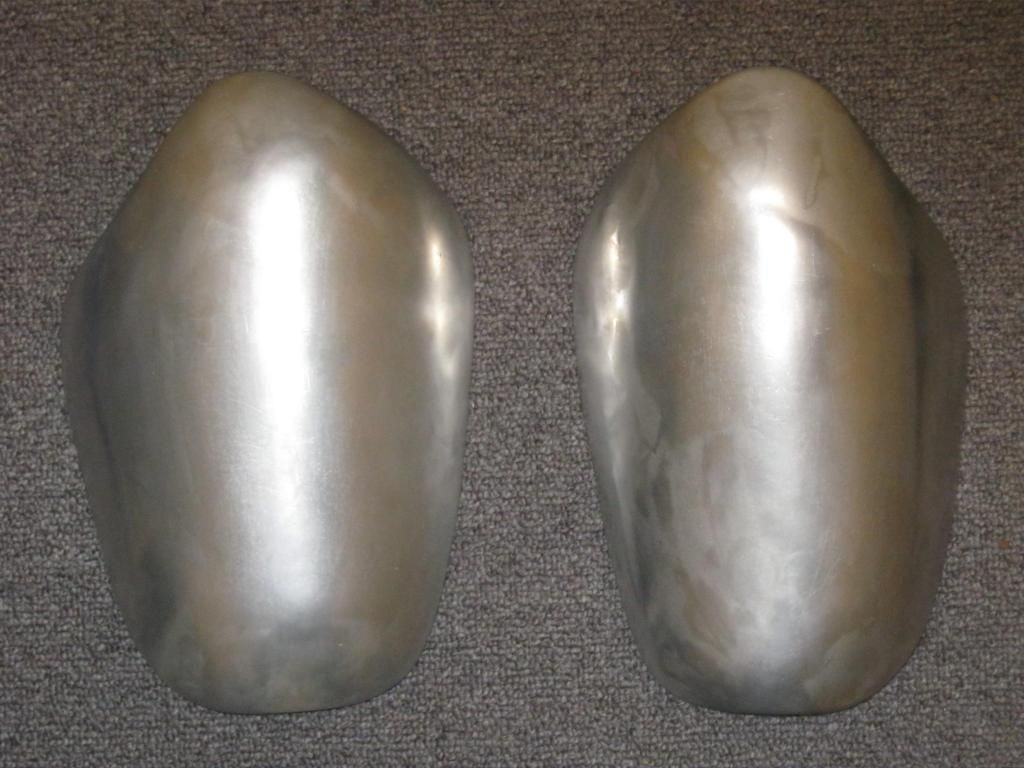
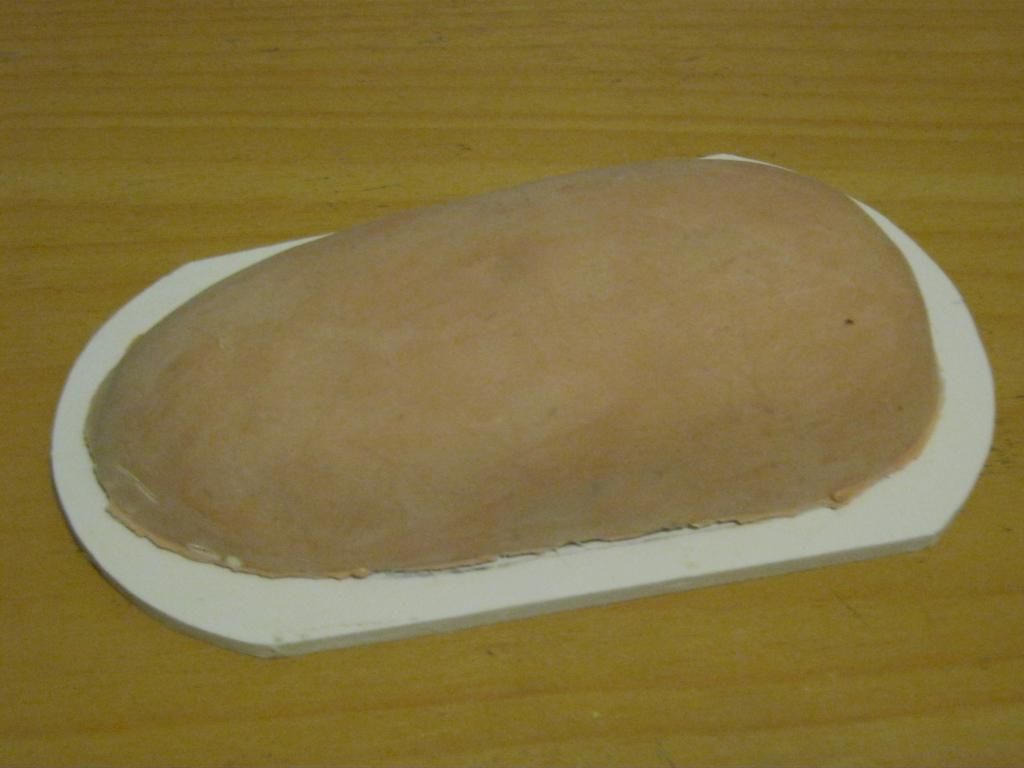
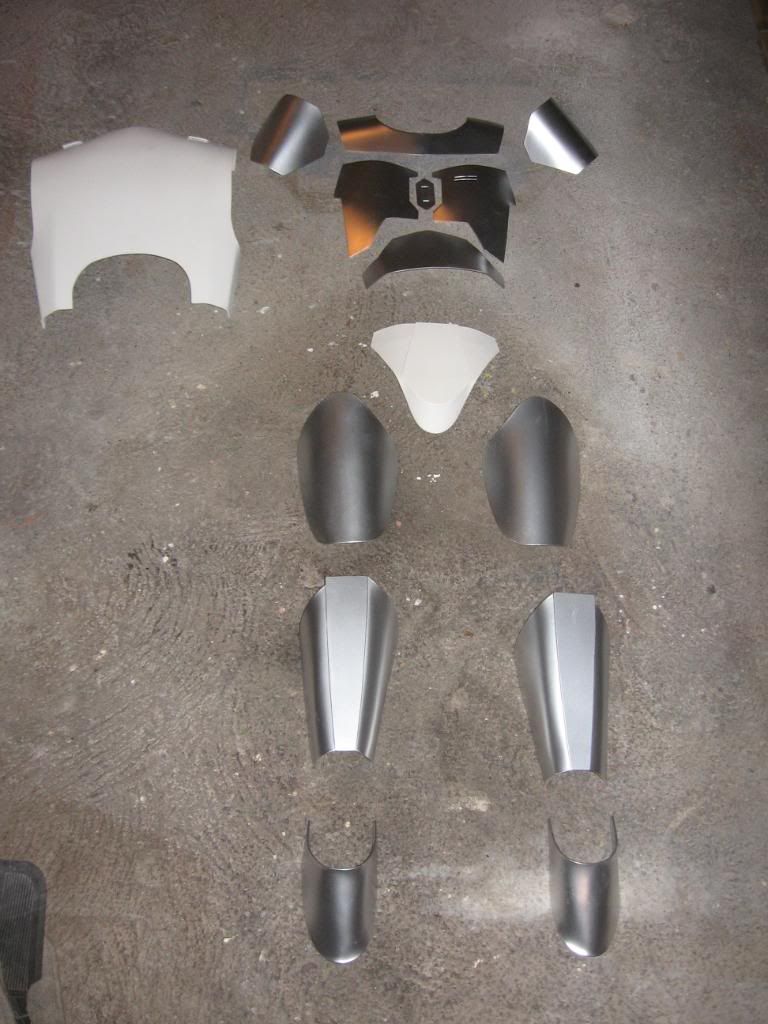
The plates are made from expanded PVC foamboard (sintra) and shaped with a heat gun
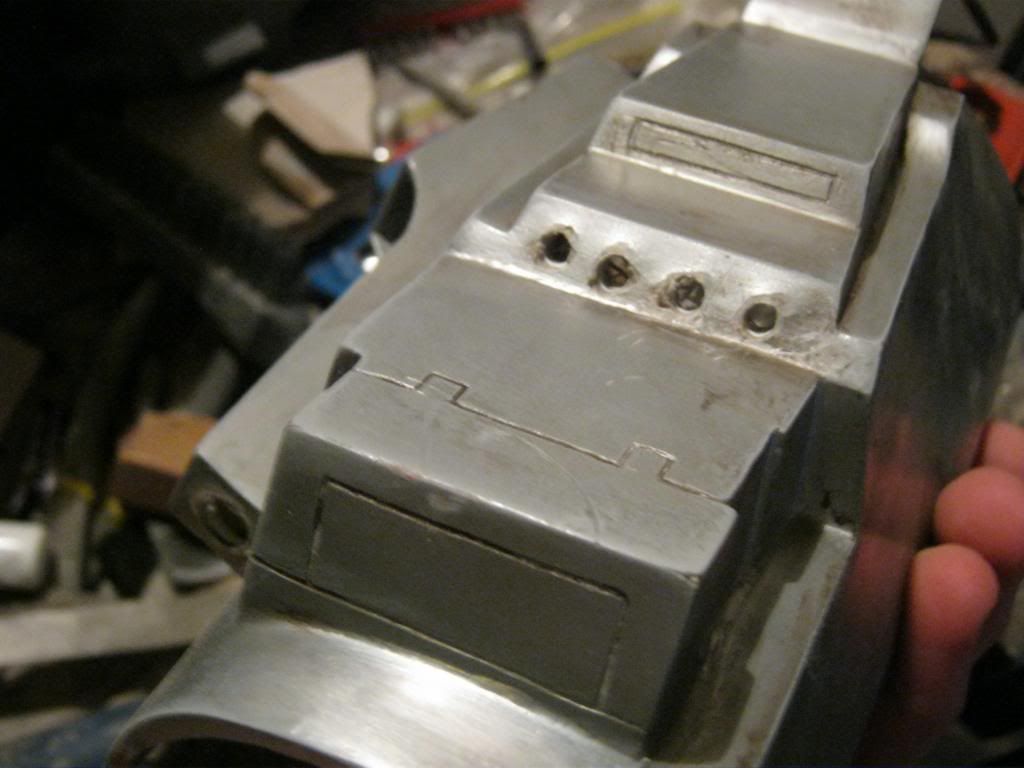
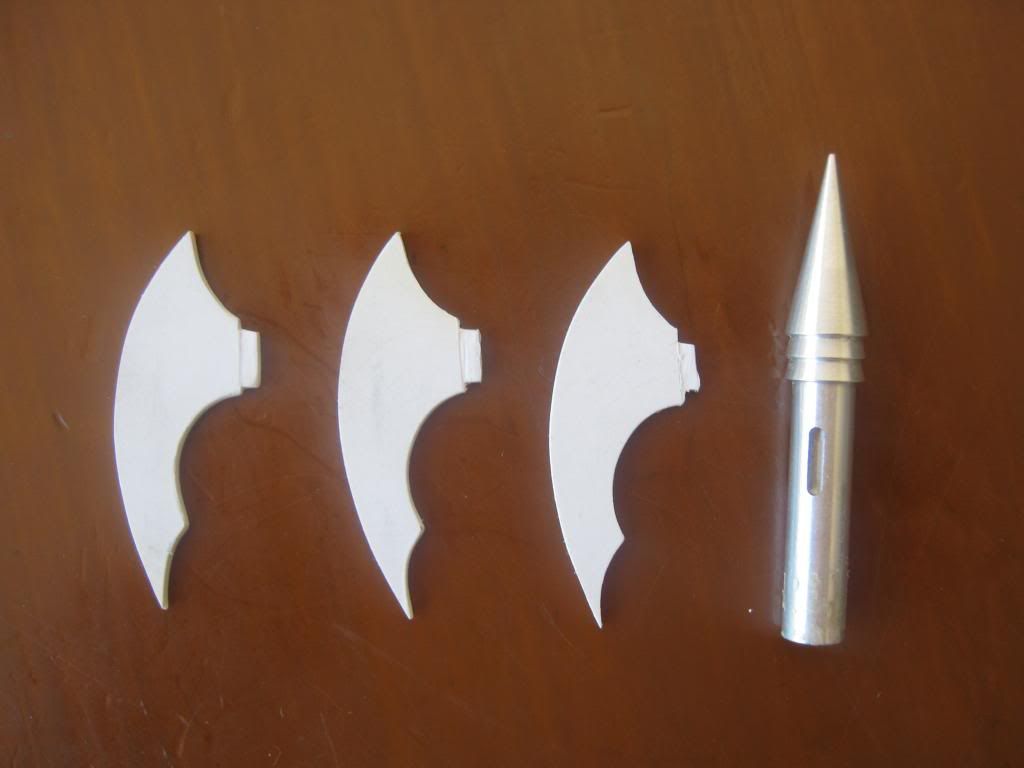
The v1 gauntlets were made from modified Boba Fett pep file
They ended up being small on me to begin with and then I quickly outgrew them, so I rebuilt larger ones with a different set of templates using 1mm card. This pic shows a comparison of the new and old

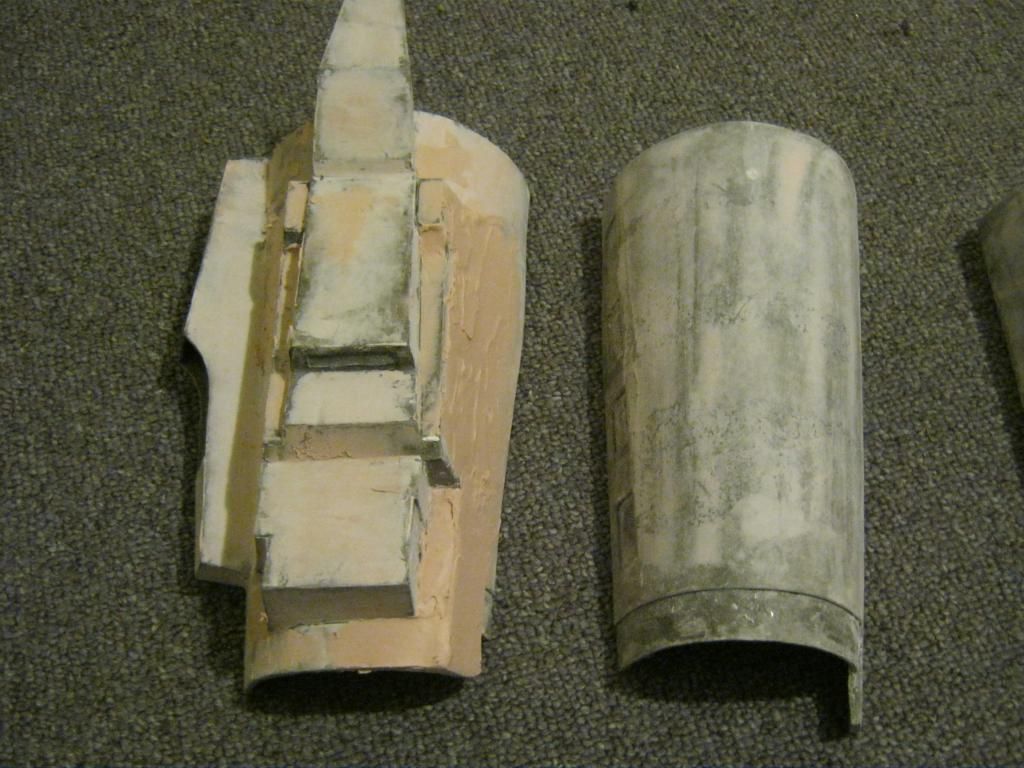
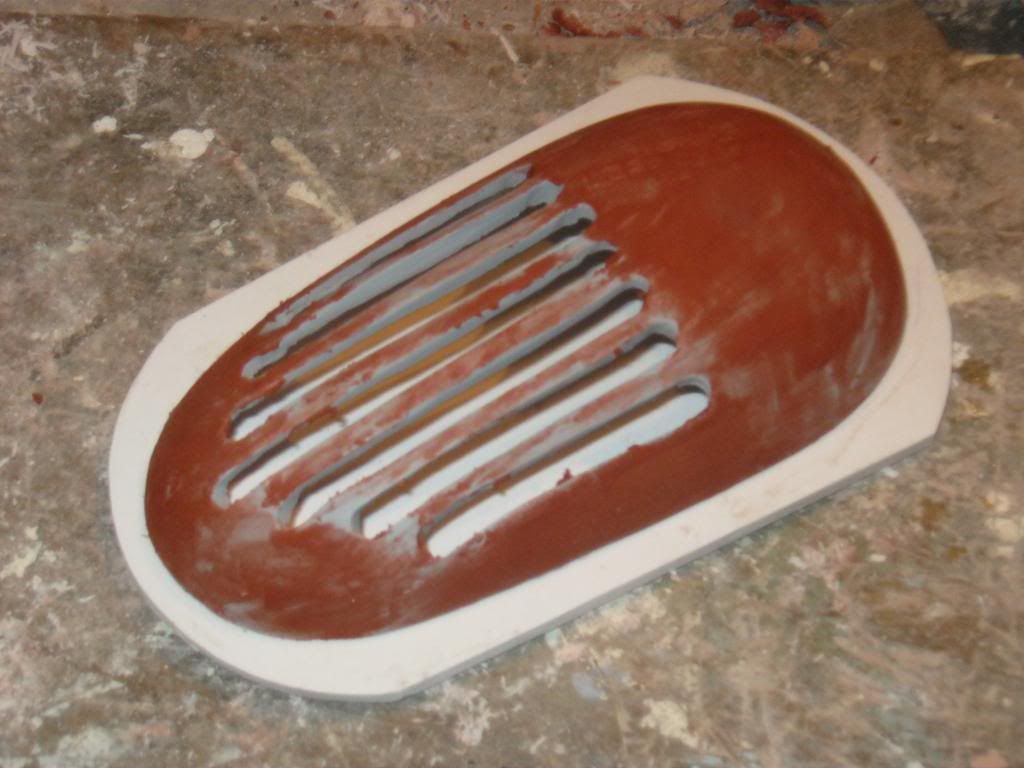
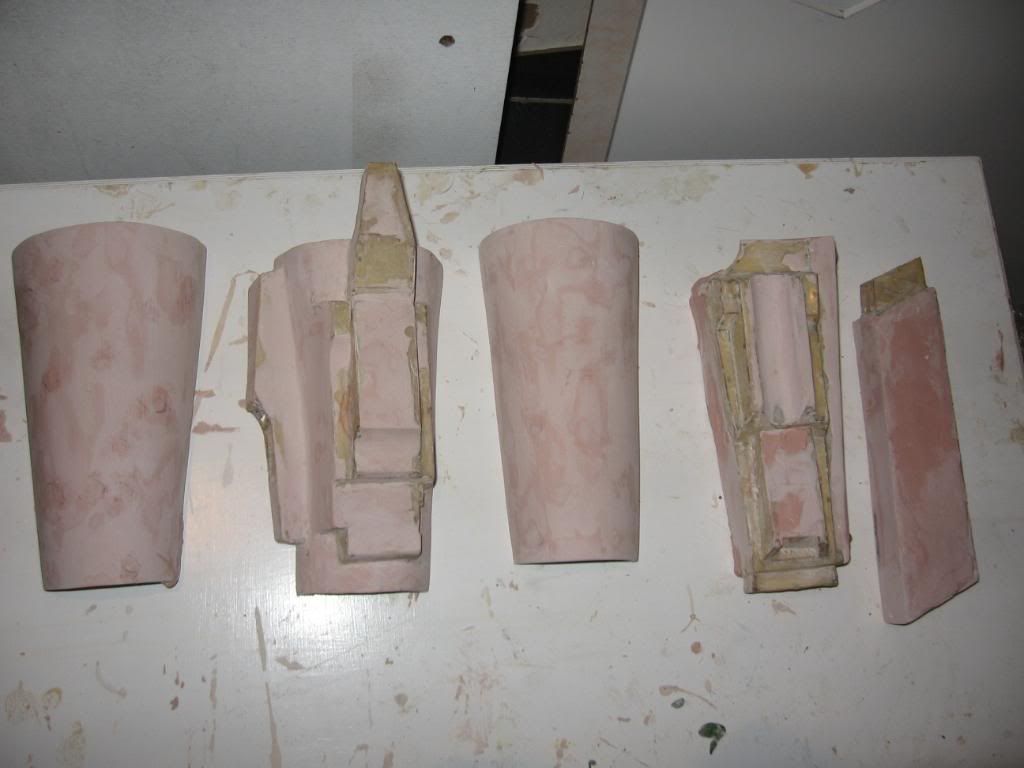
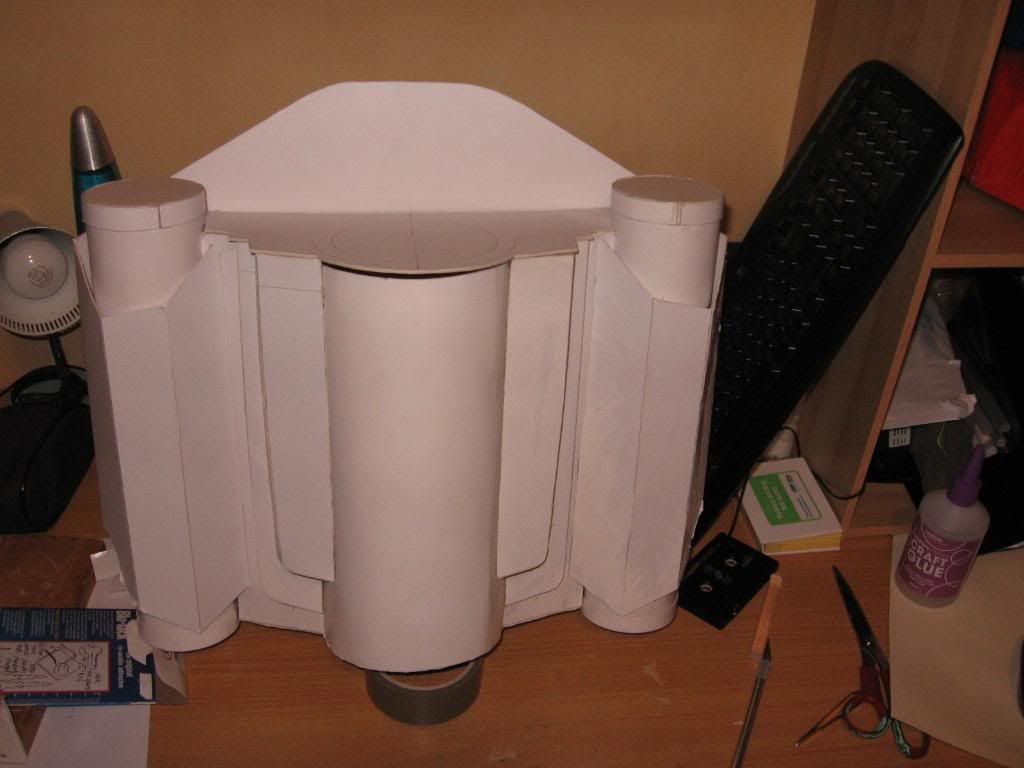
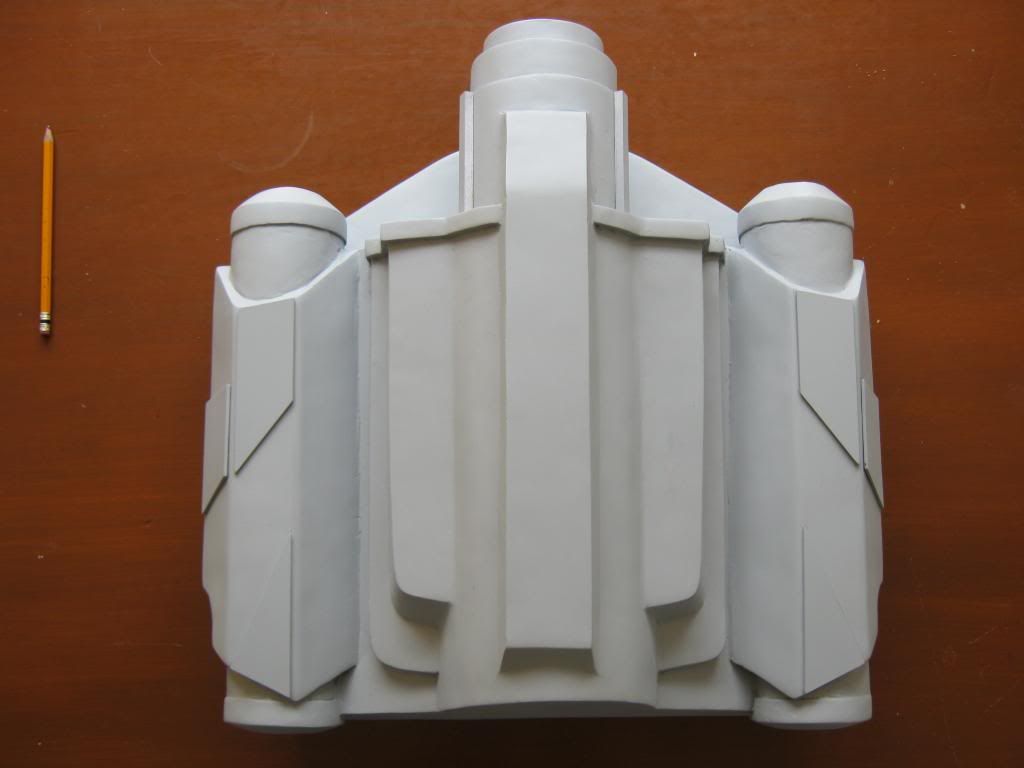
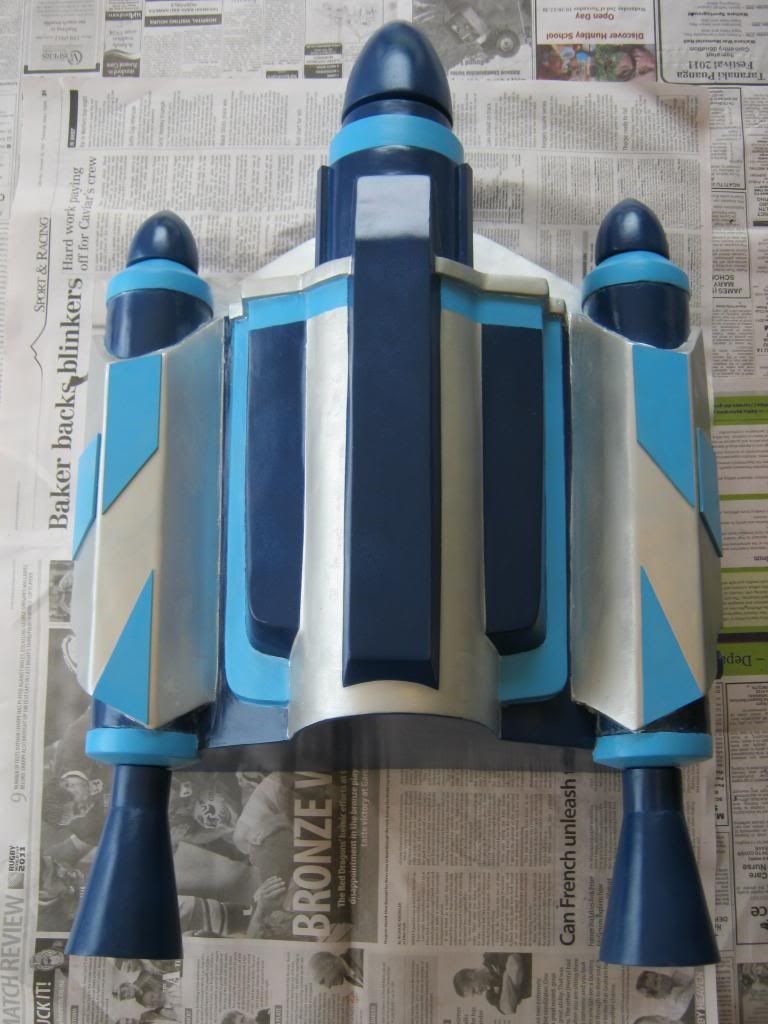
The jetpack was a cardboard base, which I then fiberglassed for strength and used automotive body filler to smooth and detail. Some of the internal cavities were filled with expanding foam.

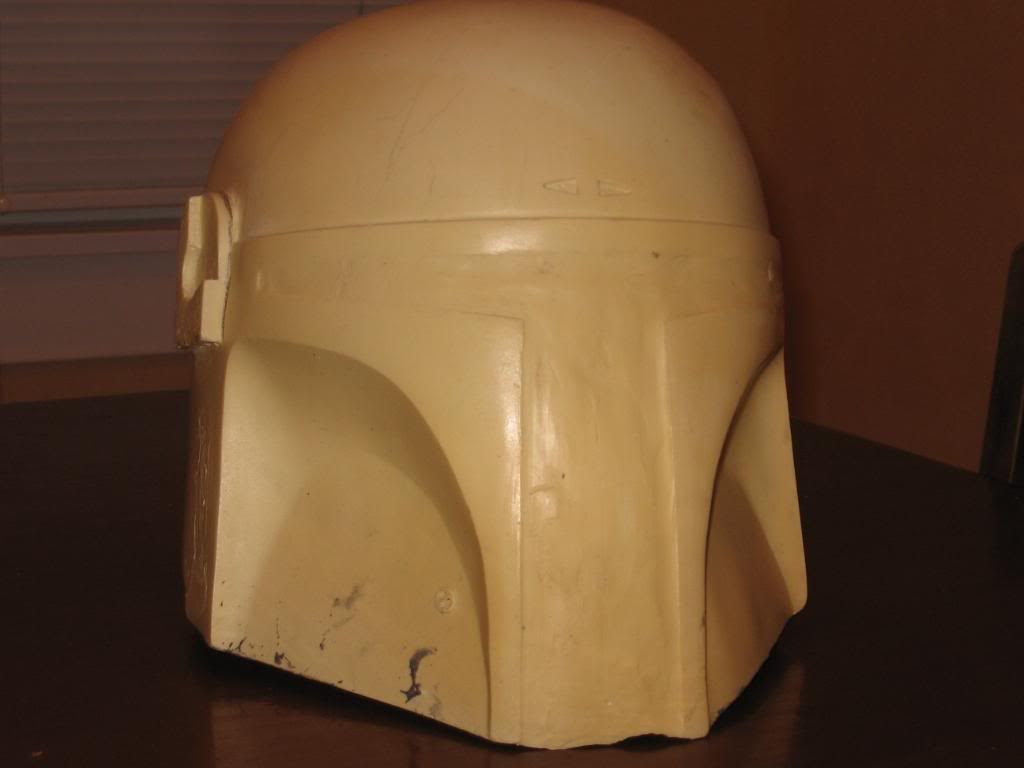
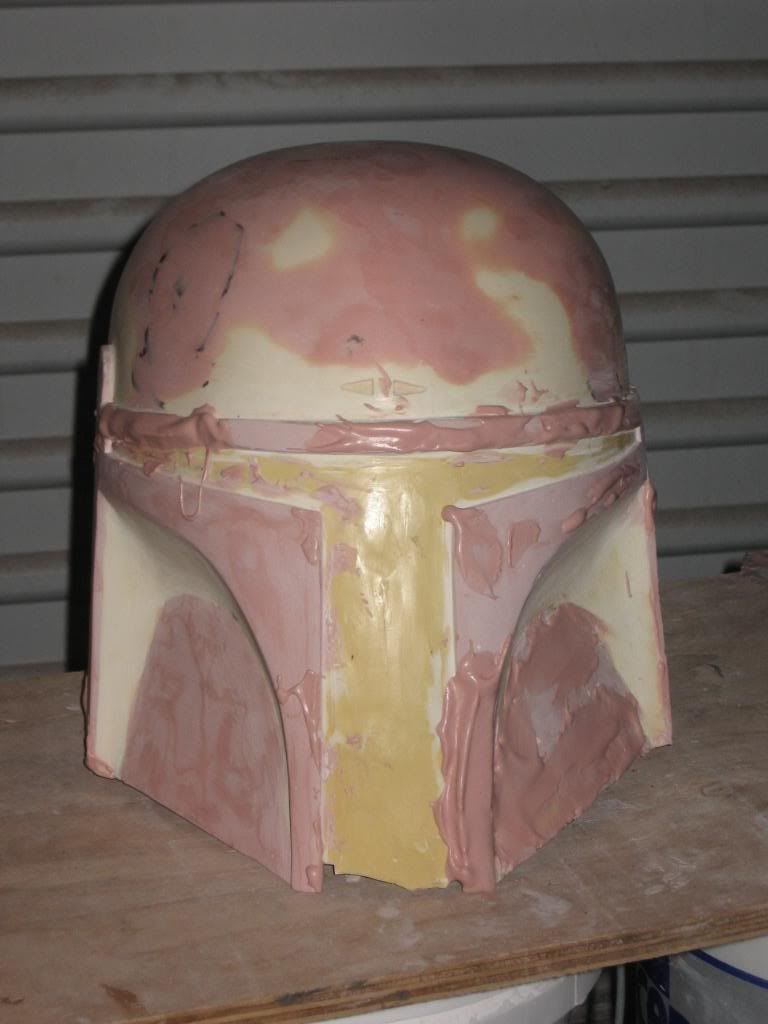
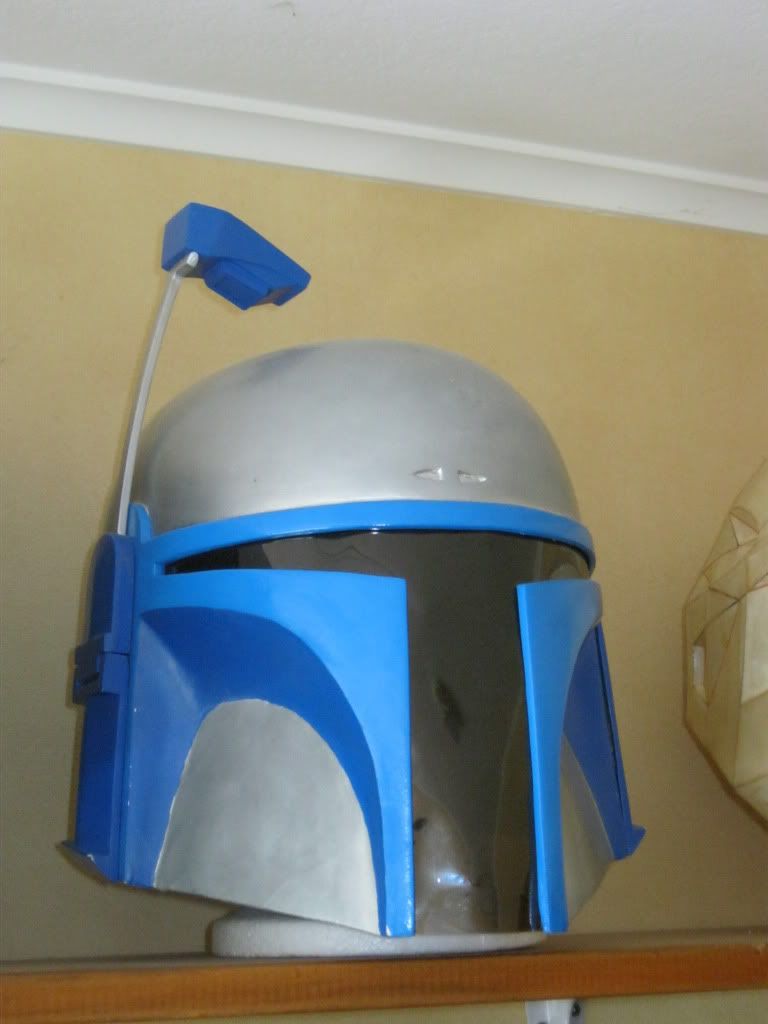
The helmet was a reject cast given to me by a friend. Much of it was extremely thin and brittle so needed to be reinforced, as well as being warped, and having a lumpy dome. It also needed to be modified as it was a Boba helmet rather than Jango.
How it looked when i got it;
Part way through reworking it;
Painted, ready for final detailling and weathering;
Over the next couple of weeks I want to;
-Sand and repaint all the plates
-Make darts around the outside of the thighs to give them more compound curvature
-Make new leather holsters
-Reshape backplate
-Reposition chest plates to make spacing more accurate
-Add dart launchers to knees
-Finish adding all the details to the gauntlets, and reinforce where neccesary
-Tailor flightsuit to fit better so there is less excess fabric around my legs and arms
-Add padding the jetpack harness to make it more comfortable to wear for extended periods
-Rebuild codpiece to fit better, be lighter and more accurate
I think that is about it for now. Stay tuned for progress soon.
Here is where it is at currently
A brief overview of how I scratchbuilt everything so far;
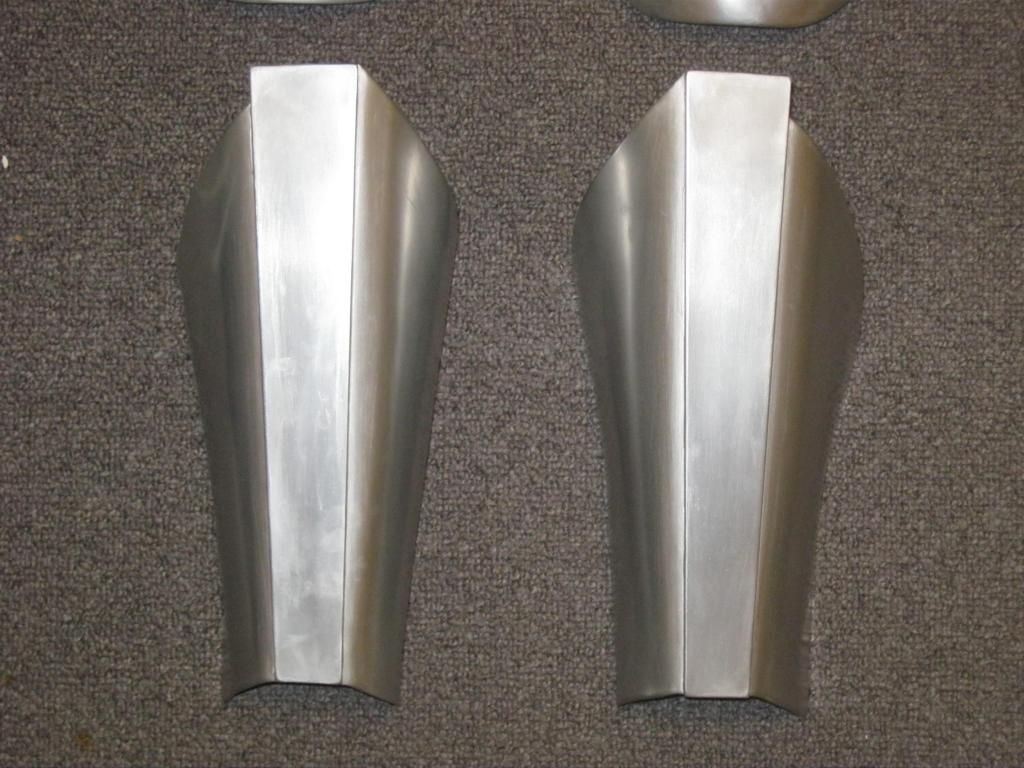
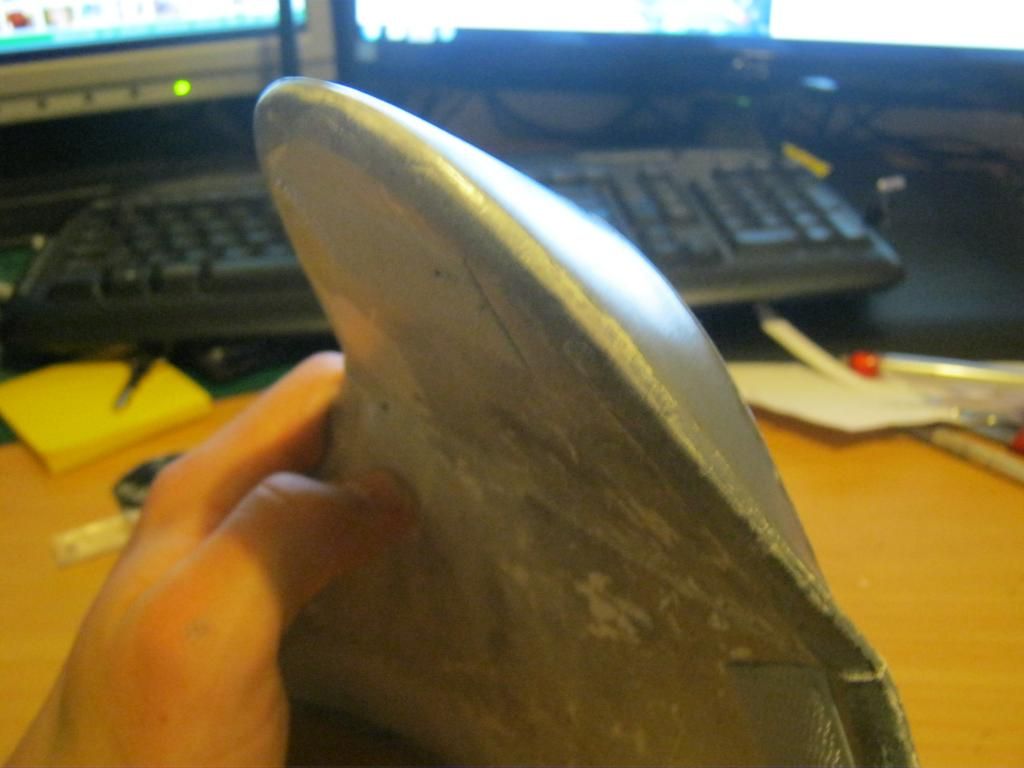
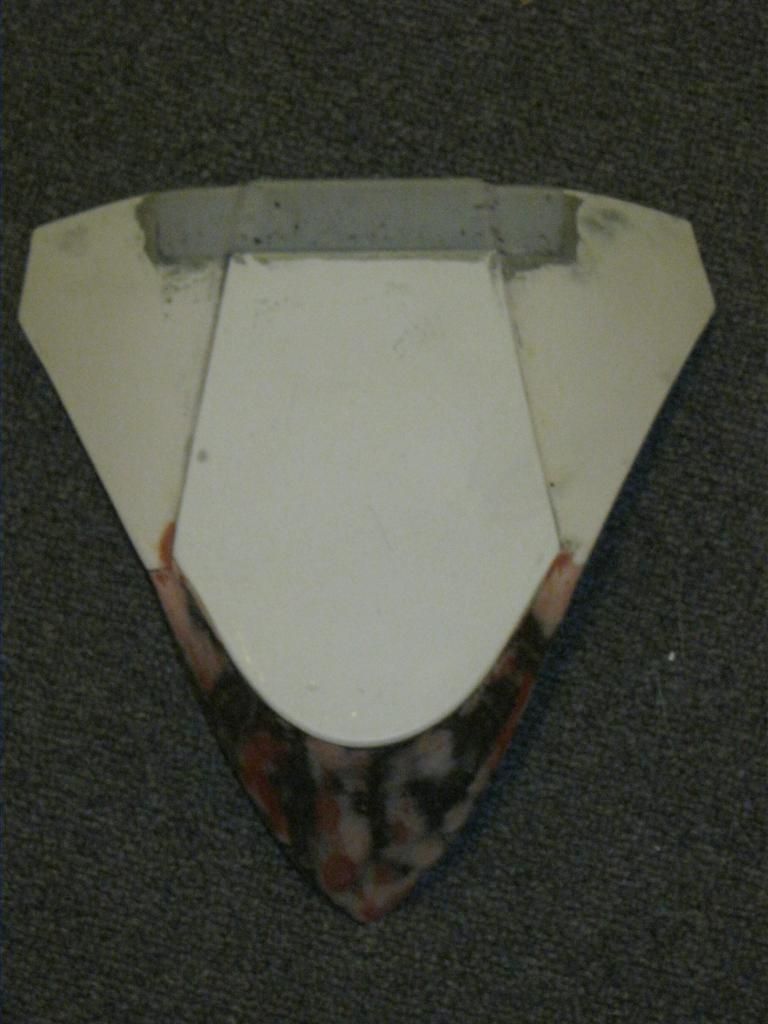
The plates are made from expanded PVC foamboard (sintra) and shaped with a heat gun
The v1 gauntlets were made from modified Boba Fett pep file
They ended up being small on me to begin with and then I quickly outgrew them, so I rebuilt larger ones with a different set of templates using 1mm card. This pic shows a comparison of the new and old
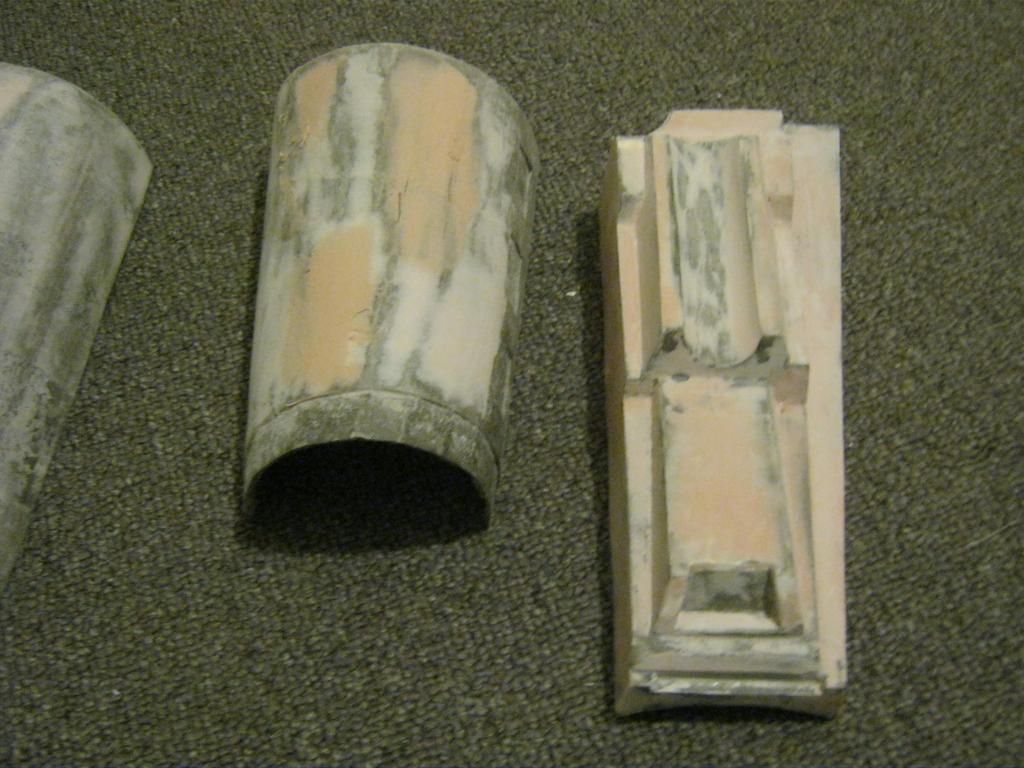
The jetpack was a cardboard base, which I then fiberglassed for strength and used automotive body filler to smooth and detail. Some of the internal cavities were filled with expanding foam.
The helmet was a reject cast given to me by a friend. Much of it was extremely thin and brittle so needed to be reinforced, as well as being warped, and having a lumpy dome. It also needed to be modified as it was a Boba helmet rather than Jango.
How it looked when i got it;
Part way through reworking it;
Painted, ready for final detailling and weathering;
Over the next couple of weeks I want to;
-Sand and repaint all the plates
-Make darts around the outside of the thighs to give them more compound curvature
-Make new leather holsters
-Reshape backplate
-Reposition chest plates to make spacing more accurate
-Add dart launchers to knees
-Finish adding all the details to the gauntlets, and reinforce where neccesary
-Tailor flightsuit to fit better so there is less excess fabric around my legs and arms
-Add padding the jetpack harness to make it more comfortable to wear for extended periods
-Rebuild codpiece to fit better, be lighter and more accurate
I think that is about it for now. Stay tuned for progress soon.