PyroJockey
Active Member
Great build. I have been working along similar lines and have encountered some of the same problems you have.
I noticed some differences in the ASHPD model I exported from Portal 1 and yours. Did you rip the model from Portal 2 and if so are these new features or were they added with artistic license? Most notable are the additional links on the tips of the claw:
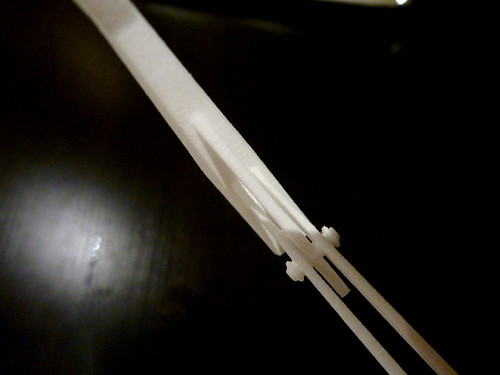
and the detail inside the barrel/muzzle
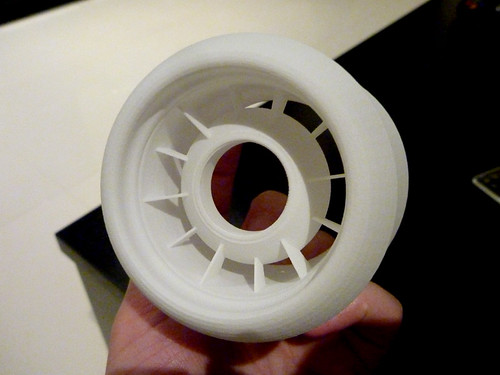
Also your printed parts have a much smoother appearance than mine. Mine were printed with nylon 12, EOS PA 2200. They have a wood grain appearance that will require a lot of finishing, nowhere near ready to paint. Do you know what material was used in yours?
Your parts also appear to have a much thinner wall thickness than mine. I was instructed to maintain a minimum wall thickness of 3mm to insure structural integrity. This makes for a heavier gun (and more expensive since it used more material) What are your wall thicknesses?
By the way I loved your cosplay video. Do you have any pic's or build history on the costume and boots?
Great work all around.
I noticed some differences in the ASHPD model I exported from Portal 1 and yours. Did you rip the model from Portal 2 and if so are these new features or were they added with artistic license? Most notable are the additional links on the tips of the claw:
and the detail inside the barrel/muzzle
Also your printed parts have a much smoother appearance than mine. Mine were printed with nylon 12, EOS PA 2200. They have a wood grain appearance that will require a lot of finishing, nowhere near ready to paint. Do you know what material was used in yours?
Your parts also appear to have a much thinner wall thickness than mine. I was instructed to maintain a minimum wall thickness of 3mm to insure structural integrity. This makes for a heavier gun (and more expensive since it used more material) What are your wall thicknesses?
By the way I loved your cosplay video. Do you have any pic's or build history on the costume and boots?
Great work all around.
")