mekroid
Active Member
FILLER!
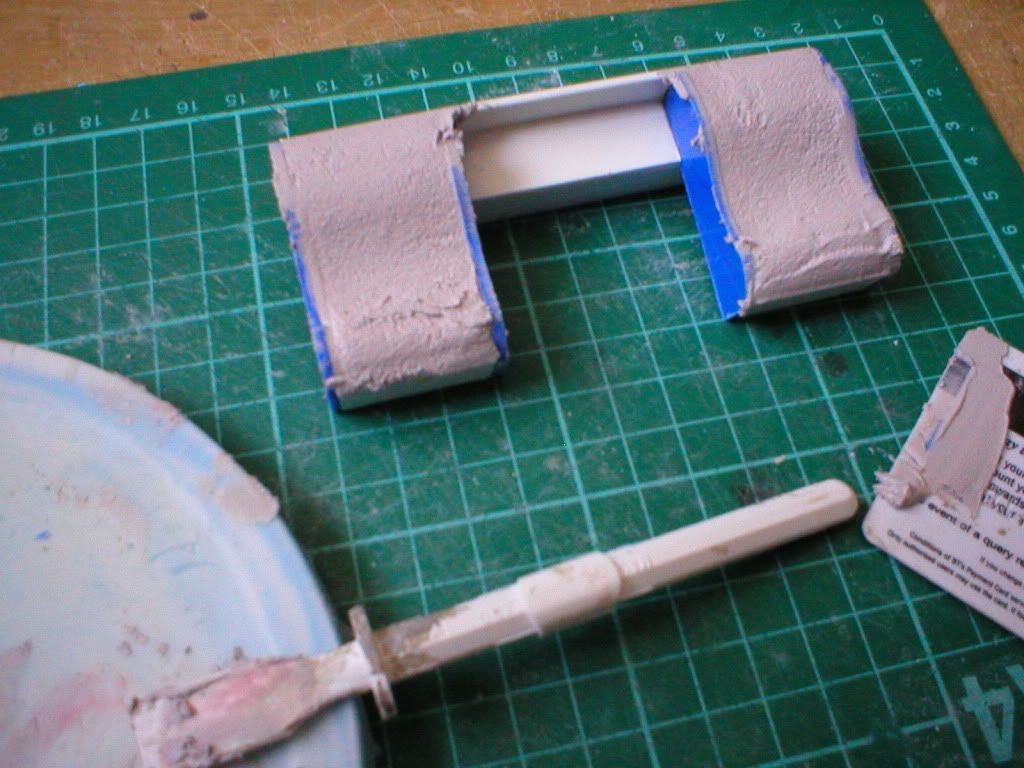
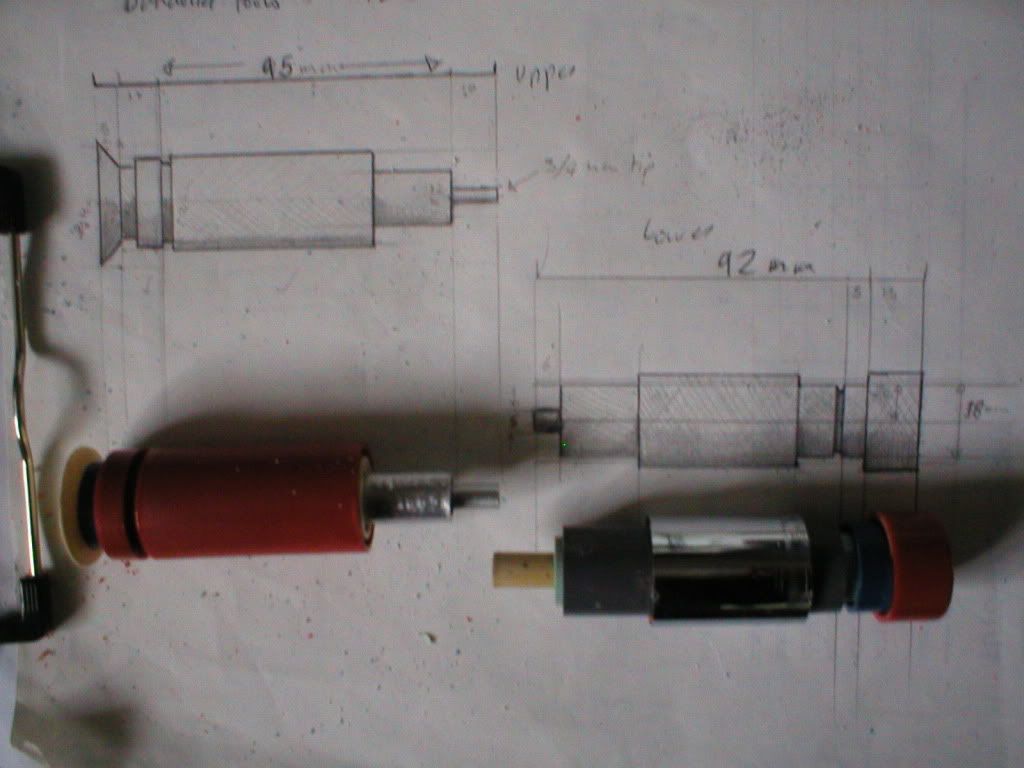
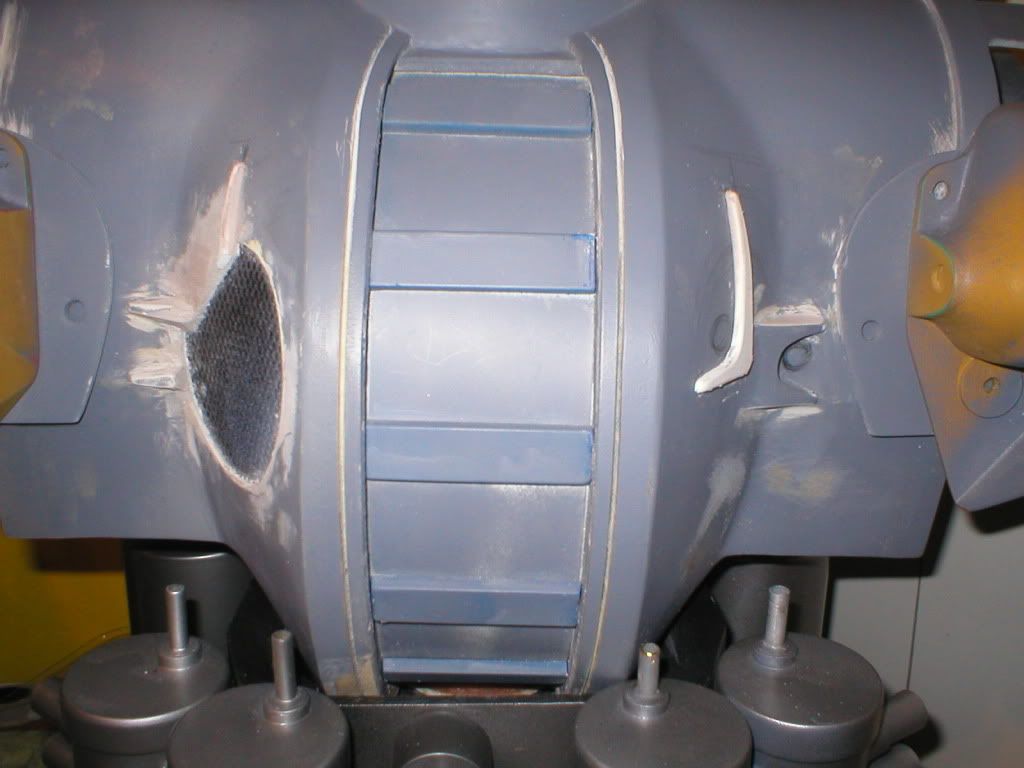
Here Ive added what looks to me to be electrical connectors in a port , mine is only 2 millimeters deep (one layer of plastic )the original would be deeper ..
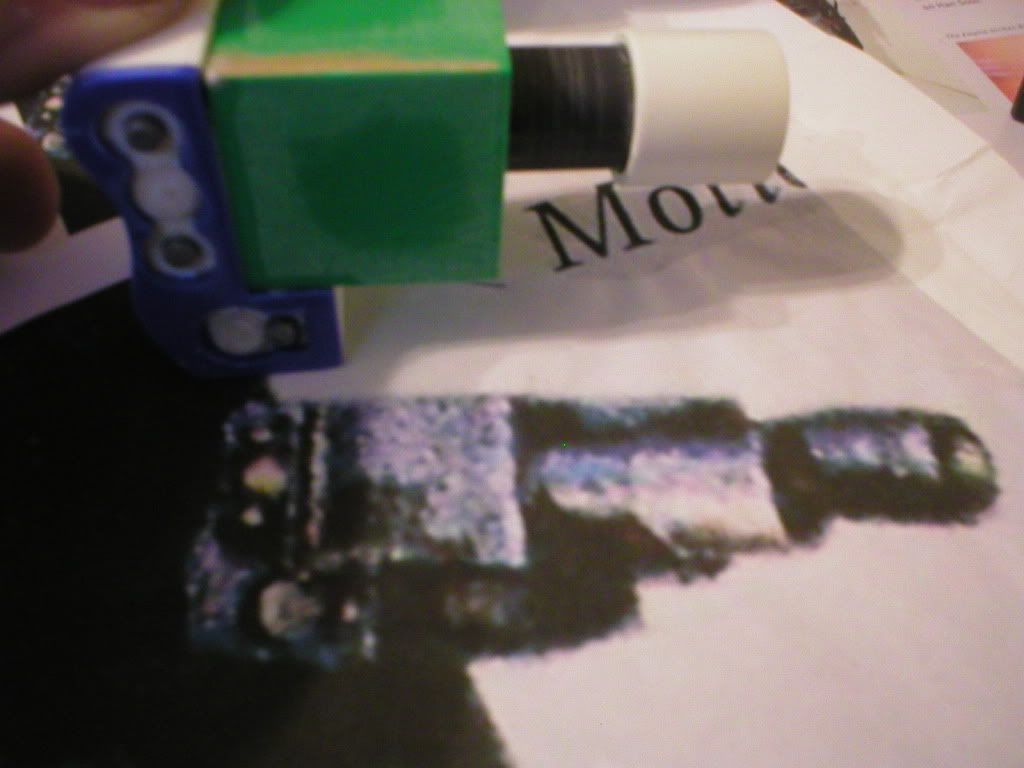
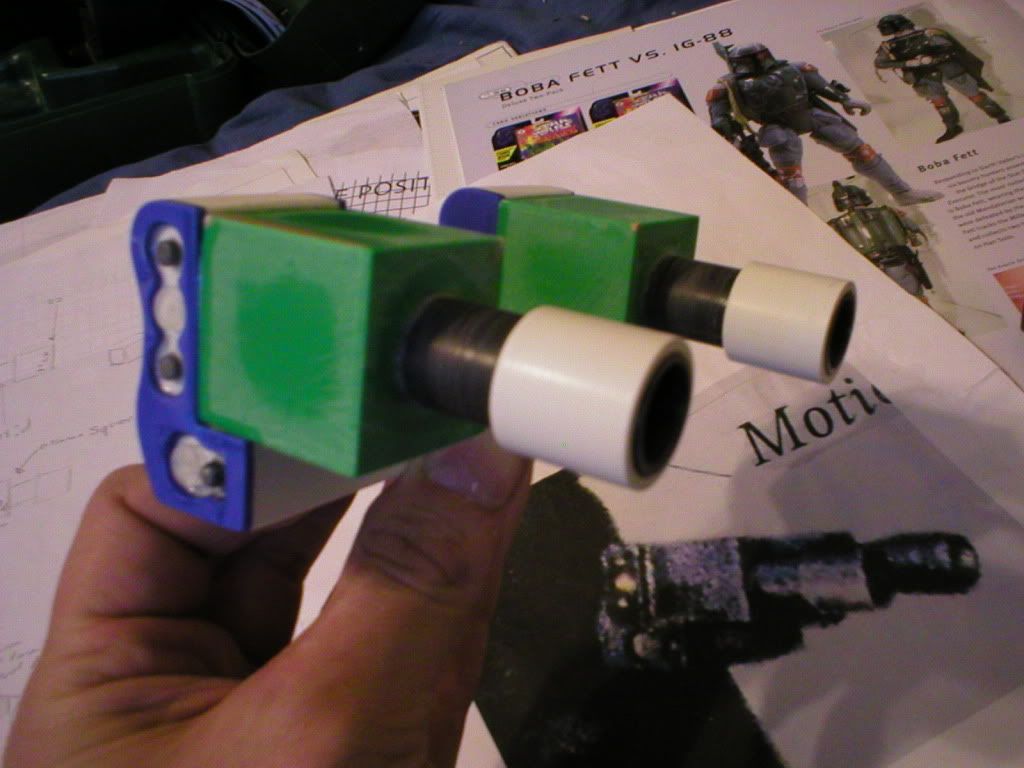
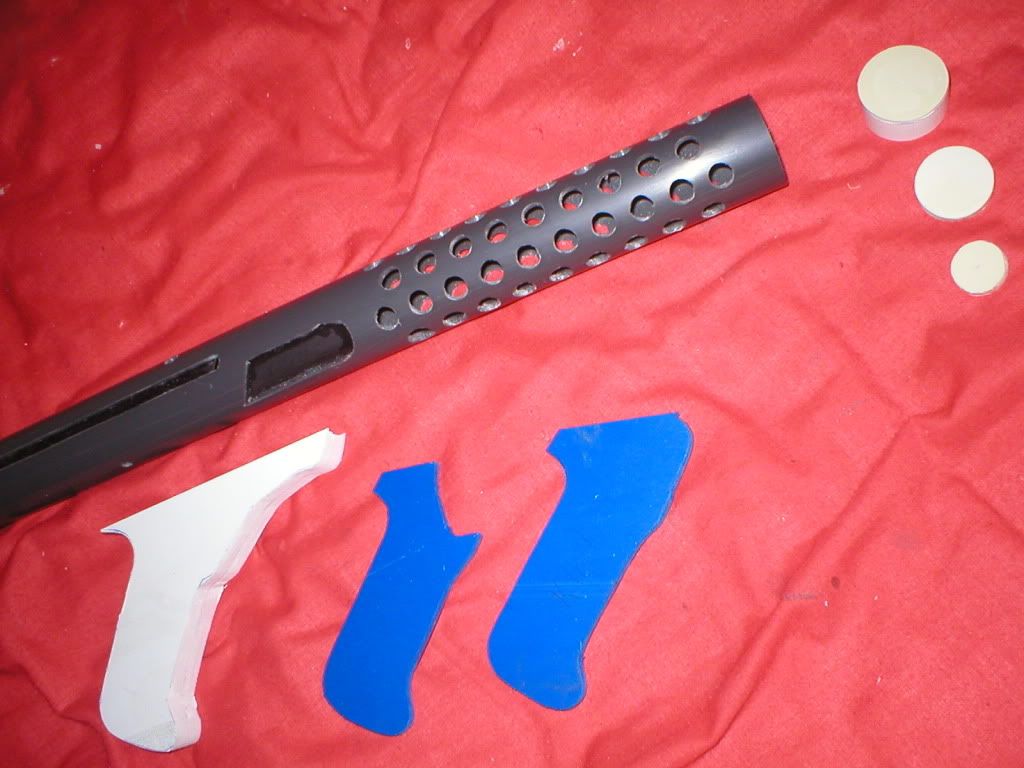
...I know people say this is a section of a gunsight but all my examinations told me it was straight tube and not worth cutting a sight up for ...a small poly plastic foggy/clear capsule dome thingy ... 'found in the street!' ...(I have found money there too!) is trimmed to fit and pushed into the tube offcut. The tube I had lying around and it was pretty much a perfect fit in the right hole !This got glassed in from the inside .(glass fibre paste)
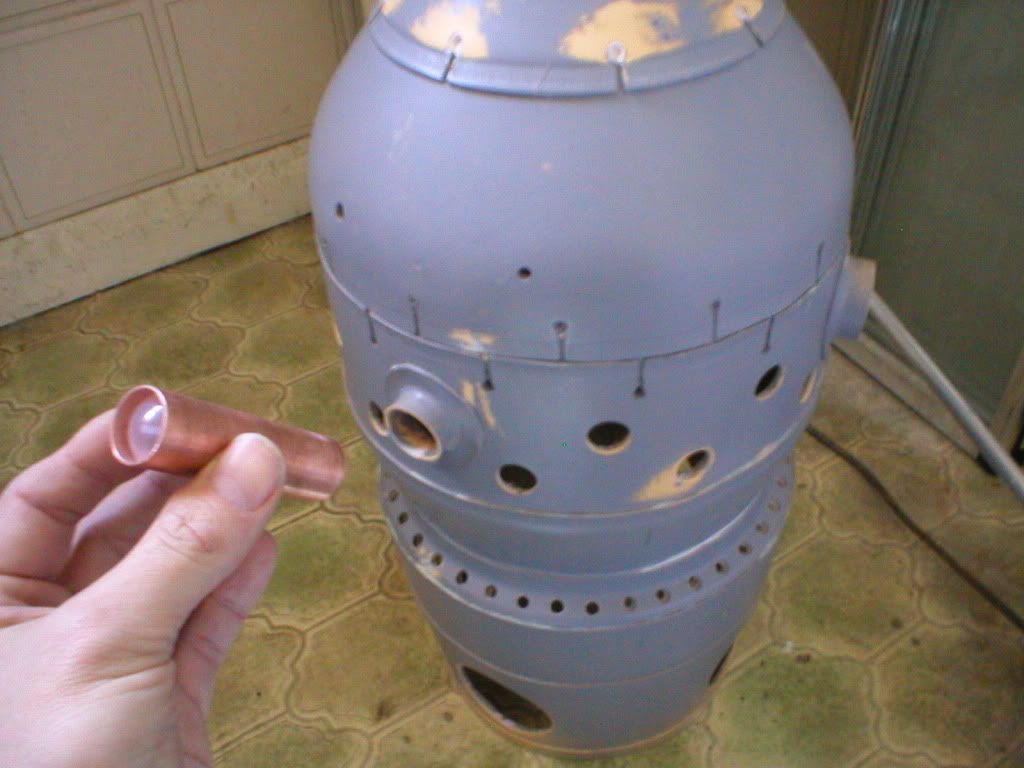
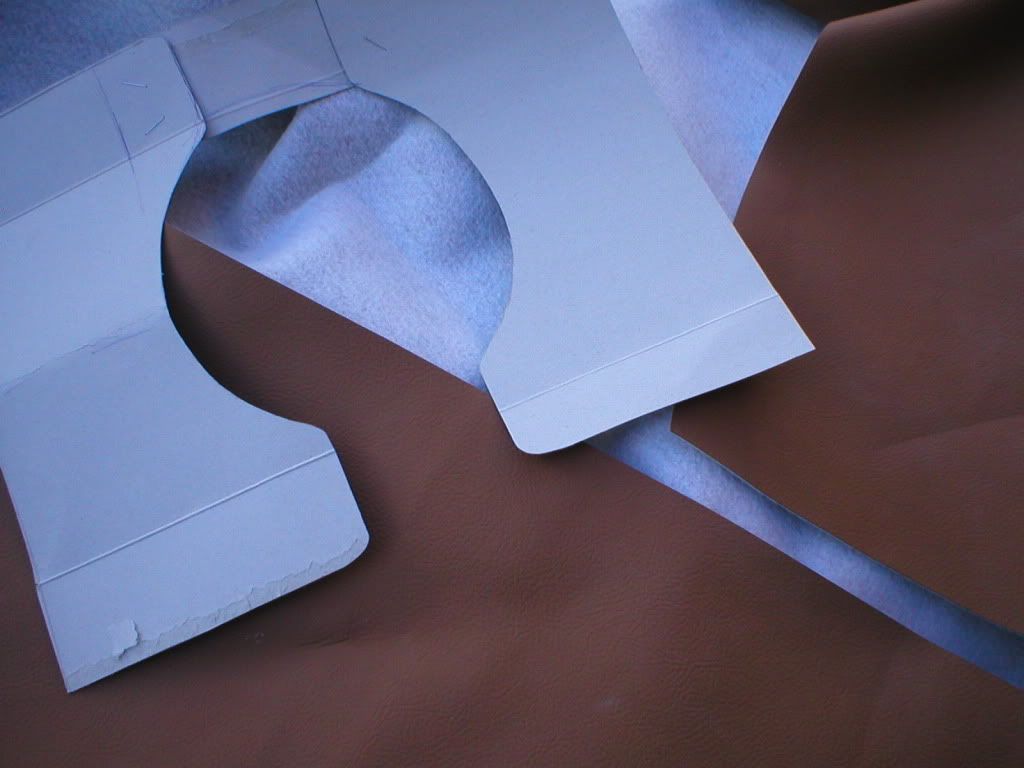
Next , go chat up your local opticians!
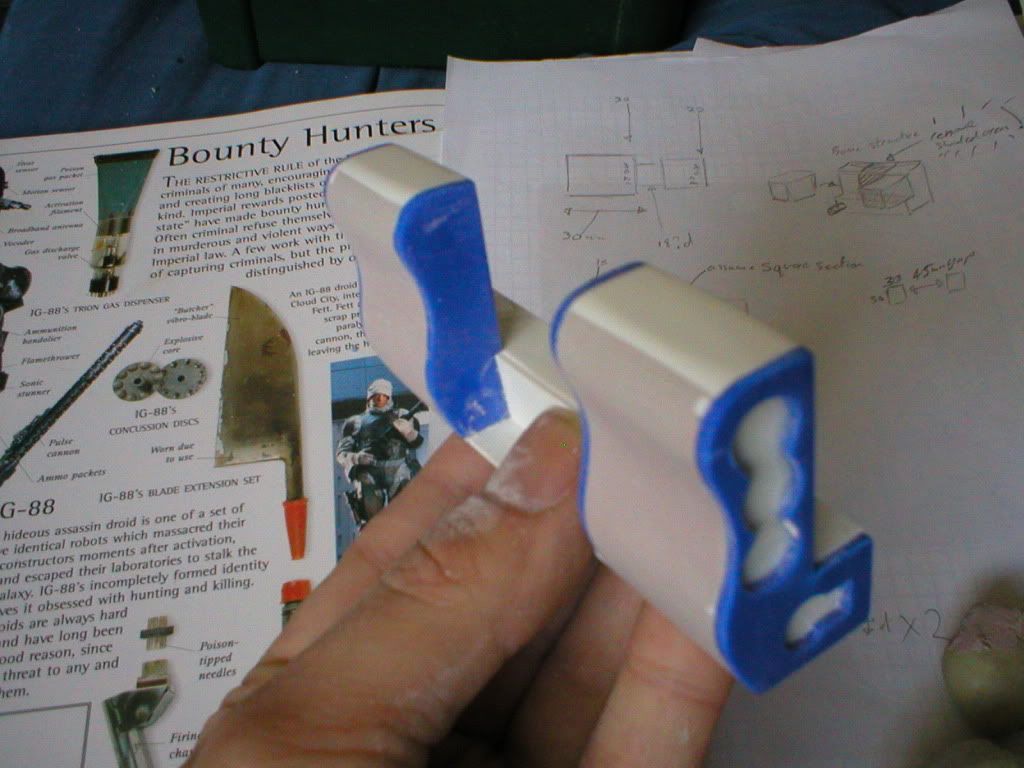
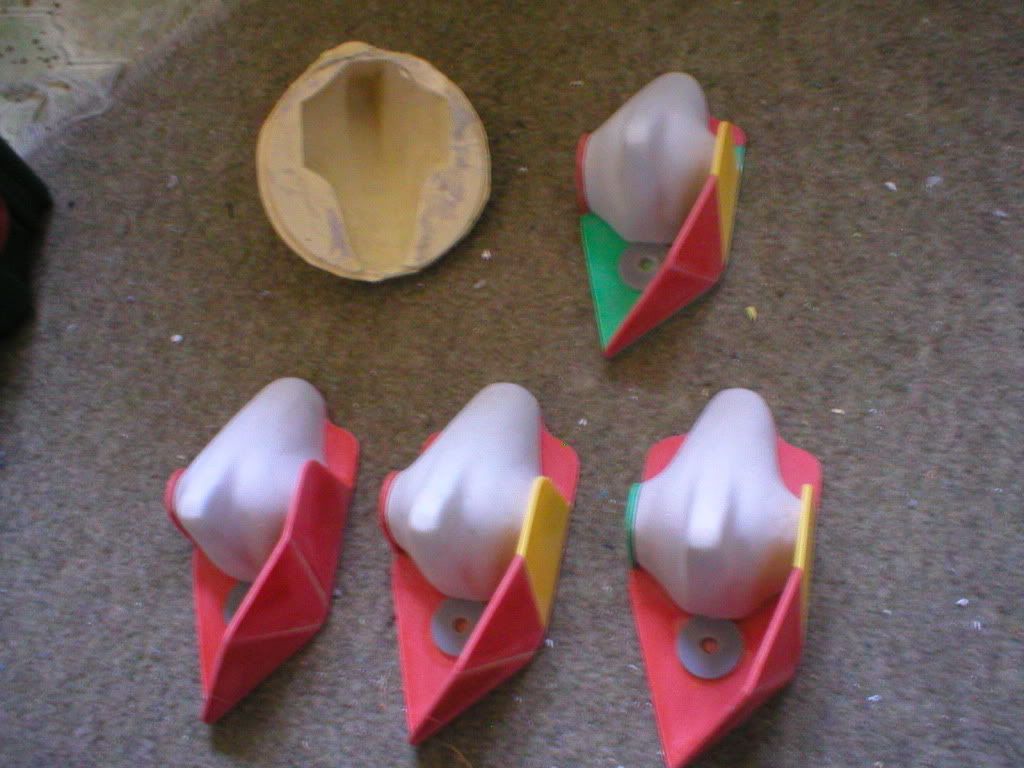
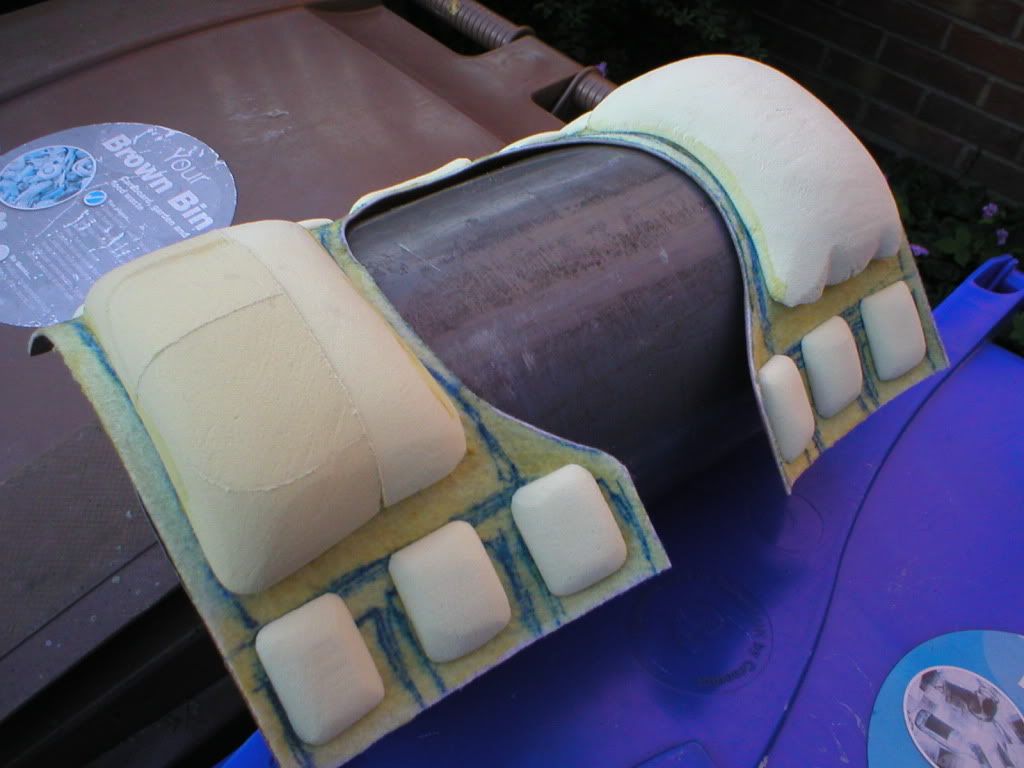
What we have here is DISPOSABLE CONTACT LENS containers , I'd seen these before and logged them in memory for just such a job .There was a particularly gorgeous girl in the opticians ... she was very helpful ... and amused at this weird guy on the scrounge ... I lost my short term memory in there and decided I needed multiple visits ! (still dont know what to do with a bin liner full of about 5000 lens containers ...JOKE!)
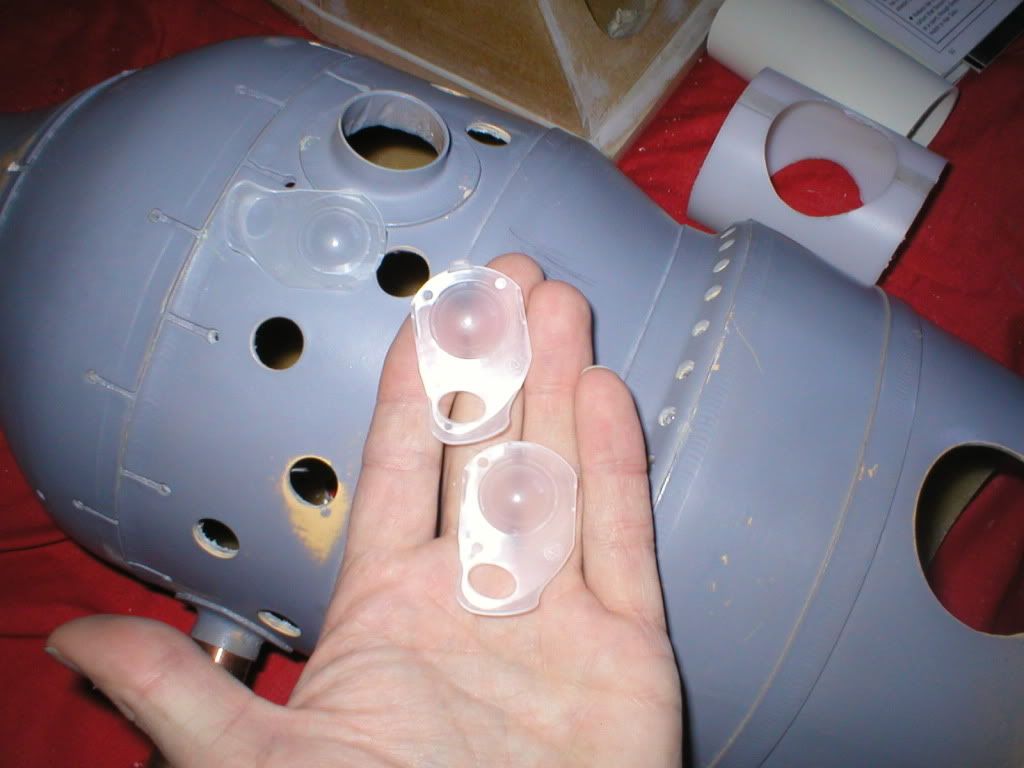
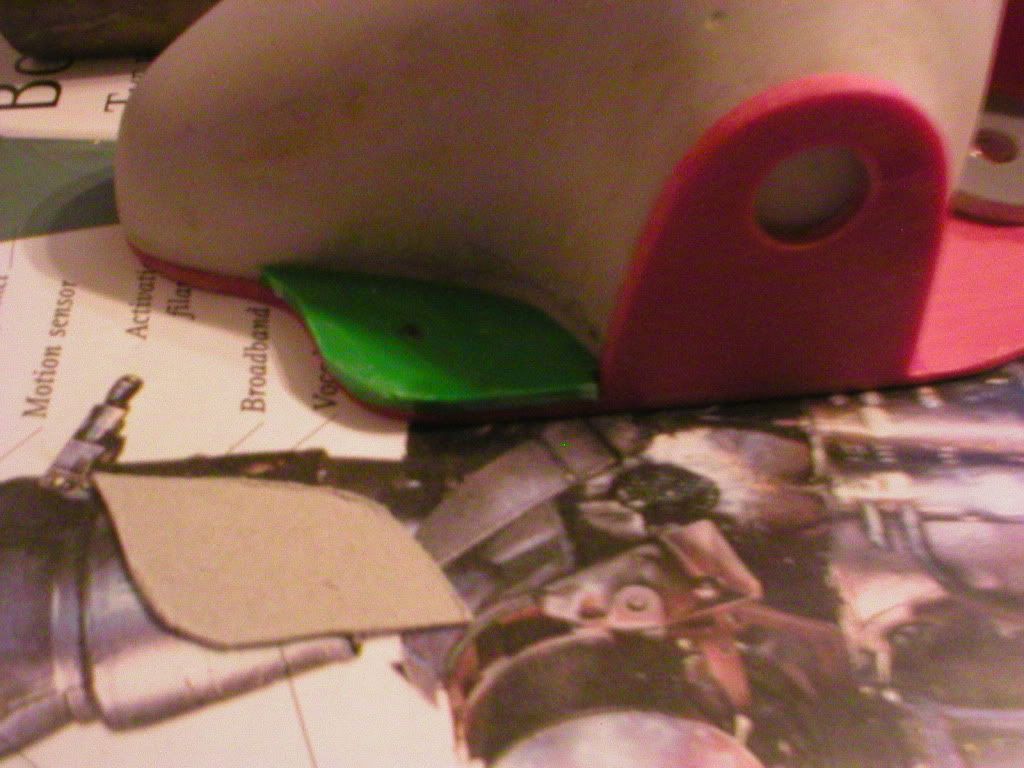
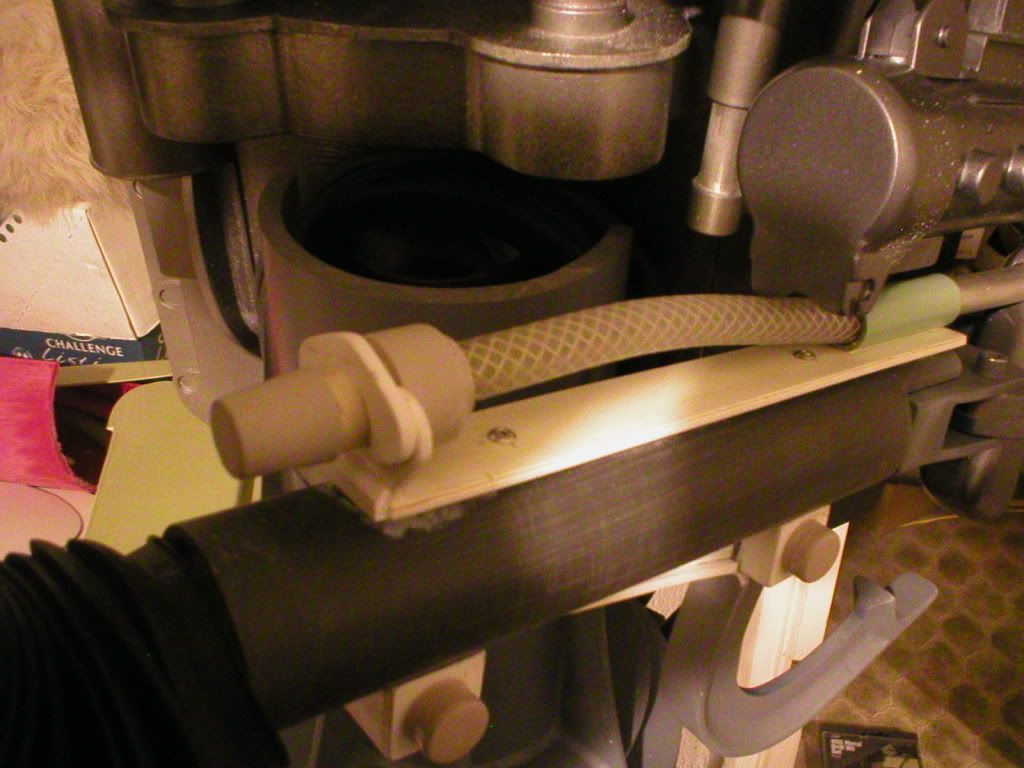
They get trimmed to fit , heres a bad fit
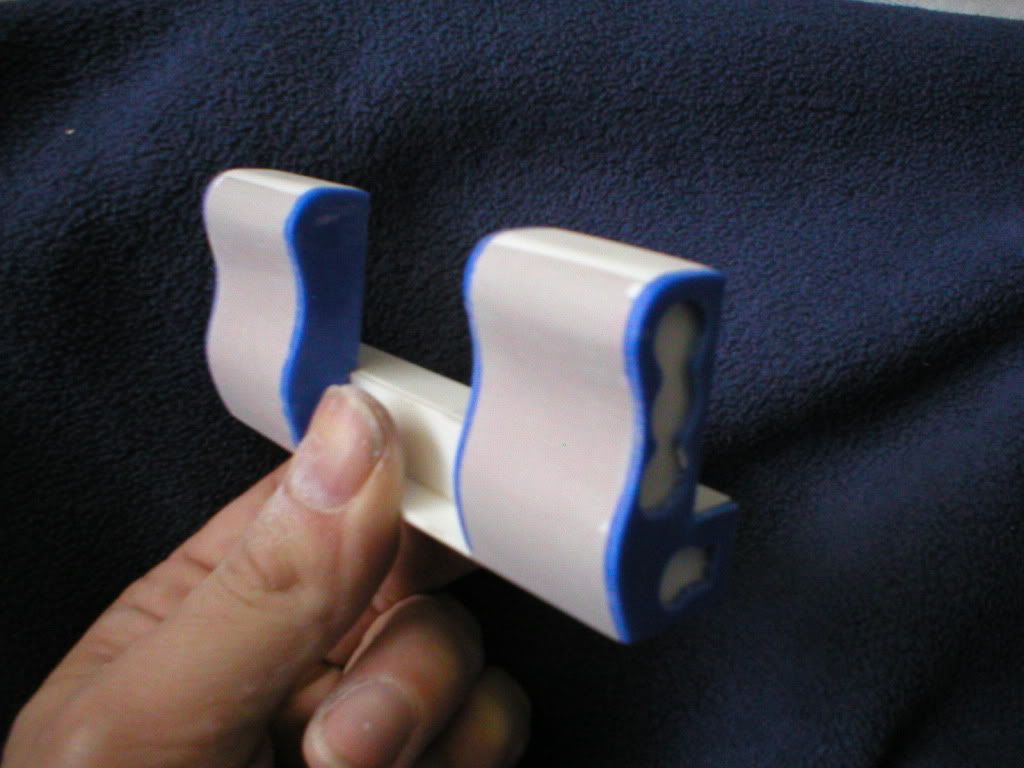
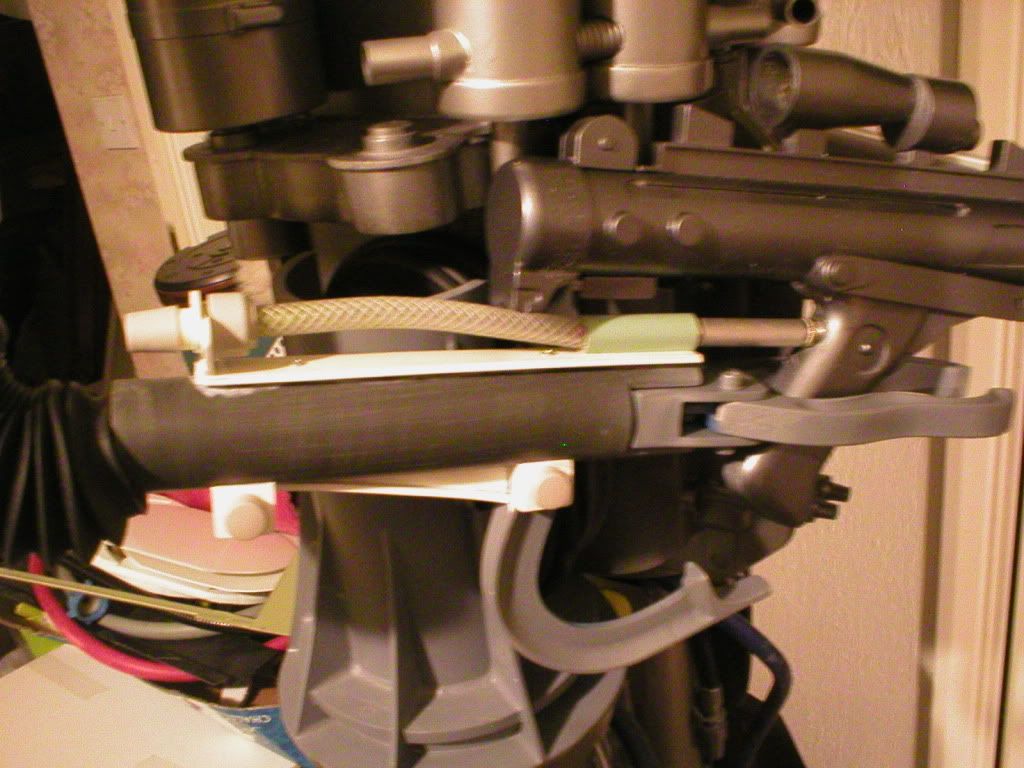
'bout perfect size !
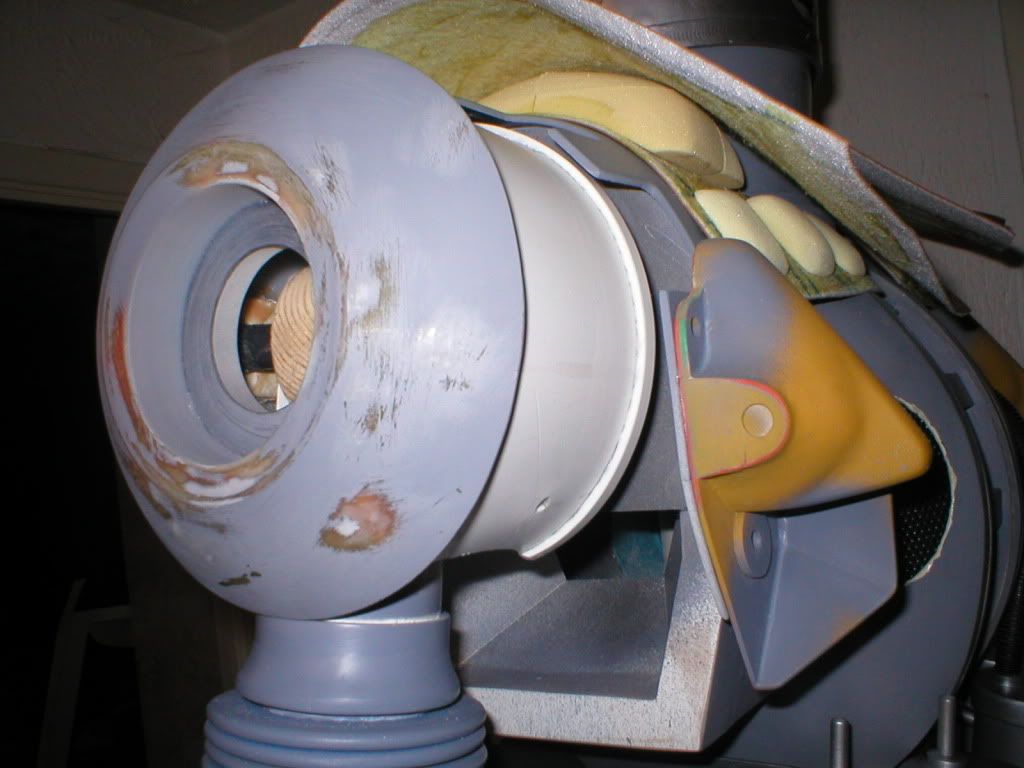
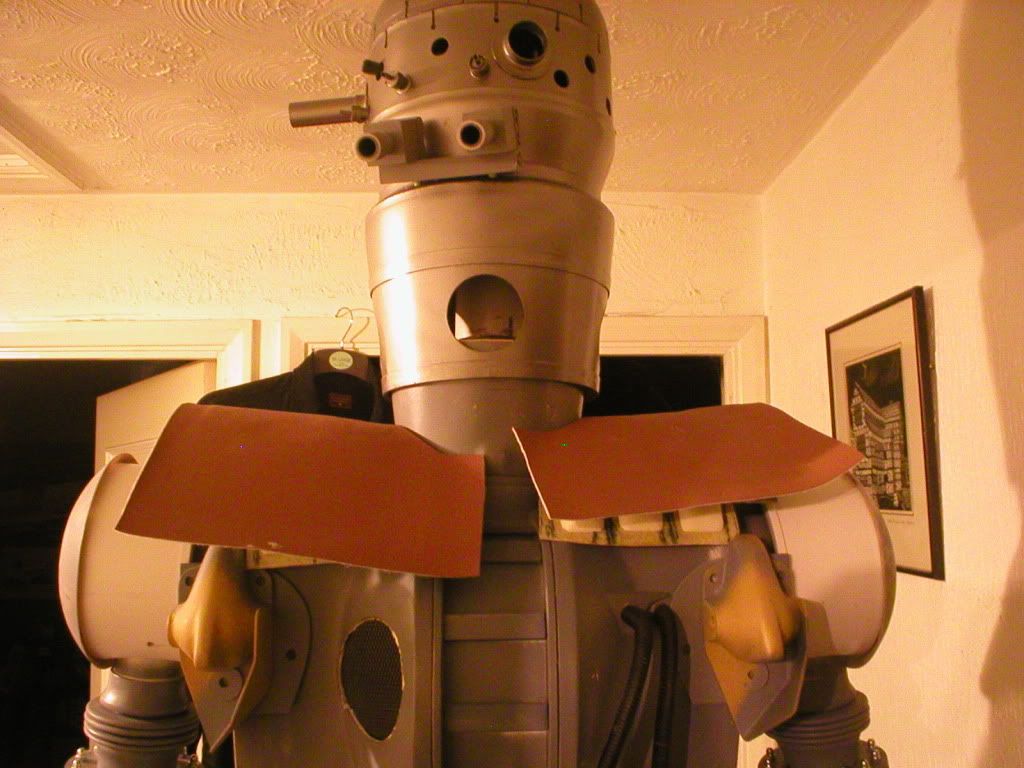
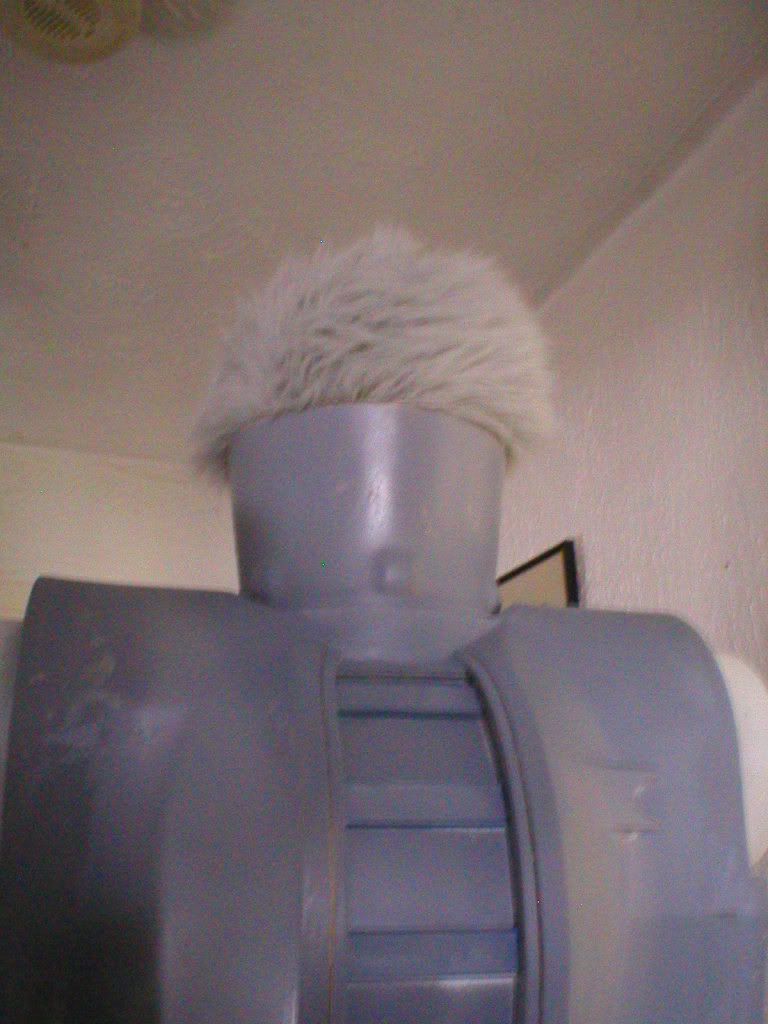
I aimed to paint the inside of the head white to reflect light around , forgot and only did the upper interior after glueing in the lenses and orange lighting gel .This was AFTER main painting and weathering of the head.
Turns out the gel wasnt enough so one of the last things I did was 2 coats of TAMIYA CLEAR ORANGE over the outside of the lenses .. still could use more light AND diffusion of same in the head...working on it .
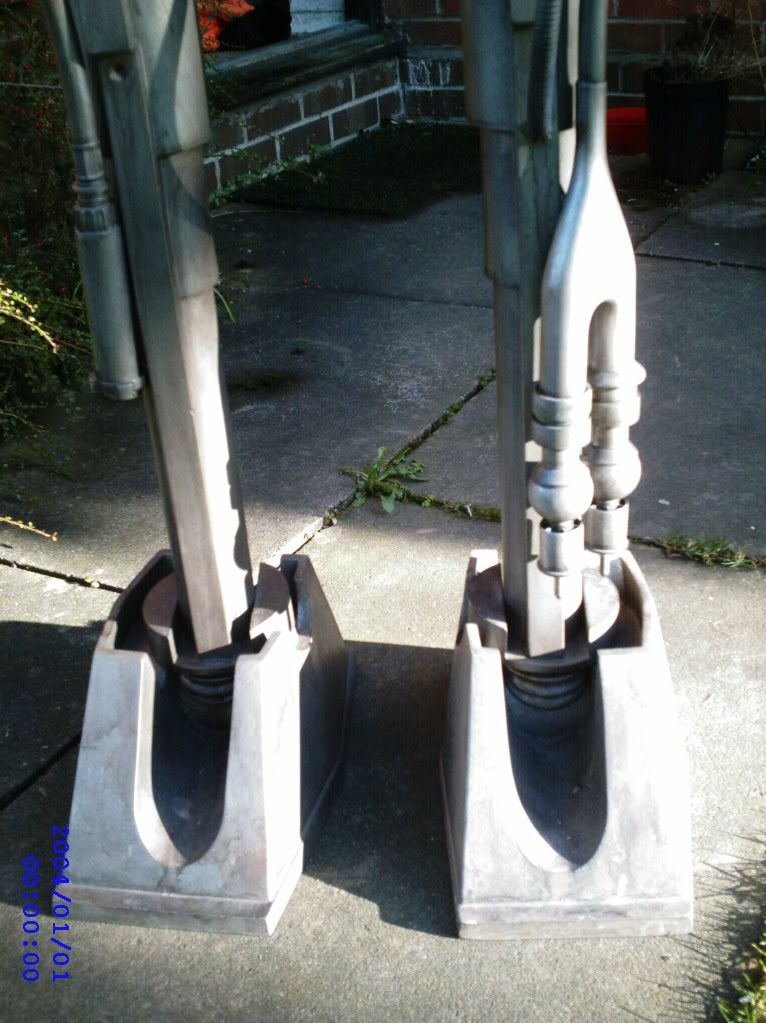
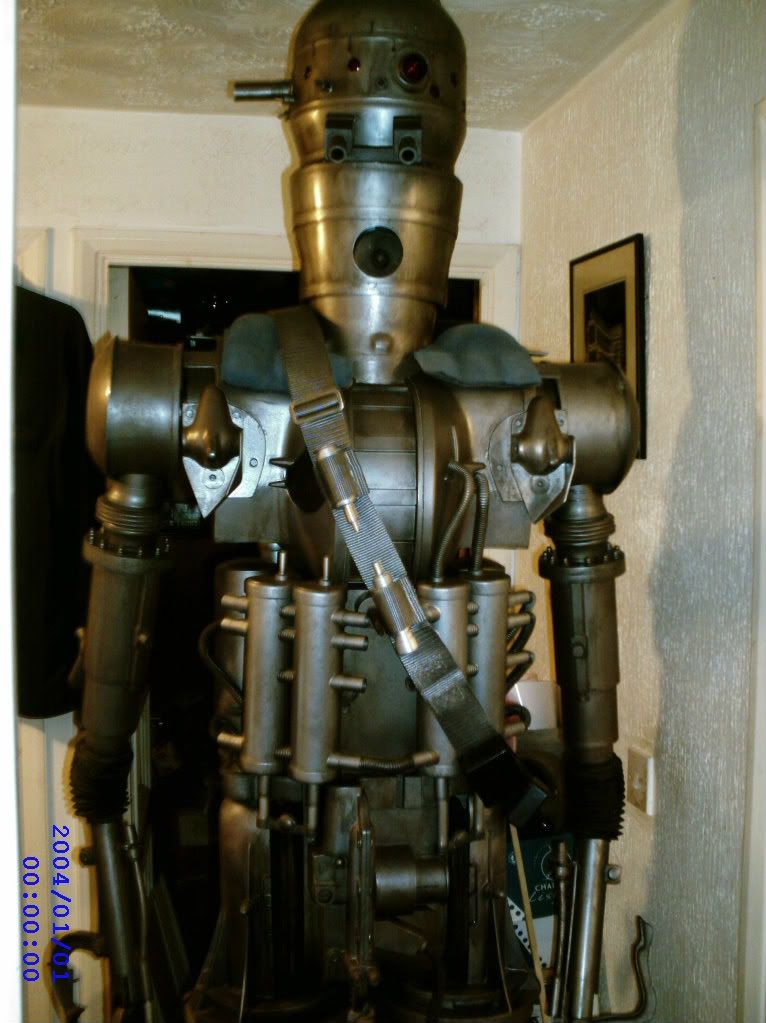
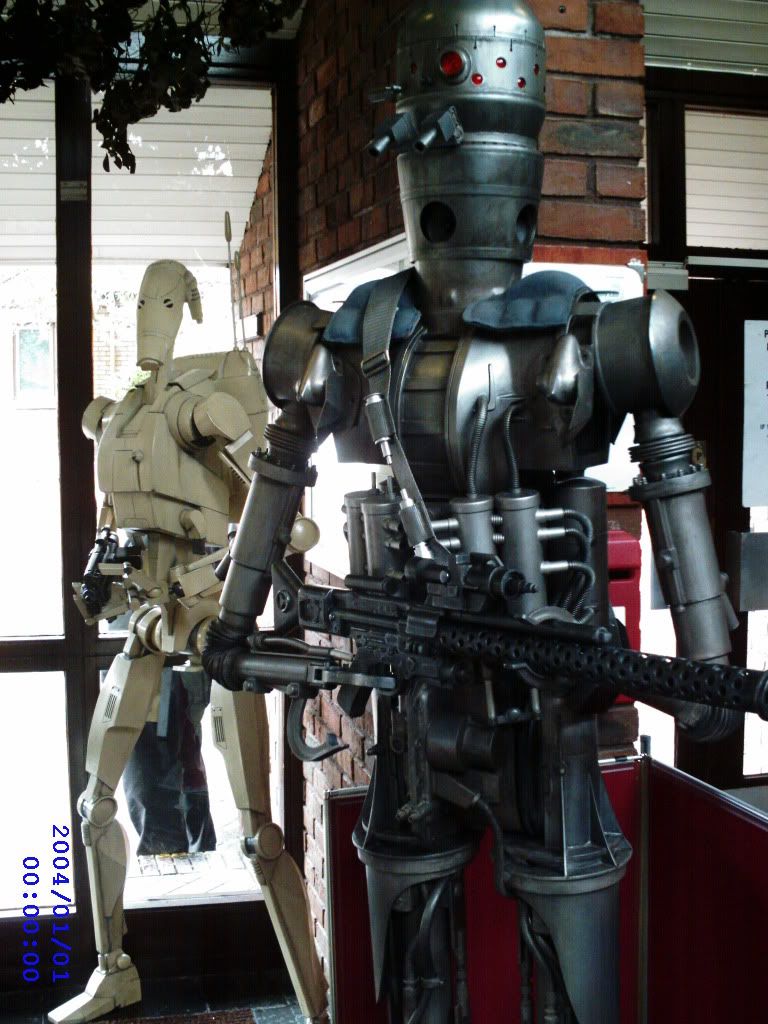
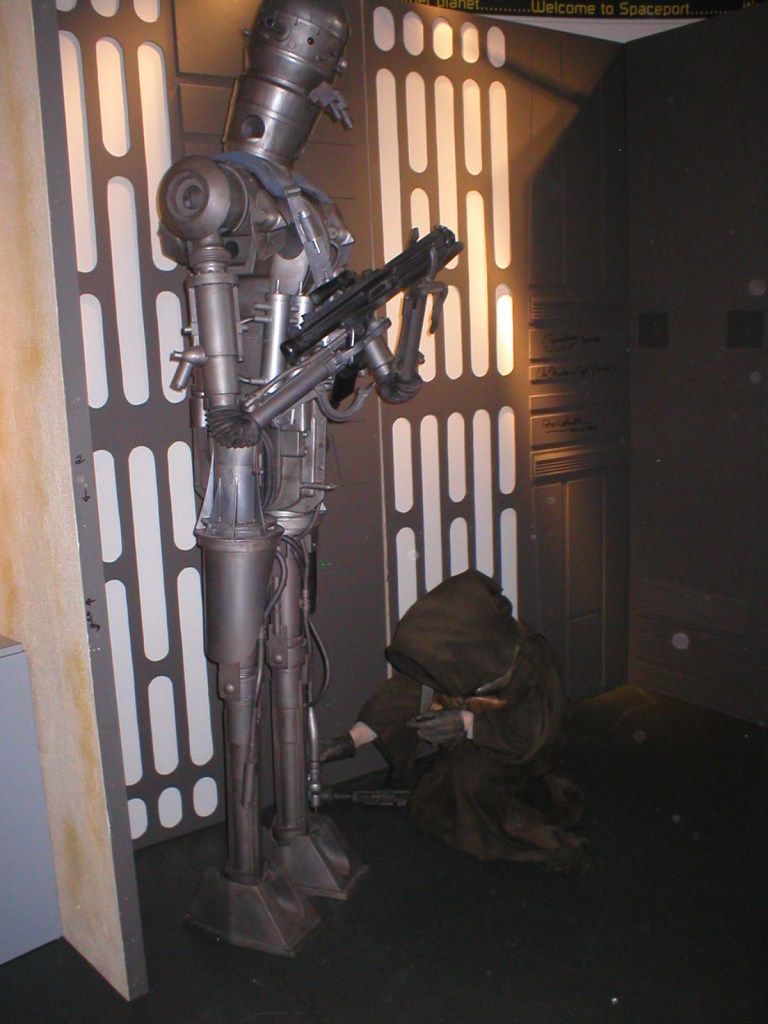
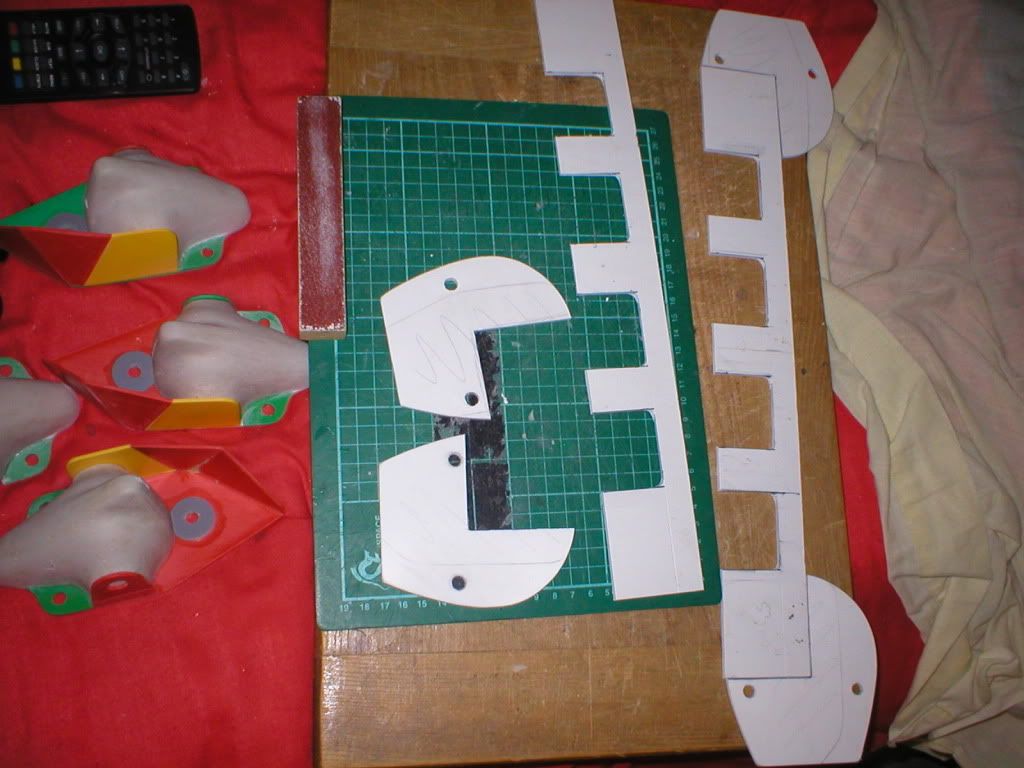
You can see from the state of the foot in the background the head was one of the first things worked on ..fact I think it was first after the feet!...the brain was being revised for a while though... an still aint finished.
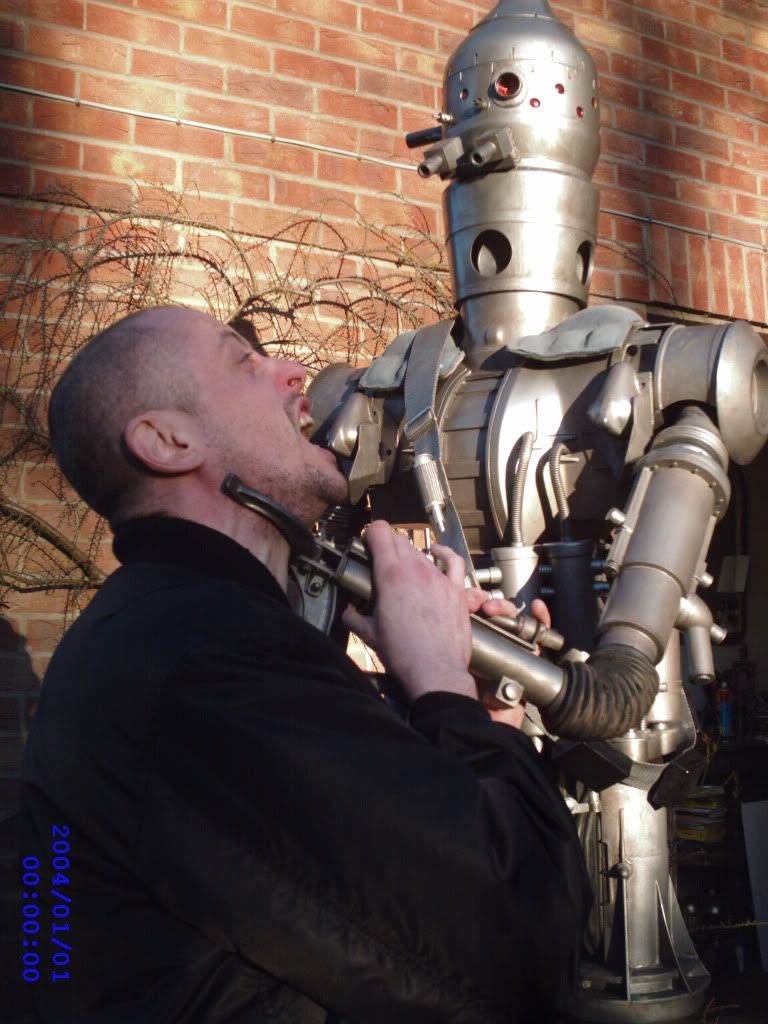
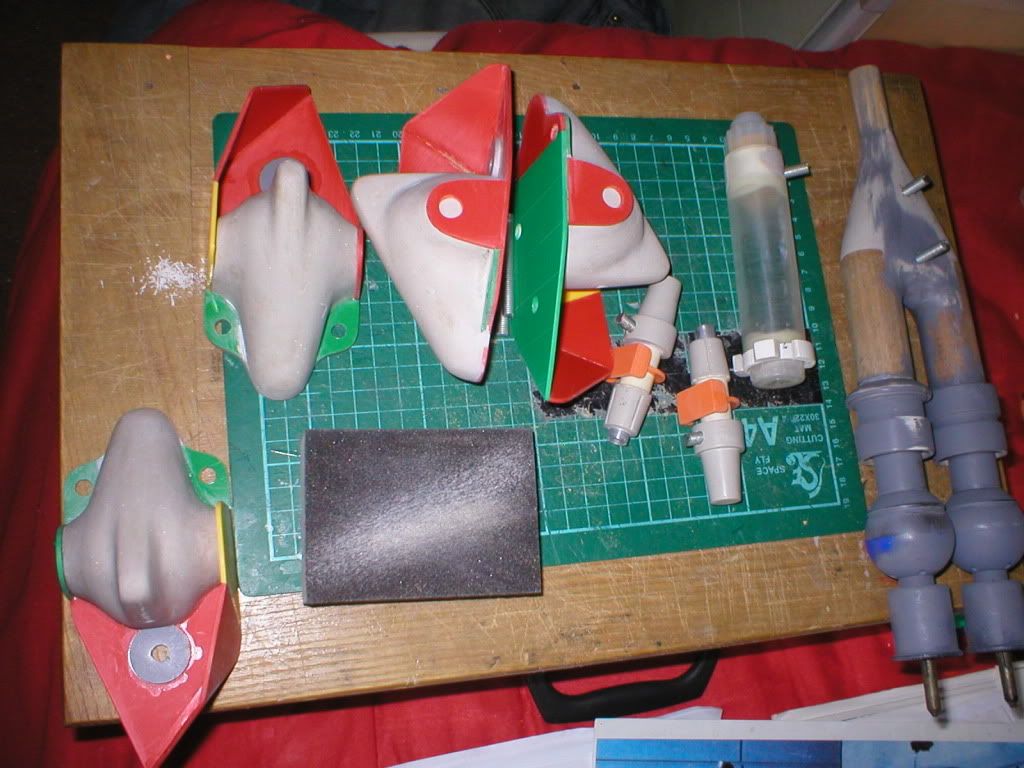
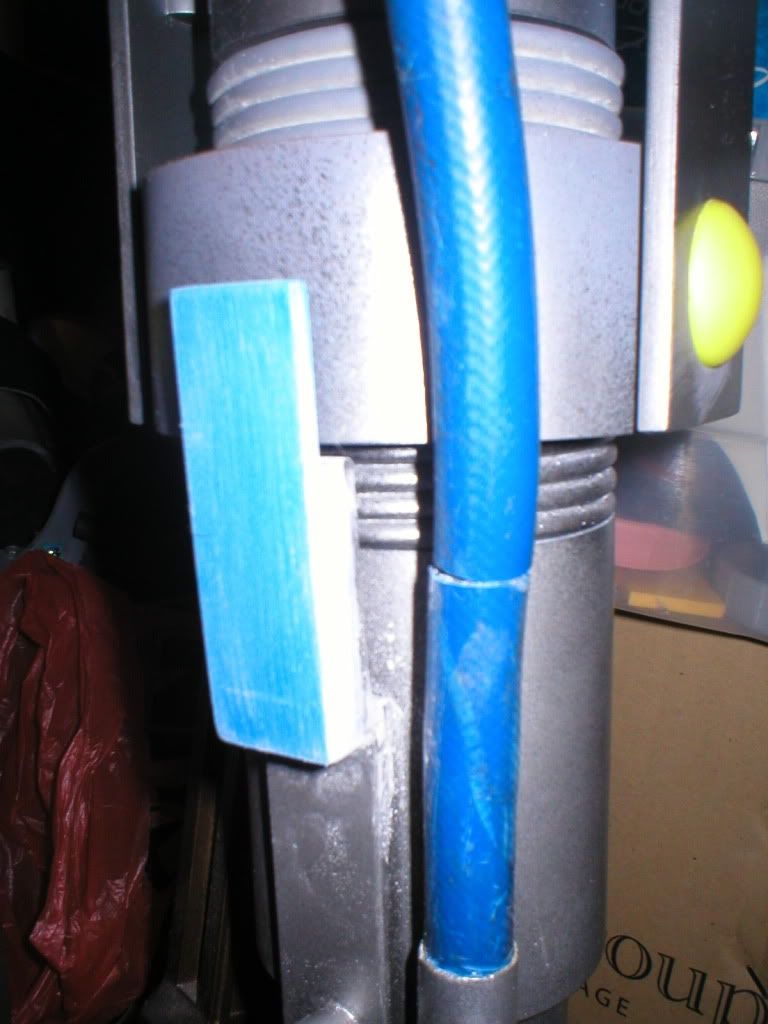
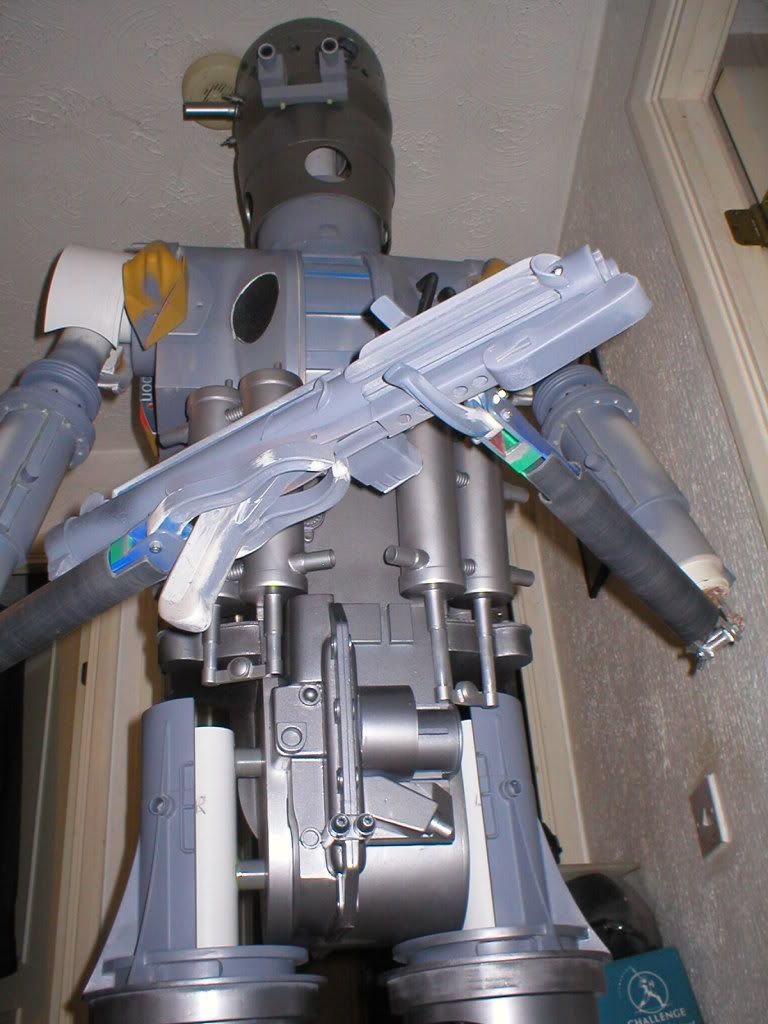
So , AUDIO PLUGS .. I managed to obtain 6 actual metal ones!...some from an old electrical shop and some from a car boot sale .
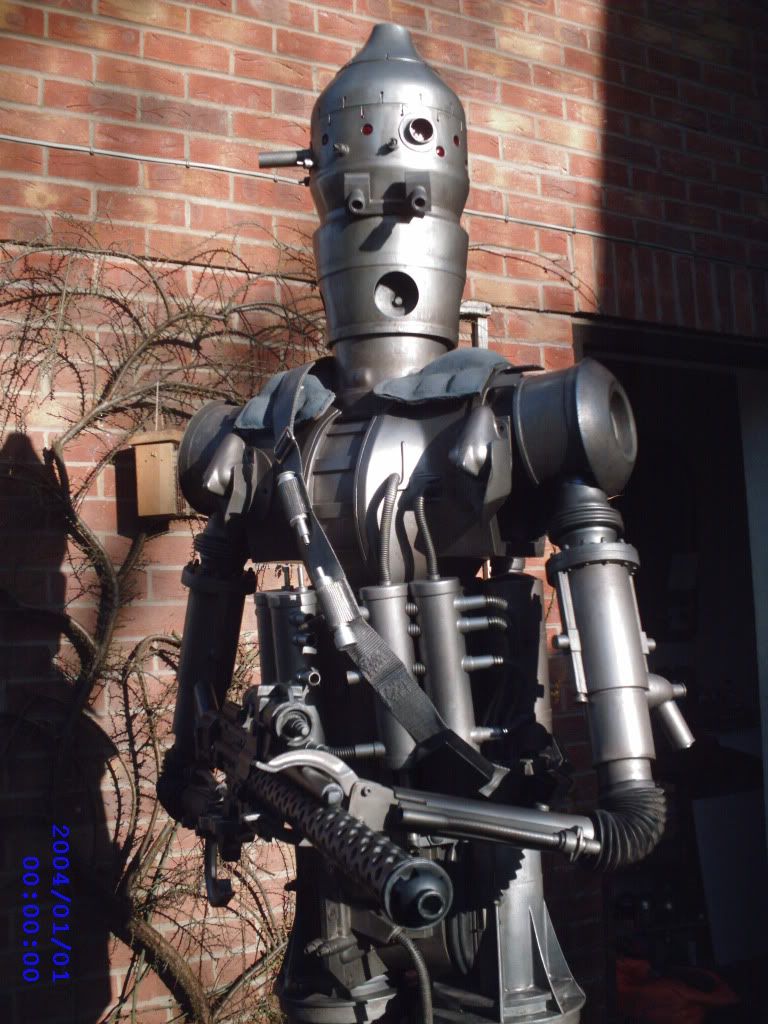
This shot was early days when the parasol light was still being considered..
And the audio plugs are pretty much a dead fit in the holes , they got glassed in .The main big eye got a trimmed down clear , very tech/lens looking FLASH top jammed in it..
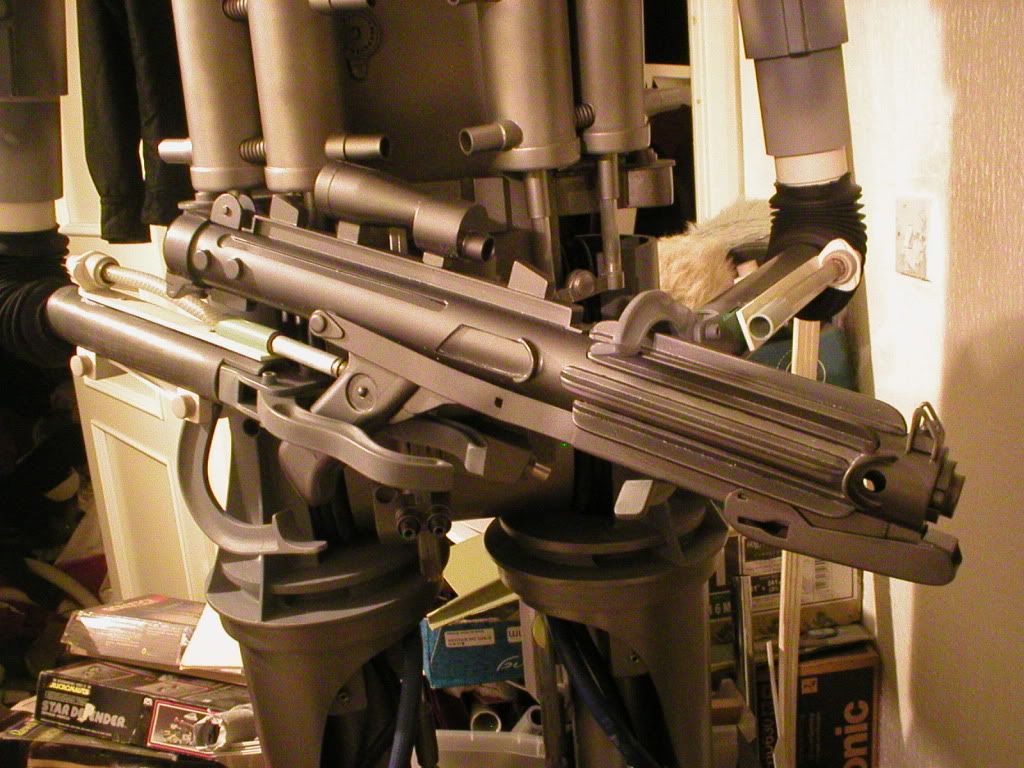
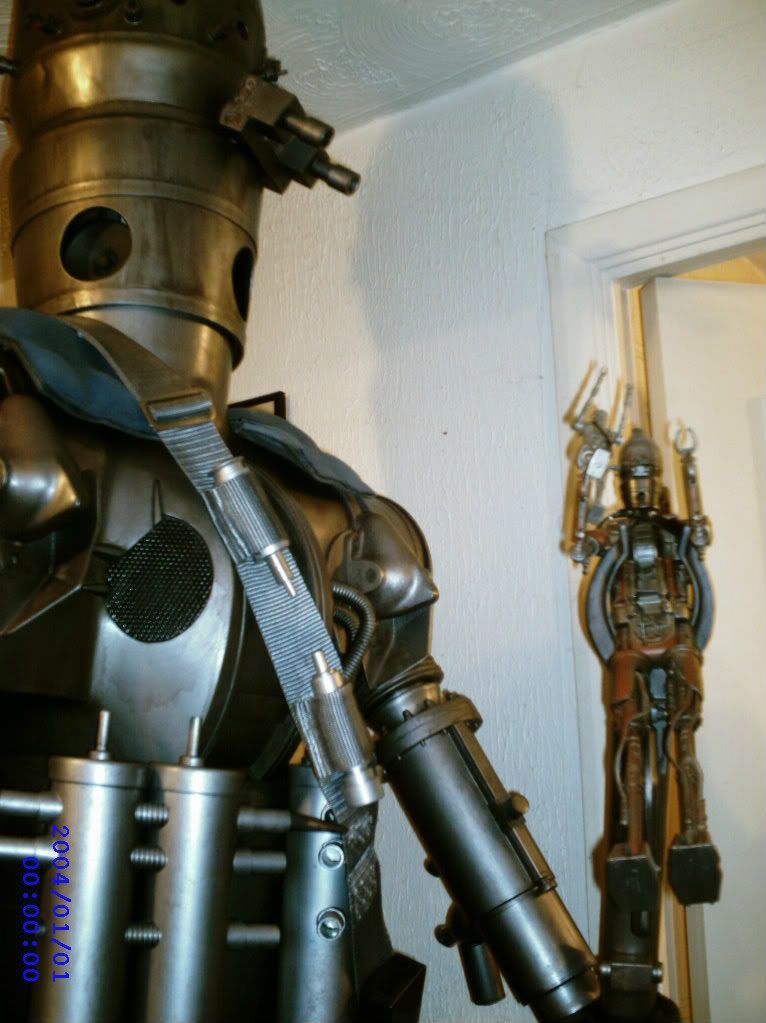
Yup that is a part of my kit collection ..and yup I live in a junk pile!
....
(Found most of it in the street!!HA!)
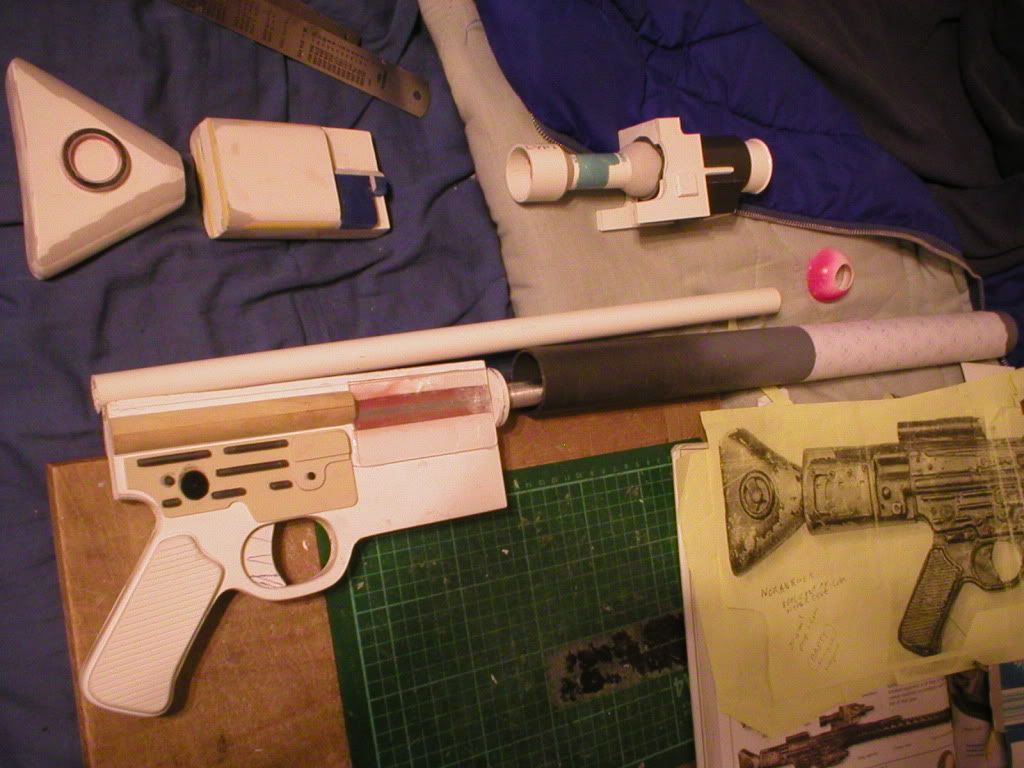
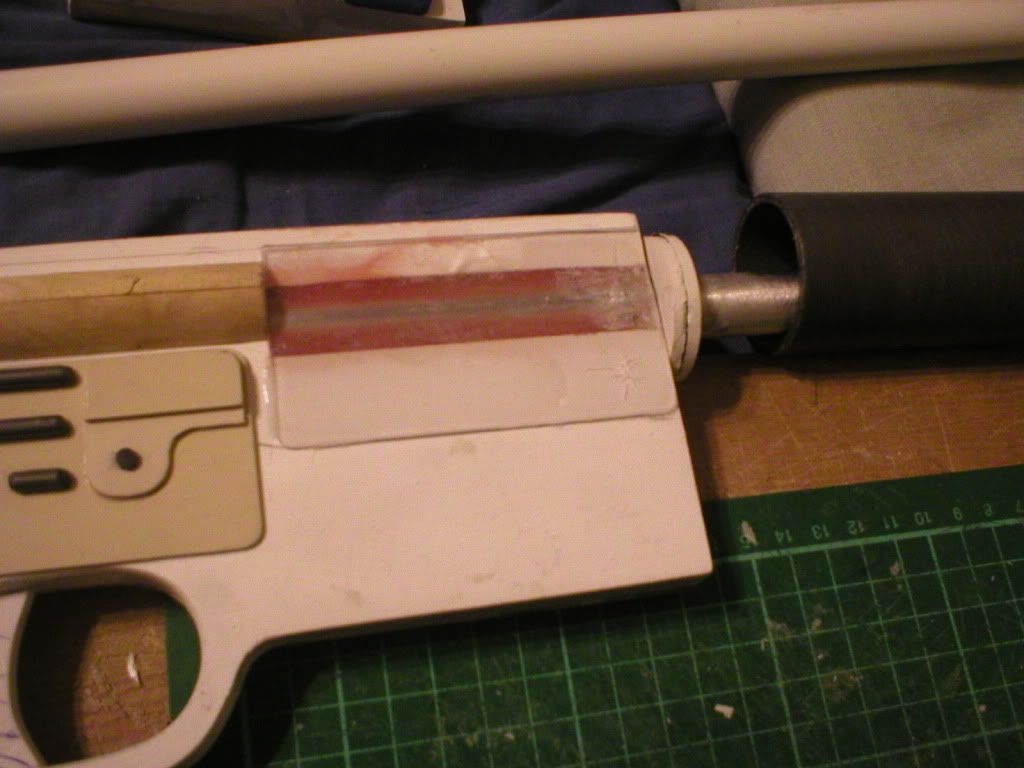
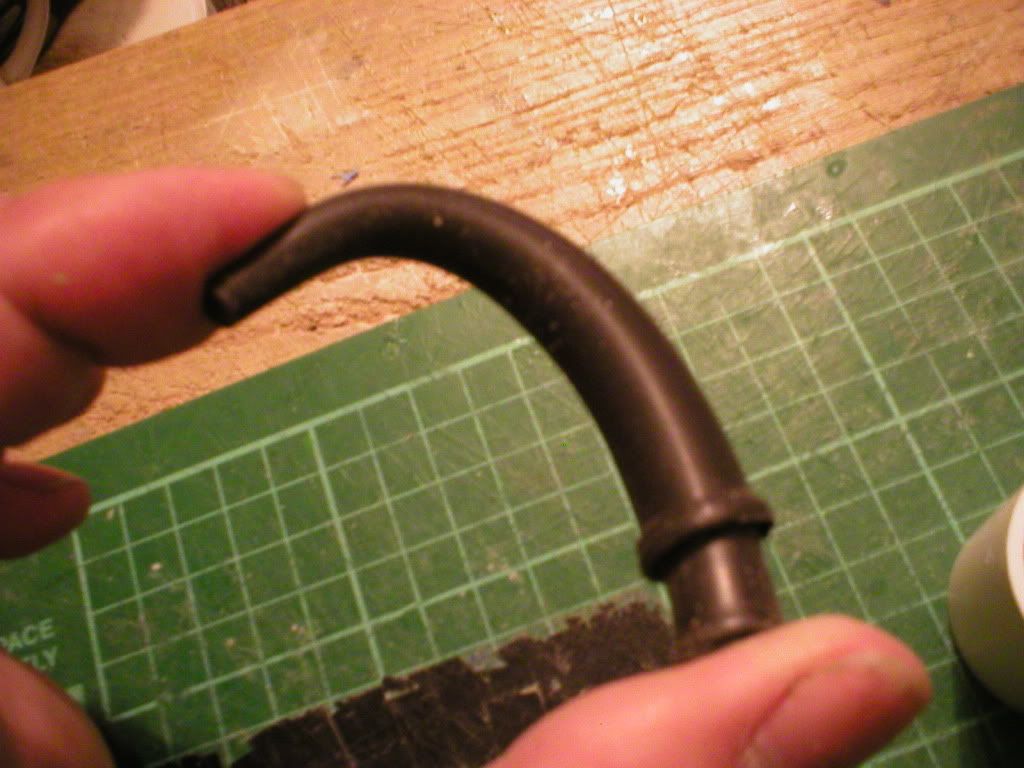
Here Ive added what looks to me to be electrical connectors in a port , mine is only 2 millimeters deep (one layer of plastic )the original would be deeper ..
...I know people say this is a section of a gunsight but all my examinations told me it was straight tube and not worth cutting a sight up for ...a small poly plastic foggy/clear capsule dome thingy ... 'found in the street!' ...(I have found money there too!) is trimmed to fit and pushed into the tube offcut. The tube I had lying around and it was pretty much a perfect fit in the right hole !This got glassed in from the inside .(glass fibre paste)
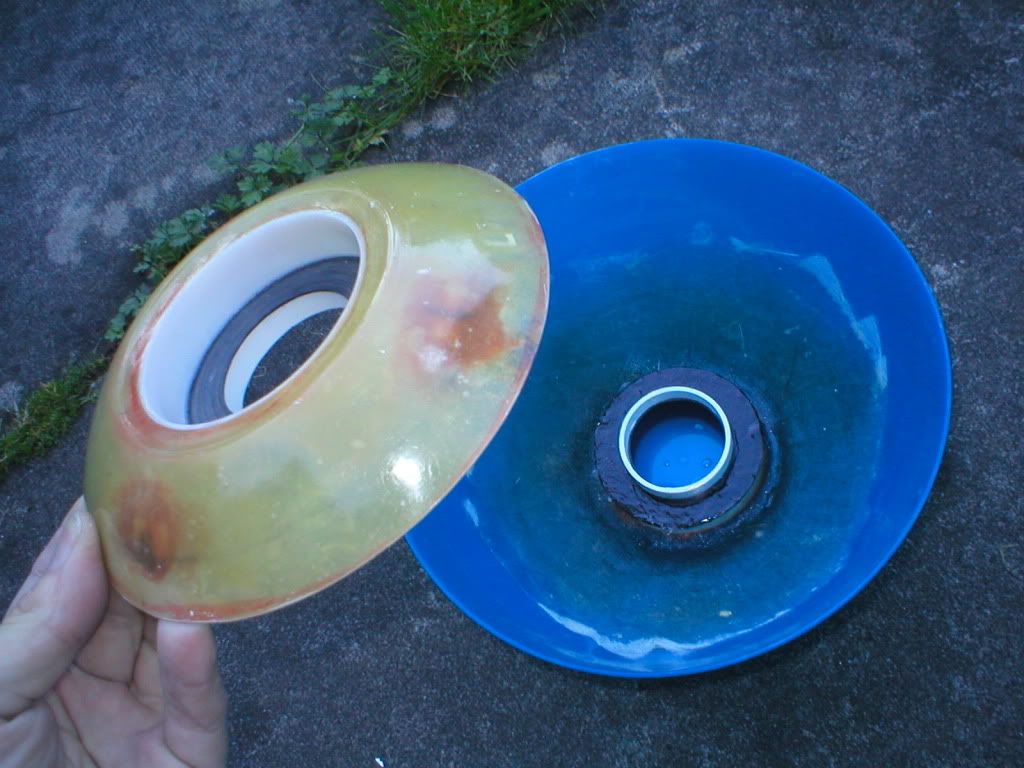
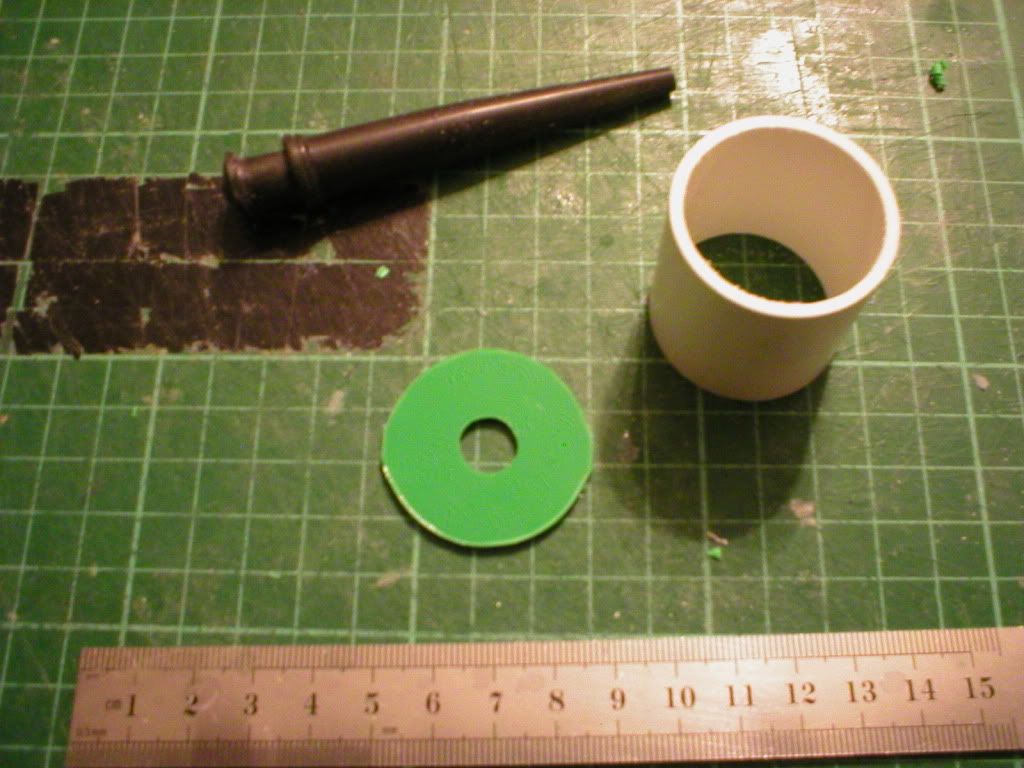
Next , go chat up your local opticians!
What we have here is DISPOSABLE CONTACT LENS containers , I'd seen these before and logged them in memory for just such a job .There was a particularly gorgeous girl in the opticians ... she was very helpful ... and amused at this weird guy on the scrounge ... I lost my short term memory in there and decided I needed multiple visits ! (still dont know what to do with a bin liner full of about 5000 lens containers ...JOKE!)
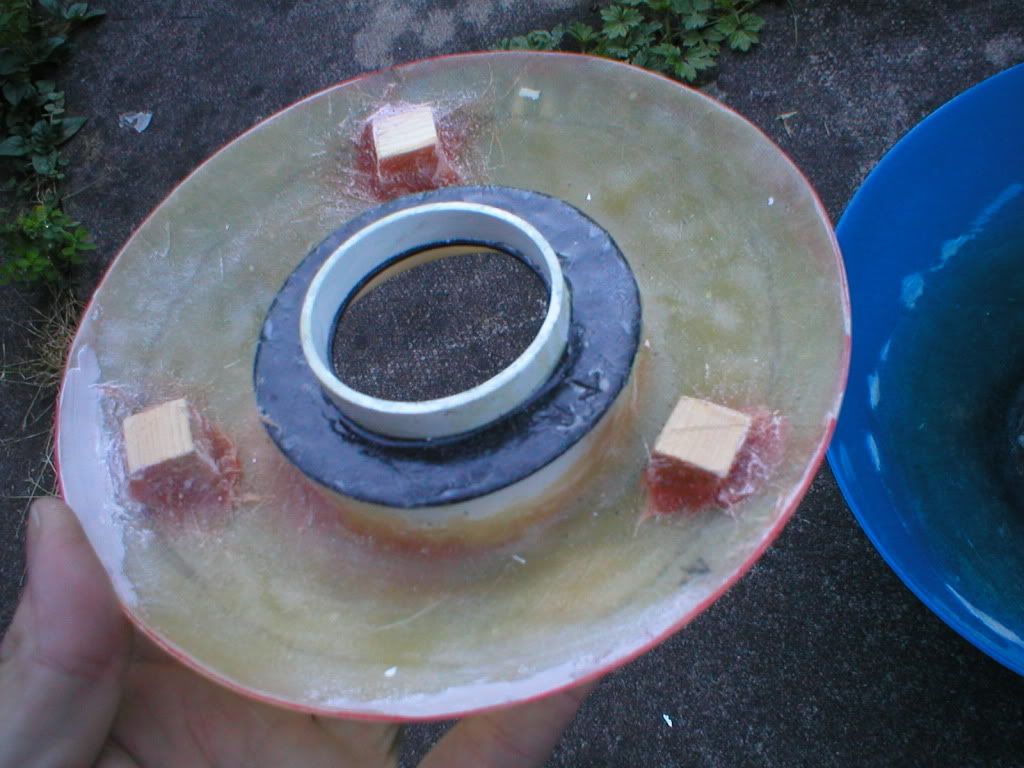
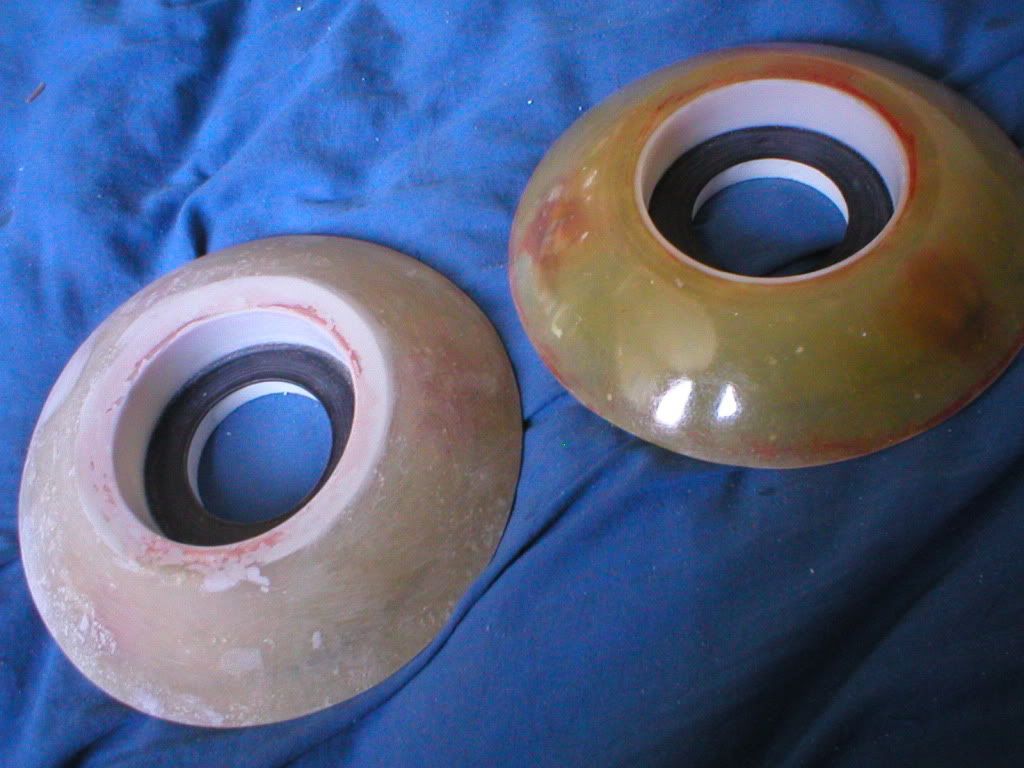
They get trimmed to fit , heres a bad fit
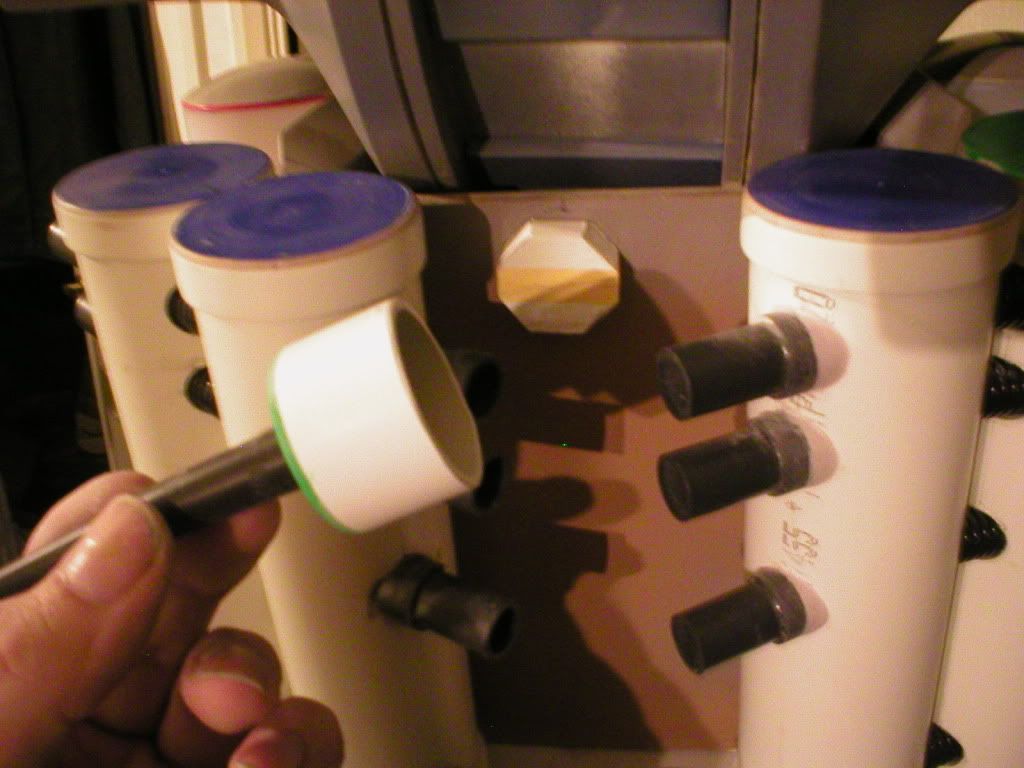
'bout perfect size !
I aimed to paint the inside of the head white to reflect light around , forgot and only did the upper interior after glueing in the lenses and orange lighting gel .This was AFTER main painting and weathering of the head.
Turns out the gel wasnt enough so one of the last things I did was 2 coats of TAMIYA CLEAR ORANGE over the outside of the lenses .. still could use more light AND diffusion of same in the head...working on it .
You can see from the state of the foot in the background the head was one of the first things worked on ..fact I think it was first after the feet!...the brain was being revised for a while though... an still aint finished.
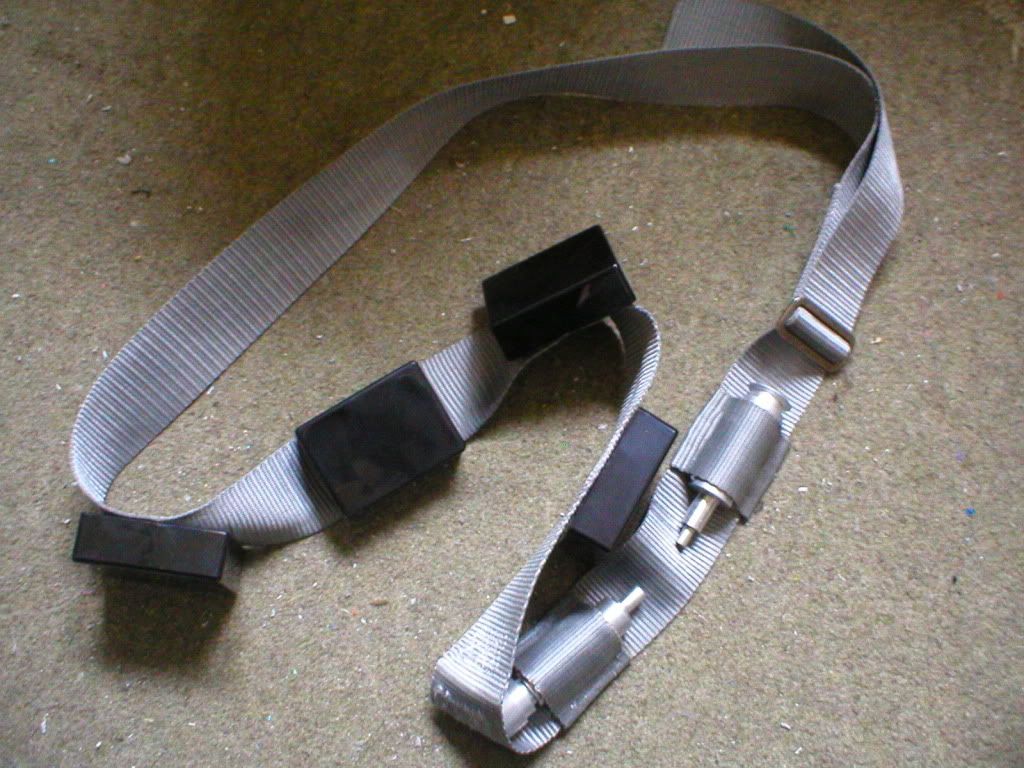
So , AUDIO PLUGS .. I managed to obtain 6 actual metal ones!...some from an old electrical shop and some from a car boot sale .
This shot was early days when the parasol light was still being considered..
And the audio plugs are pretty much a dead fit in the holes , they got glassed in .The main big eye got a trimmed down clear , very tech/lens looking FLASH top jammed in it..
Yup that is a part of my kit collection ..and yup I live in a junk pile!
....
(Found most of it in the street!!HA!)


")