Hylian Shield Zelda

BLACKULA727

Active Member
RPF PREMIUM MEMBER
Hello all! It’s been a while since I’ve had something worth posting.
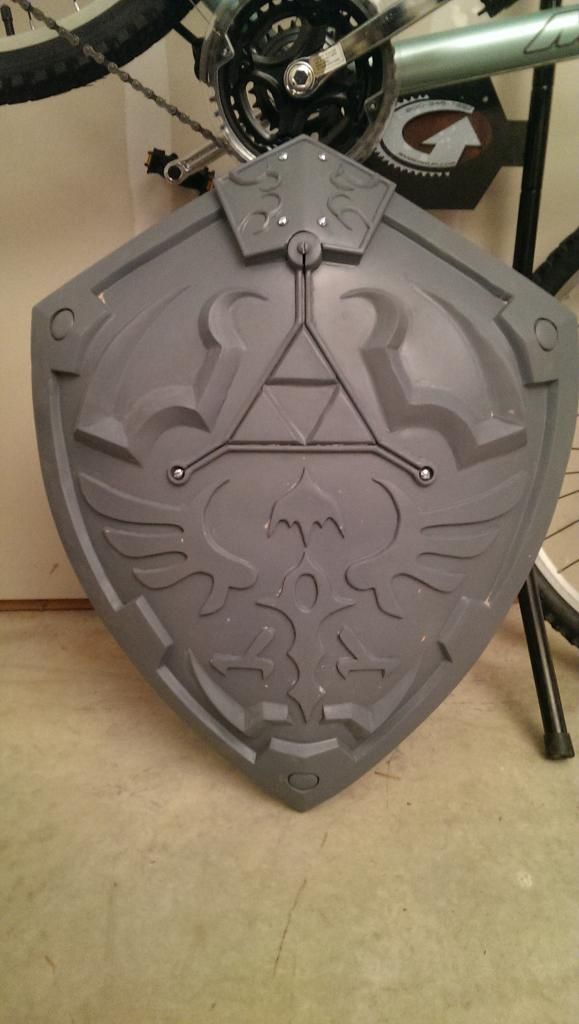
I started working on this shield mid September and now I’m coming to the end of it. It’s isn’t suppose to be 100% game accurate and is more so based on my own interpretation. I hope you like it :)

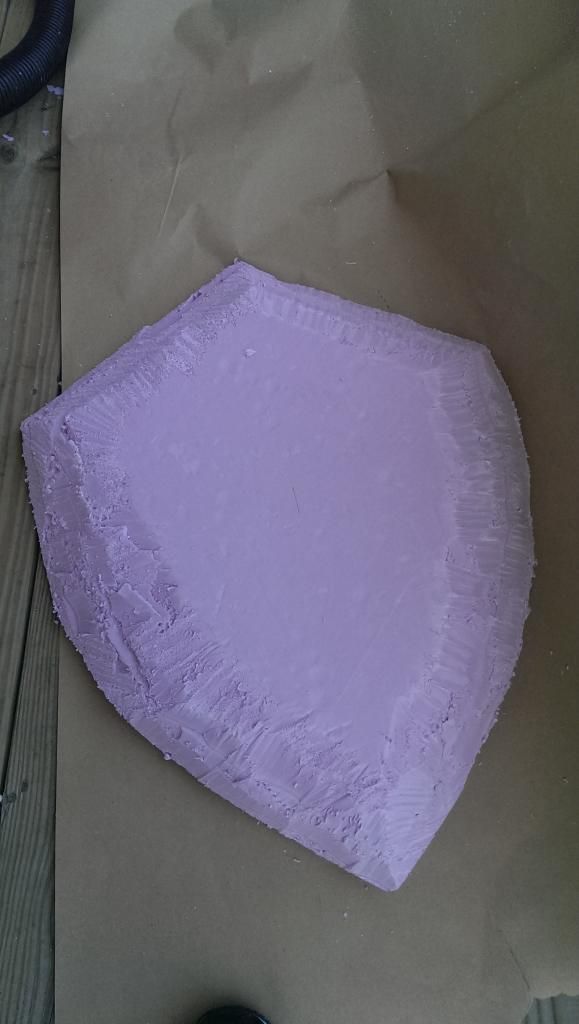
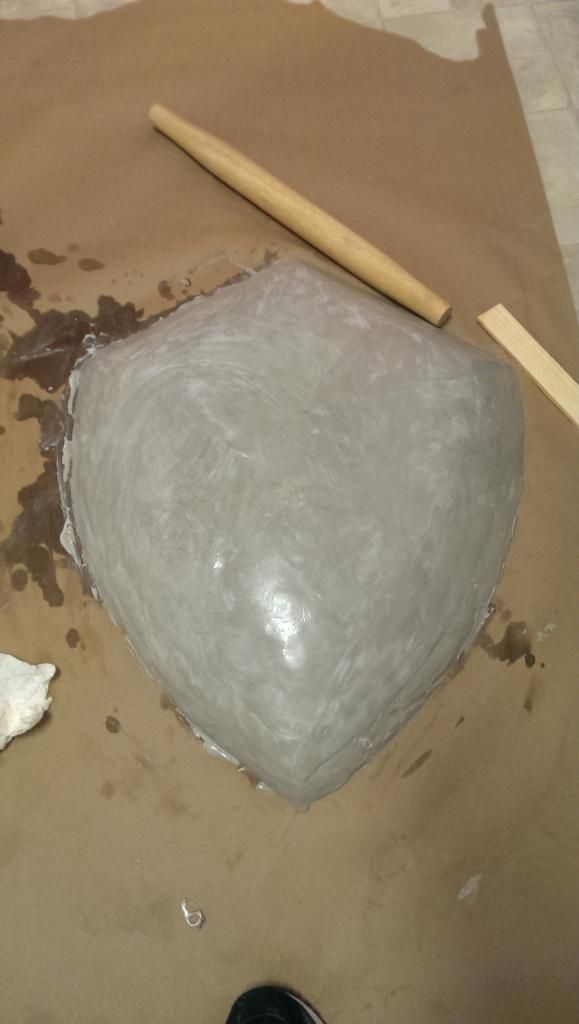
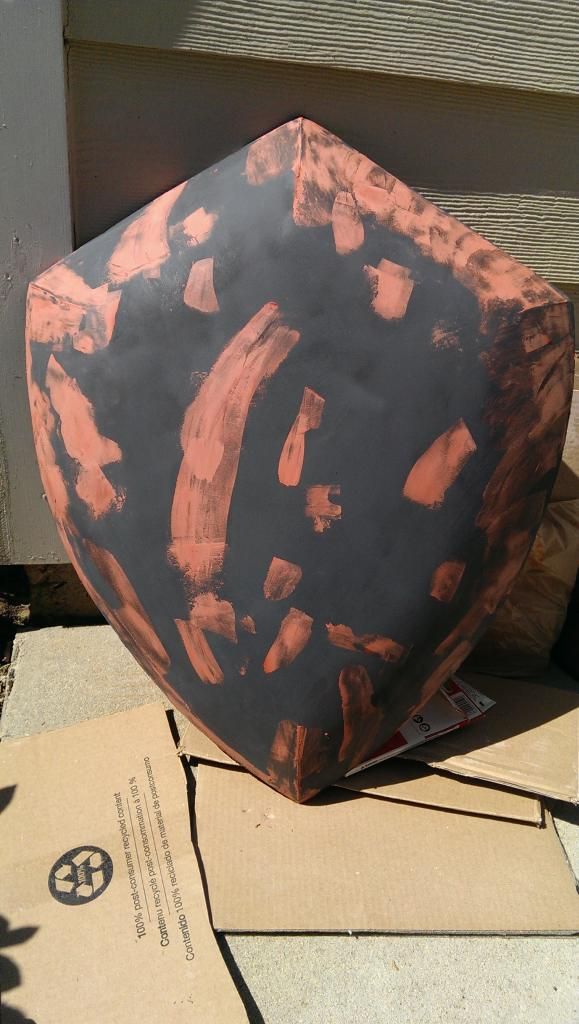
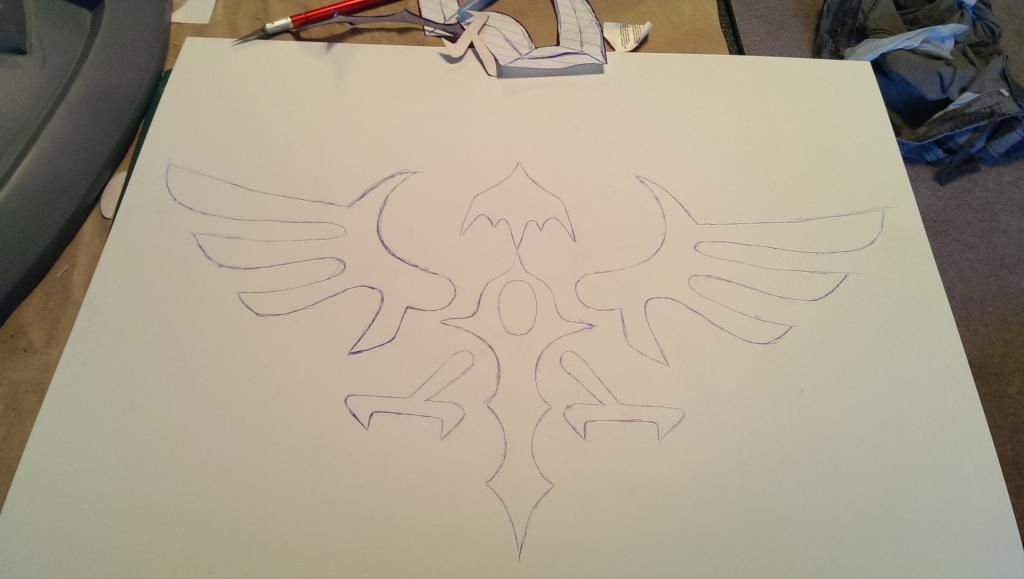
I started out with a bit of foam and carved and shaped it to the basic shape.
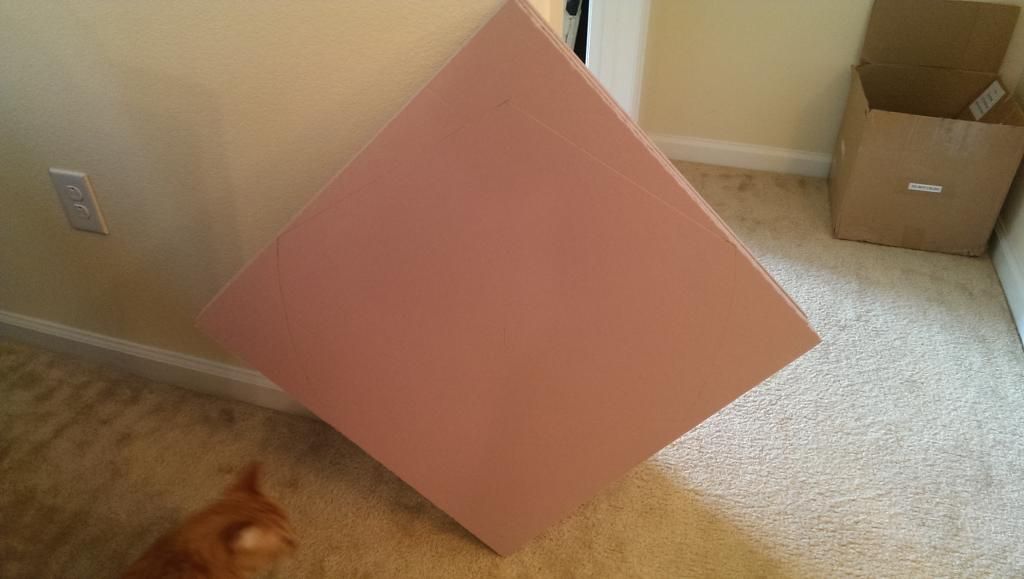


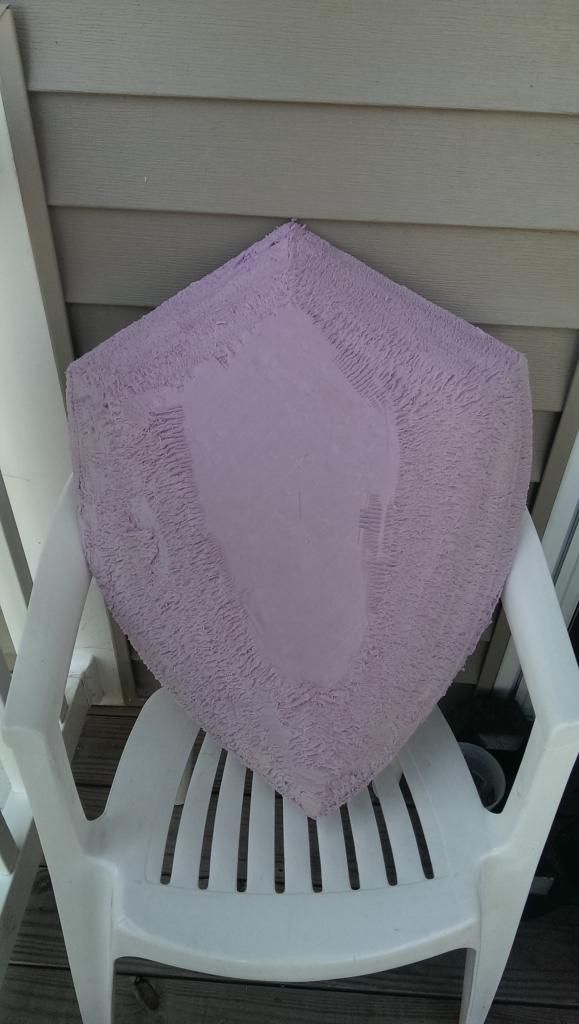
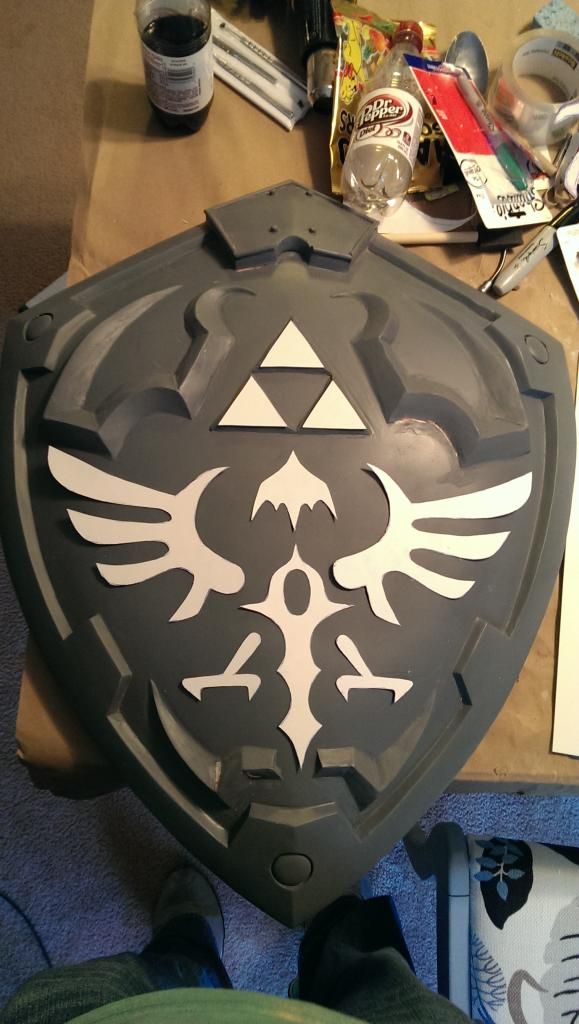
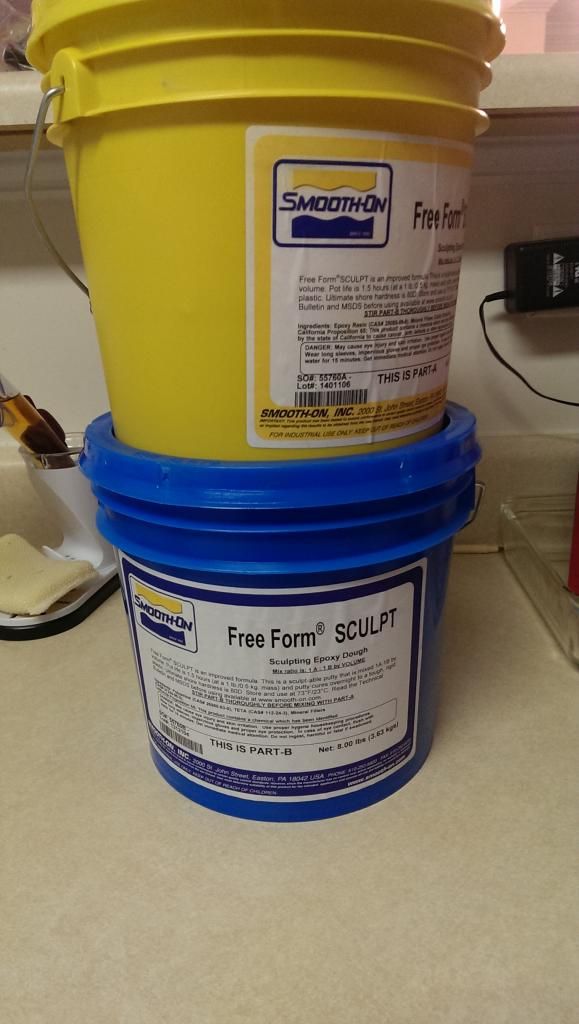
I then used free-form sculpt to cover the whole form:


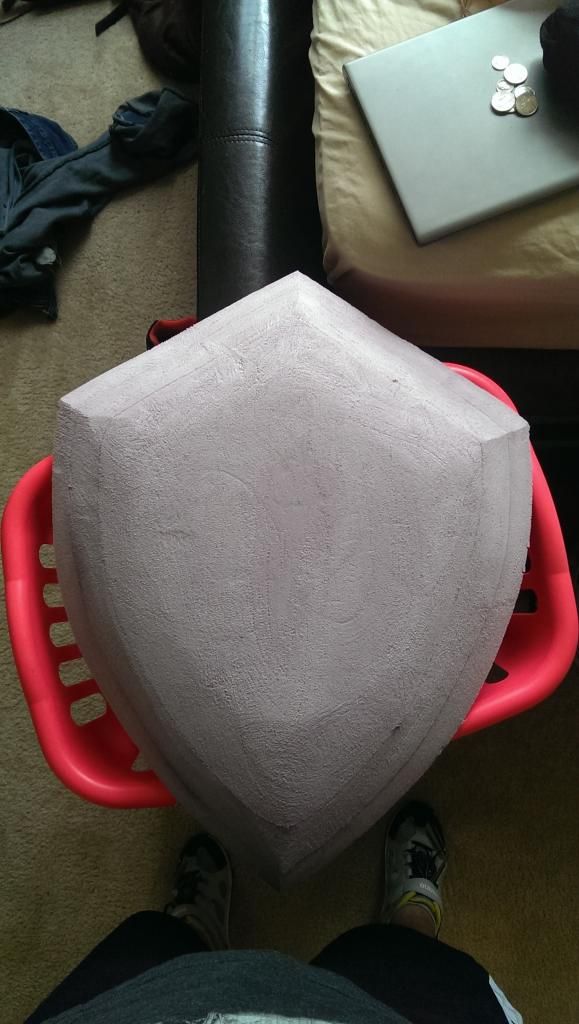
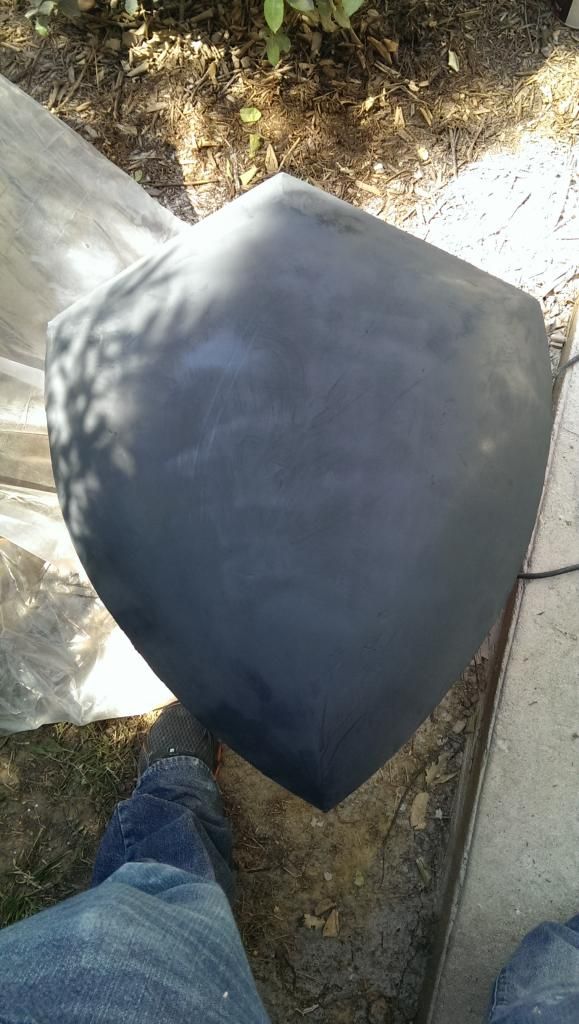
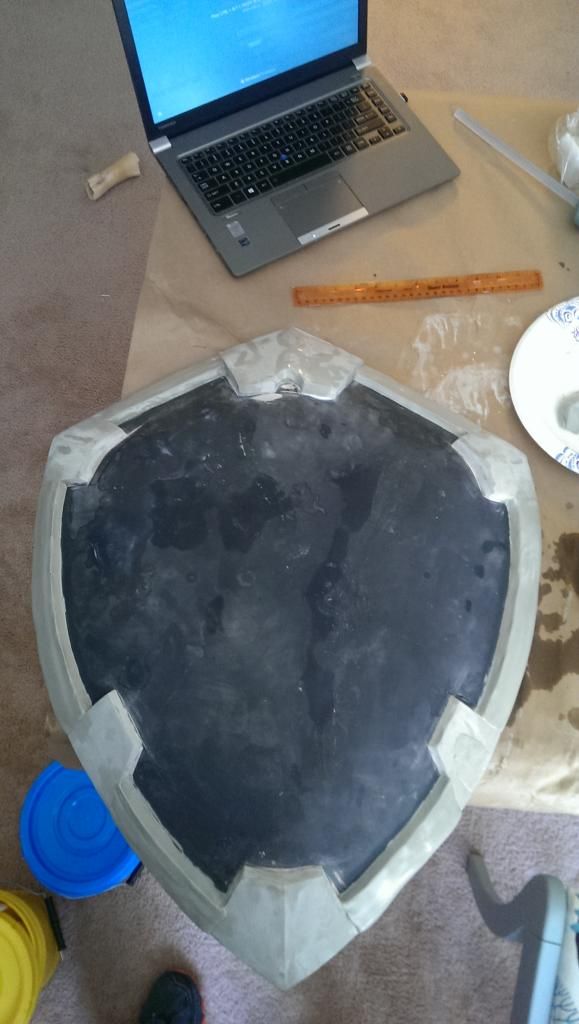
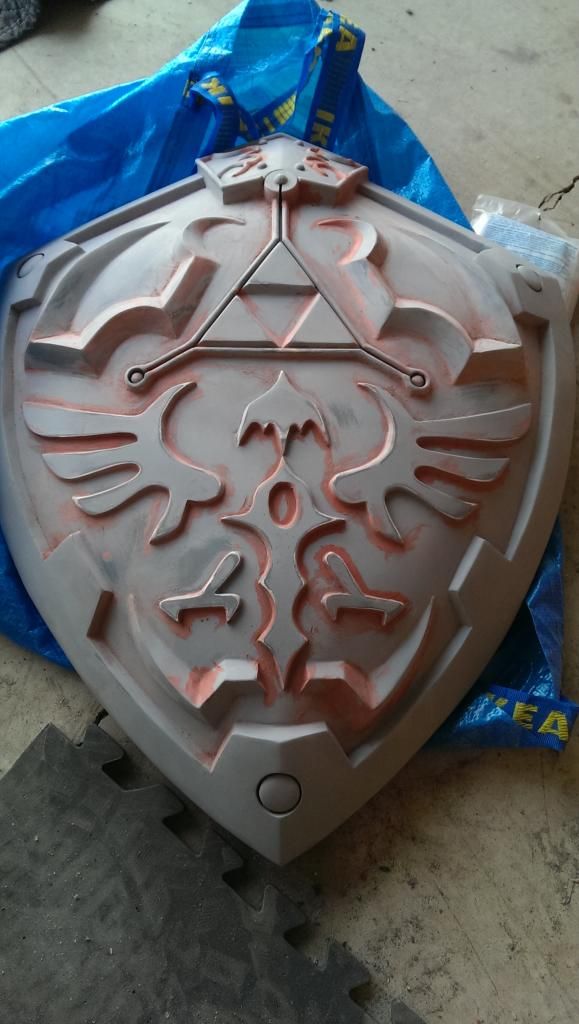
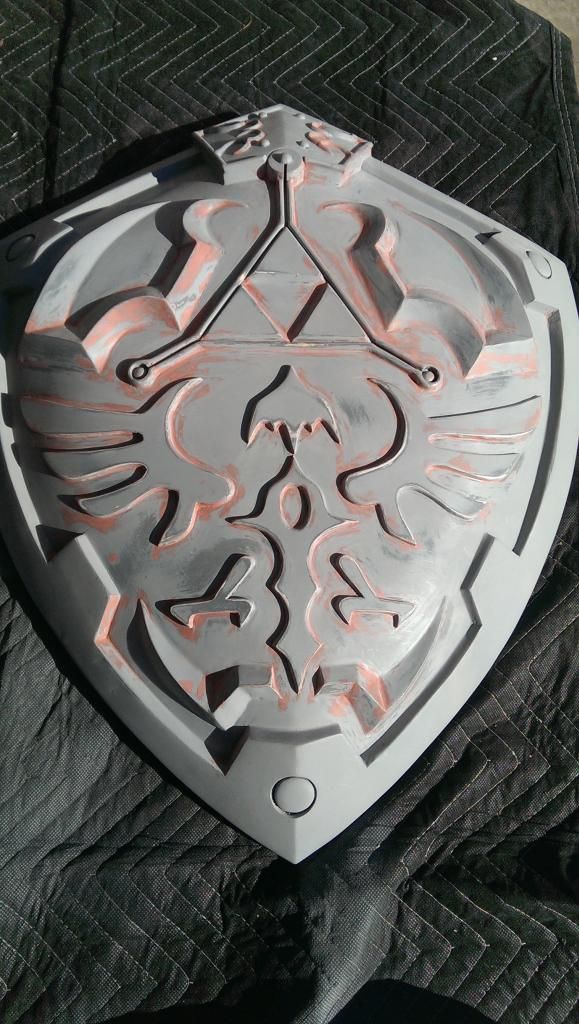
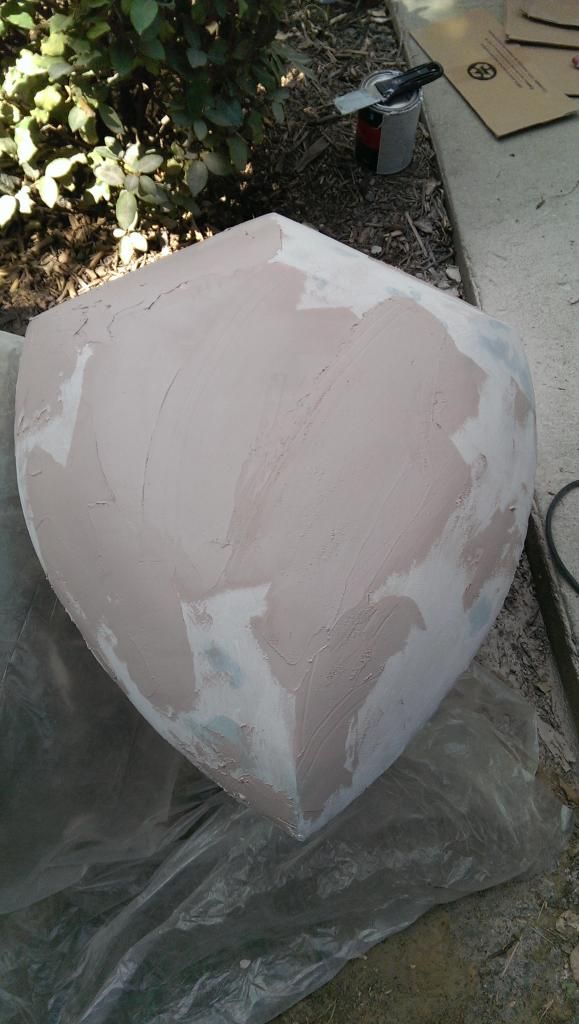
I followed all that with body filler and spot putty to make it smooth.


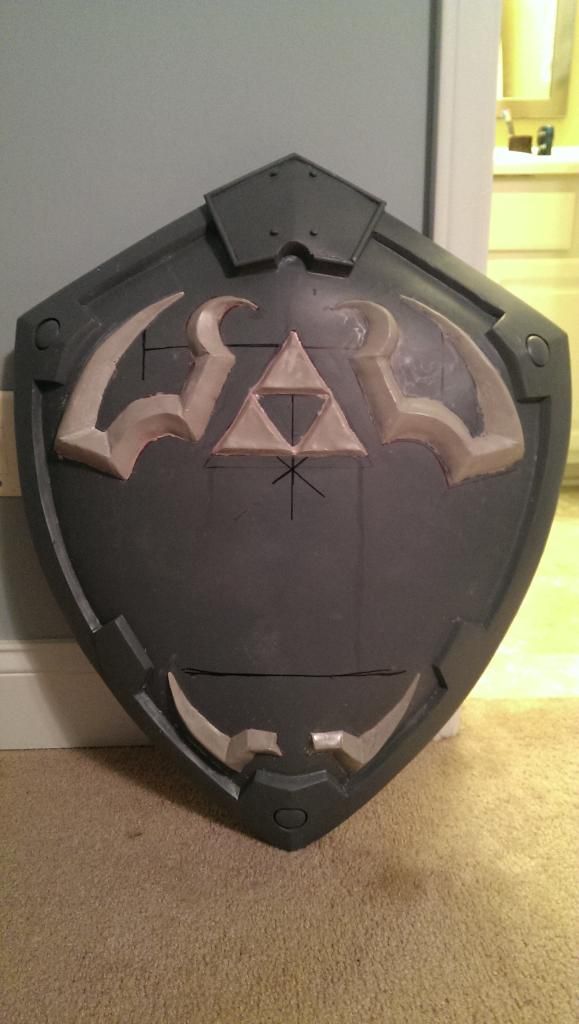
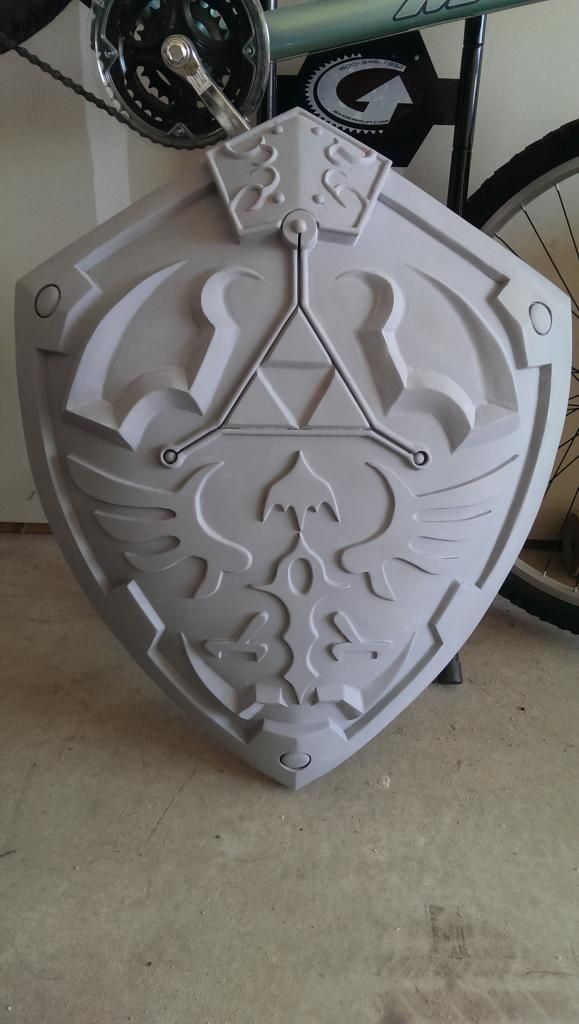
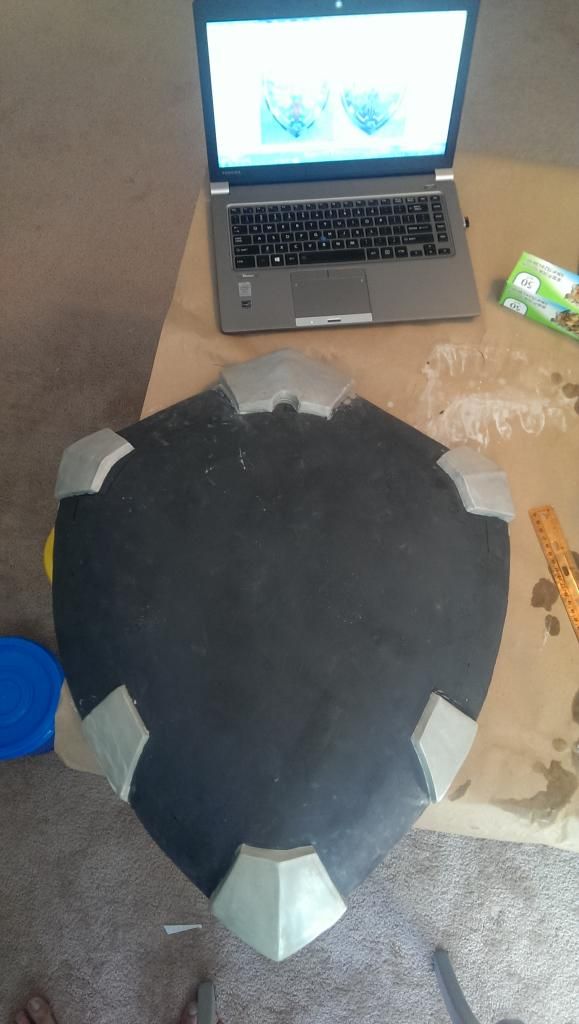
Then I sculpted the rest of the shields parts with additional free form.


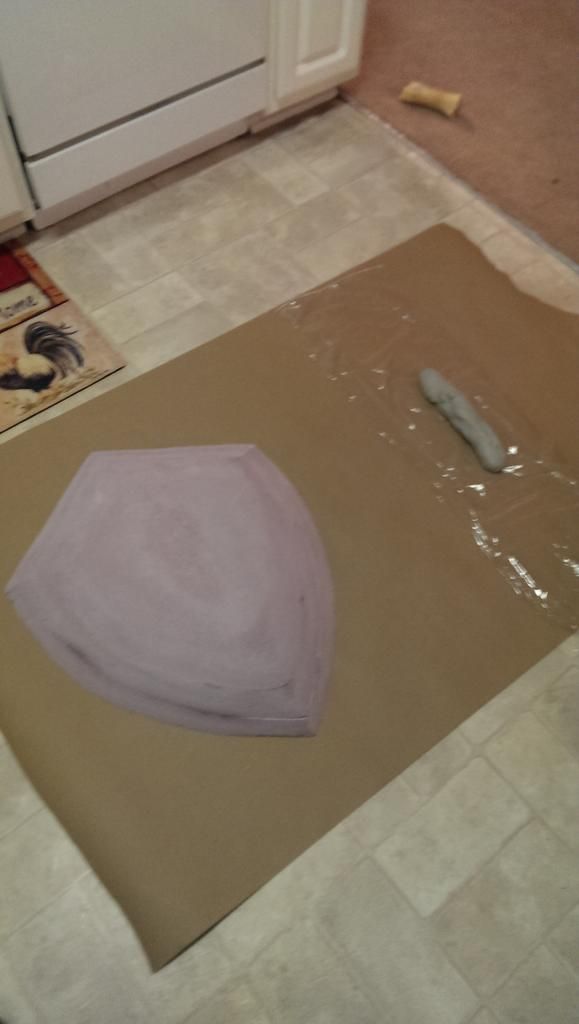
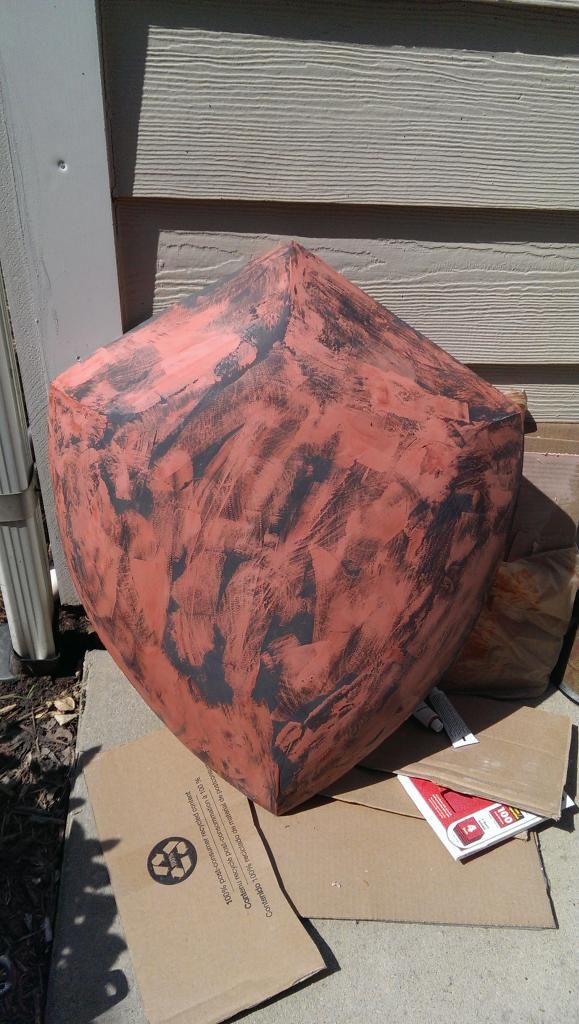
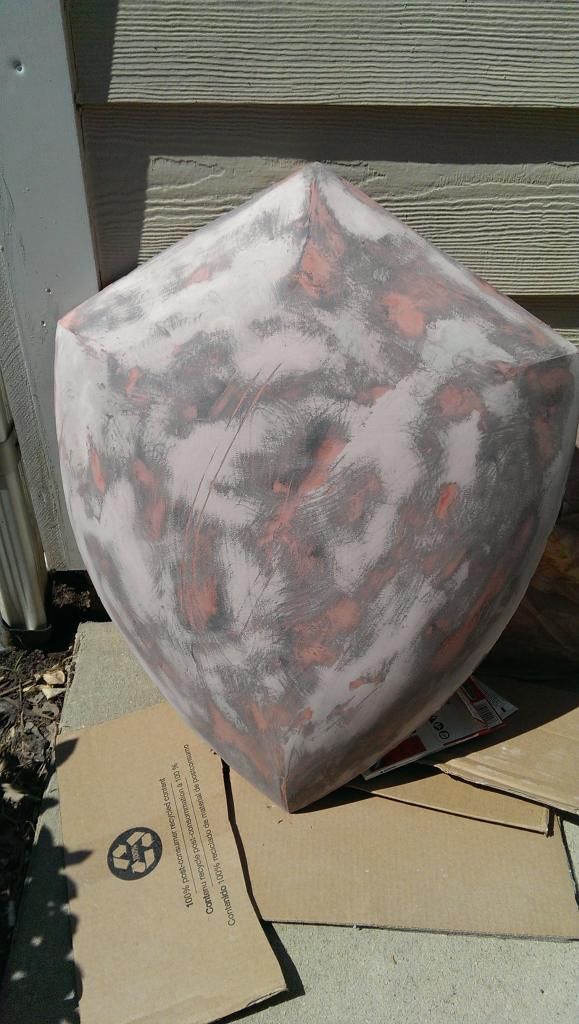
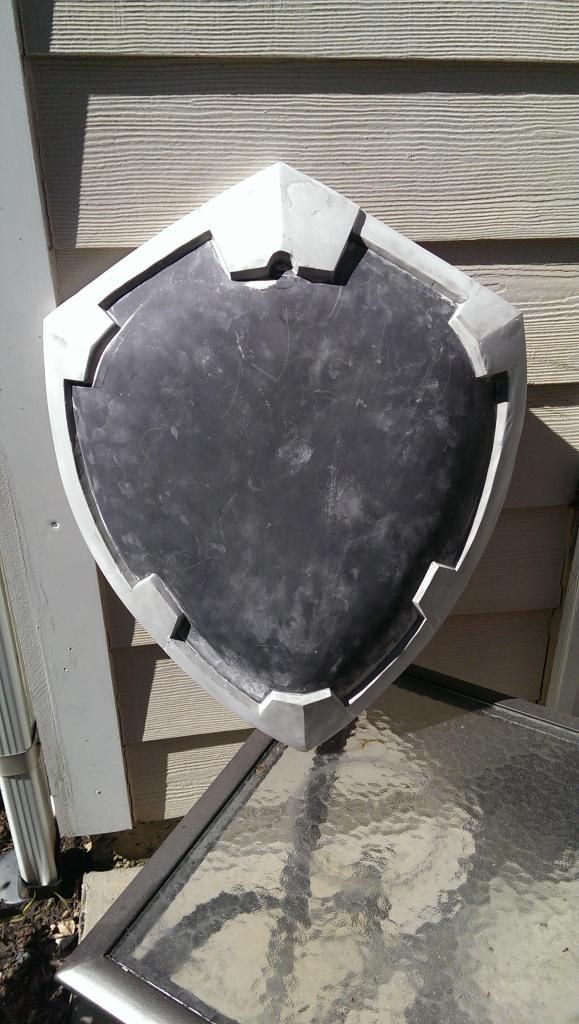
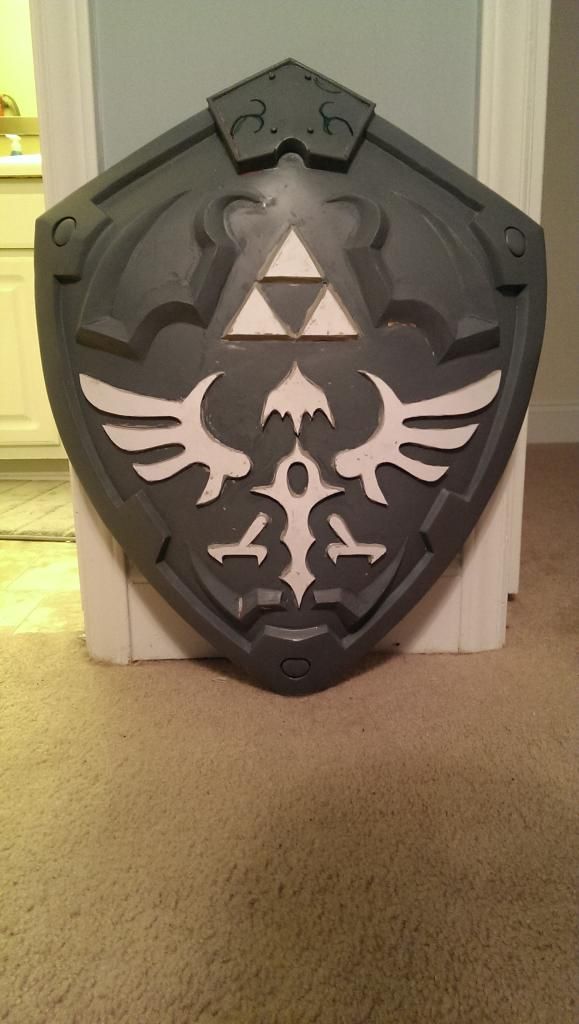
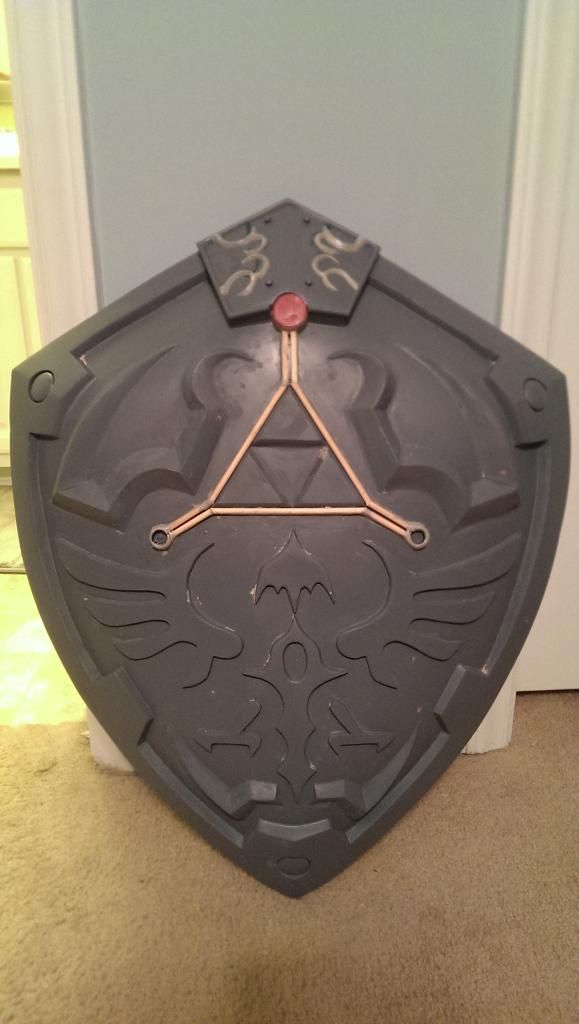
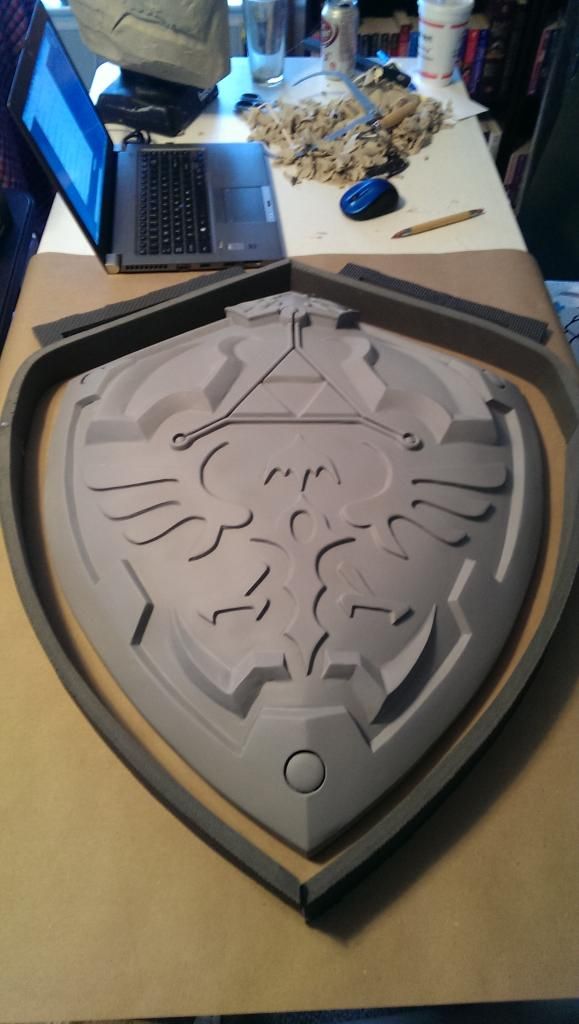
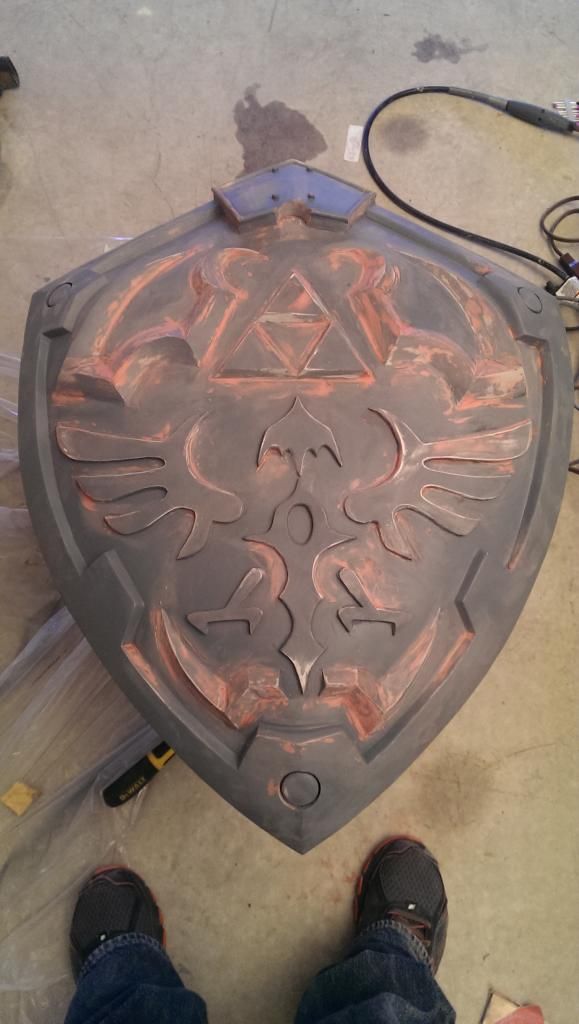
Here it is now after much body work and sanding….priming…filling….repeat


I am planning to mold it so I can make a shield for each of my two kids and maybe make some available.

Let me know what you think.

Thanks for viewing!

-Tony
 
Super nice, It would look real sweet over the mantlepiece....if i had a mantlepiece that is.
 
I really like it. I make medieval shields for reënactment myself and am a bit of a historical shield buff, but I really like the different zelda shields. I'll be probably making a historical accurate version, when I figure out what which shield it will be.

Im really interested in the finished shield, keep is updated please.

-R-
 
Wow! thank you all for the kind words. I'm currently in the middle of molding it. I will post pictures of the molding process later so everyone can see how I make my molds. Thanks again!

-Tony
 
Great job Tony!!!! Nice job documenting the process too! I'd be interested in a casting if you make them available.
 
Good morning all!


First, I want to thank everyone for the awesome comments. It means a lot to me that you like the progress thus far. I truly do appreciate the kind words.


Second, Molding time!


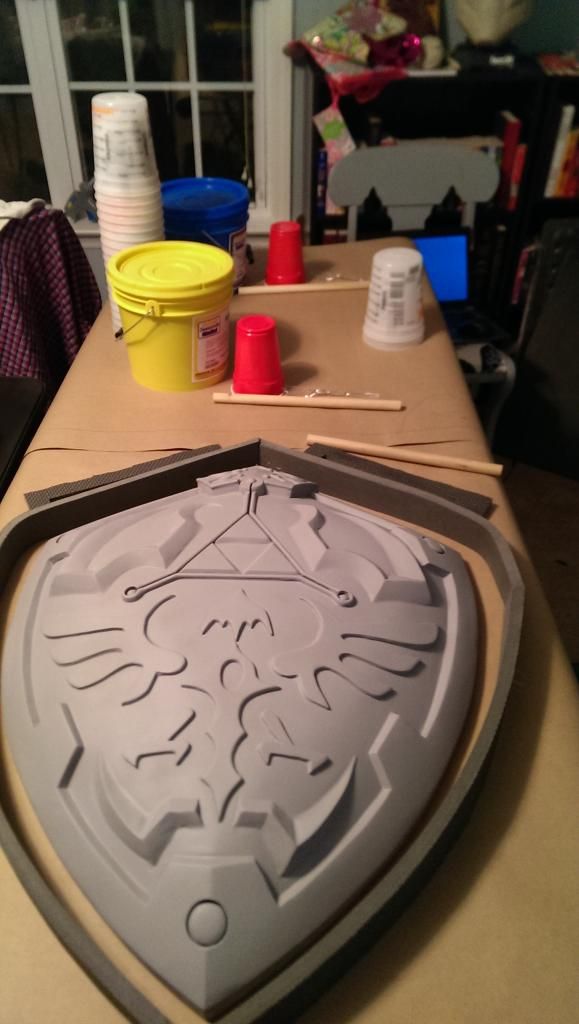
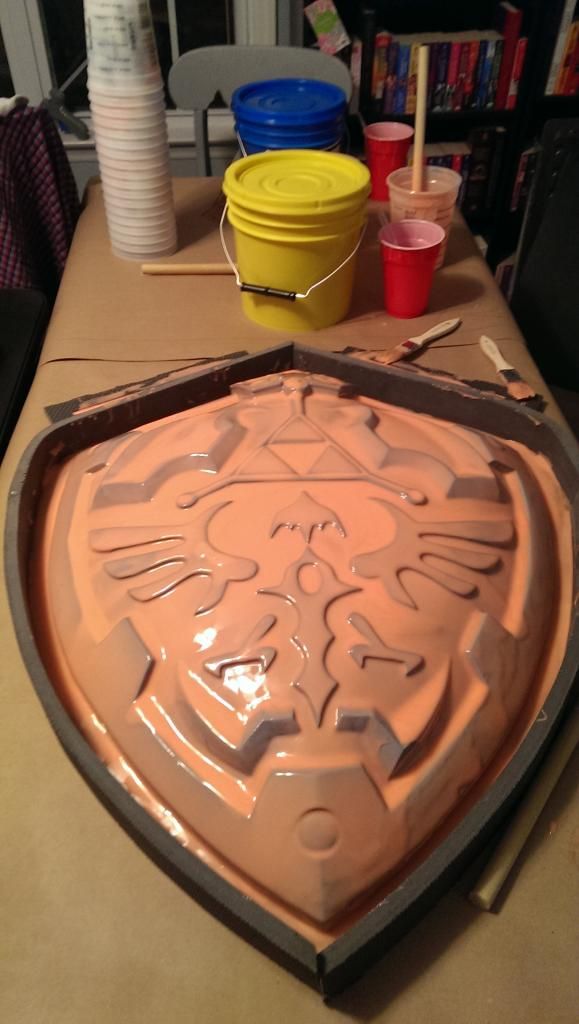
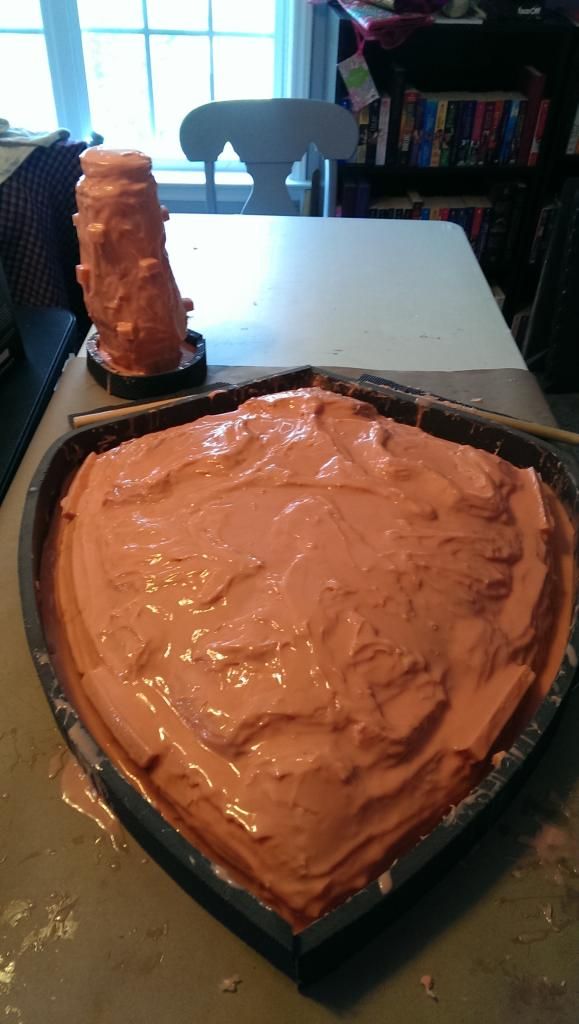
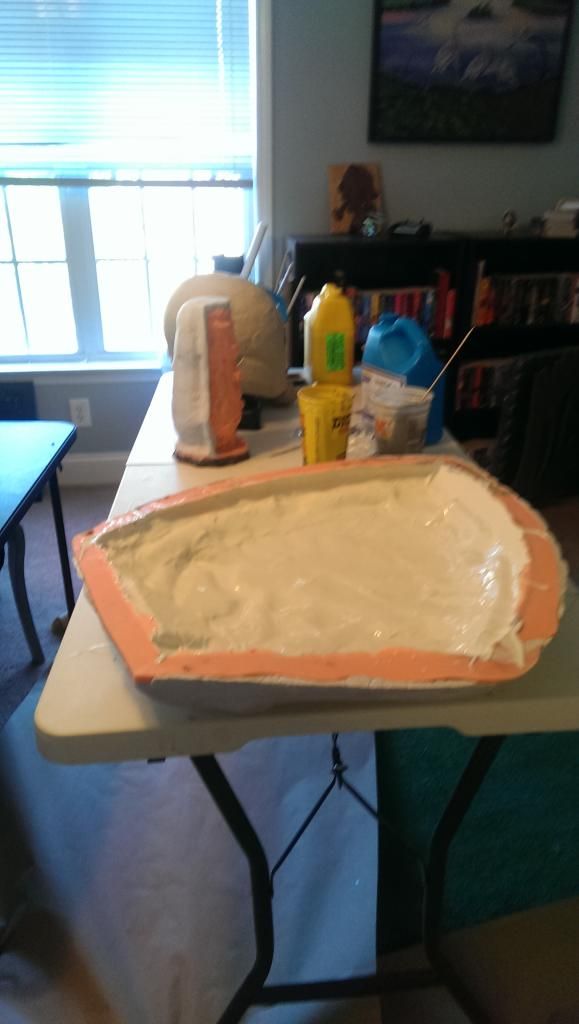
So…I still need to put the jacket on it. I couldn’t wait though, so here are some pics of the rubber going down.


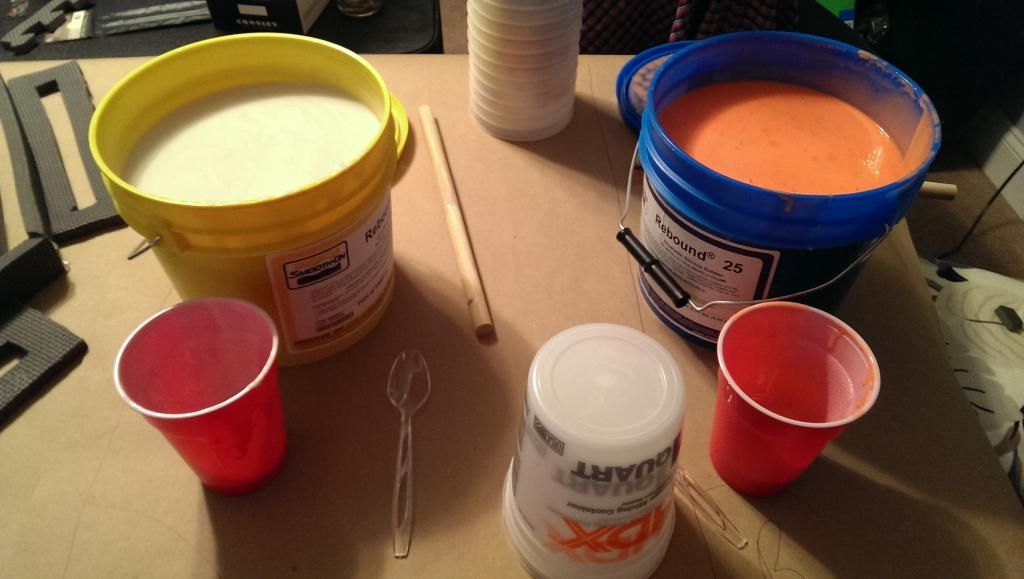
Setup:


Rubber down/finished:


It took approximately 4 layers X 24oz (12oz part A & 12oz part B) pours of rebound 25 to achieve the desired thickness on the shield. One layer of straight rebound (NO thickening agent), 2 layers of thickened rebound (completely cover the whole thing). And, one final layer of straight rebound again (NO thickening agent).


I hope everyone enjoys this update. I look forward to showing the shell progress later.

Thanks again for viewing!


-Tony
 
Seriously can't wait to see more on this.

Ask and you shall receive….lol

So....whats inside the silikon tower you have in the last picture...
C:\Users\IBM_AD~1\AppData\Local\Temp\msohtmlclip1\01\clip_image001.png

I was wondering the same thing

It’s a Halo Reach gauntlet armor piece I was working on (3d model/Cleaned it up/Mold it) Nothing to special, going to make a couple for an existing suit of mine. :)

This is incredible! Fantastic detail.

Thank you!

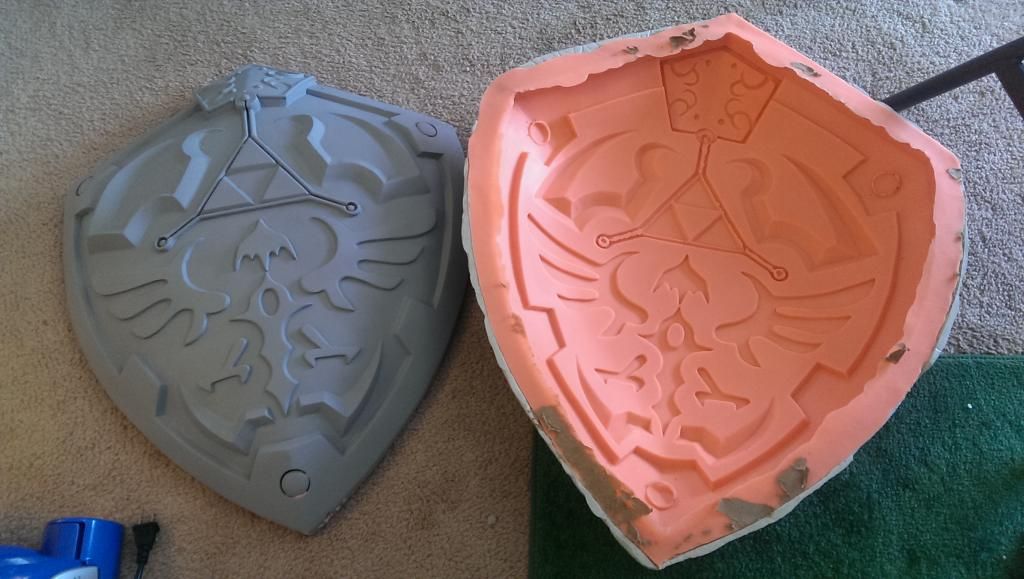
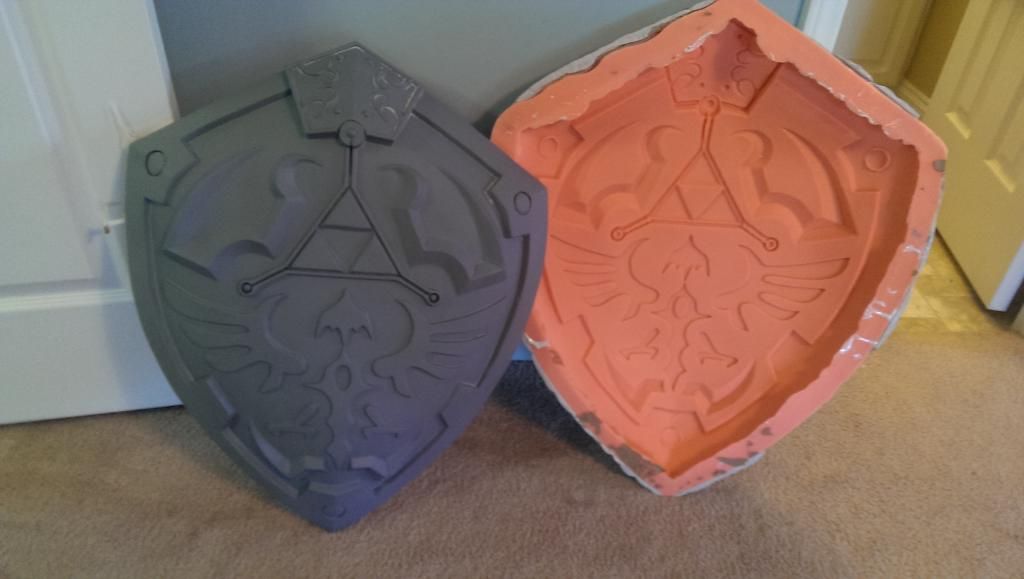
Well, without further delay, here is the results of the molding.
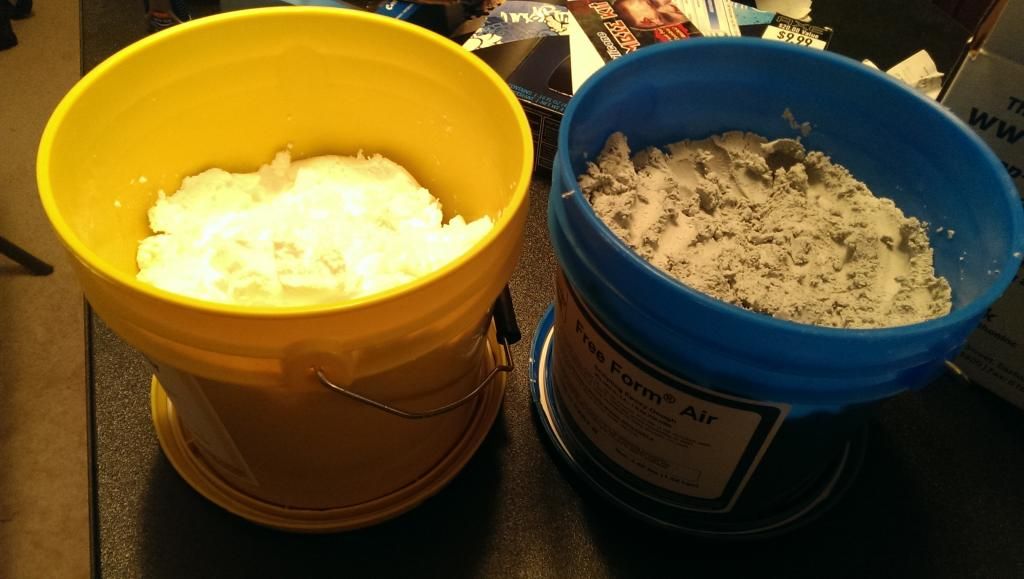
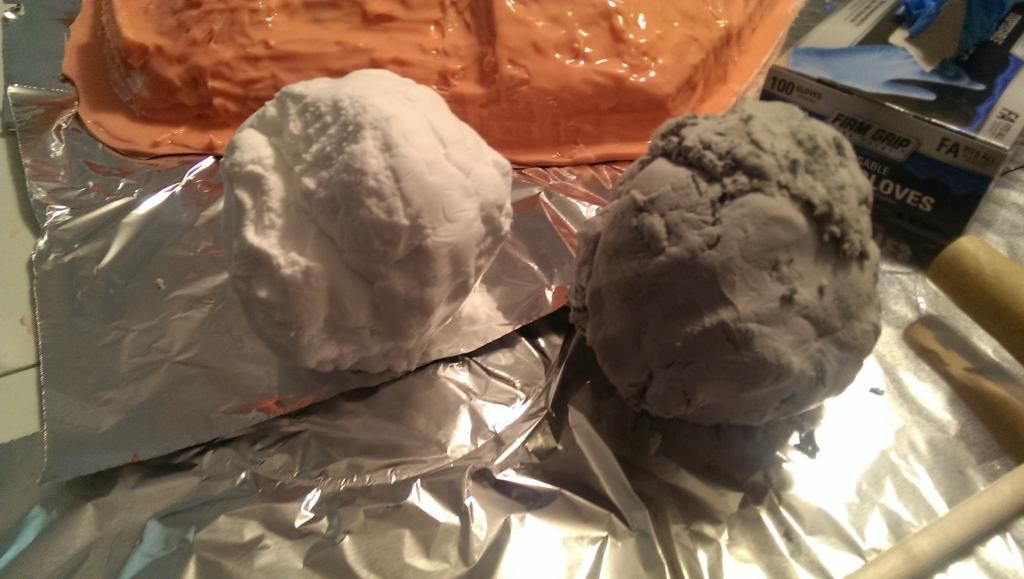
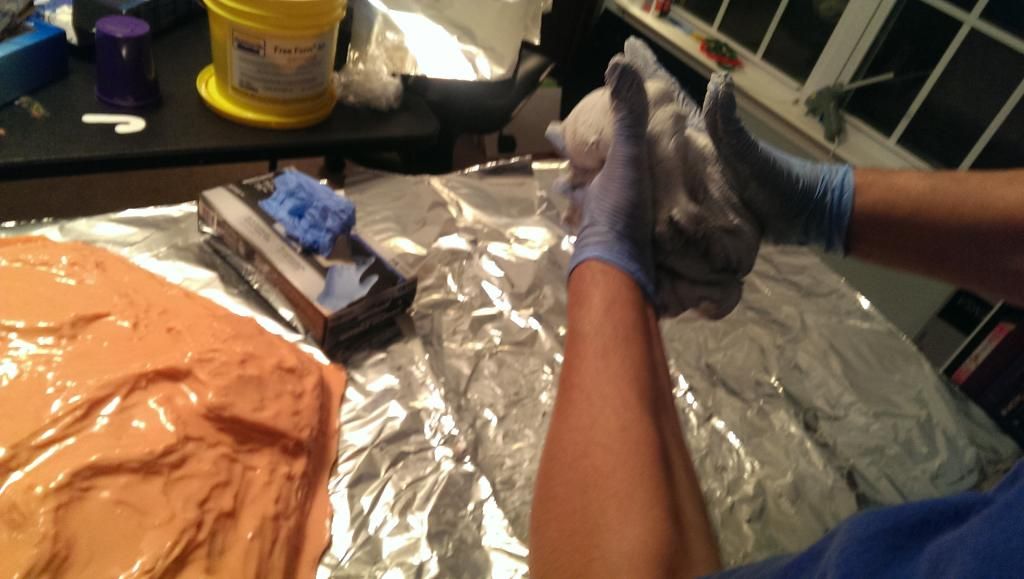
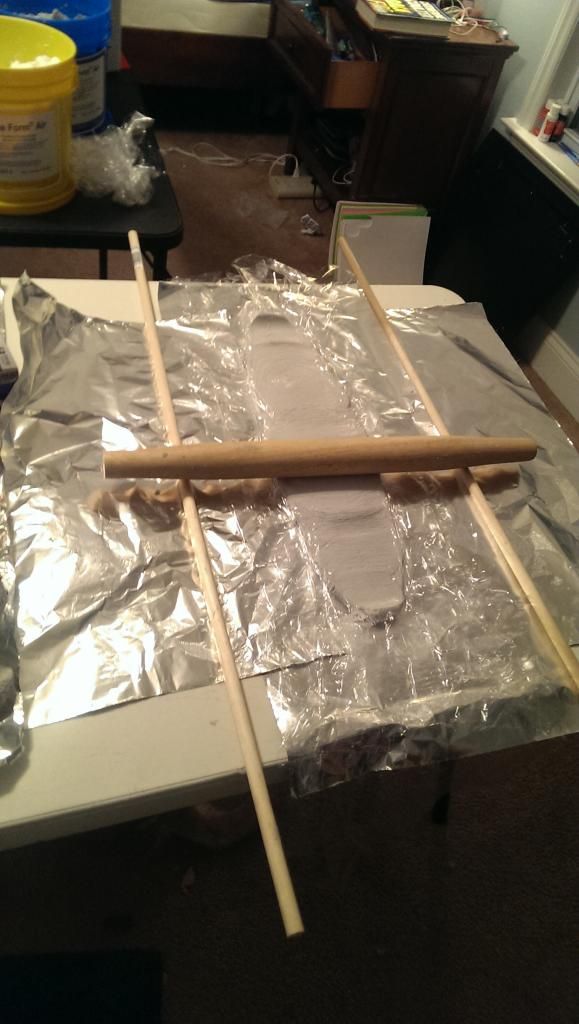
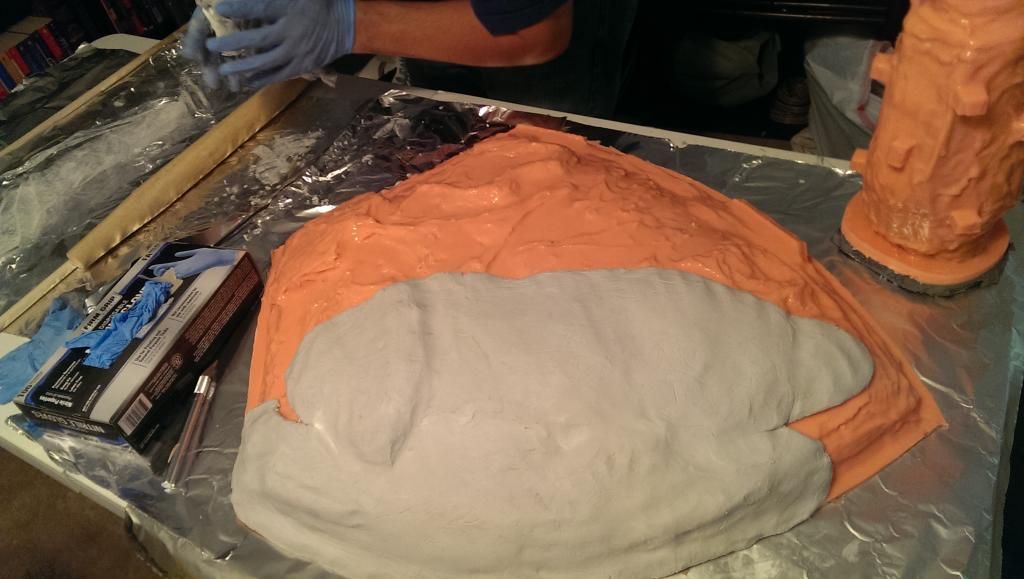
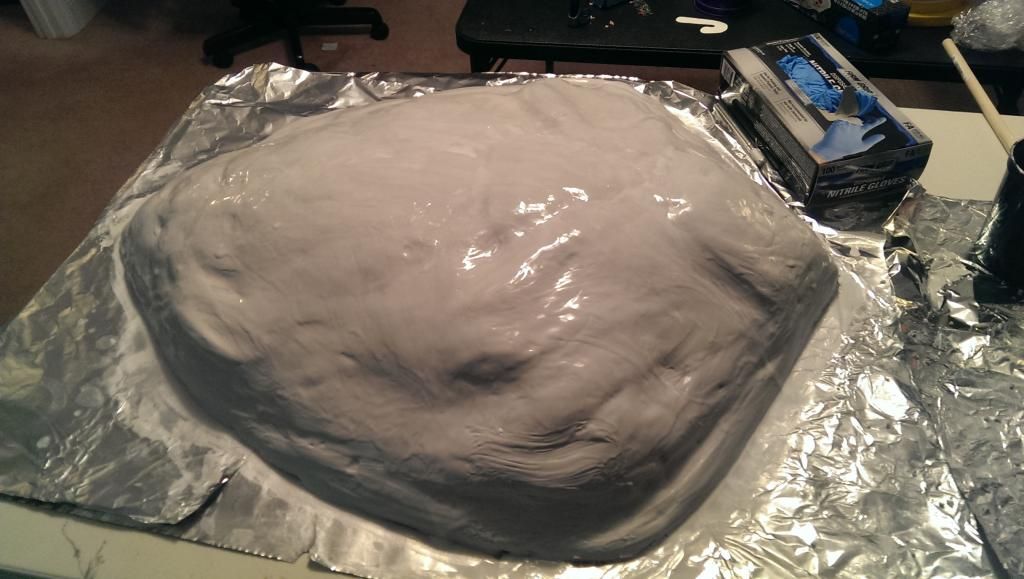
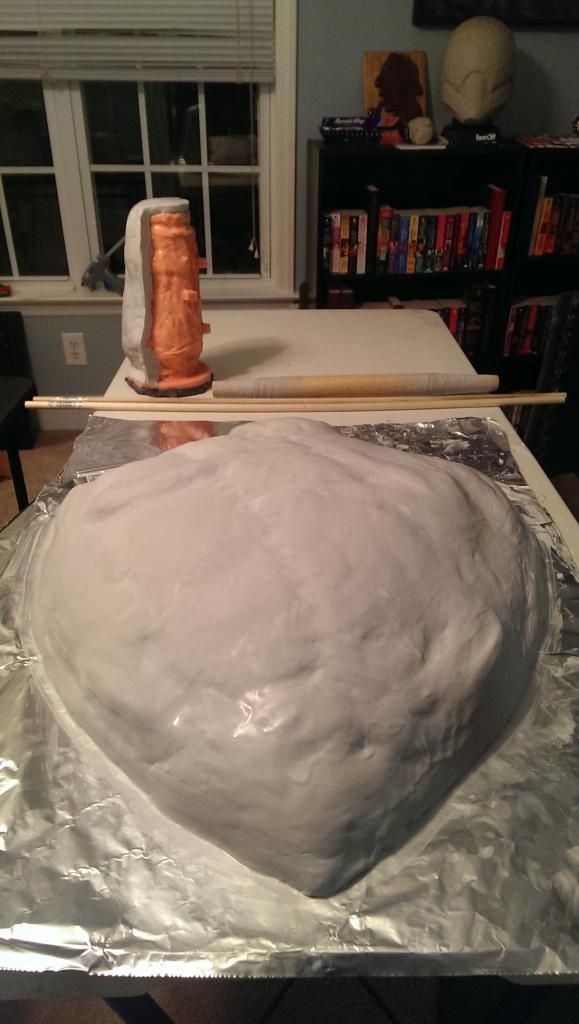
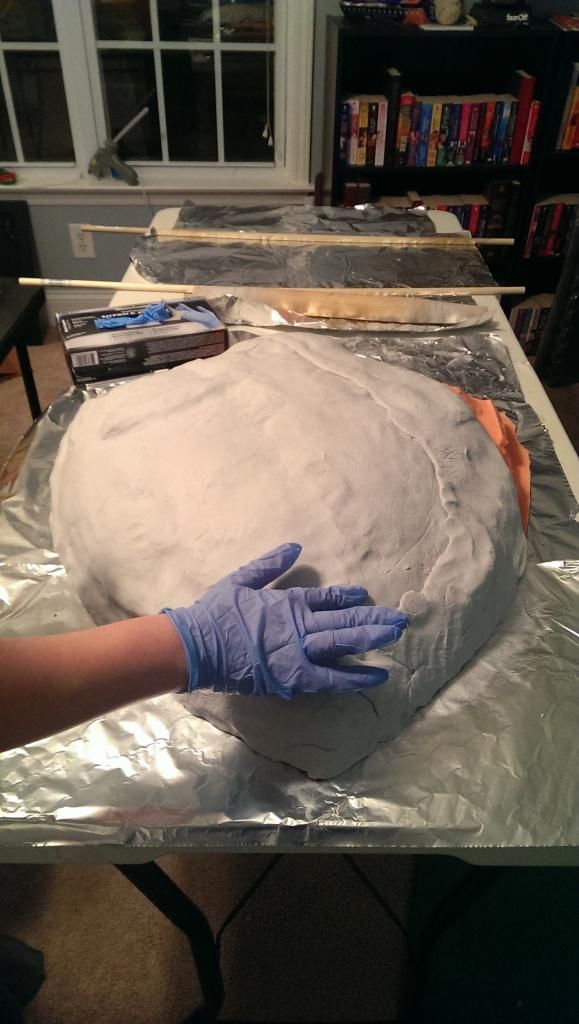
Creating the Jacket, I used Free form air by smooth on and mixed it following the directions that come with the product and rolled it out to ½ inch thickness and covered the entire silicone mold. I then waited over night for the material to harden and made a quick casting. The casting is made from Urethane resin and fiberglass cloth for added strength. I’ll post a finished one shortly.


Working with the Free Form Air:


Demolding and first casting:


I hope you like it.

Thanks for viewing!

-Tony
 
Very cool!

So I guess Ican take it that you are a fan of the Free Form Air putty! :)
 
Last edited:
Back
Top