XXXCRIMSON
Active Member
So I purchased one of the new Hasbro AT-AT's from the vintage collection. If you have not yet already seen or tinkered with one of these, you should, it's MOST IMPRESSIVE. When I first got the thing I knew I was going to mod it to make it look much better. It's a piece worth the effort.
The following pics are from the start to the finish of the re-paint that I did using the painting technique from EVO3.
My youngest daughter Mikenzie playing with the AT-AT before the project

Un-modified


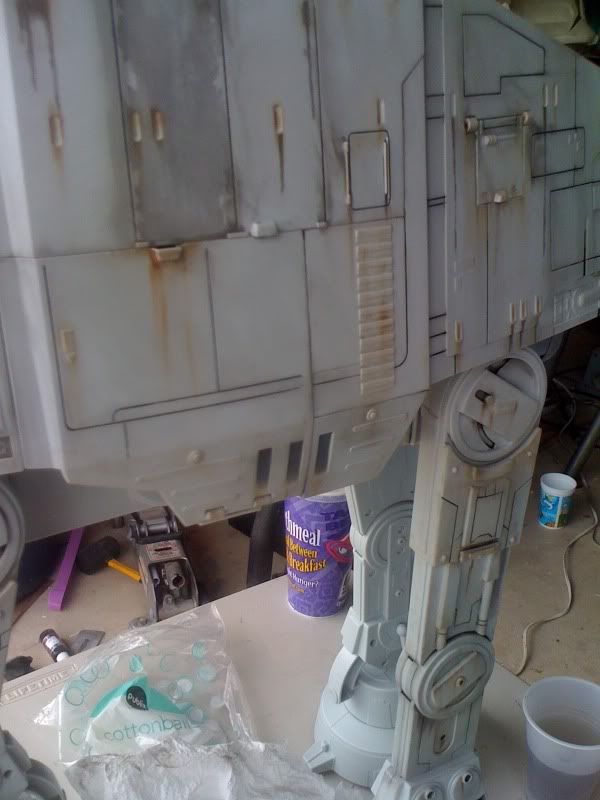
Here are updated pics of my now completed re-paint of the AT-AT. I put more hours in this thing than I ever imagined, but I'm happy with it.

Made screw covers out of a painted yard sale sign
THIS THING HAS LOTS OF SCREWS


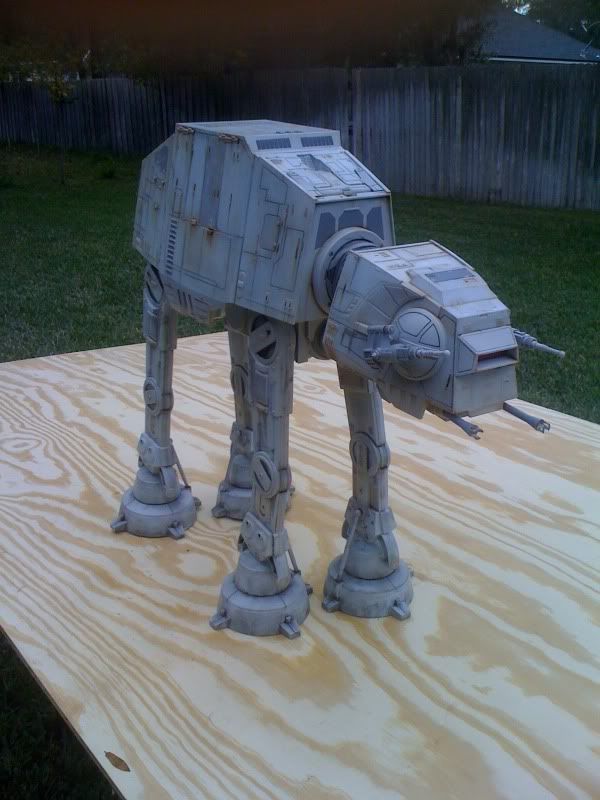


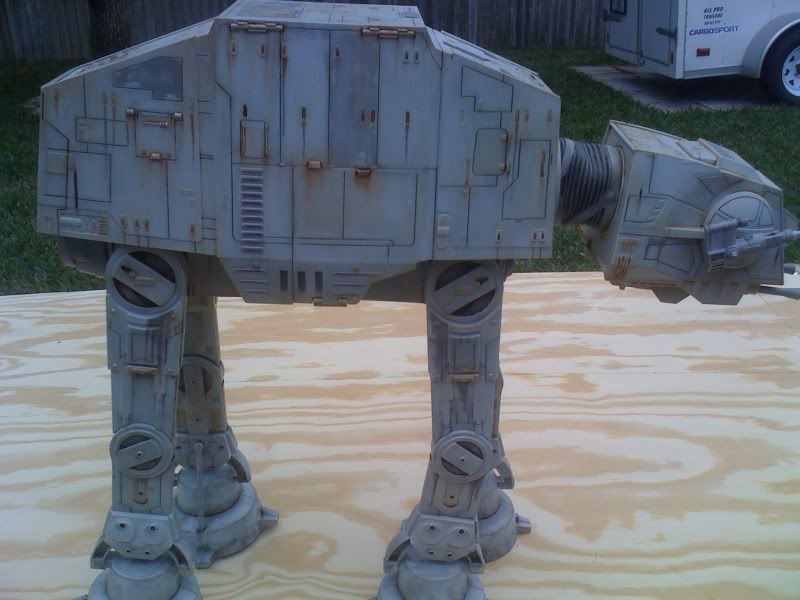
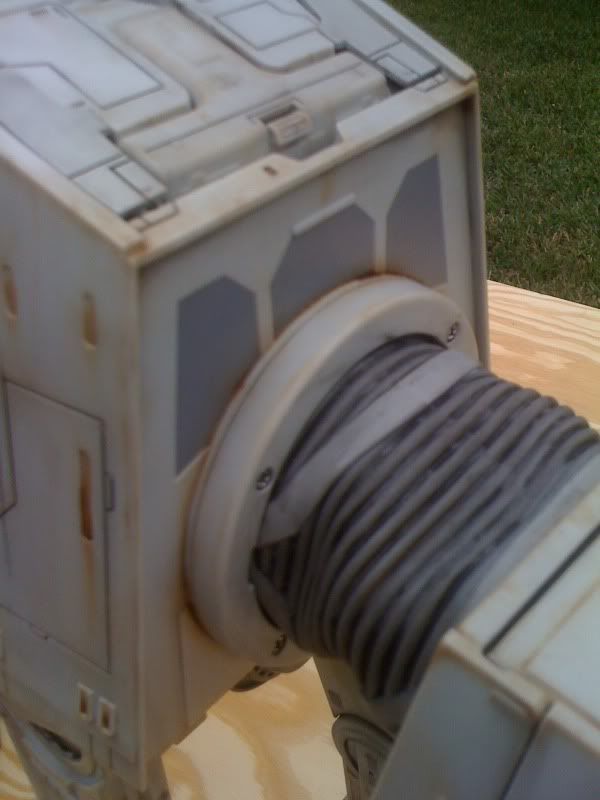
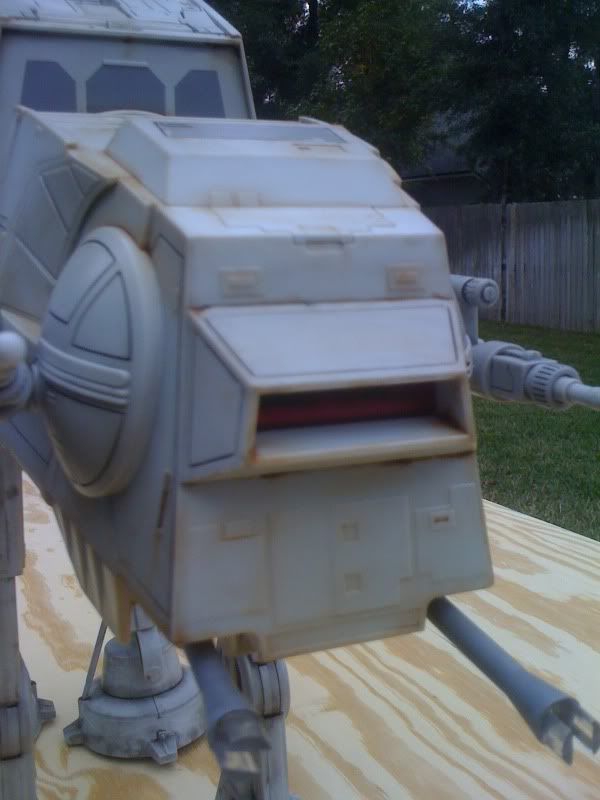

I used "Artisan" water mixable oil colors. So far the colors that have been applied have been an Ivory Black and a Burnt Umber. I have intentions of detailing all the internal components of the piece as well, including the speeder bike.
With the scoring, I applied the black on thick in the indentions and removed with cotton swabs. The "rust" looking areas were applied very lightly and then rubbed over accordingly with swabs and cue tips. The umber seemed to dry much faster than the black. Water was added to some areas to give that more faded aged light look. Fine tip brushes were used except for the feet. I used a large variety of different brushes for the different looks I was going for.
The following pics are from the start to the finish of the re-paint that I did using the painting technique from EVO3.
My youngest daughter Mikenzie playing with the AT-AT before the project

Un-modified


Here are updated pics of my now completed re-paint of the AT-AT. I put more hours in this thing than I ever imagined, but I'm happy with it.

Made screw covers out of a painted yard sale sign
THIS THING HAS LOTS OF SCREWS


I used "Artisan" water mixable oil colors. So far the colors that have been applied have been an Ivory Black and a Burnt Umber. I have intentions of detailing all the internal components of the piece as well, including the speeder bike.
With the scoring, I applied the black on thick in the indentions and removed with cotton swabs. The "rust" looking areas were applied very lightly and then rubbed over accordingly with swabs and cue tips. The umber seemed to dry much faster than the black. Water was added to some areas to give that more faded aged light look. Fine tip brushes were used except for the feet. I used a large variety of different brushes for the different looks I was going for.


