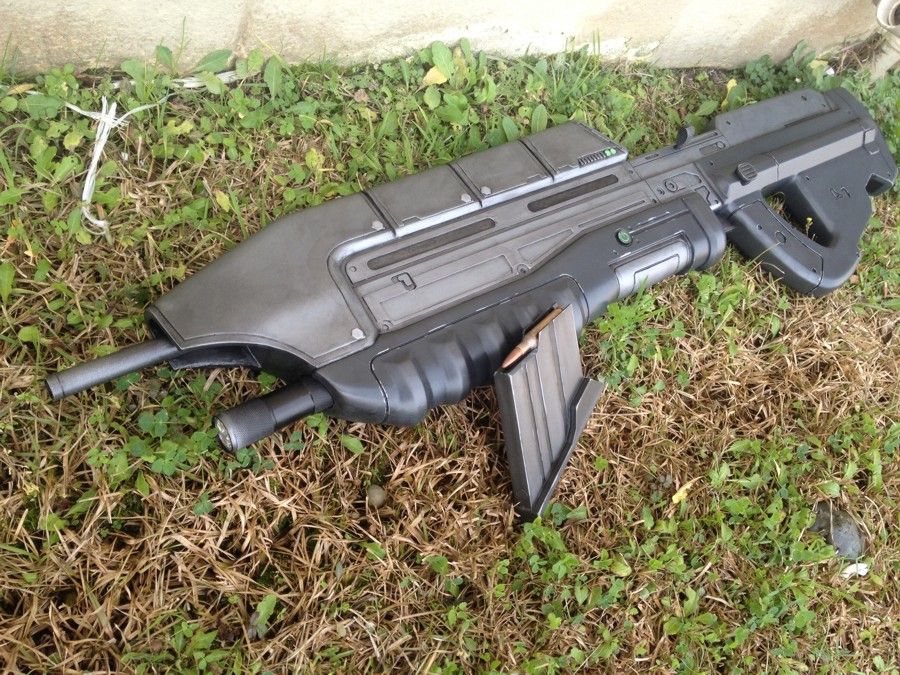
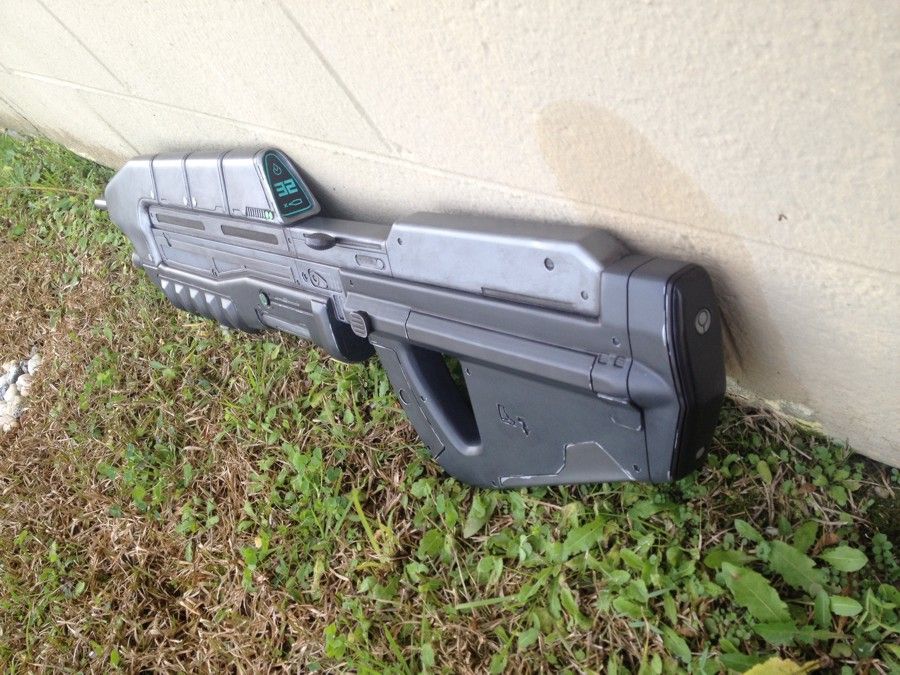
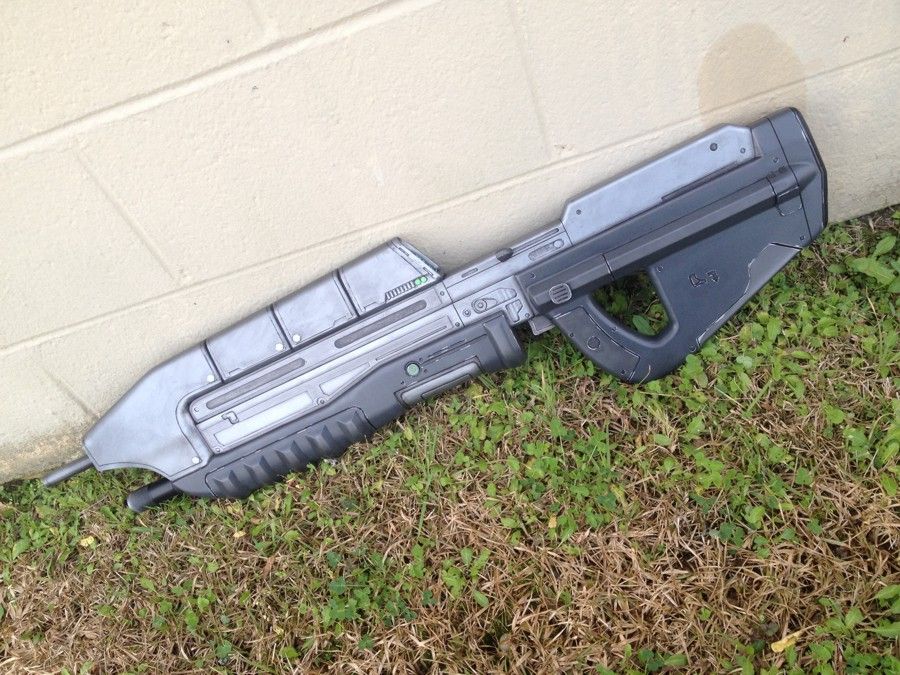
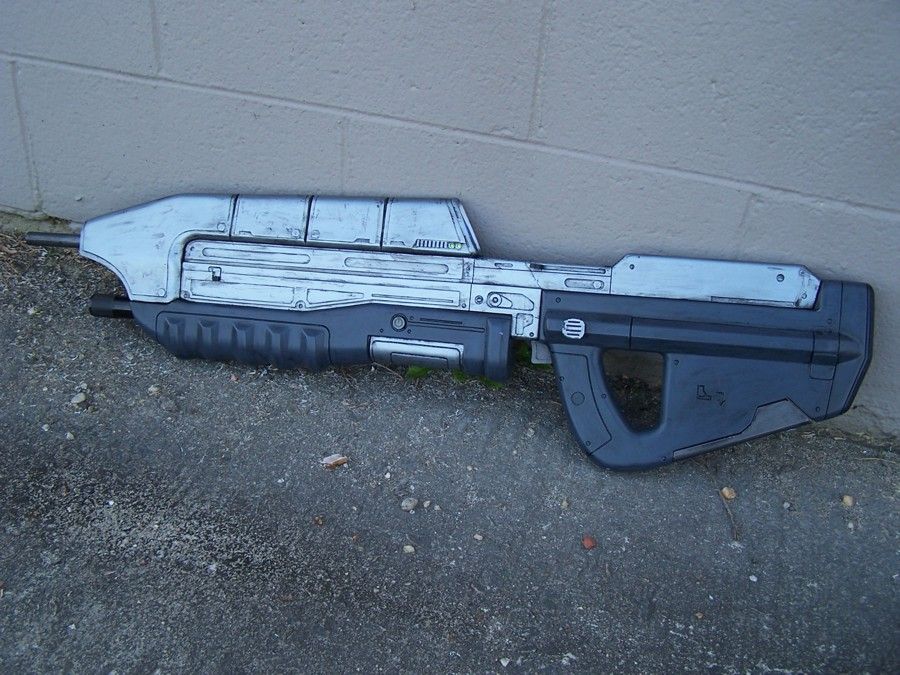
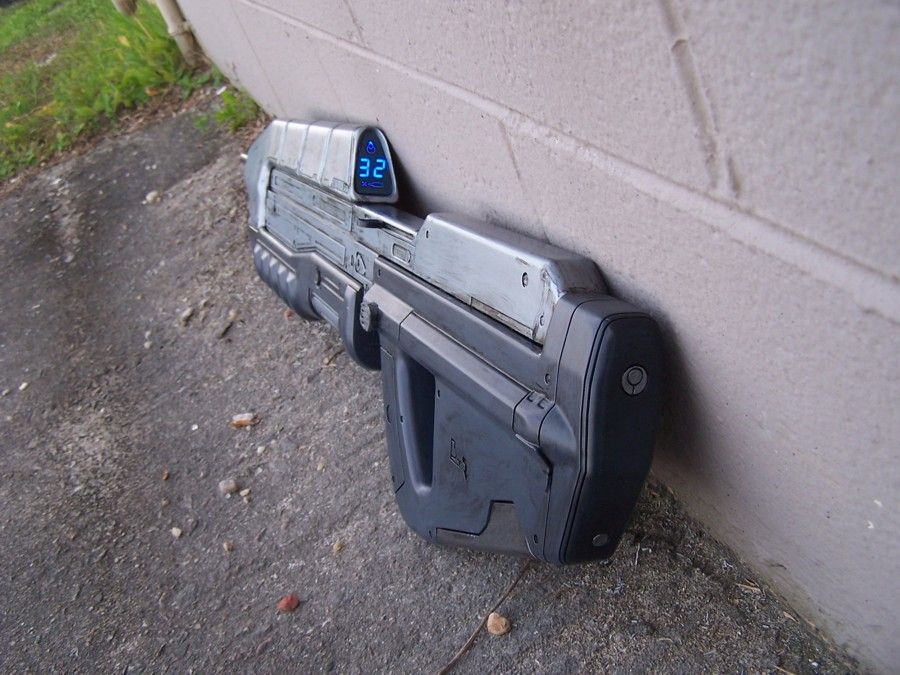
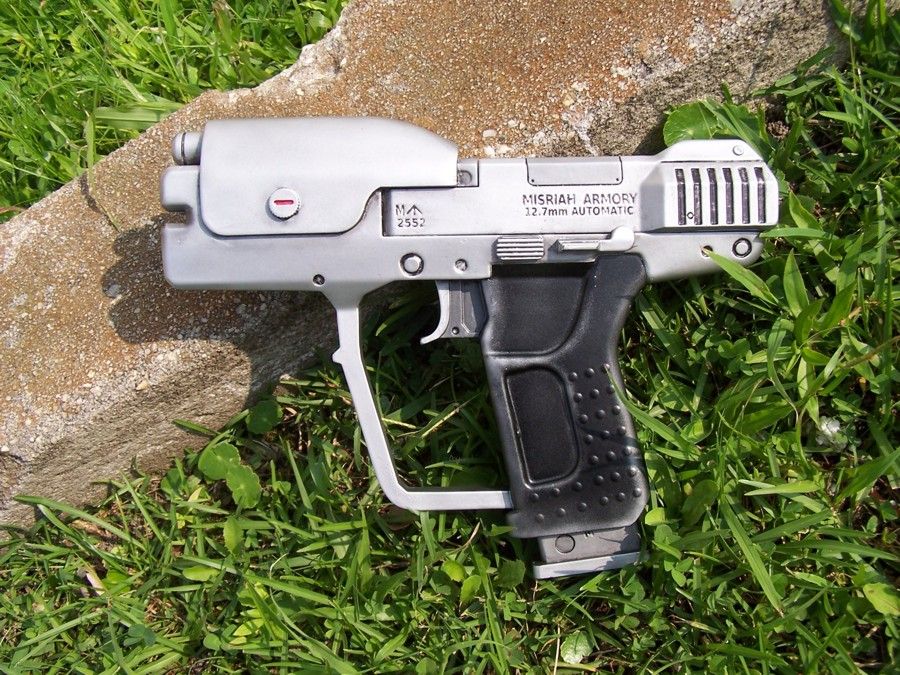
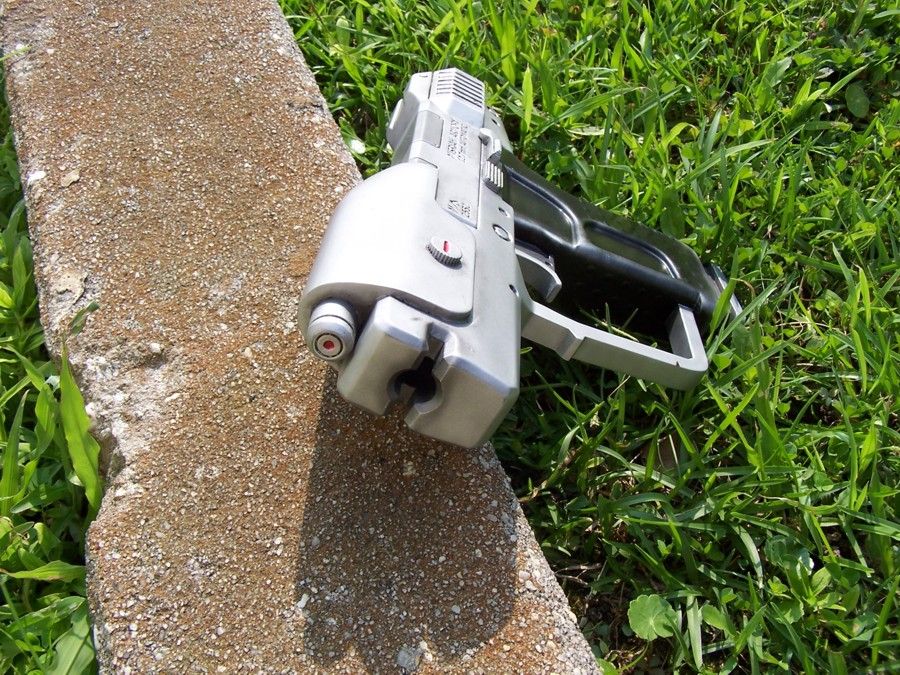
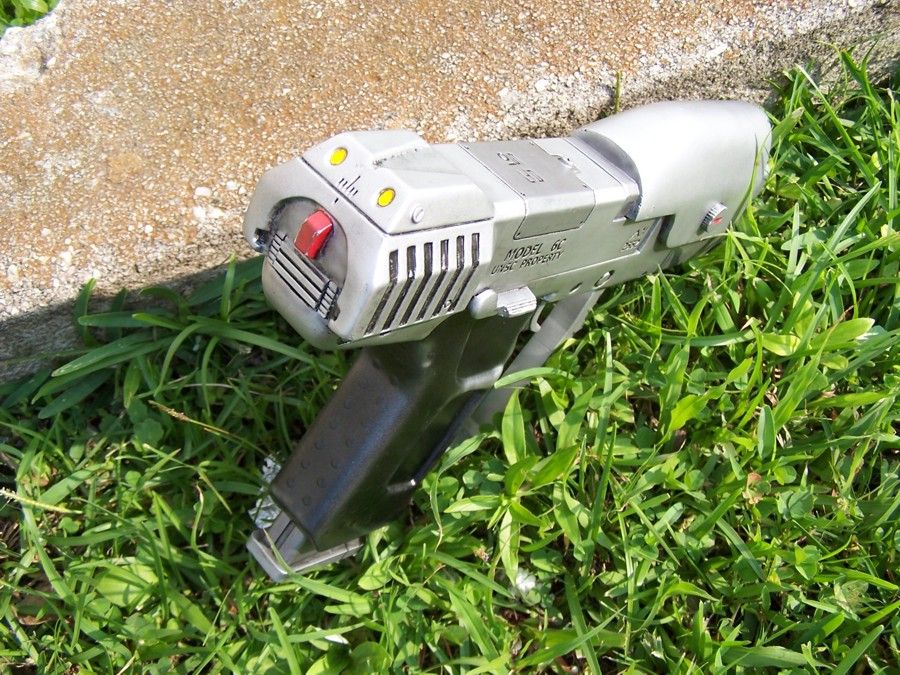
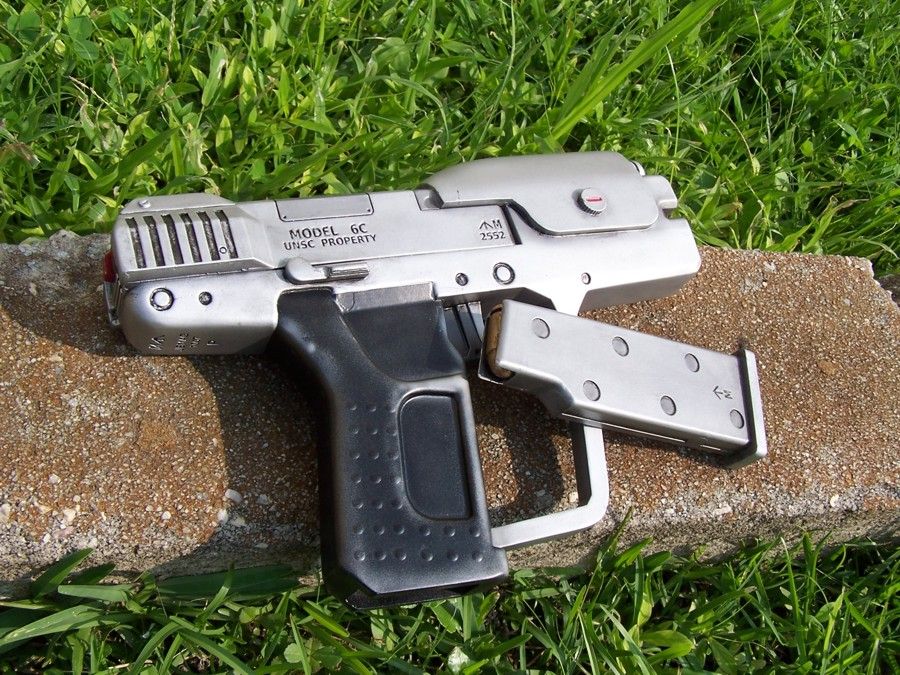
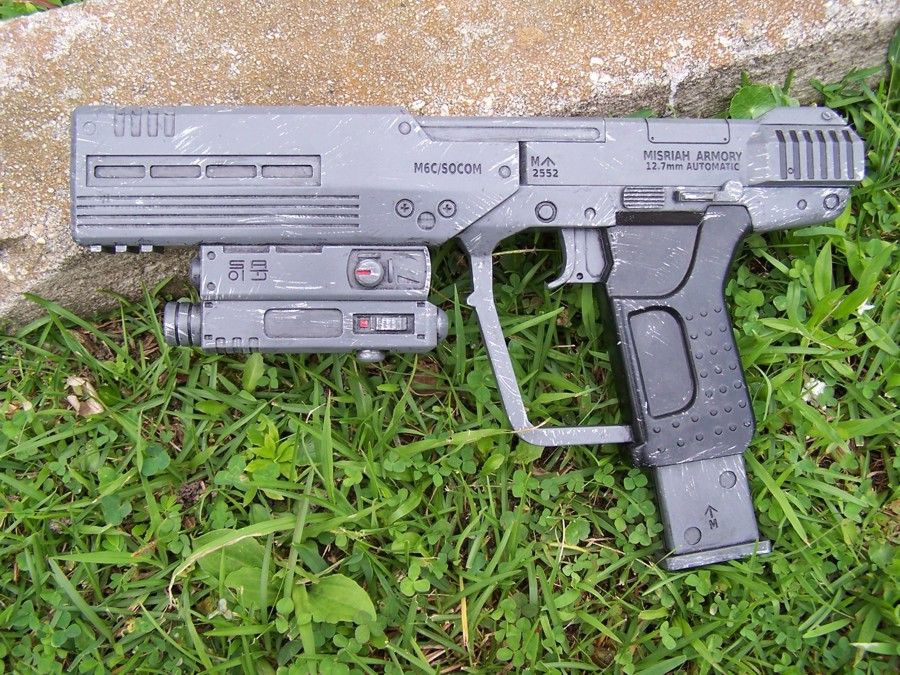
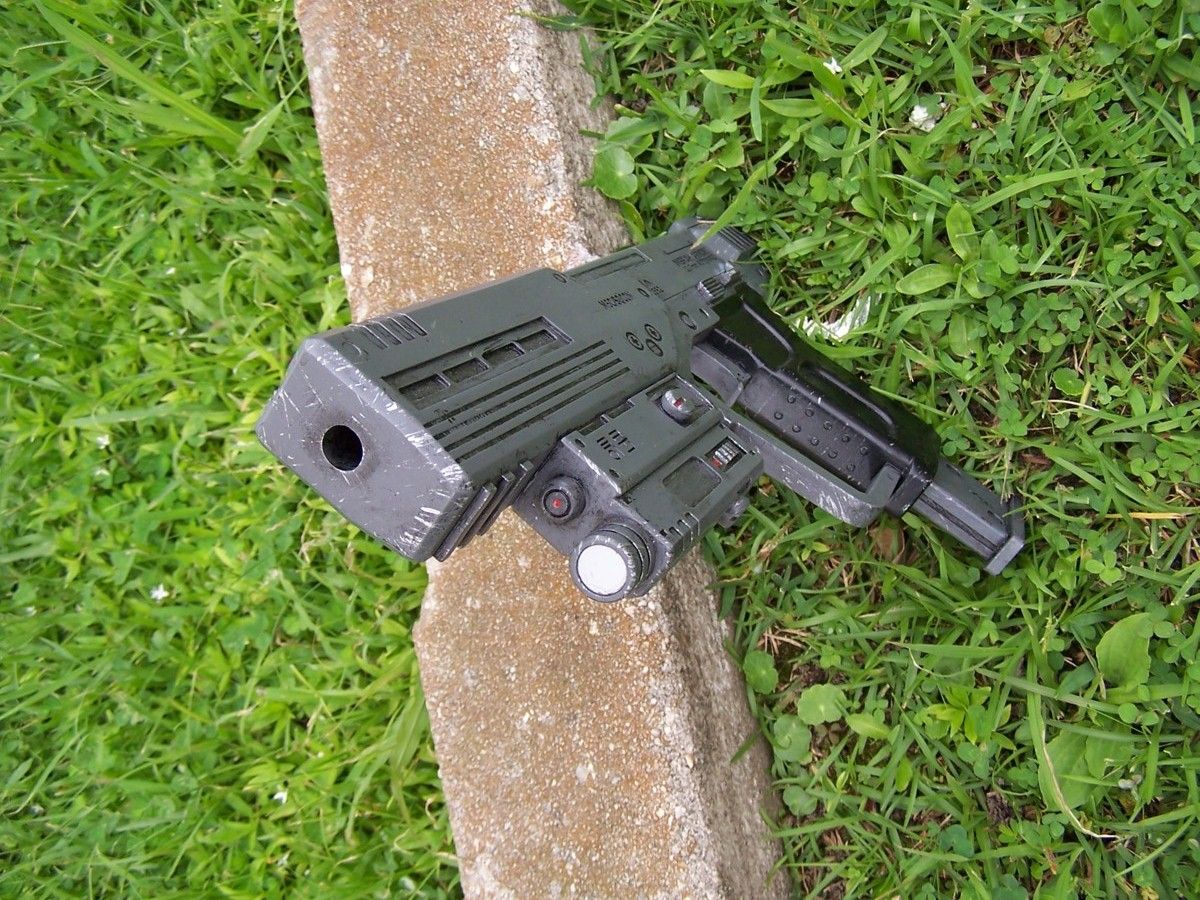
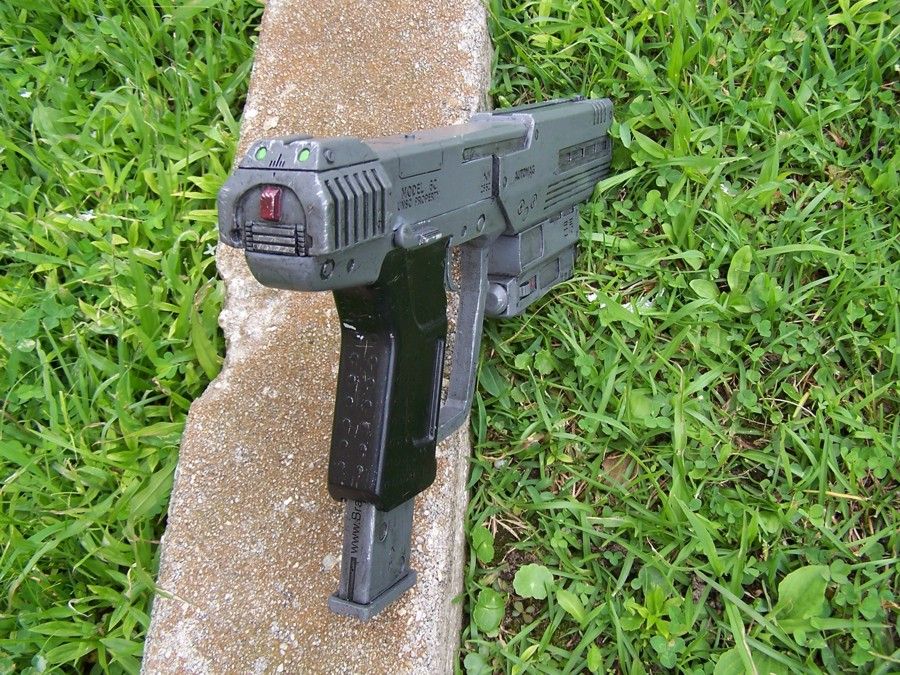
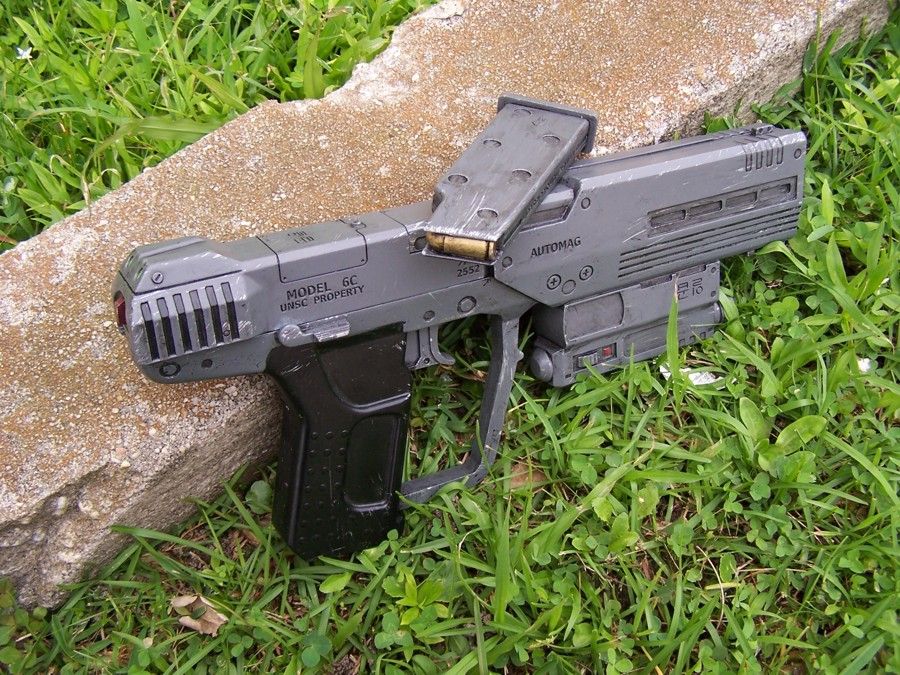
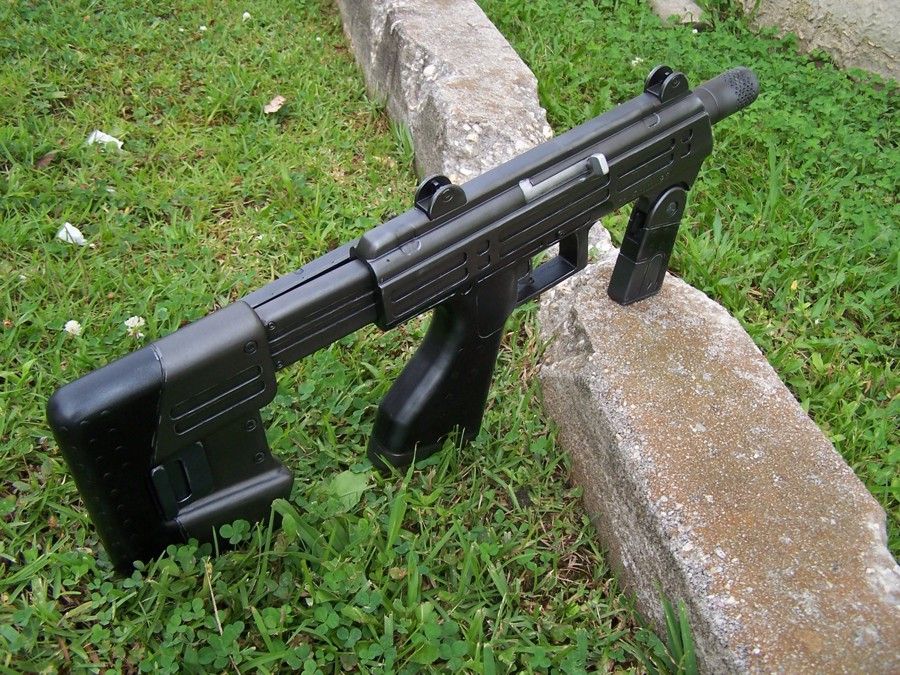
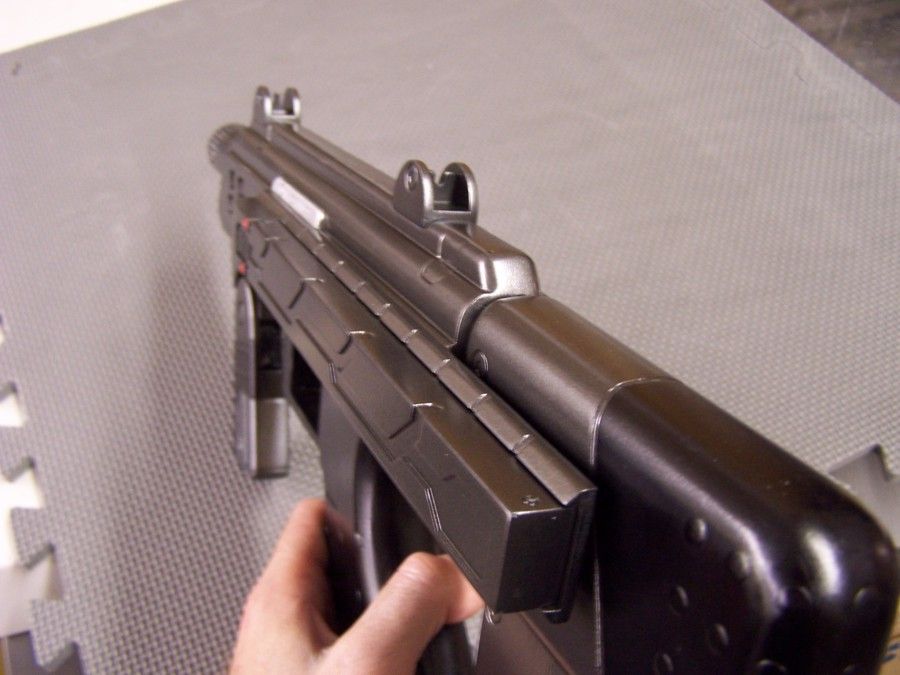
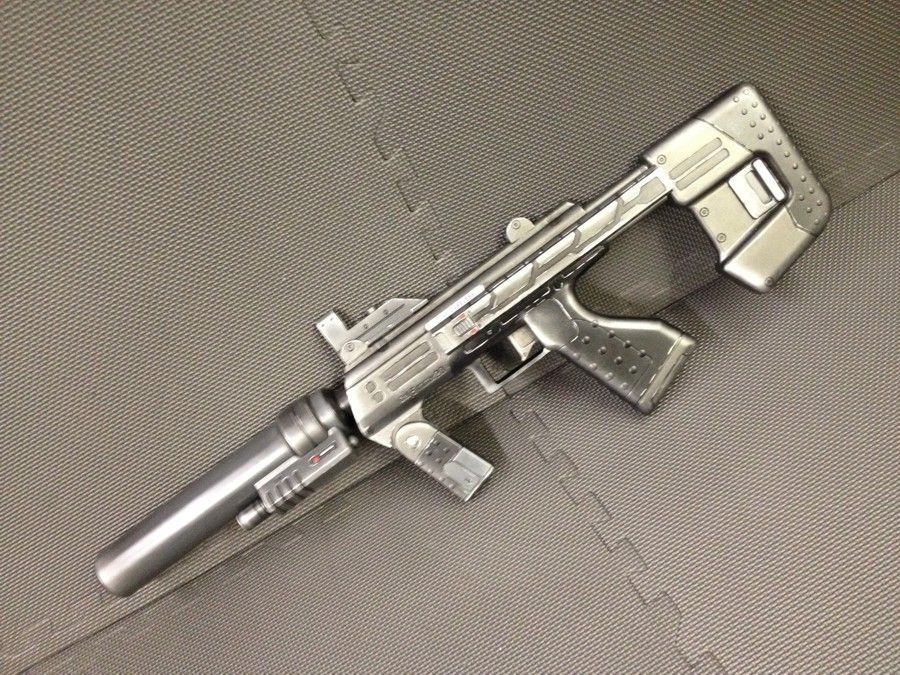
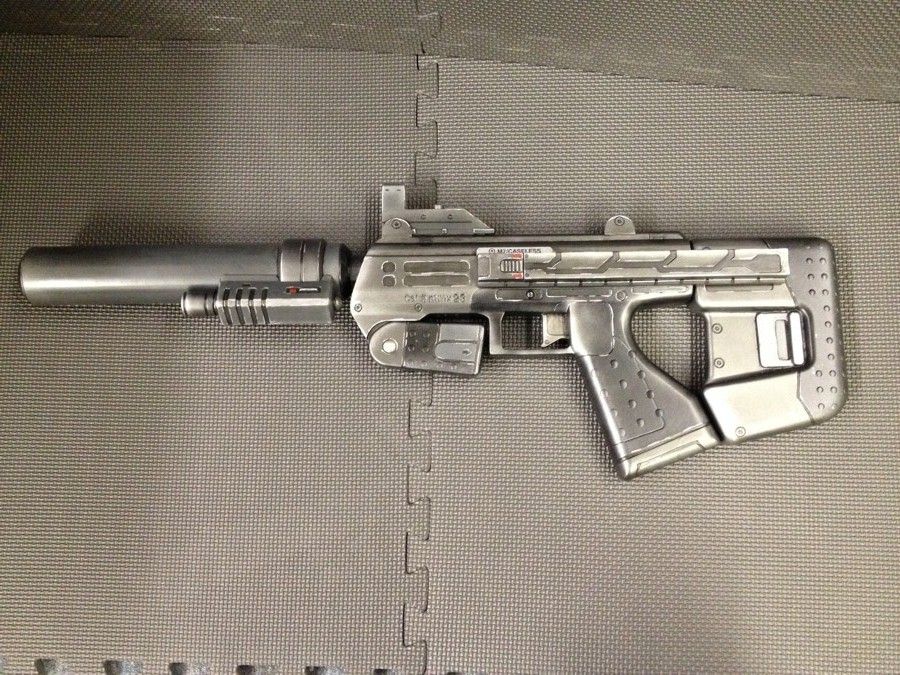
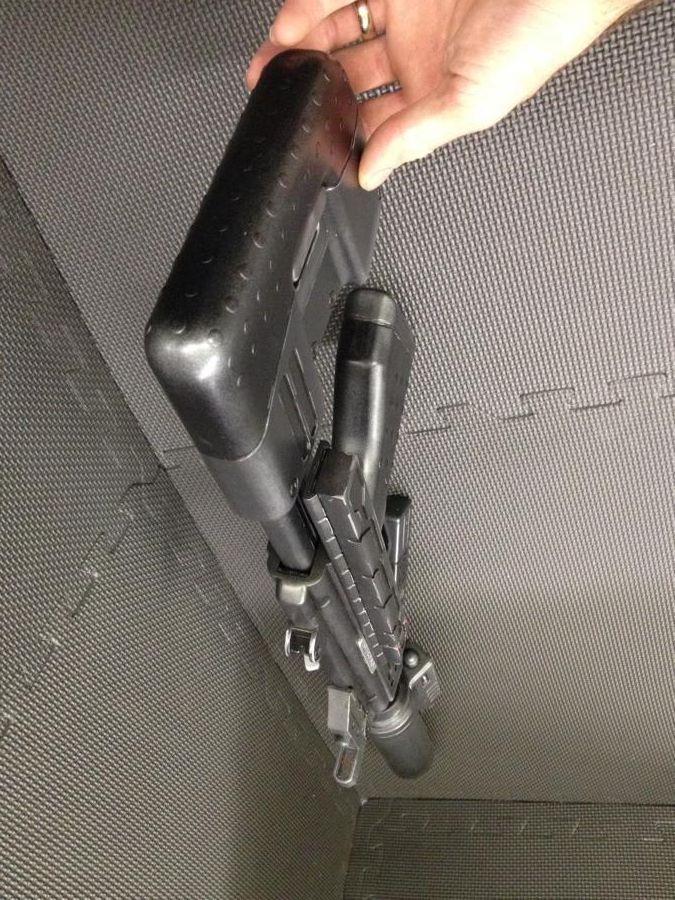
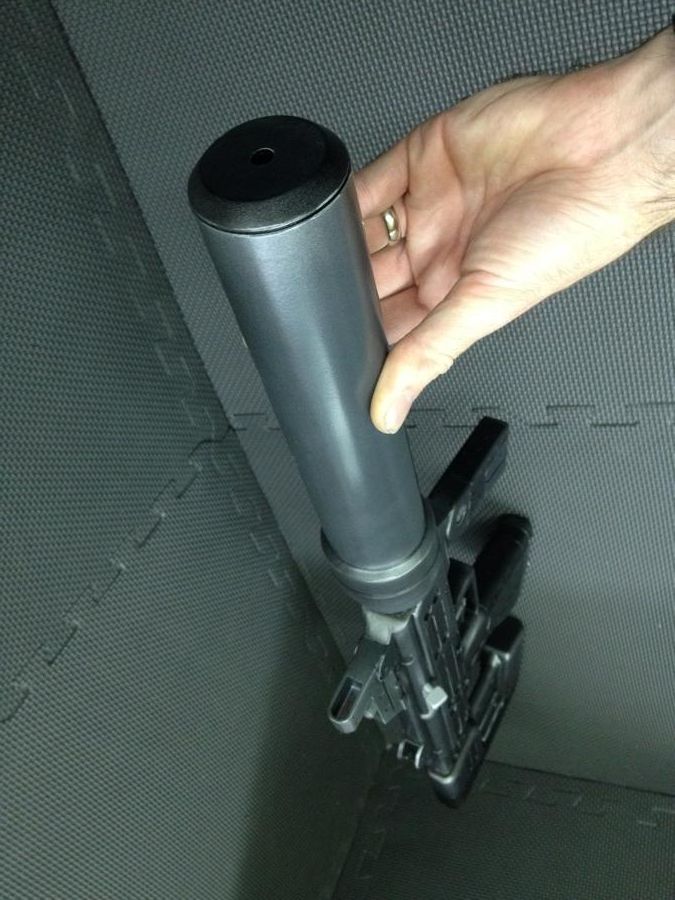
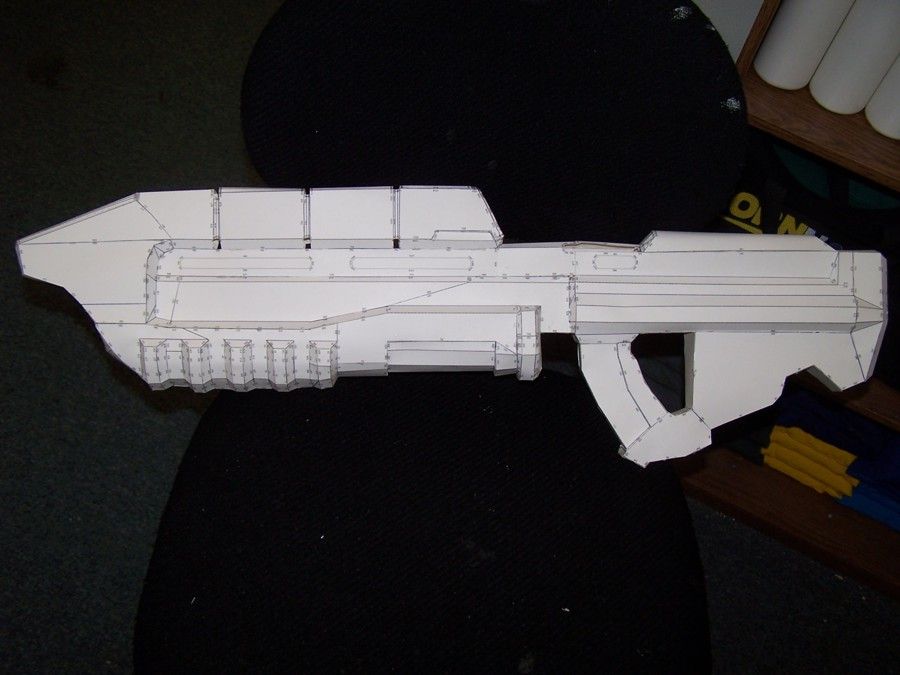
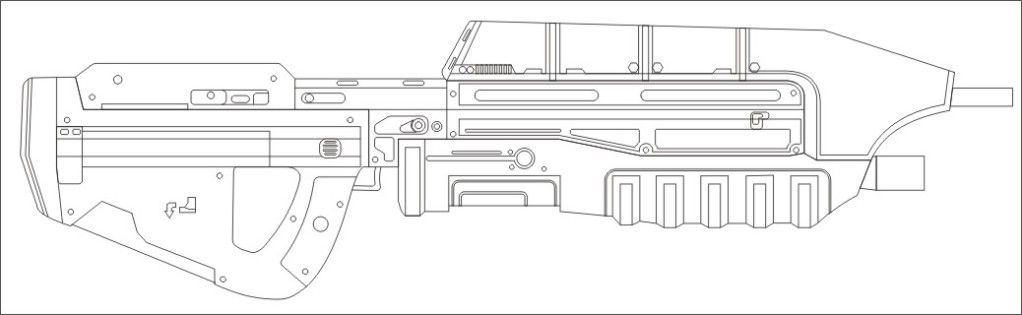
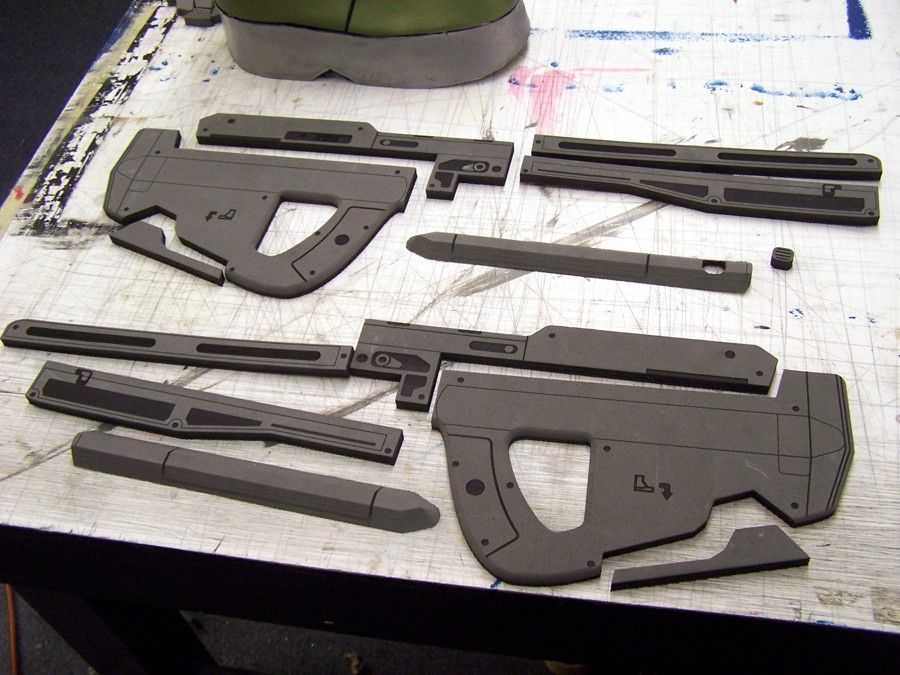
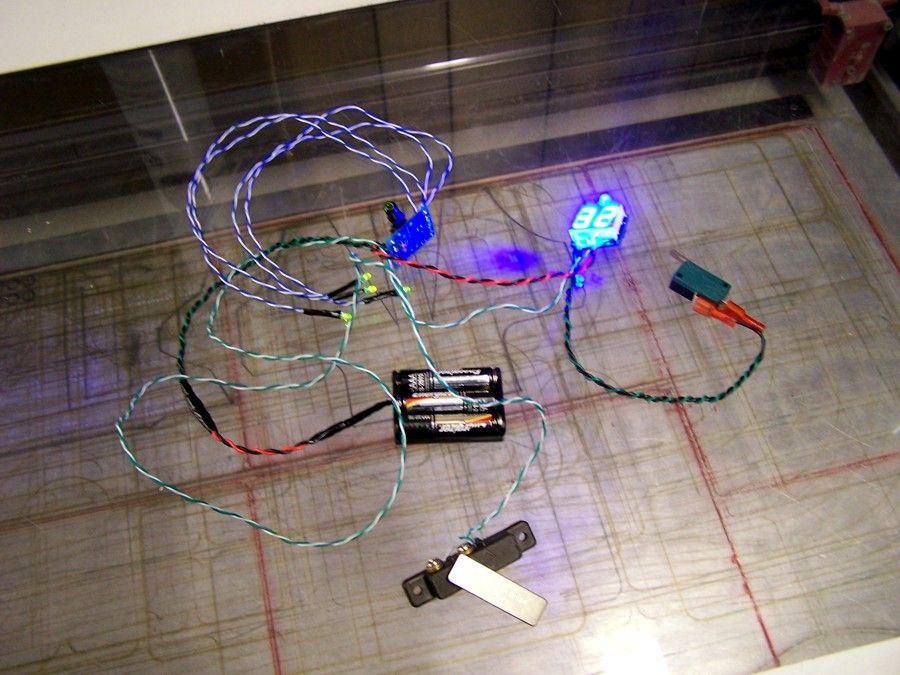
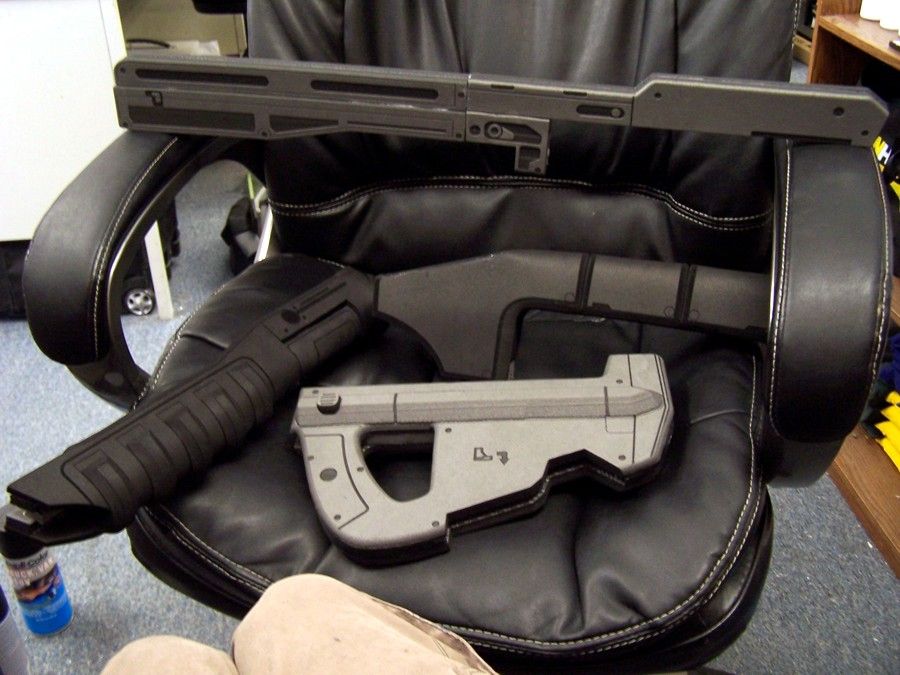
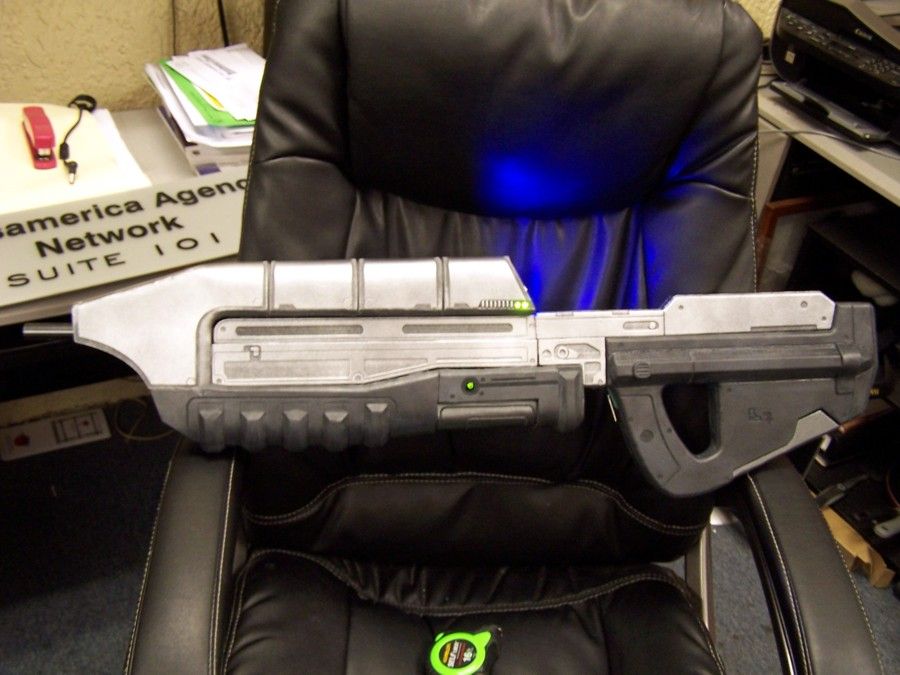
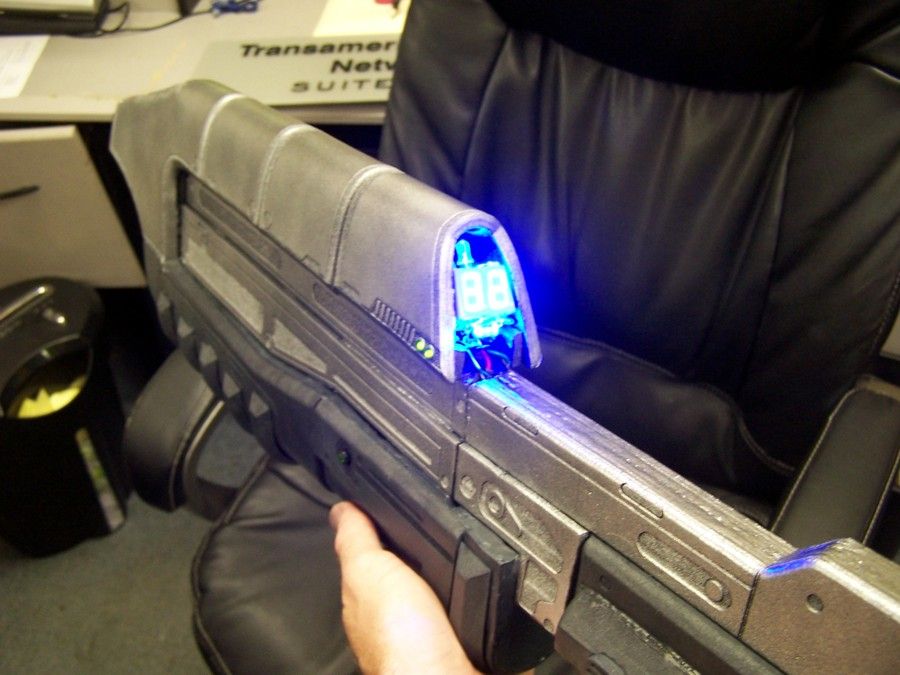
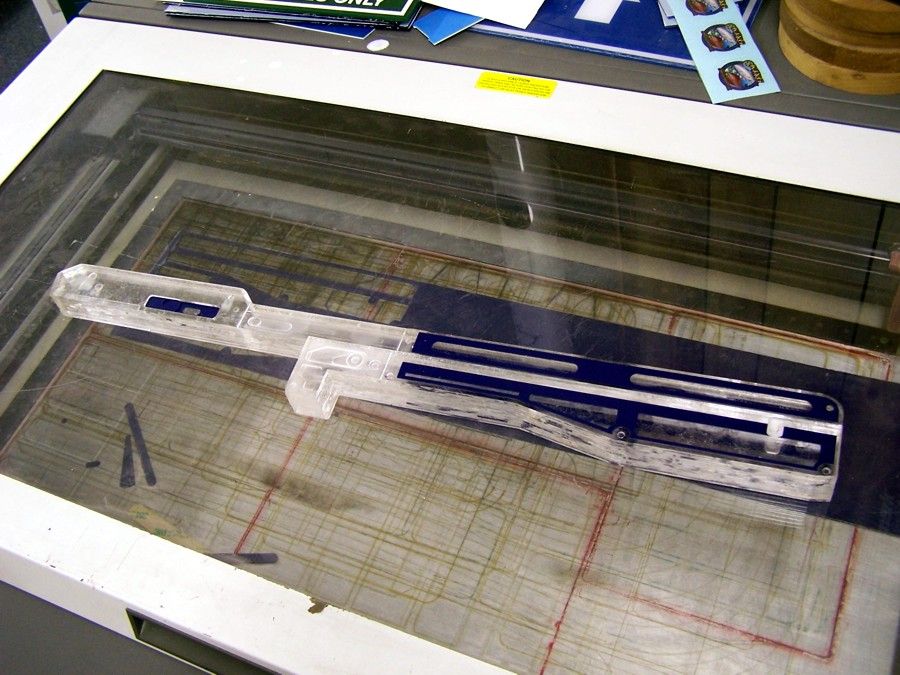
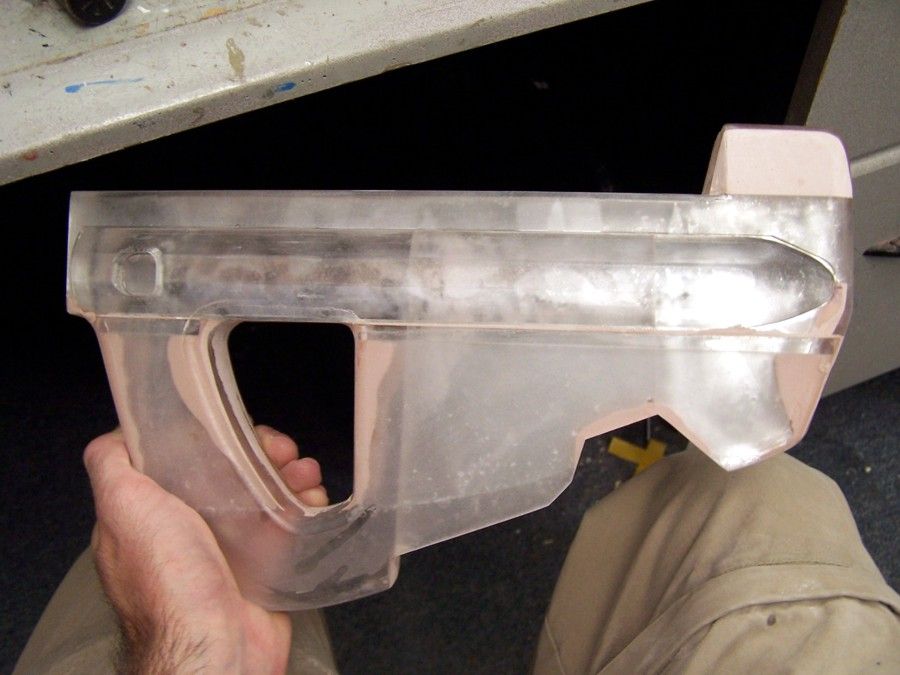
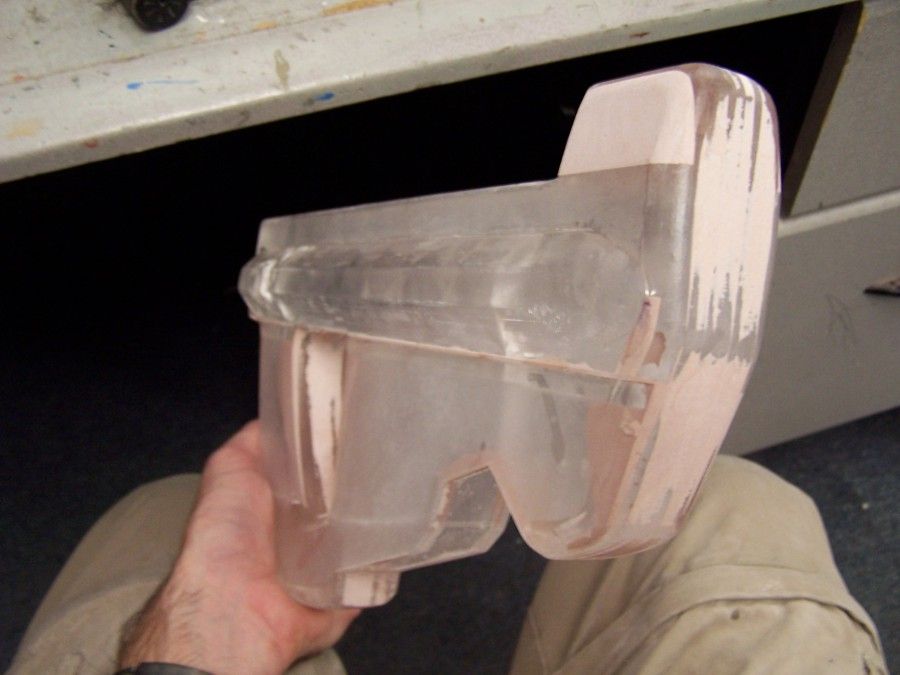
For a while, I have been wanting to make all of the weapons (or at least most of them) from the UNSC arsenal. To help keep things less cluttered I will use this thread for all of them. The first few posts will be reserved for the final of each weapon. I will be making them all from scratch and accurate to the highest detail possible.
Enjoy the ride...
Enjoy the ride...


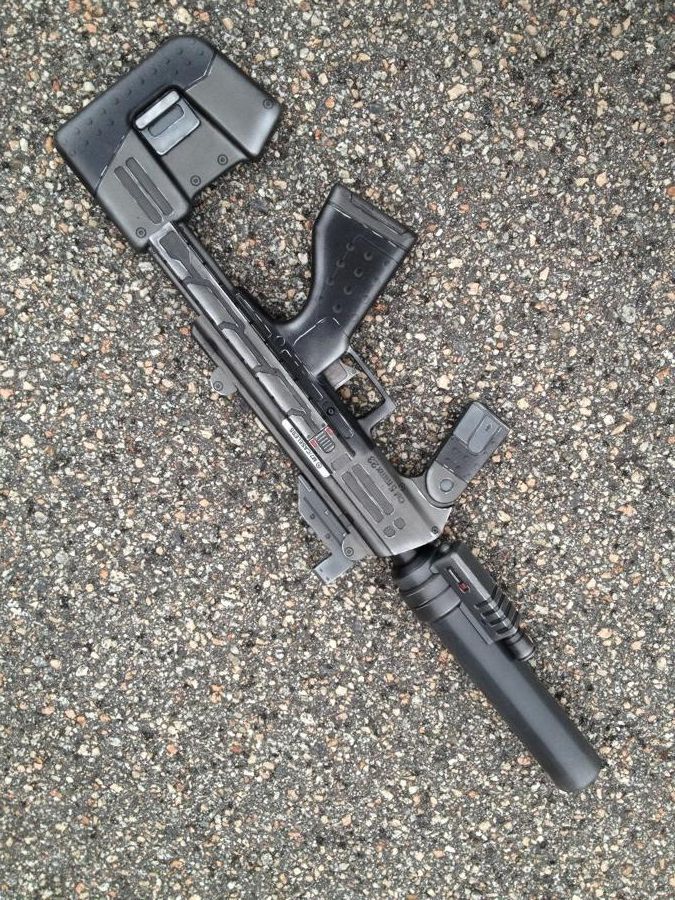


 its amazingly clean!