It did take a long time to get the right settings for my laser to engrave into the surface properly. Power Level, speed, and the correct dept are the key factors that I had to take into consideration. Different materials engrave differently, so I spend a very long time trying to achieve the right settings. After 6 years of working with the laser, I have most materials figured out.
As for the slicing, I really just make it up as I go. I have many different thickness of material to work with, so I try to "guess" how thick a part should be, and use a thickness that would work. It's kind of hard to describe, but it all makes sense in my head. lol The scope works a little different, because it has the rounded top. I cut out the sides, and 1 middle piece, that was the correct height, and then use a bunch of shorter pieces to build up the correct thickness. Then I shaped the rounded part by hand with Bondo.
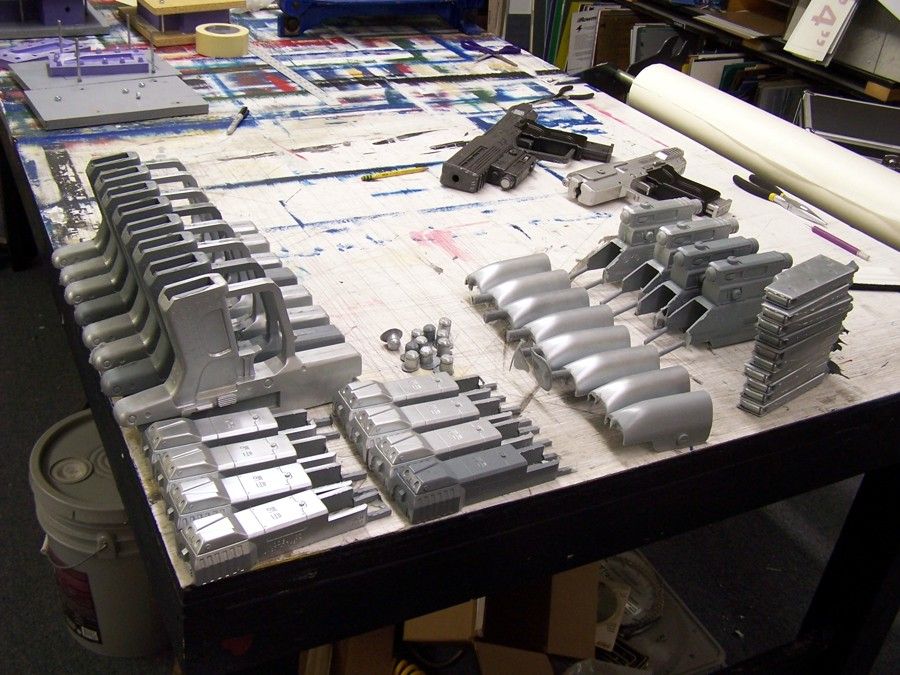
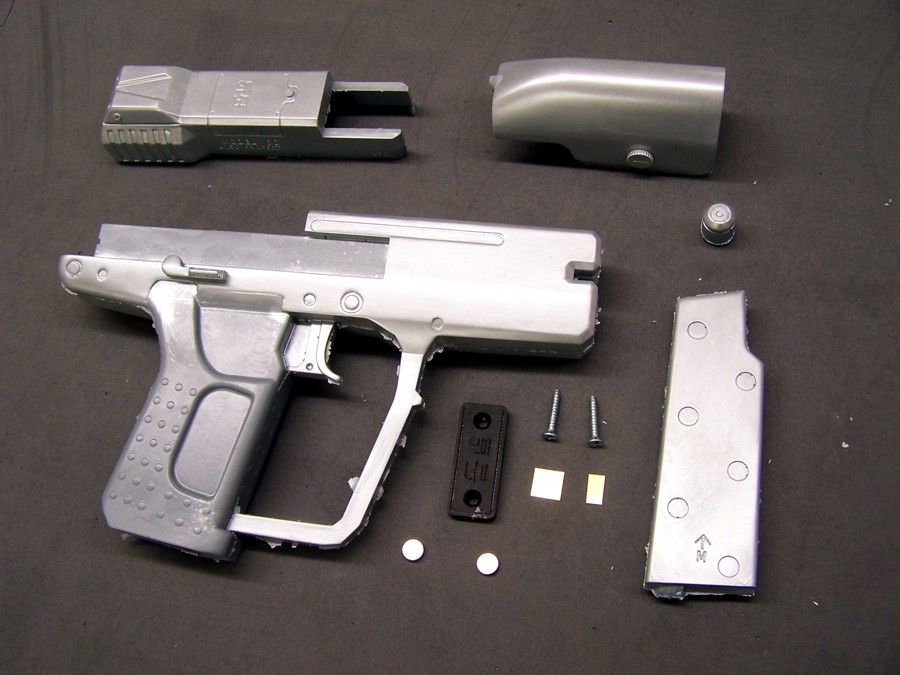
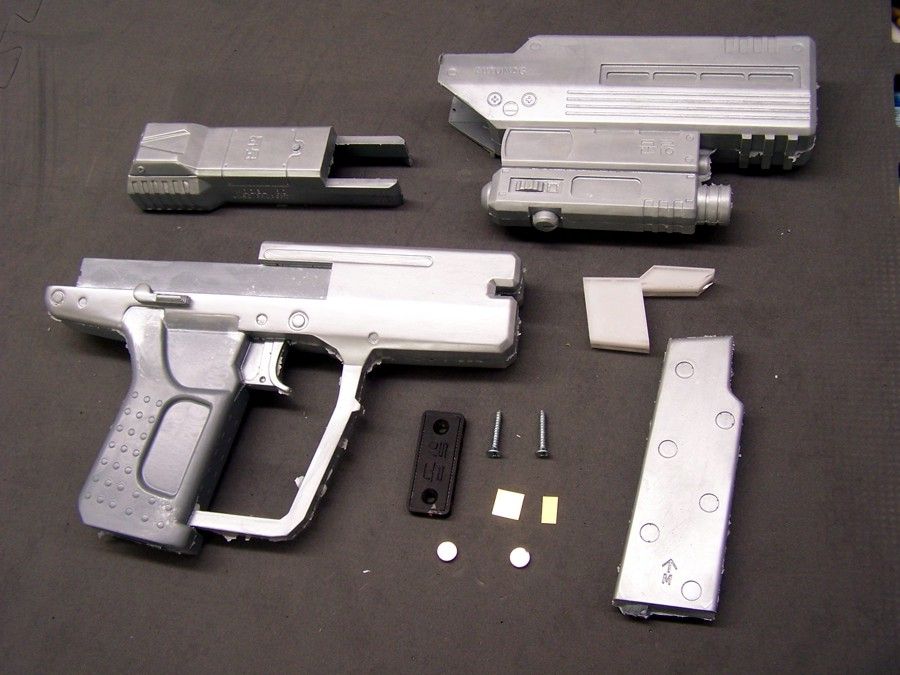
The molding process is actually pretty simple. It is set up like a standard 2 part box mold. Left and right side of the gun, with a seam line down the center. But, there is a third part of the mold that forms the magazine well. It slides up into place, and is held in place with the other two halves with two boards.
http://i1201.photobucket.com/albums/bb351/JustinBranfuhr/Guns/102_3906_zpsfbf4aeaa.jpg
Hopefully that makes sense.