well gang, its about time i post about my little graflex build. first i have to thank all my friends who ive made threw this time on therpf. if it wasnt for Chaim(@Sym-cha), Andy (@mugatu), Tom (@thd9791) and Roy (@Roygilsing) this build wouldn't have happen. You guys have welcomed me with open arms and really helped with my questions and given me great tutorials on how to tackle this project, and I thank you for that!
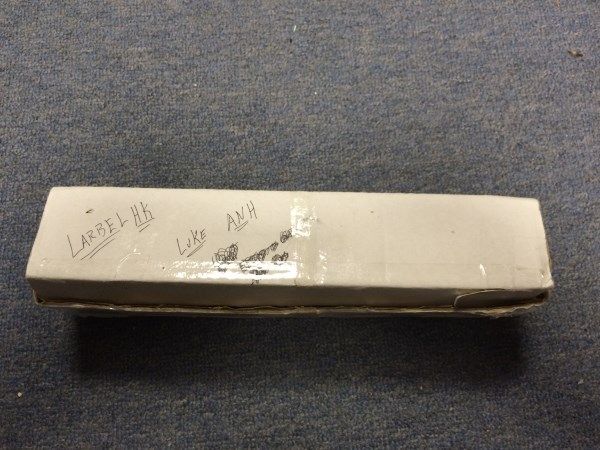
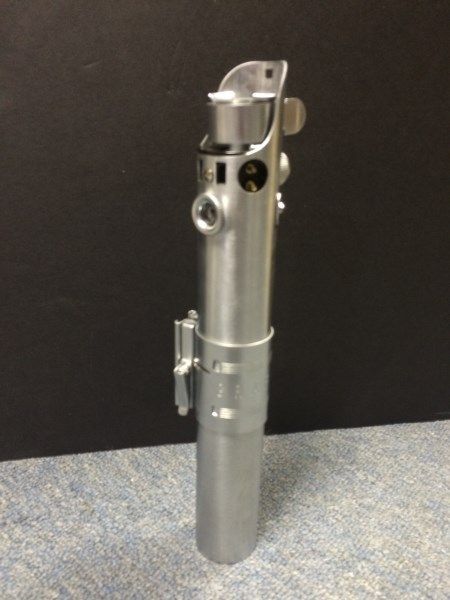
i ended up scoring a replica graflex out of the junkyard section awhile back. i noticed that with this replica the bunny ears has a rivit and not a screw like other replicas and that was a selling point for me. the only down side is the bottom of the graflex replica has 2 holes drilled into it from the run. i figured the original owner drilled the holes in the wrong places and ended up getting rid of it to get a new one. later on i found this same replica on ebay! same box, same 2 holes drill in the bottom, and same red buttons!
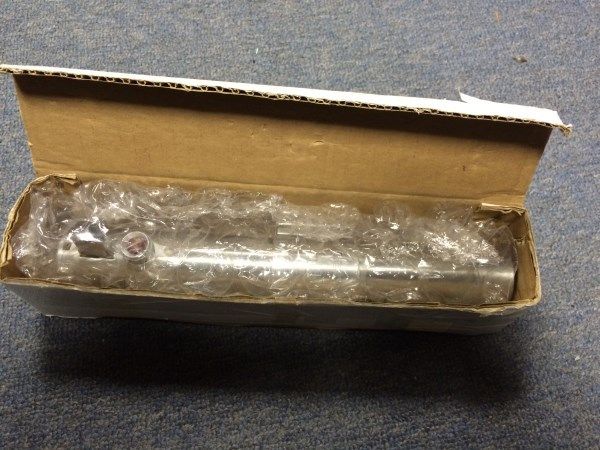
the red buttons come in pieces, there is no spring in them, the run owner used crumbled up pieces of paper to make the button "functional" i will fix this in a few weeks, im just looking for old flash lights or old broken electronics i have sitting around the house where i can rip out there springs that hold the batteries in... anyway heres some photos of
my replica
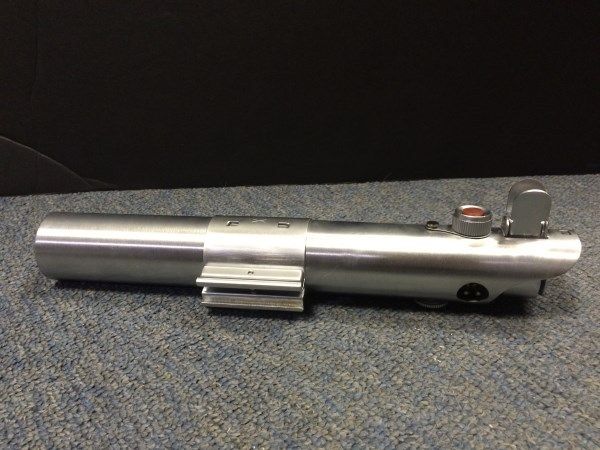
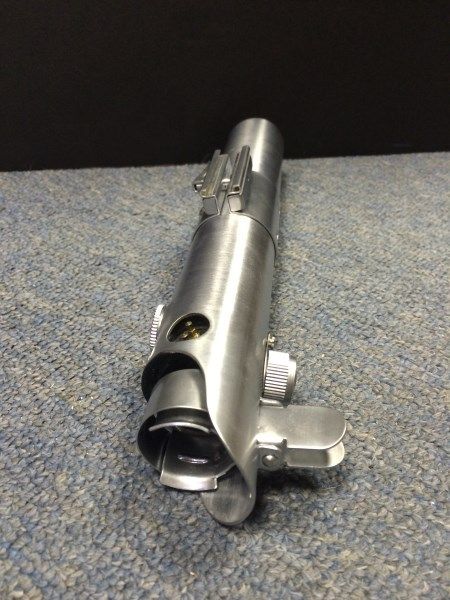
heres the replica with gino grips, and one of toms old bus boards
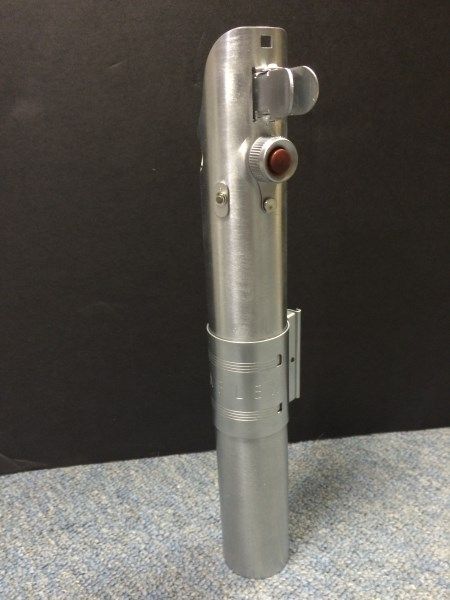
i have clamped the replica together and placed Roys kobold ontop of the 2 hole, i can cover the 2 holes with the kobold and keep it in line with the clamp so im not longer wondered about the kobold not lining up with the clamp
I have been super busy with real world stuff, work, volunteer work, political campaigning. so i work roughly a hour or 2 a night on my models/replicas. the past couple of nights i started cracking away with the grips. i bought the same miter box you can see in toms (thd9791) build threads. the miter box works amazing, and i got it from walmart.com dirt cheap. other places have it for almost double the price, walmart at the time also included free shipping for me. heres a link to the miter box i used.
http://www.walmart.com/ip/24547386?...42560272&wl4=&wl5=pla&wl6=78881173472&veh=sem
you can find the same thing on ebay and other sites but when u add in shipping its more then what walmart sells it for. plus for some reason if it came in broken or what not walmart is 3 minutes from my house so i could return it.
speaking of walmart the other night my girl and i were shopping there and i can to pick up some car cleaning products, the isle beside it is home improvement section so i checked it out. i found this file set for dirt cheap and knew i needed smaller files to get into the 8mm cut outs of the t-tracks so i picked it up for 4 bucks!
http://www.walmart.com/ip/Ultra-Steel-Needle-File-Set-with-Case-6pc/17190609
i highly recommend these files, they were dirt cheap, came in a great case and work very well!! now on to come picture sharing
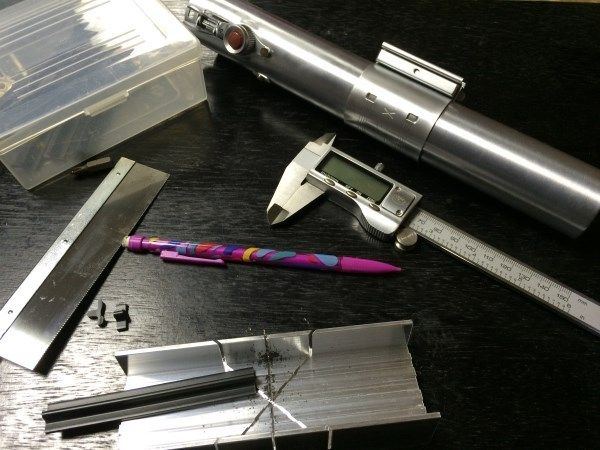
i dont have a work bench right now, but in the process of saving up for one, so right now im working on alittle table. heres what my work area consists of right now, kinda a joke BUT it works!")
believe it or not but this black table sucks for light... i ended up bringing home some Azek from work, its white plastic trim boards we use on many of the homes we build. they never rot so its a great seller.. plus they are a bright white so it helps seeing the black t-tracks good
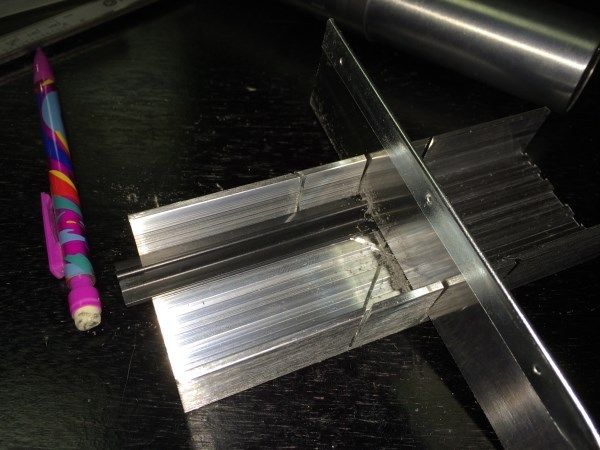
the "my little pony" pencil is great for marking the cut marks on the tracks. you can erase the pencil mark simply with your finger
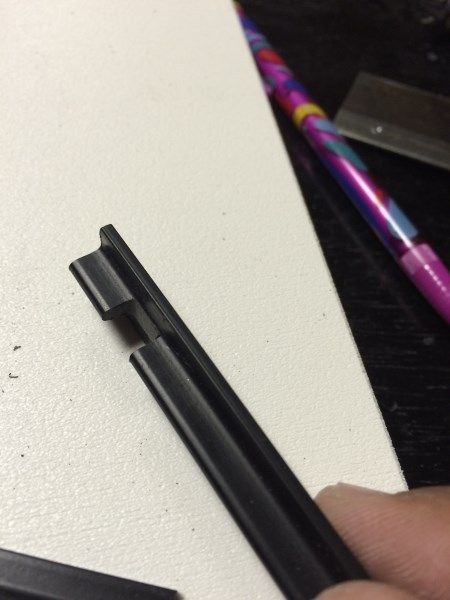
i ended up buying Roys ESB kit, which is a amazing kit! his grips are also amazing. i choose to use his grips over ginos because i like the shape better and also they cut very very smooth.
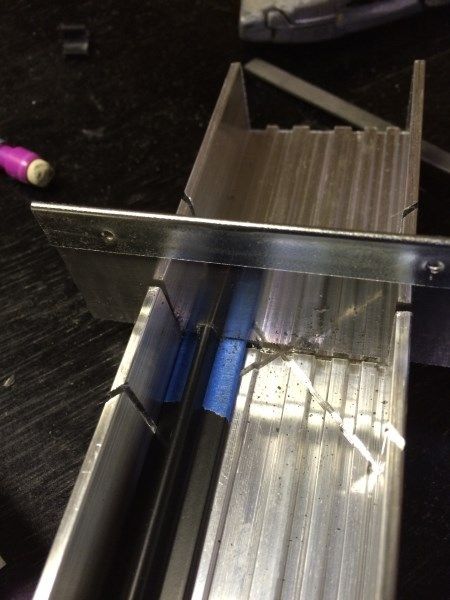
alittle trick i use it blue painters tape. i cut the grips very slowly and afraid to cut the surface of the track, so the blue tape gives me alittle extra security plus once u hit the tape it makes a different sound, kinda like a alarm " WAKE UP DAN, TOO FAR!!!" luckily i havent activated that alarm yet! lol again i love this little miter box
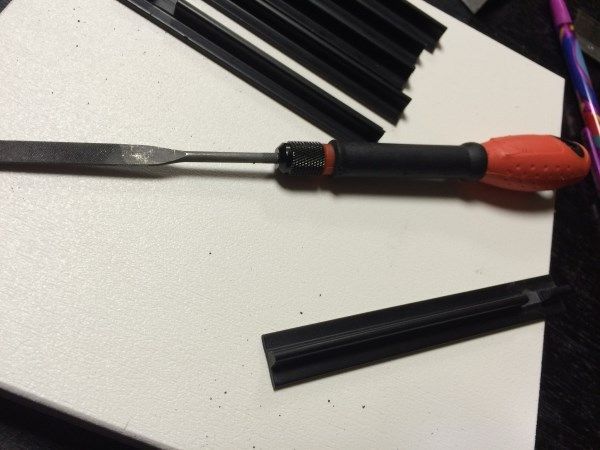
once i cut all 6 tracks i broke out that little file and went to work, i love this dang little set, and for 4 bucks! if they dull too fast ill go buy another set, you cant beat it for the price. the only thing that bothers me in the color difference when filing.. i noticed if i attached the smallest file, and made circle motions while filing i can get the black color back. Tom also shared his trick on bringing them back to black and im going to attempt that
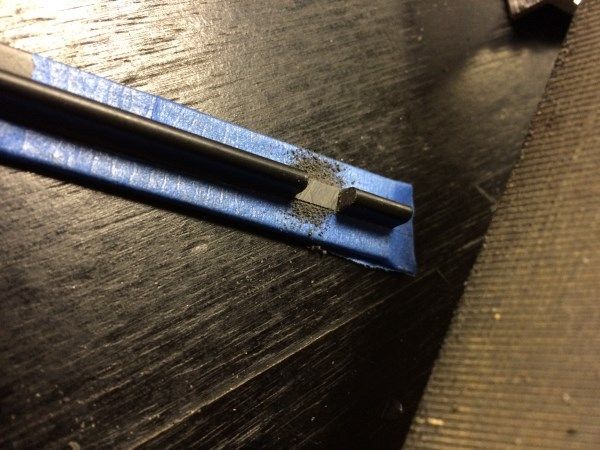
here you can really see the color change, below is the picture after the circle motions
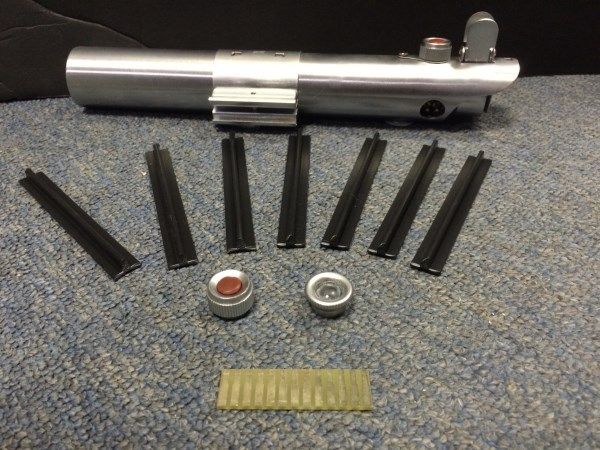
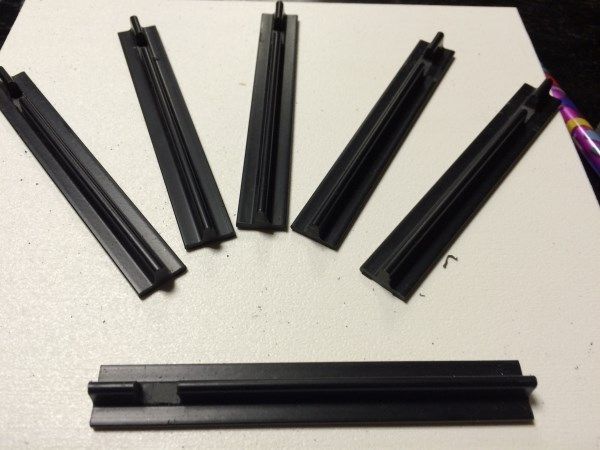
my tracks all done
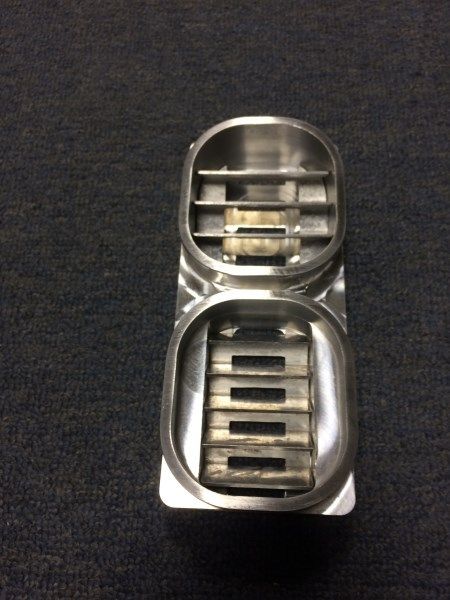
progress is always slow with me because i dont have too much free time right now, and ive been working on a HUGE project for a long time now so that get most of my attention. these sabers are what i use to wait for other part runs to come threw, theres alittle sneak peak of the big project im on
a special thanks to all my RPF friends who have helped me with the saber stuff, i really appreciate your help and look forward to seeing your threads everyday. take care everyone, craft on!
-danny
i ended up scoring a replica graflex out of the junkyard section awhile back. i noticed that with this replica the bunny ears has a rivit and not a screw like other replicas and that was a selling point for me. the only down side is the bottom of the graflex replica has 2 holes drilled into it from the run. i figured the original owner drilled the holes in the wrong places and ended up getting rid of it to get a new one. later on i found this same replica on ebay! same box, same 2 holes drill in the bottom, and same red buttons!
the red buttons come in pieces, there is no spring in them, the run owner used crumbled up pieces of paper to make the button "functional" i will fix this in a few weeks, im just looking for old flash lights or old broken electronics i have sitting around the house where i can rip out there springs that hold the batteries in... anyway heres some photos of
my replica
heres the replica with gino grips, and one of toms old bus boards
i have clamped the replica together and placed Roys kobold ontop of the 2 hole, i can cover the 2 holes with the kobold and keep it in line with the clamp so im not longer wondered about the kobold not lining up with the clamp
I have been super busy with real world stuff, work, volunteer work, political campaigning. so i work roughly a hour or 2 a night on my models/replicas. the past couple of nights i started cracking away with the grips. i bought the same miter box you can see in toms (thd9791) build threads. the miter box works amazing, and i got it from walmart.com dirt cheap. other places have it for almost double the price, walmart at the time also included free shipping for me. heres a link to the miter box i used.
http://www.walmart.com/ip/24547386?...42560272&wl4=&wl5=pla&wl6=78881173472&veh=sem
you can find the same thing on ebay and other sites but when u add in shipping its more then what walmart sells it for. plus for some reason if it came in broken or what not walmart is 3 minutes from my house so i could return it.
speaking of walmart the other night my girl and i were shopping there and i can to pick up some car cleaning products, the isle beside it is home improvement section so i checked it out. i found this file set for dirt cheap and knew i needed smaller files to get into the 8mm cut outs of the t-tracks so i picked it up for 4 bucks!
http://www.walmart.com/ip/Ultra-Steel-Needle-File-Set-with-Case-6pc/17190609
i highly recommend these files, they were dirt cheap, came in a great case and work very well!! now on to come picture sharing
i dont have a work bench right now, but in the process of saving up for one, so right now im working on alittle table. heres what my work area consists of right now, kinda a joke BUT it works!
believe it or not but this black table sucks for light... i ended up bringing home some Azek from work, its white plastic trim boards we use on many of the homes we build. they never rot so its a great seller.. plus they are a bright white so it helps seeing the black t-tracks good
the "my little pony" pencil is great for marking the cut marks on the tracks. you can erase the pencil mark simply with your finger
i ended up buying Roys ESB kit, which is a amazing kit! his grips are also amazing. i choose to use his grips over ginos because i like the shape better and also they cut very very smooth.
alittle trick i use it blue painters tape. i cut the grips very slowly and afraid to cut the surface of the track, so the blue tape gives me alittle extra security plus once u hit the tape it makes a different sound, kinda like a alarm " WAKE UP DAN, TOO FAR!!!" luckily i havent activated that alarm yet! lol again i love this little miter box
once i cut all 6 tracks i broke out that little file and went to work, i love this dang little set, and for 4 bucks! if they dull too fast ill go buy another set, you cant beat it for the price. the only thing that bothers me in the color difference when filing.. i noticed if i attached the smallest file, and made circle motions while filing i can get the black color back. Tom also shared his trick on bringing them back to black and im going to attempt that
here you can really see the color change, below is the picture after the circle motions
my tracks all done
progress is always slow with me because i dont have too much free time right now, and ive been working on a HUGE project for a long time now so that get most of my attention. these sabers are what i use to wait for other part runs to come threw, theres alittle sneak peak of the big project im on
a special thanks to all my RPF friends who have helped me with the saber stuff, i really appreciate your help and look forward to seeing your threads everyday. take care everyone, craft on!
-danny
