GOTG: My own Star-Lord Build - New Boot Rockets - Post #201

Re: GOTG: My own Star-Lord Build

I haven't tried anything yet. Is JB Weld sandable? I'm talking about filling in the gaps from the front and smoothing them before primer.
 
Re: GOTG: My own Star-Lord Build

I used apoxiesculpt on the front part of the mask as a filler because I like how easily it smoothed down, but I had a looooot of trouble attaching the sides of the helmet to the front, so I ended up supergluing them as best I could with cyanoacrylate, then using hotglue, then bridging over the hotglue with fiberglass resin which gives it still a little bit of mechanical flexibility. I did all of that with the thought that down the line I might need to flex the sides out a bit to get them to fit properly against the helmet's backplate, and I figured a heat gun would be able to loosen up those materials, whereas if I used bondo it'd be brittle and crack.
 
Re: GOTG: My own Star-Lord Build

IronManiac Yeah you can sand the JB weld. Ein I've got to get some apoxiesculpt and try it out, I'm always looking for new/better ways of doing things. Where did you find it?
 
Last edited by a moderator:
Re: GOTG: My own Star-Lord Build

Wood filler all the way. Non toxic, smooths with a bit of water before it hardens, and easily sandable. Just be sure you seal it well when you're all done.
 
Re: GOTG: My own Star-Lord Build

Yesterday's progress:

Fully assembled and wood putty to fill the gaps:

helmet-filler1.jpghelmet-filler2.jpg


I used a wood putty that starts out purple and turns white when it's dry. This was very helpful when it came to sanding, so i didn't start sanding too early. It was very easy to work with, i actually just applied it with my fingers, rubbing it into the gaps then wiping away as much of the excess as i could before it dried. it helped cut down on sanding time.

Helmet primered:

helmet-primer1.jpghelmet-primer2.jpg

Here it is primered and ready for final sanding before paint. I haven't attached the tubes near the neck because I want to get good paint coverage on everything. I'll attach them once everything is painted.

This helmet is sized to 88% as recommended by helegak. It's a good fit. It fits pretty close to my head on the sides, but there's enough room in the front and back to allow for padding in the front and back to hold the helmet in the right place on my head. As I was constructing it, I was concerned that I wouldn't be able to put it on over my head, So i assembled the front and sides, but just taped on the back and tried to fit it. Thankfully, I'm able to get it over my head without a problem.

I have a 22.5" head if you're curious. It's looking good that I'll be able to get this completed in time for Dragon Con this weekend!
 
Re: GOTG: My own Star-Lord Build

Now that you've got the helmet done, a question:

What's your vision like in the front? I've been looking at mine and feeling like the eyes are a bit too far apart, which would give me a pretty awful blind spot.

Any pictures of the fit on this thing? :D
 
Re: GOTG: My own Star-Lord Build

Vision is fine. Peripherial is cut down of course, but i understand what you're talking about with the eyes being set so far apart. I didn't perceive a blind spot in the center of my vision when I tried it on, but I only really wore it in front of a mirror. Tonight when i get home i'll put it on and walk around a bit to see what its like and i'll report back. I'll also take some pics of it on. :)

It will also depend on how close or far i put my face from the mask. Depending on if i put more padding in on the forehead, or more on the back of the head, my face could be half an inch from the eye holes, or 1 1/4 inches from the eyes. The helmet is a good fit side to side, but there's definitely a good bit of wiggle-room front to back.

Someone else mentioned (maybe it was you?) in another thread that the front of the helegak model is a bit too curved from side to side and now that it's together, i think that's correct, over all it should be flatter. Its particularly evident in the mouth shield, when you see pictures of the prop helmet, you can see there is almost no curve to that part, where as helegak's model has a significant curve to it. I think this also contributes to the slightly 'bugeyed' look of this version...

I'm not complaining, it's a great model and i'm excited to wear it.
 
Re: GOTG: My own Star-Lord Build

First off, I want to say: great job on your costume! I painted my blasters and now that I see yours, mine look incomplete without the carbon fiber wrap! How long did it take you to do each handle? I'm thinking about doing it, but am afraid that I will mess it up. Did you take apart the handle to wrap it?
 
Re: GOTG: My own Star-Lord Build

Thanks! It took about 45 minutes to wrap one Handle. I wrapped it while the blaster was completely assembled. The vinyl I used was very forgiving, I can apply it, peel it back and reapply easily, so it might take a while to do, you can't really mess anything up. Good luck!
 
Re: GOTG: My own Star-Lord Build

Someone else mentioned (maybe it was you?) in another thread that the front of the helegak model is a bit too curved from side to side and now that it's together, i think that's correct, over all it should be flatter. Its particularly evident in the mouth shield, when you see pictures of the prop helmet, you can see there is almost no curve to that part, where as helegak's model has a significant curve to it. I think this also contributes to the slightly 'bugeyed' look of this version...

I'm not complaining, it's a great model and i'm excited to wear it.

Probably was me. I can't thank him enough for releasing the model, but I had to make some changes after I started putting my own helmet together. I actually just spent a couple hours this morning totally reshaping the overall silhouette of the sides and back so I can get my big stupid lightbulb-shaped head in and out of one I'm going to start printing tonight. I do think the model that's been released has the eyes spaced a bit too far apart, too, but that's fixable once the part's printed by replacing the printed eyepieces with pvc rounds that are angled properly, which I'll probably end up doing on mine.

Glad to hear it's working well for you, though! Would you happen to know what sort of vinyl you ended up using? I see a generic brand one and a 3M brand one on Amazon, and the reviews for the generic all clamor about the 3M branded one being pretty superior, but I have a feeling those people are automotive wrappers who are doing a totally different job than you or I might be looking to do.
 
Re: GOTG: My own Star-Lord Build

Got busy painting last night!

Silver base coat:

1333.jpg

Gold and black added:

1334.jpg1335.jpg

Final steps will be to rub n buff some pieces like the breather, face tubes, and top of mouth shield, attaching side tubes, inserting red lenses, and adding padding to the inside. Should be all finished tonight and ready to wear this weekend to Dragon Con!
 
Re: GOTG: My own Star-Lord Build

Got busy painting last night!
Final steps will be to rub n buff some pieces like the breather, face tubes, and top of mouth shield, attaching side tubes, inserting red lenses, and adding padding to the inside. Should be all finished tonight and ready to wear this weekend to Dragon Con!

Nice! What spraypaint did you use for the silver? The color that you chose looks spot on!
 
Re: GOTG: My own Star-Lord Build

This is it: Duplicolor stainless steel. Should be able to find it at any autoparts store.

http://www.carid.com/dupli-color-automotive-paint/dupli-color-specialty-product-4014583.html

It came out VERY sparkly silver...like disco ball silver. Like the surface feels like it's coated in silver sand. The back of the can actually says you can gently wipe the excess off after about an hour, and after i wiped it gently with a clean cloth, it was a much better silver. I wish it was a little darker, i might go back and repaint it after the con, but for now it looks good.
 
Re: GOTG: My own Star-Lord Build

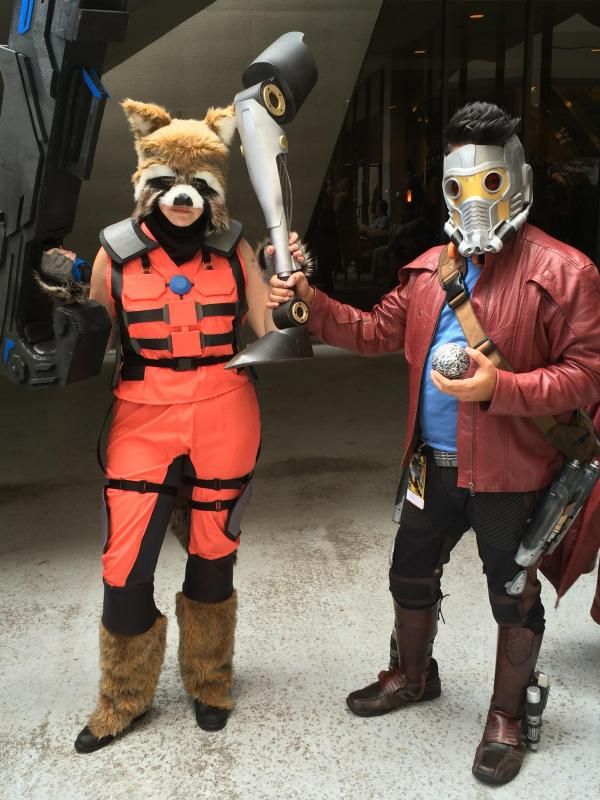
Woo! Back from DragonCon, and it was a wild, busy, sweaty, exciting weekend! I'm still exhausted today! Here's some pics from this weekend:

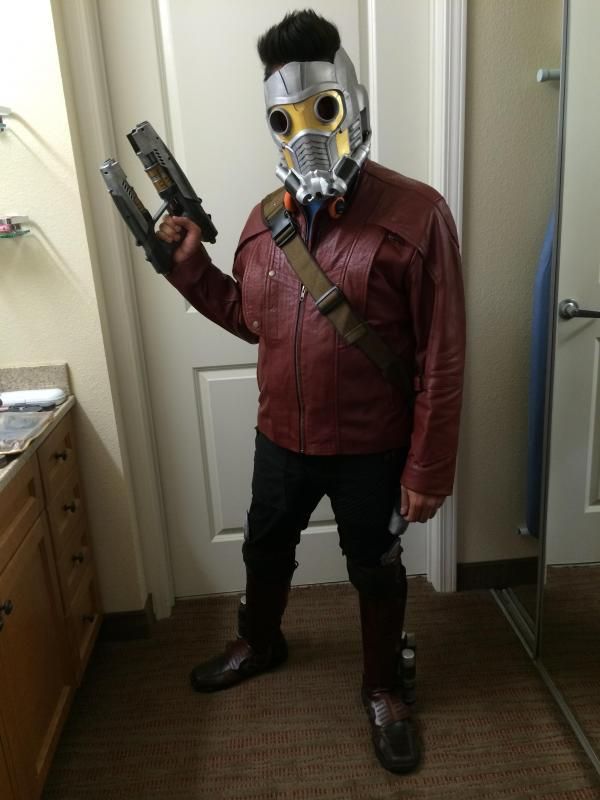
Here's my gear at the hotel set out for Saturday:

1247.jpg


All dressed and ready to meet the crowds:

1299.jpg


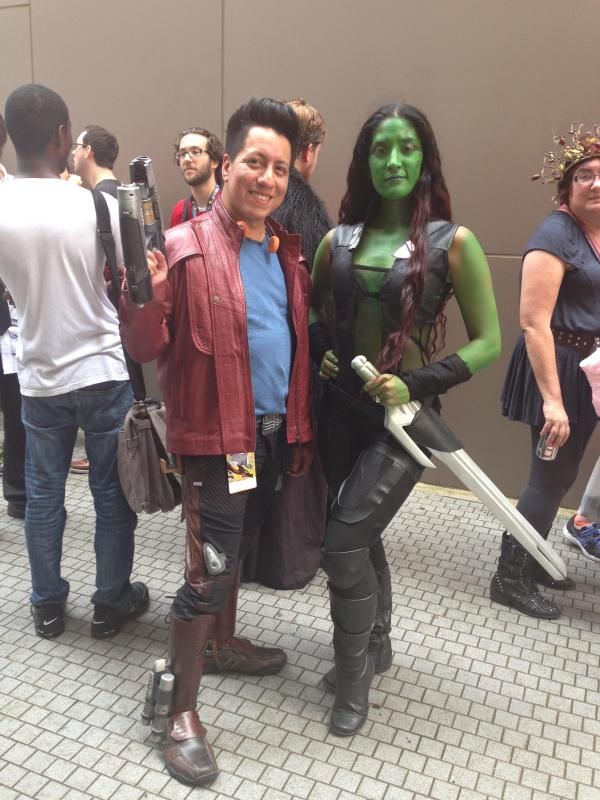
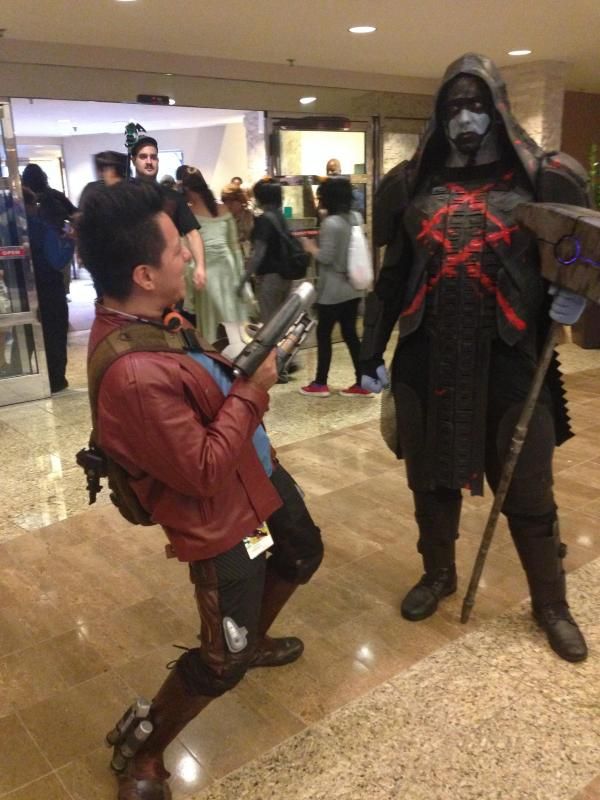
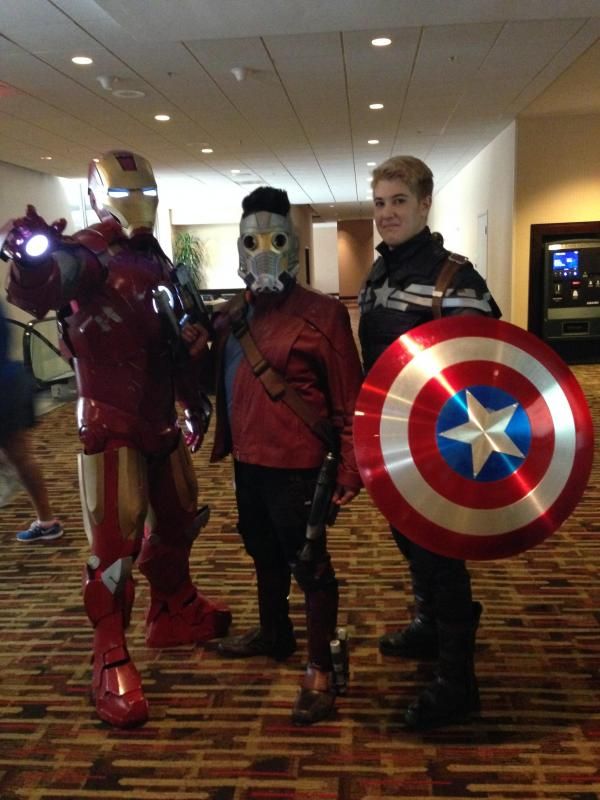
At the Con. Me and my fiancee got a great response, lots of compliments and I was probably asked to take over 100 pictures. :)

Here are a few of the shots I took with some amazing cosplayers:

1263.jpg

1266.jpg

1274.jpg

1276.jpg

1316.jpg

1318.jpg


This one was with the AMAZING Lee Hurley of Hurley FX, His Groot costume was so amazingly accurate and visually striking, he was the GOD of DragonCon!
1324.jpg
 
Back
Top