-E-
Well-Known Member
I've been working on my dustbuster with Gerry's electronics for the last week or so and I finally finished it up yesterday. Gerry suggested that we should have a place to share building tips and tricks and and a place to show off our finished phasers. So here we go ...
I went into this kind of blindly. I've never installed electronics like this before so I went through trial and error with a few things. This is all what worked for me.
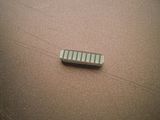
The first problem with the dustbuster was finding a "window" for the LEDs on the power meter. I contacted Mike at HMS and he said the used these ...
LED BAR GRAPH 10SEG GREEN - HDSP-4850
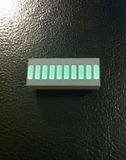
It worked great!
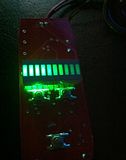
Everything was then painted up nicely (I was lucky enough to find a can of Krylon Stone Gray) and clear coated.
I used a dremel to shape the power meter. It needs to be shaved down quite a bit to get a good fit. Ultimately I used the sanding bit on the dremel and carved a lip around the top of the meter so that it would fit in like a plug.
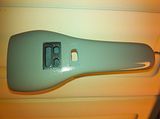
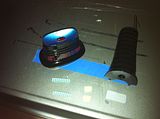
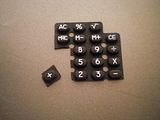
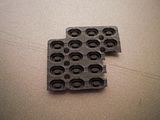
For the buttons I used a button panel for an old calculator. They worked perfectly because they were flexible enough to insert through the holes that were dremeled earlier and I was able to insert them after the electronics were glued in place. They stay in place quite nicely but can also be easily removed if needed.
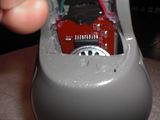
Lastly was the speaker placement. I tried a bunch of different spots and found that the best area was way in back of the main body with the speaker facing foward. It was secured in place with a velcro tab. It is loud as hell! I'm very happy I didn't end up having to drill any speaker holes.
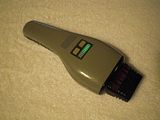
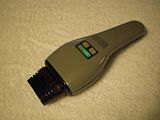
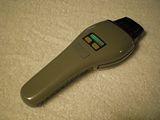
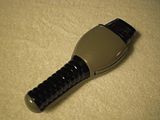
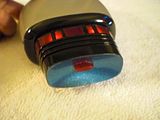
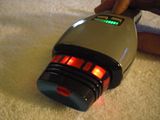
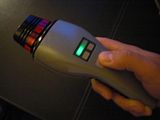
Finally some show off pics and a video.
YOUTUBE VIDEO
I went into this kind of blindly. I've never installed electronics like this before so I went through trial and error with a few things. This is all what worked for me.
The first problem with the dustbuster was finding a "window" for the LEDs on the power meter. I contacted Mike at HMS and he said the used these ...
LED BAR GRAPH 10SEG GREEN - HDSP-4850

It worked great!

Everything was then painted up nicely (I was lucky enough to find a can of Krylon Stone Gray) and clear coated.
I used a dremel to shape the power meter. It needs to be shaved down quite a bit to get a good fit. Ultimately I used the sanding bit on the dremel and carved a lip around the top of the meter so that it would fit in like a plug.


For the buttons I used a button panel for an old calculator. They worked perfectly because they were flexible enough to insert through the holes that were dremeled earlier and I was able to insert them after the electronics were glued in place. They stay in place quite nicely but can also be easily removed if needed.


Lastly was the speaker placement. I tried a bunch of different spots and found that the best area was way in back of the main body with the speaker facing foward. It was secured in place with a velcro tab. It is loud as hell! I'm very happy I didn't end up having to drill any speaker holes.

Finally some show off pics and a video.
YOUTUBE VIDEO


Last edited:
