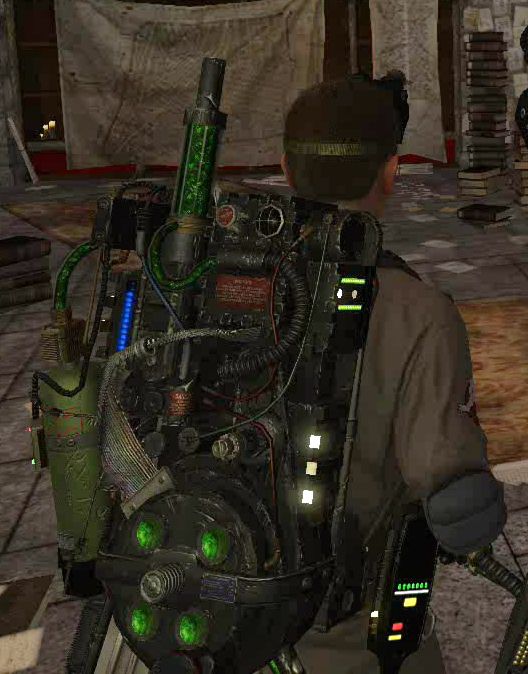
Ghostbusters: The Video Game Proton Pack

mburkit

Well-Known Member
Hello all! I've been a member for a little while here but mostly just to stare at all your amazing projects. I don't expect alot of people here to know me but I am a moderator on GBFans and I have been an active member of that community since 2003. In my time, I have built about 6 proton packs, all based of packs from the 2 Ghostbusters films. Well, now I'm trying something slightly different and figured I'd start a thread here while I'm in mid build.

I have decided to tackle the fully upgraded proton pack from Ghostbusters: The Video Game, from 2009. There have been a few people to try to tackle this task in the ghostbusters community but everyone seems to take a movie pack and add the attachments. I have opted to try my best to replicate the on screen model because there are fundamental differences between the movie and game packs. And with that, lets get started with 2 weeks worth of photos!

So, at the beginning of this project, I began with a pile of parts:
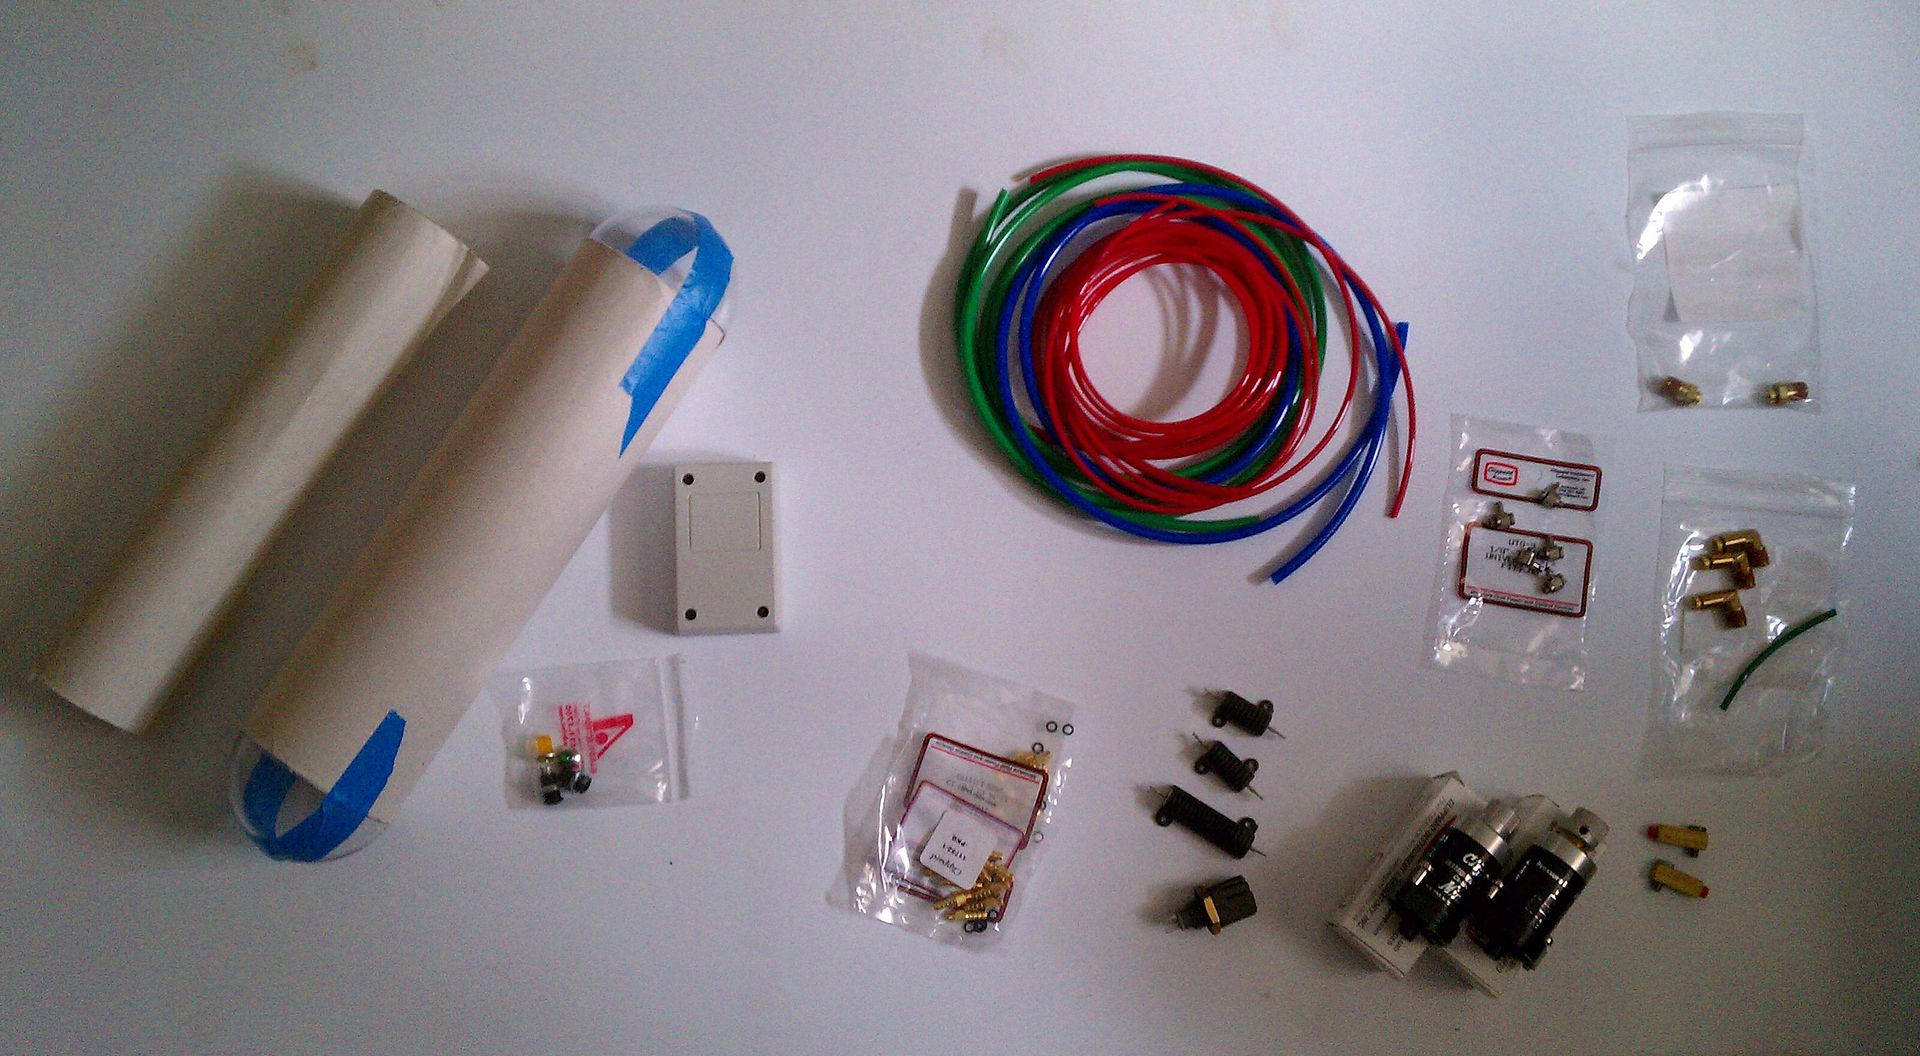
(Please click on the images to view them at a larger size)

Here is some reference comparison shots of what I have so far. . .
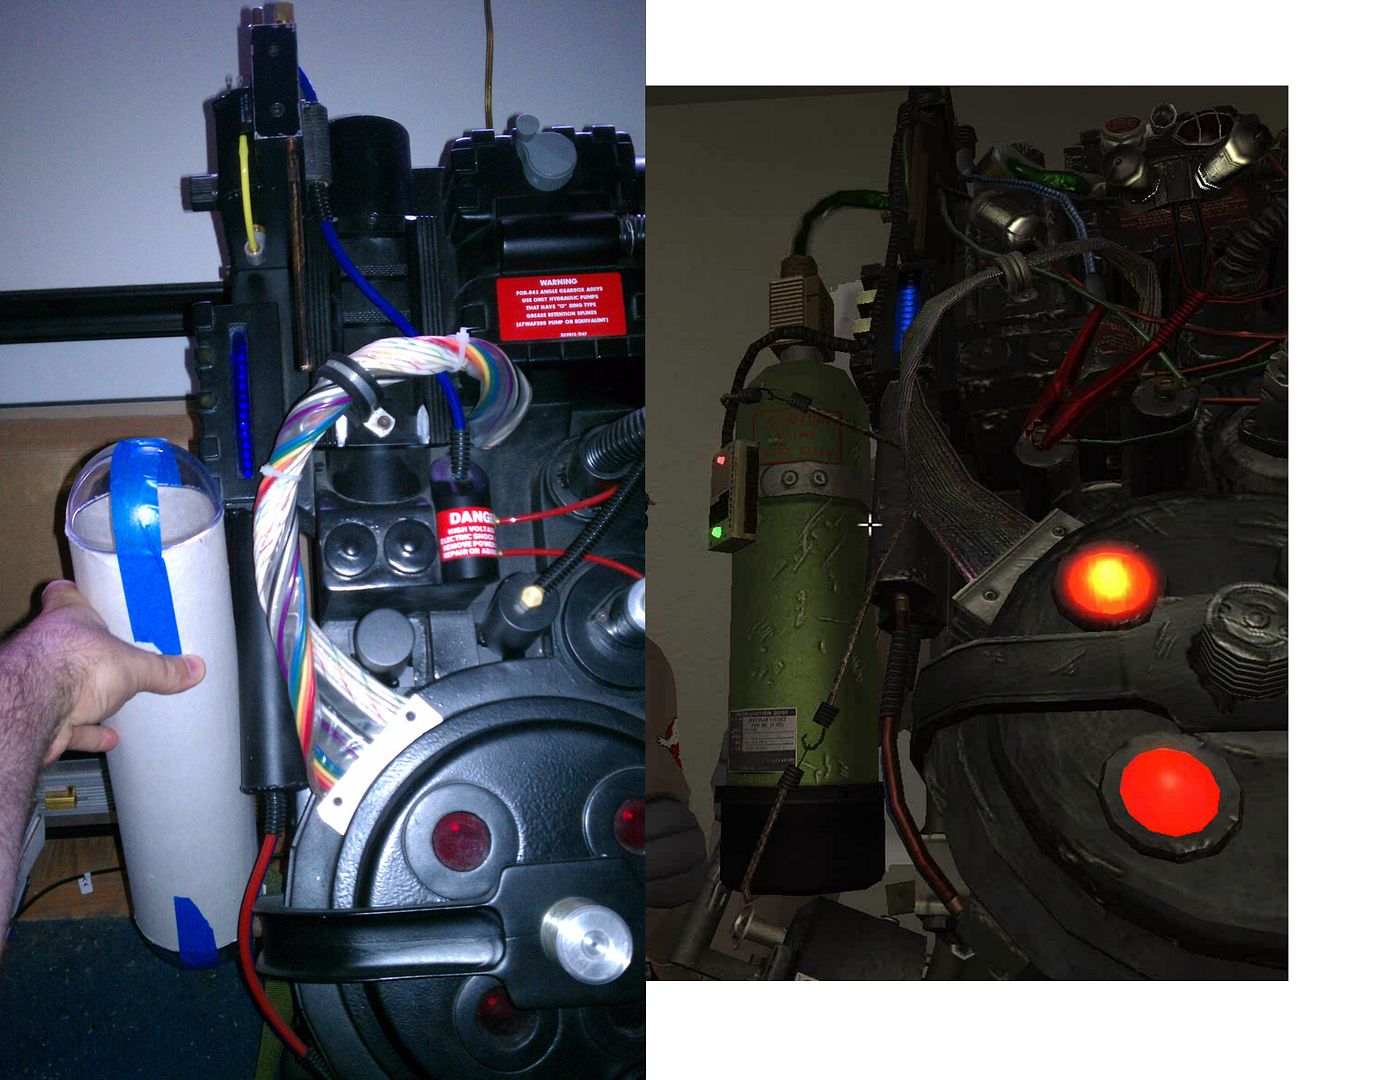

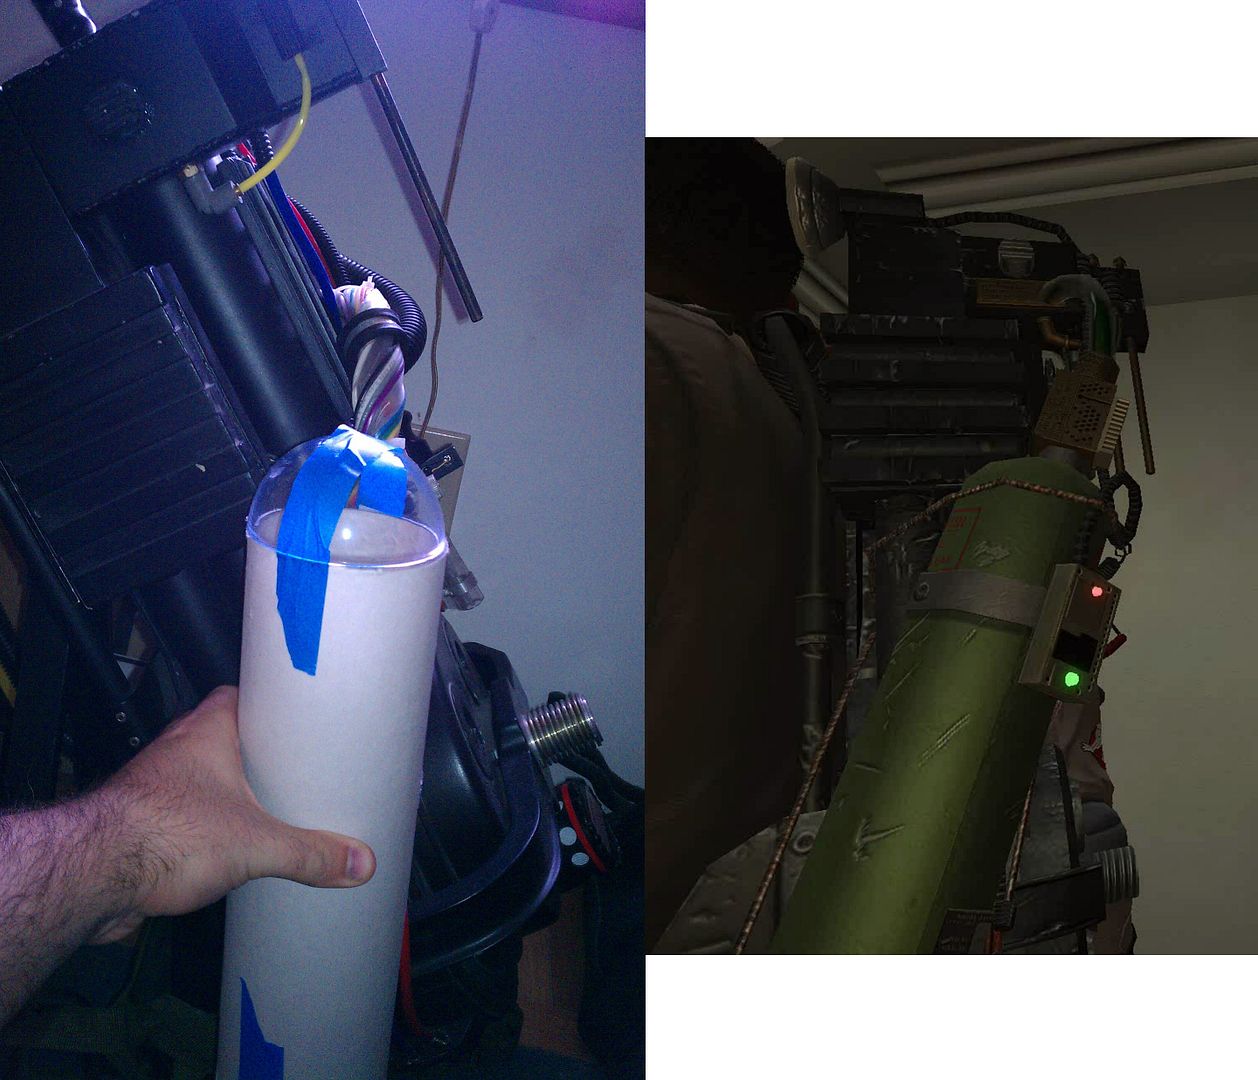
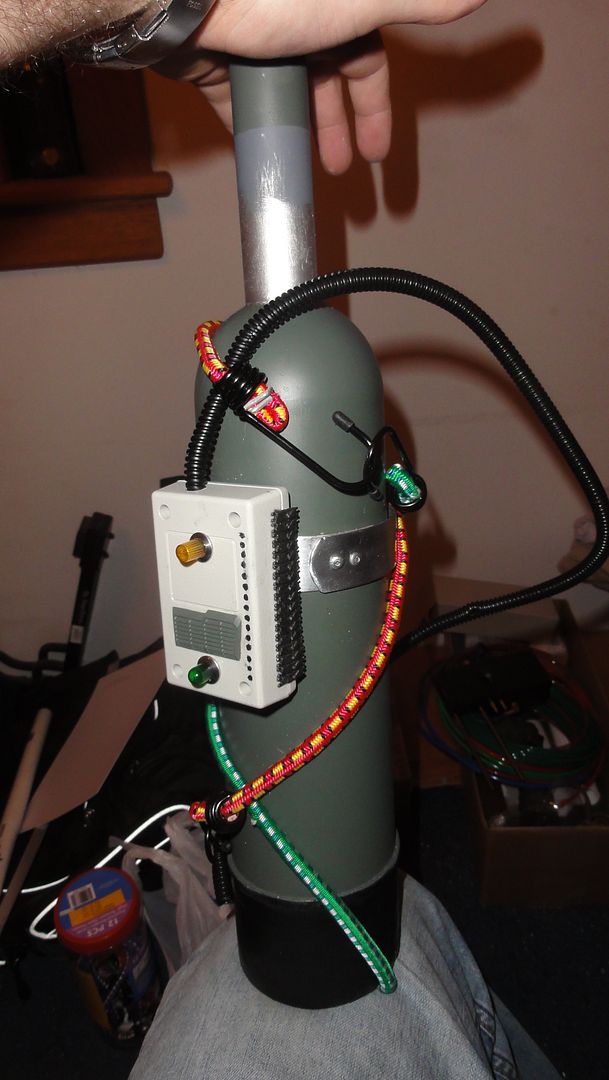
I am going to scratch build the slime tank out of 3.5" OD Acrylic tube and dome. These shots are of the acrylic tubing I got next to my GB1 Hero pack replica for some size comparisons.


Here's some reference shots of some of the hardware I have gathered. I do not like the barbed fitting in these photos because they are too small compared to the movie used hardware (also shown in the photo), so I have ordered some new stuff that should be more applicable to this build.
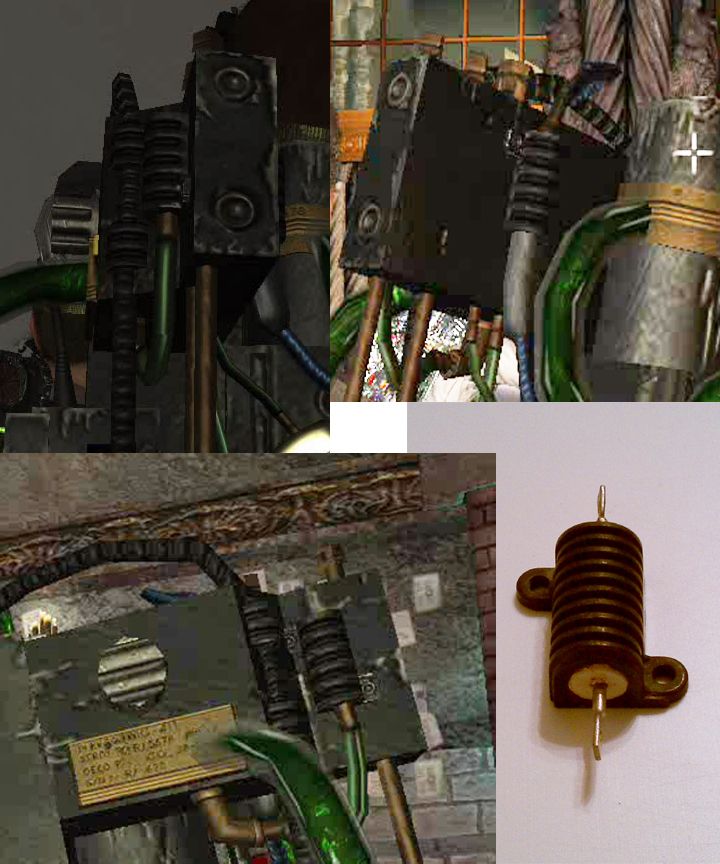

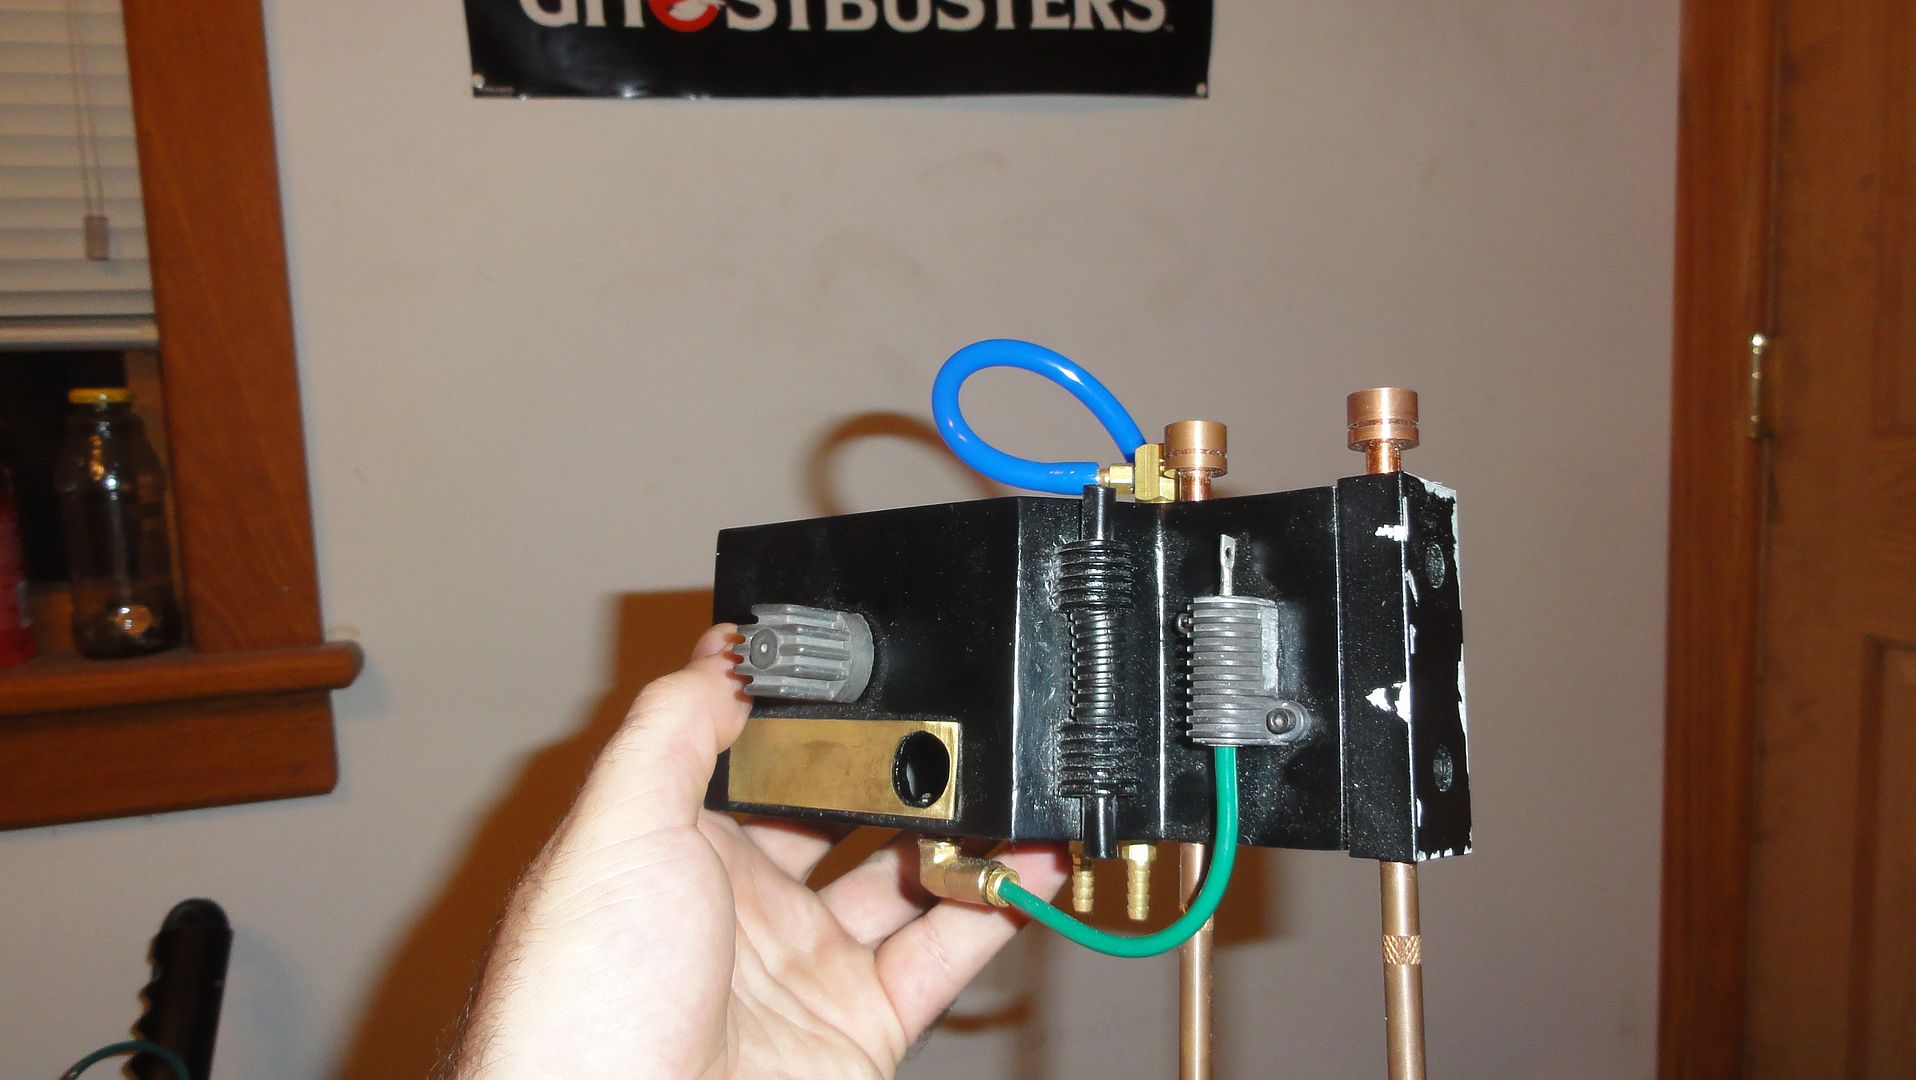
The "Ion Arm" of the proton pack has alot more going on on it in the video game. And once again, the type of hardware on it has changed from the movie props. Here's reference of the new Dale resistor I will be using on this build.
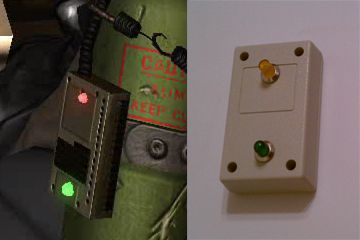

The slime tank itself has had many cues taken from the second film's Slimeblower props. So I sourced the screen accurate project box, Linrose lamps, and even the tank model that was used for the greeblies on the movie prop that was replicated virtually on the game model.
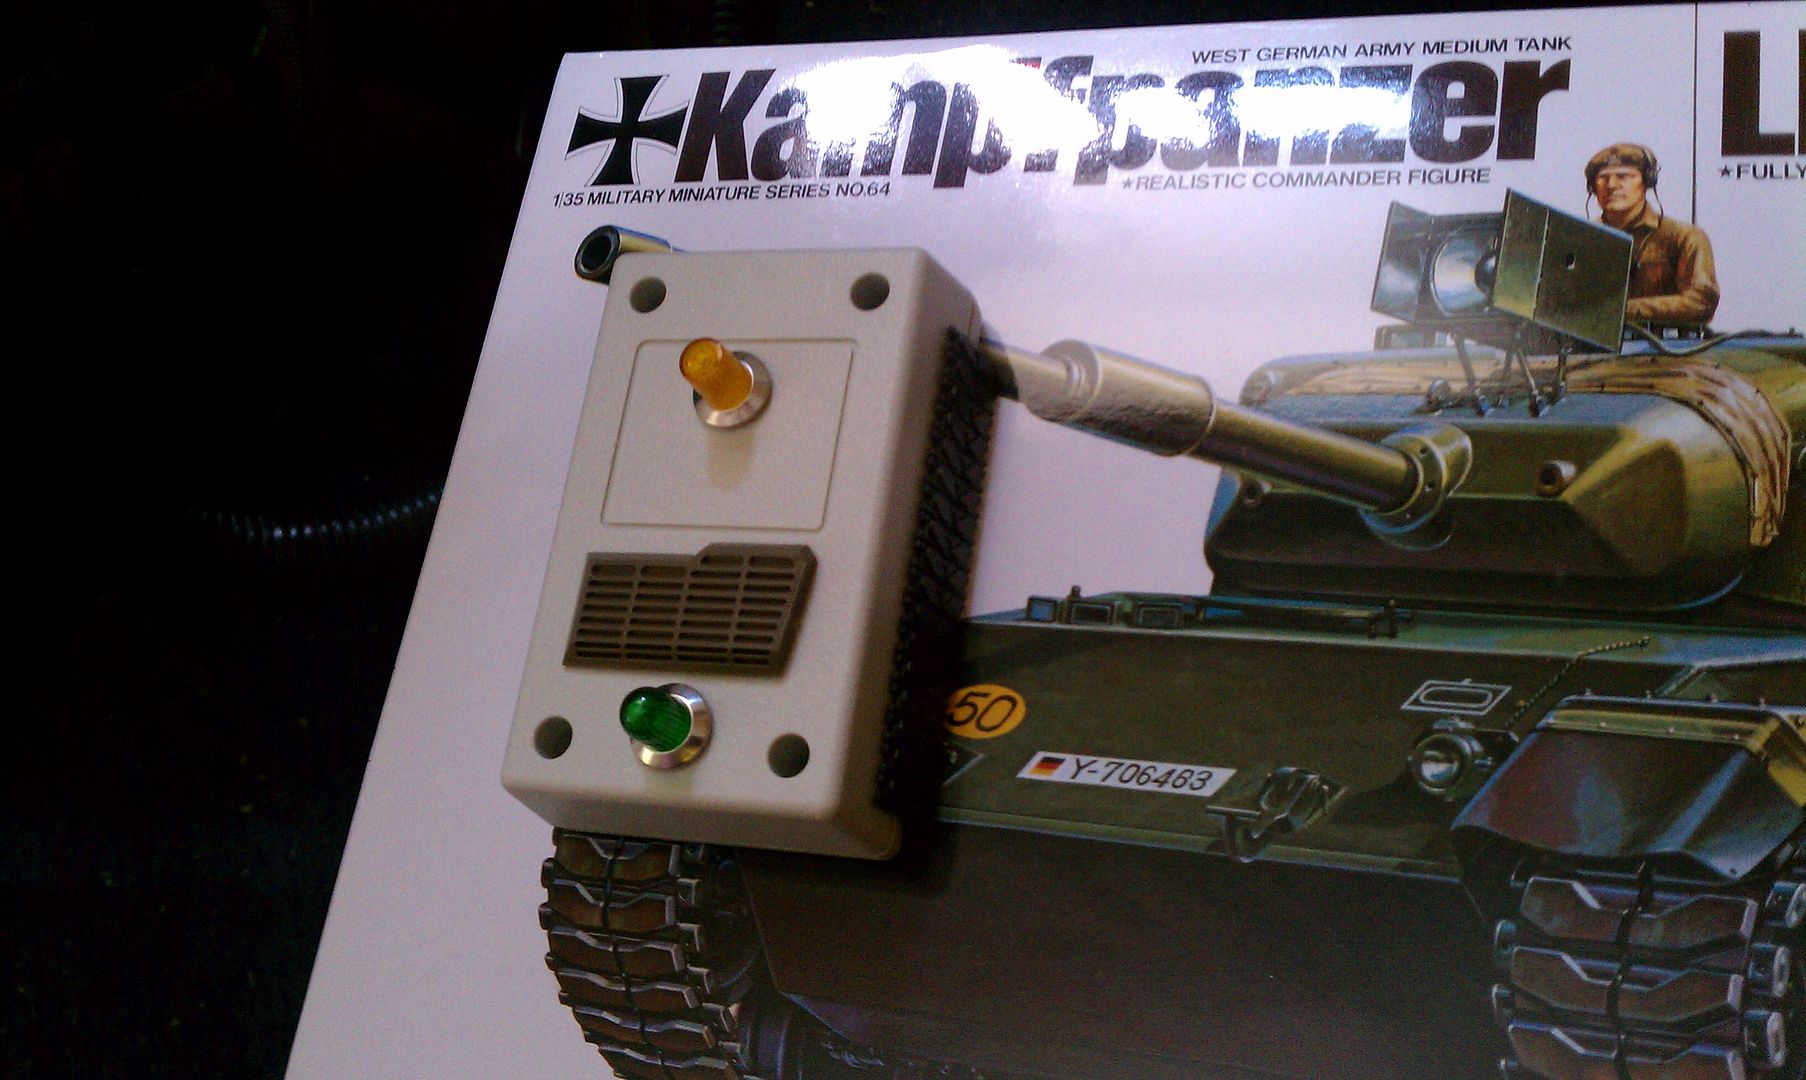
(With parts from the tank model)
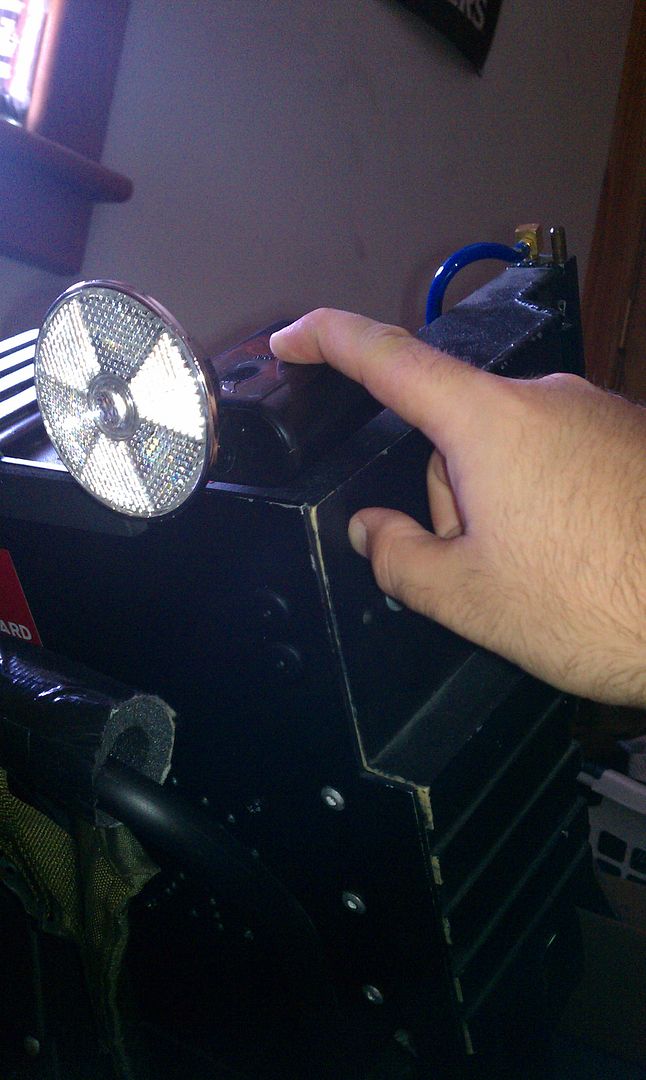

The game pack also took another cue from the slimeblowers by having a halogen bike light mounted on top of the pack. Here is a knock off brand of what was used in the film (its all I could find verses the real deal).

Last photo of hardware I've collected, I swear:
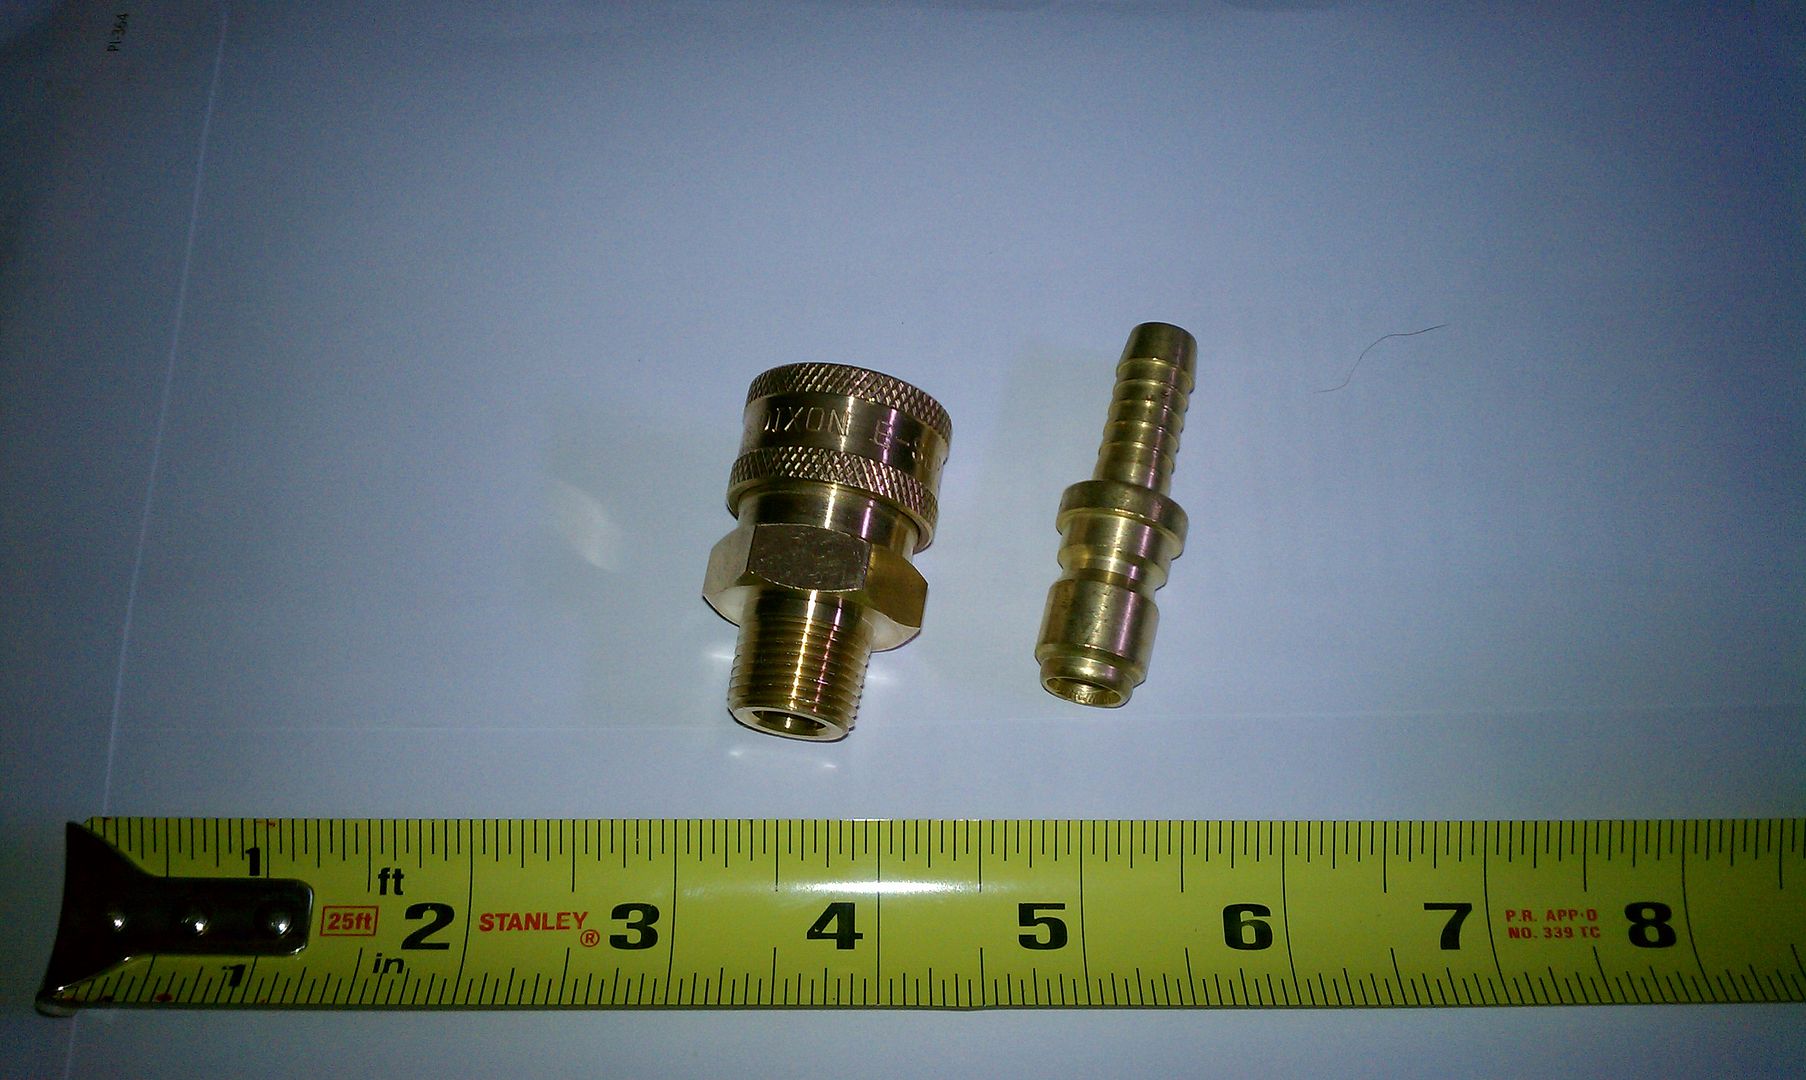
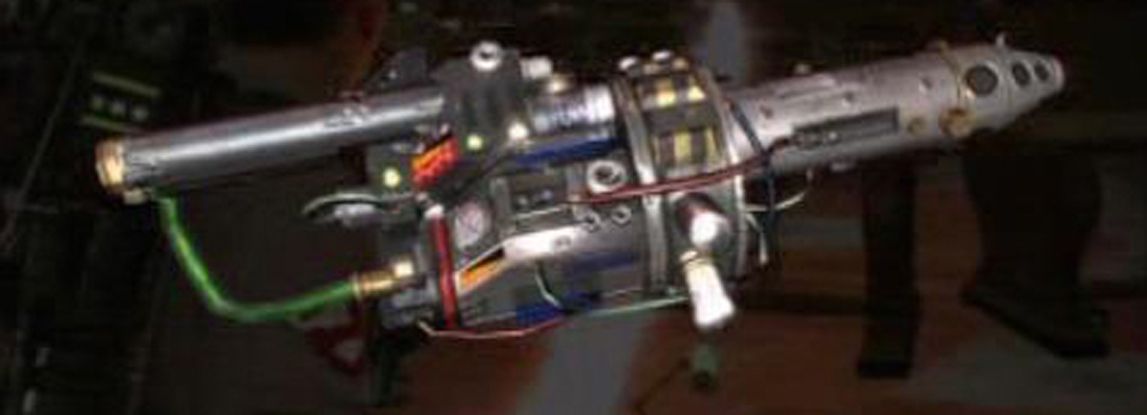
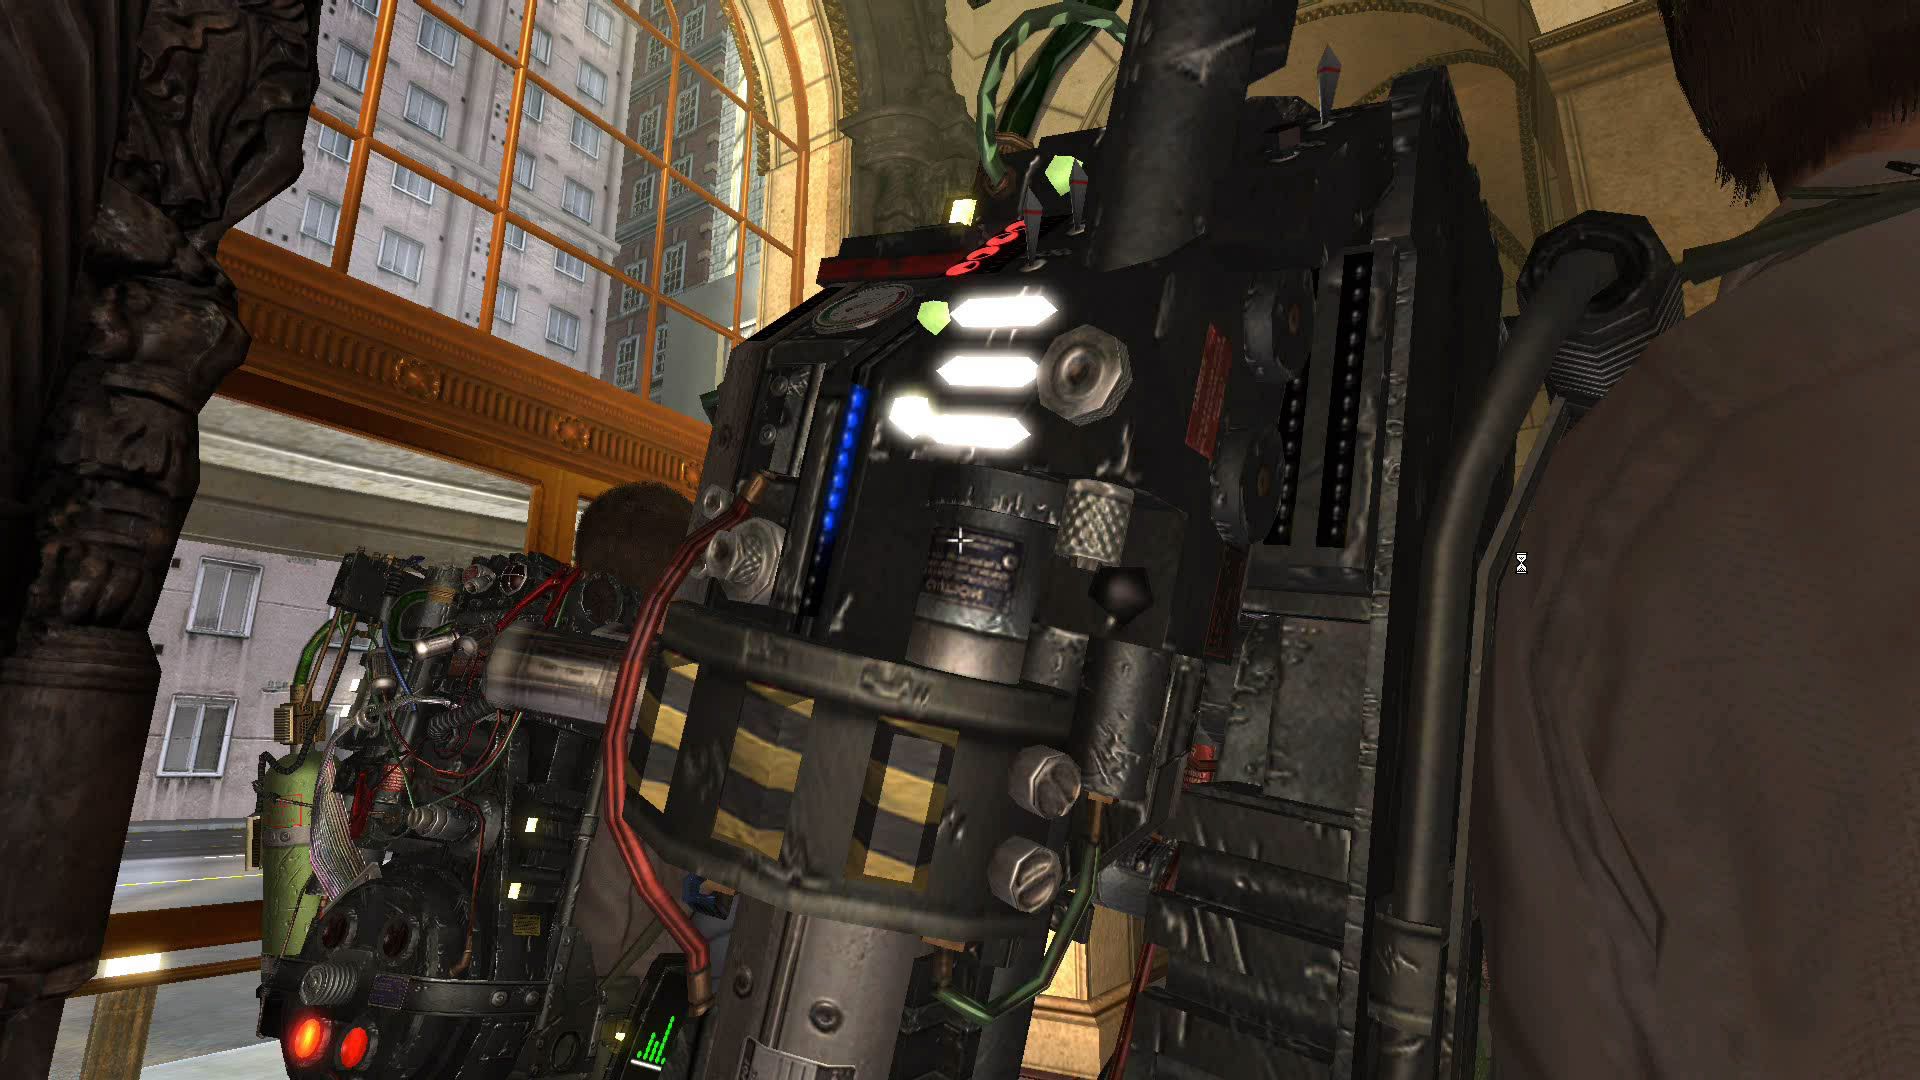
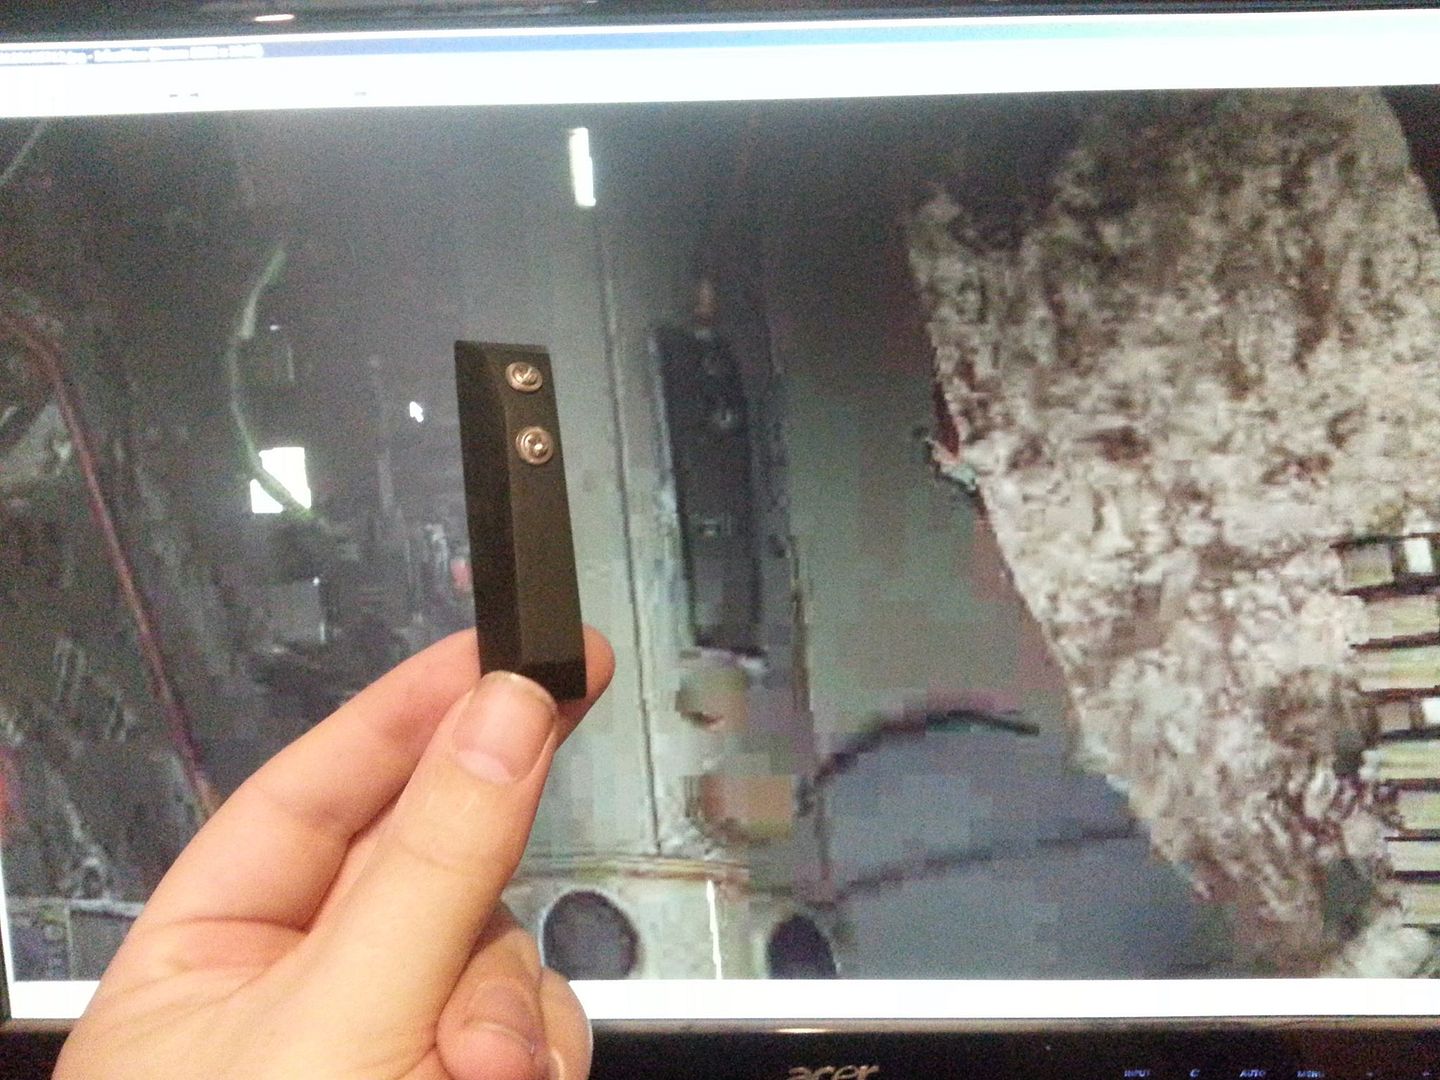
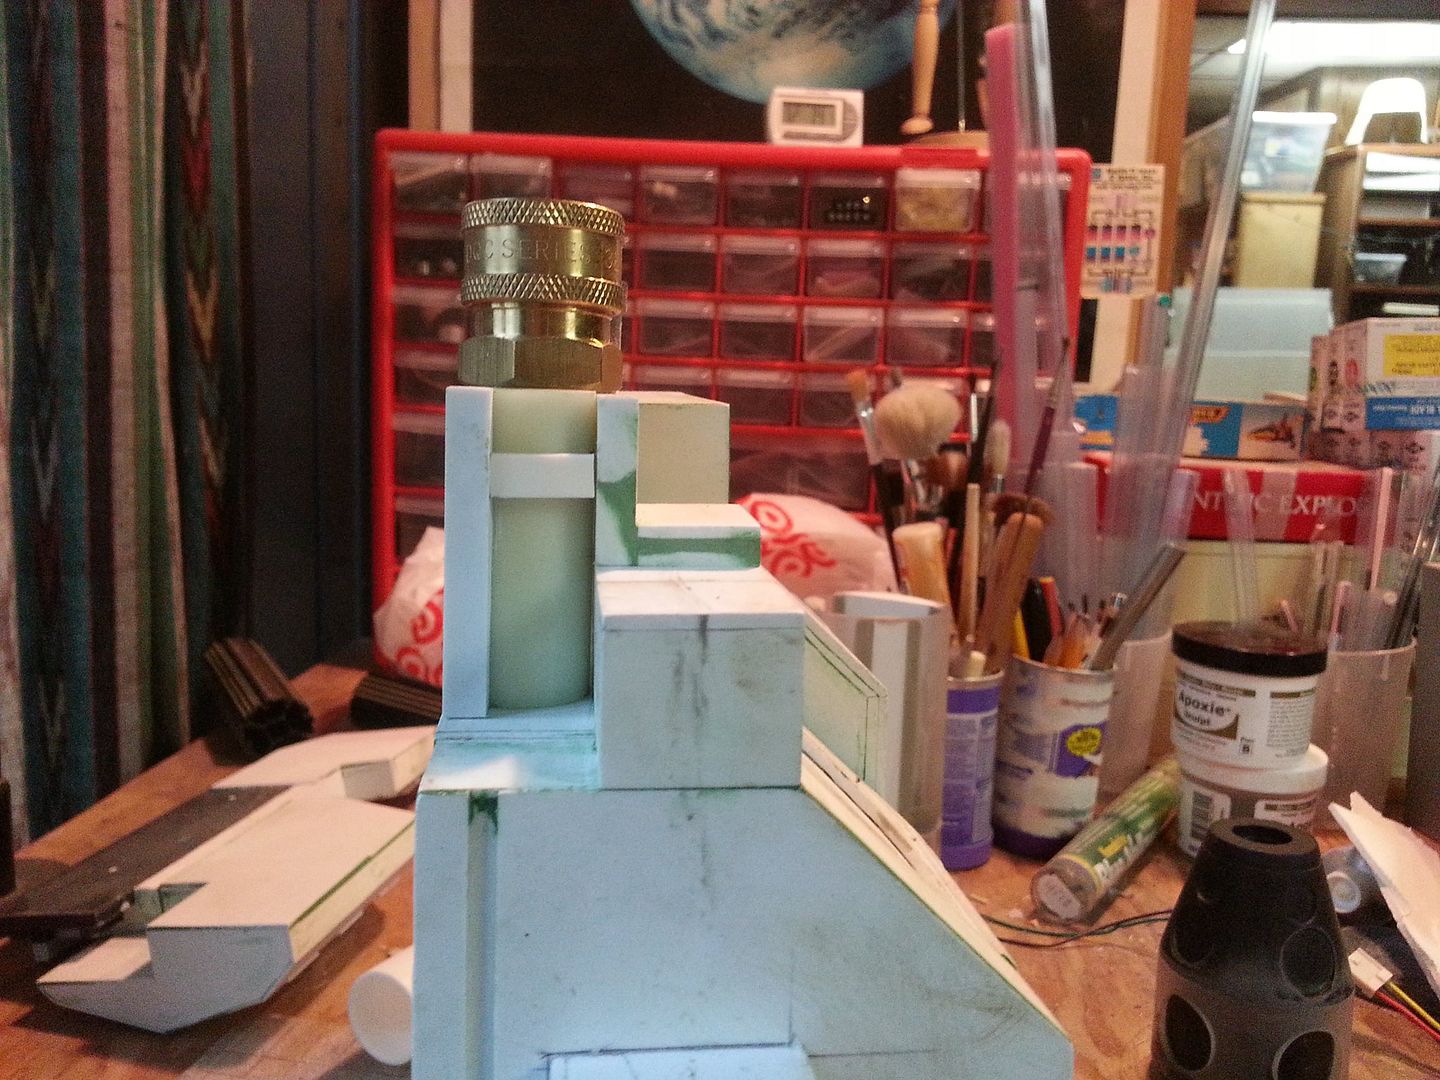
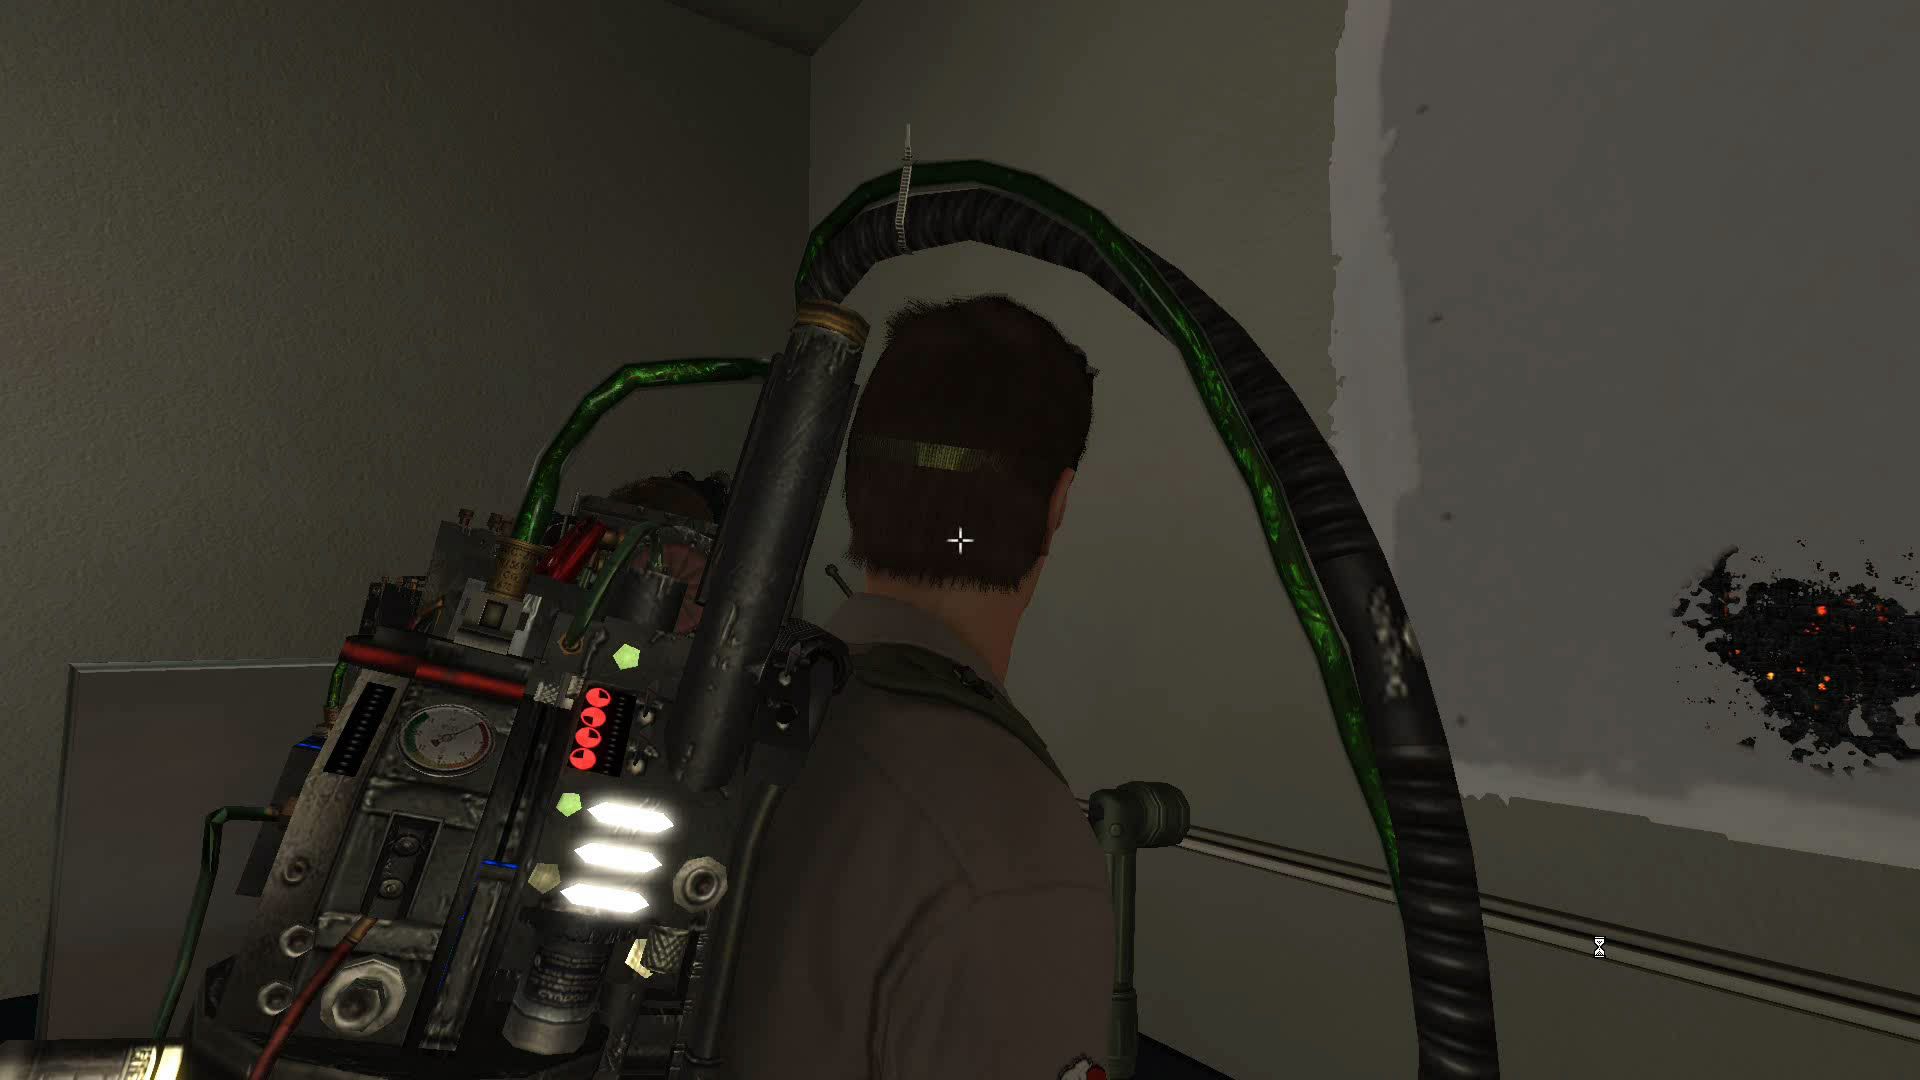
I will be using these hose quick connects for both the top of the slime tank and on the wand/gun of the pack, as seen in these screen caps:

And now onto the scratch building part!
So the first thing I built was the "Ion Arm" out of 1/8" thick styrene.
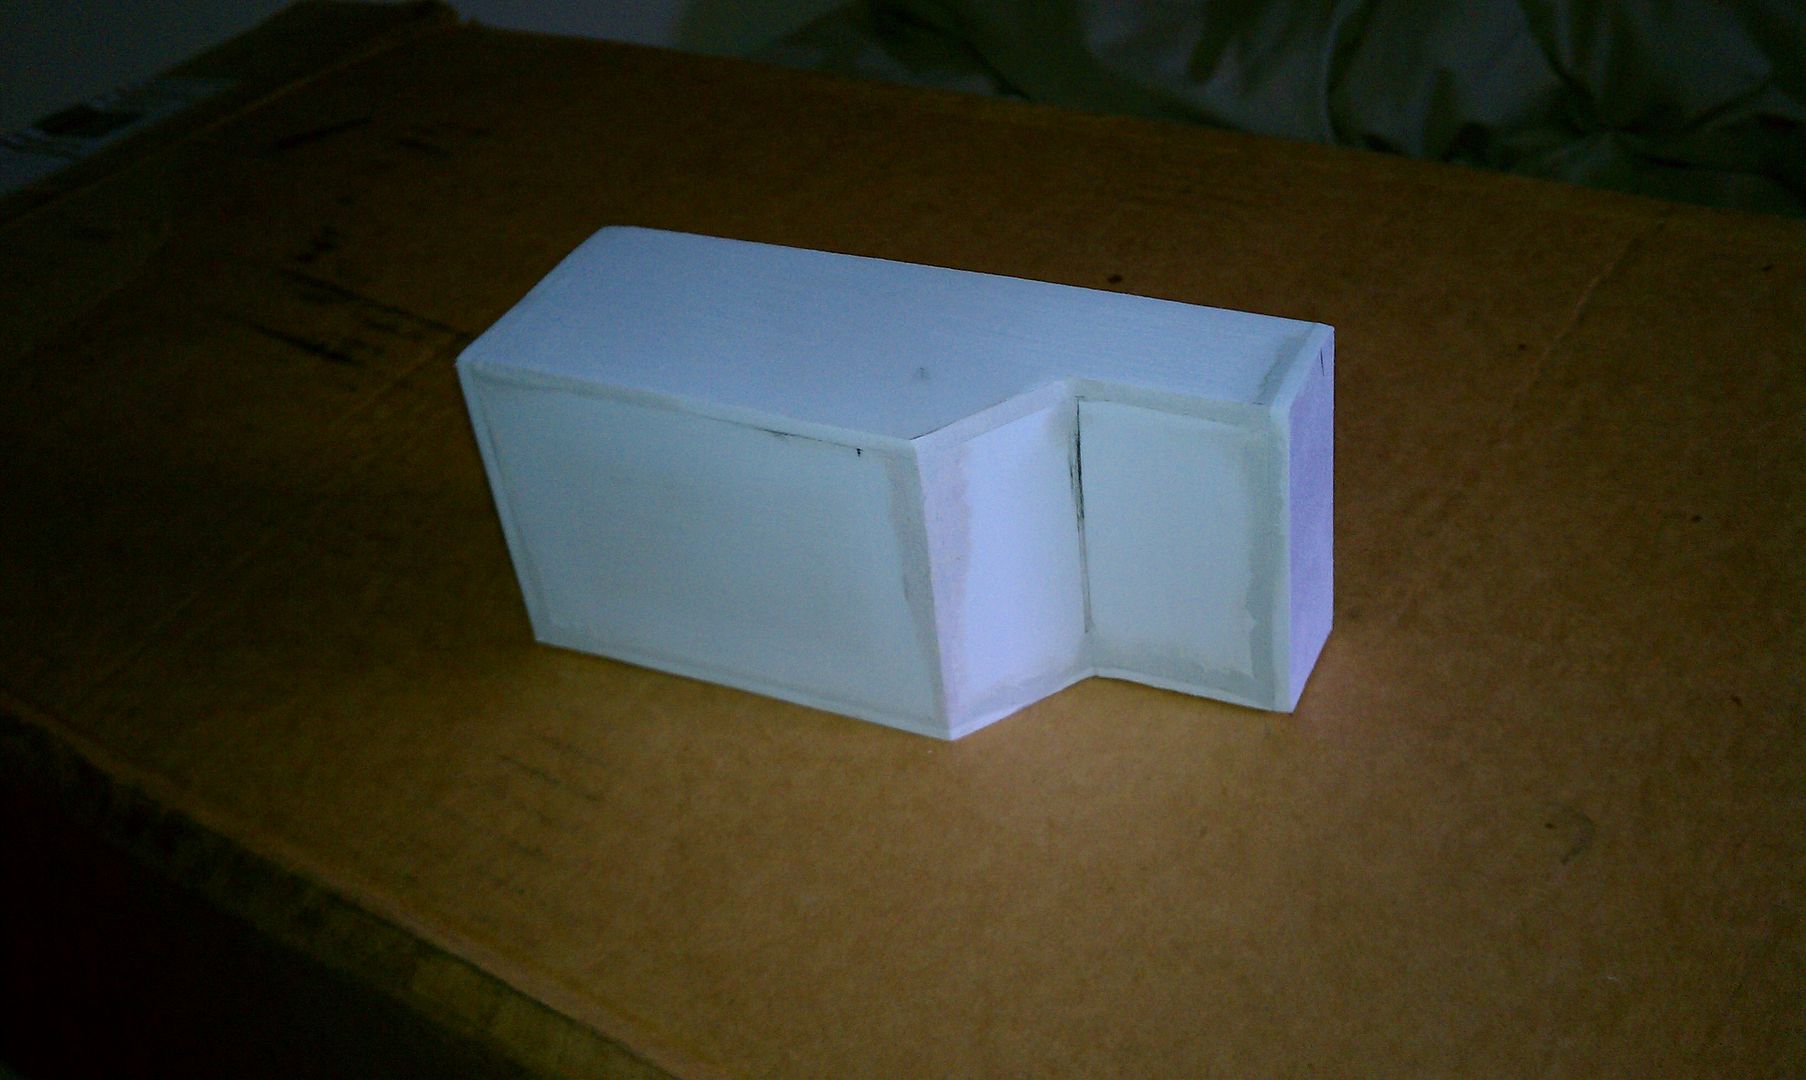
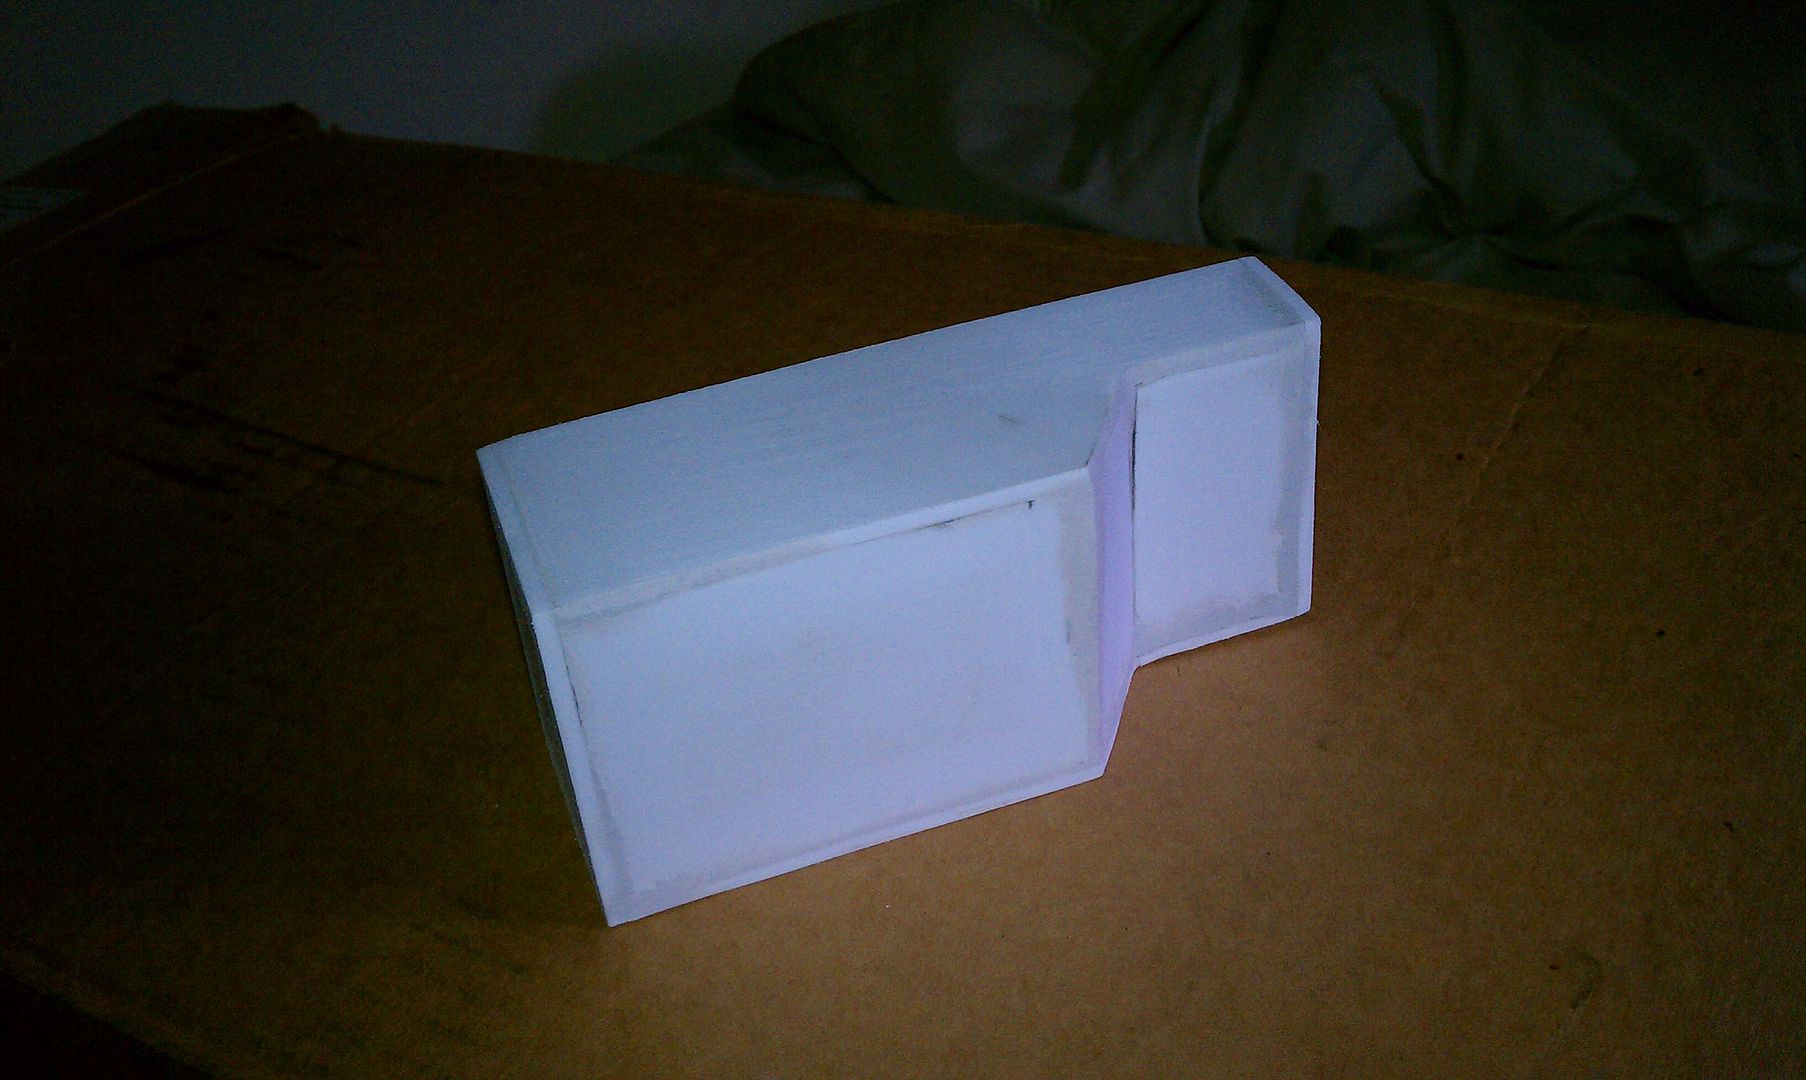
Smoothed it out the seams and primed it:
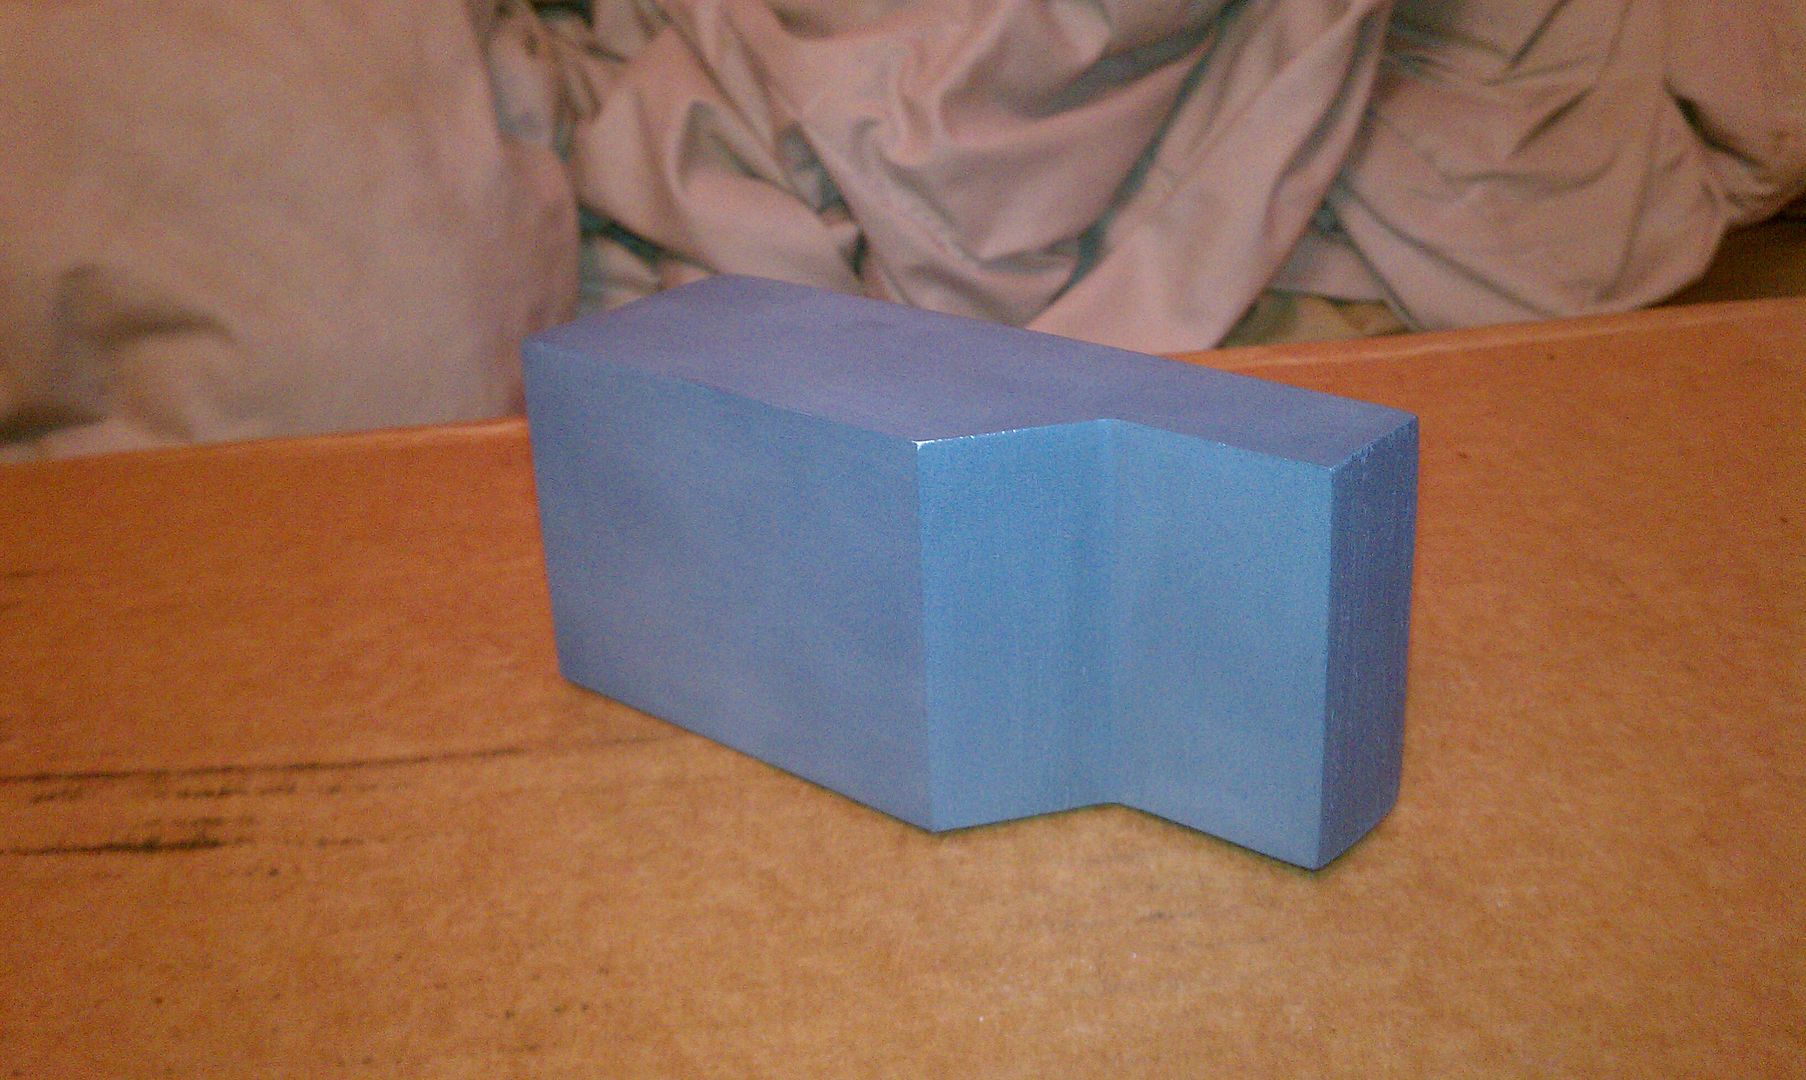

And then I began to start drilling and dry fitting stuff on it:
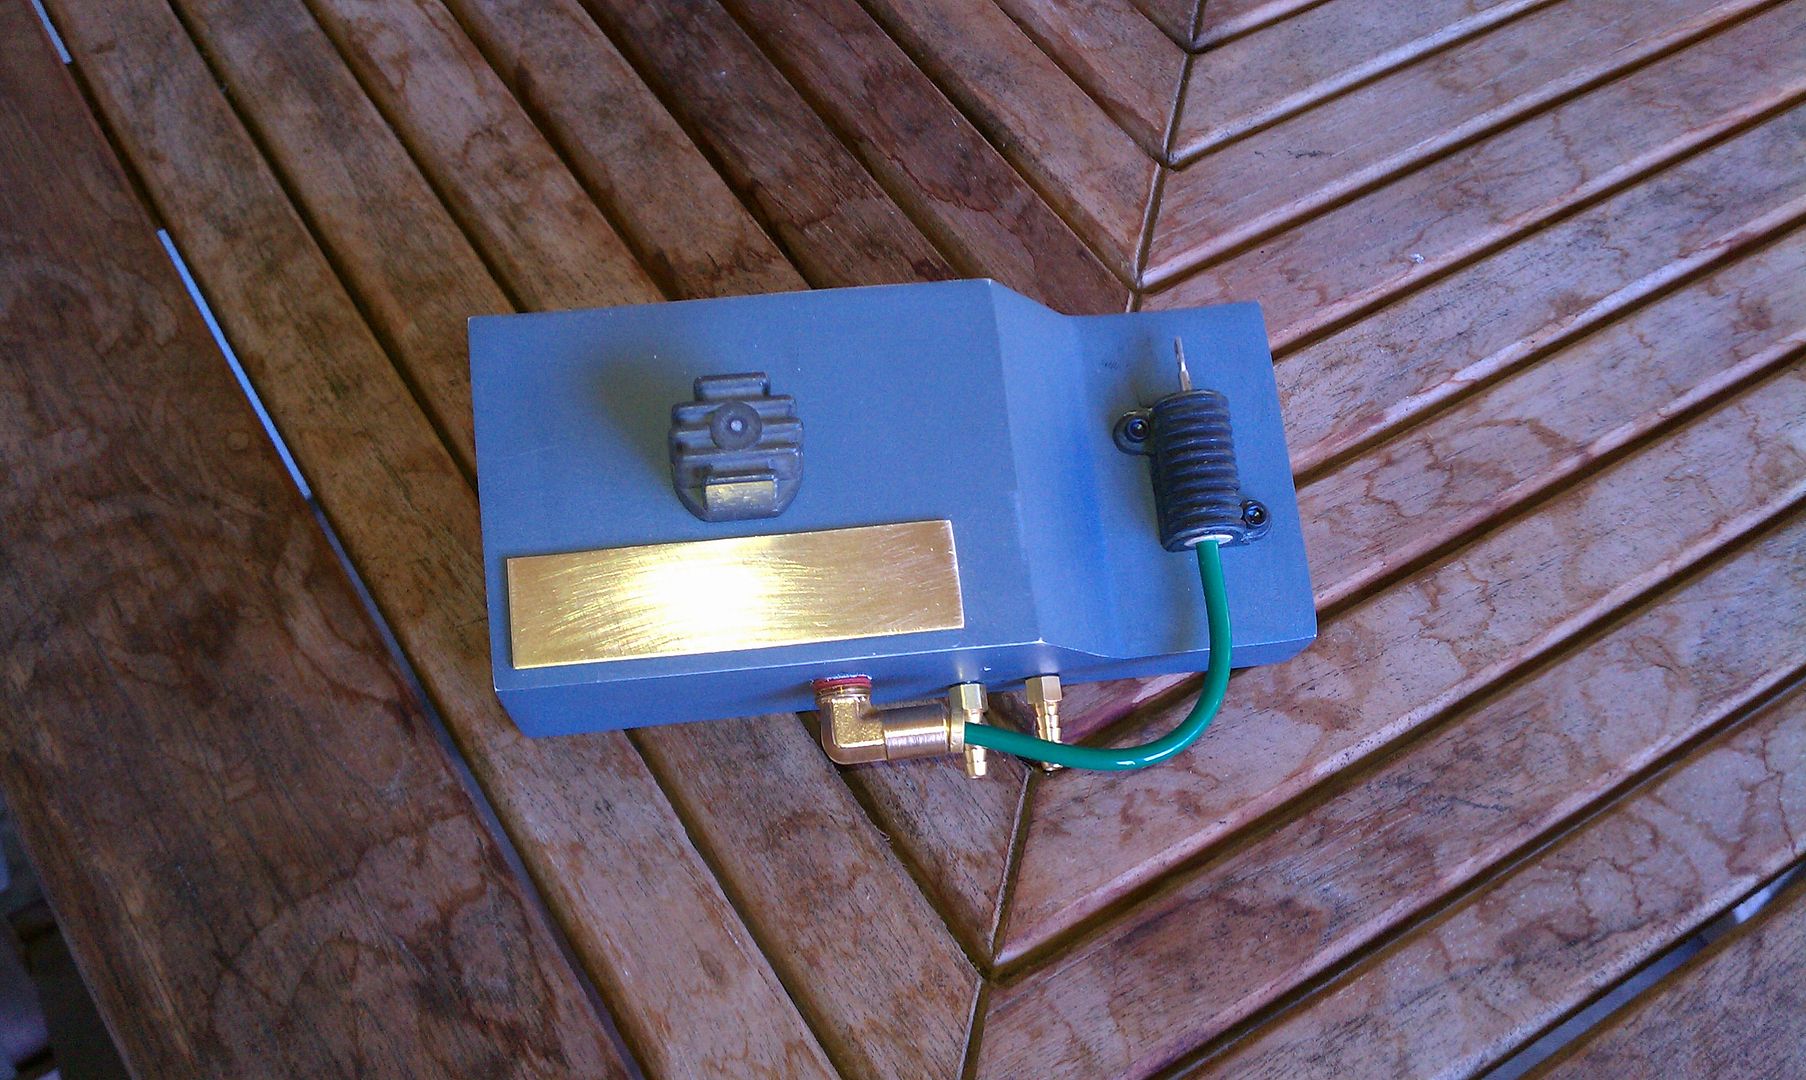
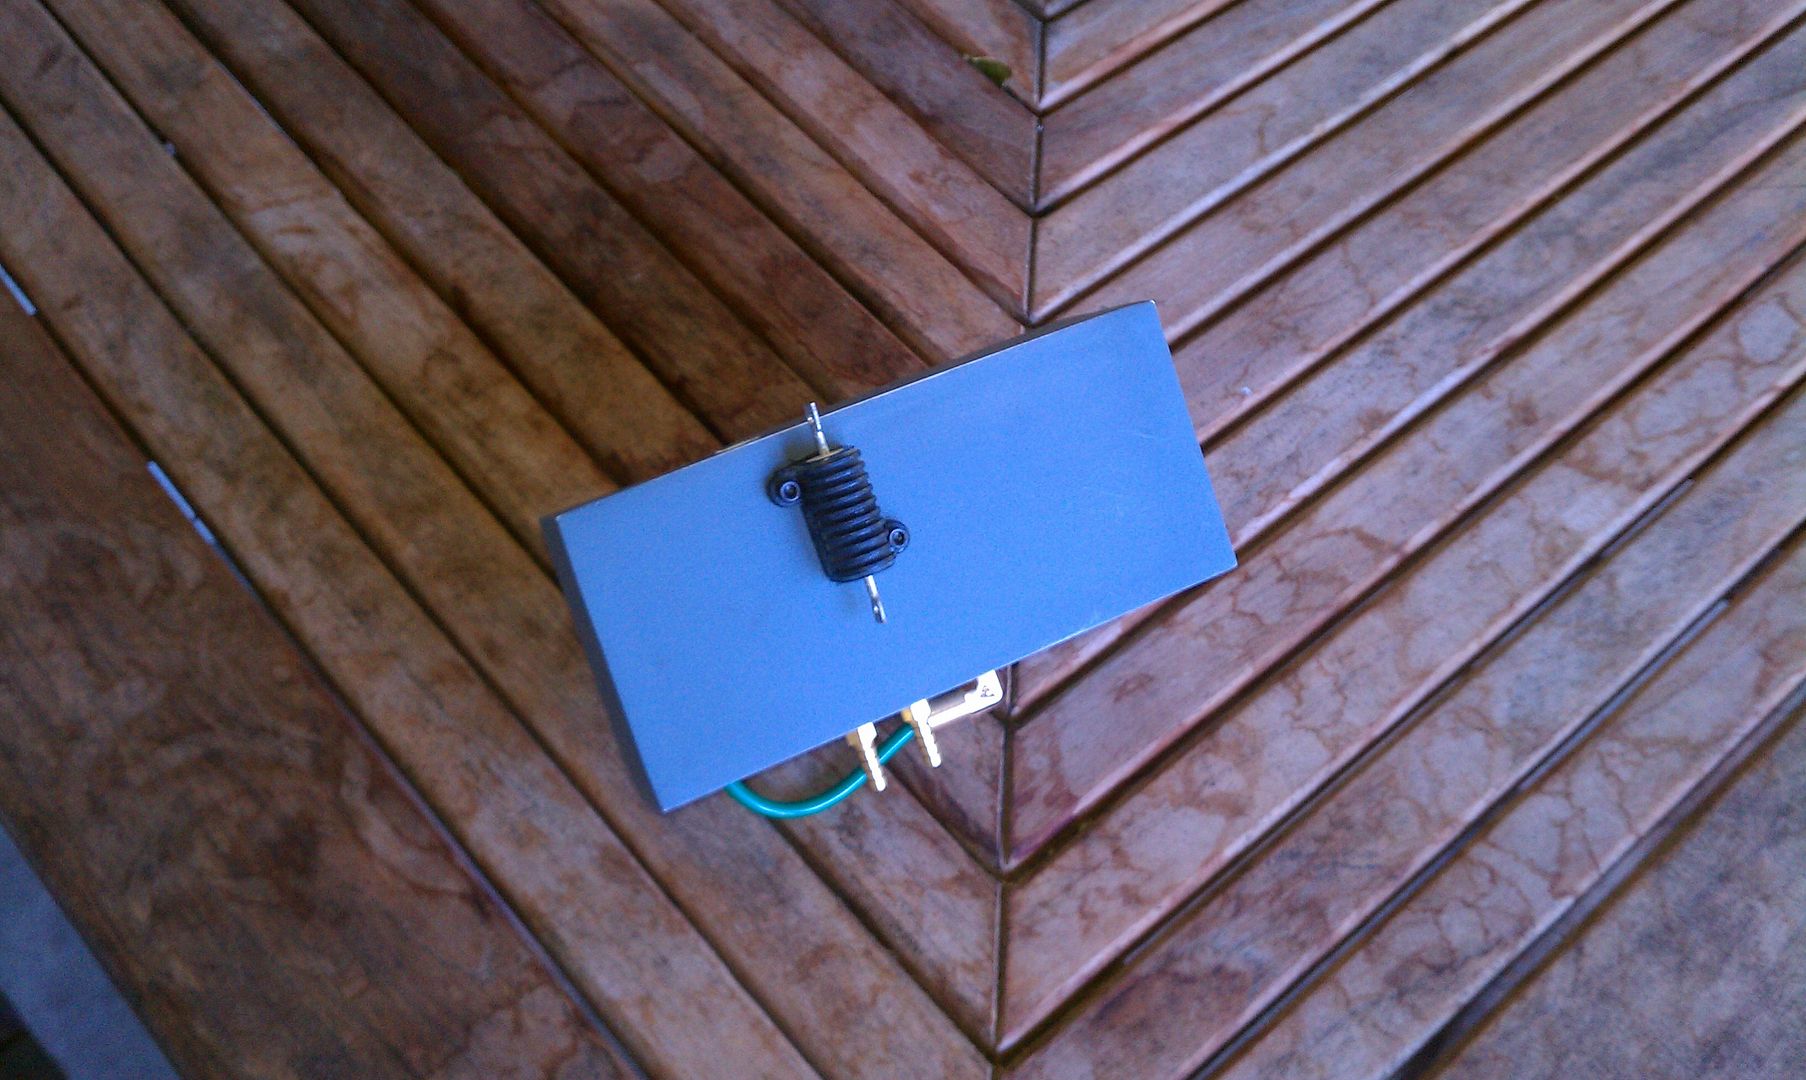
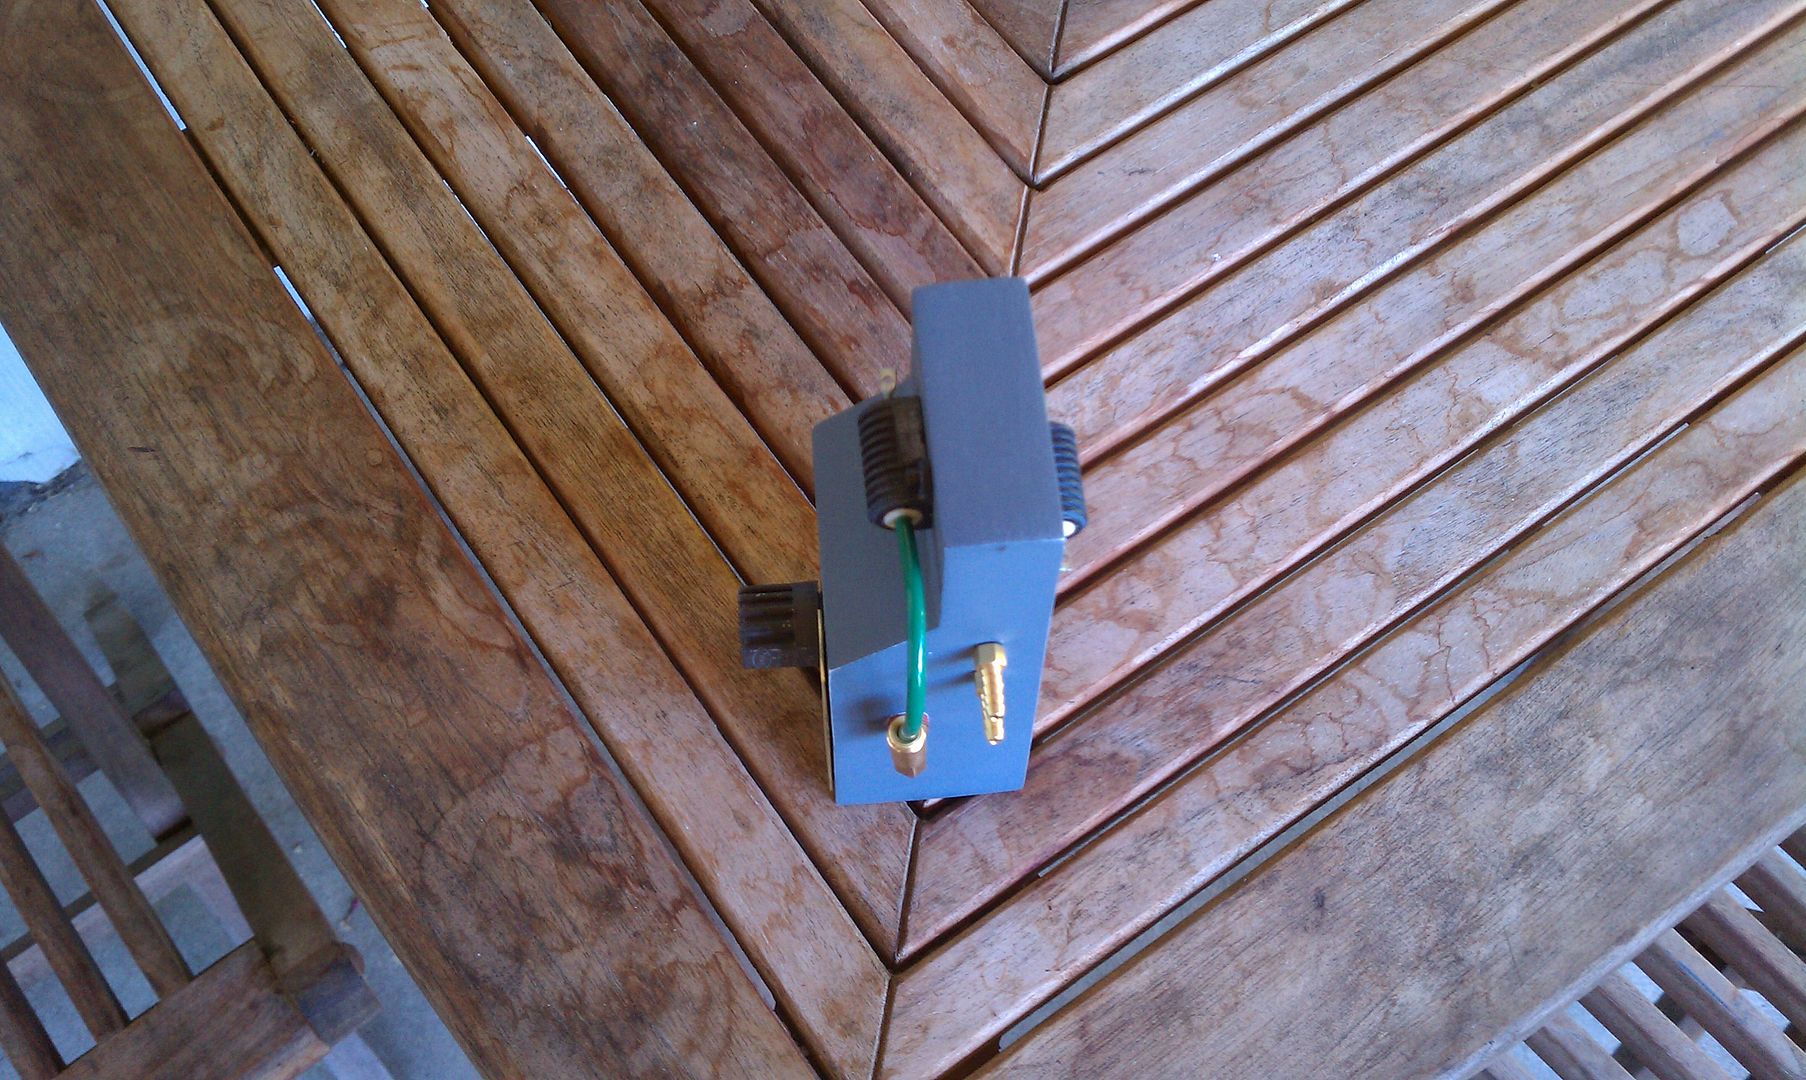
I have alot more coming to me in the mail that I'm currently waiting on but I figured this is more then enough for my first topic on here. I'll keep updating as I get more built. I am going to continue with the ion arm and then the slime tank and probably move onto the gun part since that will be alot of scratch building involved in that. Thanks for reading and putting up with all my photos!
 
Well, its been a very long time since I posted in this thread. I've been doing most of my updates on this build via Facebook and on GBfans.com. I think its time to post the cliffnotes version here!

From the last update, several things have been finished, such as the ion arm, the main slime tank and the master for the pack mold.

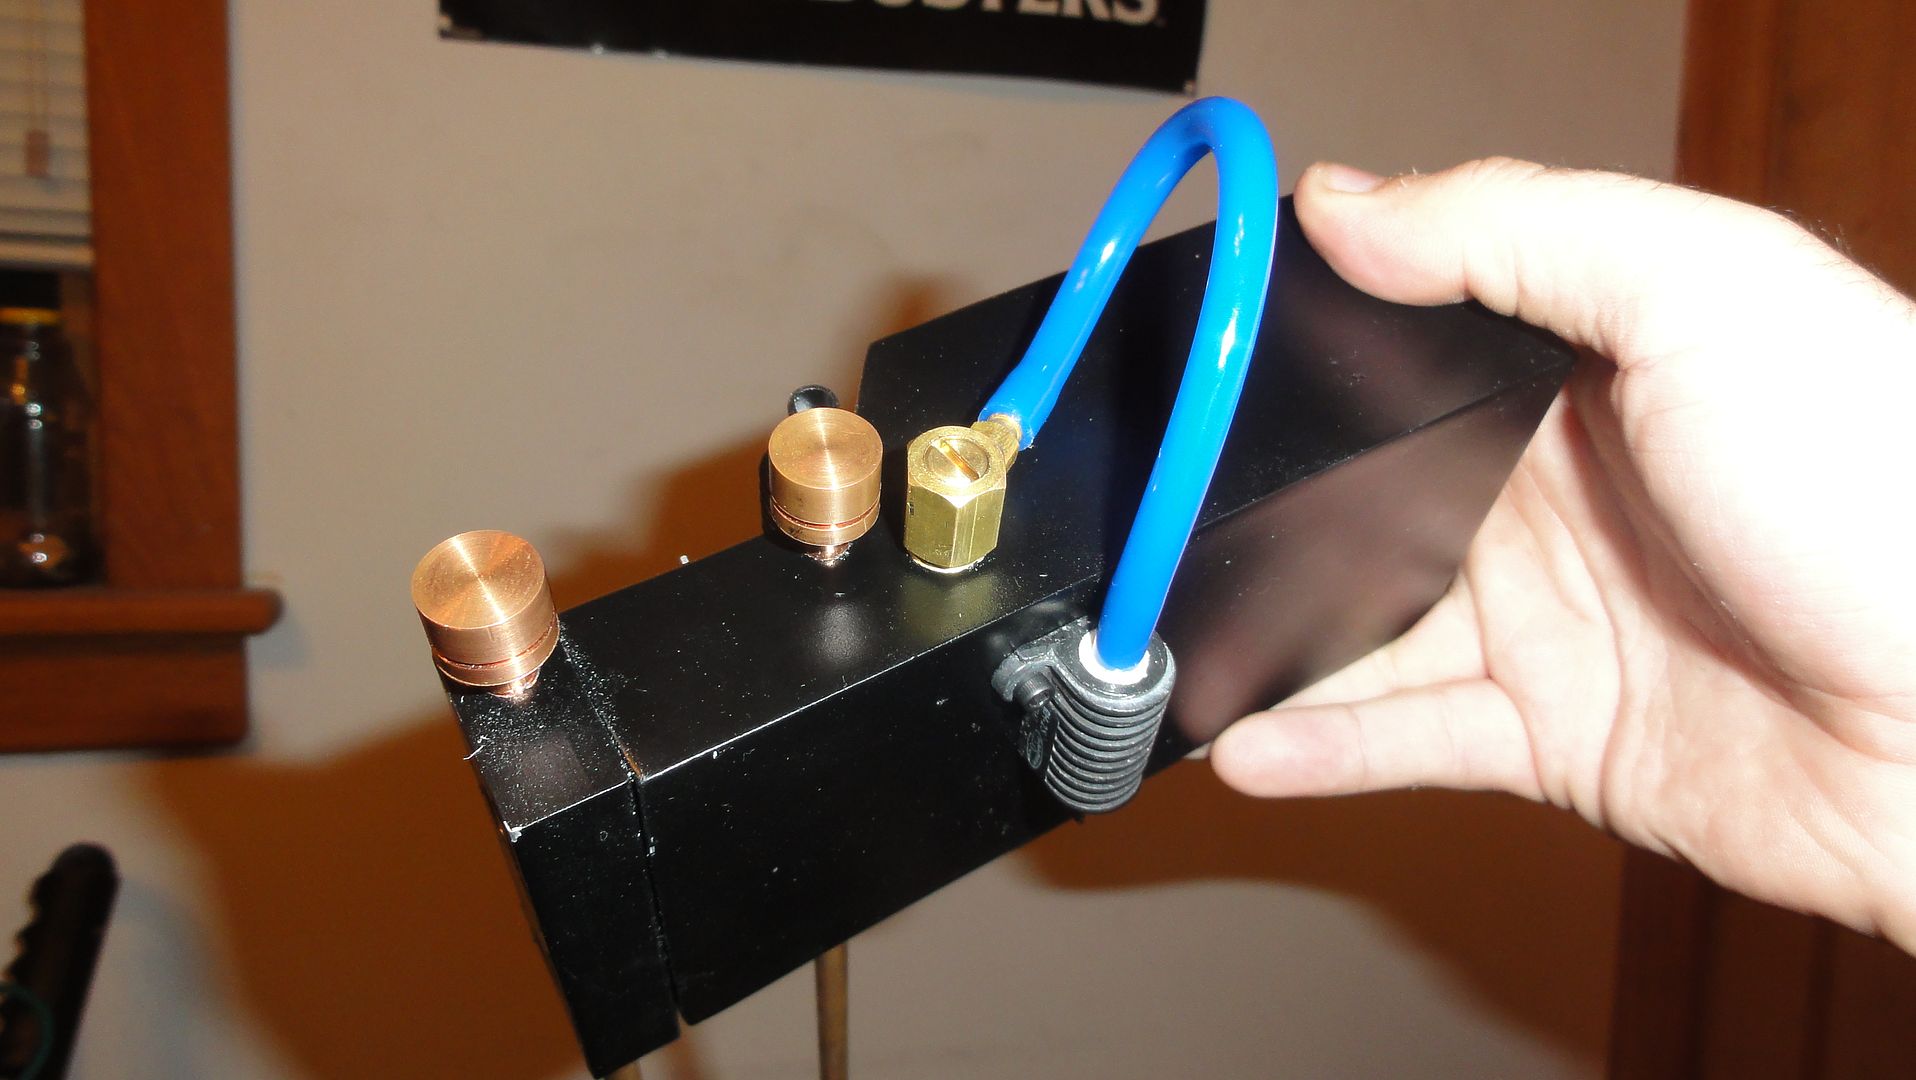
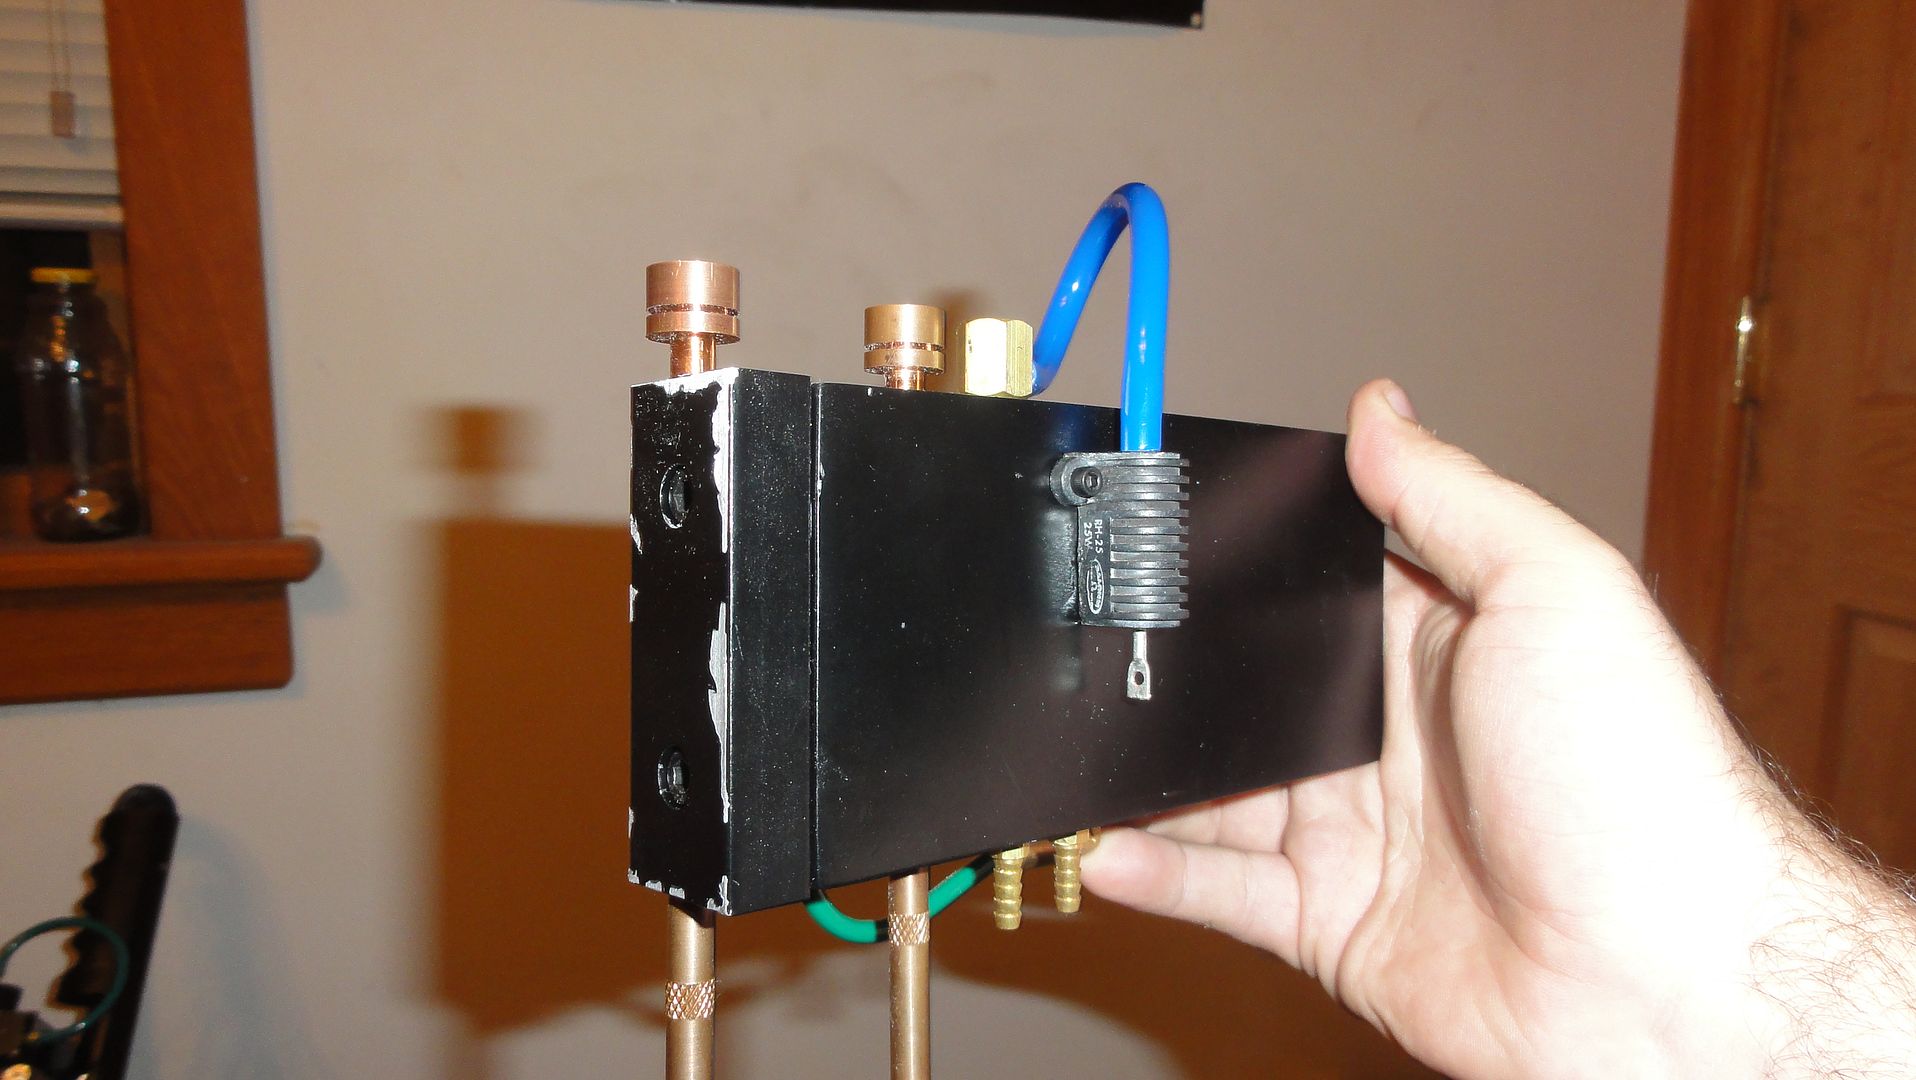
First the finished ion arm:


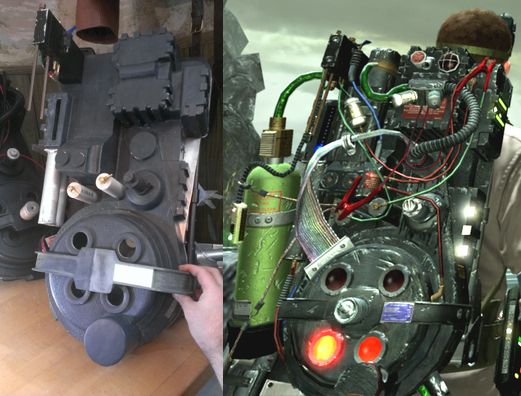
Compared to the in game model:


I have a friend that is an amateur machinist that was nice enough to machine me the ion arm rods and caps along with drilling out the clippard brass L-Fittings to press fit the brass slotted plug into them, like the ones modeled in game.

The finished Slime Tank:


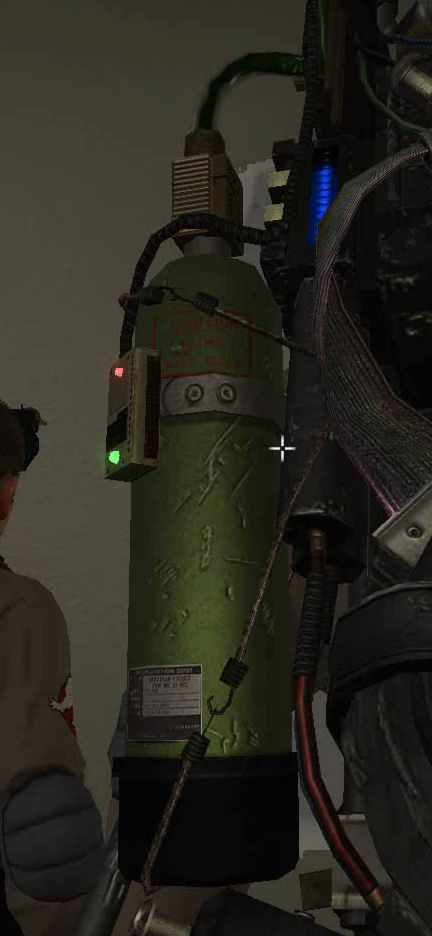
Compared to the in game model:


They had modeled the slime tank off of one of the smaller tanks on the Ghostbusters 2 slimeblower prop, so I tried to use as much screen accurate parts on this build, to make it a little more authentic. I still need to make the brass regulator for the top of my tank.

Now the pack shell master! Here comes the real fun.


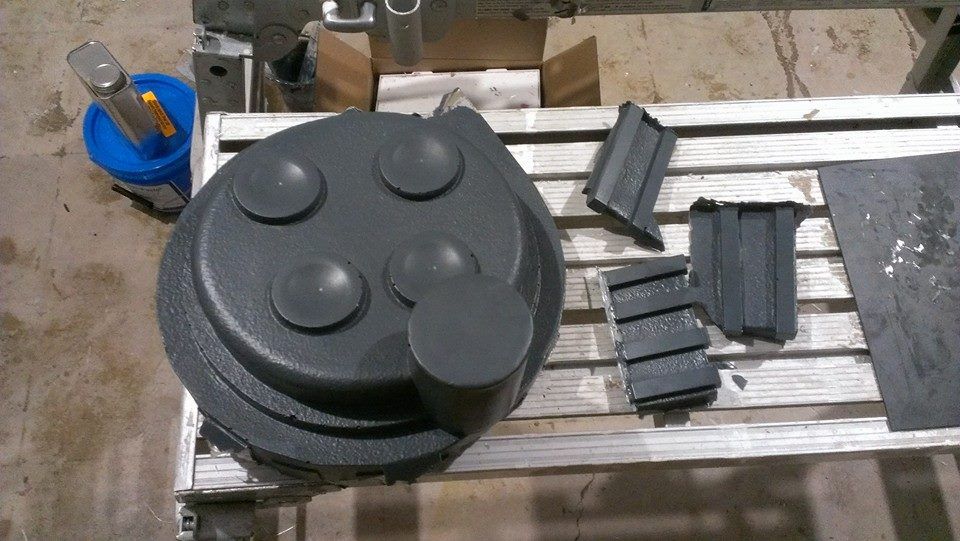
I have a movie proton pack shell mold, so I decided to cast a shell from that mold, to then heavily modify.

For this cast, I clayed in the ribs, since I was going to replace them all on the shell, since they are different on the game pack.


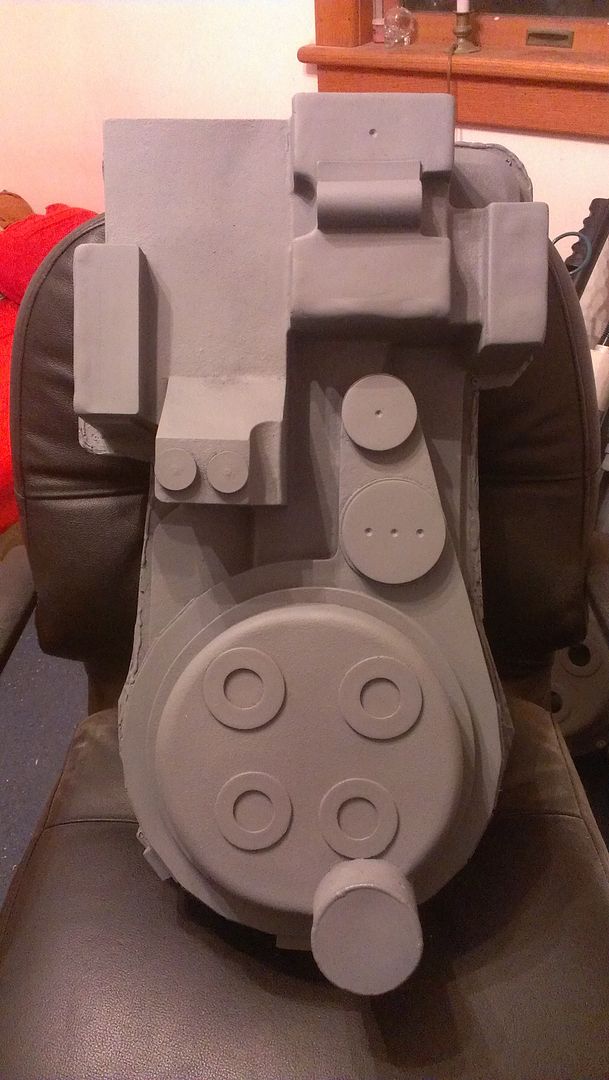
The shell cleaned up and primed before any of the real modifications began.


And now comes the fun part. . .
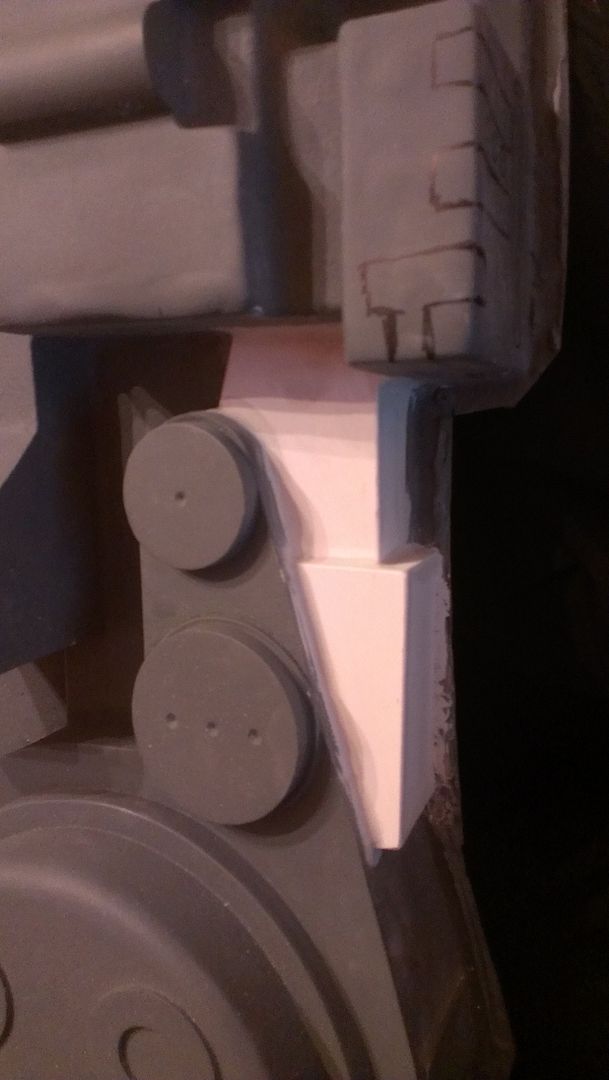
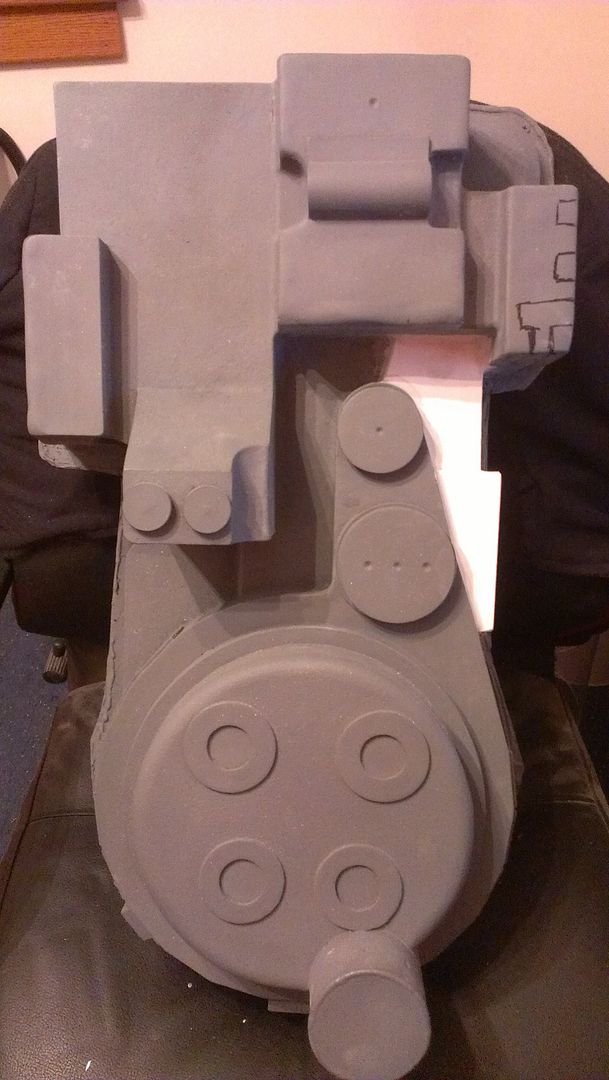
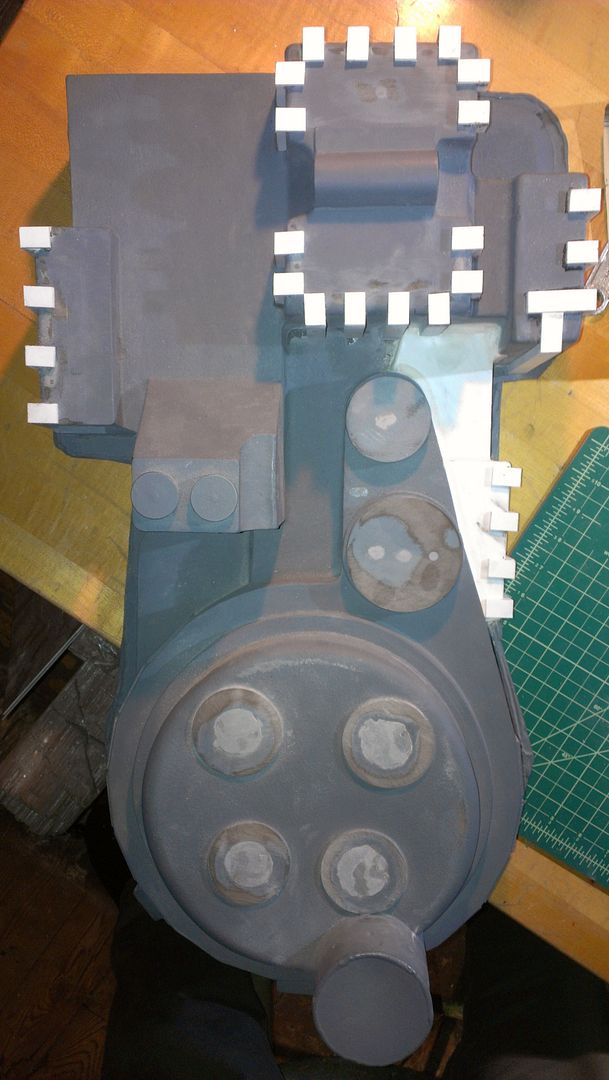
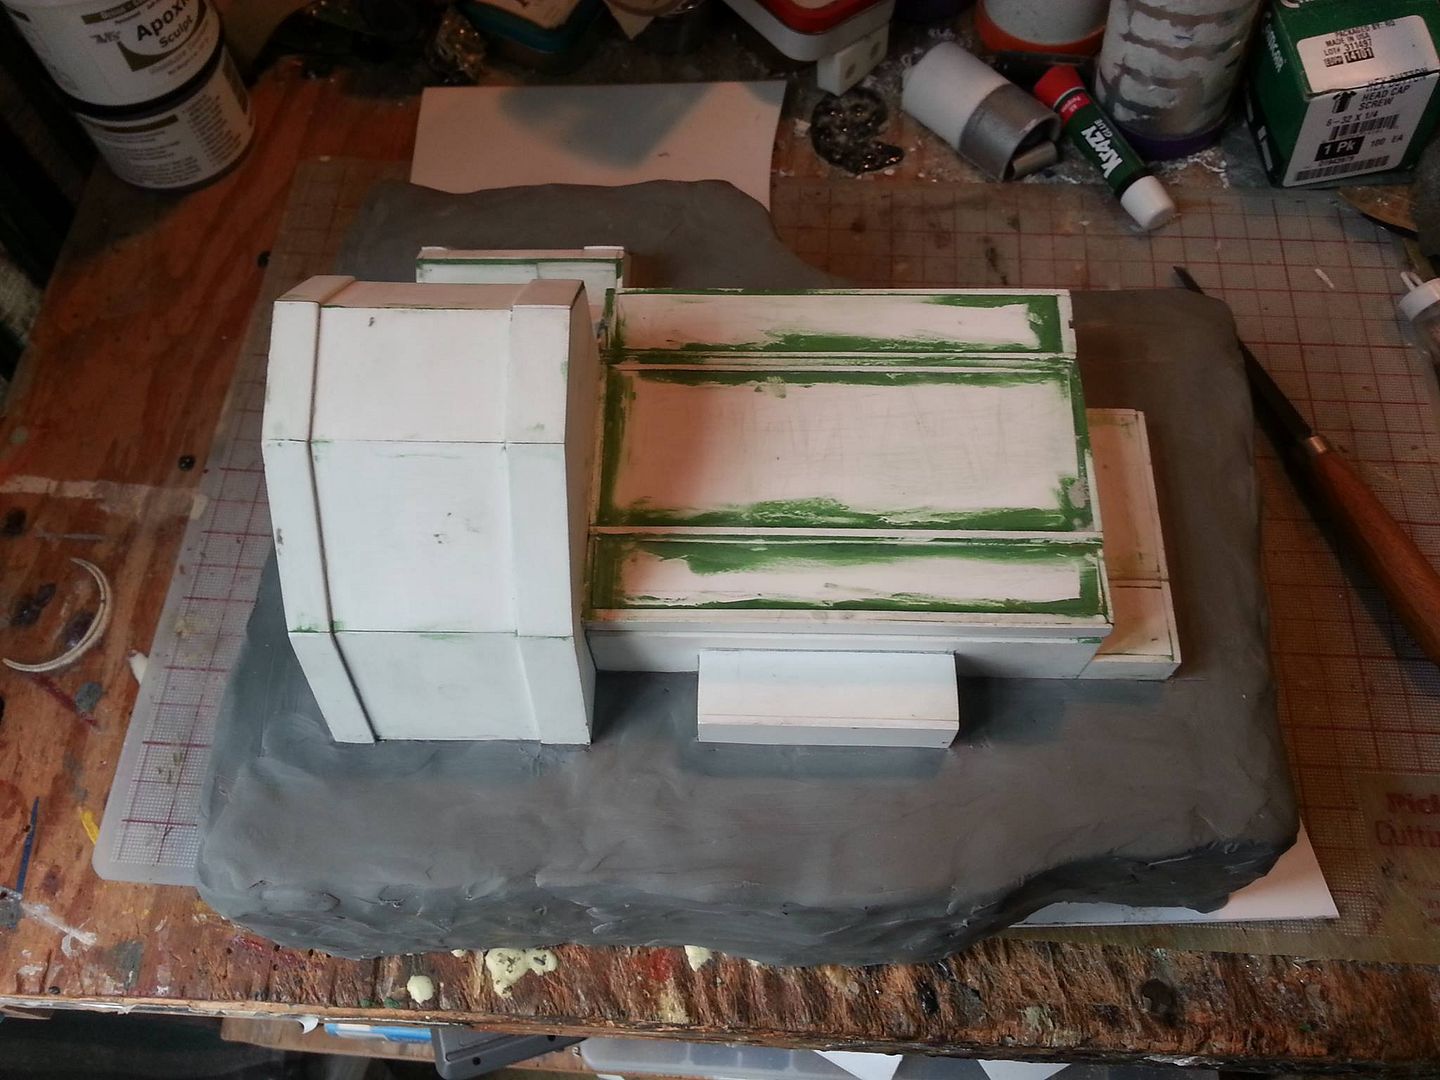
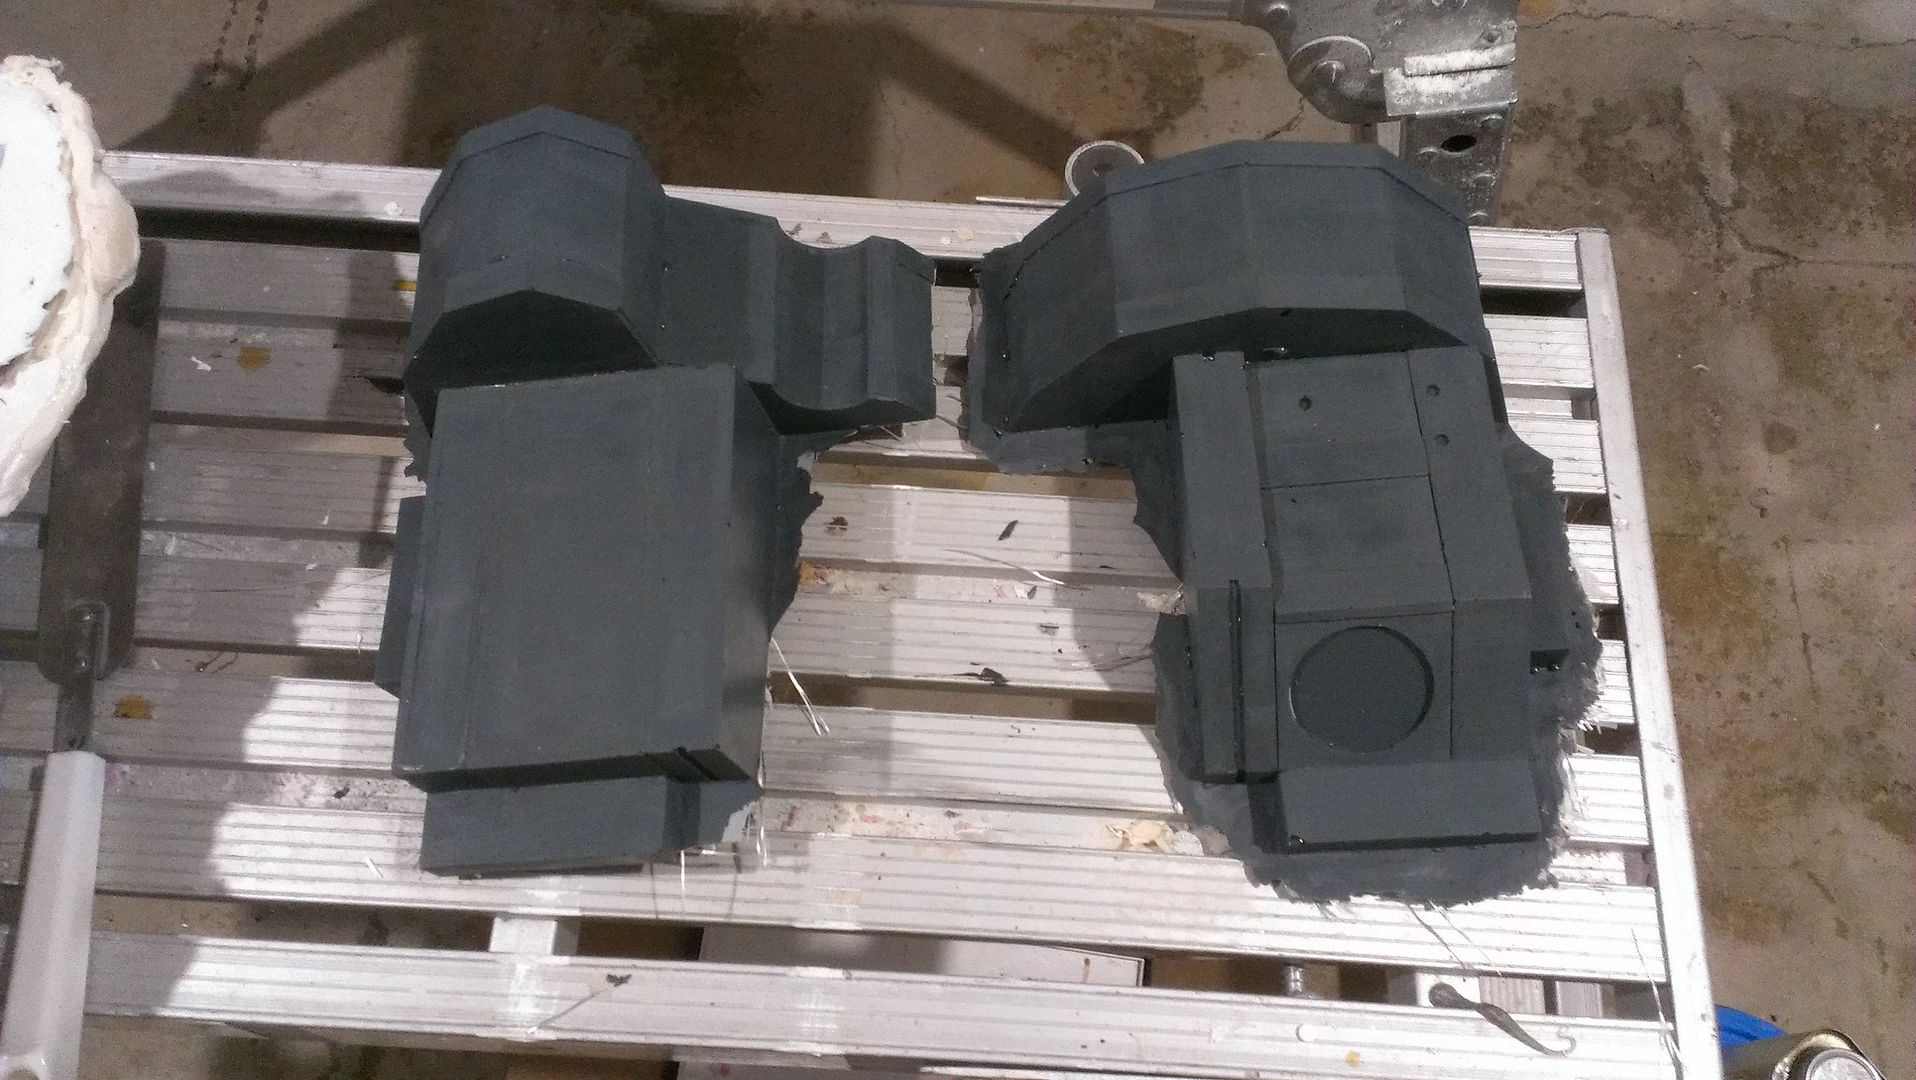
Within the game, the shell receives extra "boxes" as the pack becomes upgraded; in particular for the Stasis pack upgrade. So I started there.


And began to add the new ribs:


At this point in the project, my buddy Jack took over on finishing up the shell modification because, honestly, I was becoming burned out on the project. Since he also wants a game pack, it became a 2 man project!

Jack took this build to the next level and went to crazy lengths to get some of the details on the shell correct. He cleaned up my work on the ribs, added cosmectic plating, resculpted parts of the shell, and completely grinded down other things to rebuilt.


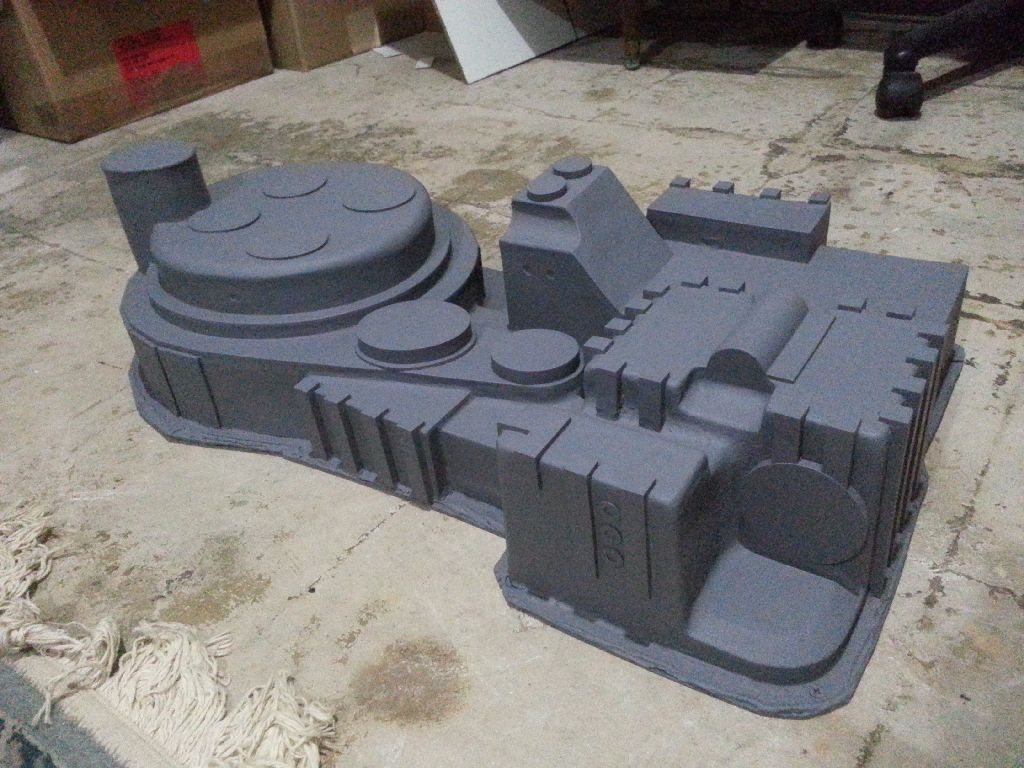
After the over all, we textured the shell, painted it black and got it read to be molded!


Next post will focus on what we were working on in tandem with the shell master, the game wand master.
 
Last edited:
While we were working on getting the pack shell master together, Jack started work on the game wand.


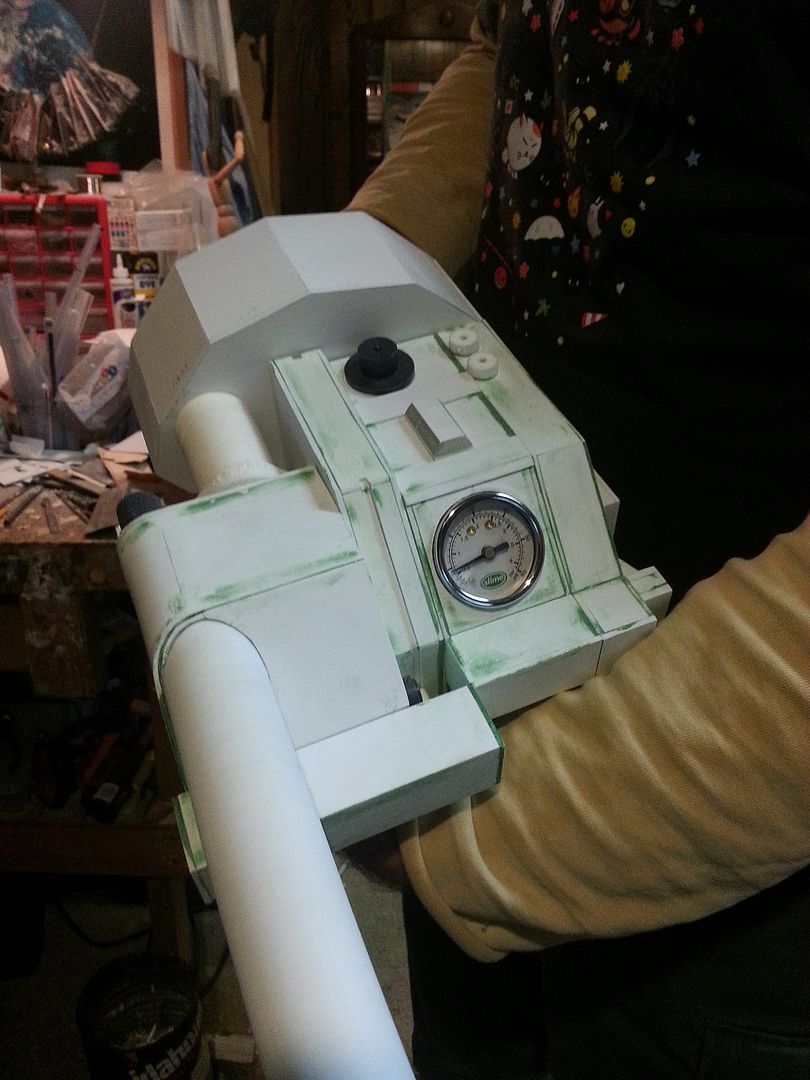
Needless to say, thanks to Jack taking hundreds of screen grabs from the PC version of the game, he did an amazing job scaling the sucker.


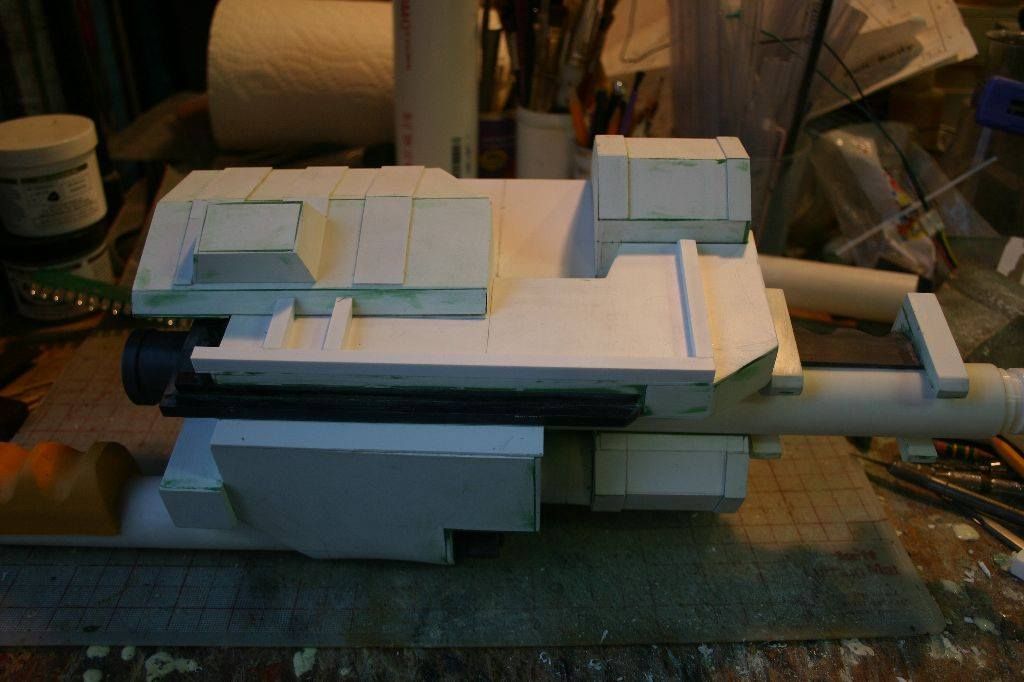
And its huge!


Along with the hard to see in the game, overly complex bottom half of the wand.


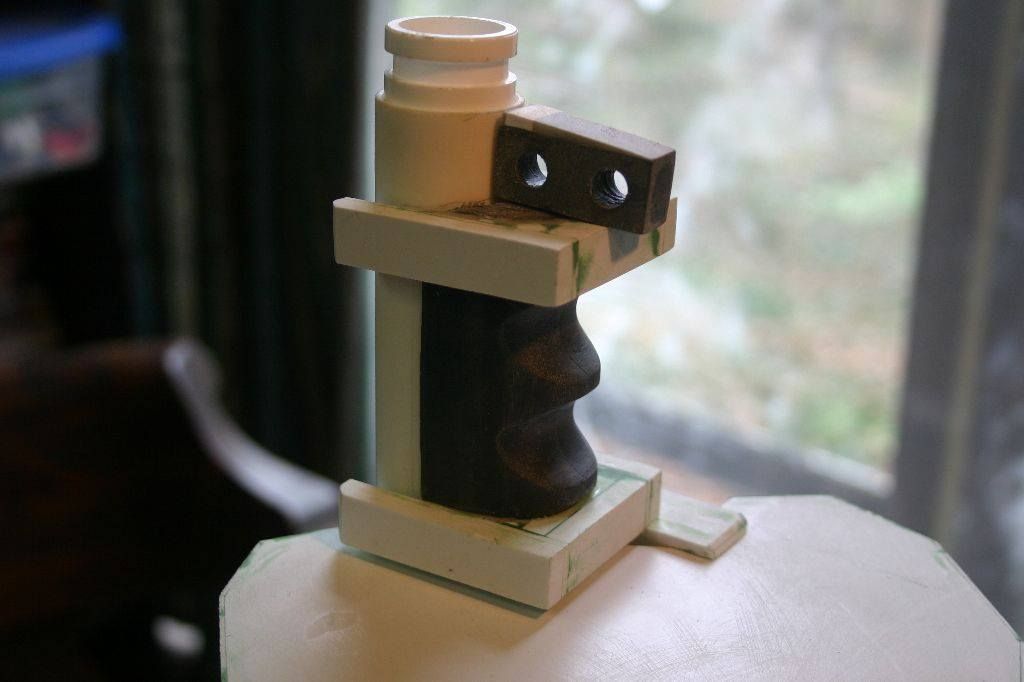
And the modified front grip:


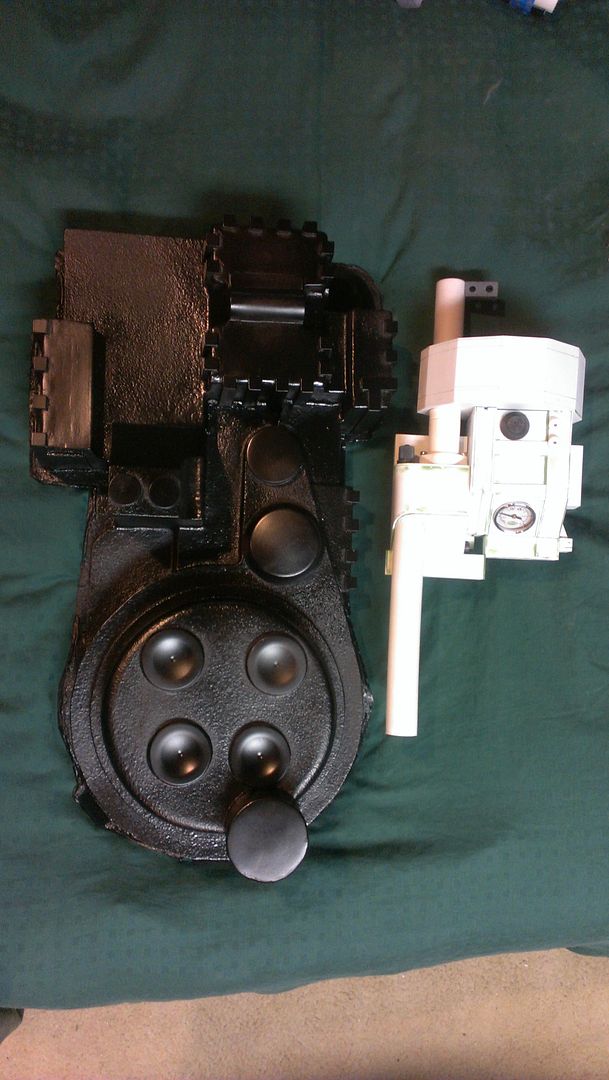
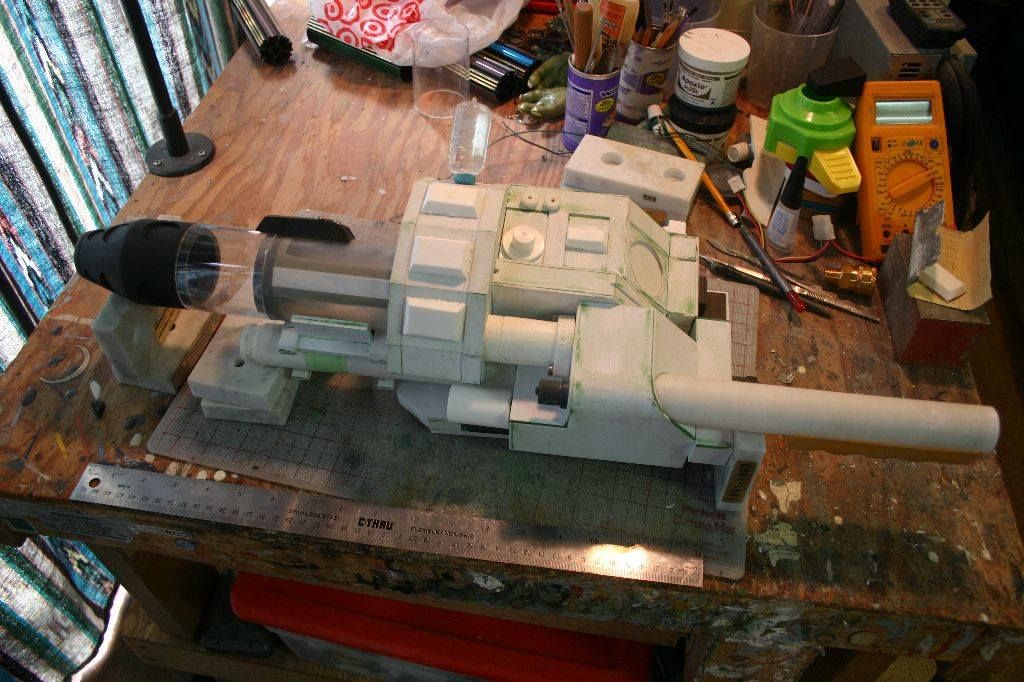
Lastly, a good size comparison to the pack:


We are almost done with the wand master build, then we are gonna tear it down, and mold sections of it

Here are a few other miscellaneous things that we modified and made molds of:
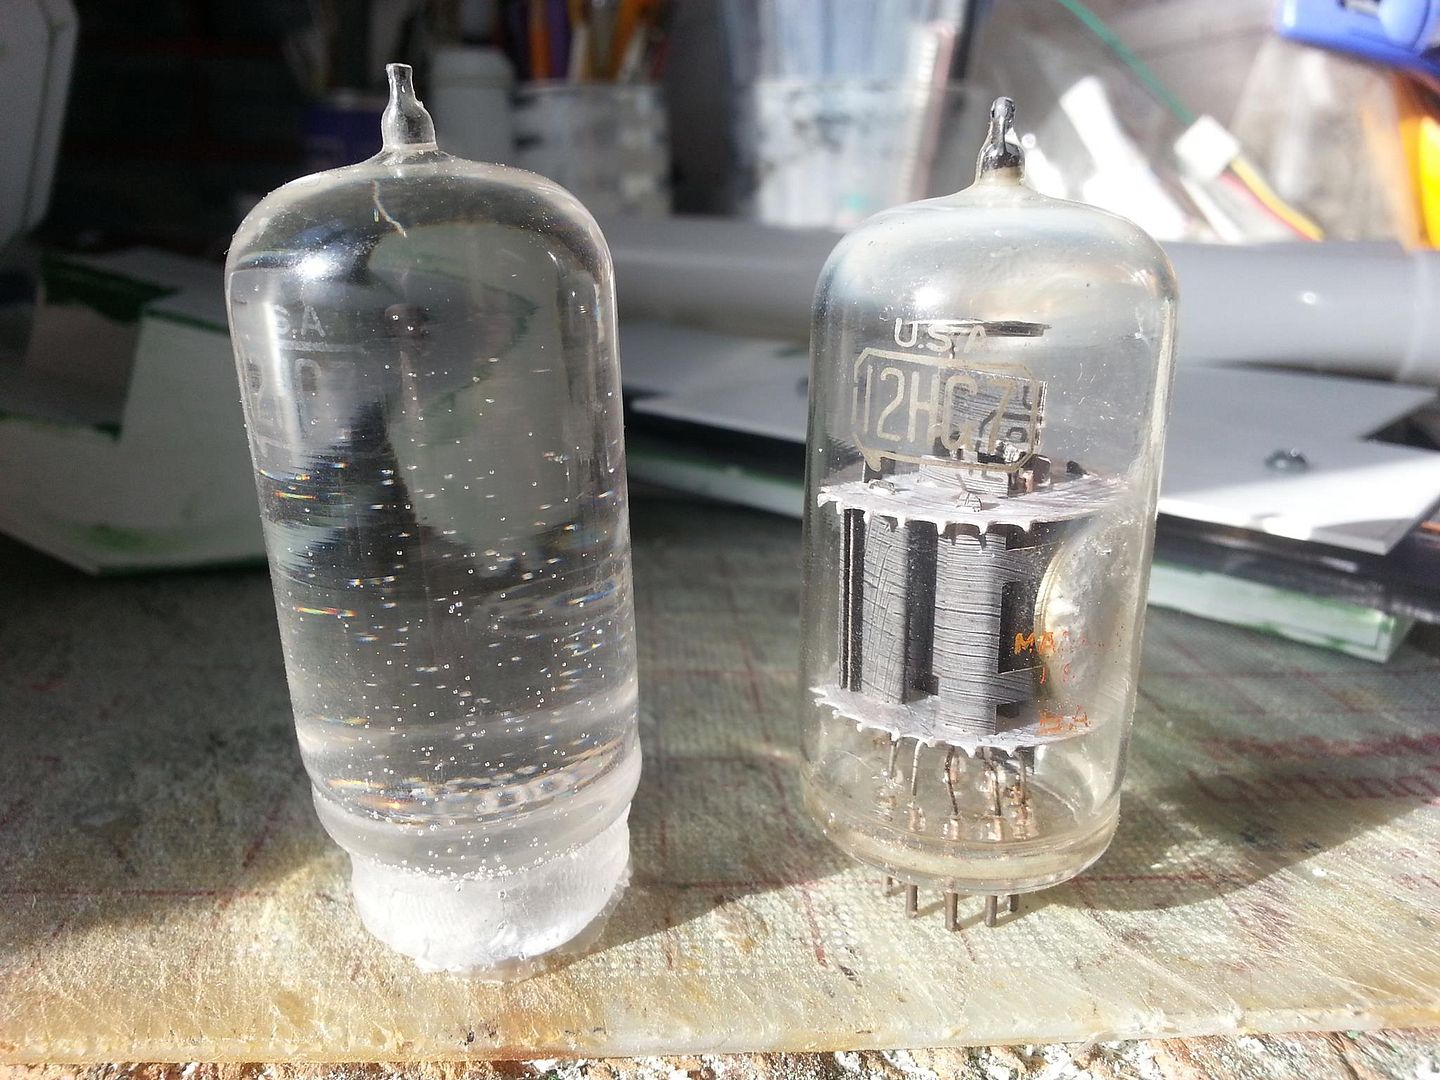
Vacuum tubes found throughout the prop:


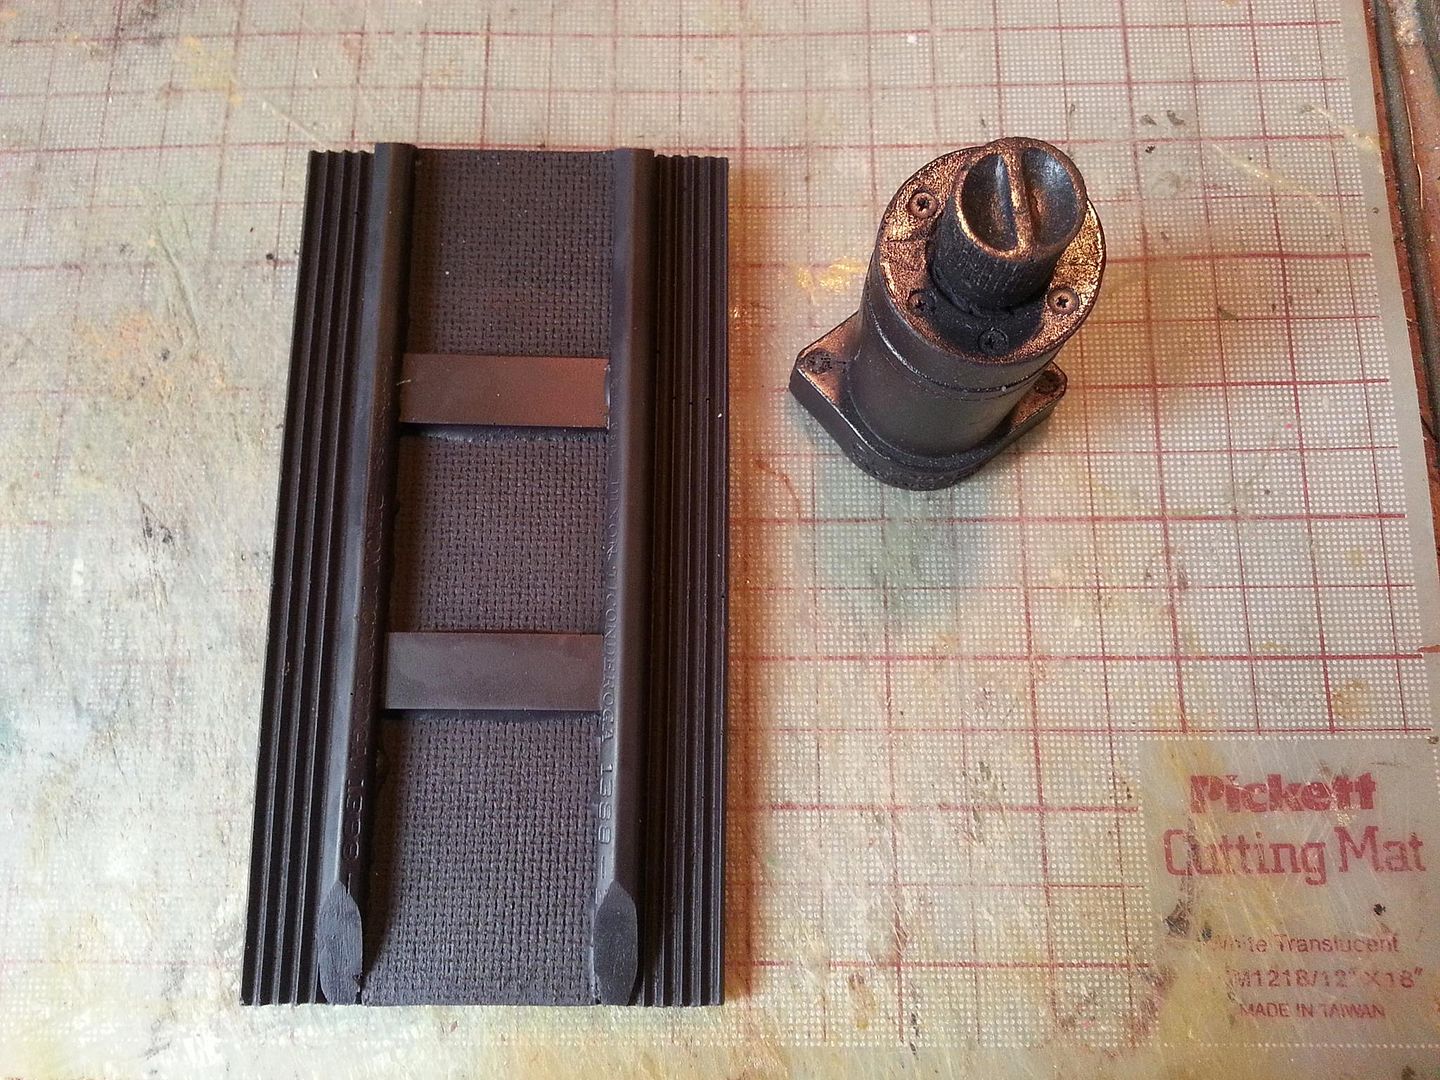
Modified booster frame and clippard pneumatic valve.


The next post will most likely be photos of our molding process for the pack shell master. Stay tuned!
 
And here's my post about the pack shell mold making process!
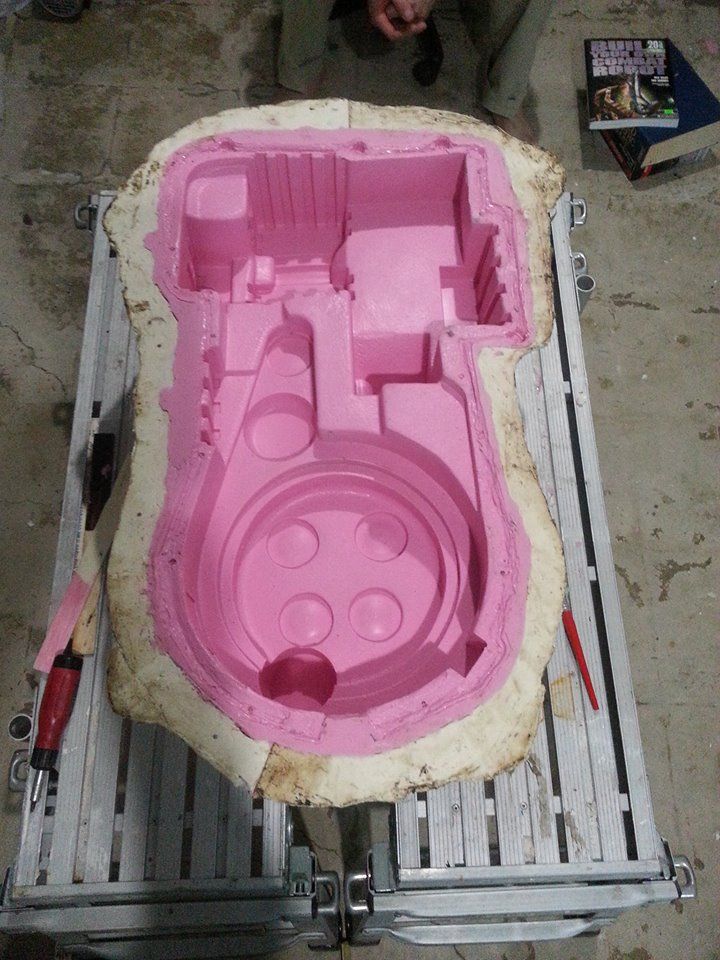
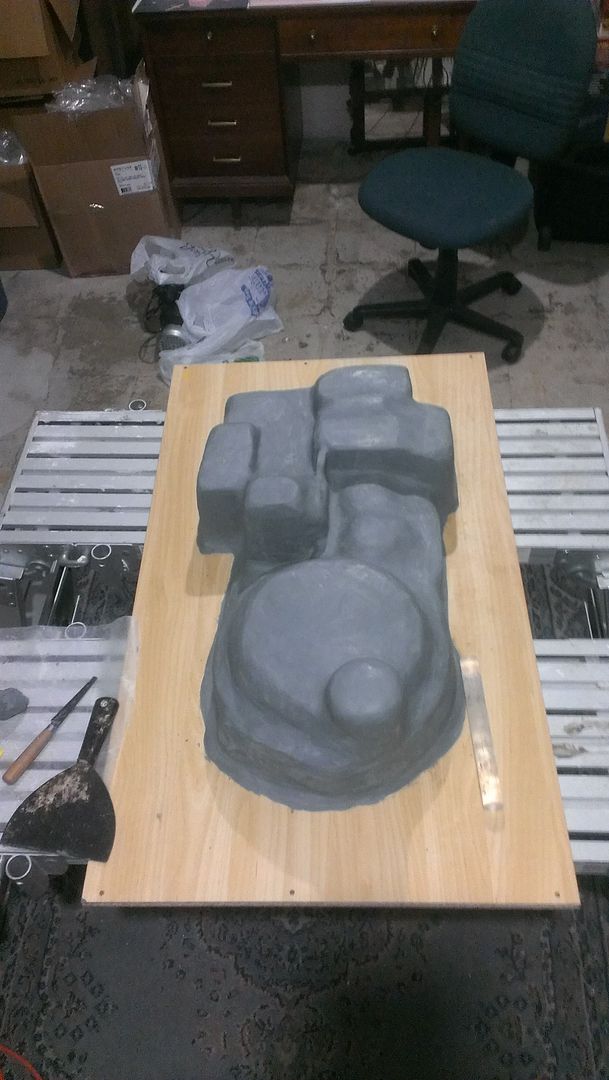
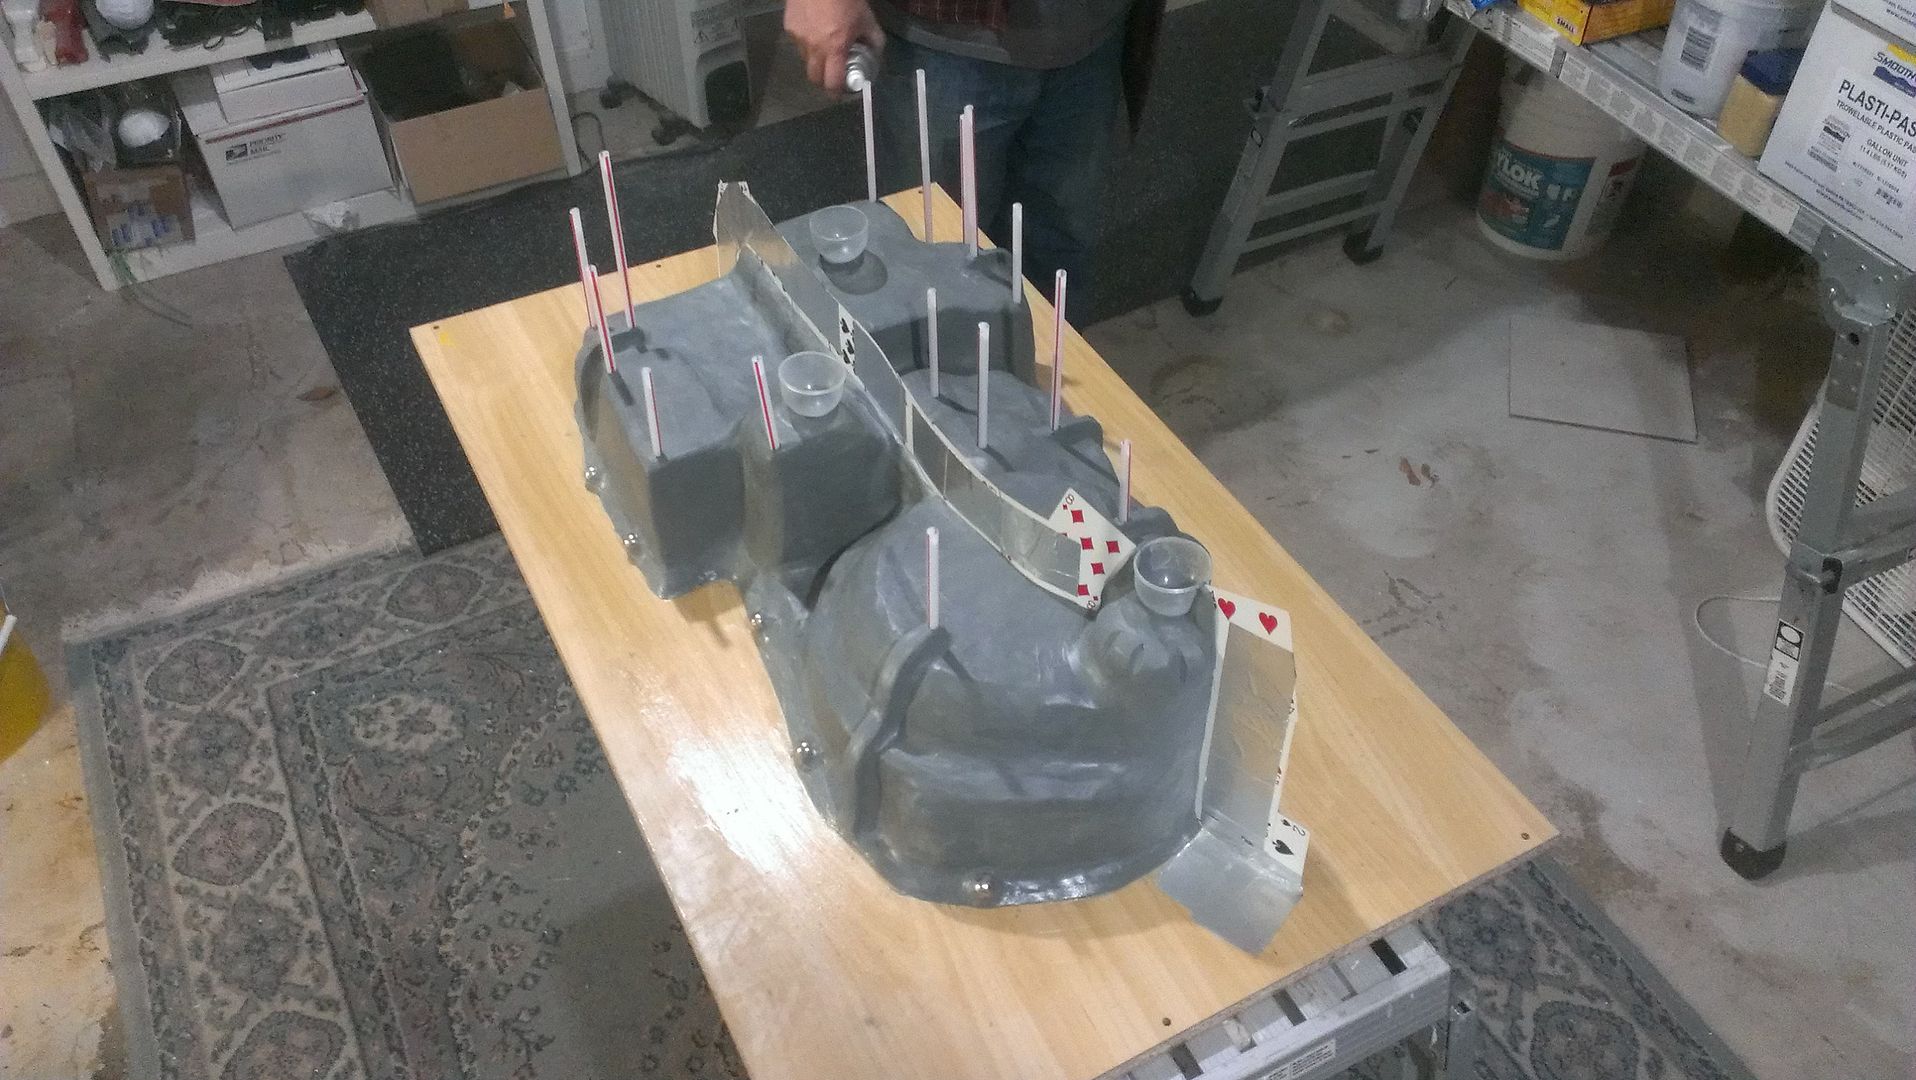
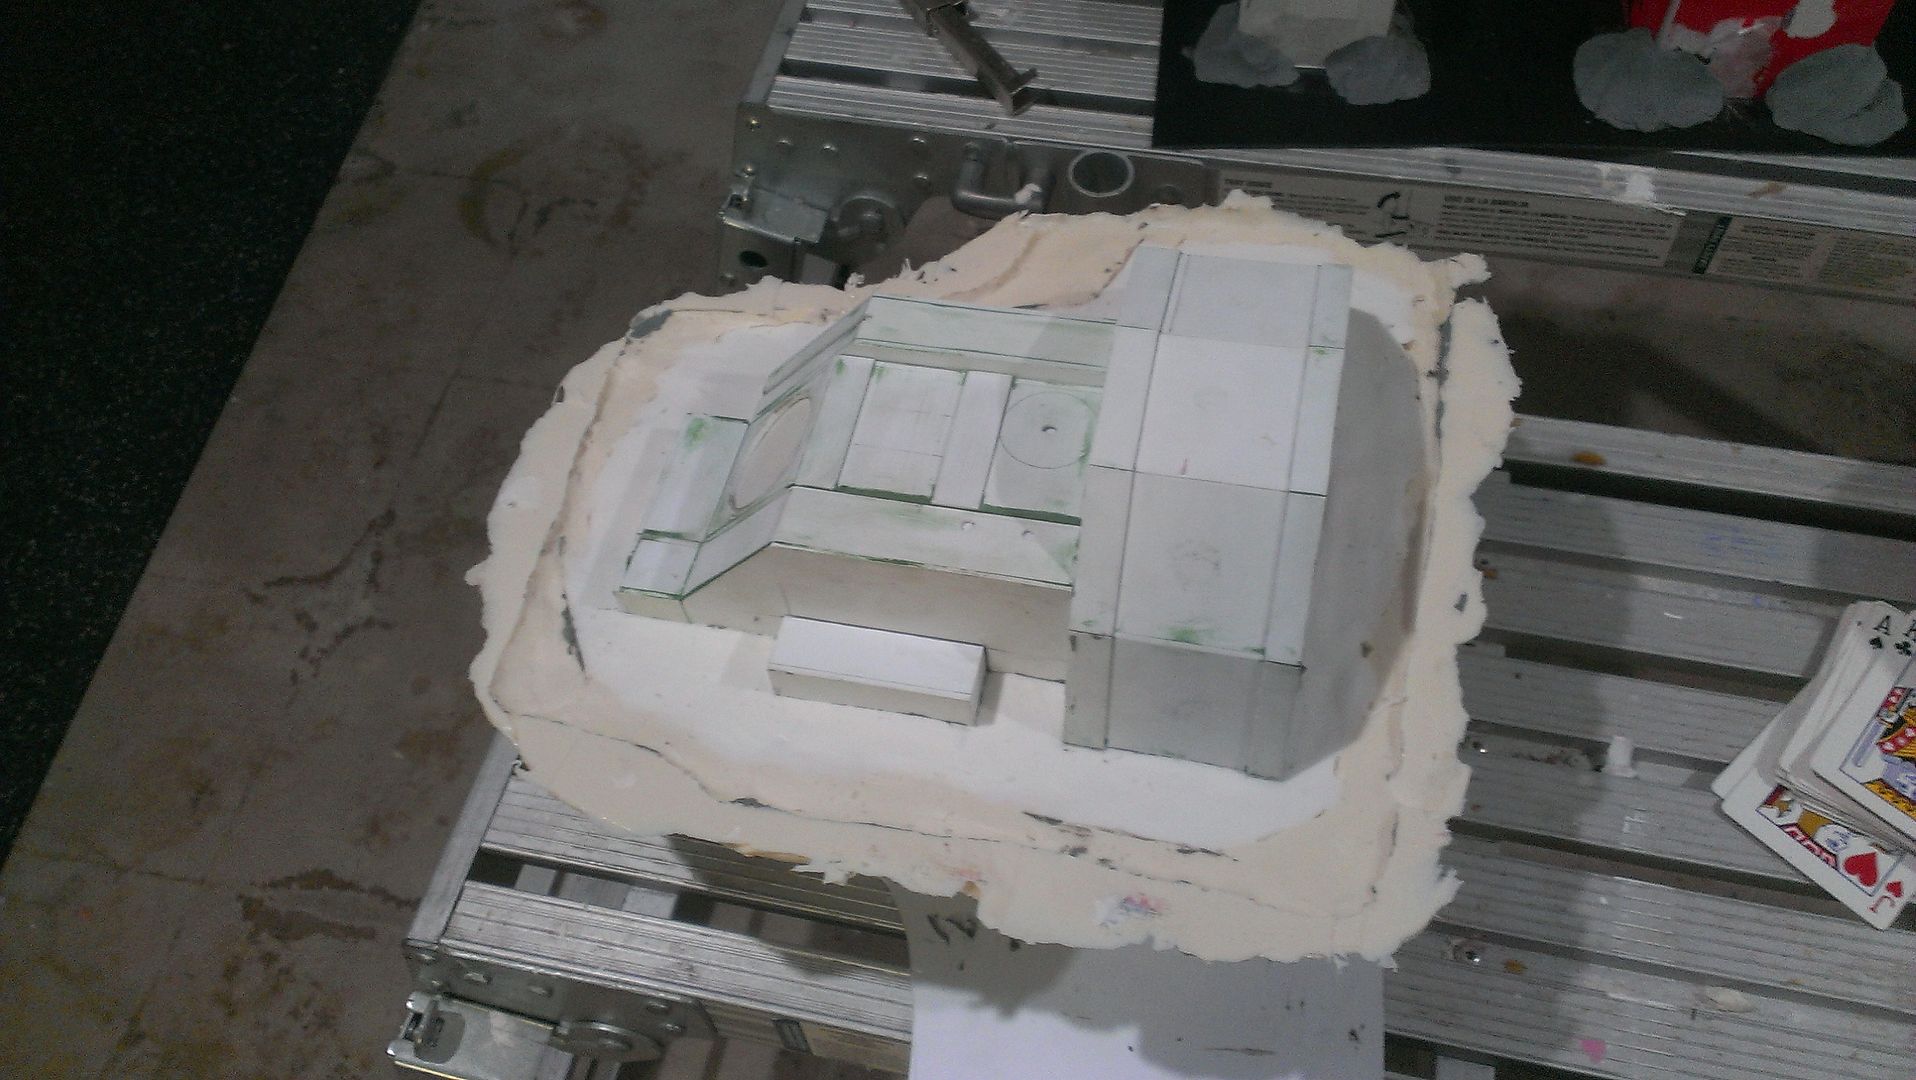
The first thing we did was secure the Master to a board and sealed the edges with hot glue:


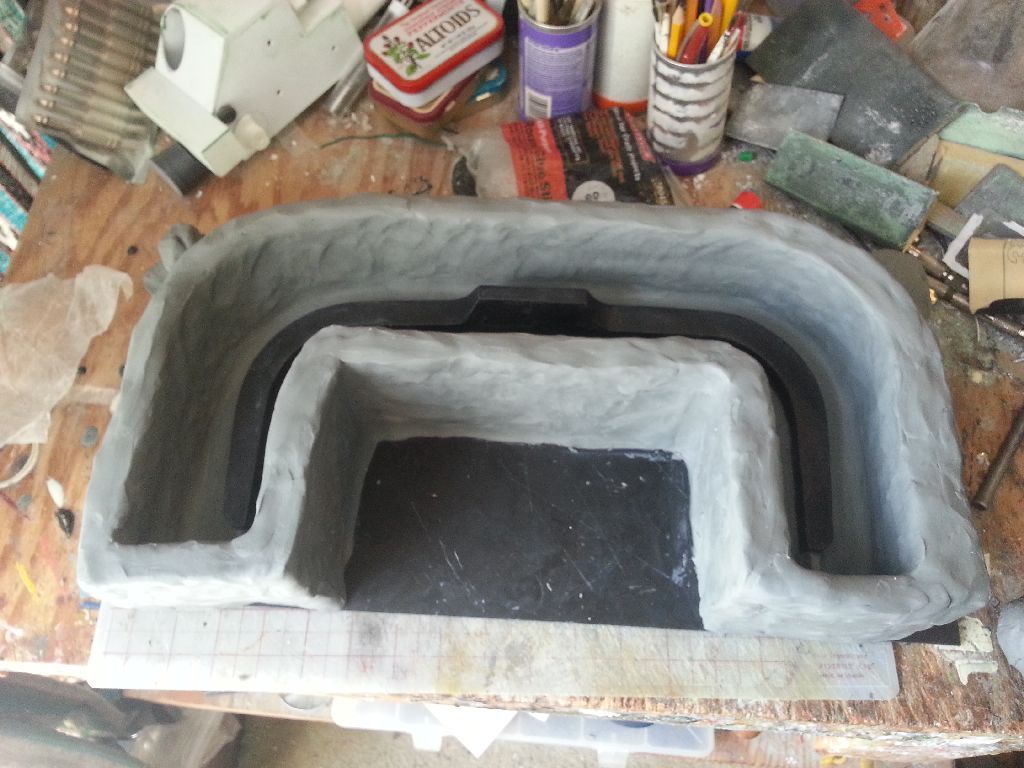
From there we began the clay up process:


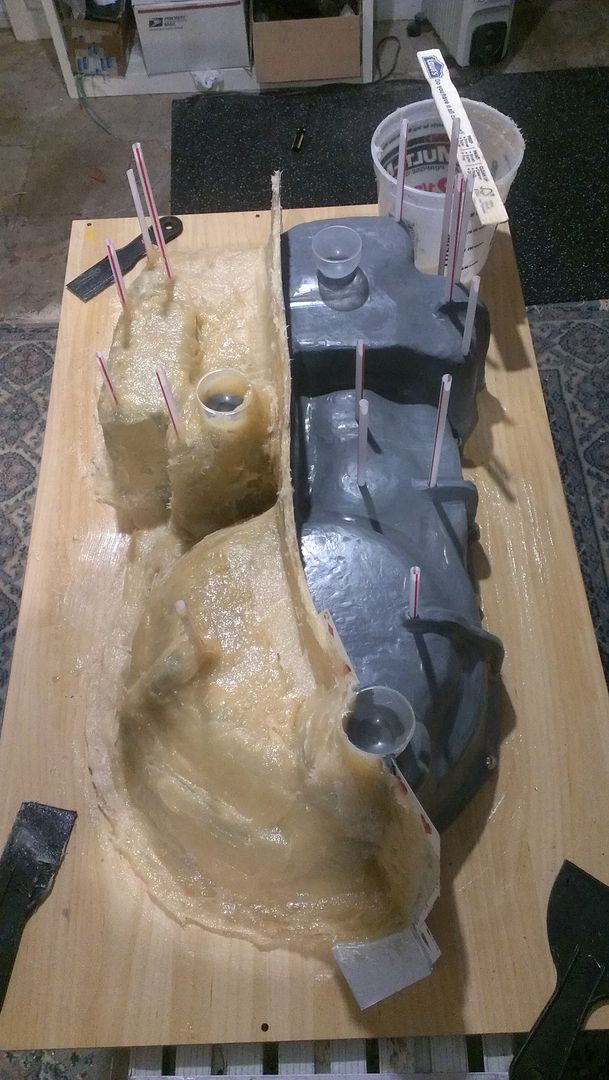
With the clay applied to the Master, we prepped for laying a support jacket:


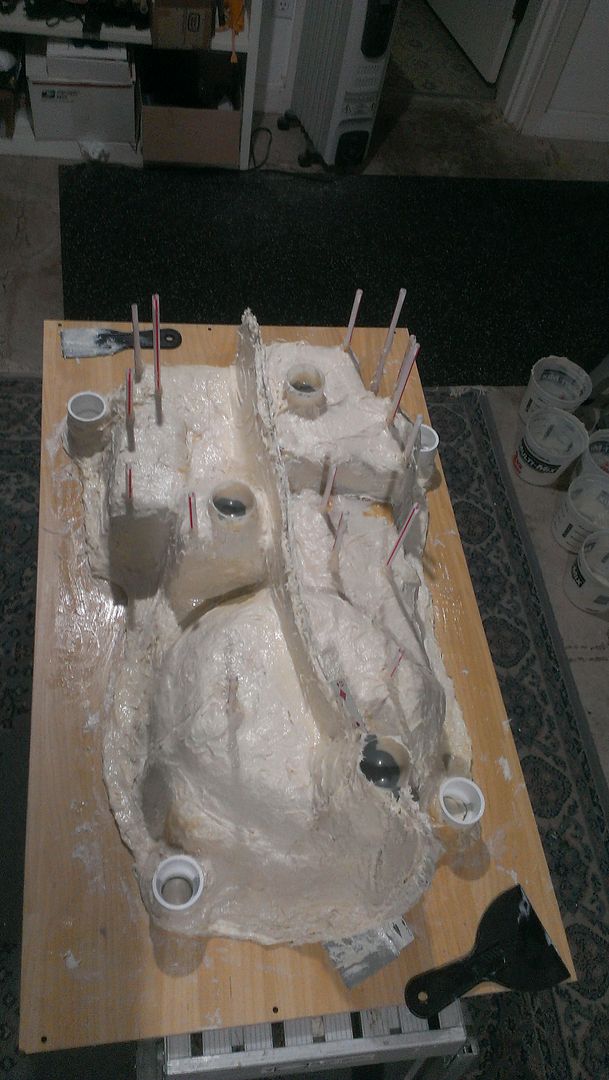
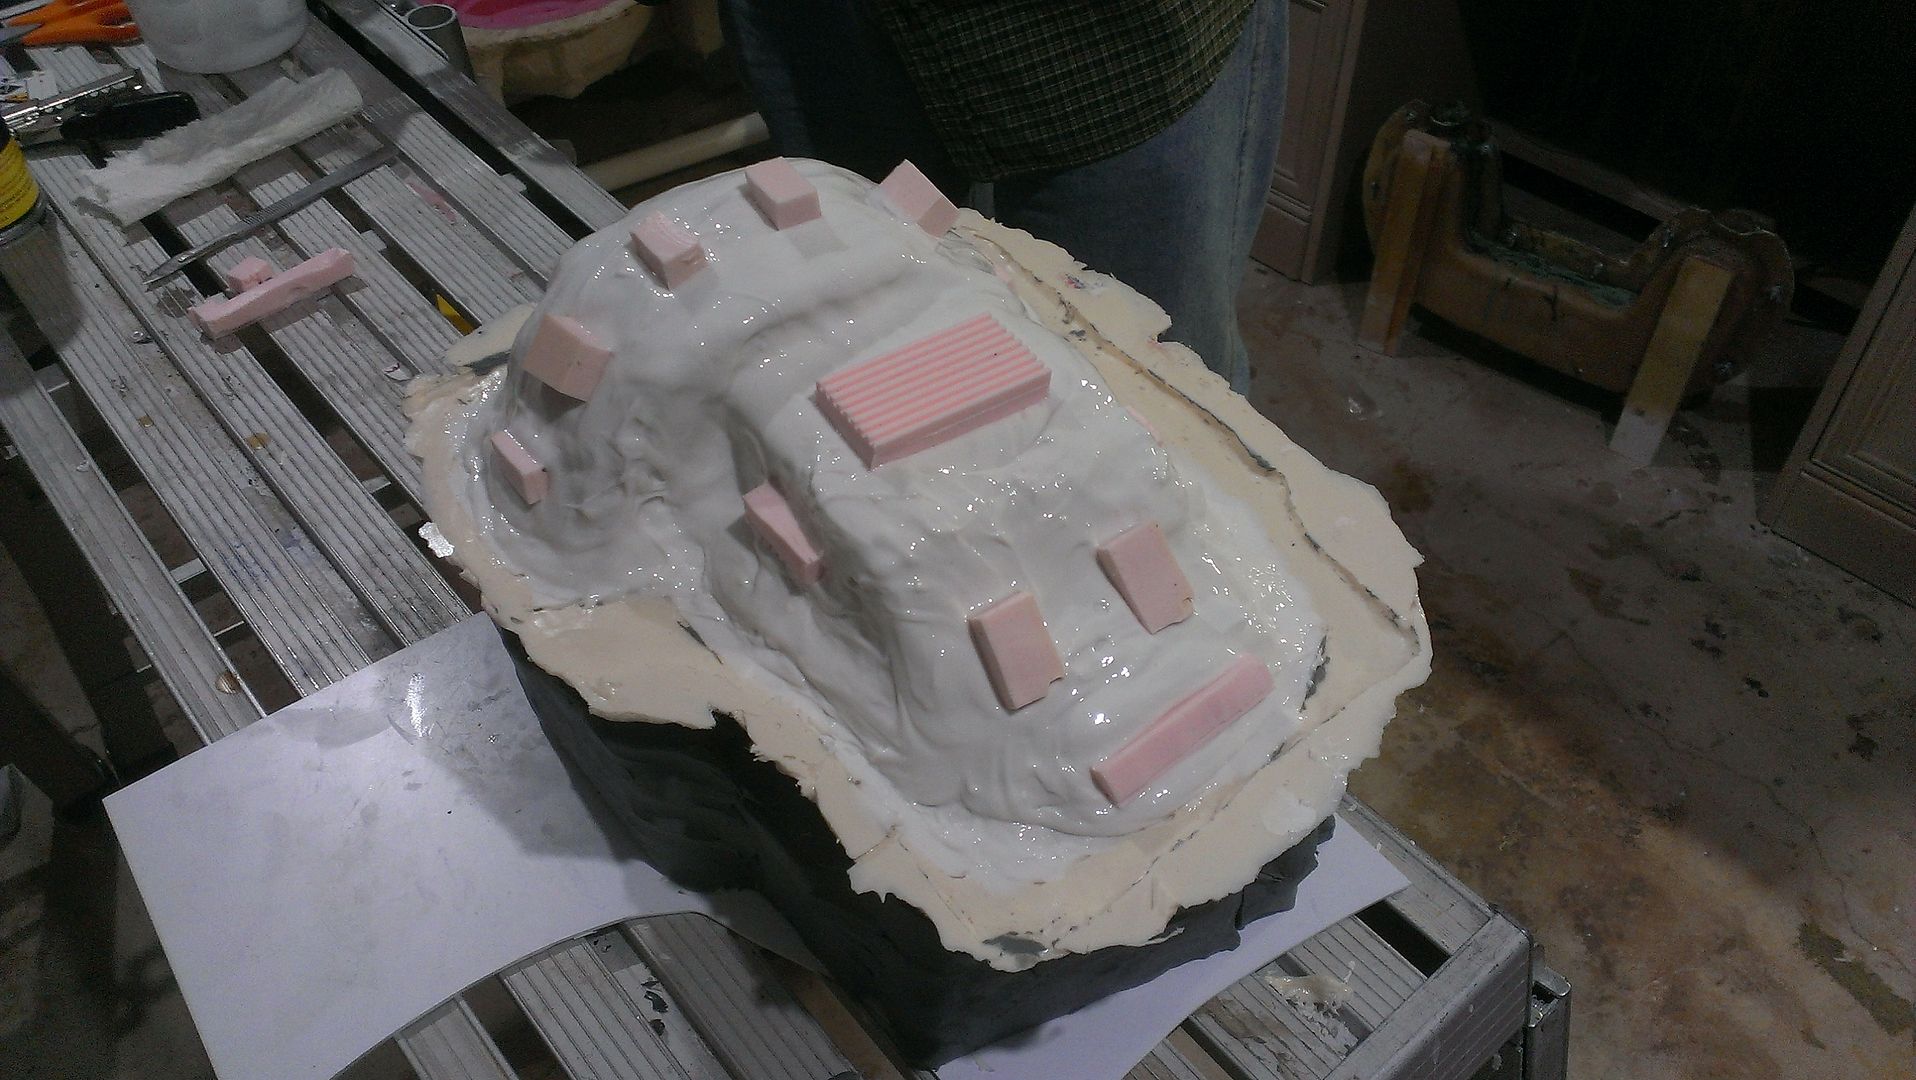
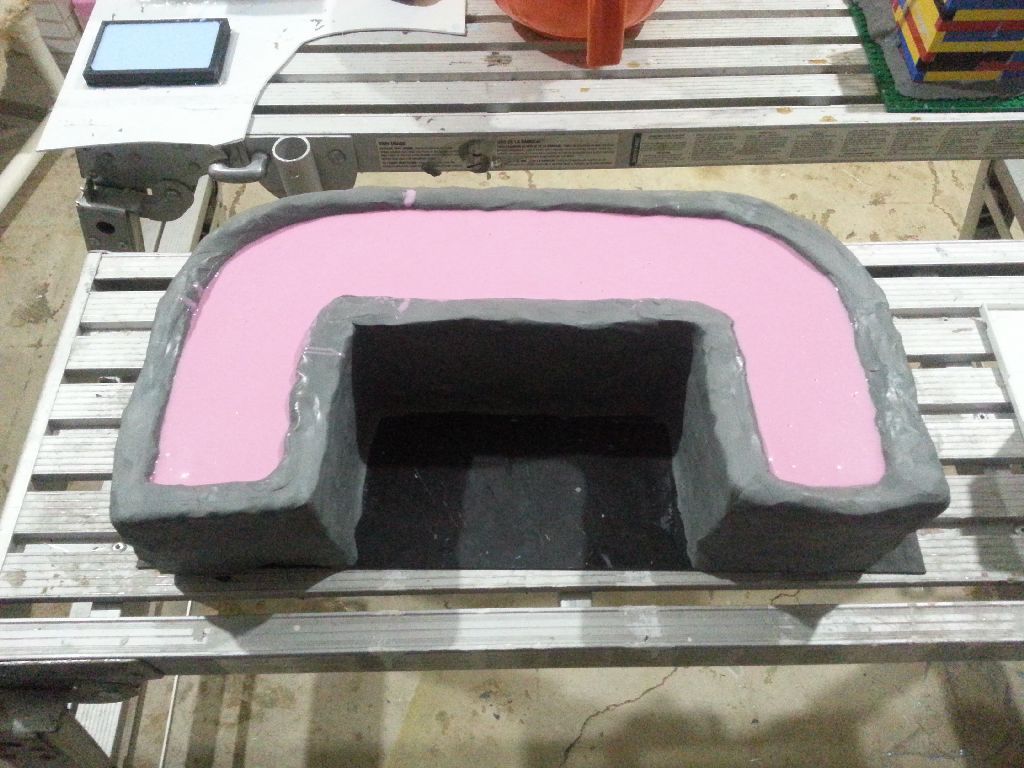
From there, we laid a 2 part support jacket of Plastipaste from Smooth-On.


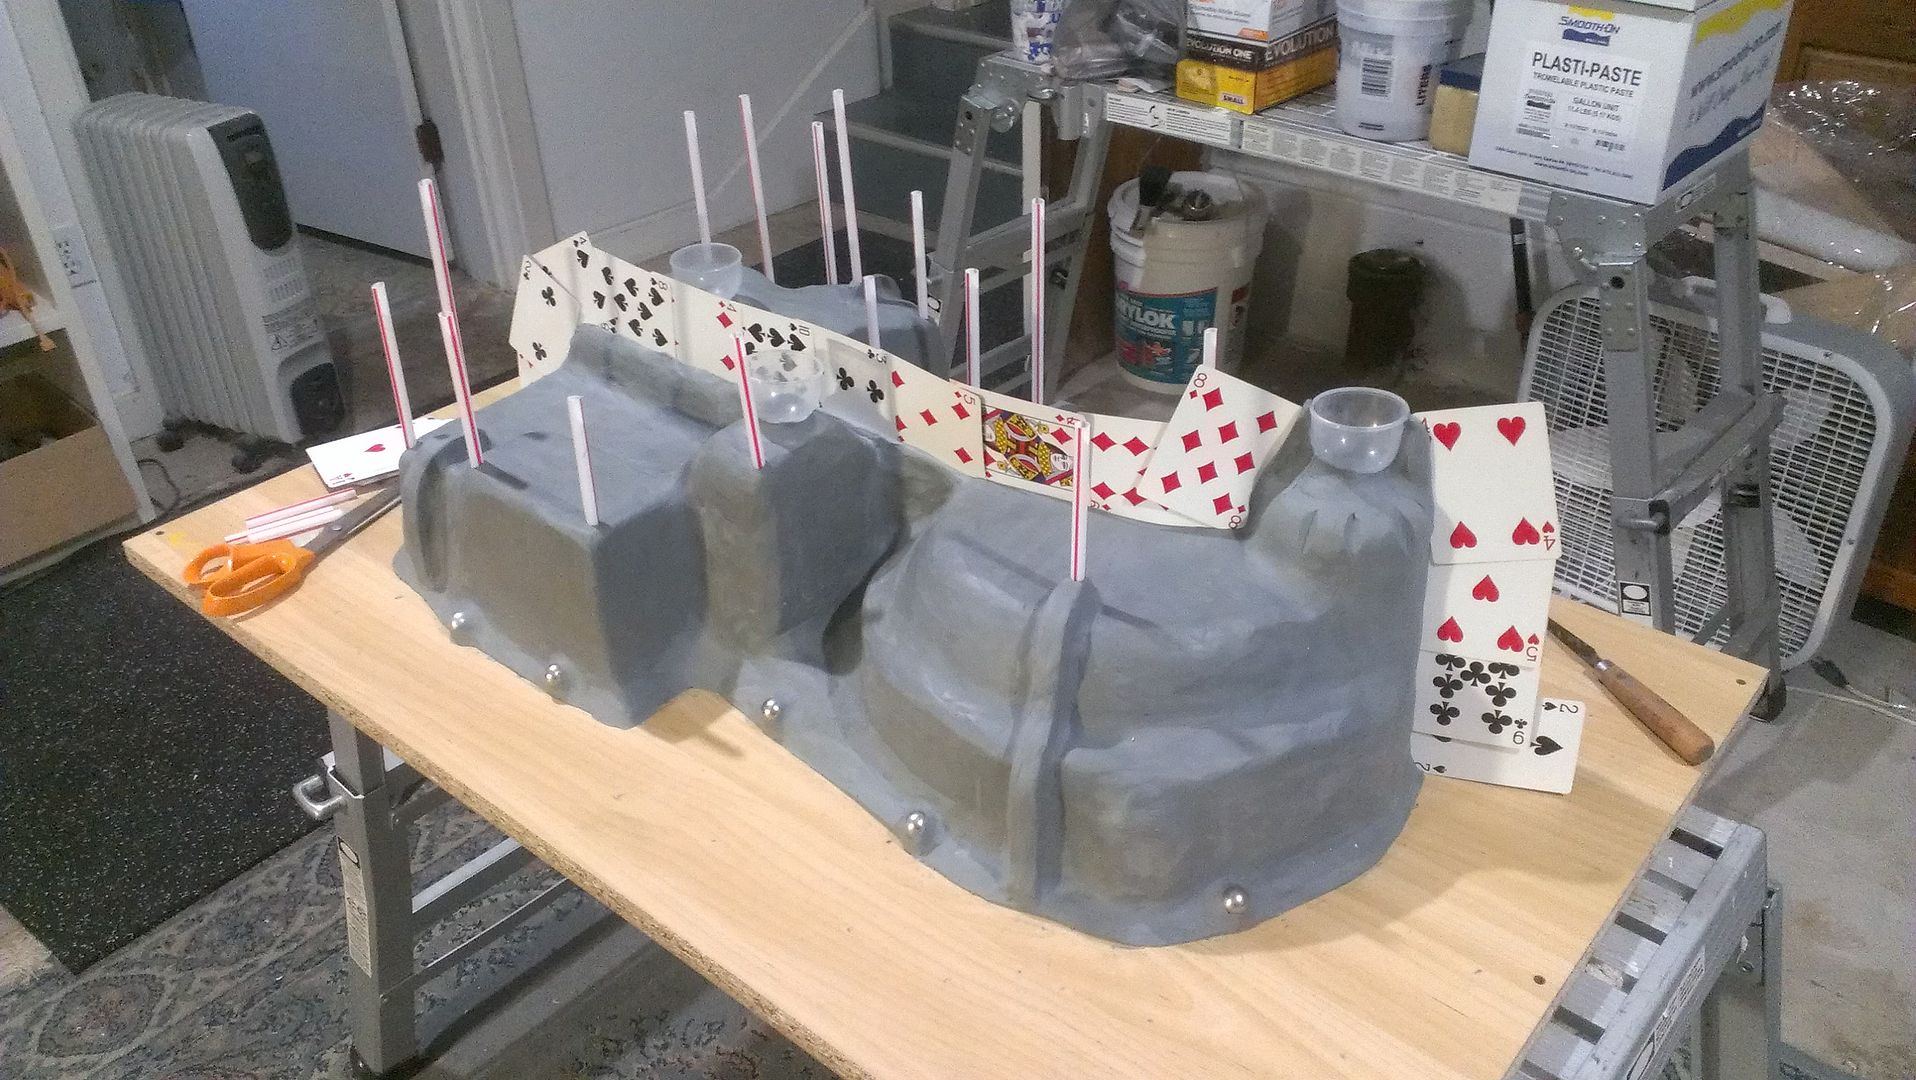
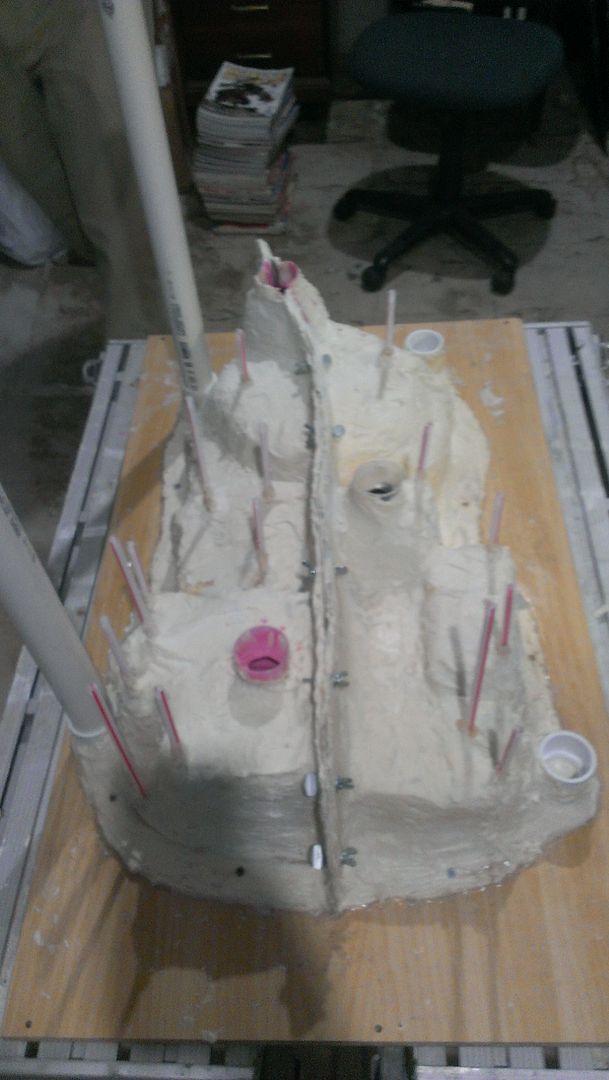
And we installed supports into the jacket:


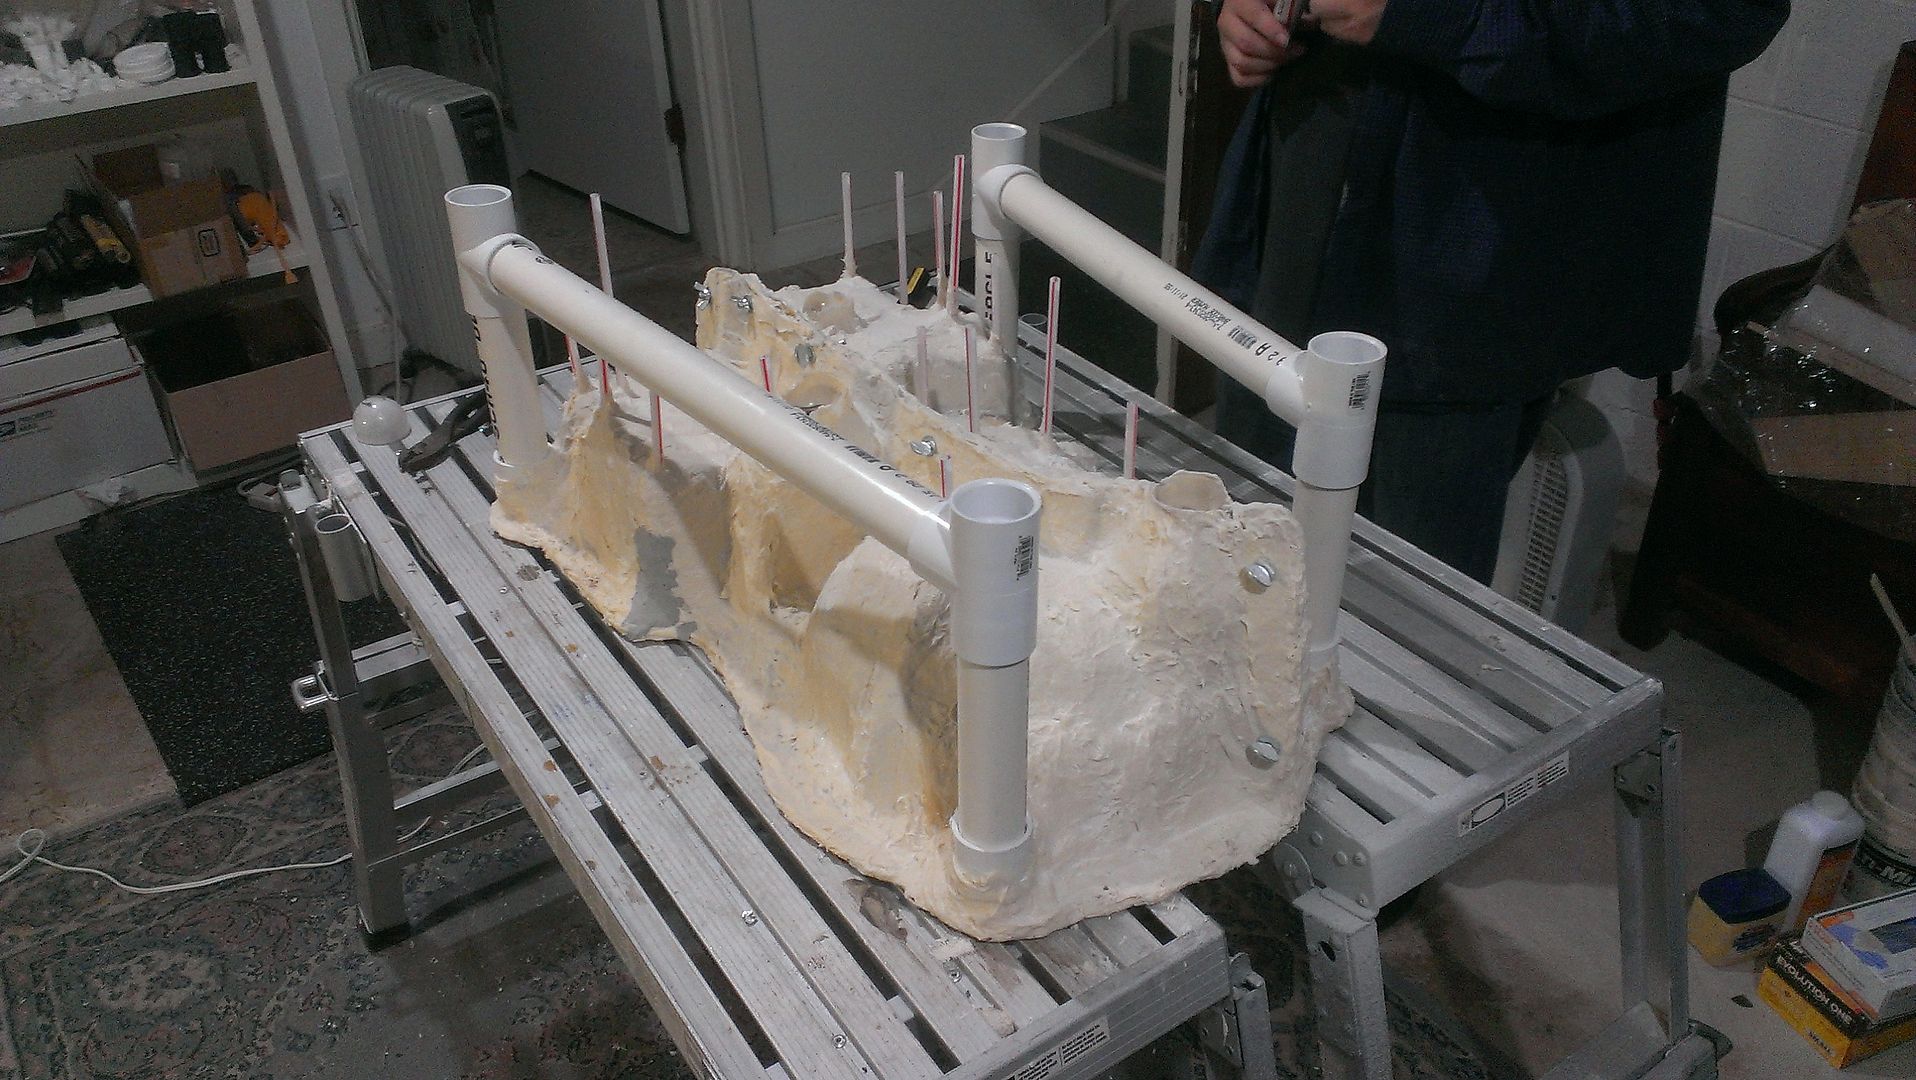
After letting the jacket set over night, we pulled it off the clayed up master, removed all the clay and cleaned up the support jacket:


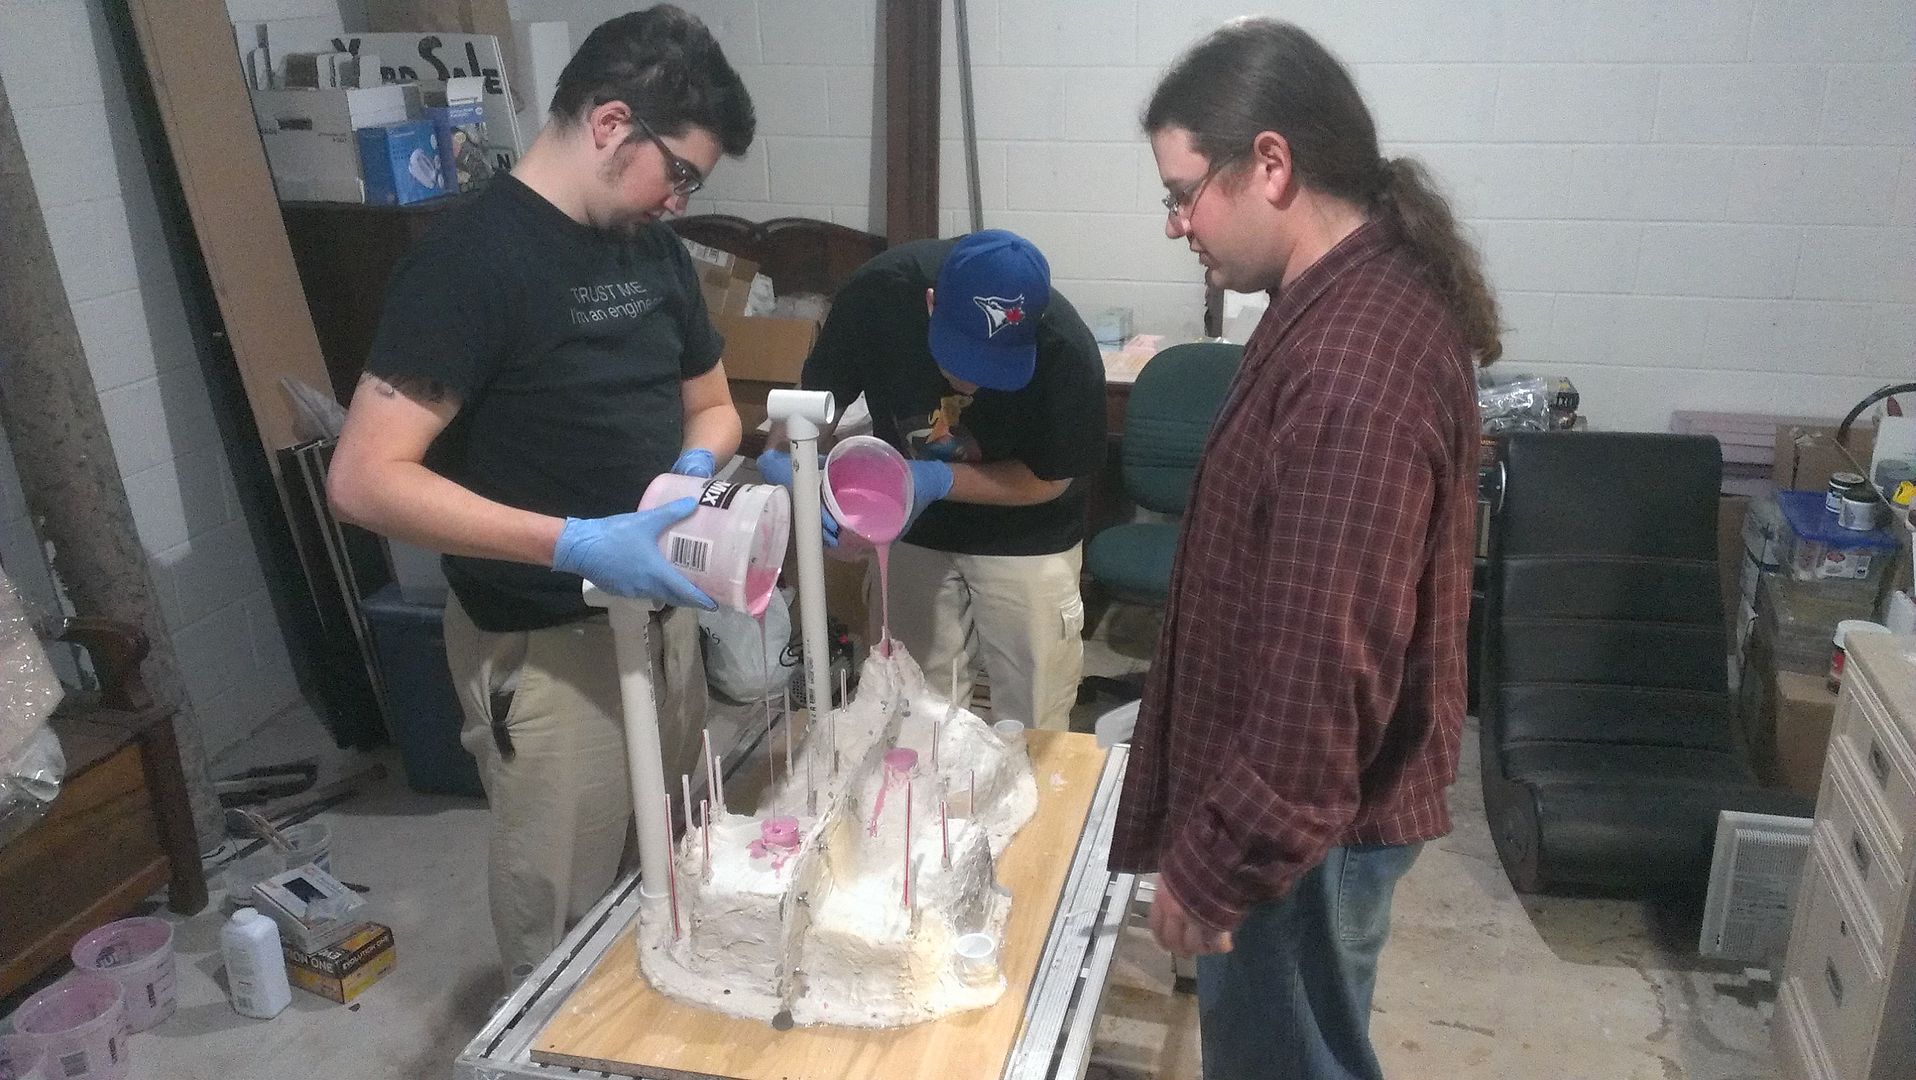
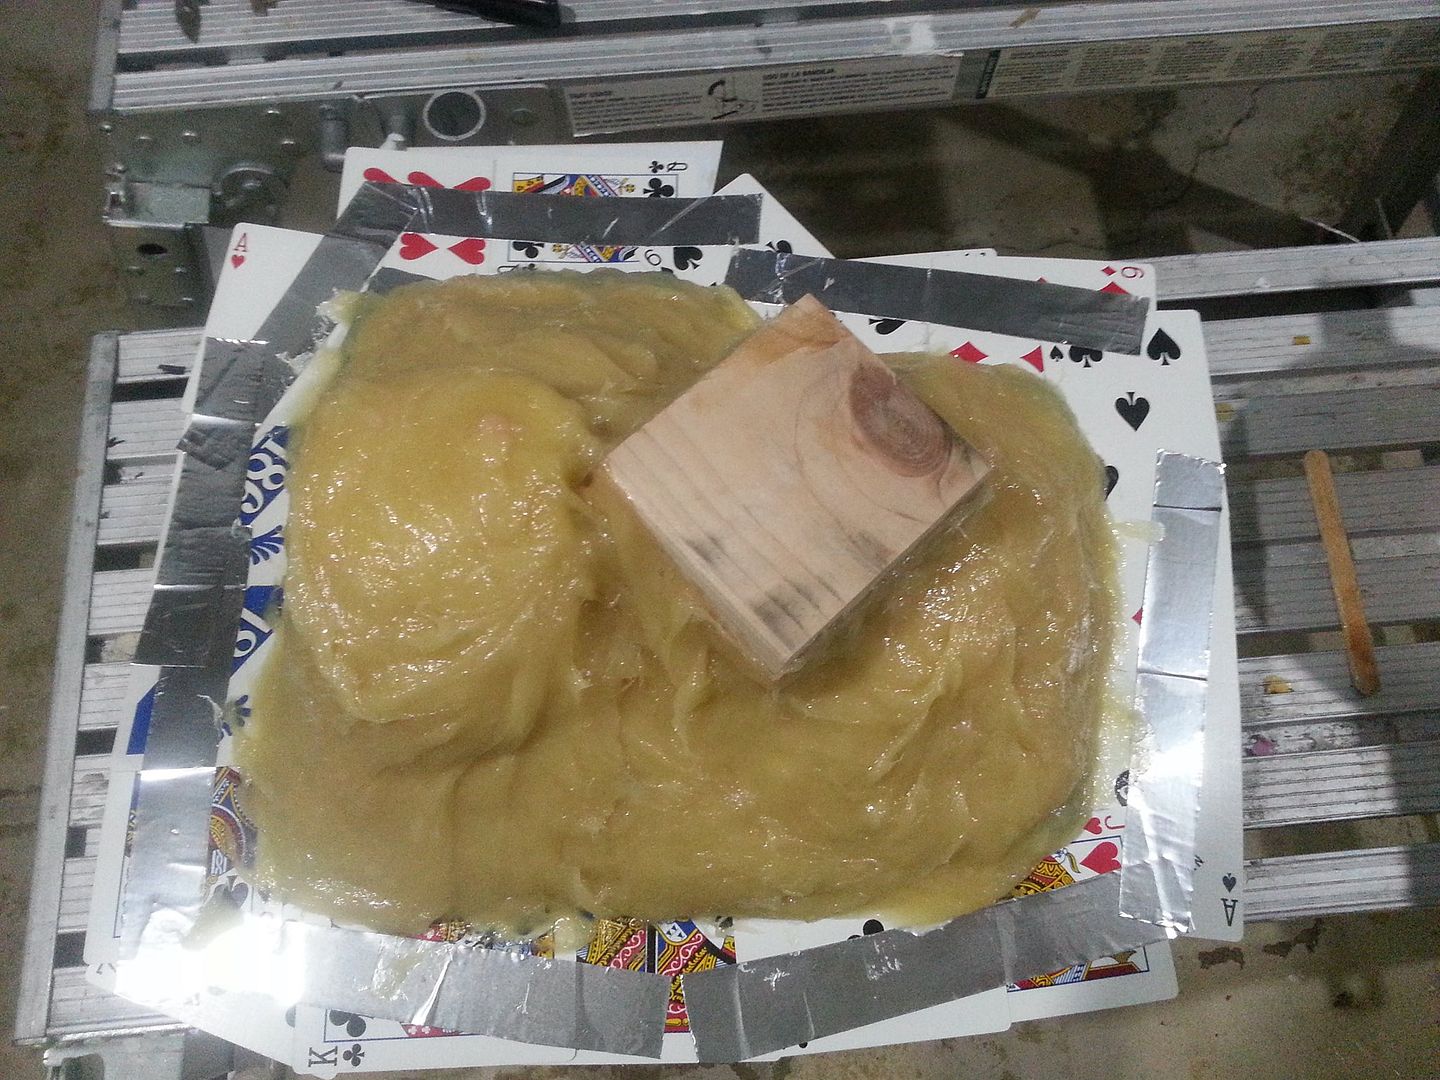
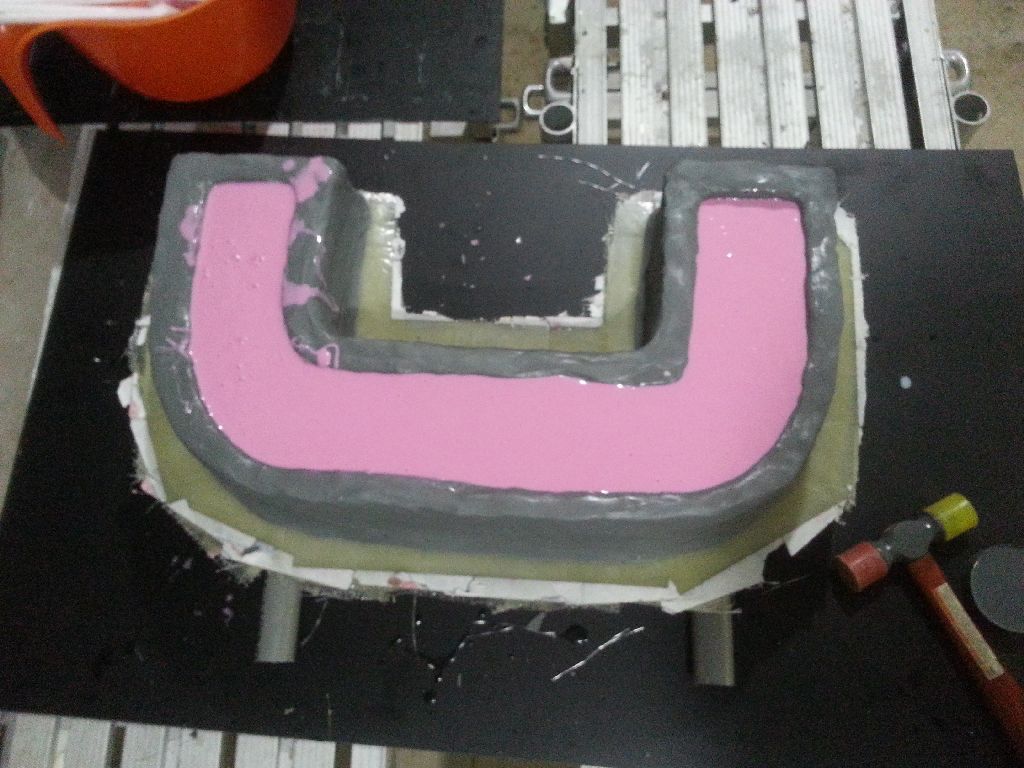
From there, we secured the jacket to the board over the Master, followed by us sealing everything with hot glue around the edges and began to mix and pour our silicone.


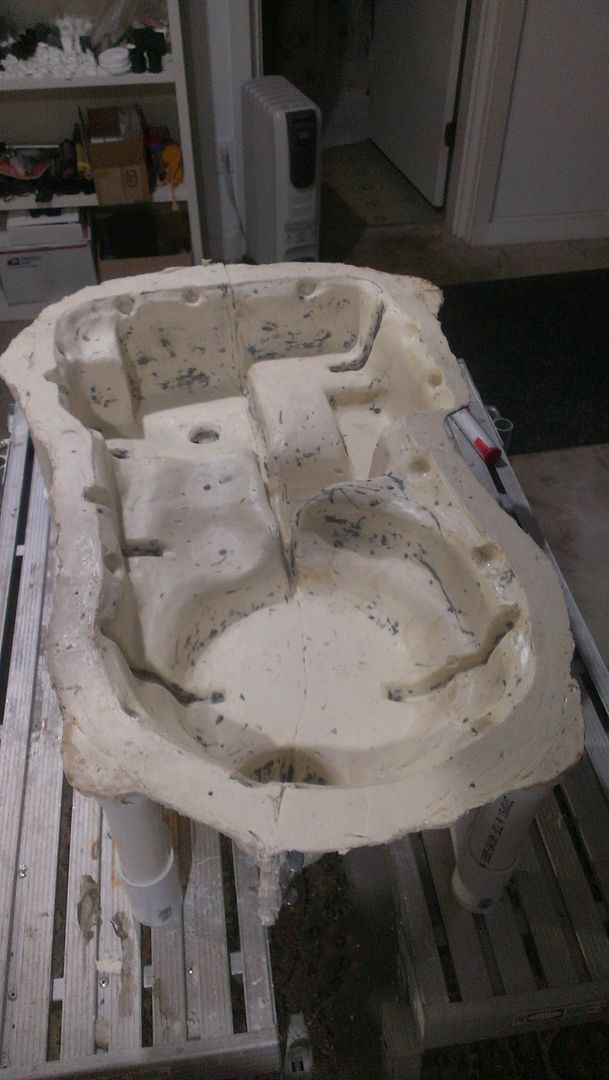
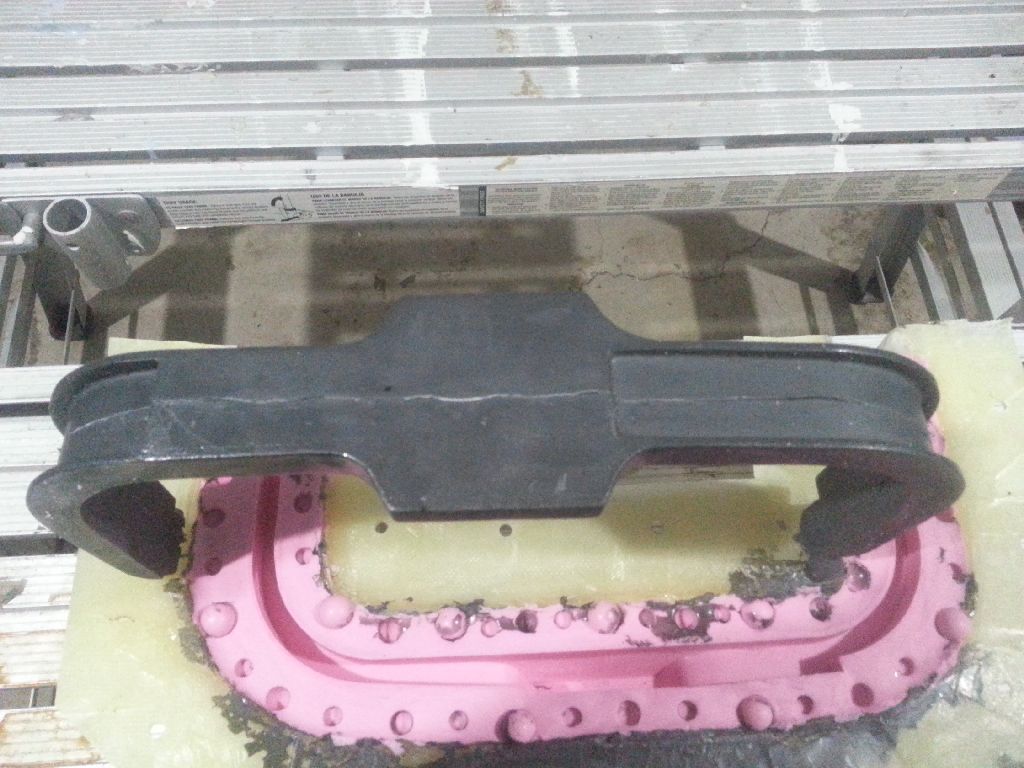
After slowly pouring nearly 2 gallons of silicone, we let it cure for 24 hours. Then my buddies Jack and TJ cracked it open and you get this giant jello mold!
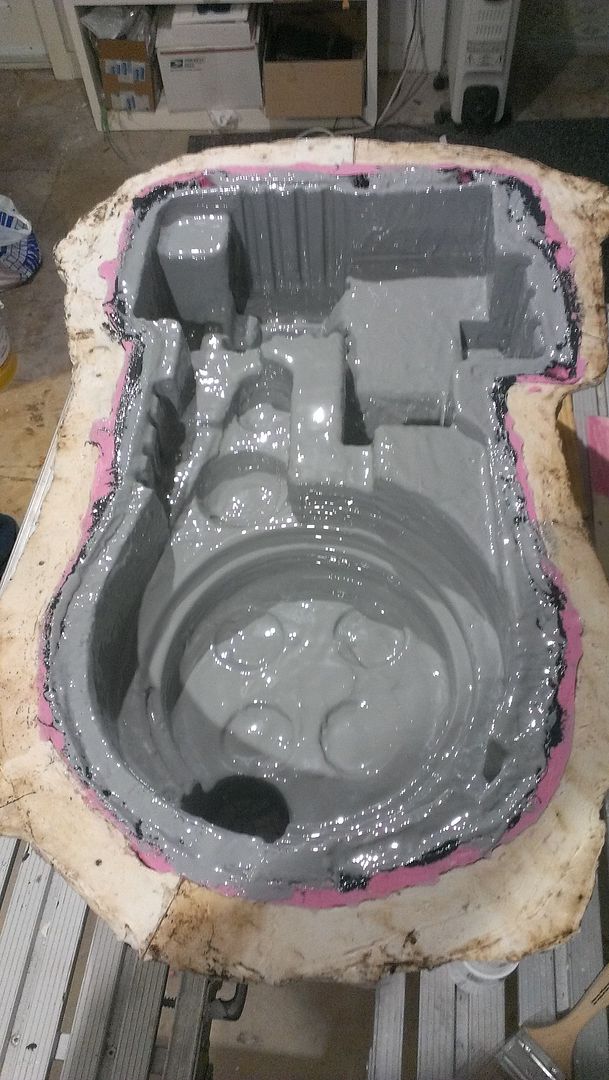


With the mold complete, we could then try out some new materials we picked up to cast a shell.

Because its below freezing most days right now in the North East (being that its December), I really did not want to have to heat one of our garages to lay polyester fiberglass, like we had for our previous movie pack mold. After doing some research, I decided I wanted to try something new from Smooth-On. Luckily I live 30 minutes from their head quarters, so I ran over one week day and picked up some EpoxAcoat Grey and EpoxAmite 100/101 kits. Its all epoxy based, so it wouldn't stink up Jack's basement and it had a Shore Hardness D of 84, which is about the same as a hard hat. Figured we'd give it a try.

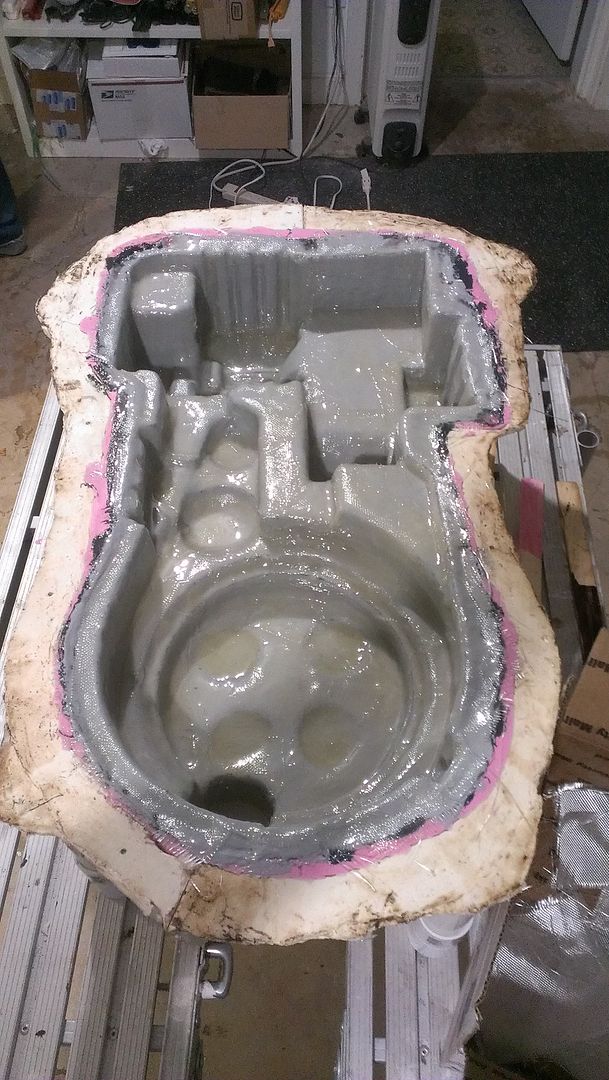
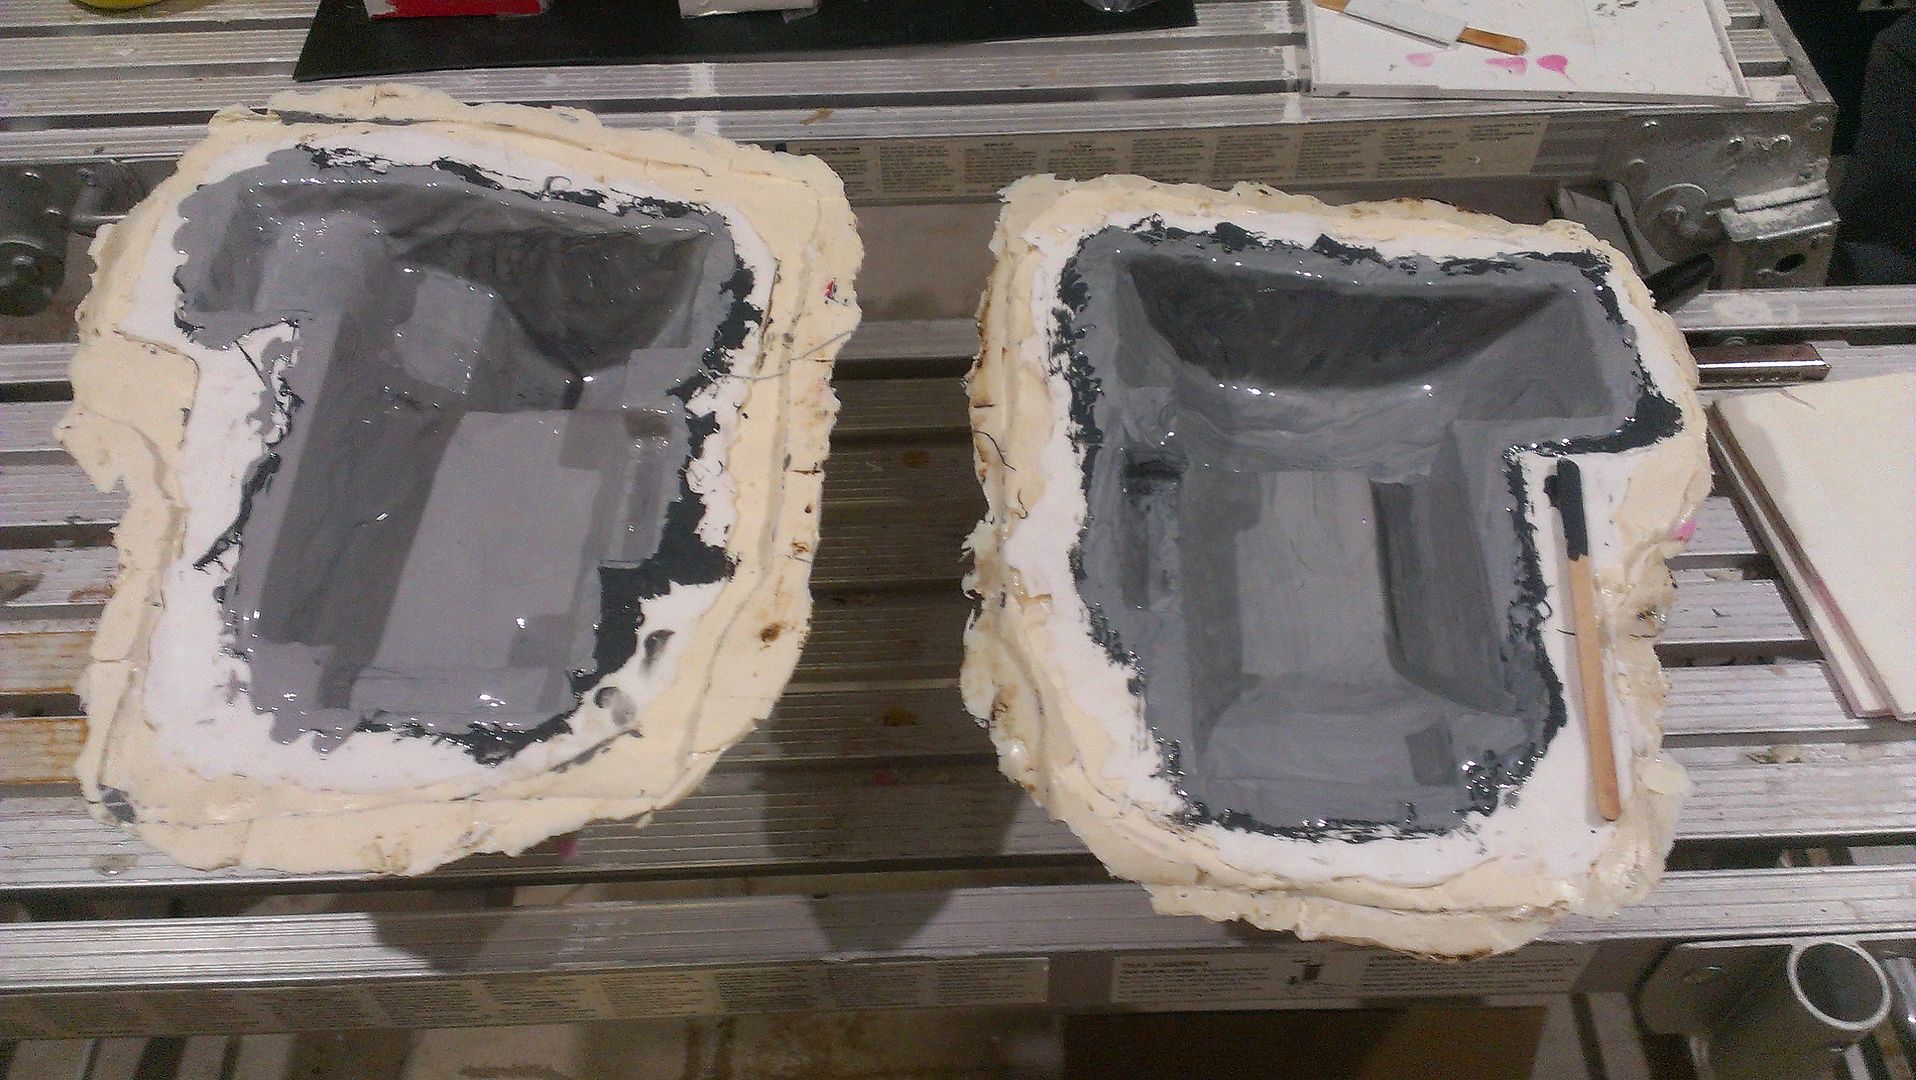
We did 2 coats of the EpoxAcoat Grey (tinting the first coat a darker grey/black).


Then did a single coat of the EpoxAmite 100 impregnated with fiberglass cloth.


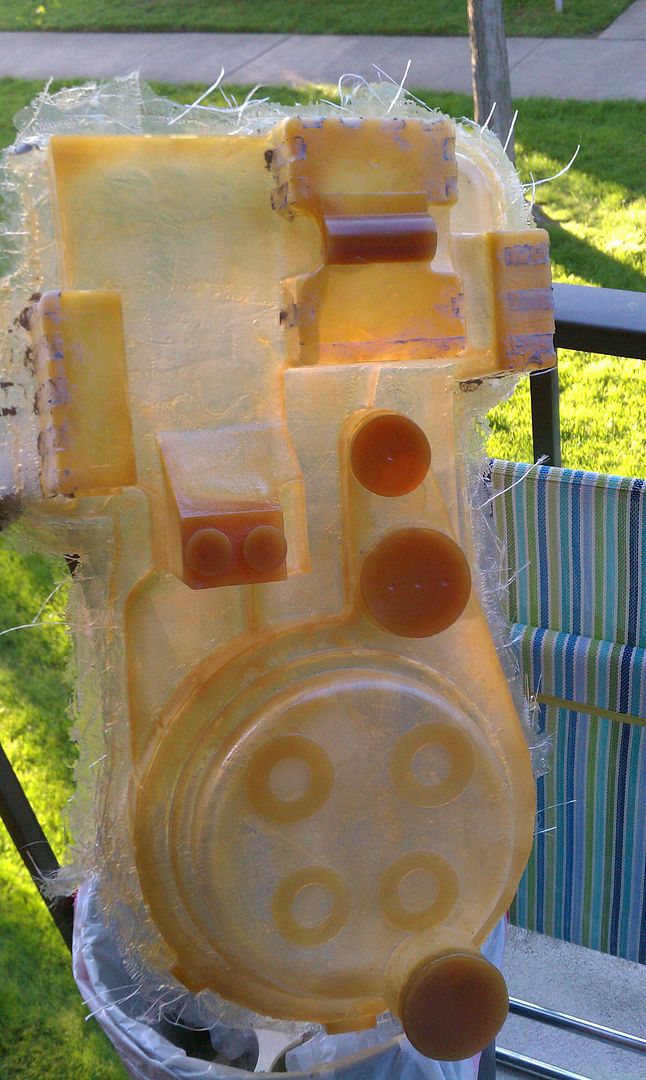
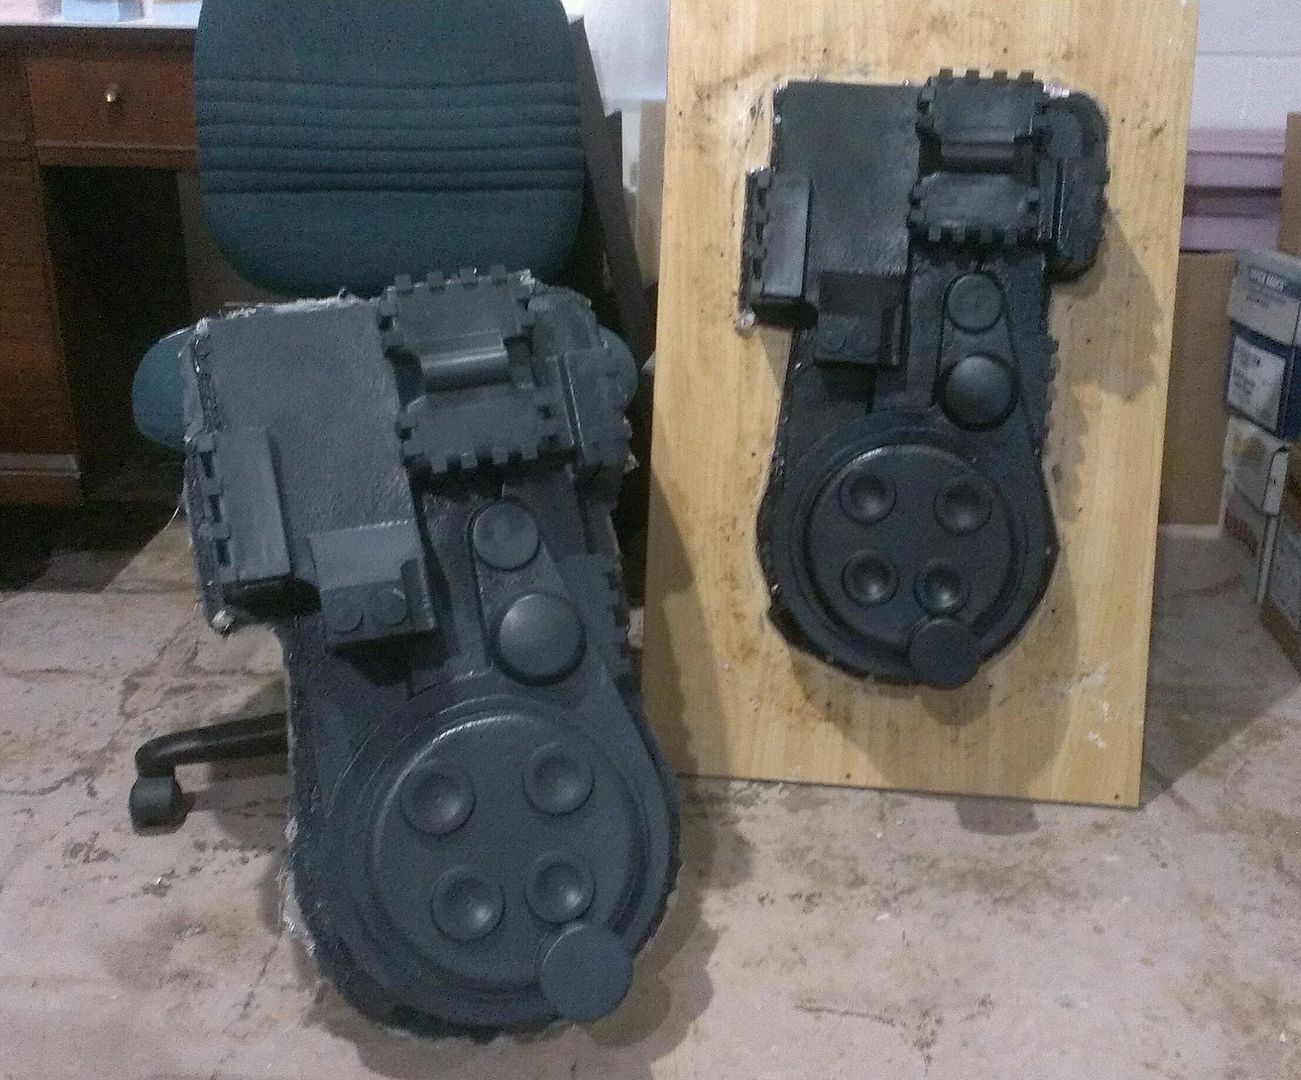
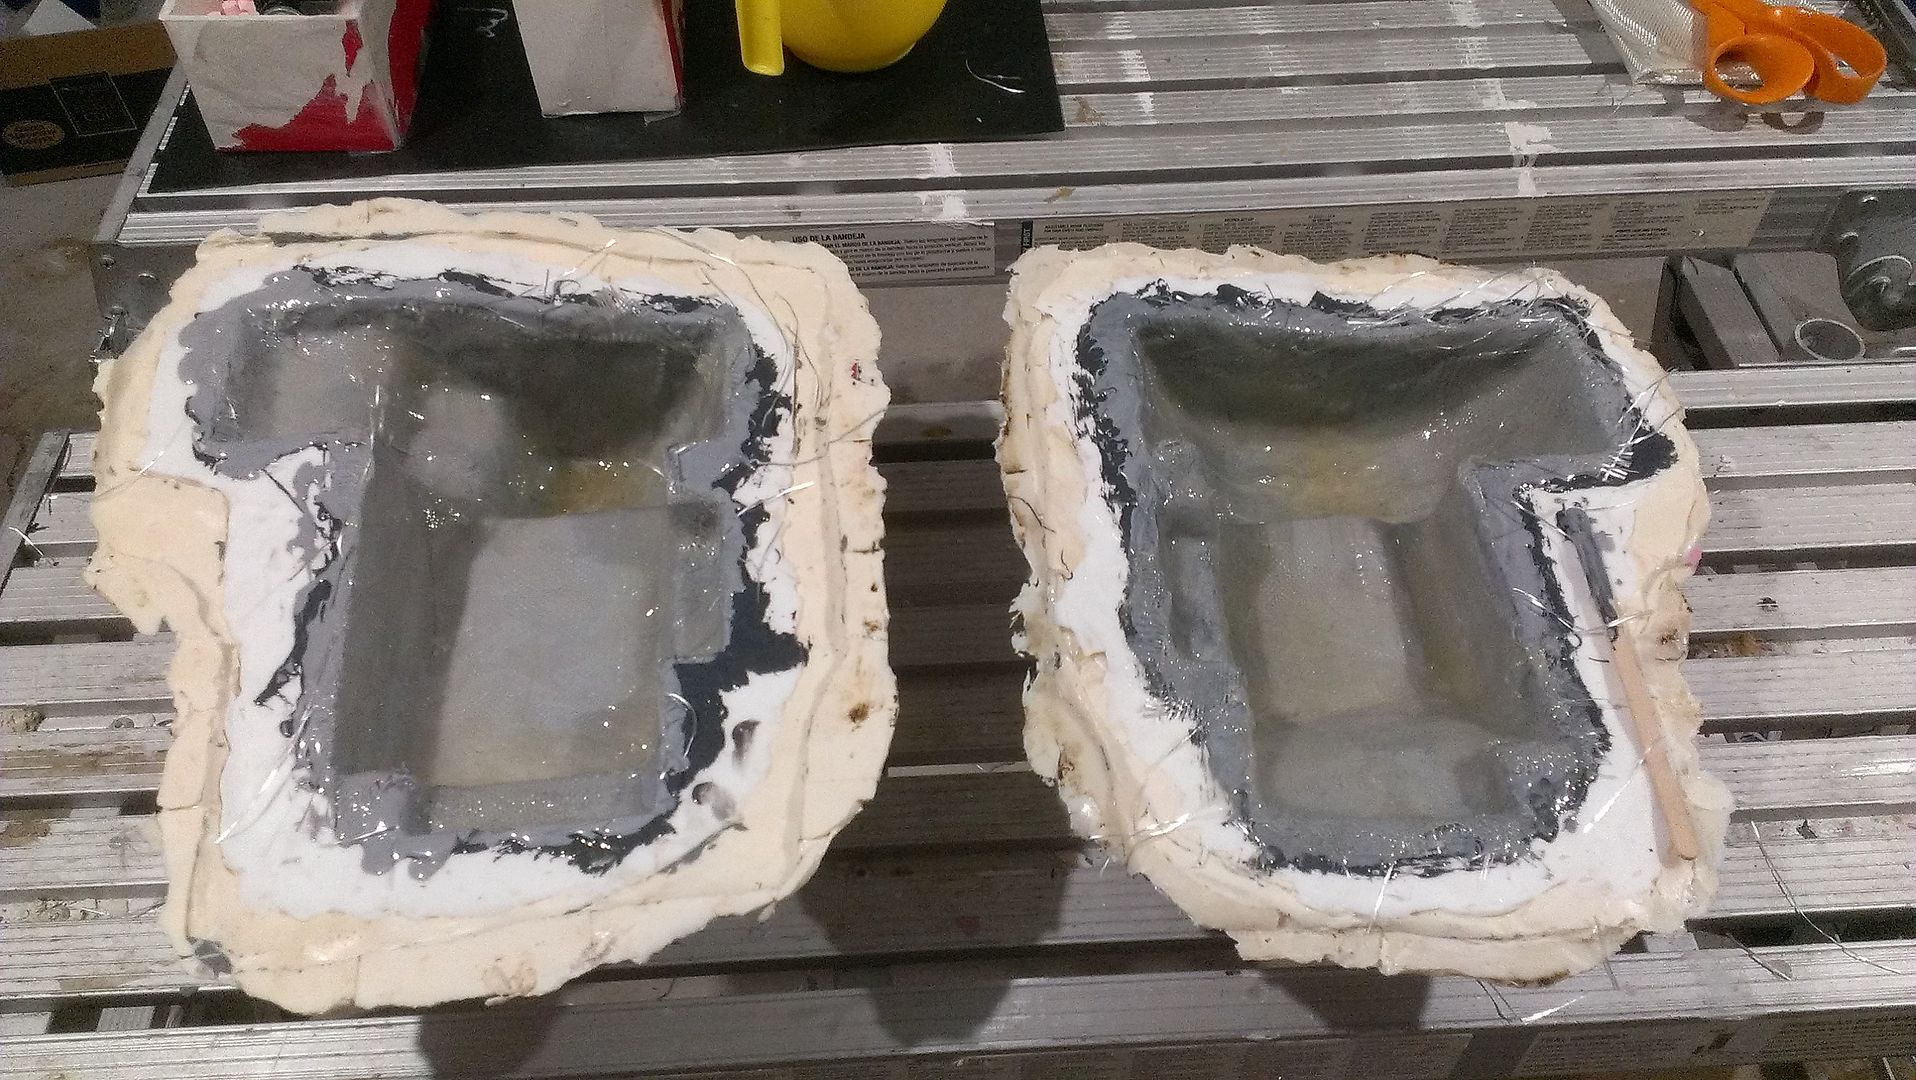
Wait 16 hours for everything to then cure, and you get one of these!


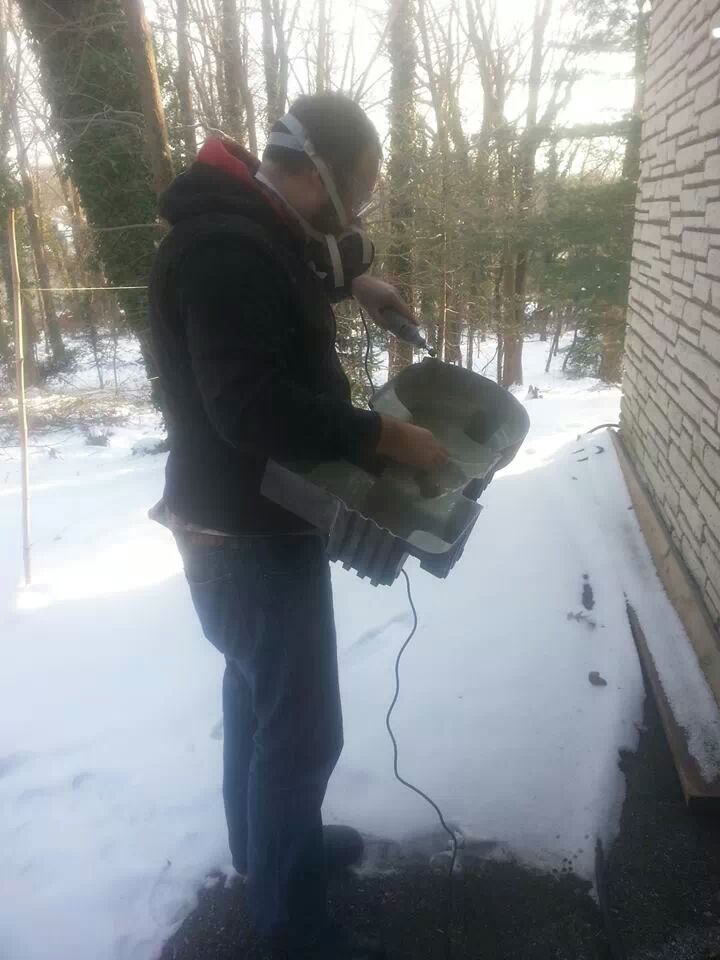
And after standing out in the snow with a dremel for 20 minutes. . .


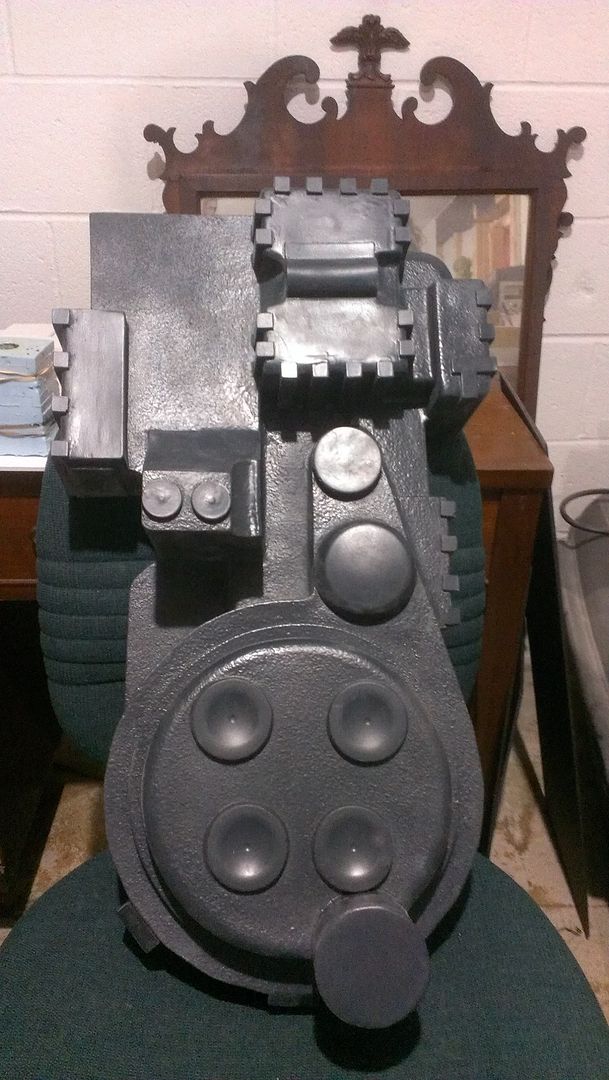
It looks more like this:


I think the mold and the shell came out great! The shell only weights 4 lbs and feels stronger then the straight fiberglass shells we had done before. With the shell done, I can mount it onto a mother board and ALICE frame, and start drilling holes and mounting some of my hardware I have so far.

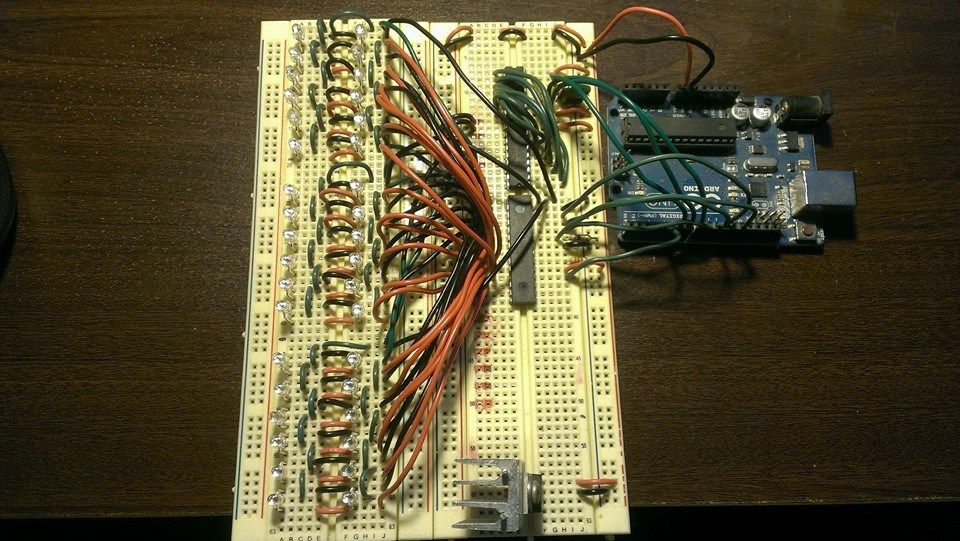
Lastly, as a little teaser, I may or may not have begun to prototype blinky lights for this project. . .


As Jack finishes up the wand master, we will do another post showing the molding process of that. Stay tuned, until next time!
 
Last edited:
Next big update!

First and foremost, the game pack bumper!

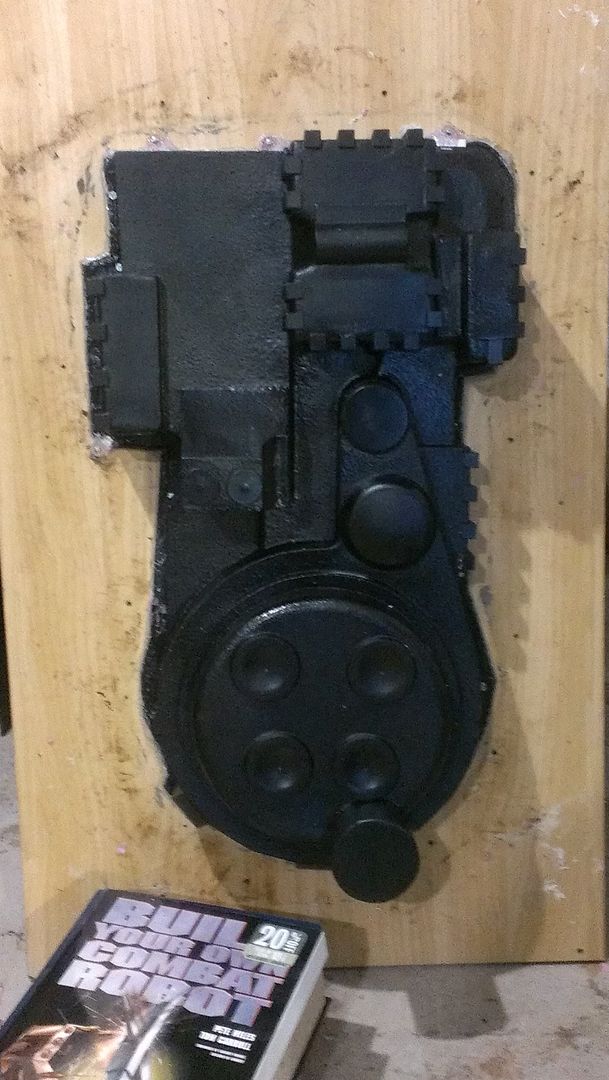
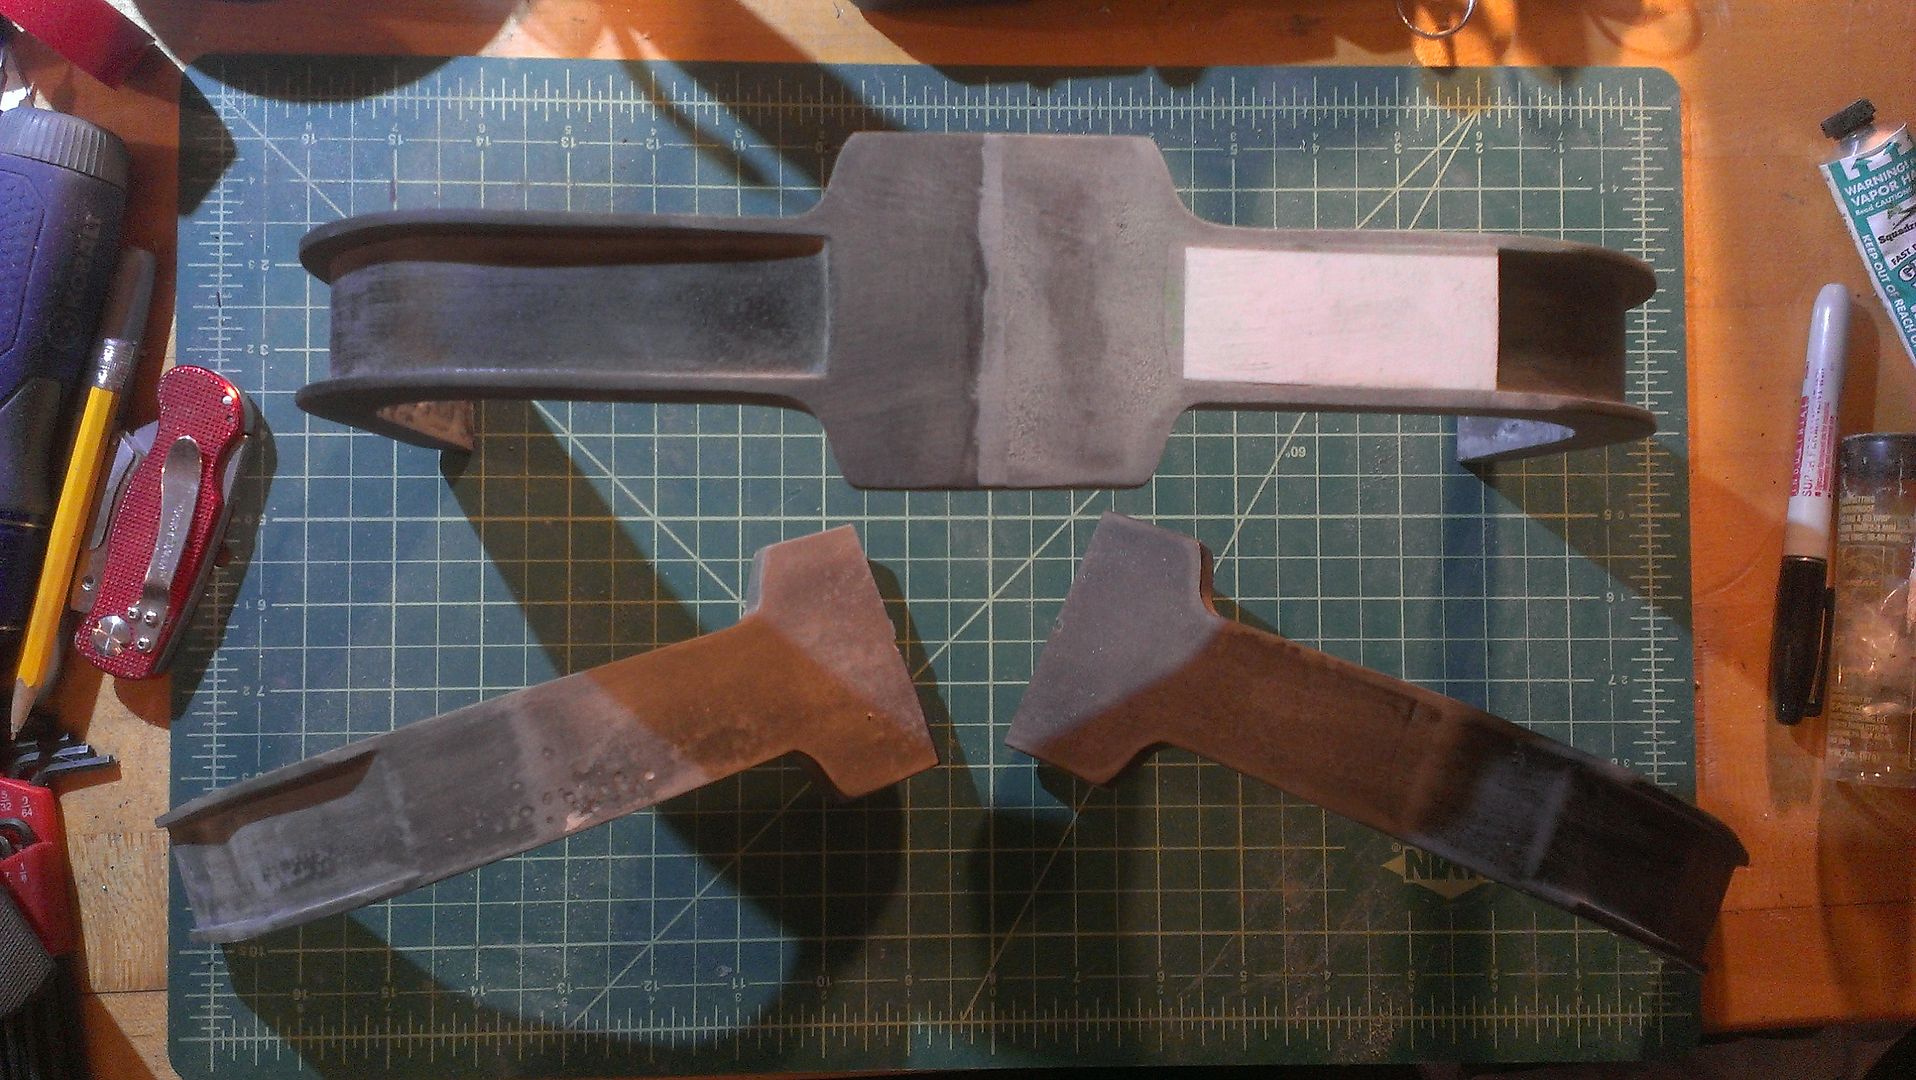
The bumper in the game is geometrically different then the movie bumpers that we have floating around in the community now. Honestly, it reminds me of earlier fan created bumpers. Well luckily, I've been hording bumpers for 11 years because of how difficult they used to be to get a hold of. After staring at screen caps of the game and the pile of bumpers I had, I decided that my Volguus V1 (circa 2003) were the closest to what was in the game! Luckily, I'm friends with Volguus on Facebook, so I dropped him a line, requesting to modify 2 of his bumpers to create one accurate game bumper. He was completely fine with use Frankensteining 2 together for a master for us to mold and use with our project.

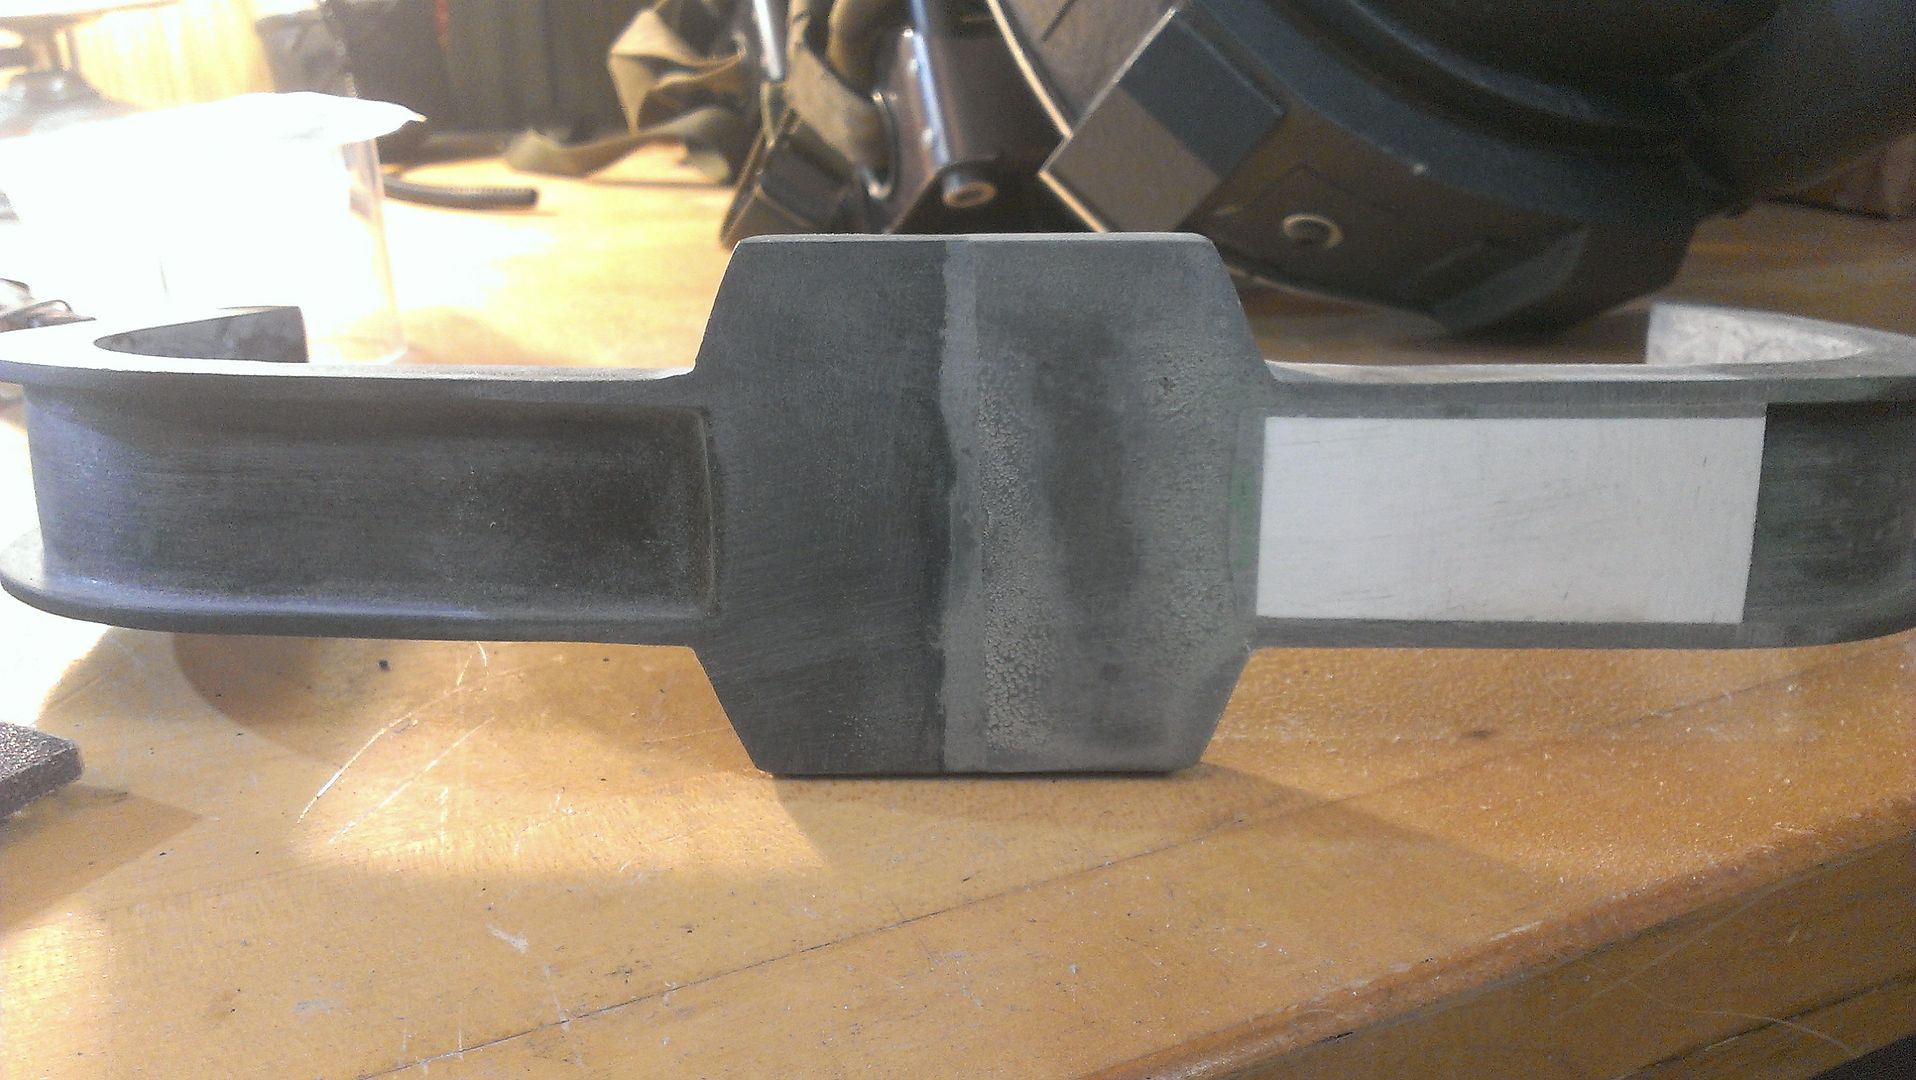
Here's some shots of the process. Because both sides of the game bumper seem to have deeper center groves on both sides of the bumper, I cut my 2 Volguus V1 bumpers in half, removed about 1/8" - 1/4" of material on each half, and reassembled them together using pins and plumbers putty. The reason I had to remove some material is because the game shell does not have the 1/8" thick cosmetic plates around the sync gen. To get the bumper to fit better, I made the bumper not as wide. For where the bumper sticker goes, I glued and filled in a piece of styrene on the one side of the bumper. Lastly, I squared up the corners of the center block of the bumper.

Thanks to Volguus, I saved a TON of time not having to completely scratch build a new bumper. With an hour's worth of work, I had something like this:


And holding it up to the pack in progress:


And with that, onto the more exciting stuff. . .

Last time we saw the game wand, it looked like this:


I don't know about you, but it looks about ready to cast, wouldn't you agree? Well the main game upgrades were ready to mold! So Jack and I began our trip down that particular journey.

Right after Christmas, Jack began to do the clay up on the master, to prepare it for its dip into silicone.


Jack used a brush on silicone, then after that set up, used Smooth-on Plastipaste again for the support jacket:

Here's the mold with one half done:


After brushing on silicone and placing keys into the mold:


And then plastipaste as a support jacket:


After letting that all set for 24 hours, it was time to try our hands at pulling a cast from the mold! We used the same materials as the game pack shell, and basically the same process: 2 coats of EpoxaCoat, and 1 coat of Epoxamite with fiberglass cloth.

Two coats of EpoxaCoat:


Epoxamite:
[

16 hours later for it to cure, and BAM! Two halves of the game wand attachments:


From here, we trimmed the excess, glued both halves together, used another coat of Epoxamite with fiberglass on the inside along the seam, and that's basically it.

Here's the first cast lying next to my Nick-a-tron resin wand that I started with all next to the Master we cast.


It was really amazing to finally reach this point! Here are some shots of where it all is now: I have the wand bolted to the attachments and have begun to attach some of the greeblies. I cut an aluminum base plate for this monstrosity and begun to work on my cast of the gun track as well.


That's about it for now! Jack and I are gonna probably clay up the bumper next, and get a mold going for that. There's a few more odds and ends to scratch build and cast still. As we continue to make major steps, we'll be sure to share!

Thanks everyone for taking a look at our work.
 
How did i even miss this build? Looking good so far. I was wondering if they'd carry this design over to the new movie if it ever gets made.
 
Another quick update. With a base plate cut for the wand, I decided it was time to see if I'd be able to mount this sucker onto my pack, or if I would have to walk around with it in hand every time I'd wear it.

Turns out she fit on the pack just fine!


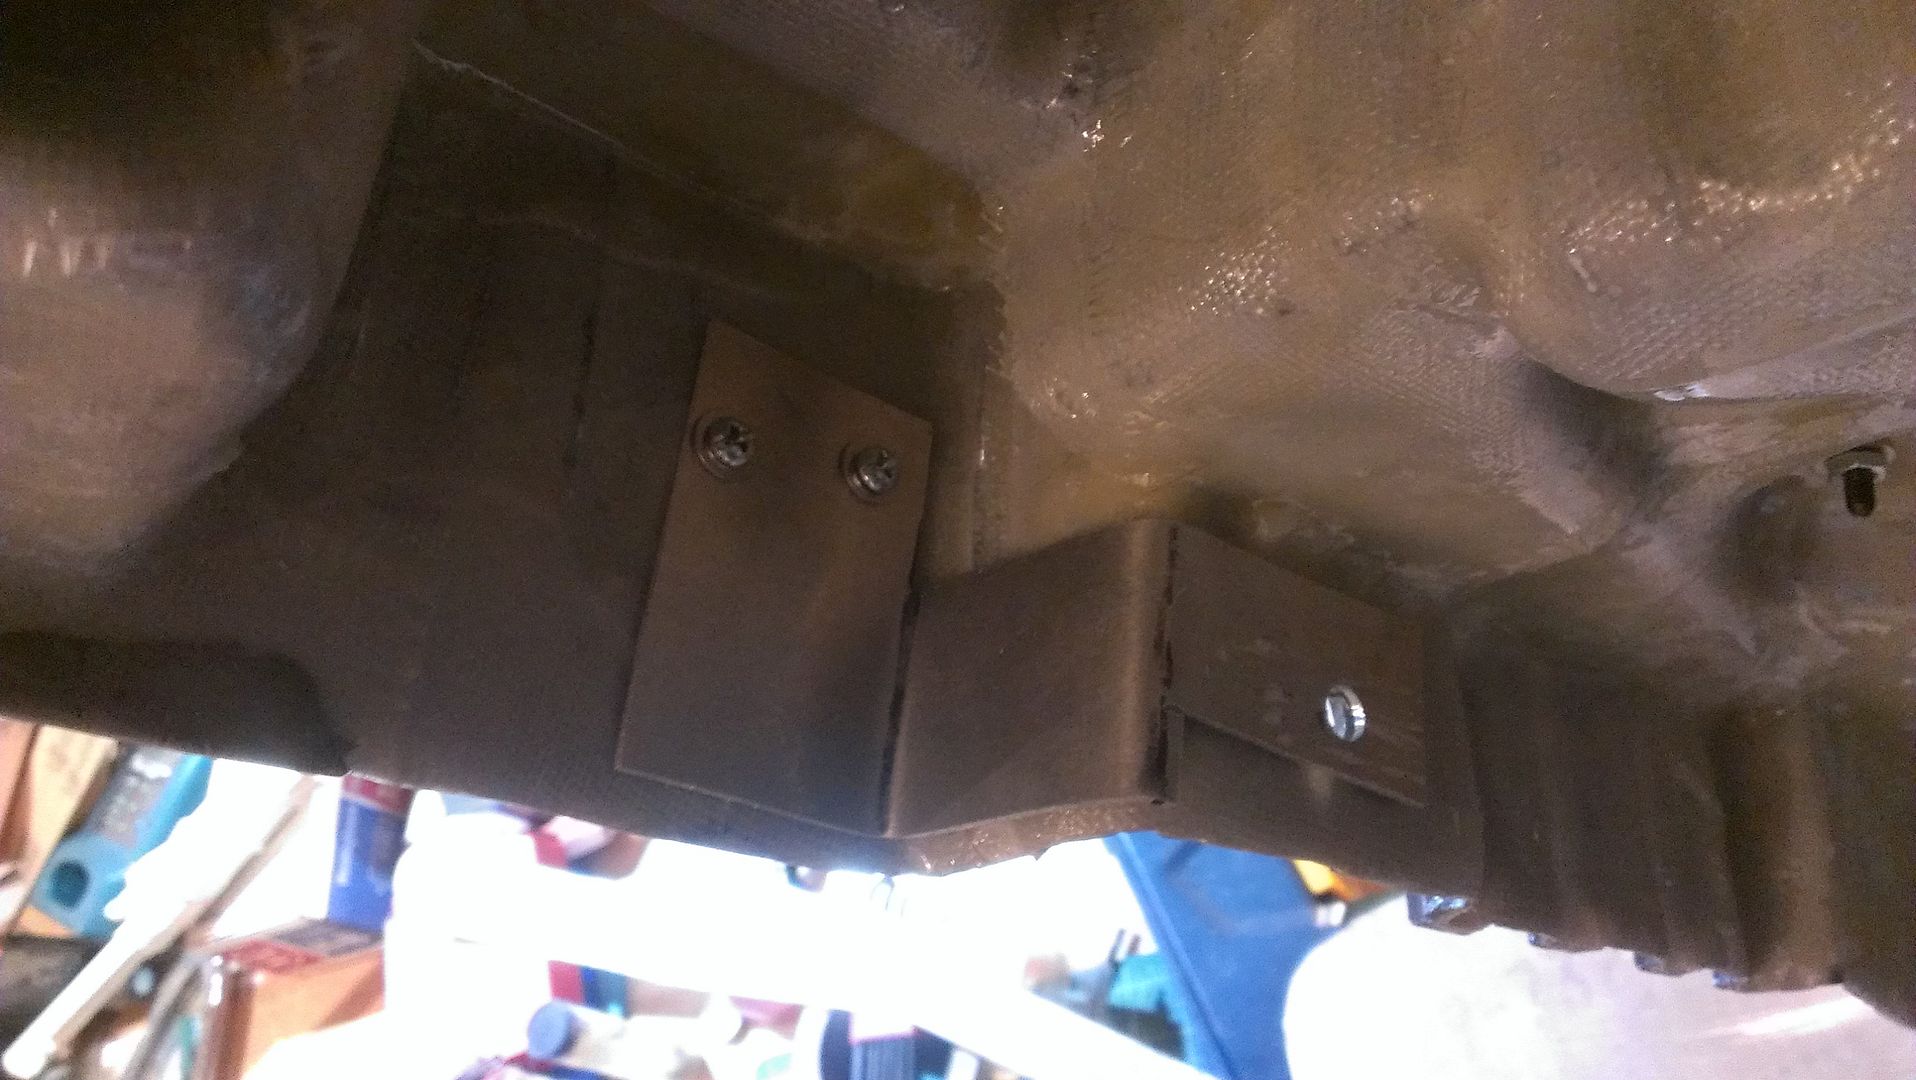
The one issue I had to accommodate for on my game pack, was the lack of support my game pack shell has on the gun mount box. Normally, on a movie pack, there is a L-Bracket there, holding the shell securely to the aluminum motherboard. Because of all the lights that will be going into my game pack gun mount box, I chose to move that mounting bracket farther south on the pack, next to the top of the sync gen, since there were new boxes there for the game construction. So, to make sure my v-hook was mechanically attached to my mother board, I decided to make an internal bracket out of 1/16" thick aluminum. Here's a picture!


One end is secured to my v-hook and mounting block while the other end becomes secured to my motherboard L-Bracket via a 1/4-20 button head bolt. Now my shell has some added support in case any kind of tension is placed on the v-hook. Hopefully problem solved! (We'll have to wait and find out).

Also take note that I bungied my unfinished slime tank to my pack. I did so to hopefully counter-balance the wand on the other side of the pack. Without it, the pack was definitely leaning a little to the one side while wearing it. I will be either making, or having made a bracket to also better secure the slime tank to the injector tubes. I don't trust just bungie cords. Another new addition to the pack you can see in these pictures is the ribbon cable clamp I made. It annoys me to no end that this is how the clamp is in the game, mounted higher up on the cyclotron, but there you go!

Anyway, there's my tiny update!
 
New post time! We took it easy the last few months because of how long winter lasted in the North East, but now that its finally getting up into temperatures that we can actually paint in, the project as started moving again.

In an earlier post, you saw me talk about making the pack bumper for this build! Well, let me start off by showing you the rest of that process.

The bumper Master was clayed up:


One side in silicone:


And the other side:


Ta-da! Bumper! That wasn't such a chore, now was it?


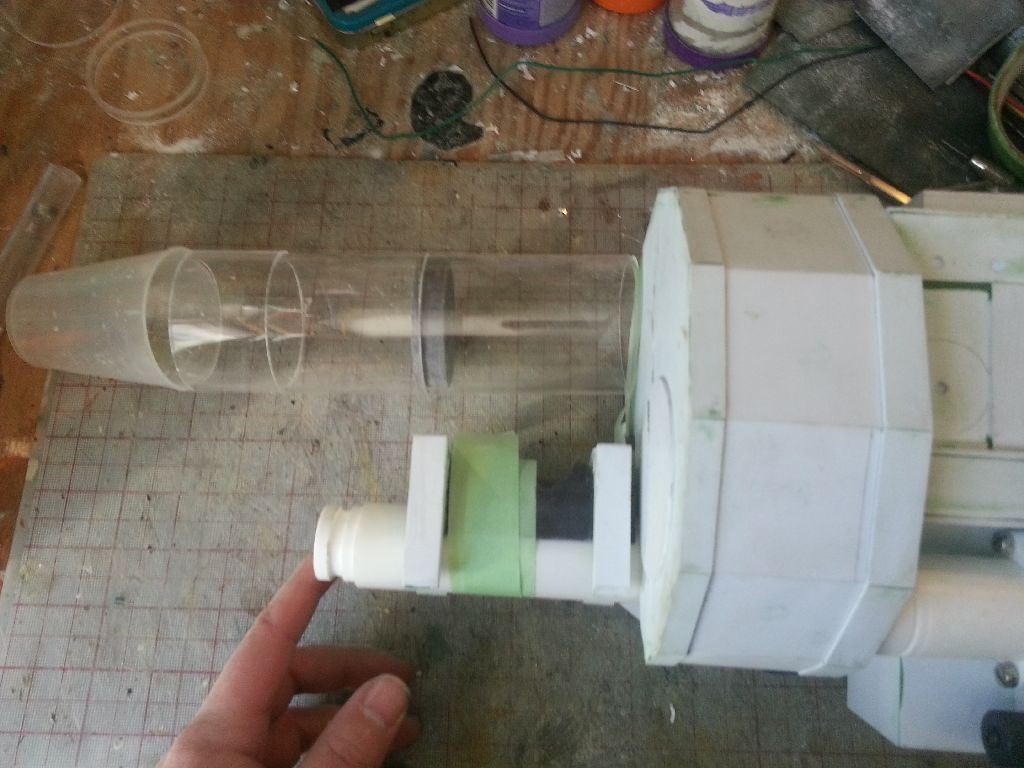
With the bumper mold complete, my partner in crime, Mr. Jack, moved onto finishing scratch building the masters for the last of the parts for the thrower. Jack started by working out the lengths of the three main section, the rear, middle and cone.


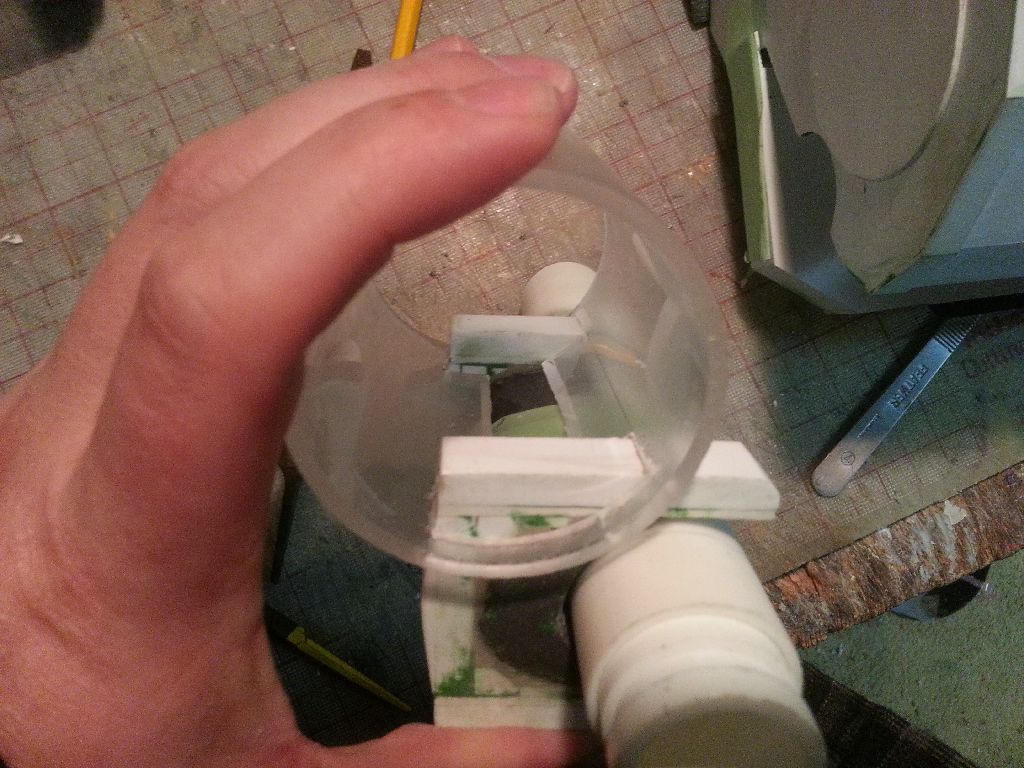
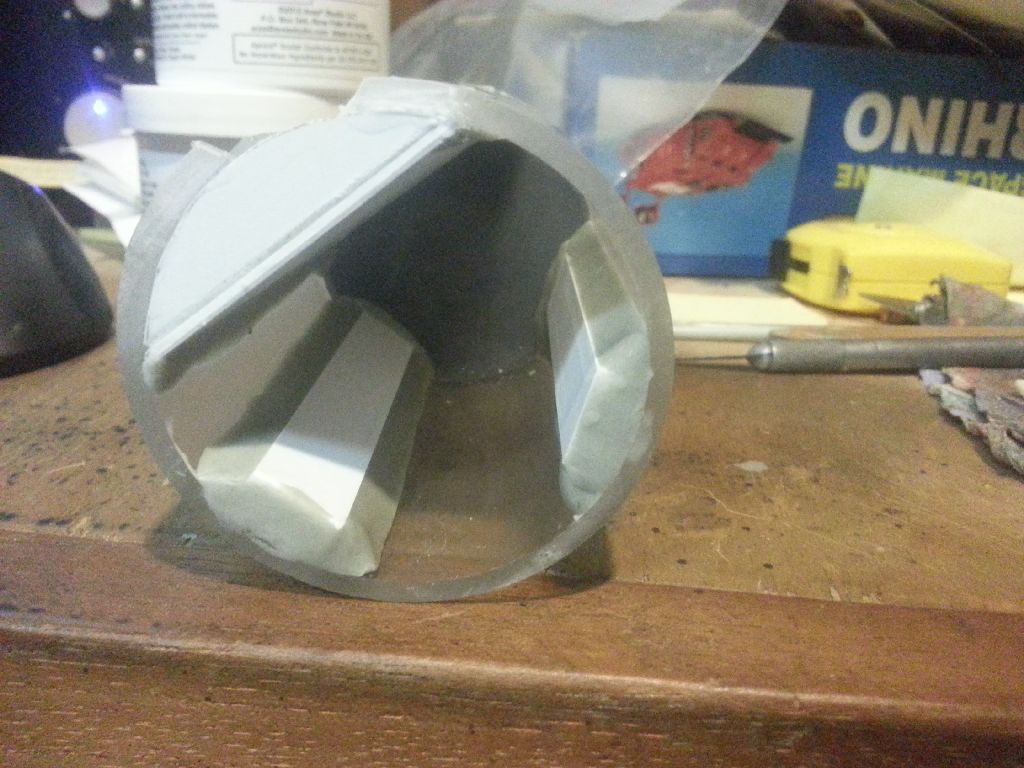
The problem with the rear section is it actually has the part of the front grip clamp embedded into it. Jack wound up cutting slots into the acrylic and boxing them out with styrene. Add a pair of mounting points and the section was ready for molding:


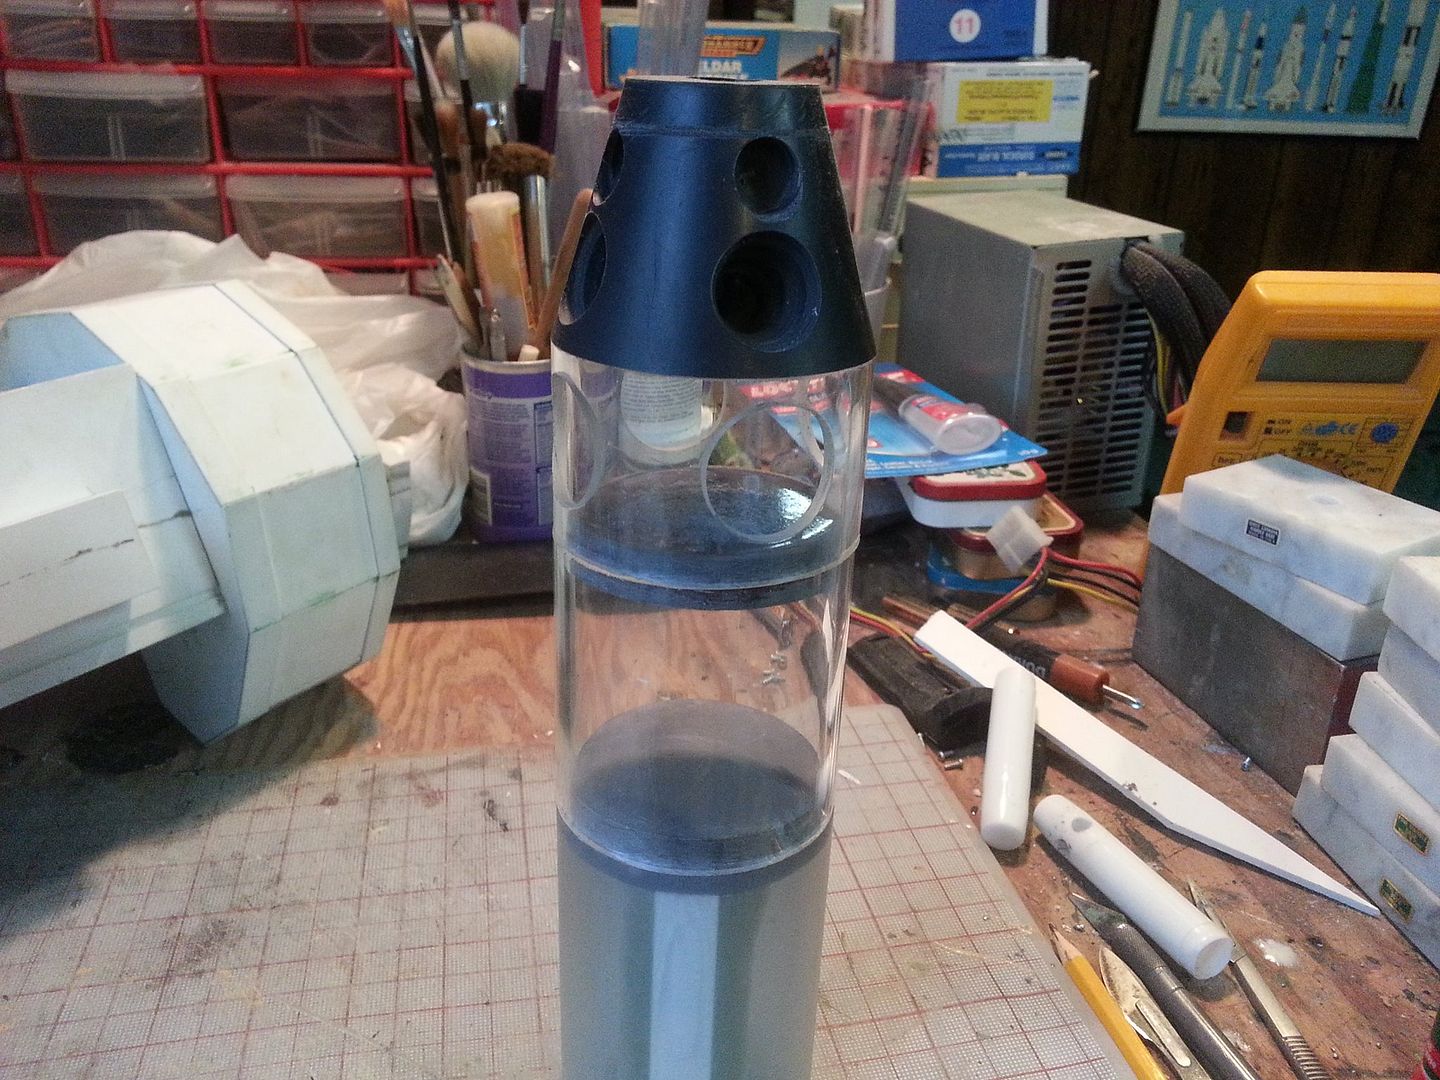
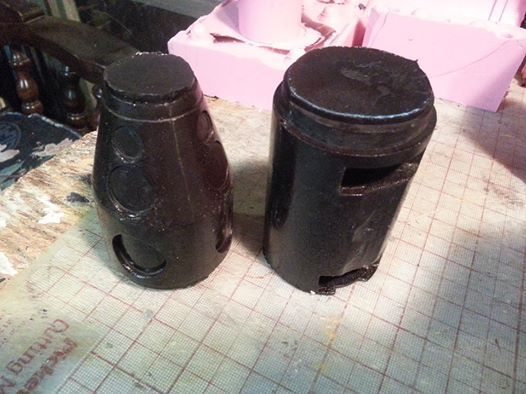
For the cone, Jack started by filling a funnel with resin then drilled the holes with a step drill:


Beyond the slime blower, Jack also scratch built the last few bits and bobs for the thrower:


This last shot from Jack is a glamour shot of all the master pieces cobbled together to show what has been scratch built for the thrower (i.e. EVERYTHING):


From there, more stuff took silicone bathes, and we then have casts for us to continue work on our builds!


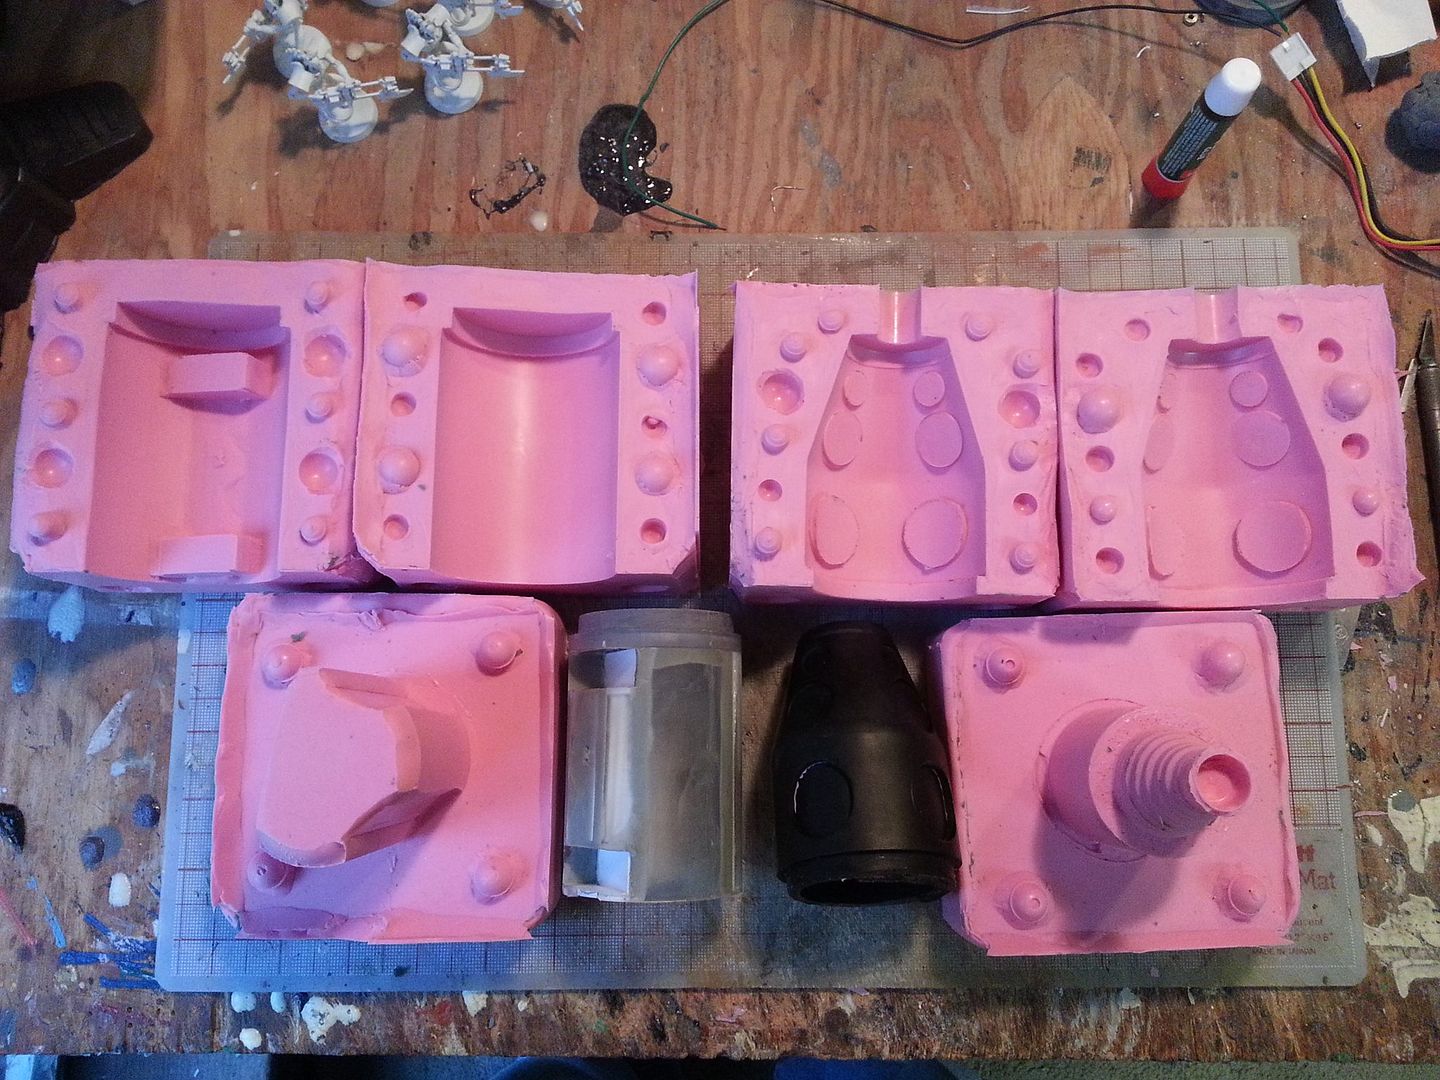
A pull from the 3 part molds for the slime blower:


Now we move onto some of the stuff I did in the mean time: I replaced my styrene ion arm for a metal one. The reason for this was I was deathly afraid of breaking it, so I opted for metal. I also attached my PPD and vacuum line, both of which are also metal. Now onto the more fun active. . .!

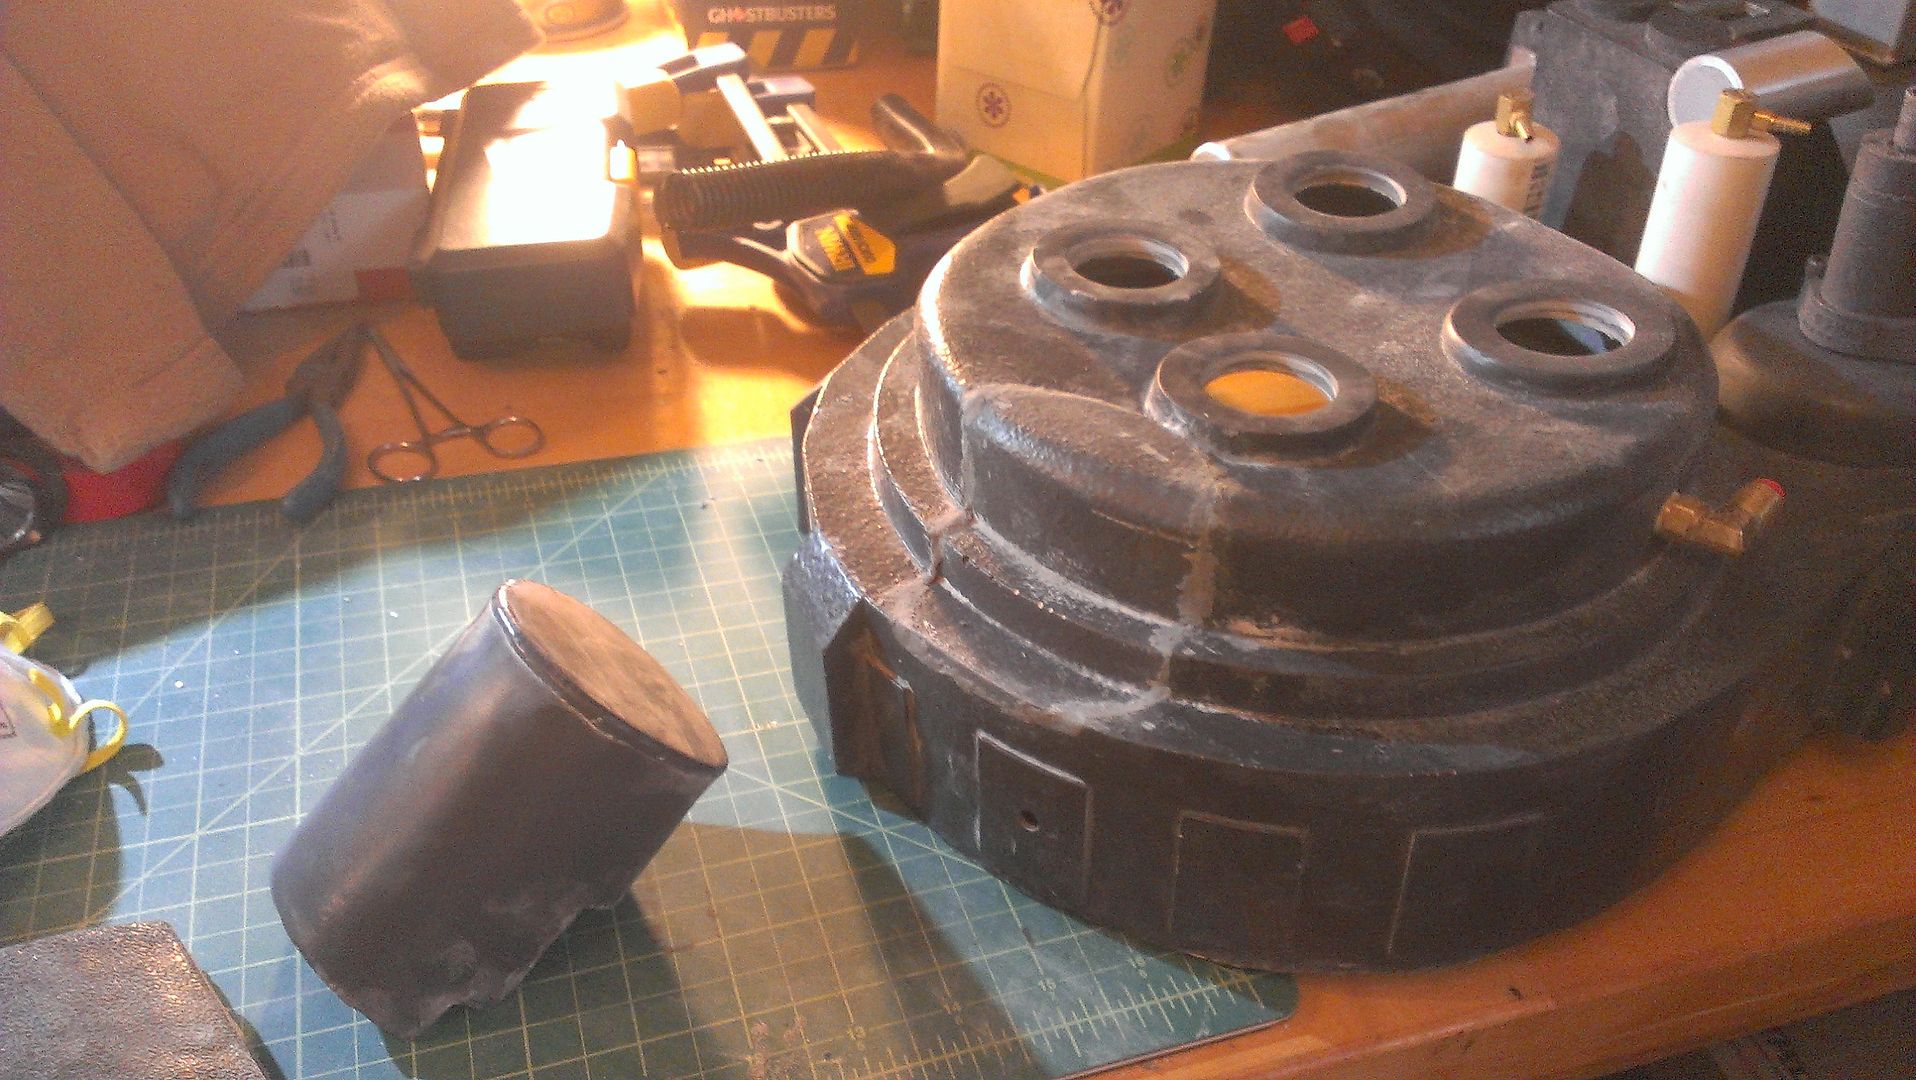
I removed my cast in N-Filter from my shell. The reason for this is I need my N-Filter to fold down when my pack vents, and that's kinda tough if the N-Filter is cast into the shell. But not only did I remove the N-Filter, I had to patch the hole that was left in its absence. So I'll go over that as well.

Back when Jack and I were casting the game wand upgrade boxes for the side of the thrower, we also decided to use the extra material we mixed to cast spare parts in our pack mold. We ended up casting a Cyclotron/N-Filter and some extra ribs for fun.


From these extra parts we cast, I would take the N-Filter and part of the cyclotron to patch up my shell once I cut into it.


I did it this way because I wanted the hole left by my removal of the N-Filter on my pack to be as clean as possible, which meant making a mess of the N-Filter I removed. I did the exact opposite for the extra we cast: I cut wide around the N-Filter and dremeled/filled away the excess material until I had a nice clean N-Filter. I also cut a chunk out of the spare Cyclotron to patch my pack.

And with that, we are caught up on the last 4 months of work we did on this project, which brings us to what I did today. . .

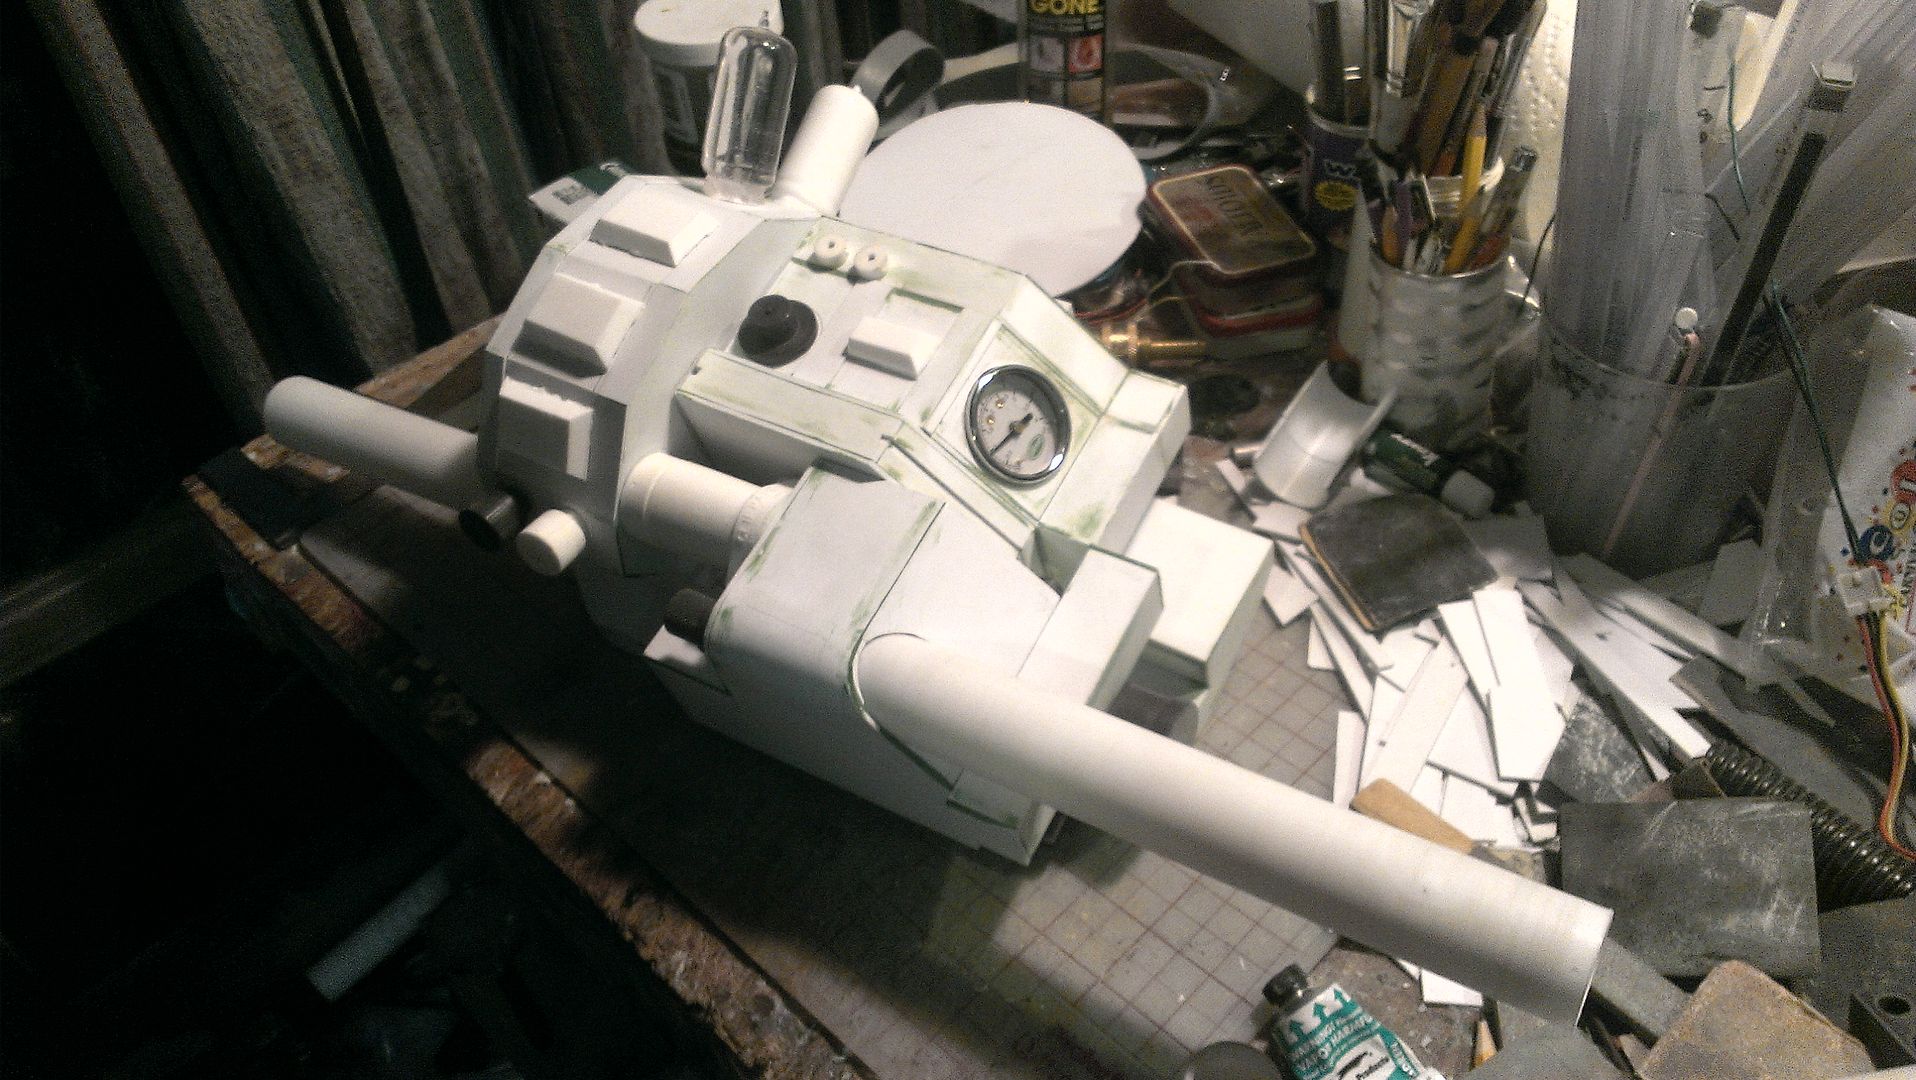
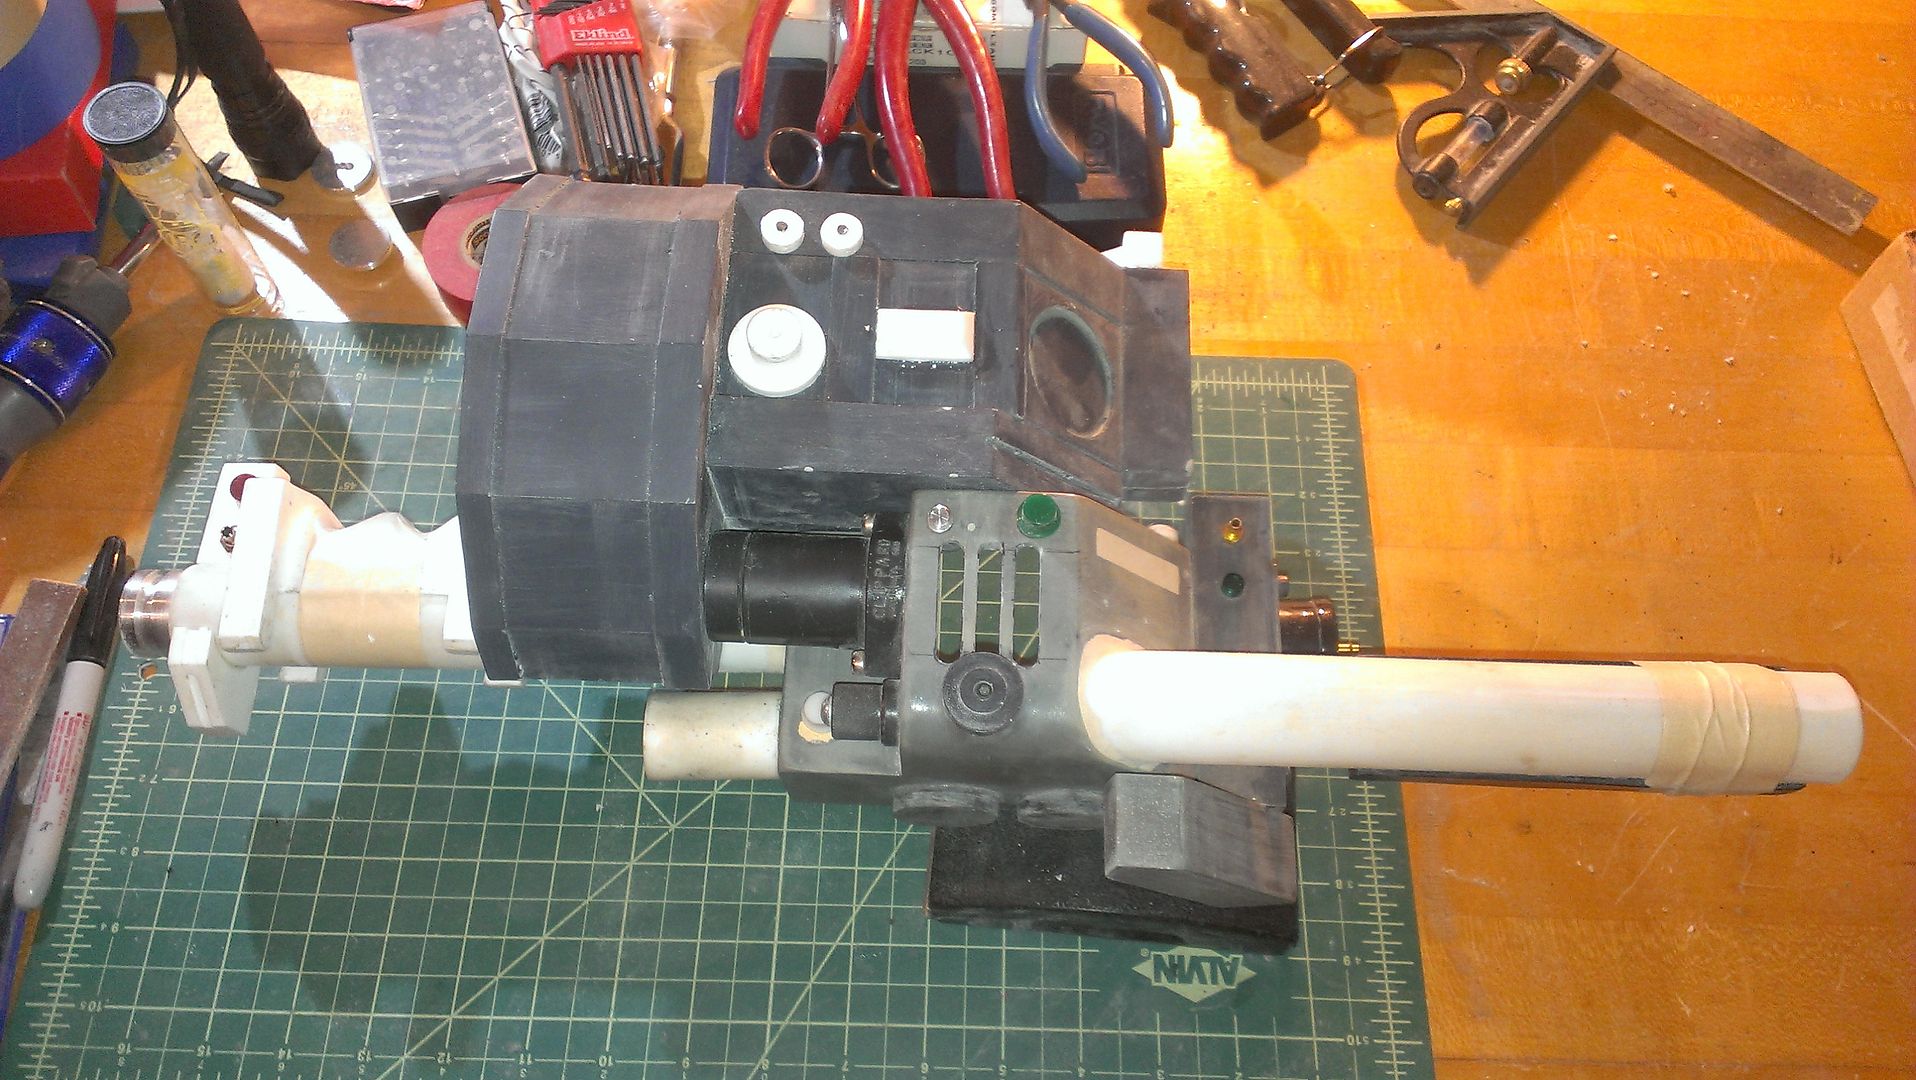
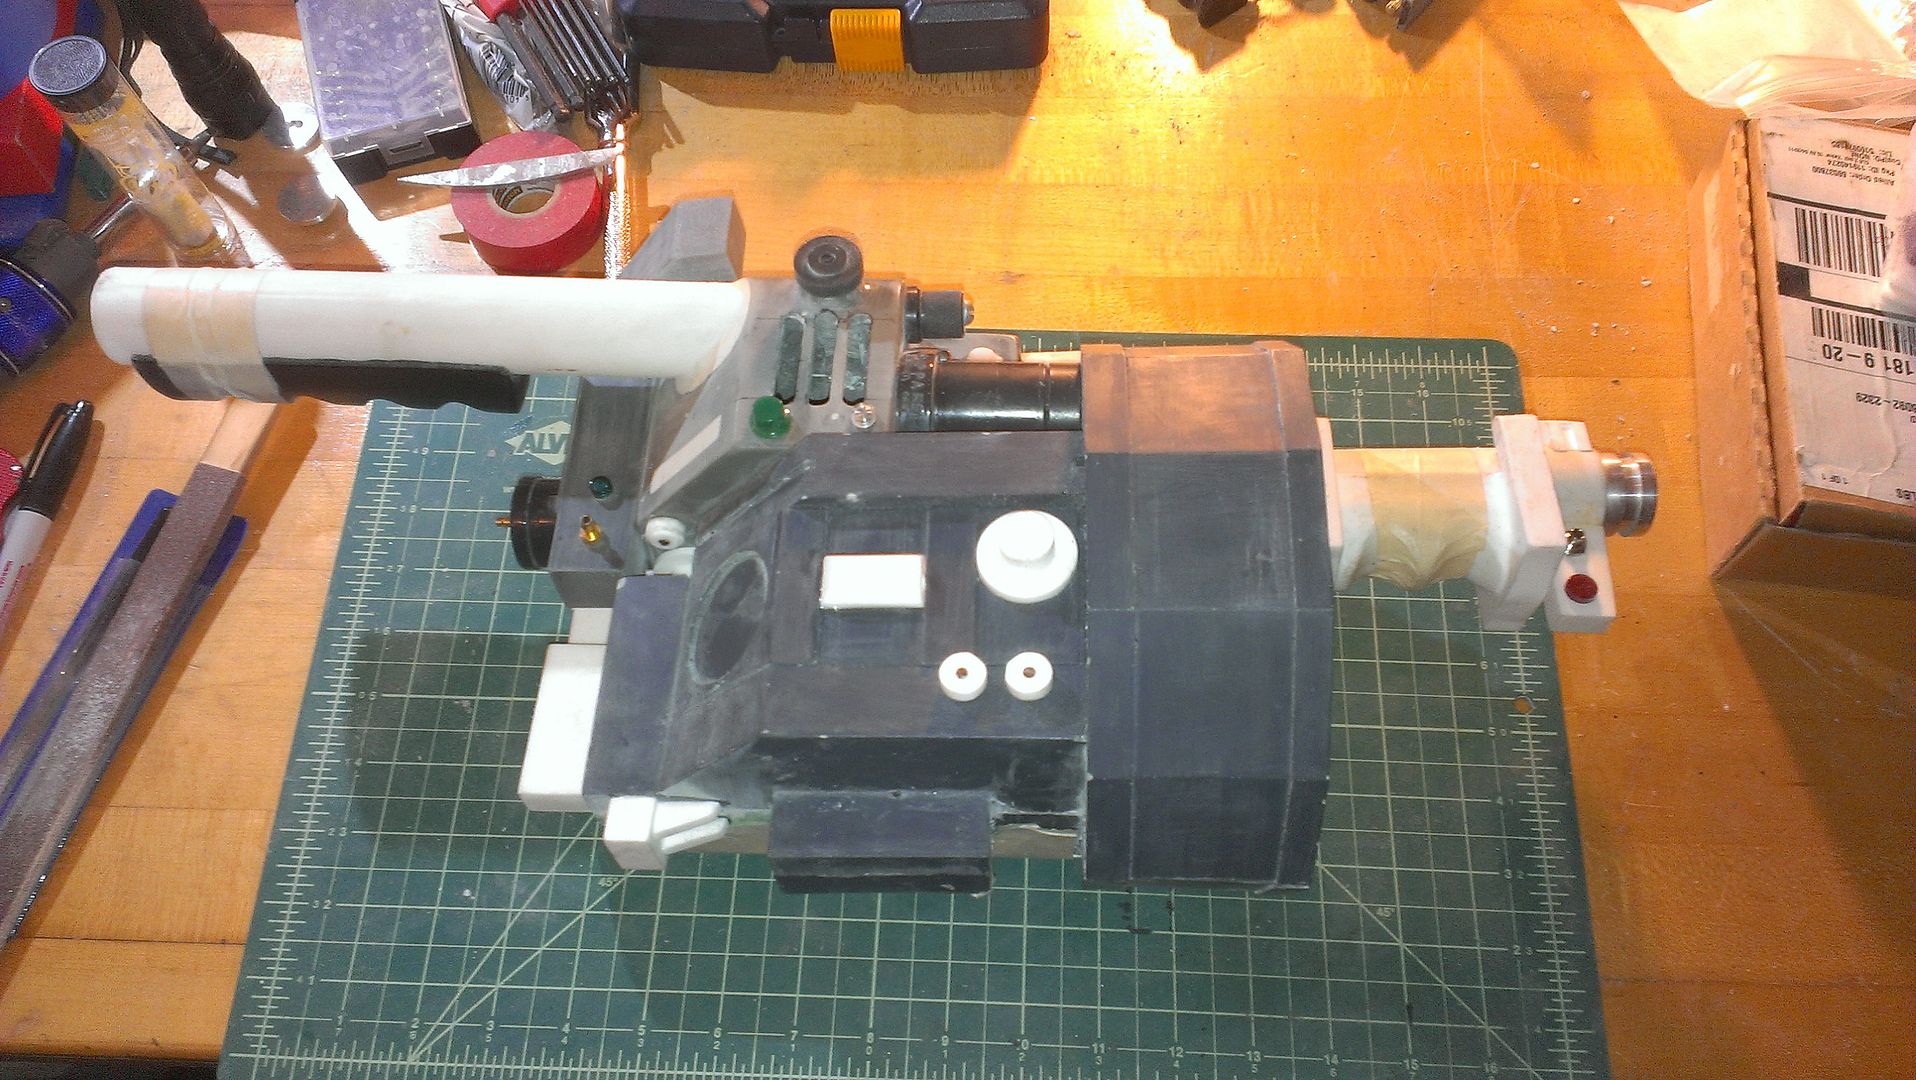
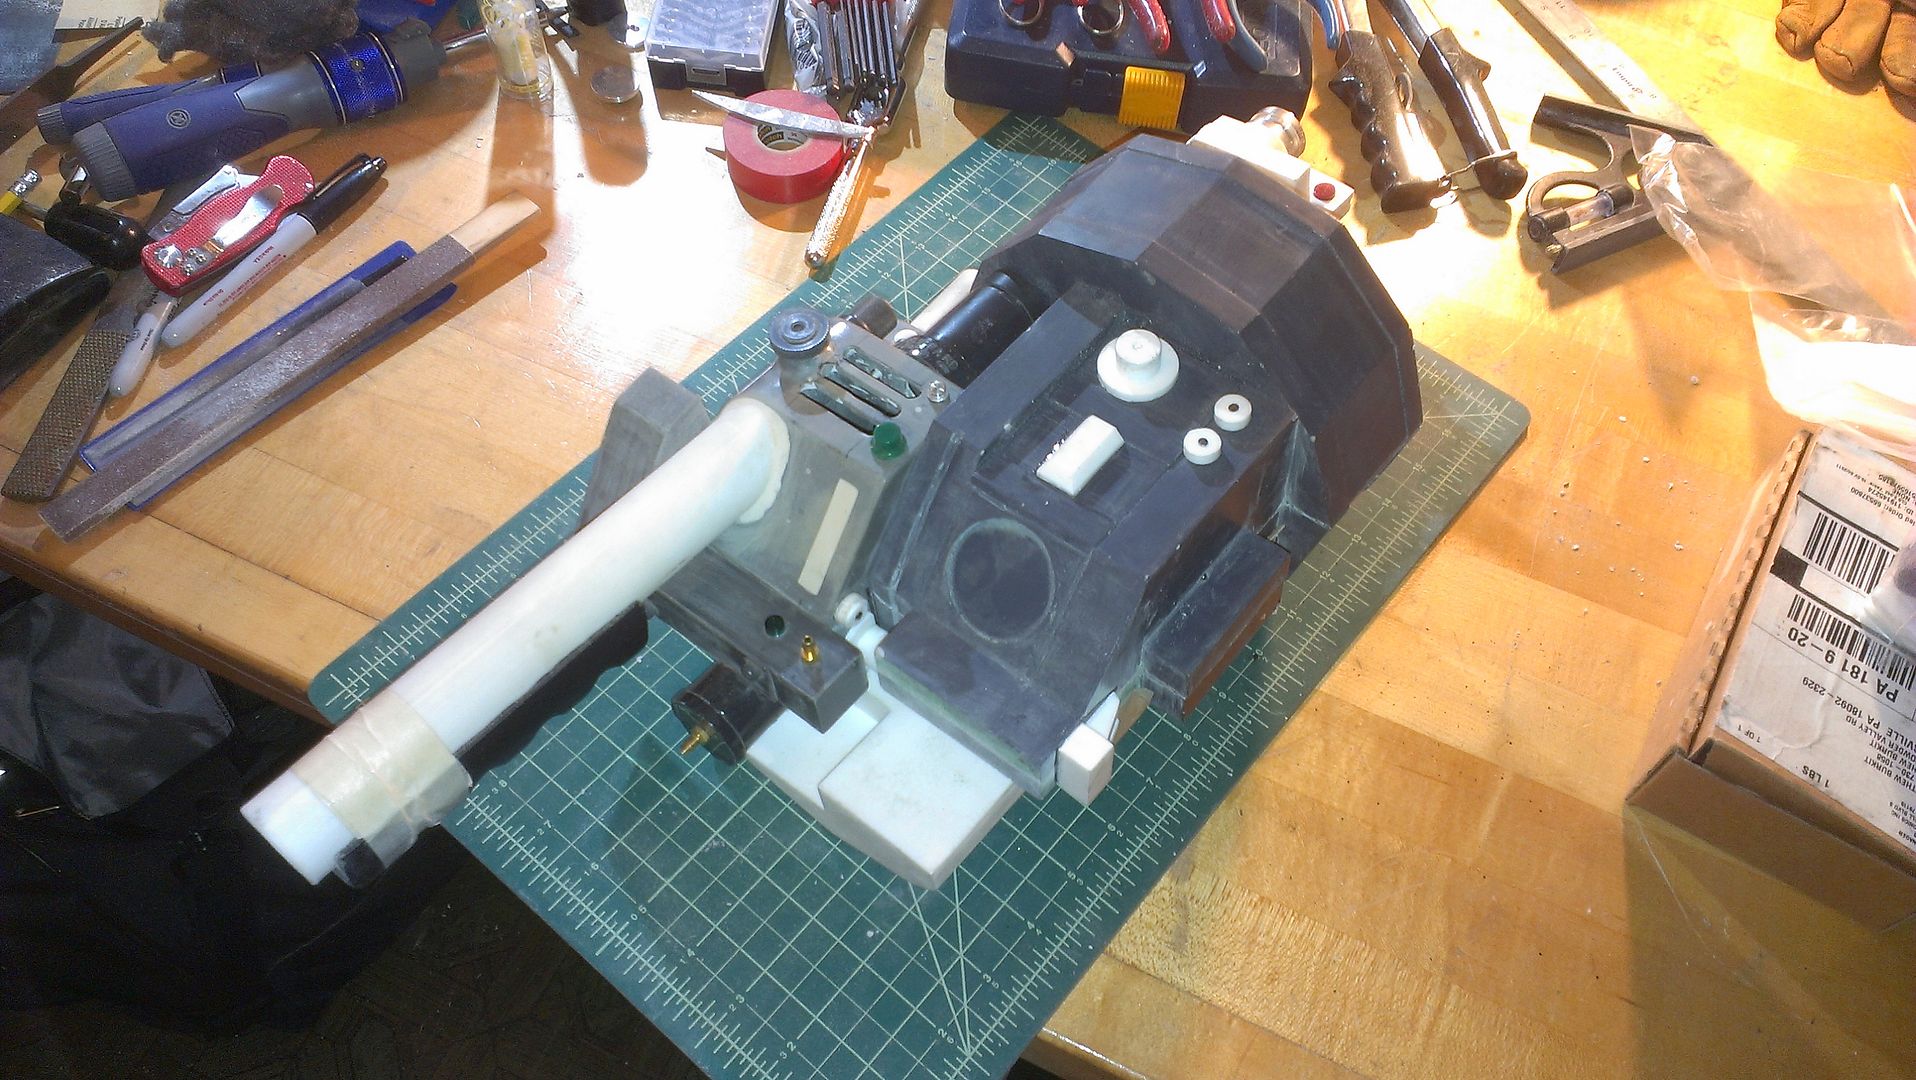
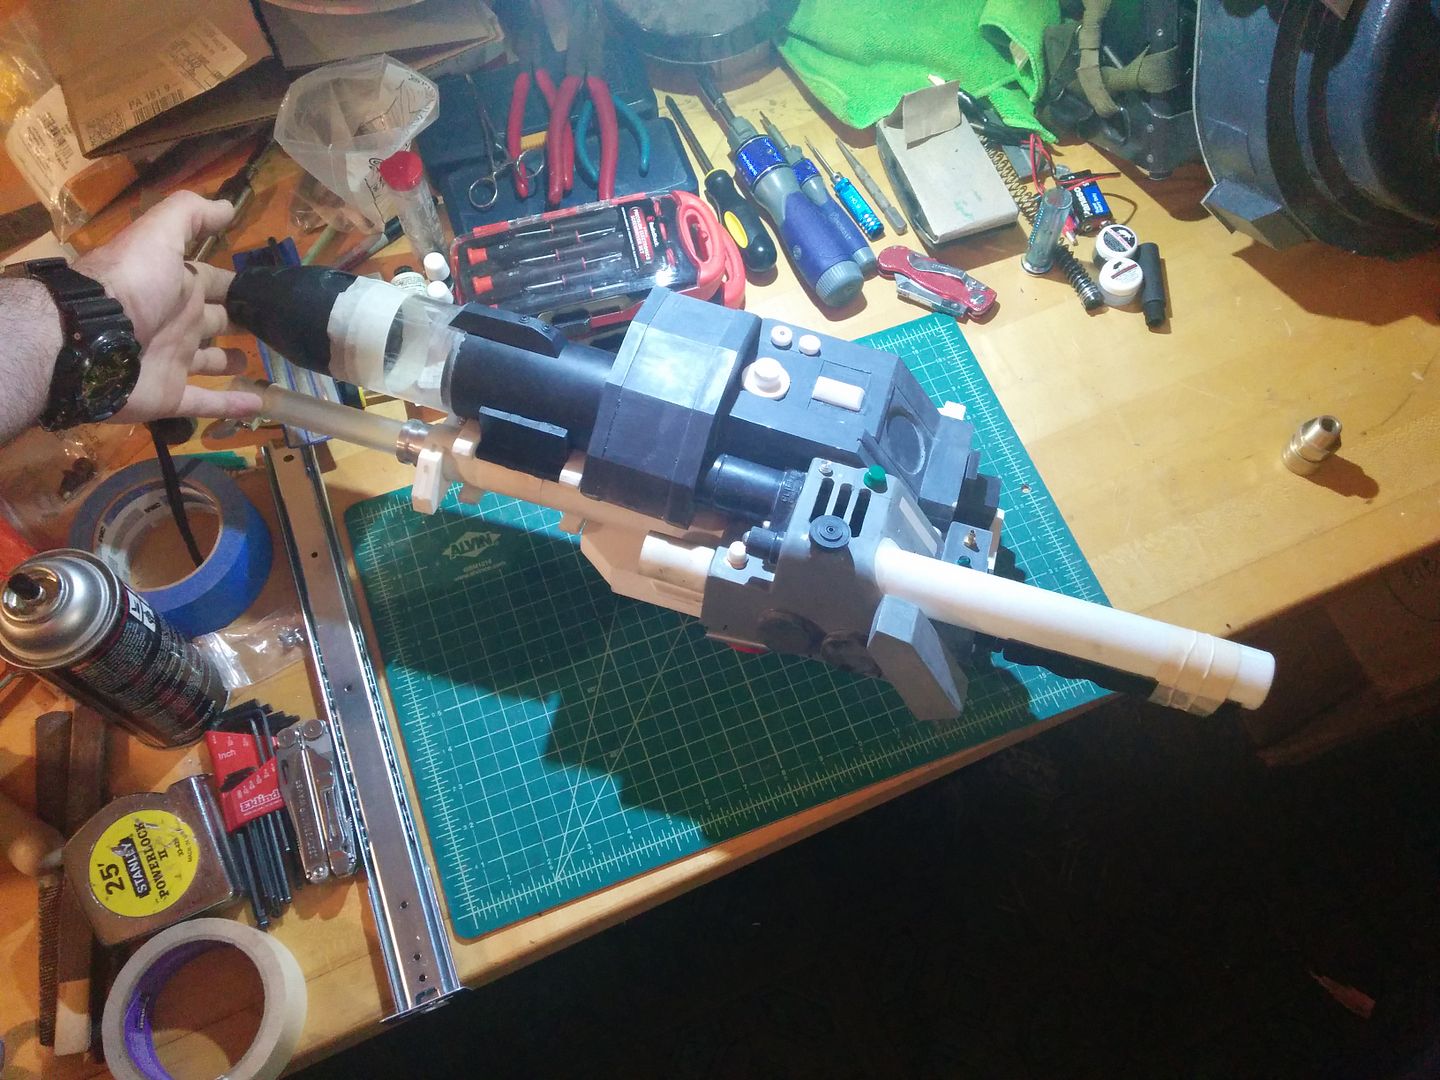
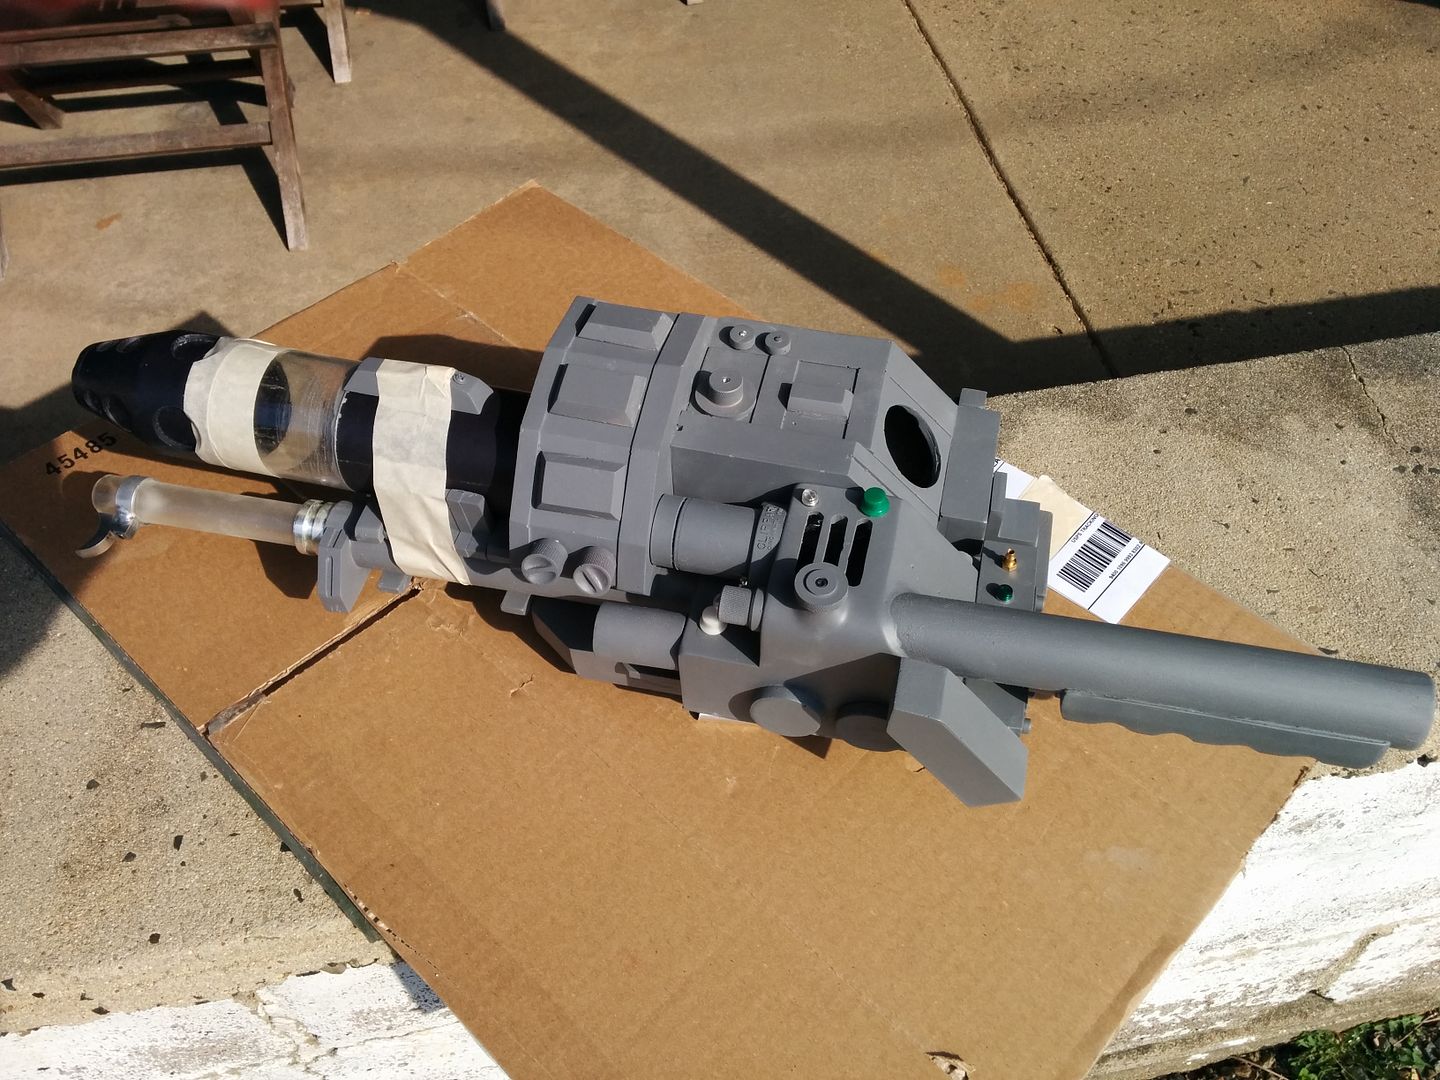
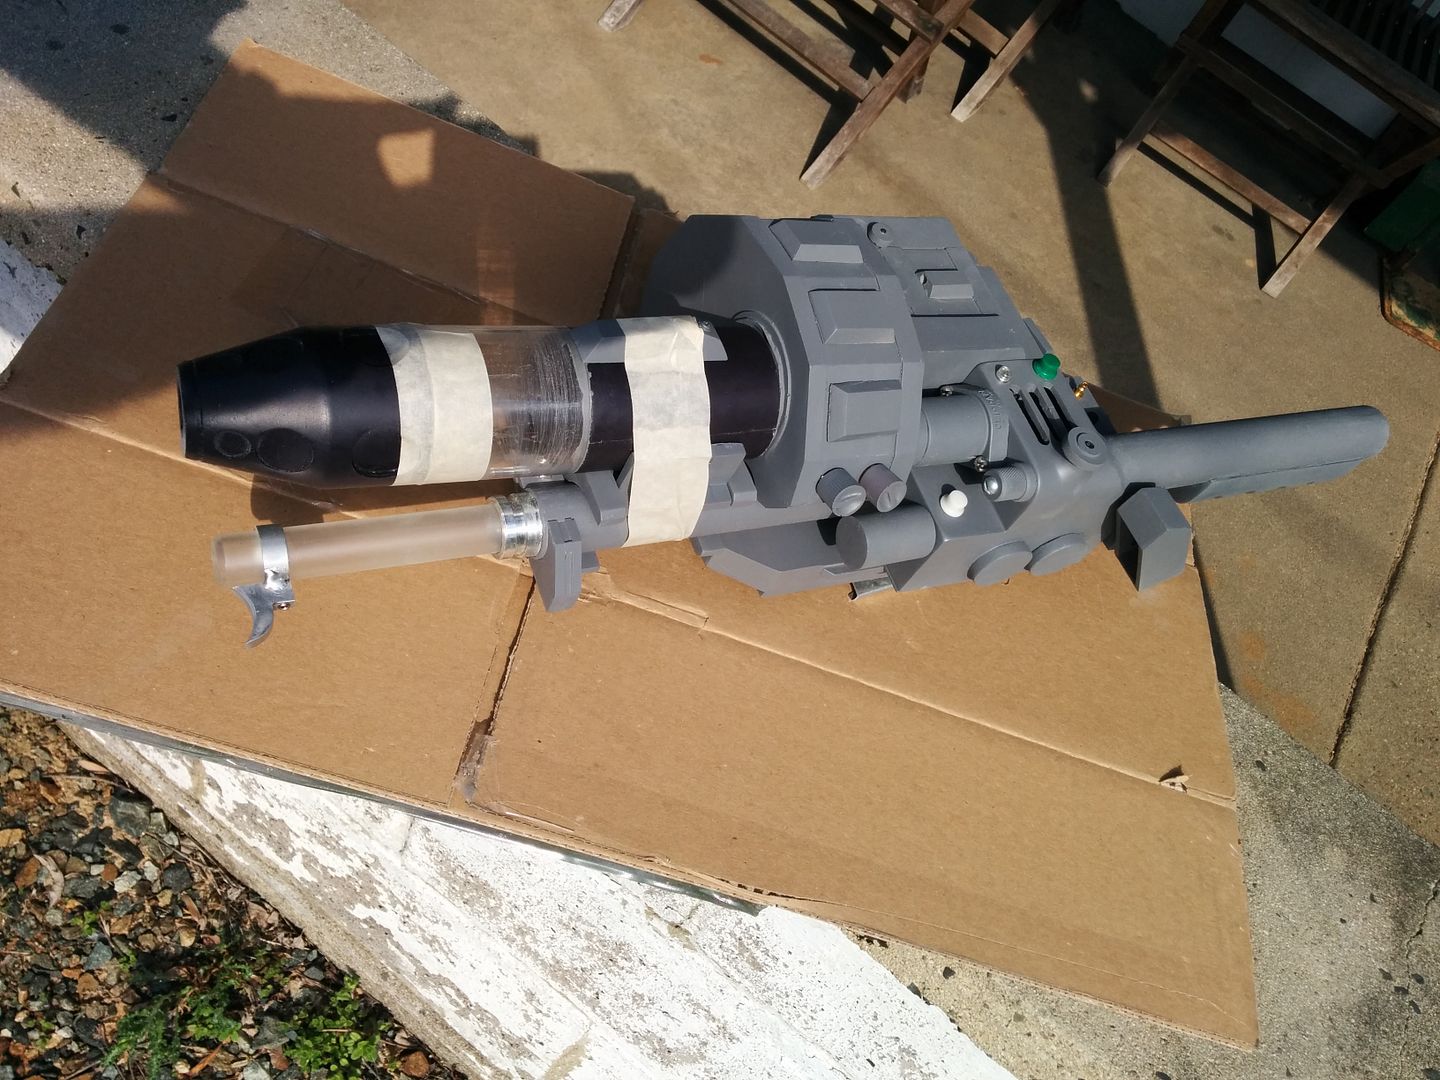
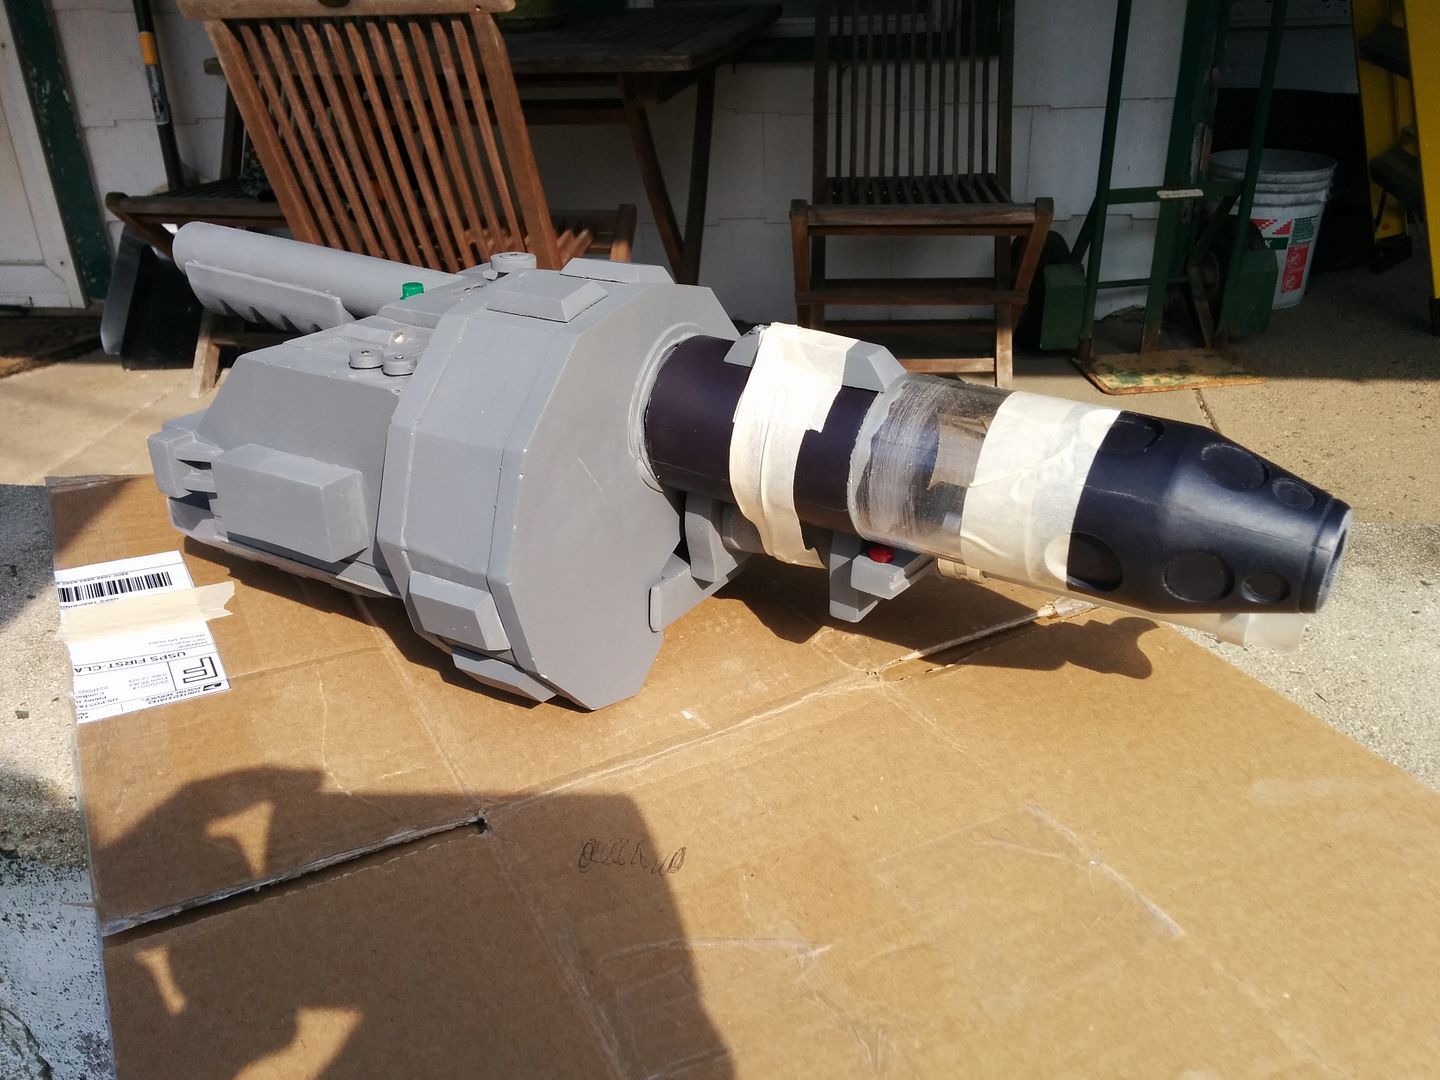
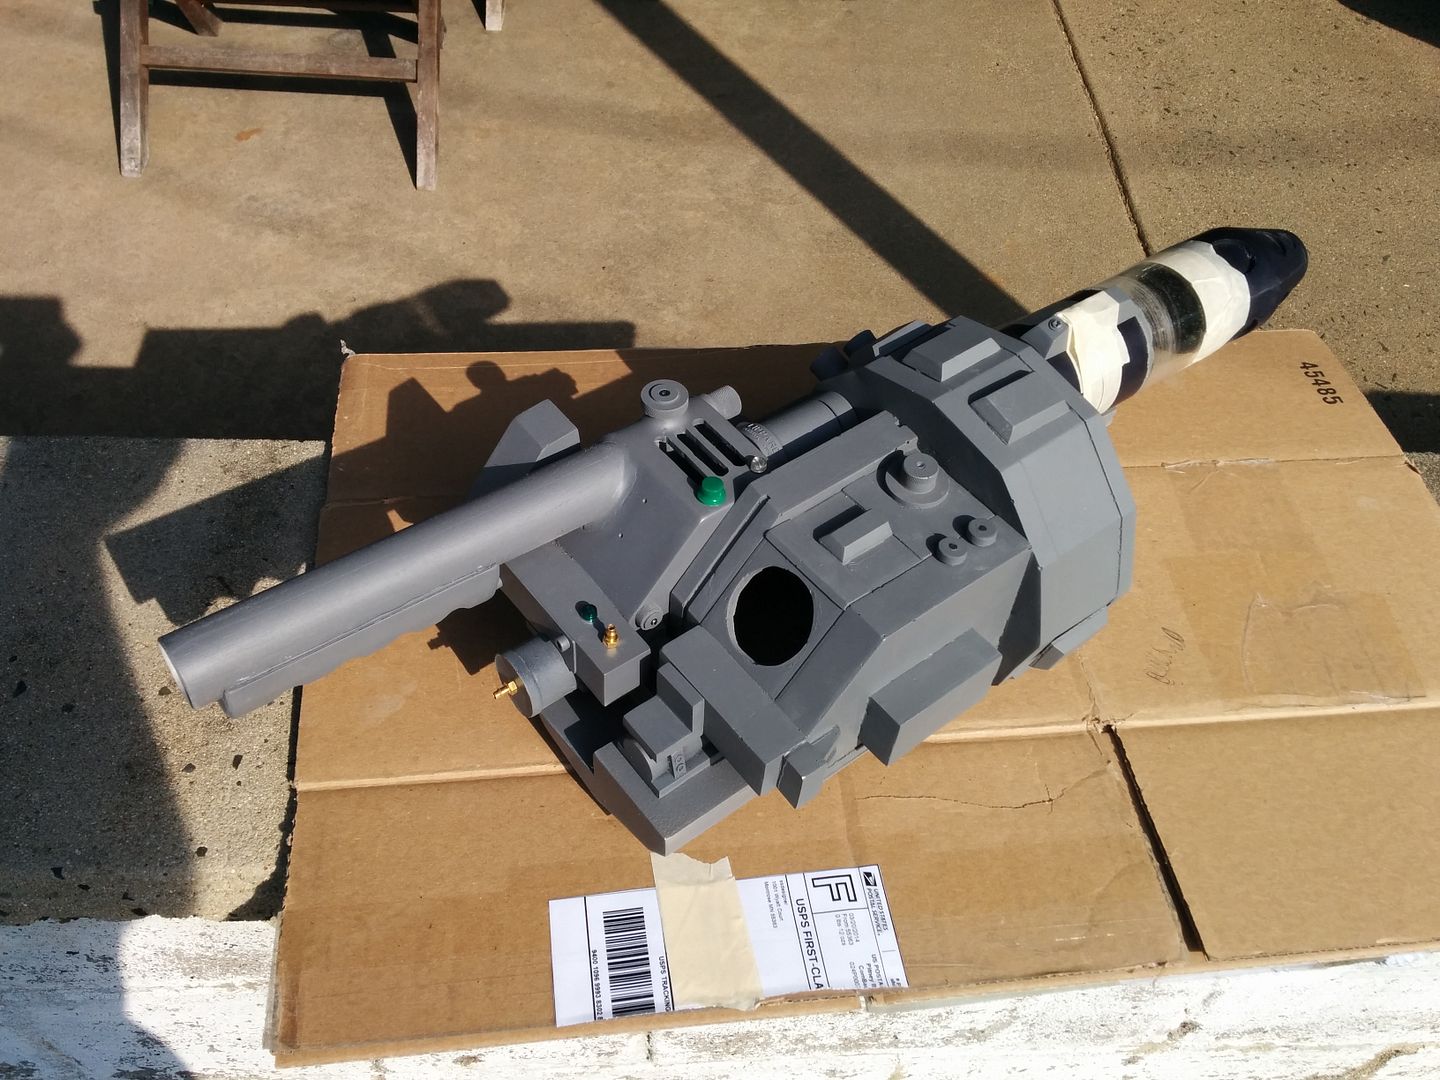
With newly cast slimeblower parts acquired from Jack, I returned home and dry fitted everything to the rest of my thrower:


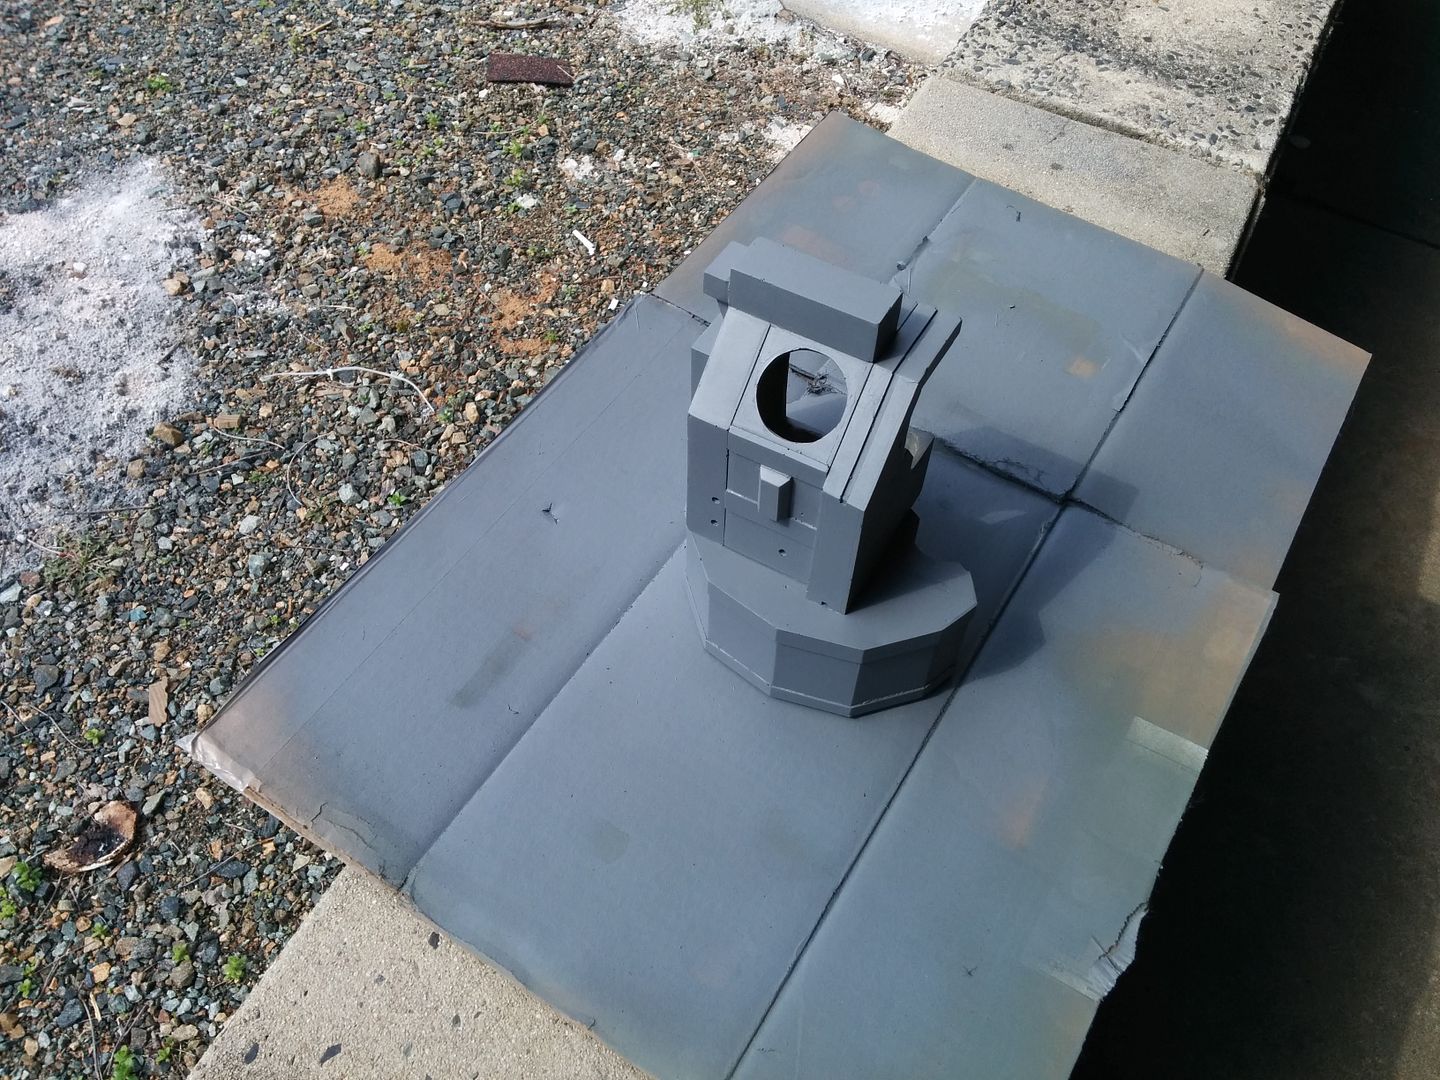
Looks like it all fits! And so began the tearing down of my thrower so I could clean up the seam on the upgrade box attachment and then prime everything so I can see where else I need to do some work on the casts.


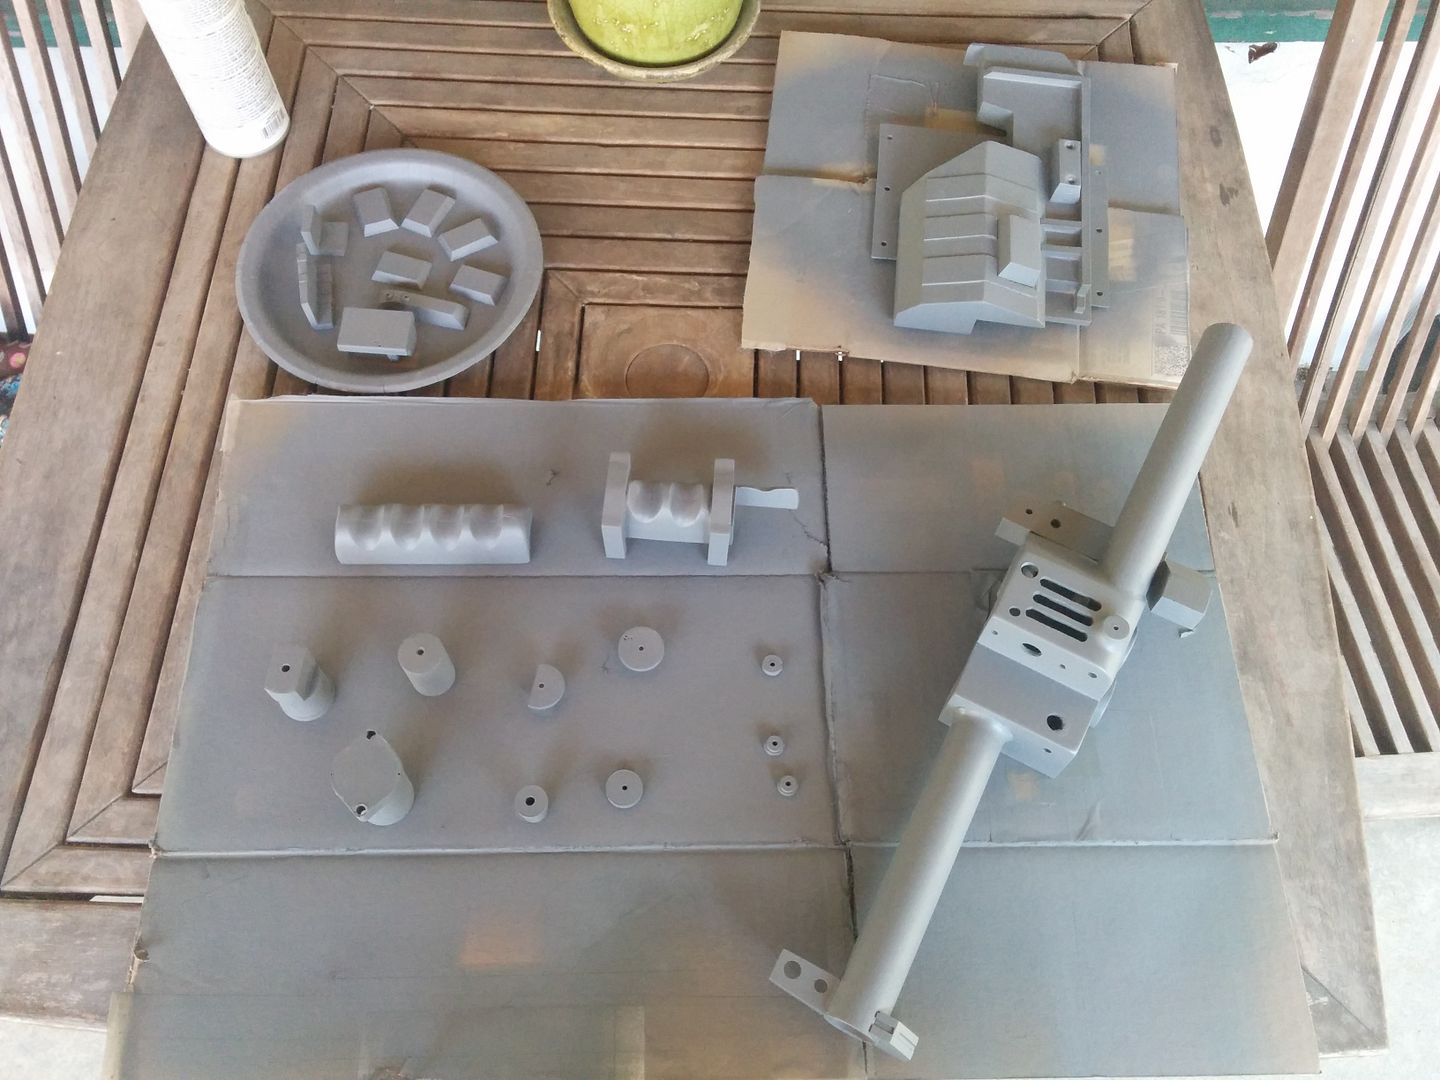
Tear down and painting things!


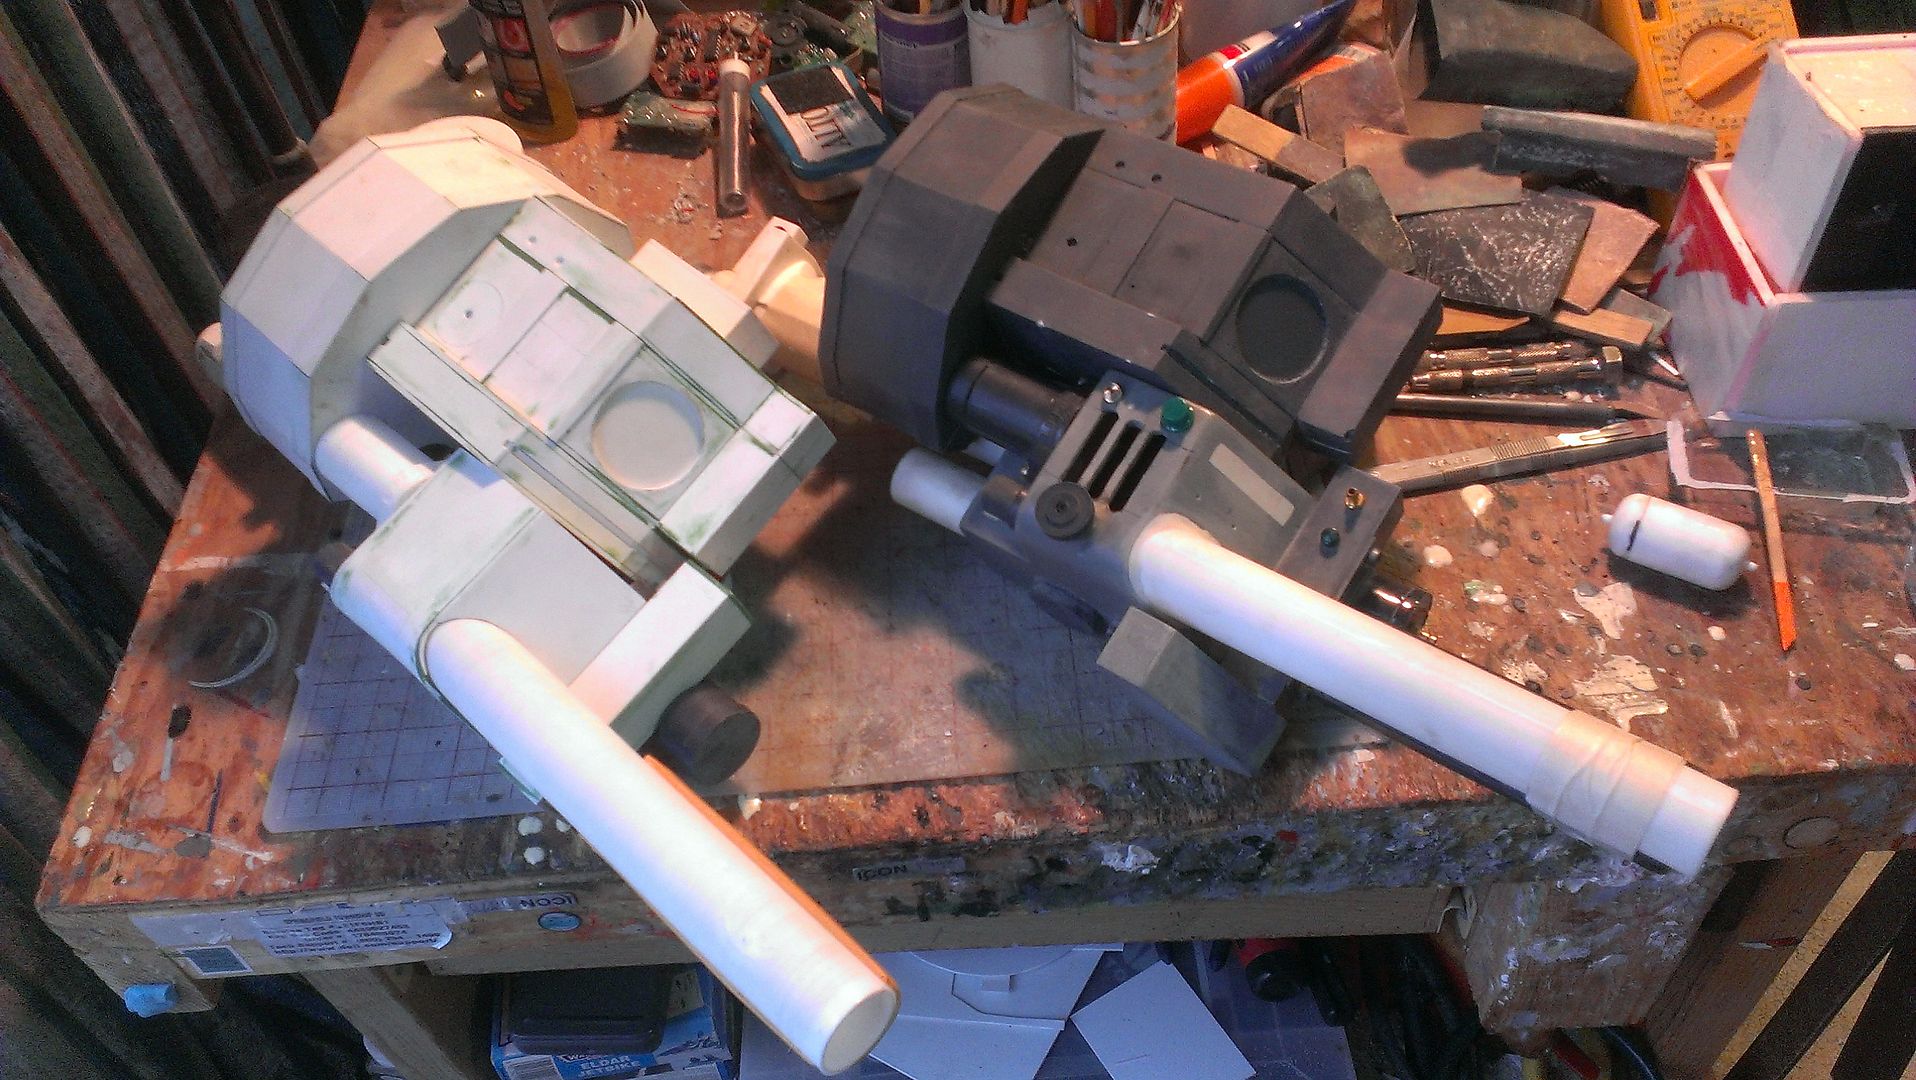
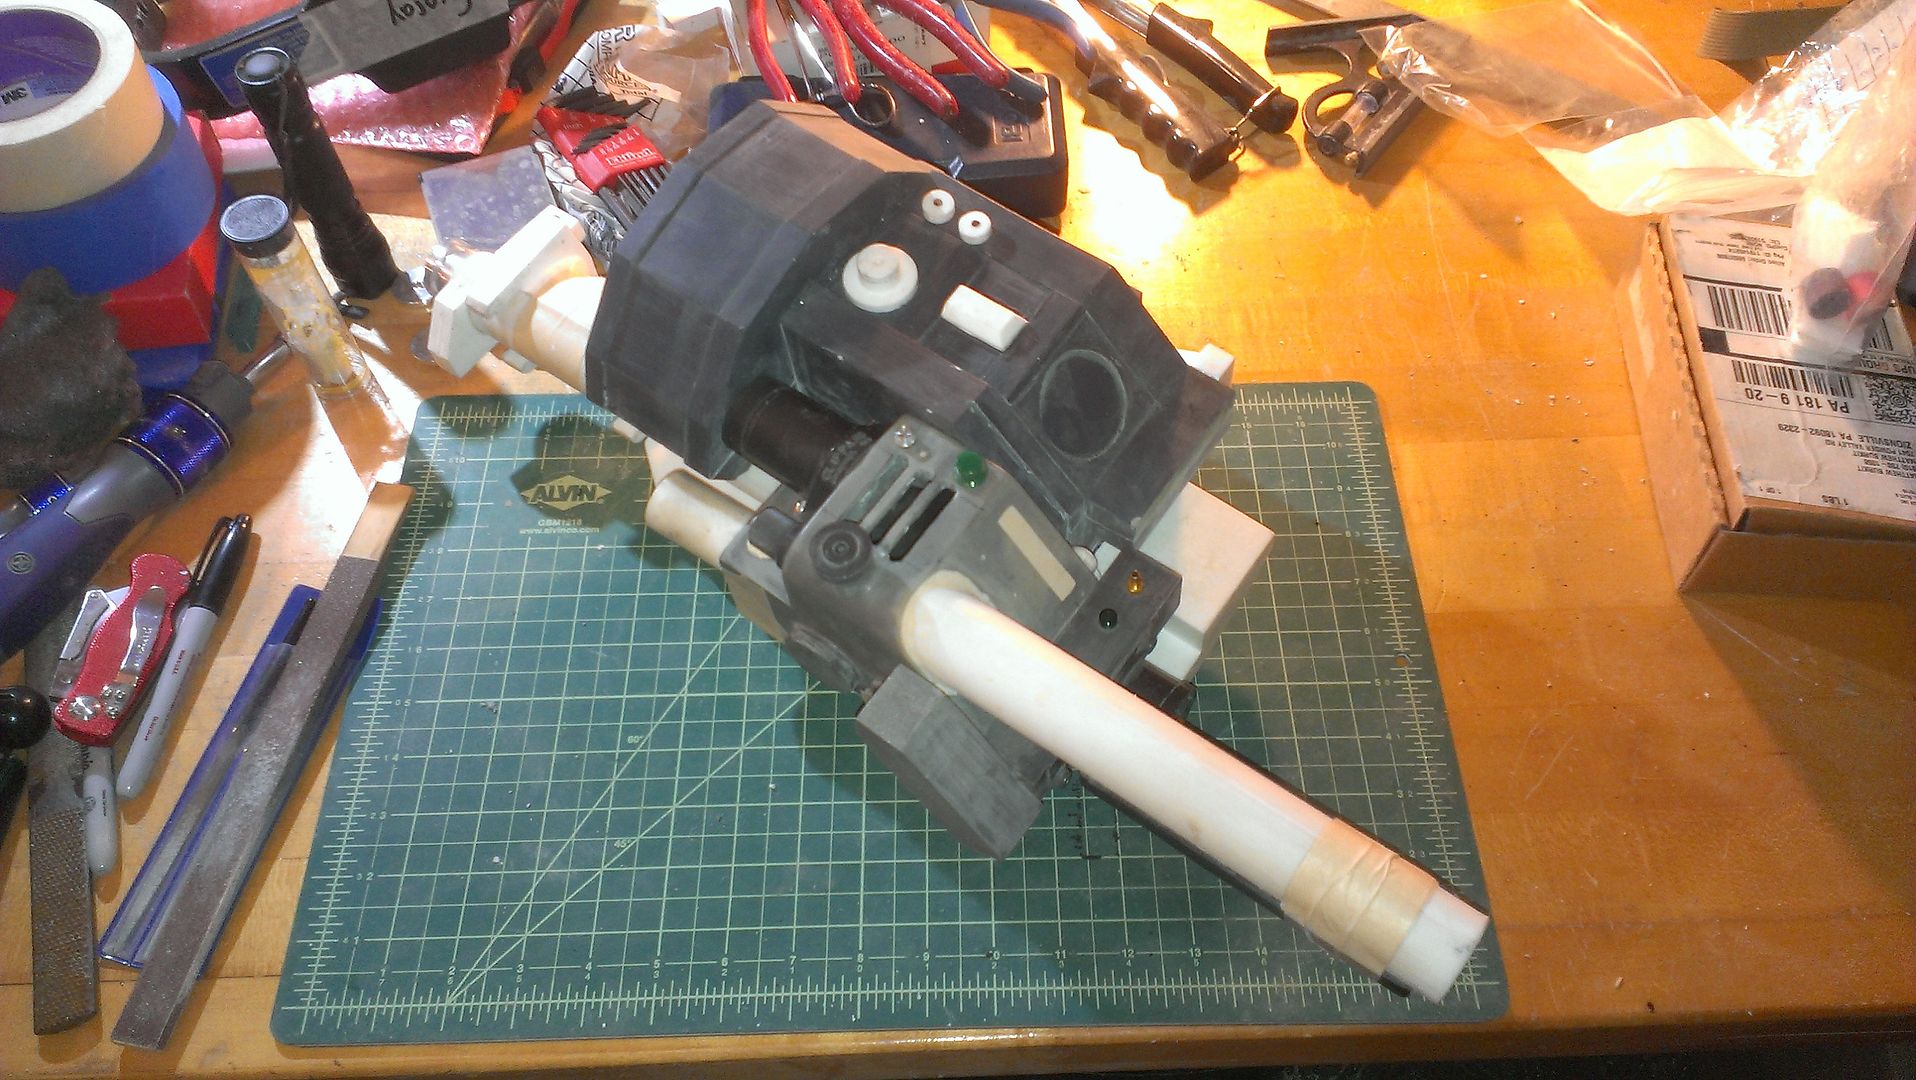
I didn't take photos of the process, but cleaning up the seam between the top and bottom halves of the upgrade box attachment took me FOREVER and was such a pain in the butt to get it all nice and clean. . . but it was worth it. Once all the paint dried, I took some shots of the wand back together. Please note that some of the smaller bits and bobs on the thrower are just being held there by masking tape so I could get photos of everything I just got done painting together. Some of the stuff won't be permanently attached to the thrower until it is painted black and I'm doing final assembly.


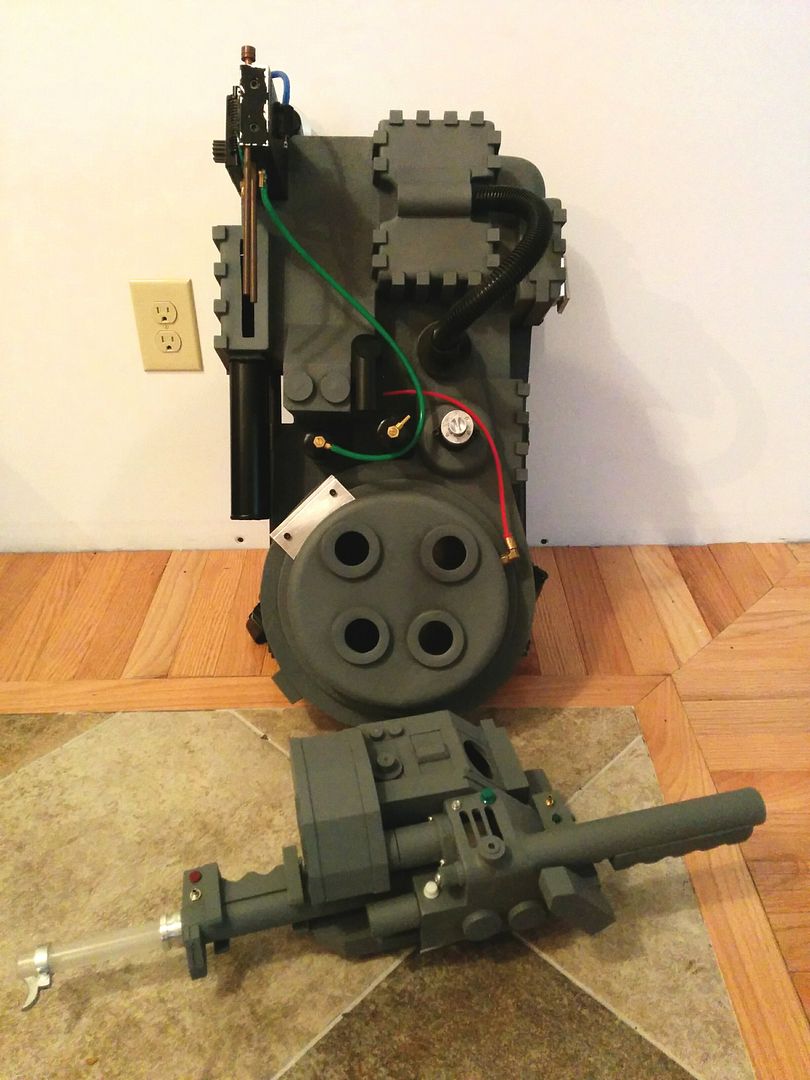
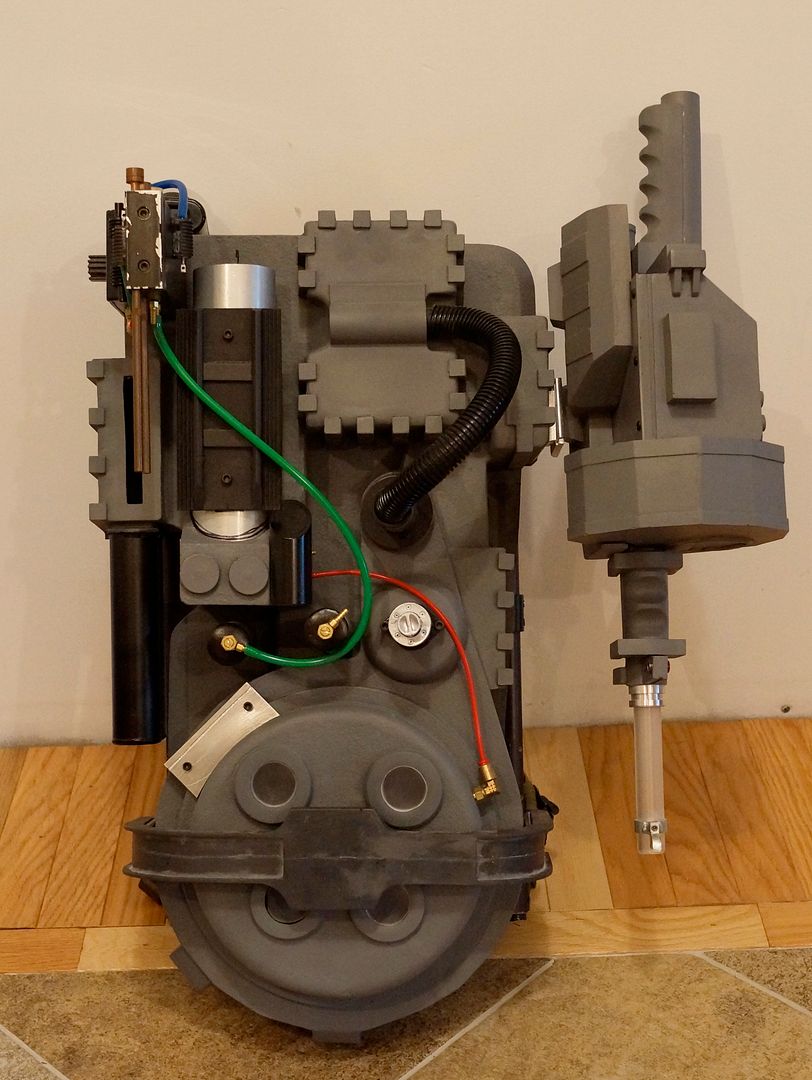
Oh, and don't worry folks, my "fun" day of tearing stuff apart, painting it, and putting it back together didn't stop there! After spending a good 4-5 hours of working on the wand, I then decided to turn my attention to the pack! I tore that sucker all down, primed the shell, painted all the attachments to the shell along with the motherboard and threw everything back together just for your amusement.


This is the state at which the pack sits now down on my work bench. For 8 hours of work, I don't feel I really DID anything but now the shell and wand are primed and the pieces I'm finished with are the color they are supposed to be. For my next installment, I will most likely be attaching a moving bumper to the shell, so stay tuned!
 
I am so totally in love with that thrower!!!! Great work so far

Thanks, we're working really hard on this but its totally a team effort and I would be no where close to were I am now with it if it wasn't for my buddy working with me.
 
This is a great build. What electronics are you puting in? Will it have the light changes for the various modes (slime blower, bozan darts, etc...)?
 
Did someone ask for an update? No. . . awww. Well, you're getting one anyway, smart-ass!

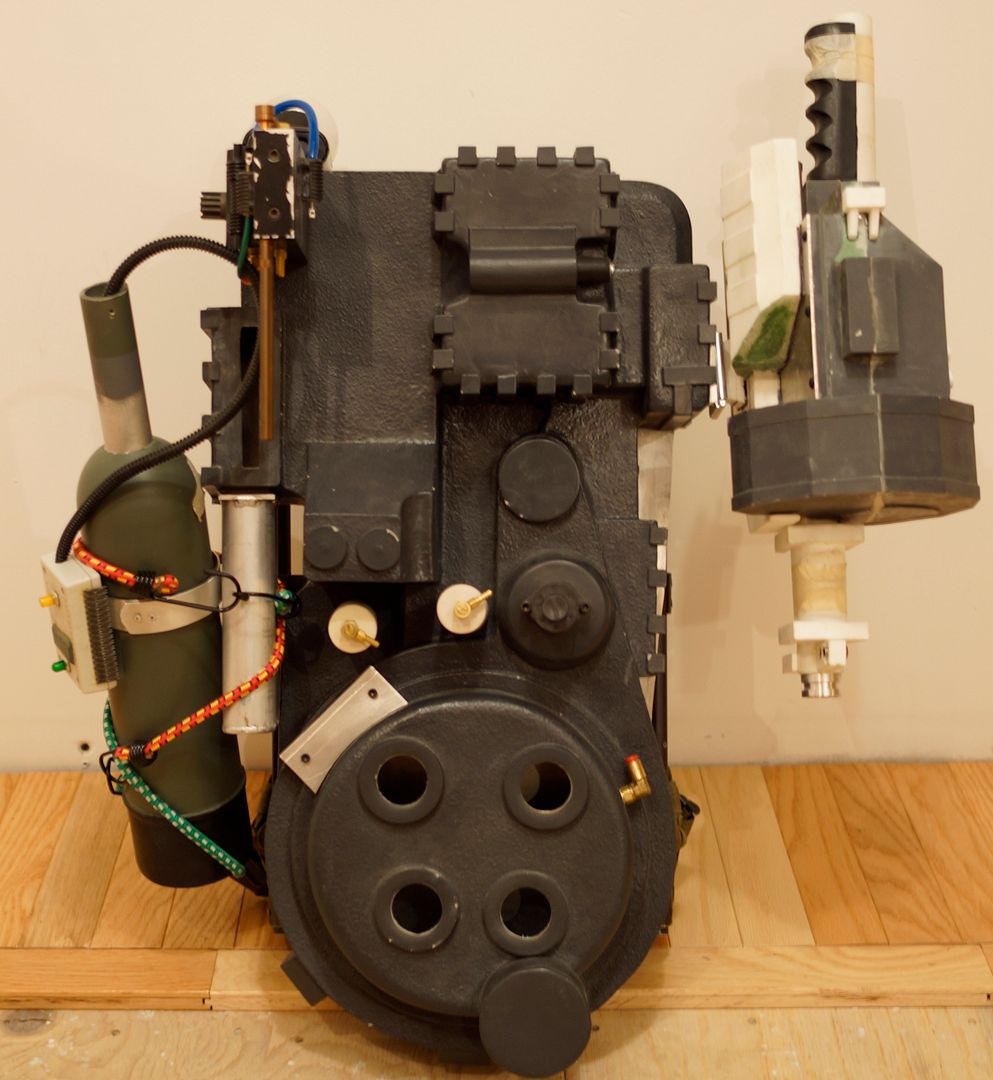
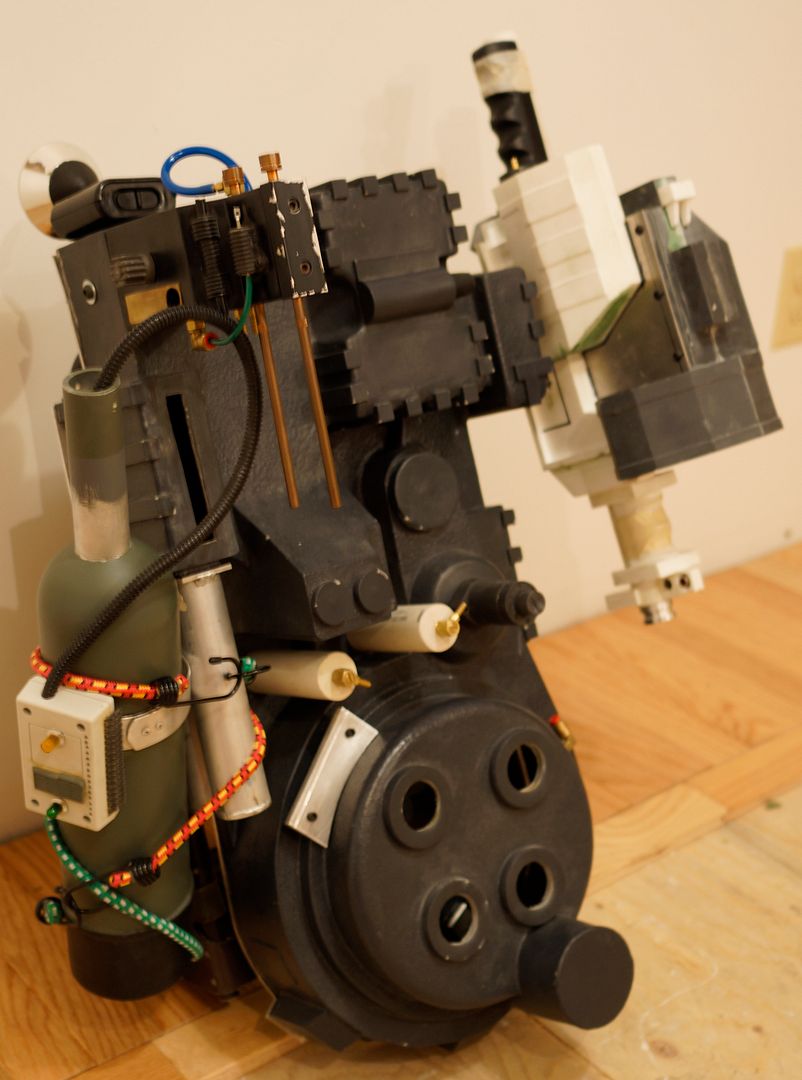
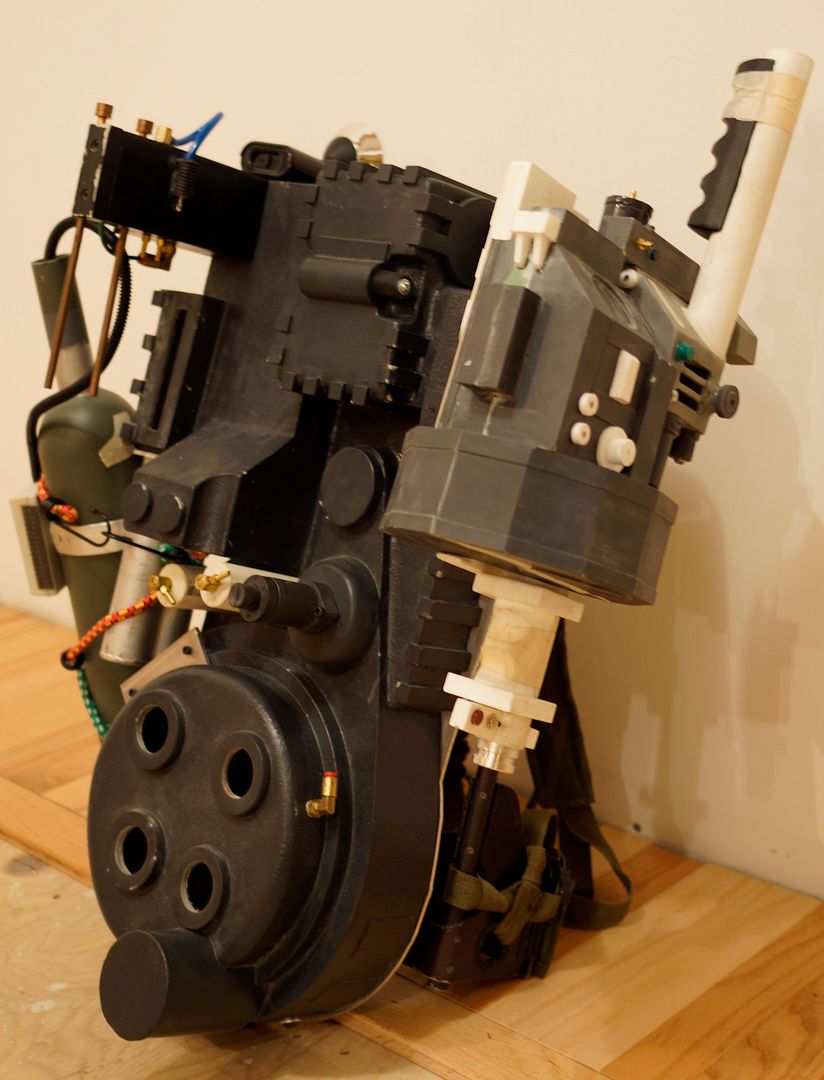
I have mounted more stuff to the pack! Namely the majority of the booster tube, booster frame, our custom clear concave lenses, and a MOVING BUMPER! (If you can't tell, I'm excited about the bumper)

Here's a full shot of the pack in all of its glory (as of this afternoon):


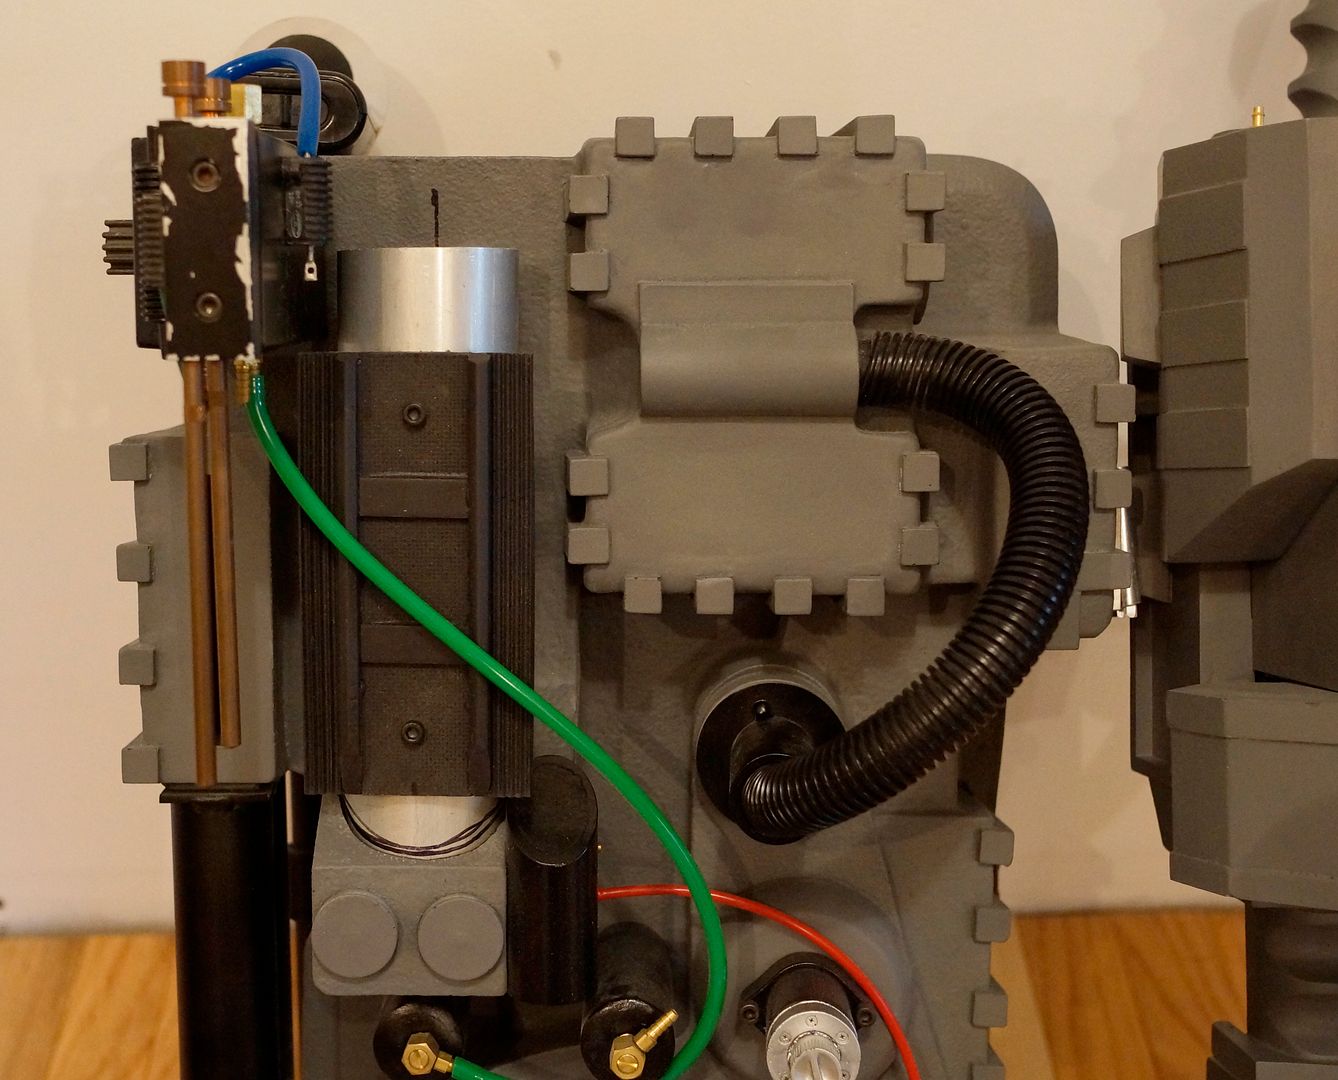
A close up of the bottom half of the booster tube with the booster frame attached:


The reason why there is only 3/4's of a booster tube mounted on the pack, is because in the game, once you have the slime blower attachment, the top 1" of the booster tube remains on the top of the slime tank inside the tube as it extends while in the slime blower mode.


The part of the tube I have mounted on my pack currently is the part that stays stationary.

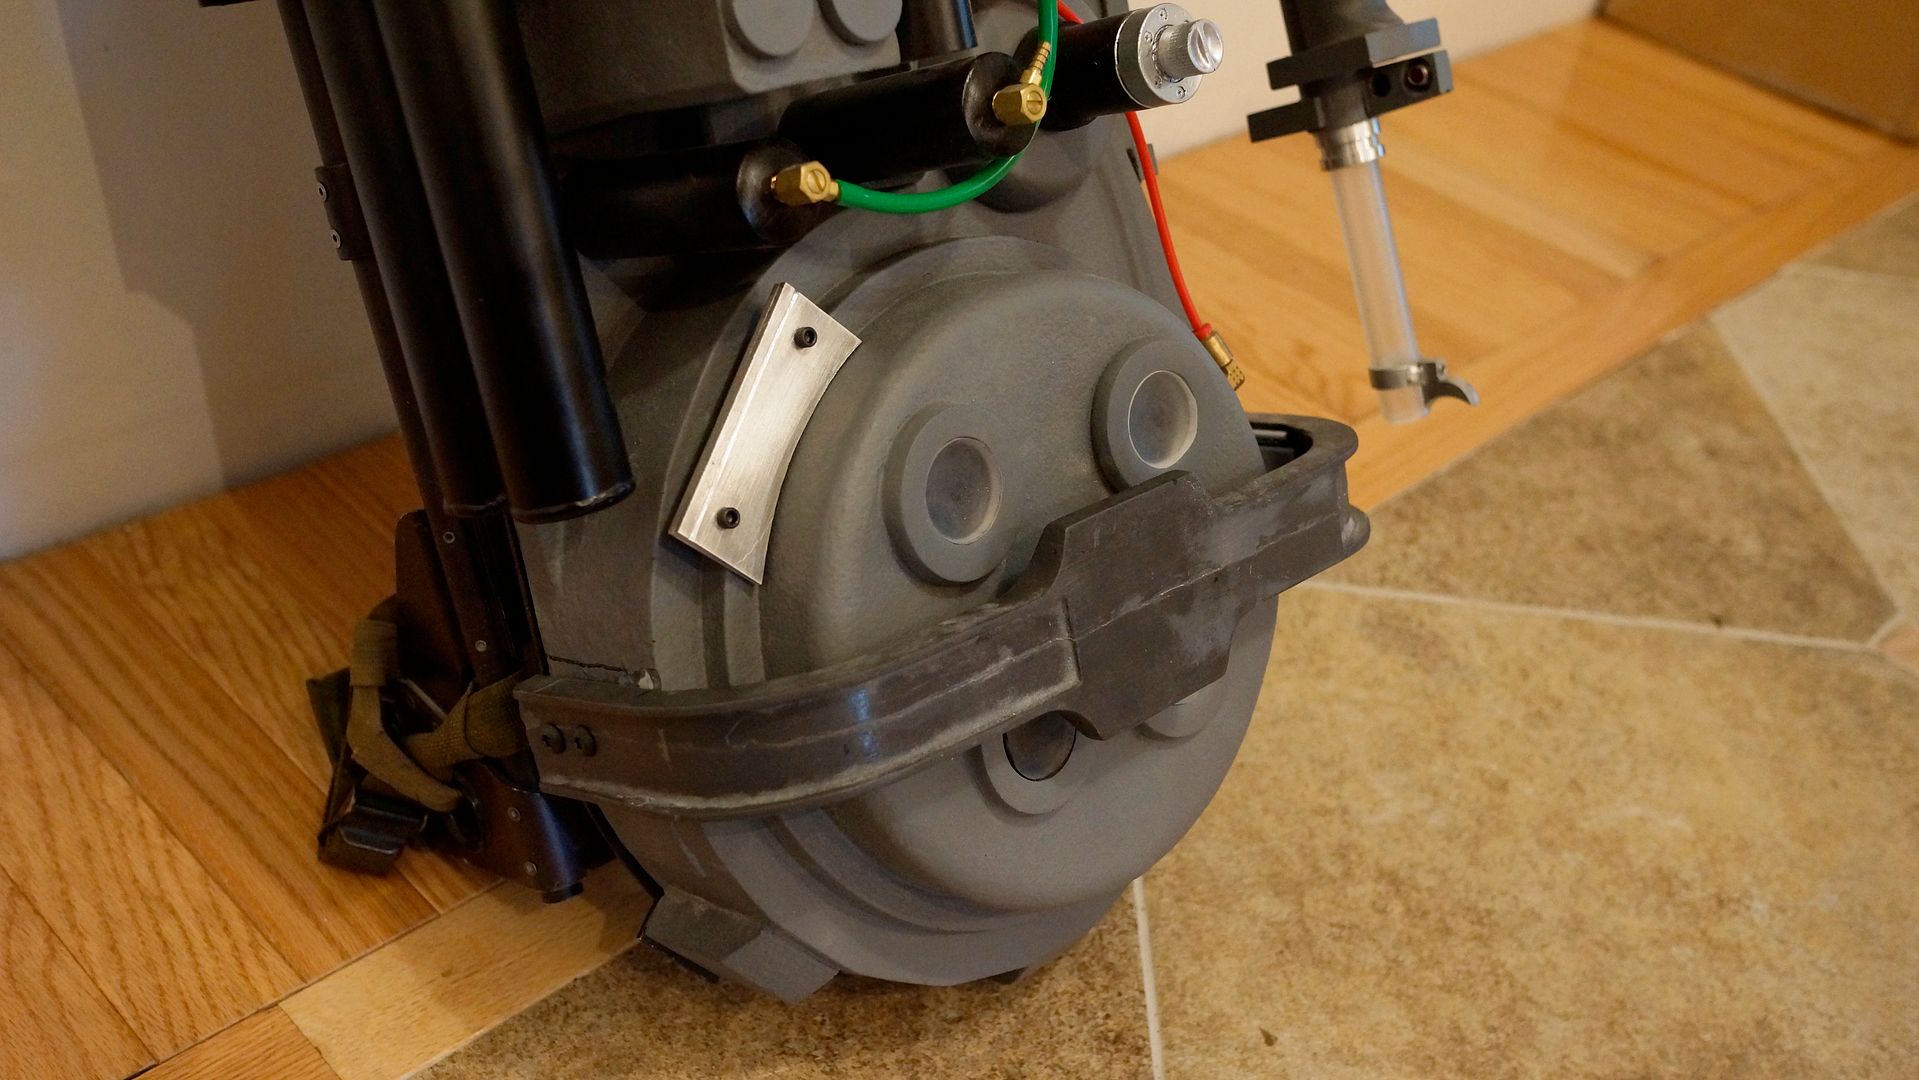
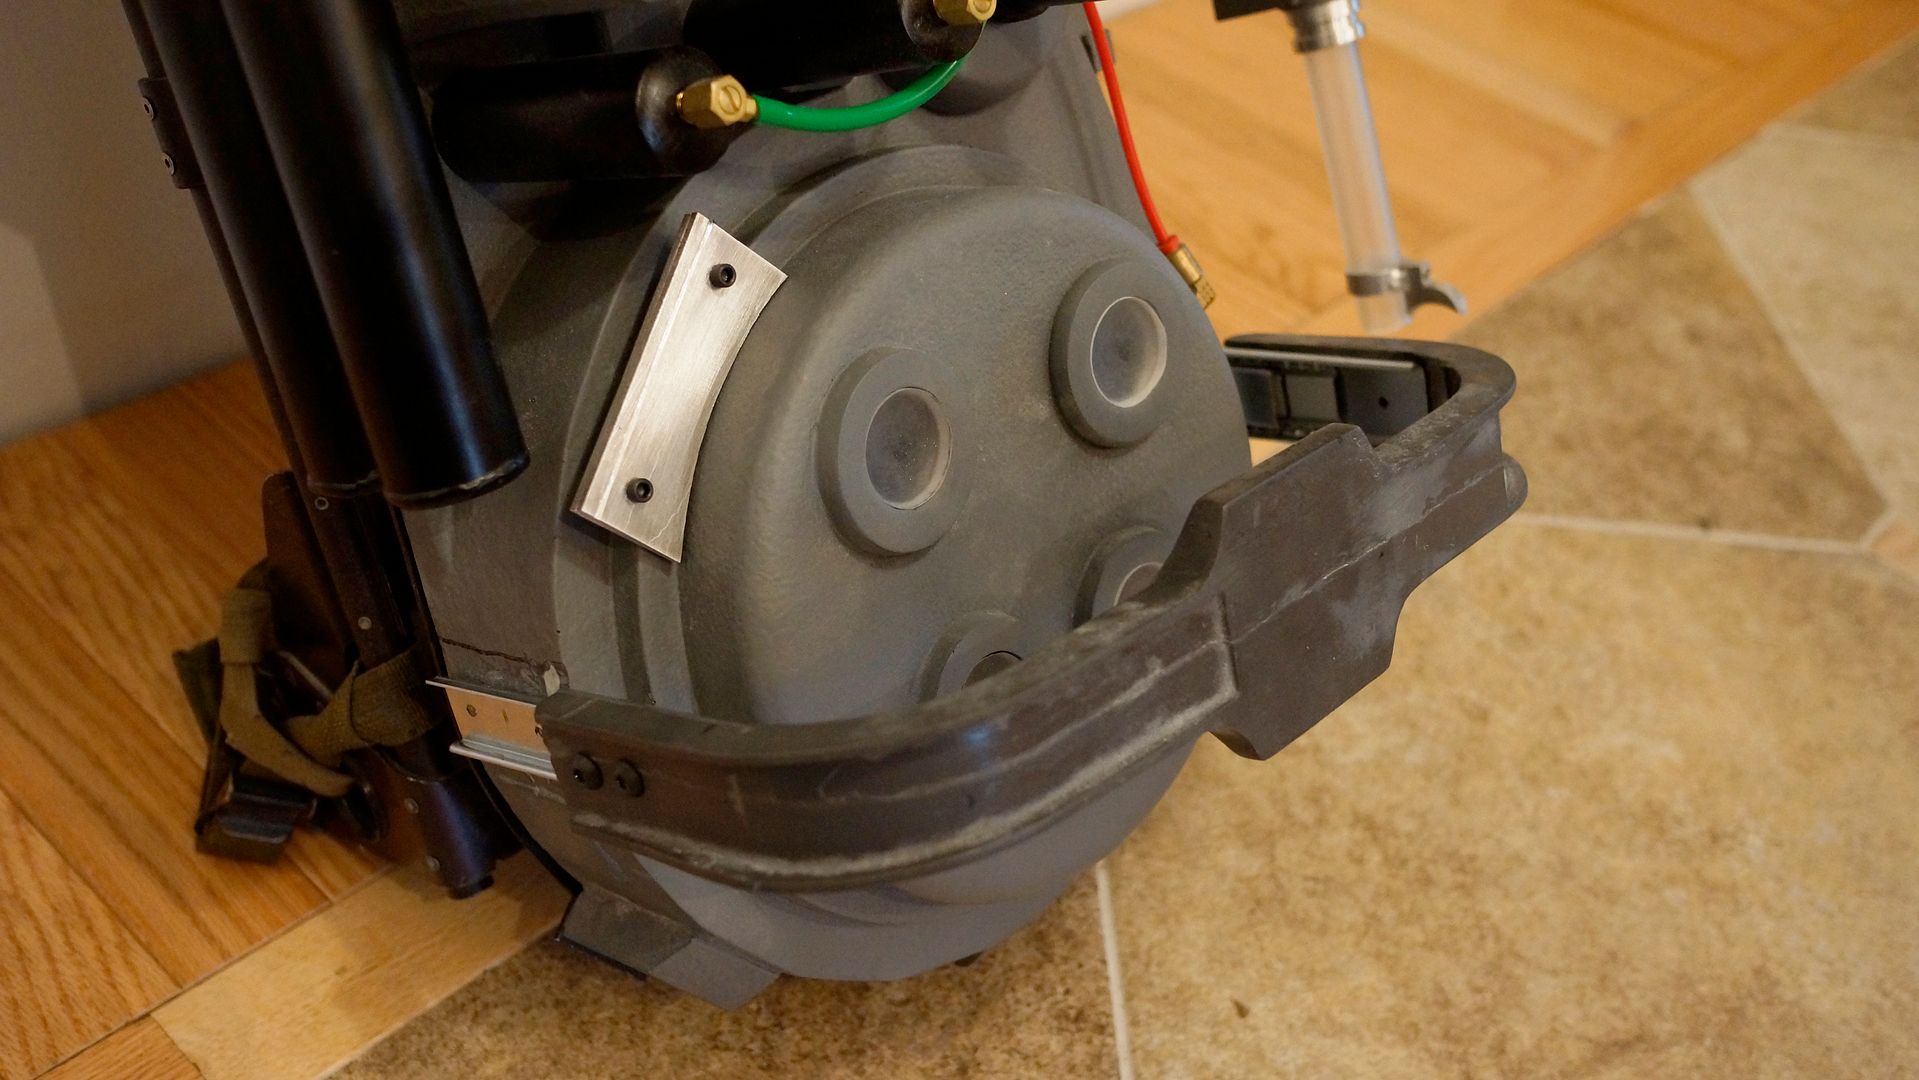
Now onto the bumper. . . looks like a normal bumper.


Until it slides 3.25" away from the cyclotron!


It will be motorized when the pack is done, but for me, getting it on there and moving freely was a big achievement! It took a lot of time to get to this point: from modifying the Volguus bumpers, to molding the resulting game specific bumper, gutting the cast to make room for the tracks, heavily modifying the tracks and finally getting it all on the pack. Once the pack is all painted, the tracks won't be nearly as noticeable with a coat of black paint. We went with tracks for stability, so there will be absolutely NO twisting of the bumper, so it won't have issues seating back down in its normal position after venting.

Also note, I continue to use the button head bolts on the bumper as I did on the mounting points for the shell to the motherboard. I feel this is a nice homage to the movies because its mixing the socket head bolts from GB1 and the machine screws from GB2. That and its something different.

And with that, I'm spent! We'll see where Jack and I go next with this build. . .

Until next time!
 
Back
Top