mburkit
Well-Known Member
Hello all! I've been a member for a little while here but mostly just to stare at all your amazing projects. I don't expect alot of people here to know me but I am a moderator on GBFans and I have been an active member of that community since 2003. In my time, I have built about 6 proton packs, all based of packs from the 2 Ghostbusters films. Well, now I'm trying something slightly different and figured I'd start a thread here while I'm in mid build.
I have decided to tackle the fully upgraded proton pack from Ghostbusters: The Video Game, from 2009. There have been a few people to try to tackle this task in the ghostbusters community but everyone seems to take a movie pack and add the attachments. I have opted to try my best to replicate the on screen model because there are fundamental differences between the movie and game packs. And with that, lets get started with 2 weeks worth of photos!
So, at the beginning of this project, I began with a pile of parts:
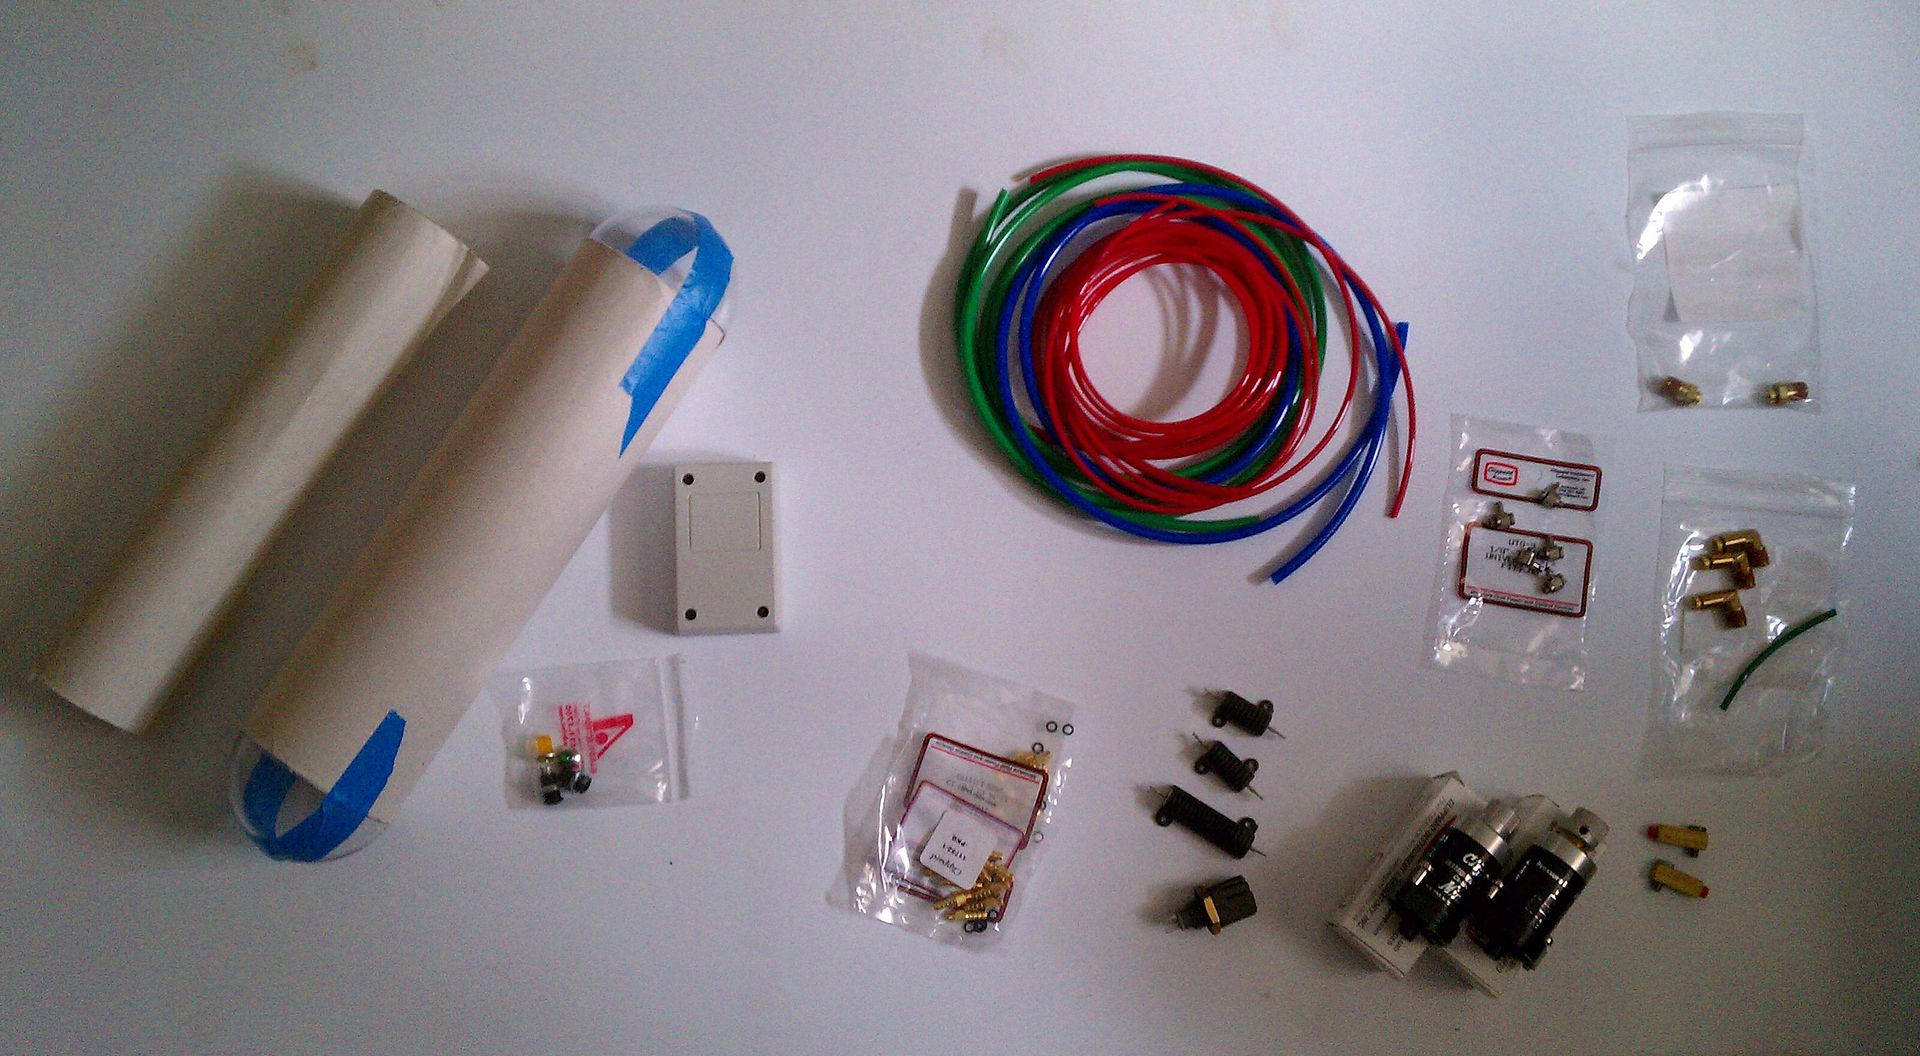
(Please click on the images to view them at a larger size)
Here is some reference comparison shots of what I have so far. . .
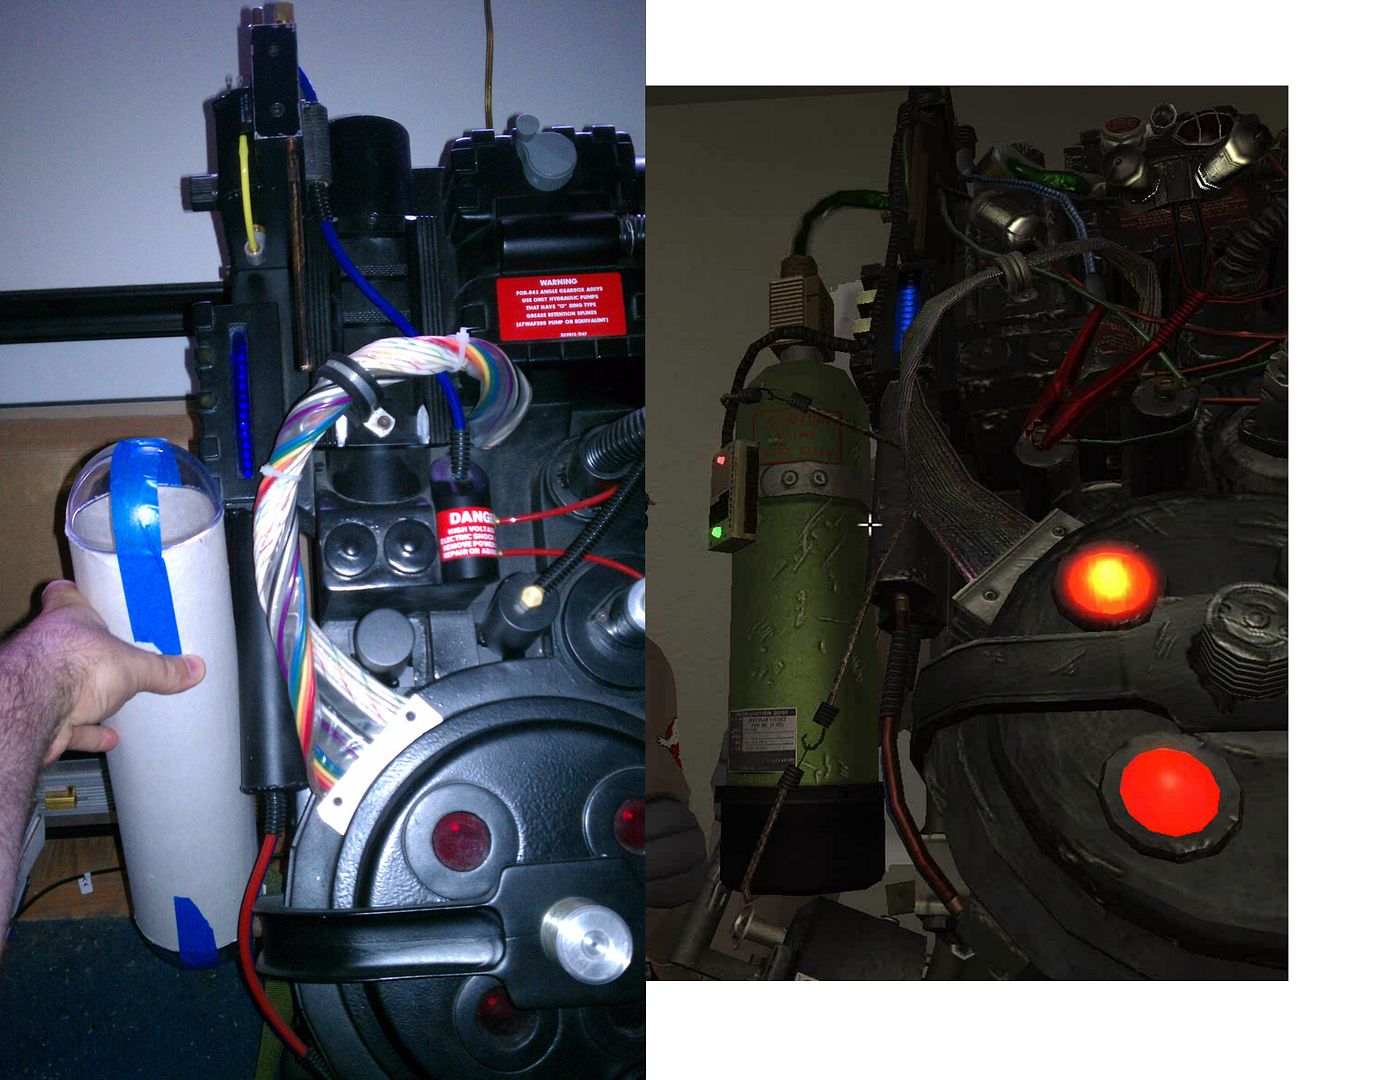
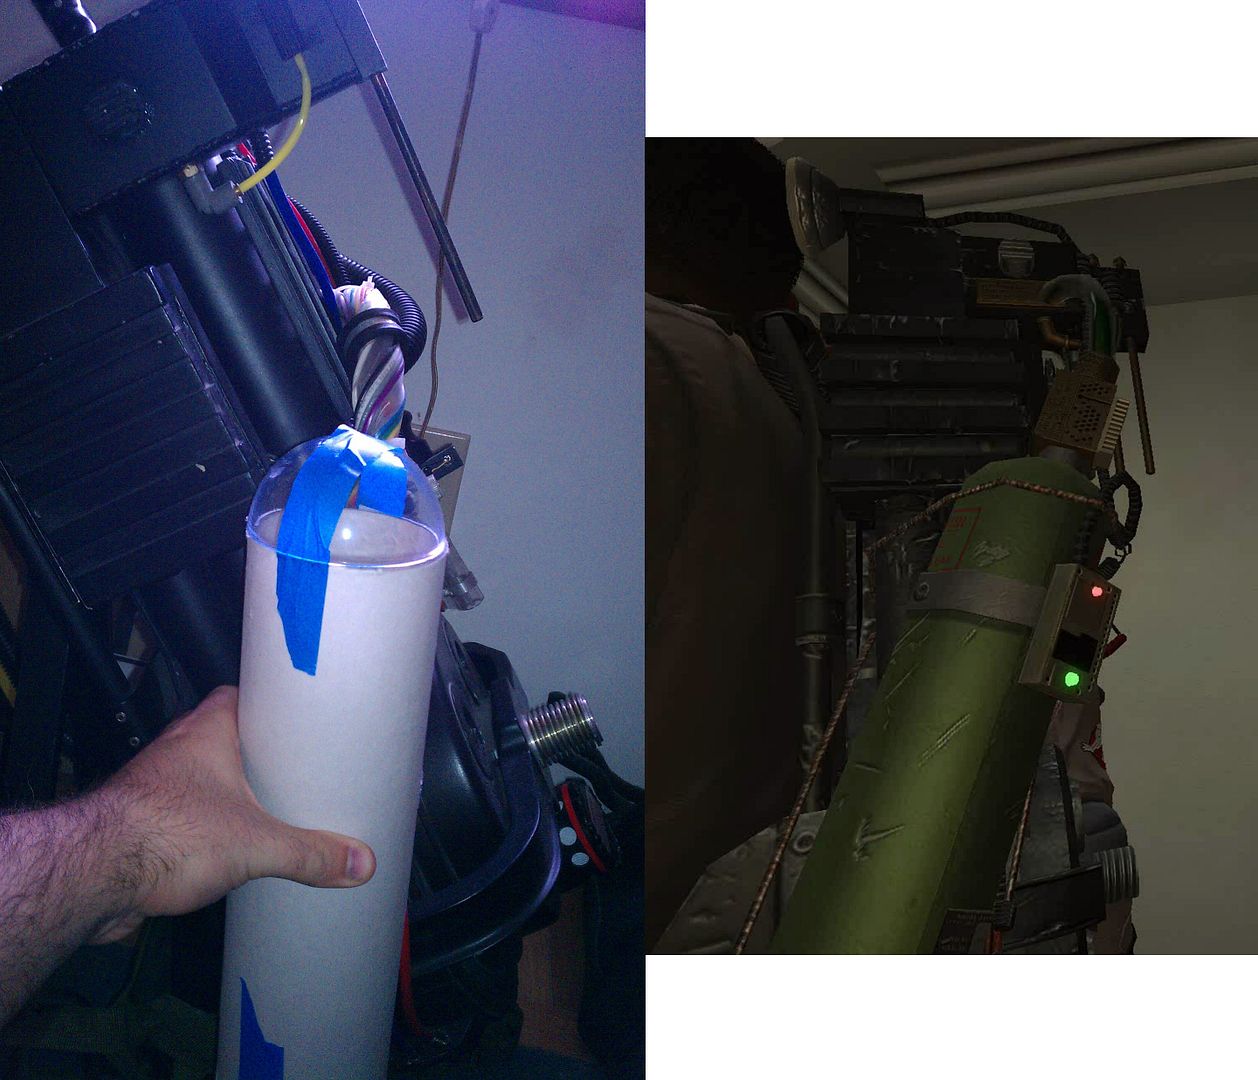
I am going to scratch build the slime tank out of 3.5" OD Acrylic tube and dome. These shots are of the acrylic tubing I got next to my GB1 Hero pack replica for some size comparisons.
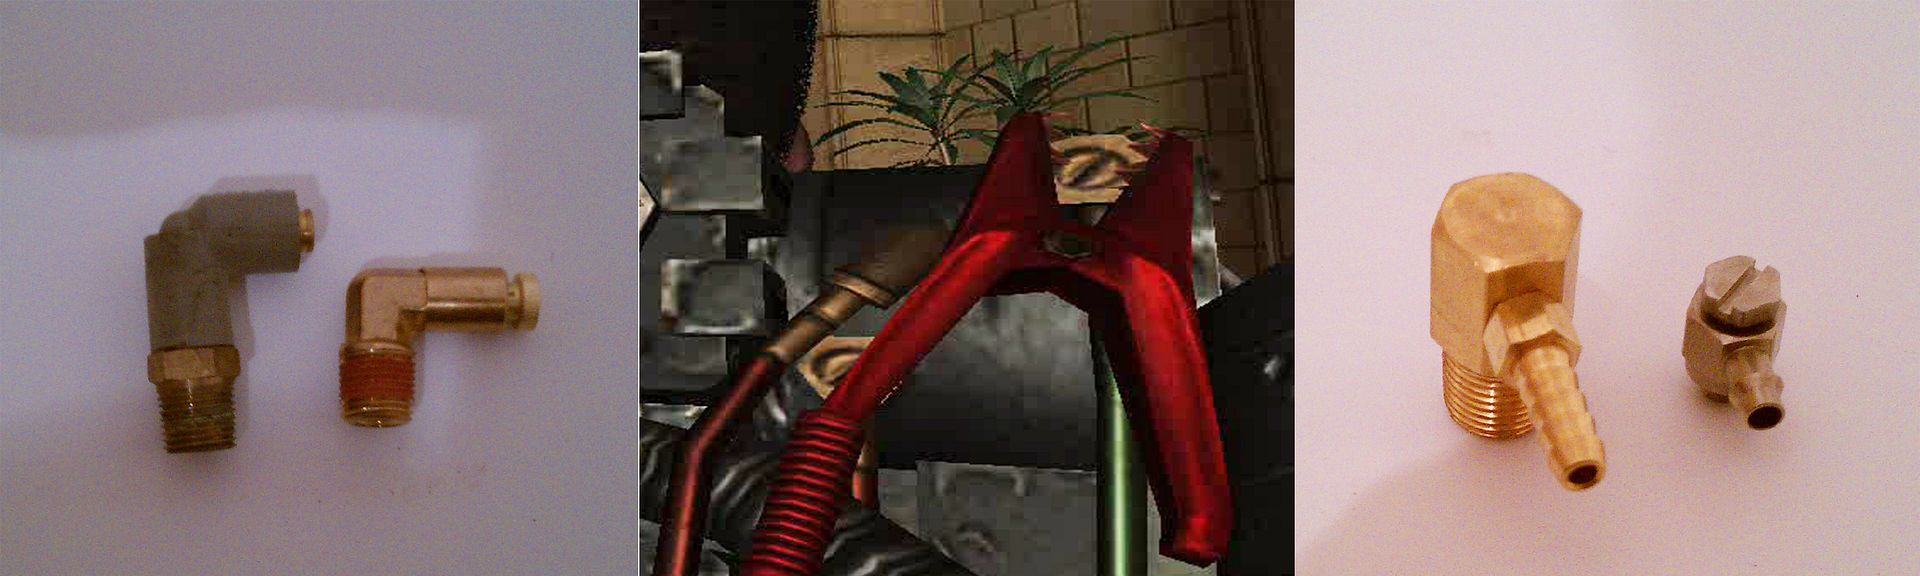
Here's some reference shots of some of the hardware I have gathered. I do not like the barbed fitting in these photos because they are too small compared to the movie used hardware (also shown in the photo), so I have ordered some new stuff that should be more applicable to this build.
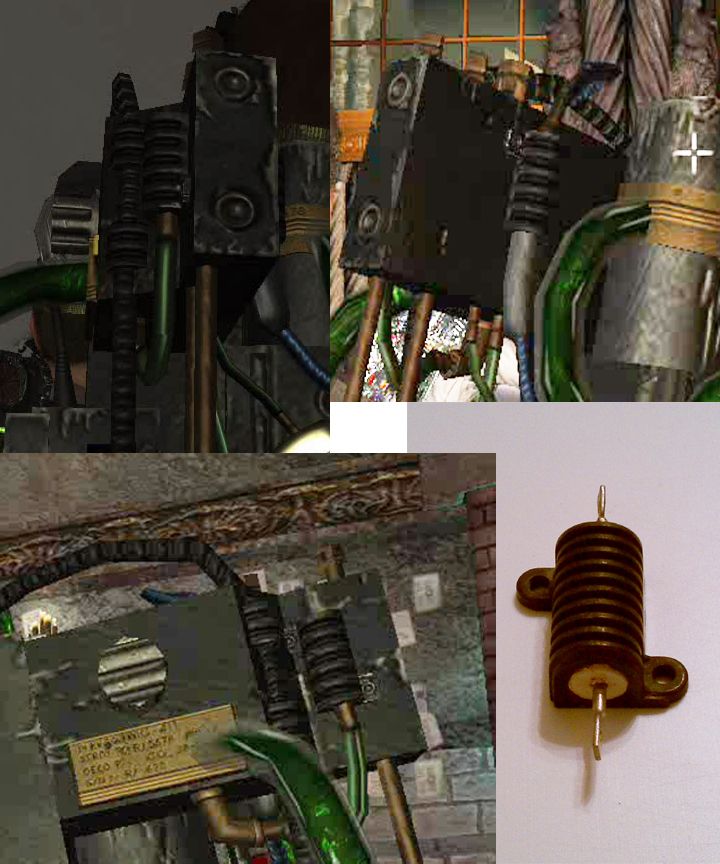
The "Ion Arm" of the proton pack has alot more going on on it in the video game. And once again, the type of hardware on it has changed from the movie props. Here's reference of the new Dale resistor I will be using on this build.
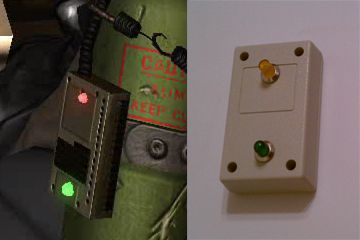
The slime tank itself has had many cues taken from the second film's Slimeblower props. So I sourced the screen accurate project box, Linrose lamps, and even the tank model that was used for the greeblies on the movie prop that was replicated virtually on the game model.
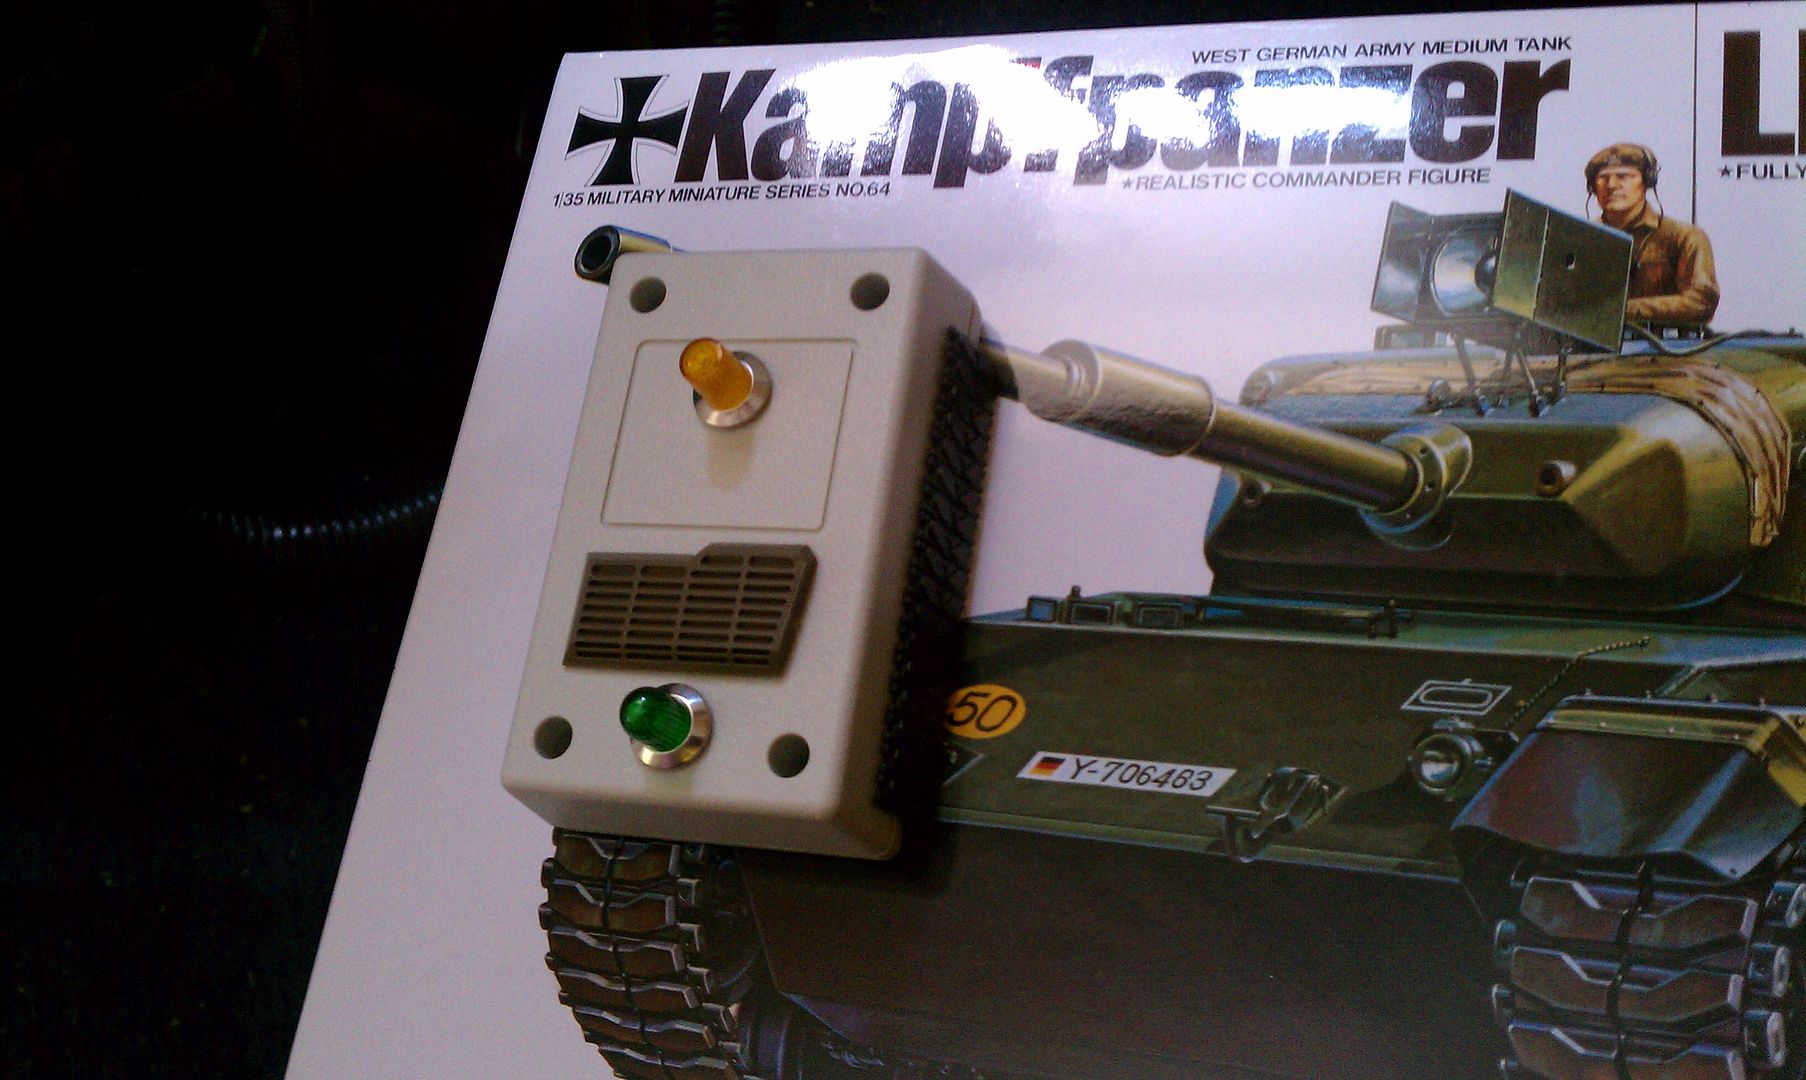
(With parts from the tank model)
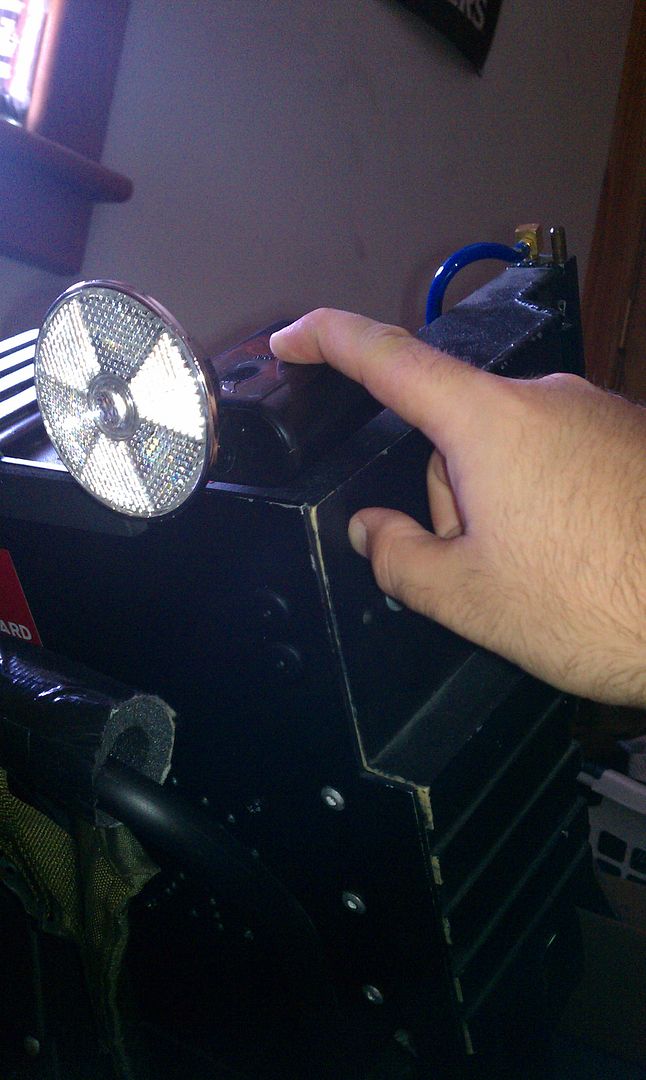
The game pack also took another cue from the slimeblowers by having a halogen bike light mounted on top of the pack. Here is a knock off brand of what was used in the film (its all I could find verses the real deal).
Last photo of hardware I've collected, I swear:
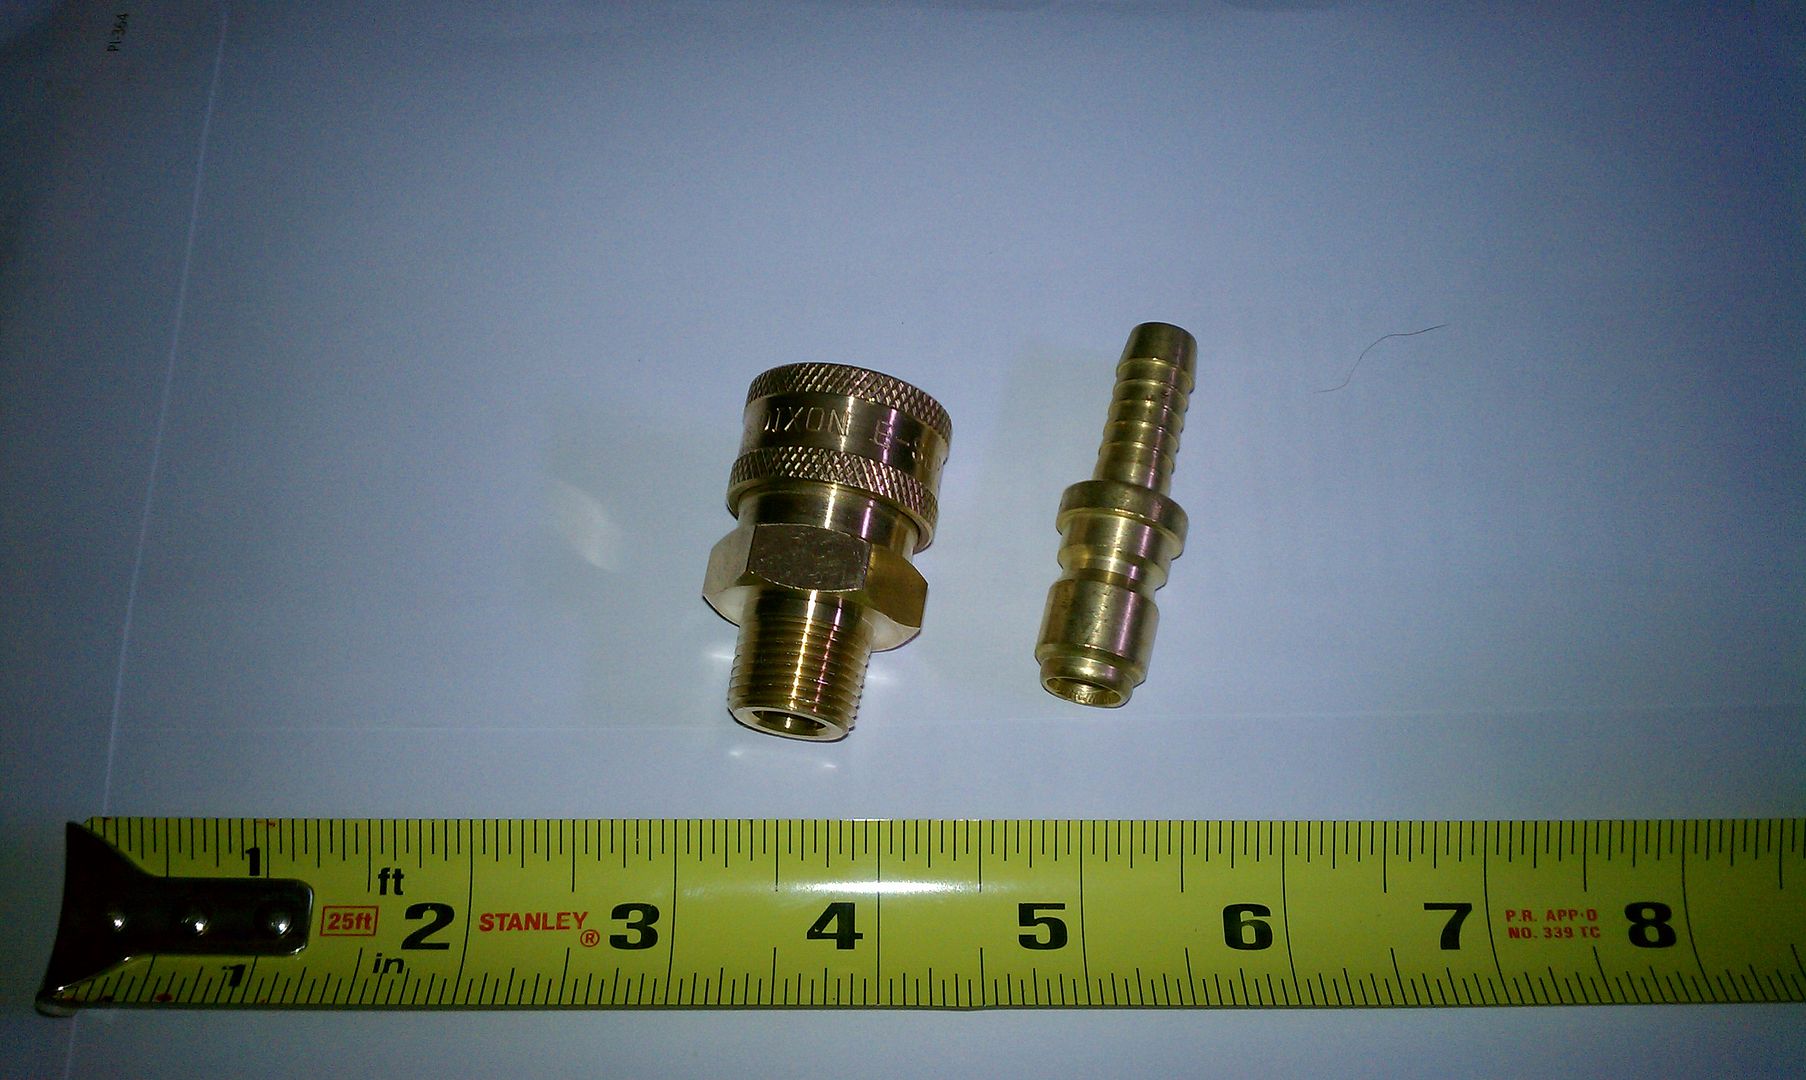
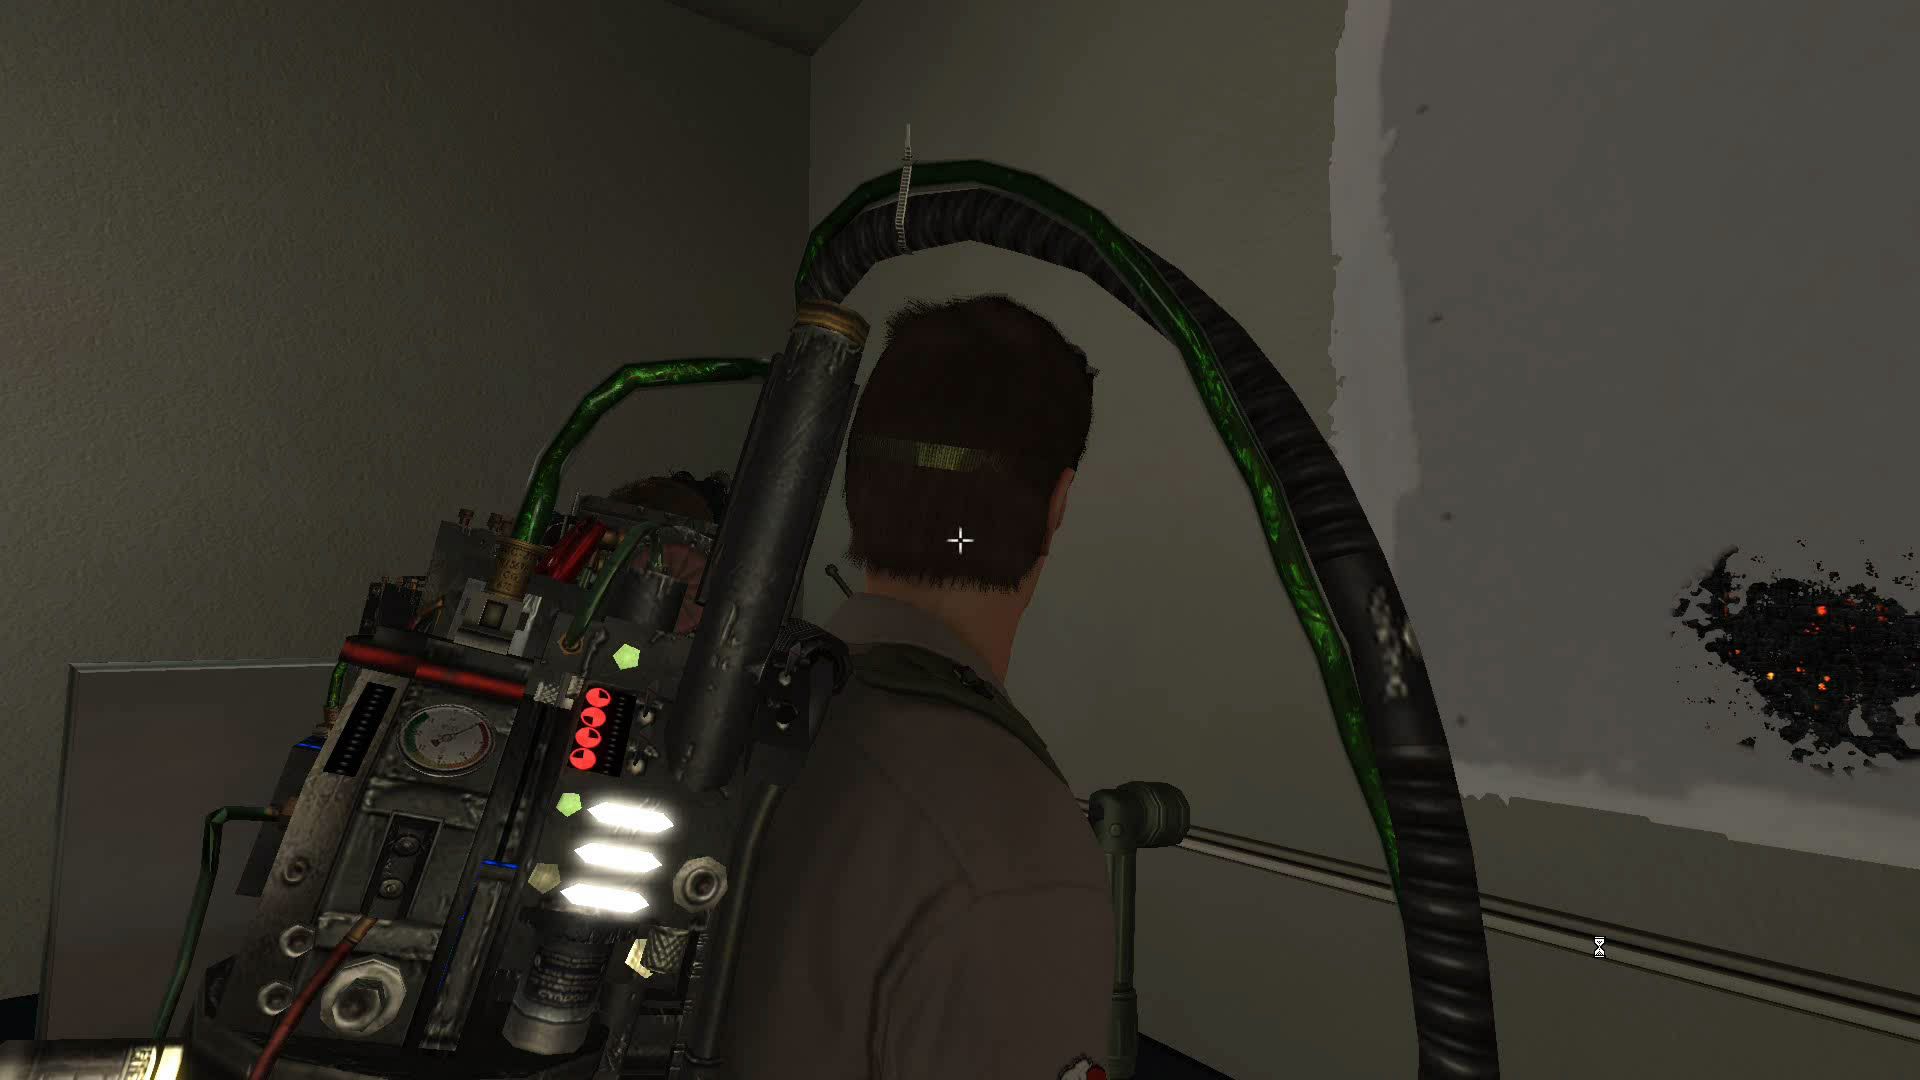
I will be using these hose quick connects for both the top of the slime tank and on the wand/gun of the pack, as seen in these screen caps:

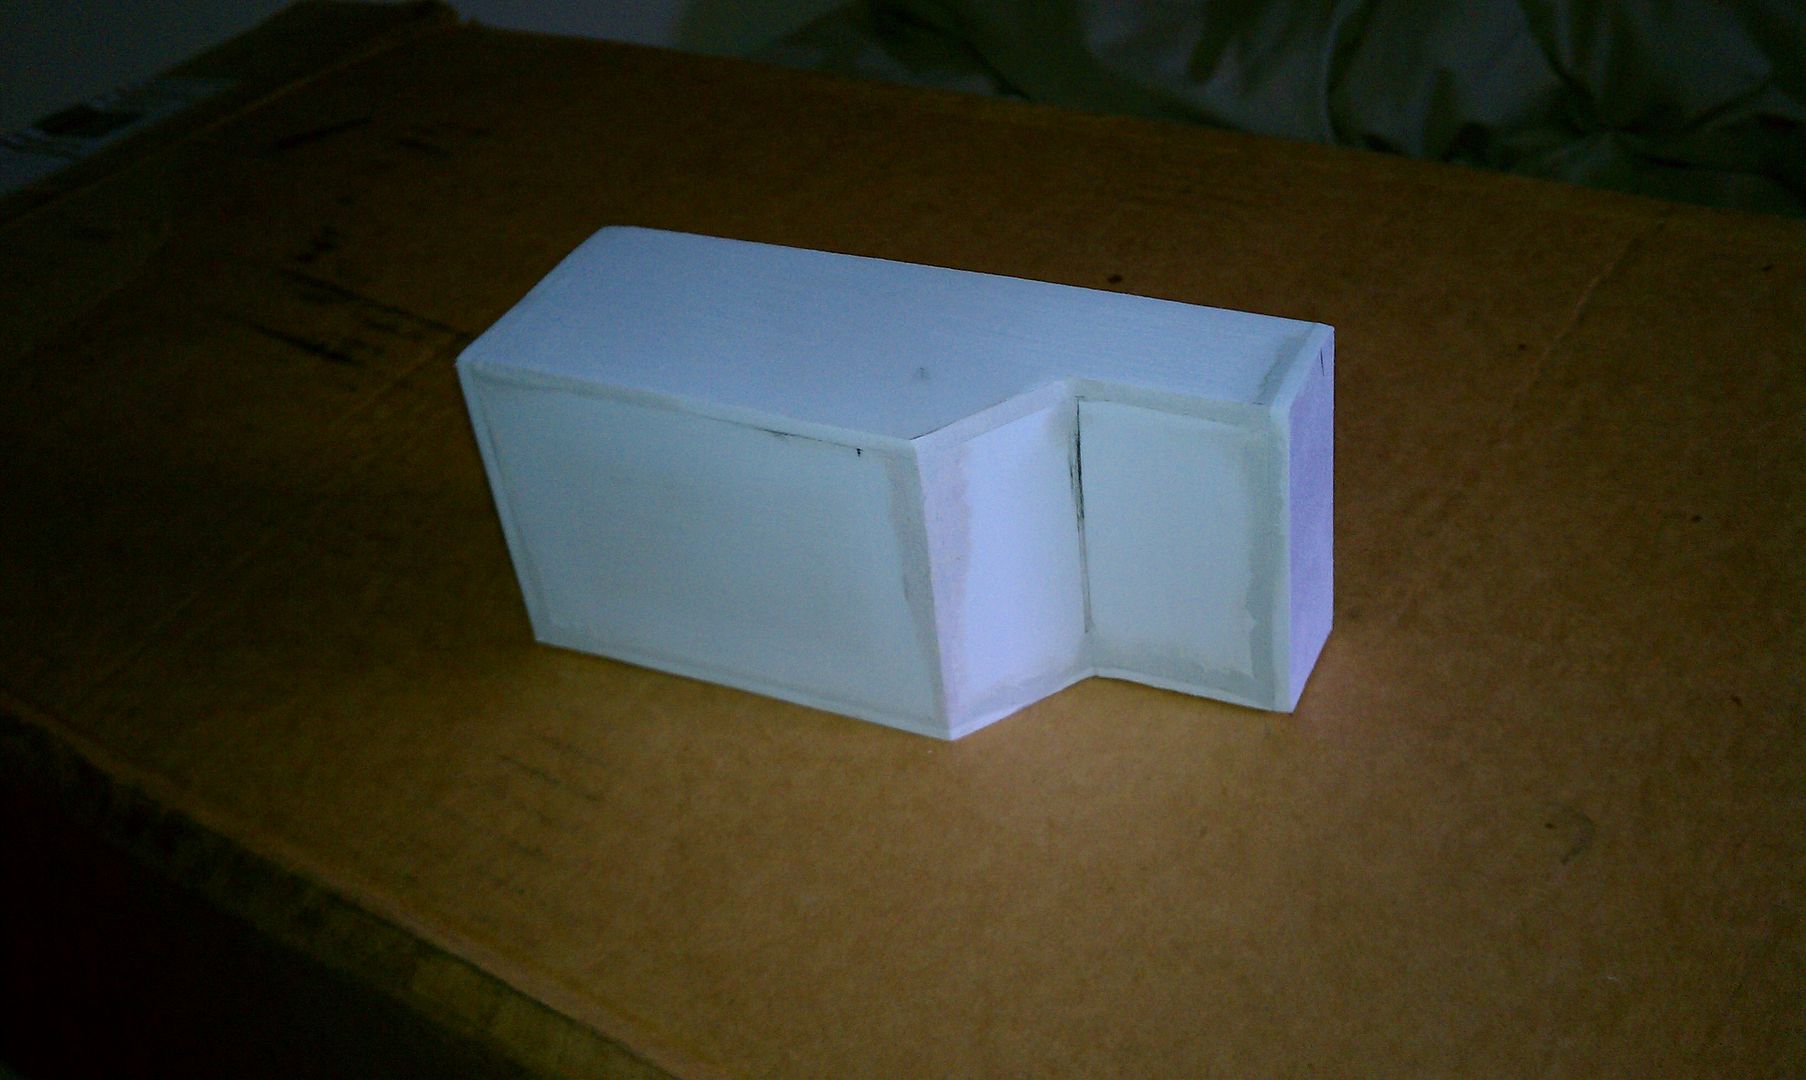
And now onto the scratch building part!
So the first thing I built was the "Ion Arm" out of 1/8" thick styrene.
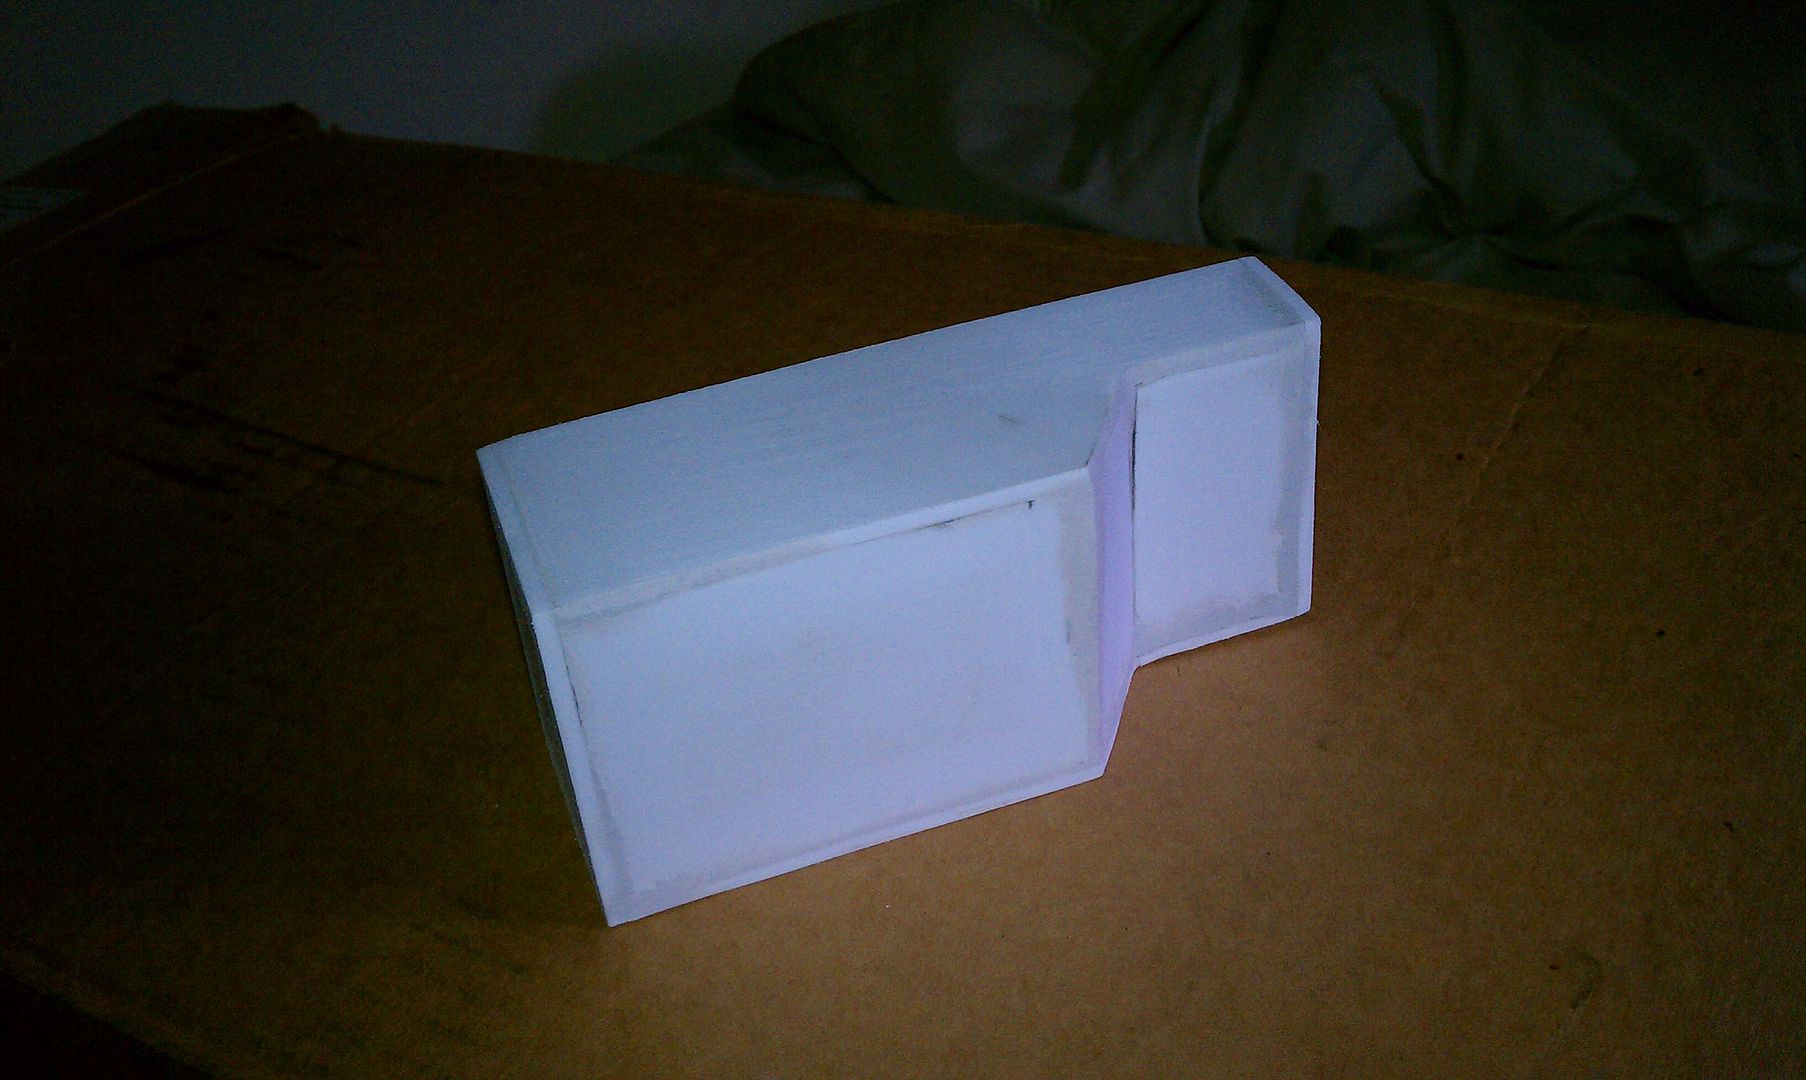
Smoothed it out the seams and primed it:

And then I began to start drilling and dry fitting stuff on it:
I have alot more coming to me in the mail that I'm currently waiting on but I figured this is more then enough for my first topic on here. I'll keep updating as I get more built. I am going to continue with the ion arm and then the slime tank and probably move onto the gun part since that will be alot of scratch building involved in that. Thanks for reading and putting up with all my photos!
I have decided to tackle the fully upgraded proton pack from Ghostbusters: The Video Game, from 2009. There have been a few people to try to tackle this task in the ghostbusters community but everyone seems to take a movie pack and add the attachments. I have opted to try my best to replicate the on screen model because there are fundamental differences between the movie and game packs. And with that, lets get started with 2 weeks worth of photos!
So, at the beginning of this project, I began with a pile of parts:

(Please click on the images to view them at a larger size)
Here is some reference comparison shots of what I have so far. . .


I am going to scratch build the slime tank out of 3.5" OD Acrylic tube and dome. These shots are of the acrylic tubing I got next to my GB1 Hero pack replica for some size comparisons.

Here's some reference shots of some of the hardware I have gathered. I do not like the barbed fitting in these photos because they are too small compared to the movie used hardware (also shown in the photo), so I have ordered some new stuff that should be more applicable to this build.

The "Ion Arm" of the proton pack has alot more going on on it in the video game. And once again, the type of hardware on it has changed from the movie props. Here's reference of the new Dale resistor I will be using on this build.

The slime tank itself has had many cues taken from the second film's Slimeblower props. So I sourced the screen accurate project box, Linrose lamps, and even the tank model that was used for the greeblies on the movie prop that was replicated virtually on the game model.

(With parts from the tank model)

The game pack also took another cue from the slimeblowers by having a halogen bike light mounted on top of the pack. Here is a knock off brand of what was used in the film (its all I could find verses the real deal).
Last photo of hardware I've collected, I swear:

I will be using these hose quick connects for both the top of the slime tank and on the wand/gun of the pack, as seen in these screen caps:


And now onto the scratch building part!
So the first thing I built was the "Ion Arm" out of 1/8" thick styrene.


Smoothed it out the seams and primed it:


And then I began to start drilling and dry fitting stuff on it:


I have alot more coming to me in the mail that I'm currently waiting on but I figured this is more then enough for my first topic on here. I'll keep updating as I get more built. I am going to continue with the ion arm and then the slime tank and probably move onto the gun part since that will be alot of scratch building involved in that. Thanks for reading and putting up with all my photos!


