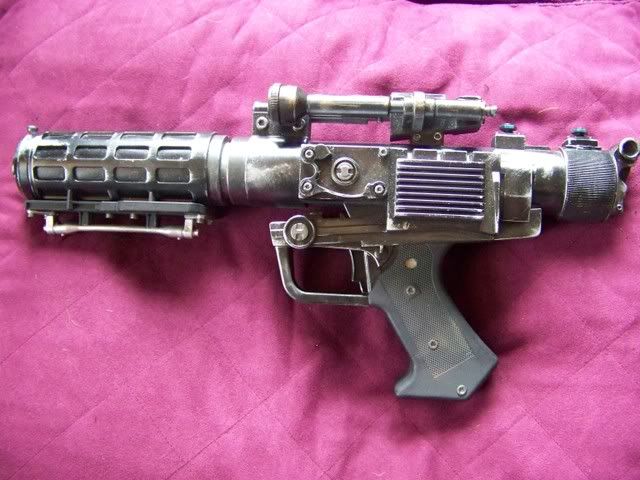
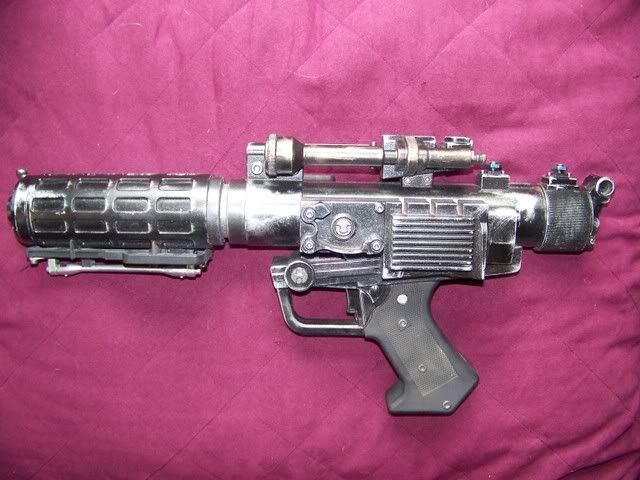
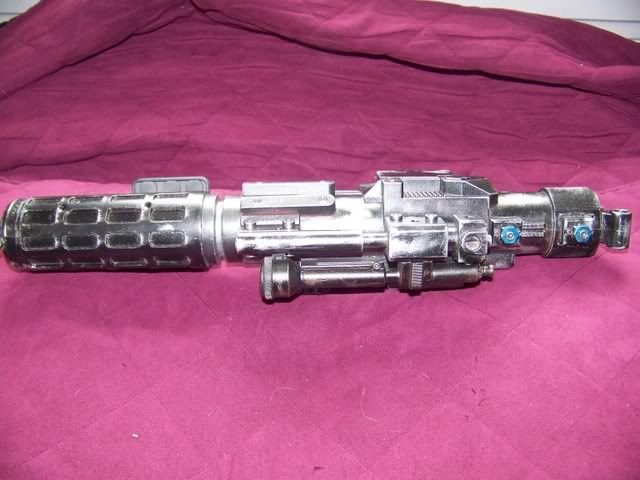
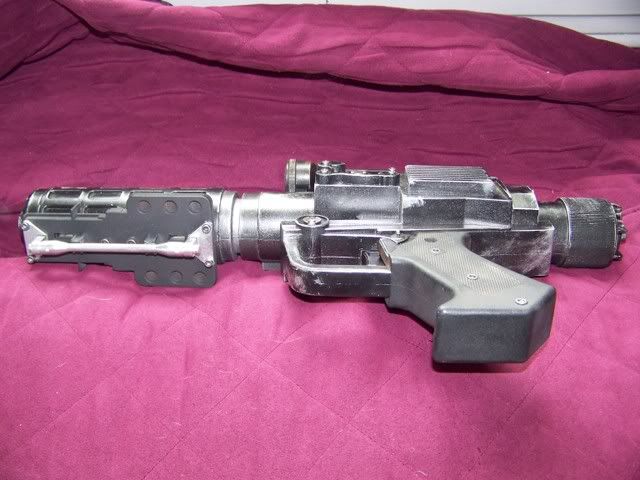
General Grievous' Blaster

TridCloudwalker

Sr Member
RPF PREMIUM MEMBER
(Better pics in post #8)

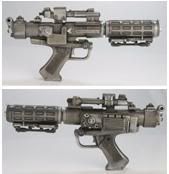
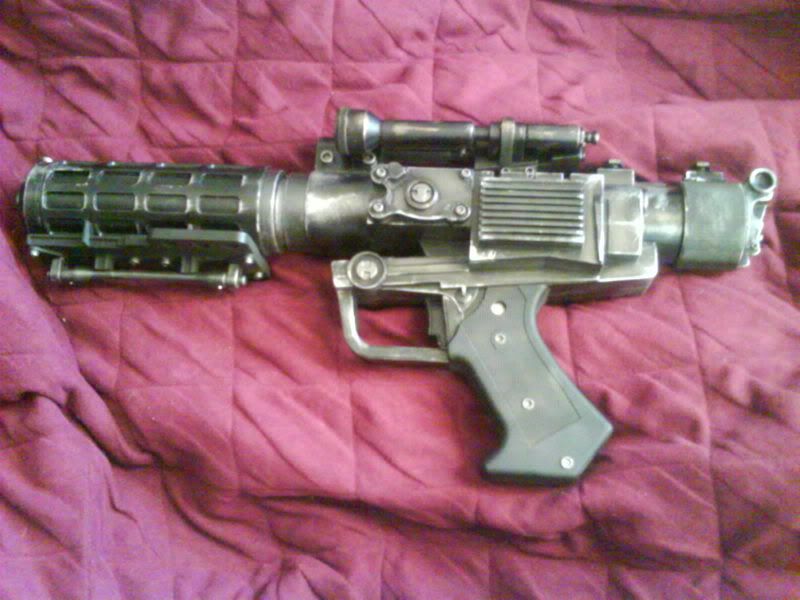
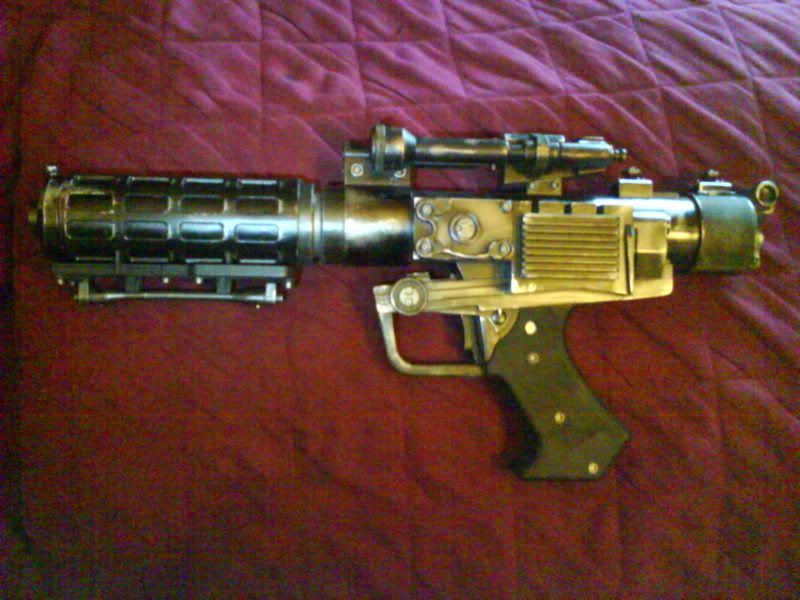
Here's a modified Hasbro General Grievous Blaster I banged out in a couple days for fun. Needless to say, it got a complete repaint. I used spray bombs primarily but also some acrylics and pastels. I filled in the seam lines and screw holes, and backed the barrel venting with styrene (which you'd think would be easy, but was actually a pain in the butt). My apologies for the crappy cell phone pic. I'll try to get a better one later.
DSC00196.jpg
 
Last edited:
I filled in the seam lines and screw holes, and backed the barrel venting with styrene (which you'd think would be easy, but was actually a pain in the butt).

Very impressive. :thumbsup
I did the same thing with a Hasbro Battledroid blaster. The styrene in the barrel vents drove me crazy. My build didn't come out near as nice as yours. It ended up in my son's toy box. :lol
 
Pretty darn cool. It would be great if someone would get around to making a metal version of this, the clonetrooper blasters, and the battle droid blaster. Oh well...
 
Nice job!

And if it helps with the detailing even more...

IMG_0921.jpg

IMG_0920.jpg


These were taken at the AOSW exhibition held in Singapore awhiles back.

Again, nice job! Thanks for sharing!

Tim.
 
NIIIICE!

I have one of these sitting in my parts box as well.
It´s been taken apart ages ago with all the fake screws already drilled out, but I never got around to reassemble it since I wanted top add some metal parts.

Anyone interested in doing a small run of grievous blaster conversion parts?
Scope(s), tube under barrel jacket, tip...etc.

Markus
 
Nice job!
And if it helps with the detailing even more...

These were taken at the AOSW exhibition held in Singapore awhiles back.

Again, nice job! Thanks for sharing!

Darn it! Looks like I need to make some modifications. Thanks for the pics. All I could find were screengrabs from the film and one small fuzzy scan from a visual dictionary book.
DT57.jpg


Here's some slightly better shots, but still not that great. Trying to get a hold of a real digicam.

DSC00199.jpg

DSC00200.jpg

DSC00201.jpg
 
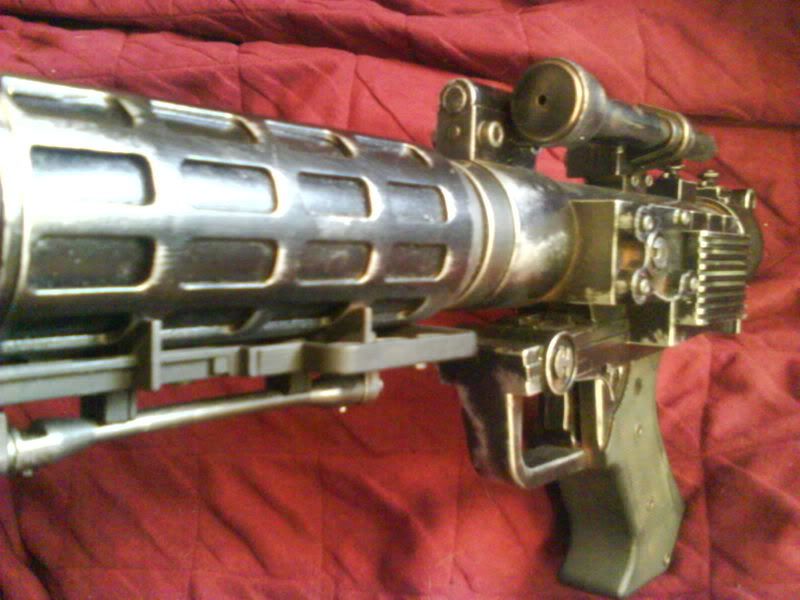
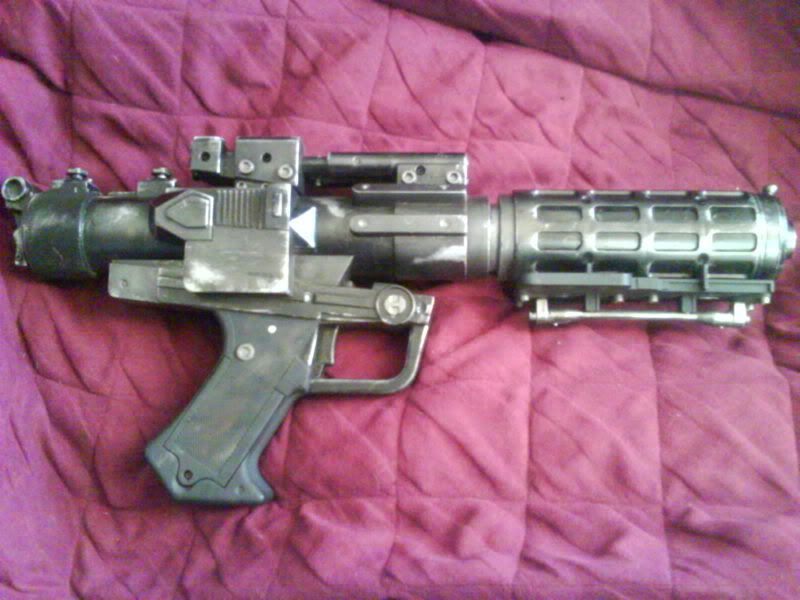
Finally got some pics with a real digicam:

000_0053.jpg

000_0048.jpg

000_0050.jpg

000_0049.jpg


For some reason, the seams are quite noticable in the pics, but they're pretty much invisible in person. I also made some paint adjustments based on the awesome pics Halo_1 provided. Thanks again, man.
 
She paints up real purty! :)

So why does Grevious' blaster have blue nuts? And I ask that with the deepest of gravity and seriousness. :sleep
 
I haven't the slightest idea. I didn't even know it was supposed to have blue nuts until Halo_1 posted those purdy photos for me of the gun on display.
 
Also, i never really went into detail on the paint job.

After seams and holes were filled, and the blaster primed, it got several coats of satin black. The grip and funky plate under the barrel just got coats of black primer (it's not even a true black, it's a very very very very dark grey, which looks better than flat black to me). That's not completely screen accurate, but I took some artisitc licenses with the paint job as it's not really a hero weapon per say and got very little screen time.

Anyway, after the satin black, I rubbed all that down with graphite powder and a flannel rag, being sure to add a little more in "high wear zone" locals. Then I went in with a semi-stiff brush and testors silver enamel, and started bringing out the wear zones. I wiped off almost all trace of the silver from my brush when doing this, and applied it with a frontward dabbing motion. This took some time with the microscopic amount of paint on the brush, but provided a very realistic look of silver starting to show through the black.

After that, I went in with a smaller brush and heavier amounts of testors silver and added few paint chips here and there, and highlighted just about all the sharp edges around the blaster.

The scope was base coated bronze, then lightly coated with the satin black, and i lightly sanded and made some chips with an x-acto to let the color show through. Again, not screen accurate, but done as an homage to all the scopes used in the OT which were bronze. I would have like to do the whole gun in this style (paint and sand/chip), and in fact I did, but the chrome silver spray I used would come right up with the black and leave me with chips of primer. I'm not sure why, but probably the el cheapo silver spray I was using.

Then I painted all the nuts and screws, and then worked some dust and rust colored pastels into deep crevices and the grips. Then I called it done. I left the electronics in for fun, and thus didn't putty over the battery compartment. I also removed the red plastic cone from the inside of the barrel so that the LED shine through at full intensity.

It drives my dogs up the wall.
 
Love the painjob. Great work.

To be honest, before now I didn't know Grievous' blaster was any different from a Battle Droid blaster. :lol Learn somethin' new every day.
 
Great looking blaster, man! The Grievous blaster is one of my faves. :)

I hope eFX decides to produce one next year.
 
Great job on the paintwork TriCloudWalker. The subtle brass sheen on the scope makes it look just like solid metal.

Steve
 
Thanks for the compliments, everyone!

I'm planning on doing a Droid Blaster next if I can find one for a decent price. If anyone has one they'd be willing to let go for $20 shipped, send me a PM.
 
Back
Top