First Time Prop Build

n0x23

Well-Known Member
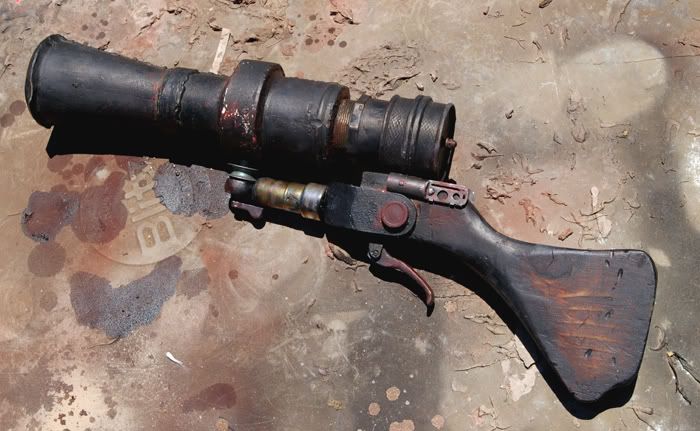
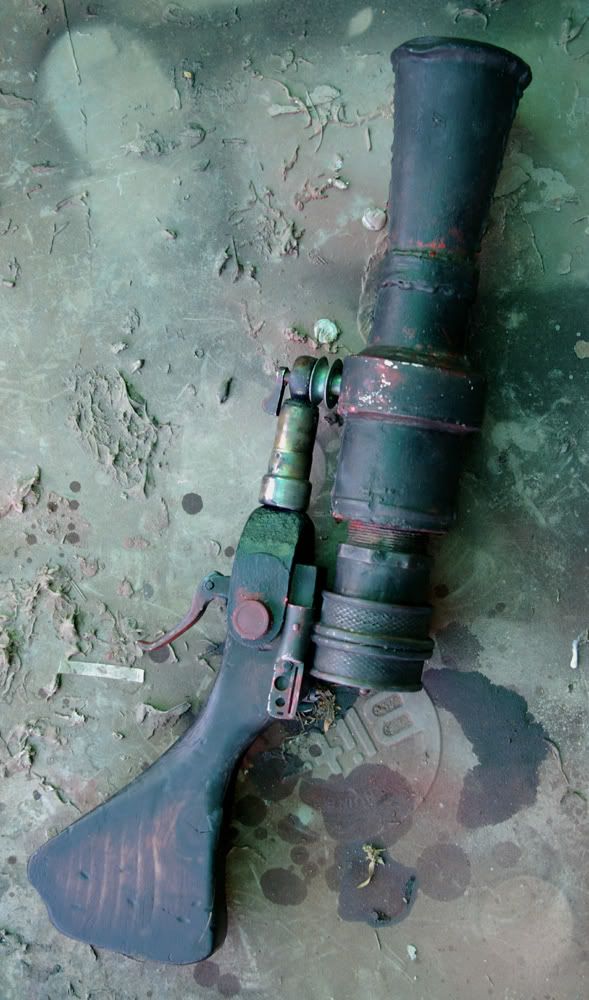
I started a Jawa WIP thread in the Costume section, but now that the weapon is finished, I thought I would take the proverbial plunge in the deep waters and post it here.

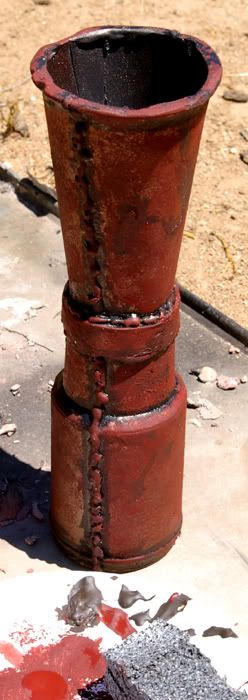
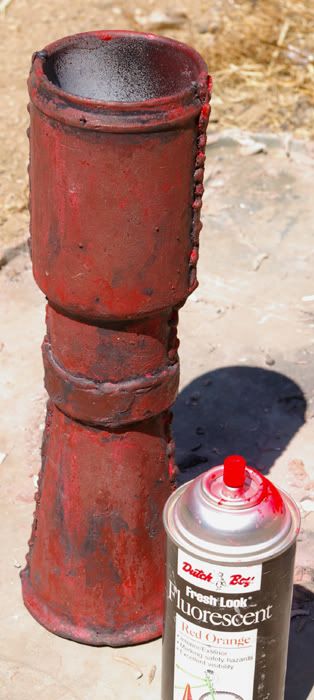
I tried to make a stylized, more lived-in Ion Blaster, on a very limited budget.

I'm completely open to any suggestions or critiques. :thumbsup

IMGP6621EDIT0000.jpg


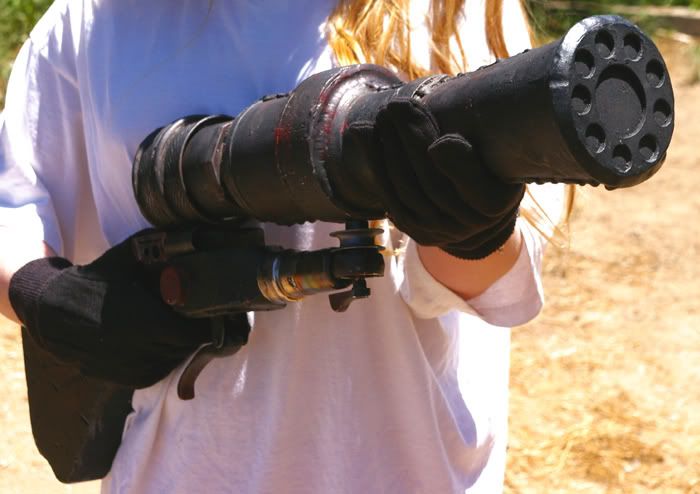
IMGP6624EDIT000.jpg


IMGP6625EDIT.jpg
 
Thanks, stilgarhammer.

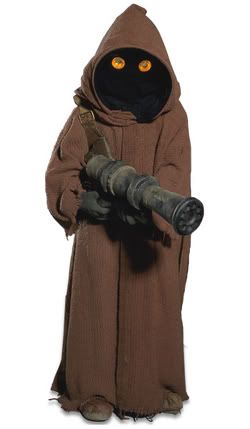
Yea, it is a bit over-sized, I was using this picture for scale and even though my daughter is really petite, she's still a bit taller than an average Jawa (except for that weird 6' tall one), so I wanted to incorporate some forced perspective to even it out.

250px-Jawa_SWSB.jpg
 
I can fully accept that it might suck...but could you please tell why it sucks?

Criticism is the fastest way to learn.

Besides, there's nothing worse than abject, contemptible indifference. :lol
 
I know the feeling, n0x23 :lol

You won't get very many people telling you it sucks, mostly because it's amazing!

The biggest piece of criticism I can give you is that from the pics, the red oxide on the mid barrel section looks like it is a bit vibrant for old rust.
 
I think it looks really good. The weathering is great... with the one exception already mentioned. I would probably tone down the red a little bit. That's an easy fix though.

Otherwise, I'd say great job!
 
Good for you to jump into the deep end. Just remember to enjoy what you are doing and keep having no fear. I really like that trigger, gave me a good idea for a steampunk rifle I am making. I agree on the rust color maybe dry brushing it away might dull it down. I'm playing with rust powders myself and it's tough to do. Great work, keep going.
 
Is it perfect? No... Is it pretty good? You bet, especially for your first prop! Certainly doesn't suck.

Couple things I noticed:

1) As someone said, the red paint is a little much...doesn't look real natural.
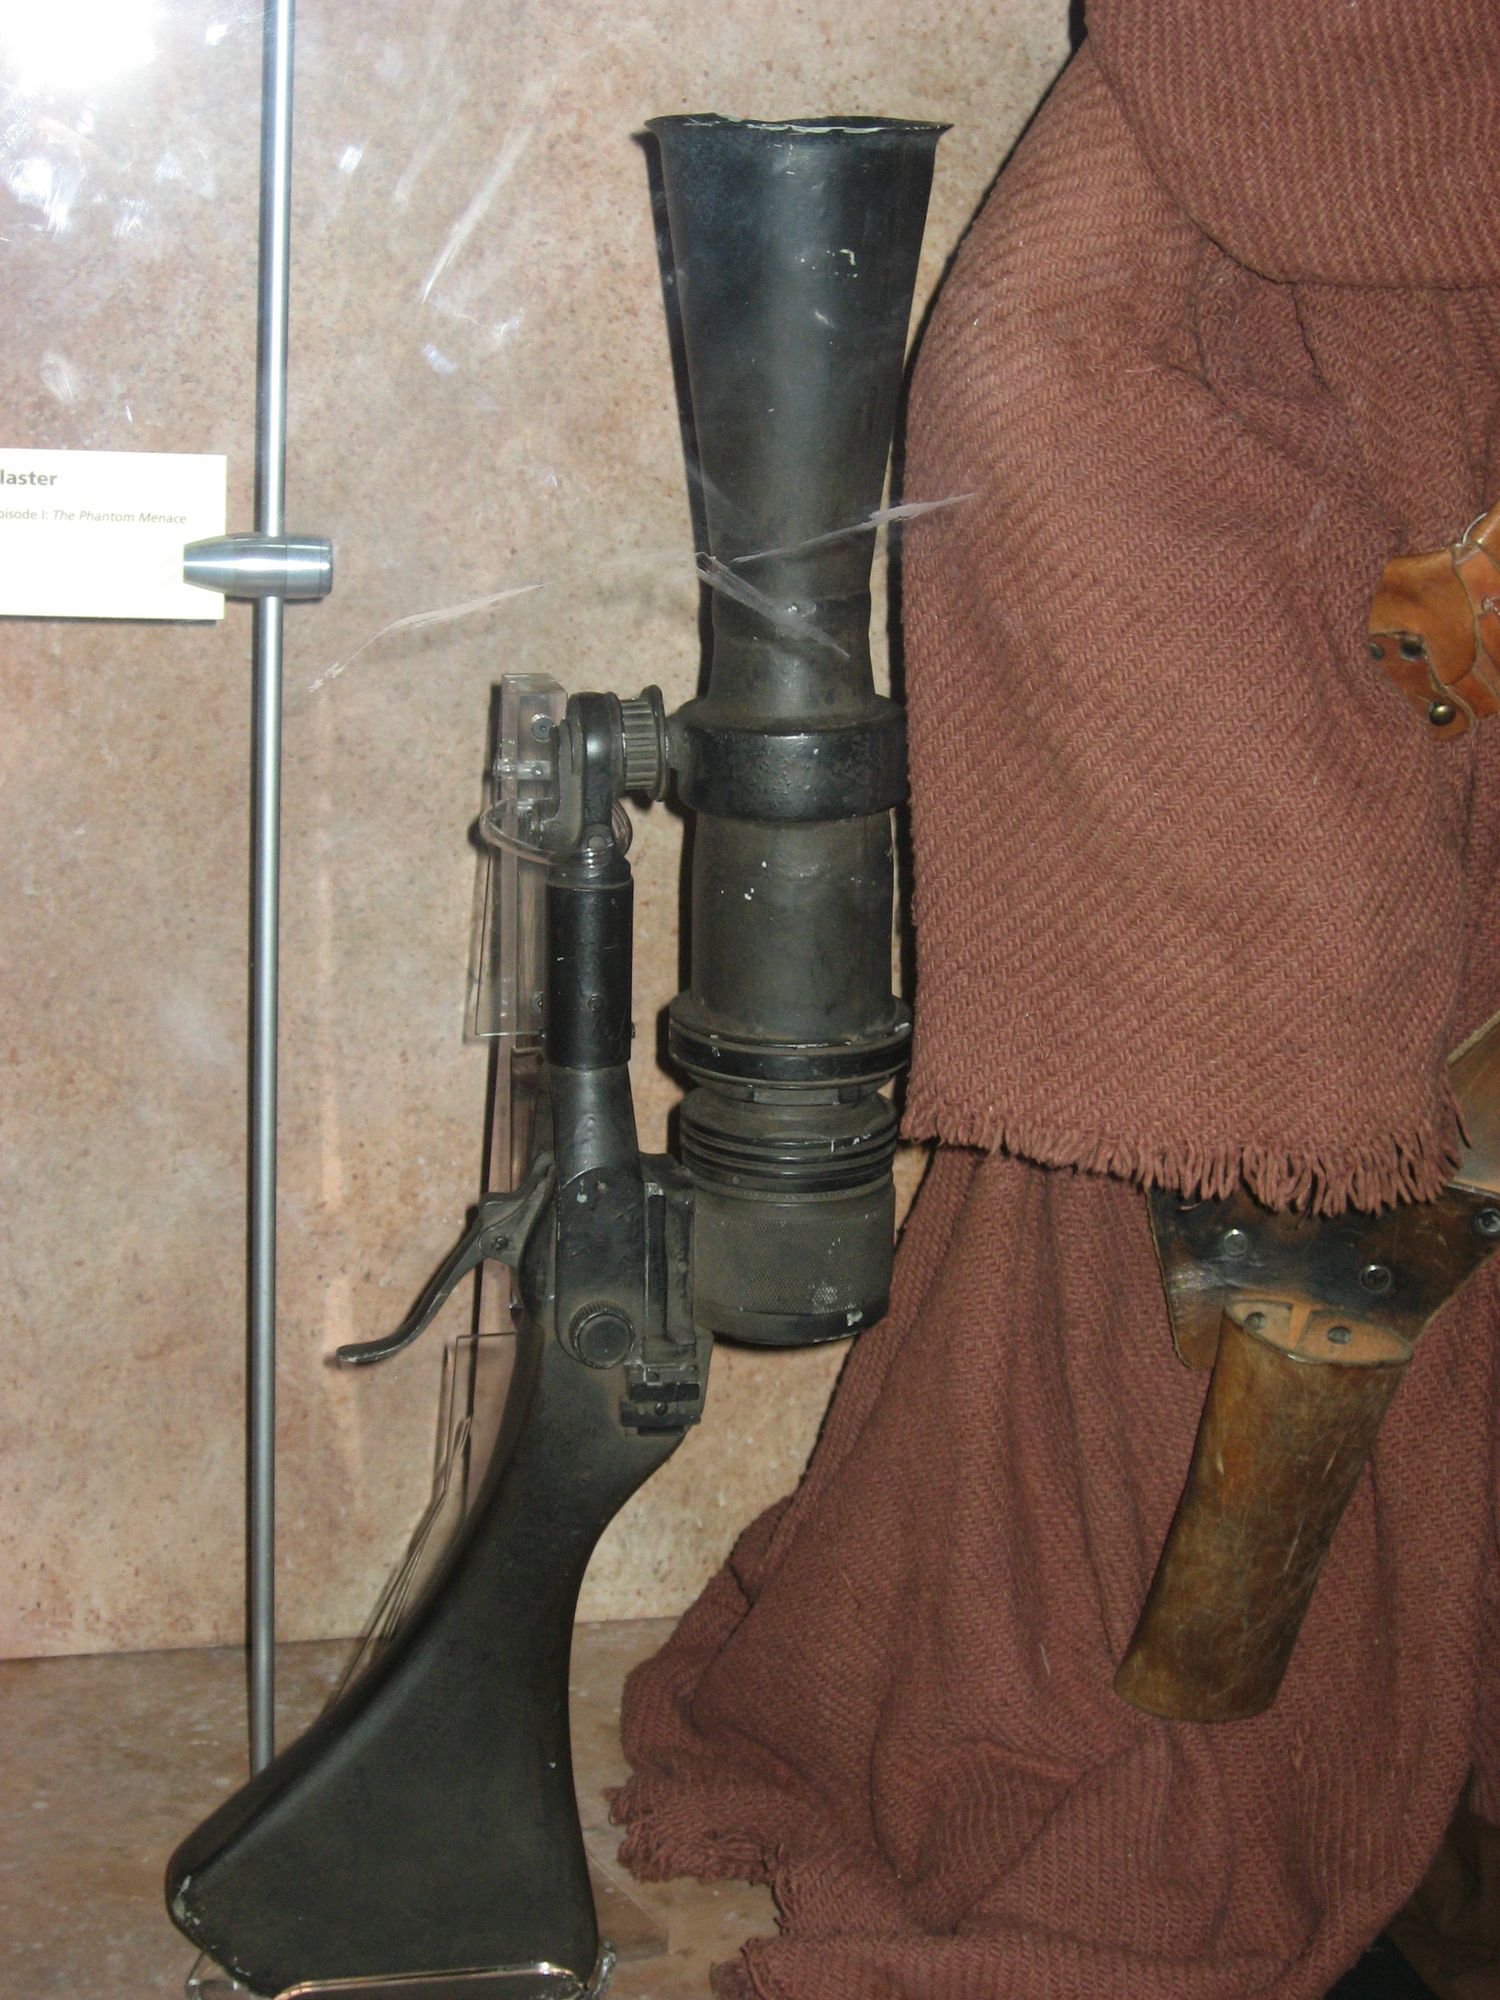
2) The back of the barrel looks to be like an inch too long. It should stop right above that disk above the trigger. And it may be a bit narrow. From the pics I've seen, those two "sections" of the back half of the barrel are about the same diameter.
3) The greeblie thing above the disk (above the trigger)

Still...mighty fine work. Well done.
 
The biggest piece of criticism I can give you is that from the pics, the red oxide on the mid barrel section looks like it is a bit vibrant for old rust.
Thank you, Jamanticus.


fantastic work. Saw it in the costume thread. Impressed.
Thank you, PHArchivist, again, I really appreciate that.


I think it looks really good. The weathering is great... with the one exception already mentioned. I would probably tone down the red a little bit. That's an easy fix though.

Thanks, darthgordon. :thumbsup


I really liked the weathered look, but, I'm not sure if it's more preference or, an effective way of hiding my lack of skill. :lol


Good for you to jump into the deep end. Just remember to enjoy what you are doing and keep having no fear. I really like that trigger, gave me a good idea for a steampunk rifle I am making. I agree on the rust color maybe dry brushing it away might dull it down. I'm playing with rust powders myself and it's tough to do. Great work, keep going.
Thank you, Robot Monster.


Yea, I had a blast and ultimately it's for my daughter and she loves it.

It was alot more fun then I realized.

I've been drawing, painting and Tattooing for so many years and this was a totally different artistic experience. :thumbsup

The trigger is from a kid's, bmx hand-break and the bracket is from a small caster wheel.


Is it perfect? No... Is it pretty good? You bet, especially for your first prop! Certainly doesn't suck.

Couple things I noticed:

1) As someone said, the red paint is a little much...doesn't look real natural.
2) The back of the barrel looks to be like an inch too long. It should stop right above that disk above the trigger. And it may be a bit narrow. From the pics I've seen, those two "sections" of the back half of the barrel are about the same diameter.
3) The greeblie thing above the disk (above the trigger)

Still...mighty fine work. Well done.
Thank you, Calaeryn, for taking the time to break it down like that.


Yea, I agree with your points.
Everything was going just fine, individually, that is, until I had to fit them all together. :confused

What do you think is wrong with greeblie thing above the disk (above the trigger) ?

---------------------------------------------------------------------

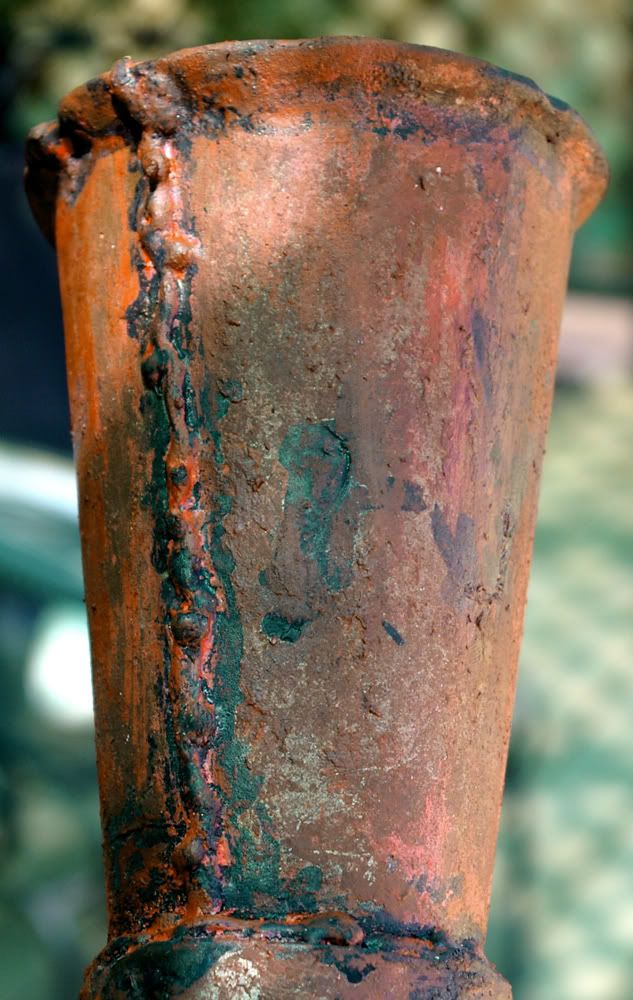
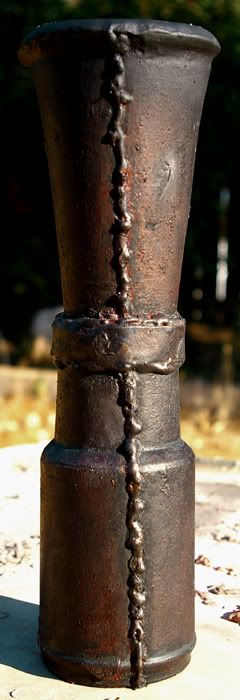
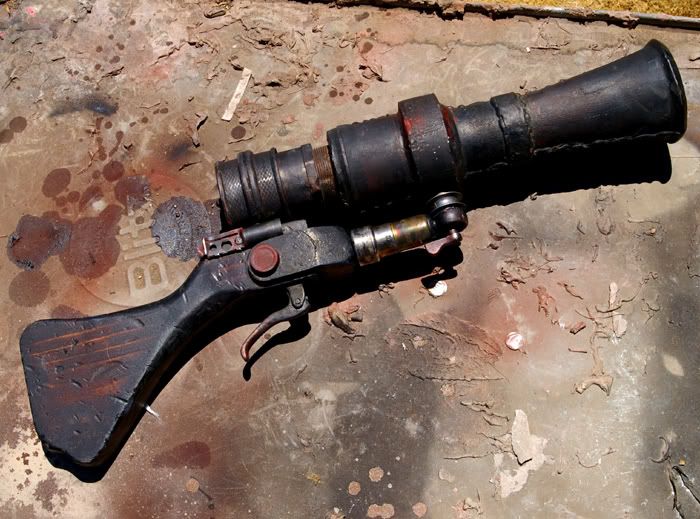
I agree with everyone's point on the harsh orange as a problem, I'm not sure if it's my SLR's obsession with the warm/red spectrum or, I screwed-up.

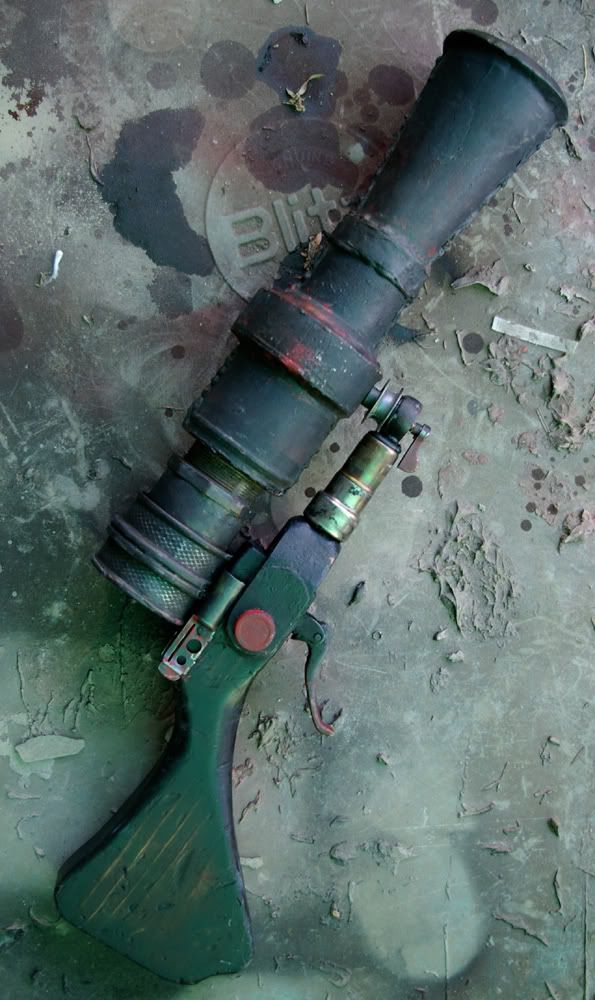
I just took some pictures in more of a neutral light...are these any better?
IMGP6636edit.jpg


IMGP6632edit.jpg
 
What do you think is wrong with greeblie thing above the disk (above the trigger) ?
Its just not accurate...its not that it looks bad. I'm not sure what the part is but here's a couple good pics (though I'm sure you must already have pics). Not trying to be harsh...just some constructive criticism. As I said before, you've done a great job...just some minor tweaks from here on out.

Jawa_ion_pistol.jpg

where-science-meets-imagination-jawa-blaster-x2000.jpg
 
Its just not accurate
Oh, okay.
I absolutely agree, it's light years from accurate, my lack of funds dictated that.

I think 95% of it was cobbled form the .99 cent store, the rest was stuff in my garage, or a dollar here or, a couple bucks there at the hardware store, plus, weight was a major consideration since my daughter will need to carry it around in her costume and again, my rudimentary skill's.

Not trying to be harsh.
Actually everyone's being too nice. :lol

I was hoping to be ripped to shreds.

It's how I learn, the more brutal, the better. :angry:lol

Thanks again, Calaeryn!
 
Hello All,
I would agree that it's not accurate, but going by his budget and new skills, I would say he is on the right track. n0x23, where you trying for accuracy? I too agree tone done the red on the middle section, try dry brushing some of your base color. Still a vary good job, as Calaeryn said, it only minor tweeks to do.

stilgar
 
Looks great for a first prop, ok one thing I would say, well actually two is to get rid of the red and maybe dry-brush a little silver here and there on it. If you don't know what dry-brushing is I can make you a mini tutorial. you could also dry brush a little tan or other sand colored near the cracks. I love your attitude btw, I'm the same way, to me negative criticism is way better than positive when looking on improving, Excellent mindset my friend!
 
n0x23, where you trying for accuracy?
Thank you, stilgar.

Well, as accurate as I could within my limited means.

I knew from the outset that what is considered SA, would not be applicable to my project, but, I tried to achieve an "accurate", stylized version of the gun.


Looks great for a first prop...
Thank you very much, punisher. :thumbsup

If you don't know what dry-brushing is I can make you a mini tutorial.


I do know what it is, but, I would love to see a tutorial ( if and when you have the time), I'm open to any and ALL information, suggestions, tips, tricks, techniques...etc!

ok one thing I would say, well actually two is to get rid of the red and maybe dry-brush a little silver here and there on it.
you could also dry brush a little tan or other sand colored near the cracks.

I used an Antique Bronze as a base...should I dry-brush silver highlights as well?

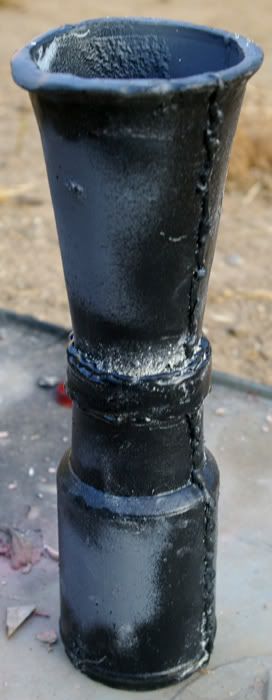
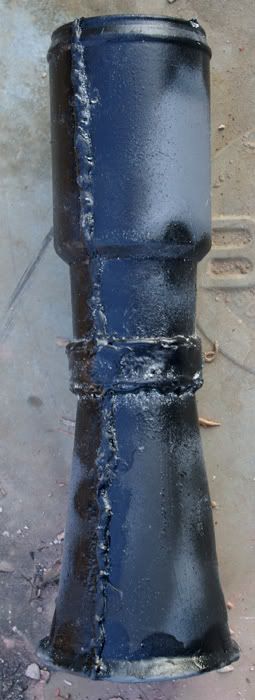
Also, these are some WIPs...is there any thing you could point out where I could improve my technique?


IMGP6558.jpg
IMGP6557.jpg


aaa.jpg
aaa2.jpg


aaa3.jpg


IMGP6574edit.jpg


aaa4.jpg
aaa5.jpg


I love your attitude btw, I'm the same way, to me negative criticism is way better than positive when looking on improving, Excellent mindset my friend!

Yours as well.

It's hard to find others that understand that learning and improving has nothing to do with massaging one's fragile and over-inflated ego. :lol

Regardless of one's status, just starting out or, already established, the desire for adulation and external confirmation simply leads to complacency and stagnation.
 
If you think you've jumped into the deep and . . then I think you're swimming just fine!!

Looks great, adn I really think you've nailed it!! Looking forward to seeing completed pics of teh whole setup in sandy terrain!
 
i think it looks fantastic, id like to know how you managed to make your rust look like it was flaking off, because that is just too damn cool. also, that minor inaccurate detail isnt an issue, because jawas cobble their weapons out of whatever they can find from dead droids and vehicle parts.

and that trigger is inspired. this is the first time i ever saw it, and then to see a real jawa gun use it, i was like "wow, no way!"
 
If you think you've jumped into the deep and . . then I think you're swimming just fine!! Looks great, adn I really think you've nailed it!!

Thanks, Hotshot!

Swimming?
Well, I'll concede that I'm keeping my head above water....for the moment. :confused


Looking forward to seeing completed pics of teh whole setup in sandy terrain!

Yea, I live in SoCal, High Desert, so there's alot of dry river beds and sandy ravines, I've already scouted them out. :lol


i think it looks fantastic....also, that minor inaccurate detail isnt an issue, because jawas cobble their weapons out of whatever they can find from dead droids and vehicle parts.

Thank you, themanwoaname. :thumbsup


and that trigger is inspired. this is the first time i ever saw it, and then to see a real jawa gun use it, i was like "wow, no way!"

I agree, that's why I love the original Trilogy, you just don't see or, need that ingenuity with a computer. :unsure


id like to know how you managed to make your rust look like it was flaking off, because that is just too damn cool.

Sure.

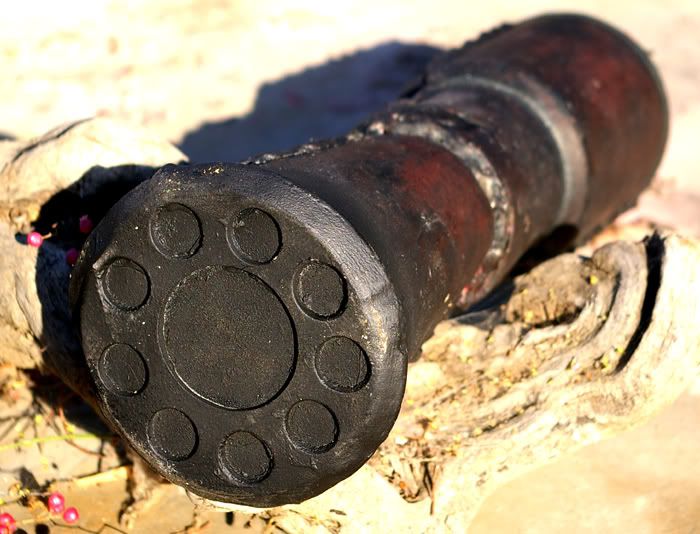
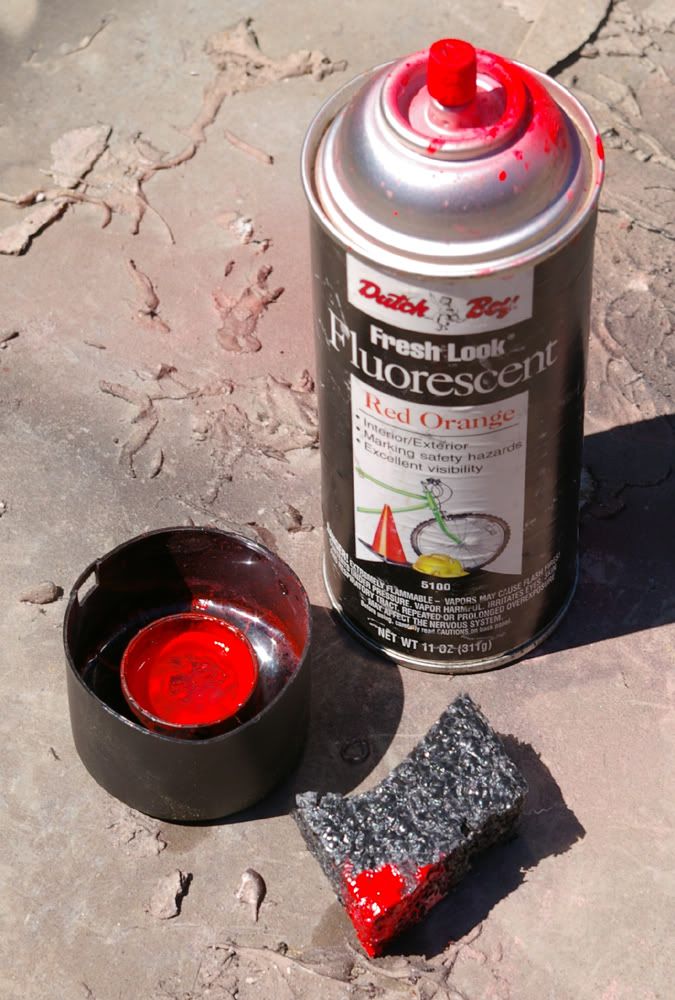
After the base coats (black & grey primer, antique bronze, black ink & nutmeg brown), were dry, but not set.

I sprayed Neon Orange into a paint cap, then added water making a real watery wash, the ketones, xylene and water don't play well together and the wash becomes briefly acidic/ corrosive until the water evaporates.

I took a rough and firm packing foam then scrubbed, stippled and washed the mix over the base coats.

Ps. Make sure you use a hard plastic cap, the mix will melt and/or eat through softer, plastic cups.


IMGP6640edit.jpg


I hope this is some-what helpful to you.
 
Back
Top