amish
Sr Member
Hello all,
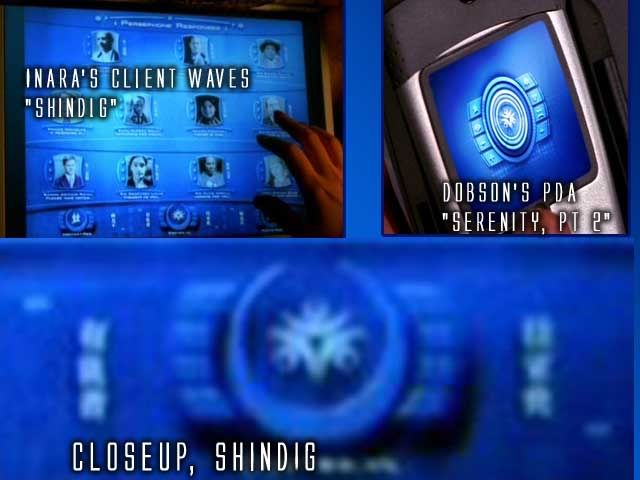
First, thanks to all the people in this thread who contributed to this awesome found parts prop Also, thanks especially to Sith Sheriff Brody for the graphics. This was the thread that identified everything, I hope it will get archived.
http://www.rpf.invisionzone.com/index.php?showtopic=103631
This is Version 1 using the Fellowes Type n Go for PDA and the Franklin RF8121 Rolodex. Version 2 will use the Franklin RF8110.
To build this, I first painted the Franklin 8121 using Rust-oleum Metallic Spray Paint (label is 7271 Silver Metallic). I then took the unit apart (tiny screws, beware large hands) which was easy and painless. When I removed the display I found that I needed to replace it with something else, so I cut a piece of 1/8" Plexiglass to fit the display and took out the old display. You might need to add some filler to get the plexi to stay, or use a little thicker plexi. WHen doing this, I cut the display from the chip that it was connected to, I still used the chip to hold the plex in place.
The Screen Guard was formed by cutting it first with the dremel. I cut a straight line then used a Desktop Grinder to shape it. I had to grind down the sides under the bumps as well to get a flat fit so it would allow the lid on the Type n Go to close and secure.
Otherwise, it took about 1 1/2 hours to build from start to finish.
Sorry about the bad pics, I was using a crappy camera.


The files below are high resolution graphics for the Datapad supplied by Sith Sheriff Brody.
Just right click and save as.
Graphic 1
Graphic 2
First, thanks to all the people in this thread who contributed to this awesome found parts prop
http://www.rpf.invisionzone.com/index.php?showtopic=103631
This is Version 1 using the Fellowes Type n Go for PDA and the Franklin RF8121 Rolodex. Version 2 will use the Franklin RF8110.
To build this, I first painted the Franklin 8121 using Rust-oleum Metallic Spray Paint (label is 7271 Silver Metallic). I then took the unit apart (tiny screws, beware large hands) which was easy and painless. When I removed the display I found that I needed to replace it with something else, so I cut a piece of 1/8" Plexiglass to fit the display and took out the old display. You might need to add some filler to get the plexi to stay, or use a little thicker plexi. WHen doing this, I cut the display from the chip that it was connected to, I still used the chip to hold the plex in place.
The Screen Guard was formed by cutting it first with the dremel. I cut a straight line then used a Desktop Grinder to shape it. I had to grind down the sides under the bumps as well to get a flat fit so it would allow the lid on the Type n Go to close and secure.
Otherwise, it took about 1 1/2 hours to build from start to finish.
Sorry about the bad pics, I was using a crappy camera.
The files below are high resolution graphics for the Datapad supplied by Sith Sheriff Brody.
Just right click and save as.
Graphic 1
Graphic 2

