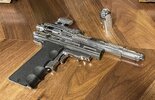
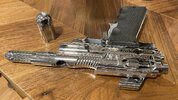
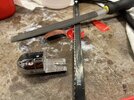
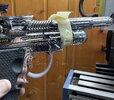
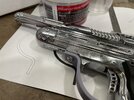
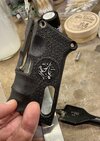
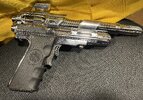
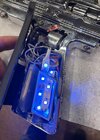
Just finished my Dobson comm device and thought I'd shoot a quick vid to share. The Dobs device has been documented here:

 www.therpf.com
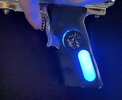
I added the 4th gen iPod touch to the found parts and edited the video myself.")
Firefly - Deleted scene prop
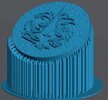
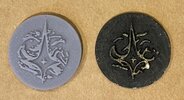
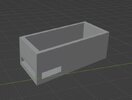
Myself as well. I wonder if it makes sense to try and cast one in resin, since it's black anyway?
www.therpf.com
I added the 4th gen iPod touch to the found parts and edited the video myself.