STEVE THE SWEDE
Sr Member
Re: BUILD THREAD Ckings 3-D Printed 1/38 scale TIE FIGHTER
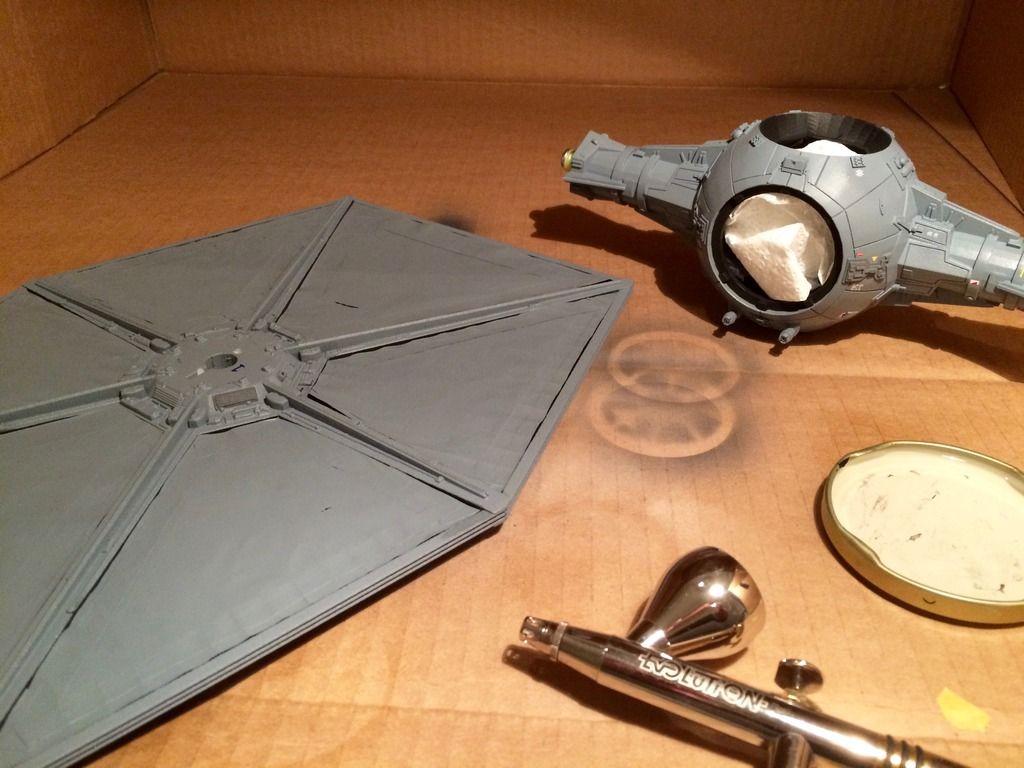
OK, it's getting REALLY close now! Time do paint the details. I exclusively use Tamiyas masking tape for these kind of jobs, it can't be beaten!
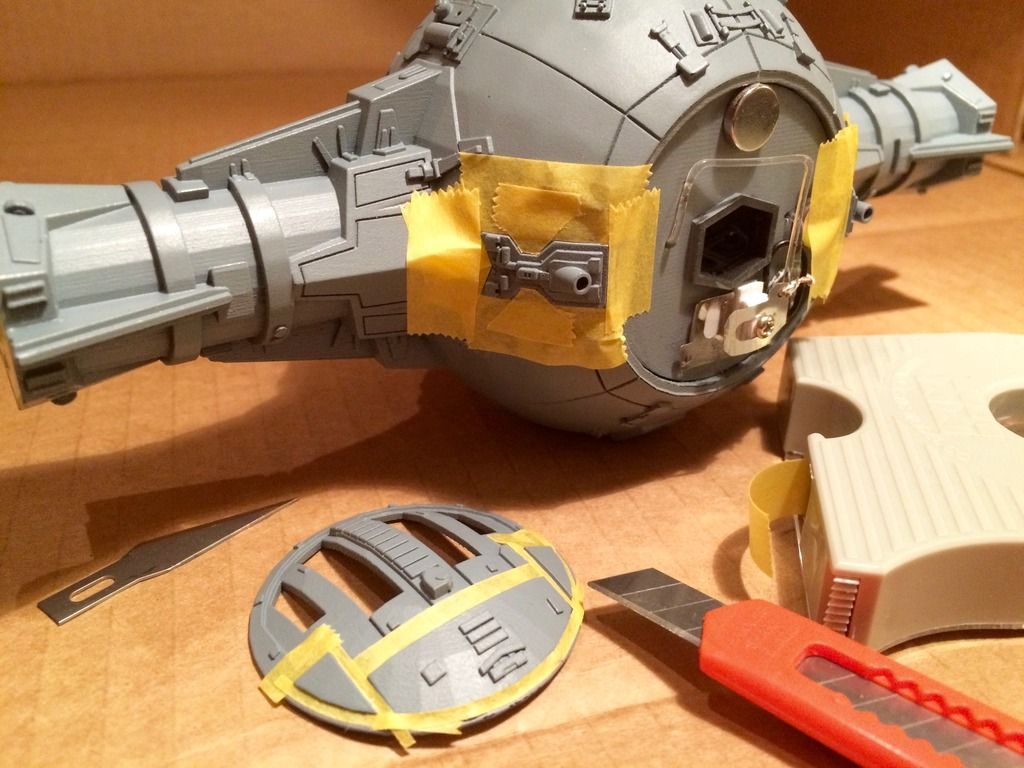
But the price sure can so for the general blocking...standard blue stuff.
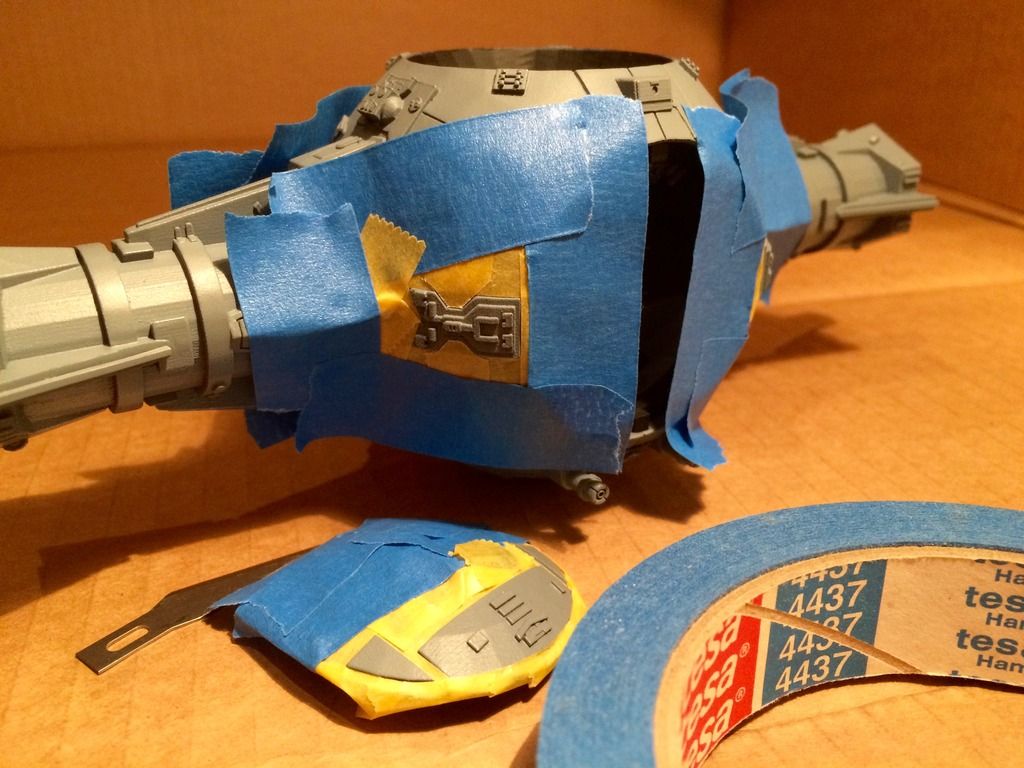
Ripping of the tape!
The canopy also receive it's proper color. I freestyled a mixture from different Tamiya paints that I thought looked good.
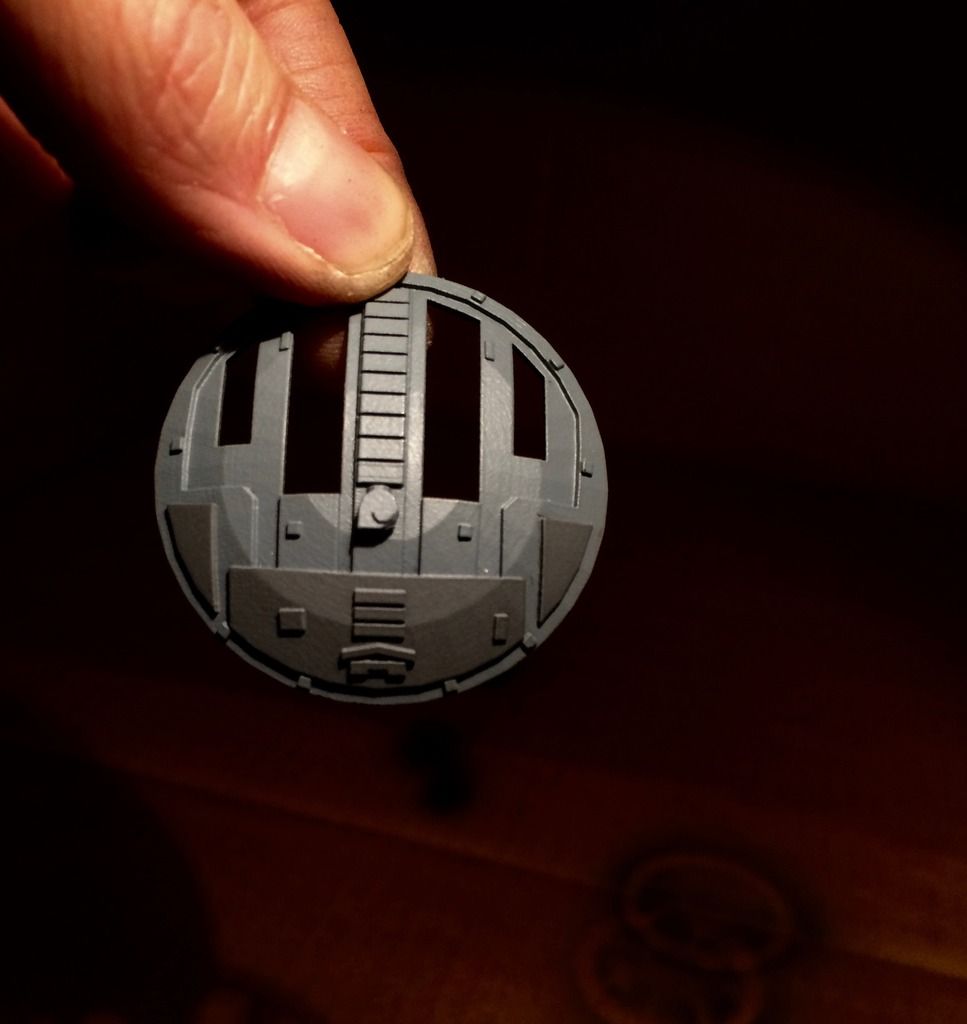
Next up, the decals! Chris provided a most excellent decal sheet printed by JBOT i believe. For water slides I work after a fool proof technique that I learnt during my 1:35 airplane days. First everything is clear coated, then the decals are applied using both Mirco Set and Micro Sol. When dry they are locked down with another clear coat. Future floor polished can be used for this but I just went with Tamiyas clear this time. I had some Awesome pictures of the Original ILM "Vader Wingman" model that I used for placement reference.
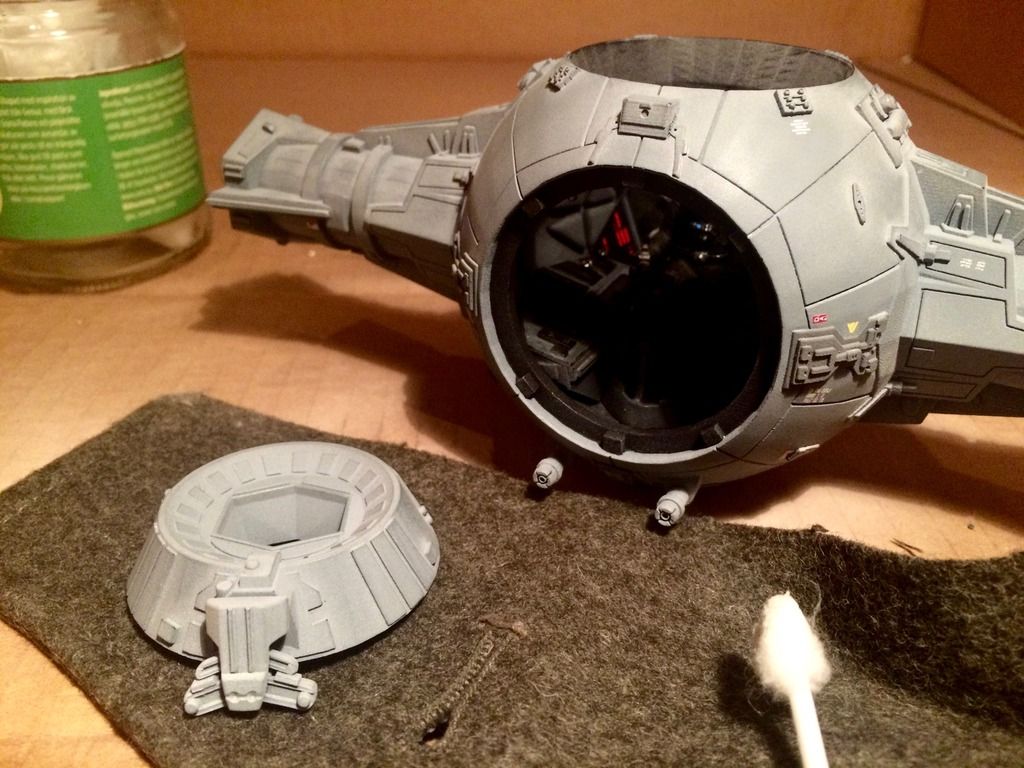
Moving a long with more clear coats! This time it's time for the final dull coat. Yes, the wings needed to be masked again to protect the black which has to keep it's nice sheen. Luckily I was able to use the old masks again. That probably saved me a good day of masking work!
When I dull coat a model like this I use different mixtures/ratios of Tamiya clear mixed with flat base. I try to get different tones and sheens and not putting it on to uniform. IMO this brings more life to the model. After it's completely dry I buff and polish the surface with Q-tips and a piece of cloth from an old Swedish military uniform (the fabric in that is just perfect). This stage I call the rubb and buff face and it's pure magic! I ALWAYS to this to my models and I really think it helps blending everything together. OMO, this stage takes away the toy like look a model easily get.
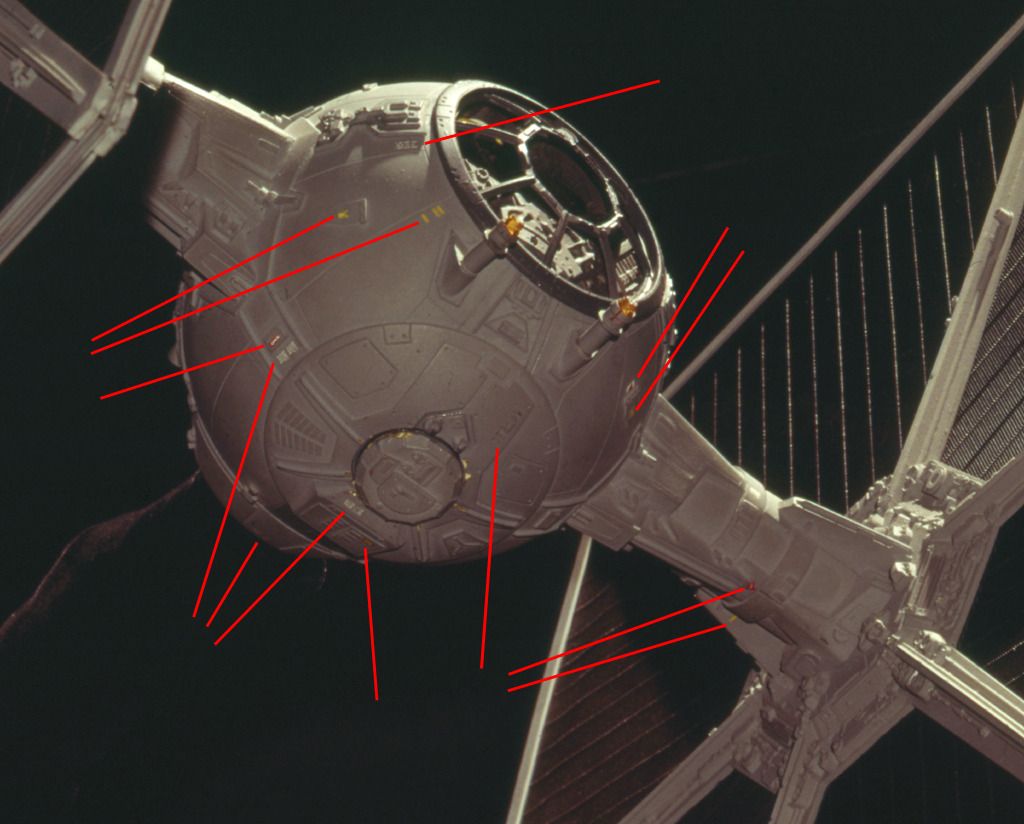
I would never use washes on a TIE but the rubbing weathering helps it get closer to what the well handled ILM models looked like. This a reference pic I used for this approach. It really demonstrates that the real TIE's showed signs of constantly being handled.
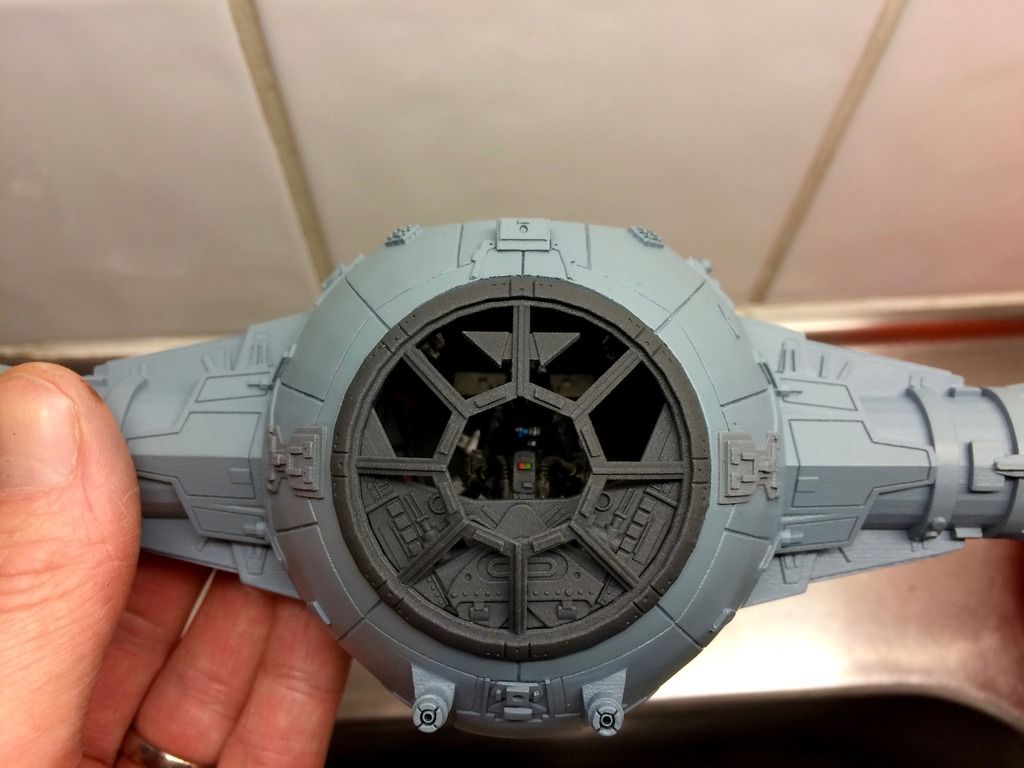
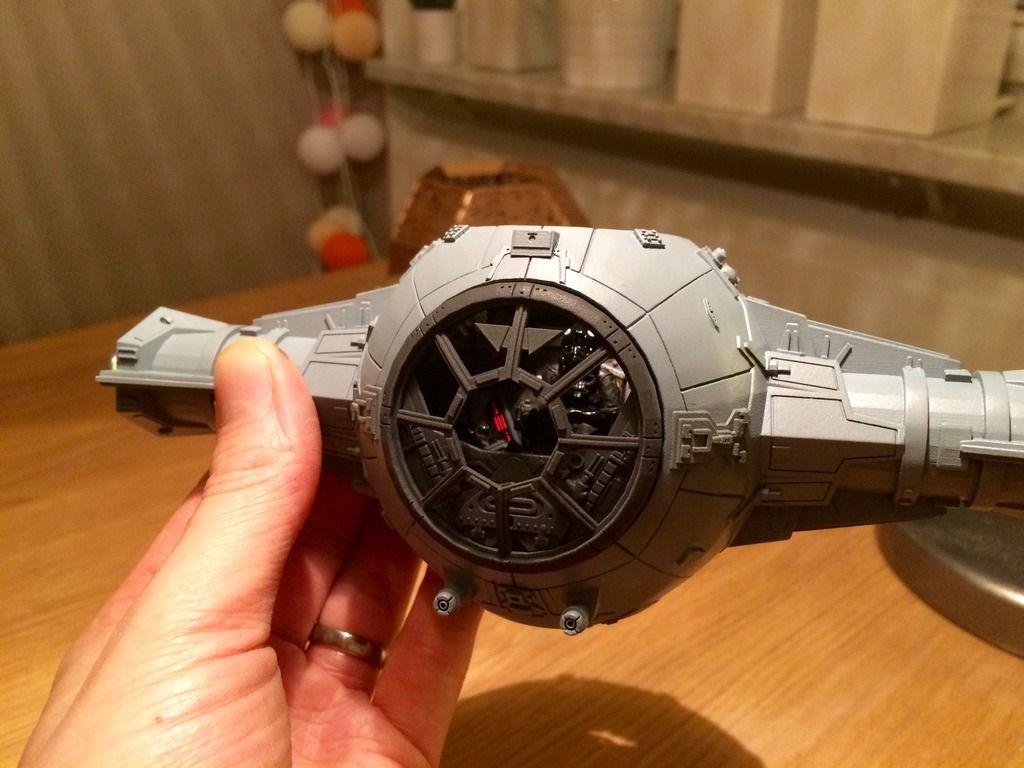
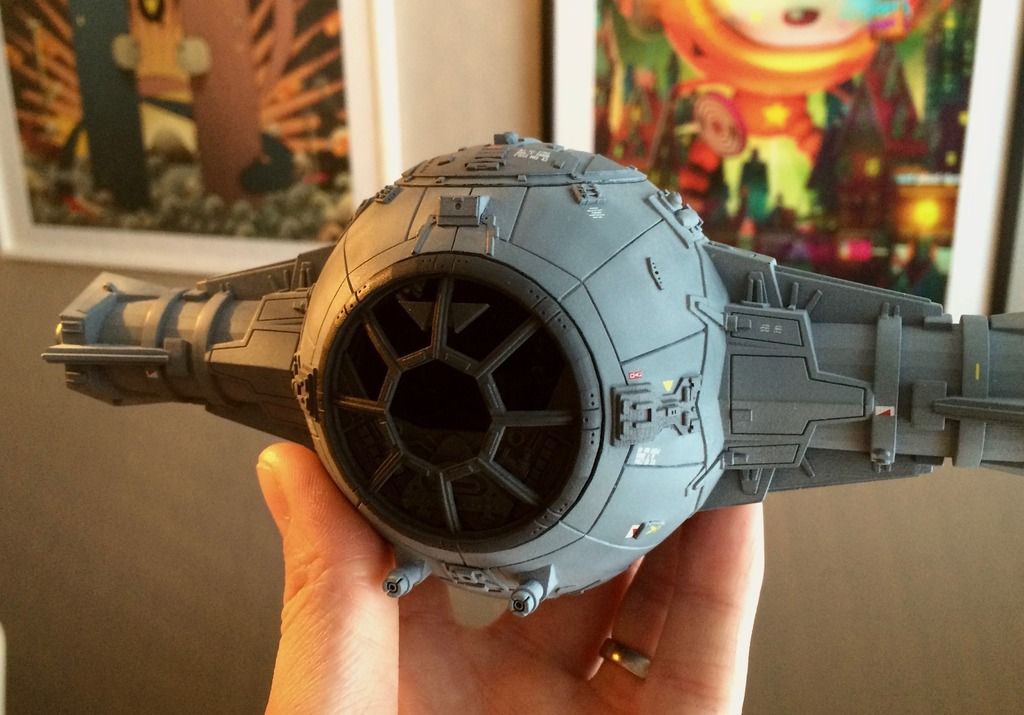
More shots of the finished hull dulled and polished.

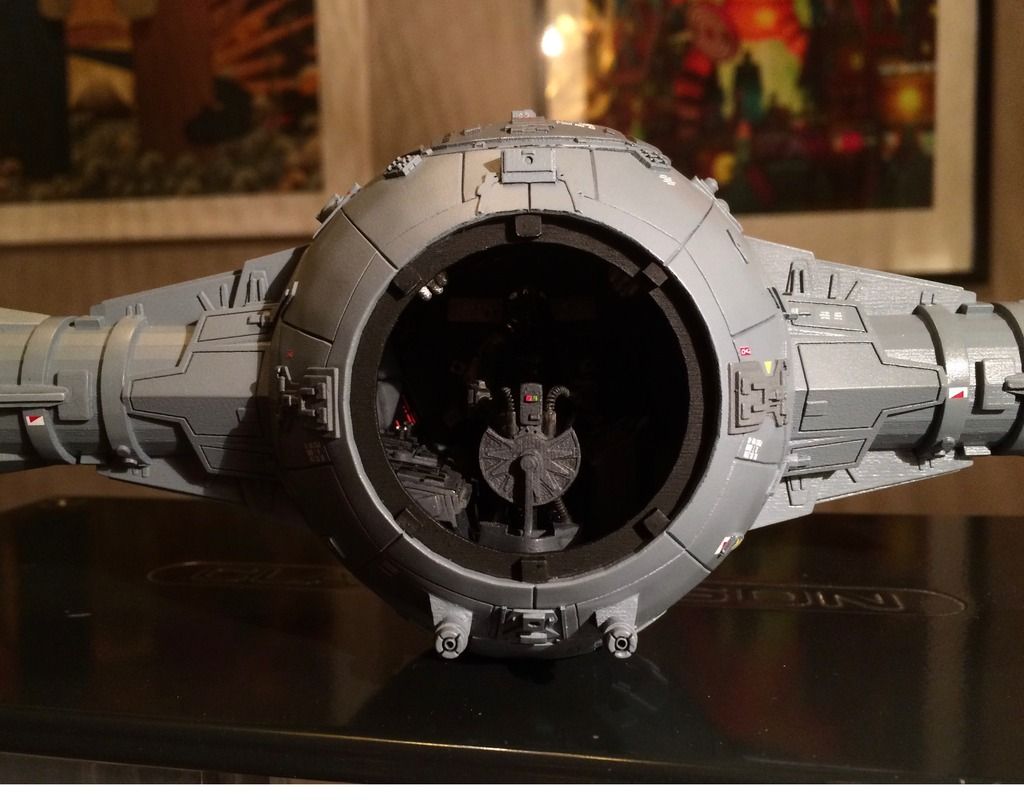
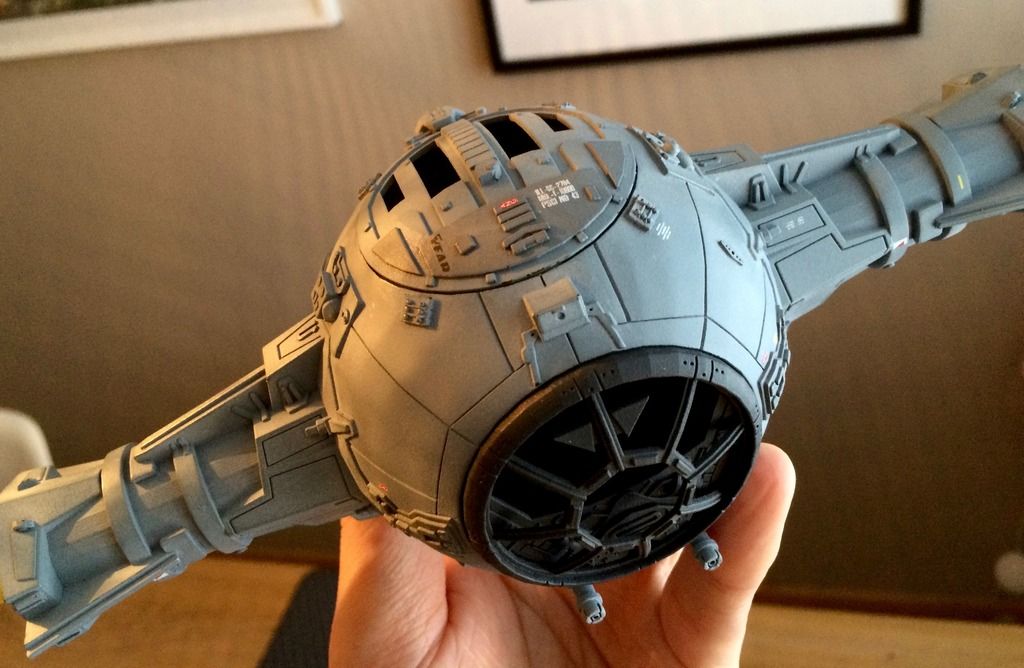
And finally some in different lighting to show off the final finish/sheen that was achieved with the rubb and buff technique. Please note that the gentle rubbing also helps reveal the underlaying black primer in a very nice and subtle way.

Where almost there! Please stay tuned for the final assembly!
Steve.
OK, it's getting REALLY close now! Time do paint the details. I exclusively use Tamiyas masking tape for these kind of jobs, it can't be beaten!

But the price sure can so for the general blocking...standard blue stuff.

Ripping of the tape!

The canopy also receive it's proper color. I freestyled a mixture from different Tamiya paints that I thought looked good.


Next up, the decals! Chris provided a most excellent decal sheet printed by JBOT i believe. For water slides I work after a fool proof technique that I learnt during my 1:35 airplane days. First everything is clear coated, then the decals are applied using both Mirco Set and Micro Sol. When dry they are locked down with another clear coat. Future floor polished can be used for this but I just went with Tamiyas clear this time. I had some Awesome pictures of the Original ILM "Vader Wingman" model that I used for placement reference.

Moving a long with more clear coats! This time it's time for the final dull coat. Yes, the wings needed to be masked again to protect the black which has to keep it's nice sheen. Luckily I was able to use the old masks again. That probably saved me a good day of masking work!

When I dull coat a model like this I use different mixtures/ratios of Tamiya clear mixed with flat base. I try to get different tones and sheens and not putting it on to uniform. IMO this brings more life to the model. After it's completely dry I buff and polish the surface with Q-tips and a piece of cloth from an old Swedish military uniform (the fabric in that is just perfect). This stage I call the rubb and buff face and it's pure magic! I ALWAYS to this to my models and I really think it helps blending everything together. OMO, this stage takes away the toy like look a model easily get.

I would never use washes on a TIE but the rubbing weathering helps it get closer to what the well handled ILM models looked like. This a reference pic I used for this approach. It really demonstrates that the real TIE's showed signs of constantly being handled.

More shots of the finished hull dulled and polished.

And finally some in different lighting to show off the final finish/sheen that was achieved with the rubb and buff technique. Please note that the gentle rubbing also helps reveal the underlaying black primer in a very nice and subtle way.


Where almost there! Please stay tuned for the final assembly!
Steve.


")
