Alaneye
Sr Member
I preordered one of these kits as soon as I found out they were going to re-release it back in October I think it was. It arrived early December but went away for Christmas. Now I finally have it in my hands and what a beauty she is. I've familiarized myself with the other builds going on and finished out there and have taken the first few tentative steps to bring this kit to life. Inspired by Dana Jan's Building the Falcon blog, I'm going to attempt to customise the kit with bits of styrene etc to give this already incredibly detailed kit that extra bit more. Although I built model kits when I was much younger I have never attempted anything like this before and I just hope it's all going to turn out well. For better or worse I'll document the build
So first things first... ta-daaaaa

It's an impressively dimensioned box, and heavier than you might expect from a plastic kit.

The first of the colourfully printed illustration shows the FM kit plus a montage of shots of the studio model.

Next we have another sheet showing the positions of the decals, should you choose the use them.

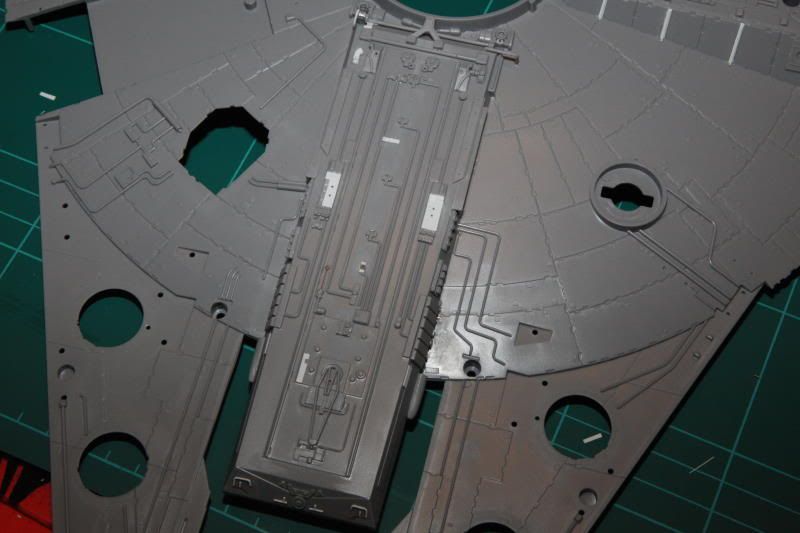
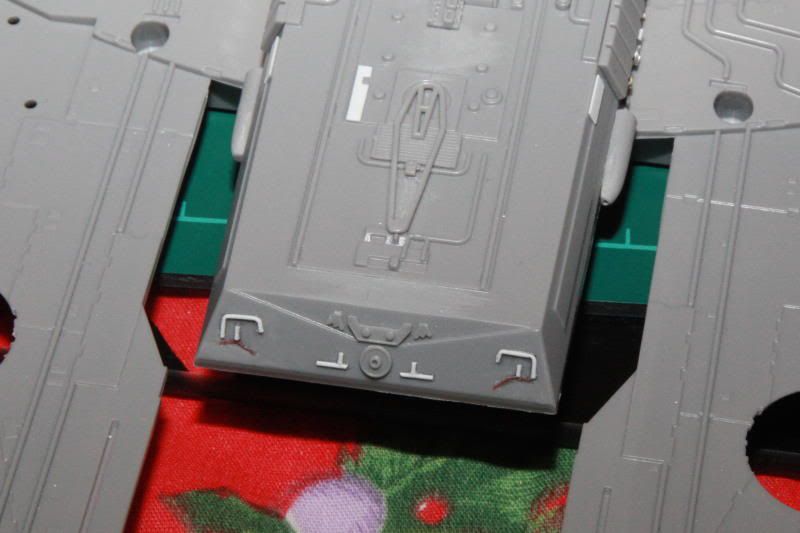
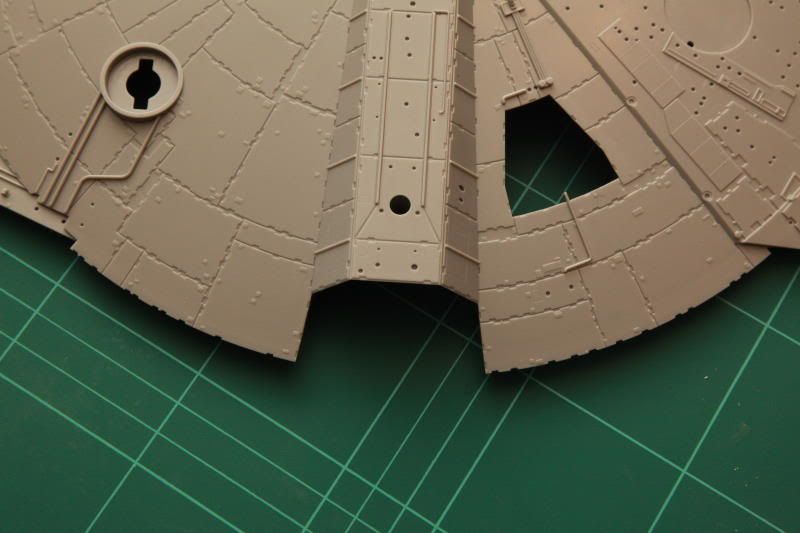
First view of the kit itself.

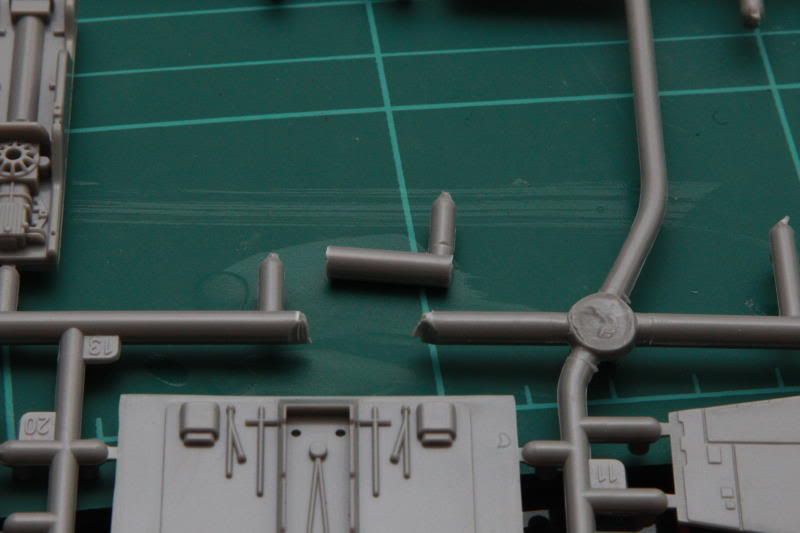
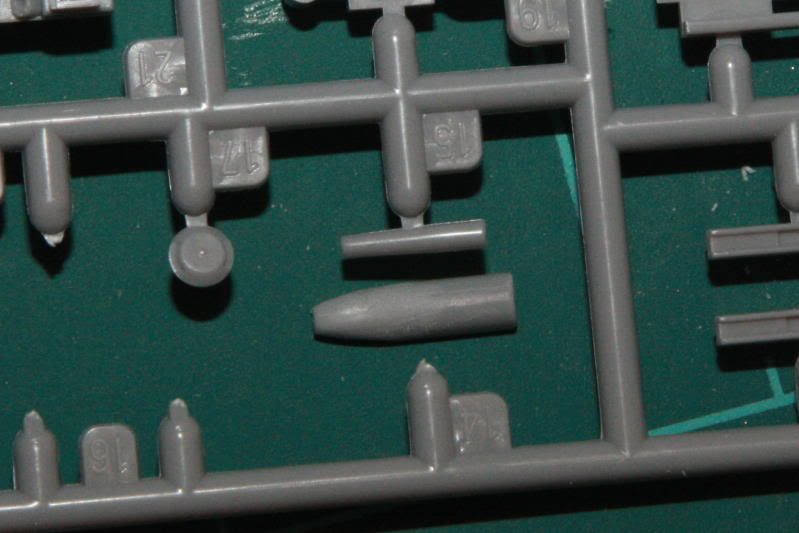
And all those 900 parts... we may be here sometime.
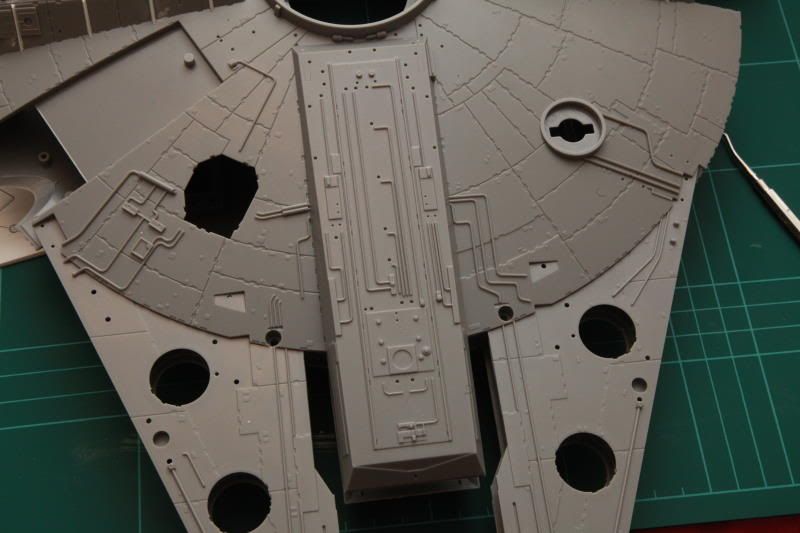
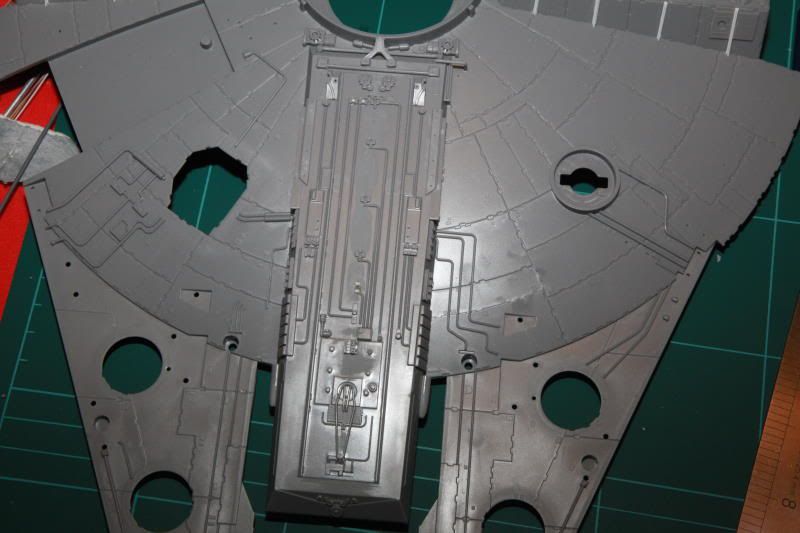
I hadn't intended to make a start on it yet, but I couldn't help myself. First thing I did was to take out all the hull notches with a square needle file.

About a hour or so later it was all done.
Top.
Bottom.

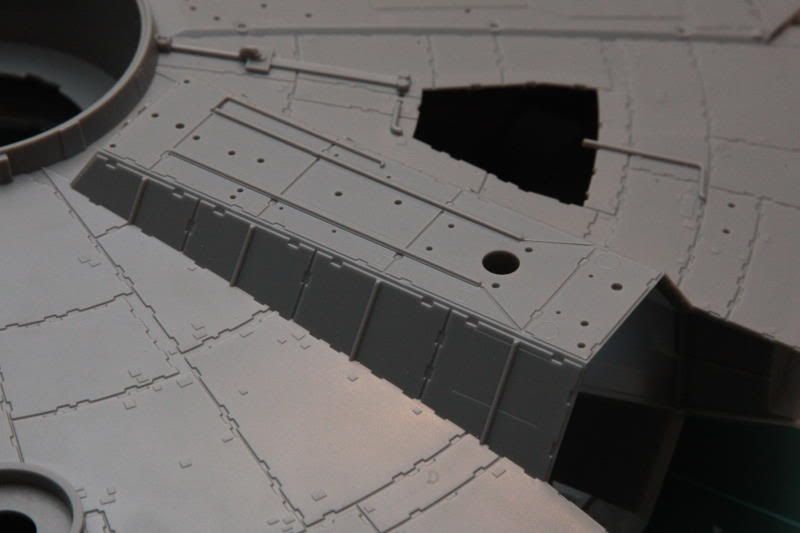
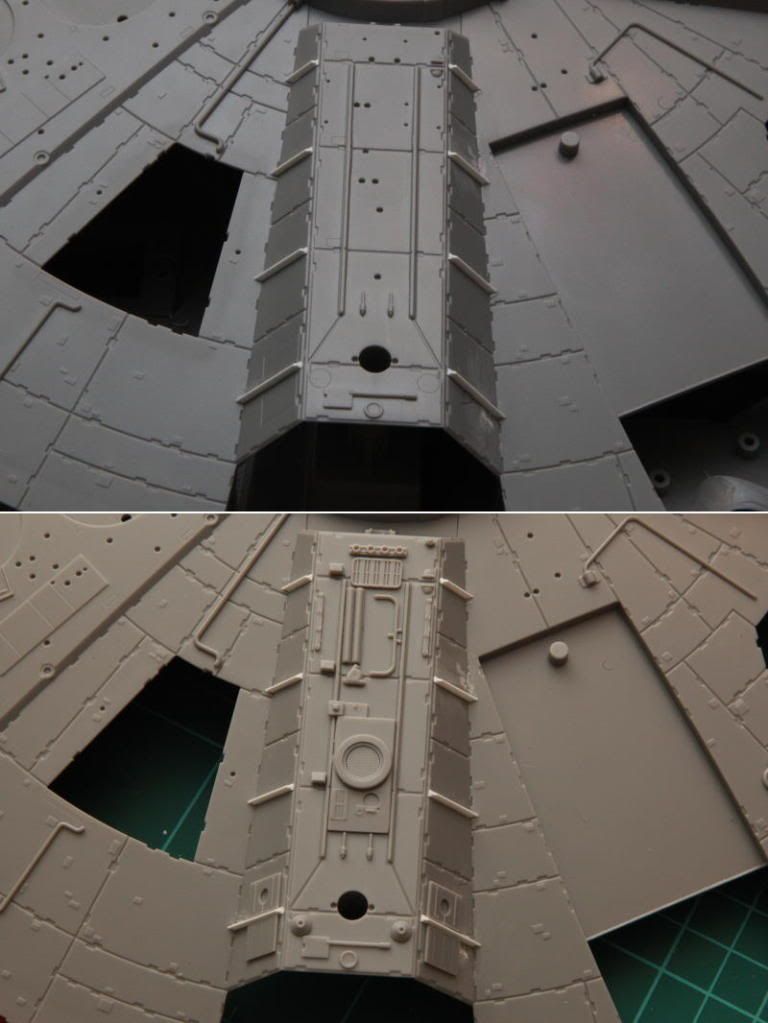
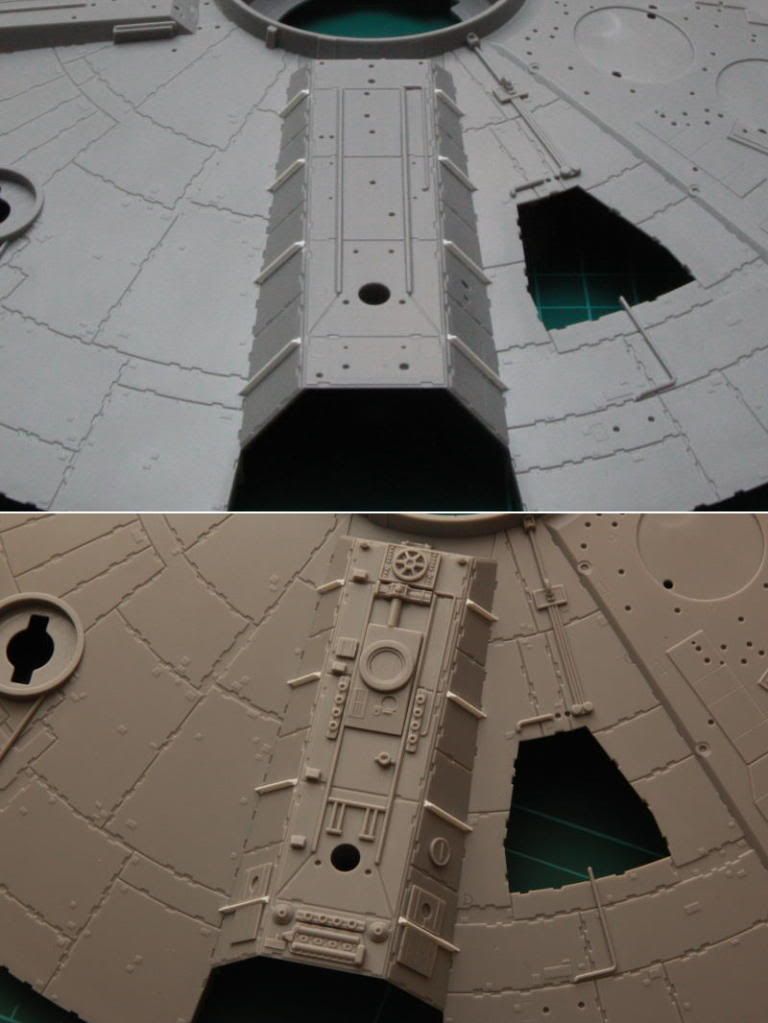
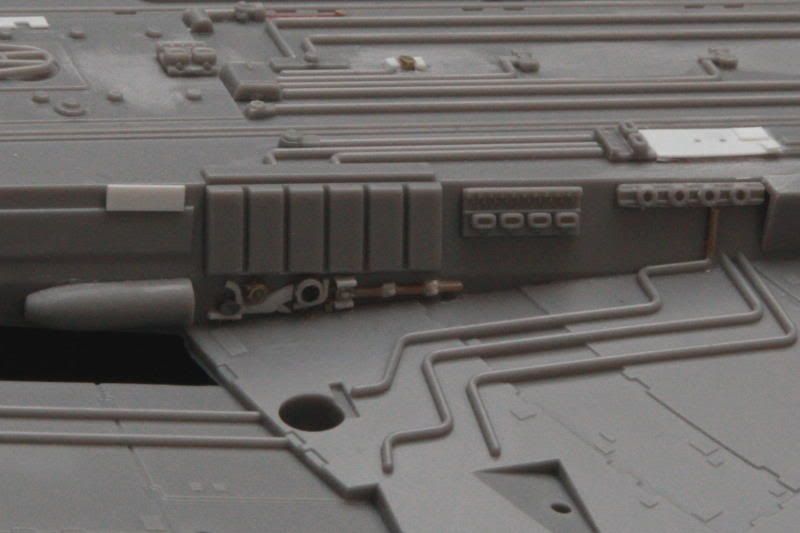
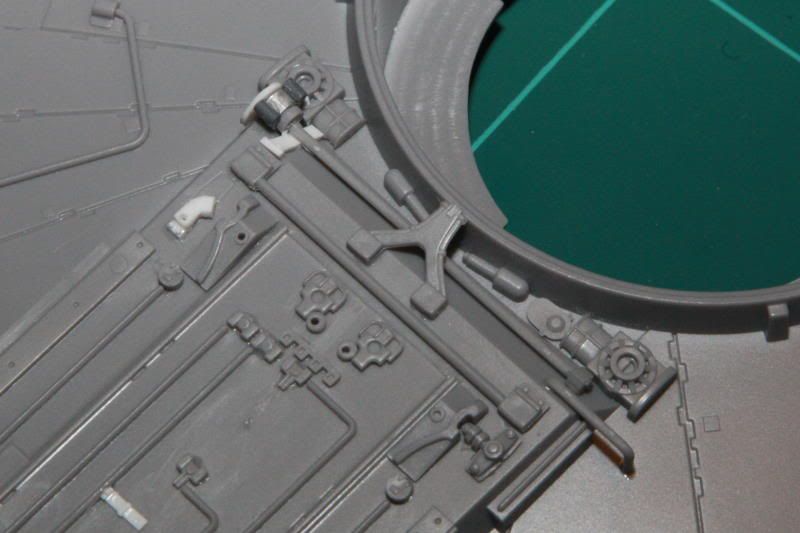
The next thing I felt like trying, was the correcting of the panel lines on the two docking/escape hatches. I'd already seen this on a blog called Building the Falcon. For some reason I can't quite fathom, FM put straight panel lines all around the outer ring when even their own reference photos shows them with differing details. I'm not going to be anal about trying to get this 100% correct as long as it looks close and good.
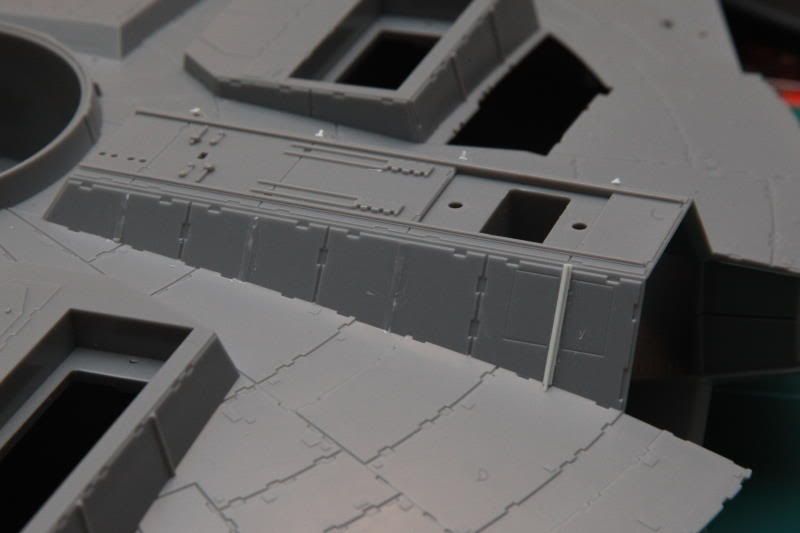
I began by studying the all the photo reference I had found and used Aves Apoxie putty to fill in the lines where I felt they were wrong. I left that over night and then sanded it down with 320 grit paper. Next I penciled in new lines and used a Tamiya panel scriber to scribe them in. This proved to be much more difficult than I'd imagined. Also the Aves crumbled out of the lines in places. I had some Revell plastic filler so tried that and had more success. Then I cut some small squares of sheet styrene and glued them on in various positions to match the reference as much as possible. I also scribed in a sort of 'L' shaped panel I could see in the reference.
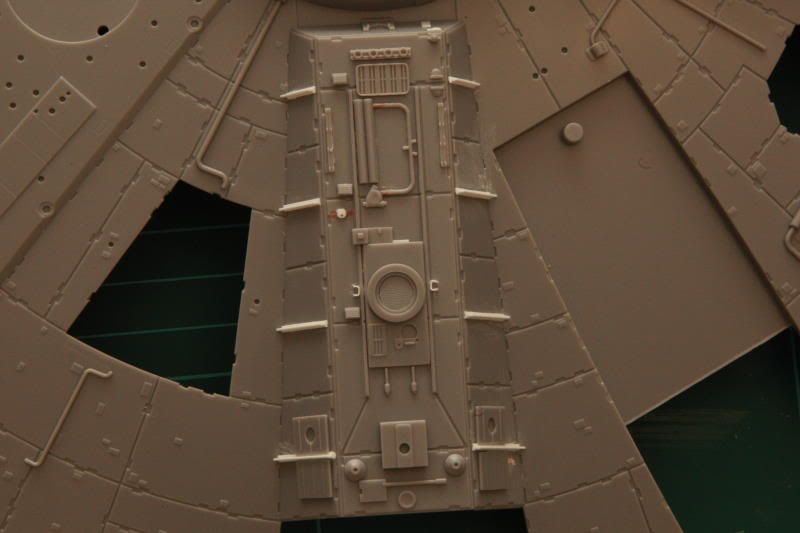
I didn't take any pics before I started, but here it is from top and bottom with the scribed lines and the bits of styrene. I didn't get it as good as I would have liked, but it's all a learning curve for me at the moment.

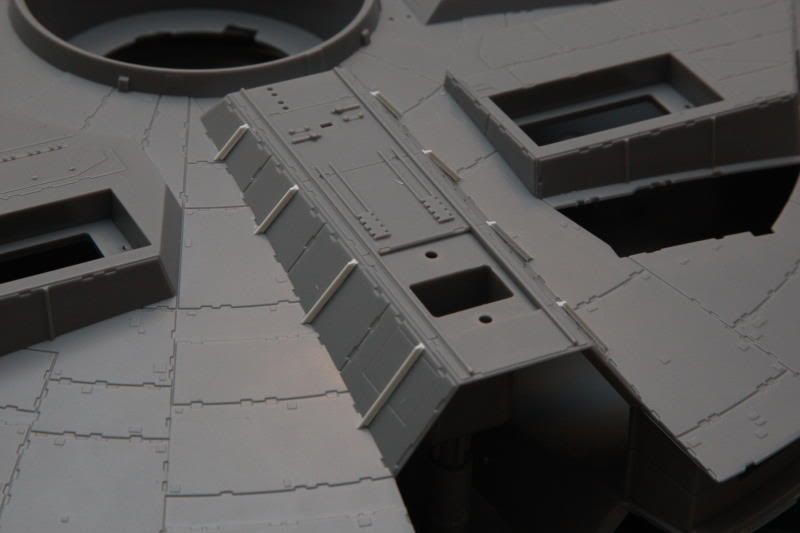
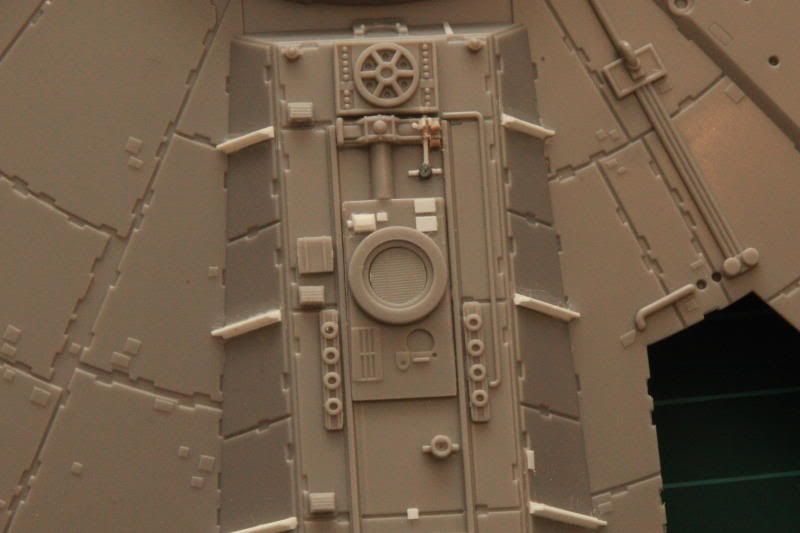
And then I primed it to see if it looked okay when it was all one colour. It looked much better then I thought it would and the primer really sharpens up the detail.

So far I'm pleased with the tiny bit of progress I've made and if anyone out there sees me doing anything the hard way, please give me a shout and put me straight. Now, on to the other one")
So first things first... ta-daaaaa
It's an impressively dimensioned box, and heavier than you might expect from a plastic kit.
The first of the colourfully printed illustration shows the FM kit plus a montage of shots of the studio model.
Next we have another sheet showing the positions of the decals, should you choose the use them.
First view of the kit itself.
And all those 900 parts... we may be here sometime.
I hadn't intended to make a start on it yet, but I couldn't help myself. First thing I did was to take out all the hull notches with a square needle file.
About a hour or so later it was all done.
Top.
Bottom.
The next thing I felt like trying, was the correcting of the panel lines on the two docking/escape hatches. I'd already seen this on a blog called Building the Falcon. For some reason I can't quite fathom, FM put straight panel lines all around the outer ring when even their own reference photos shows them with differing details. I'm not going to be anal about trying to get this 100% correct as long as it looks close and good.
I began by studying the all the photo reference I had found and used Aves Apoxie putty to fill in the lines where I felt they were wrong. I left that over night and then sanded it down with 320 grit paper. Next I penciled in new lines and used a Tamiya panel scriber to scribe them in. This proved to be much more difficult than I'd imagined. Also the Aves crumbled out of the lines in places. I had some Revell plastic filler so tried that and had more success. Then I cut some small squares of sheet styrene and glued them on in various positions to match the reference as much as possible. I also scribed in a sort of 'L' shaped panel I could see in the reference.
I didn't take any pics before I started, but here it is from top and bottom with the scribed lines and the bits of styrene. I didn't get it as good as I would have liked, but it's all a learning curve for me at the moment.
And then I primed it to see if it looked okay when it was all one colour. It looked much better then I thought it would and the primer really sharpens up the detail.
So far I'm pleased with the tiny bit of progress I've made and if anyone out there sees me doing anything the hard way, please give me a shout and put me straight. Now, on to the other one