FERTILITY IDOL STAND - economy version

LandronArtifact

Well-Known Member
Here's my smaller Fertility Idol stand, made the same way as my Staff of Ra Headpiece stand (shown here: http://www.therpf.com/f11/staff-ra-headpiece-custom-stand-86041/)

Carved out of hard, high-density styrene foam, and painted.

economypedestal02.jpg


economypedestal01.jpg


-AL
 
Howdy folks! As I don't carve foam much anymore (the fumes are just awful!) I've been working on this newer sculpt for a while. I finally completed the last touchups and it's at a stage I think I'm comfortable with. I can't wait to make a mold out of it and see how the finished piece will turn out.

ecoidolstandcompletesculpt34view2.jpg


ecoidolstandcompletesculptcorner.jpg


ecoidolstandcompletesculptcorner2.jpg


(Size reference)
ecoidolstandcompletesculptholding.jpg


And now a Cinderella moment.... IT FITS!
ecoidolstandcompletesculptidol1.jpg


Incidentally this idol is NOT the Sideshow idol from the top of the thread. This one's my cheaper "stunt" idol. lol.
 
Wow this project has been on the back burner for an insanely long time.

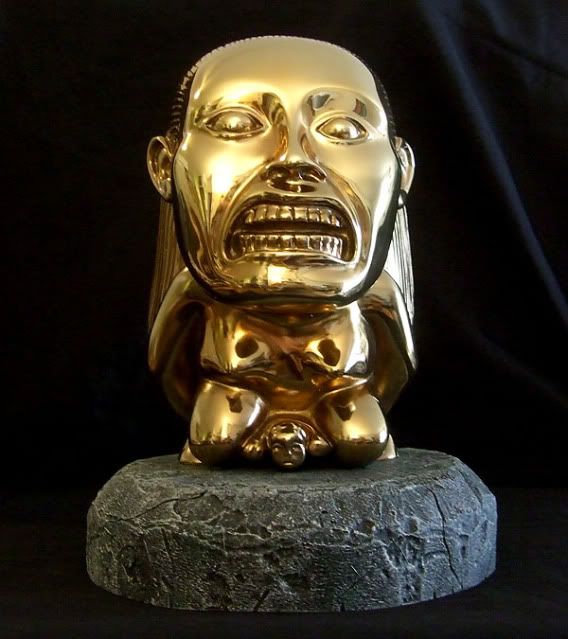
FINALLY!!!! The mold for the new sculpt is finally complete. So far the mold is perfect and came out exactly as I wanted.

For the test castings, I'm experimenting on a casting method I had used on my original 18" diameter Idol pedestal. To save on material costs, and to keep the finished castings lighter in weight I'm doing this as a "sandwich" casting. Hydrocal gypsum cement (which is what I'll be using for these) is pretty darn heavy, so by using less material I'll be keeping the weight to a minimum without sacrificing strength.

What's involved in this method is pouring in a nice 1/2" layer of gypsum on the bottom of the mold. Then when the gypsum reaches a slushy state, I add a pre-cut, pre-measured round piece of rigid foam (this becomes the core of the final casting). The foam is very lightweight but also very strong. Then once the foam has properly anchored itself in the slush, I add the final pouring. The result, a rock-hard, solid but lightweight piece.

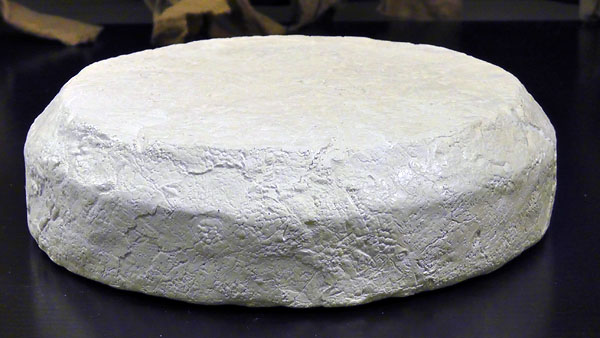
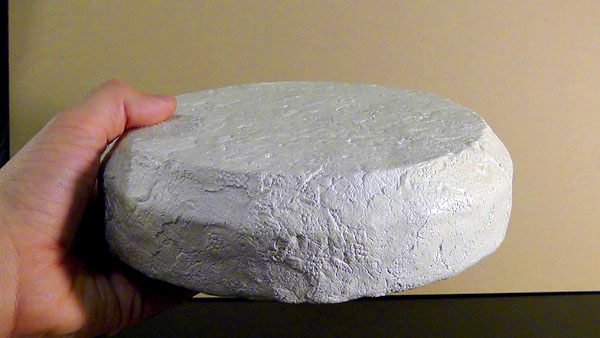
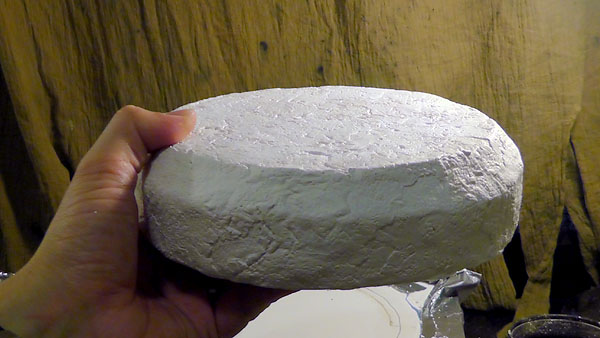
As of this writing, I just pulled the first casting and it's beautiful! But it's still a tad of the heavy side. For the second pull I used a thicker piece of foam and the weight is much closer to where I think it should be.

ip-e_pull01.jpg

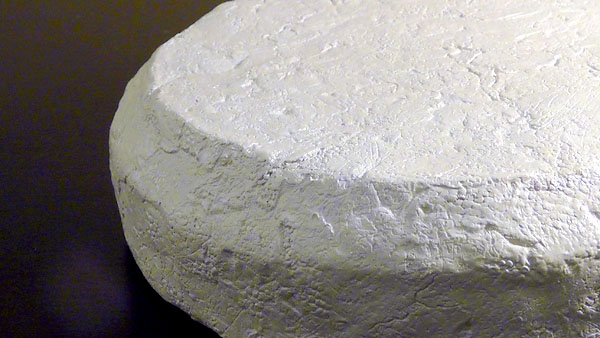
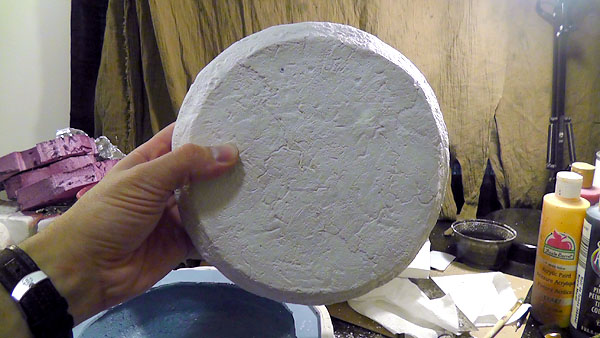
The surface details from the master sculpt reproduced beautifully on the casting.

ip-e_pull04.jpg


ip-e_pull06.jpg

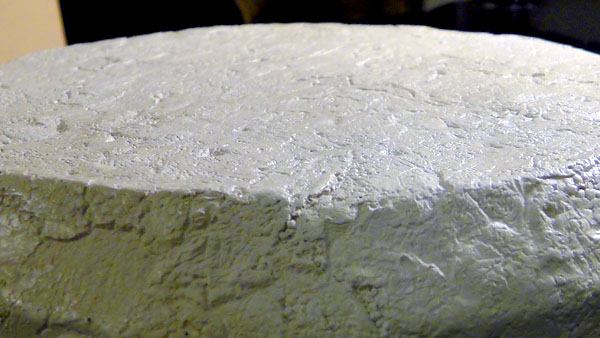
It's hard to see the details due to the lighting and the flat white color of the fresh casting, but once it's prepped up and painted, all the little chips, cracks and nooks will really pop.

ip-e_pull05.jpg

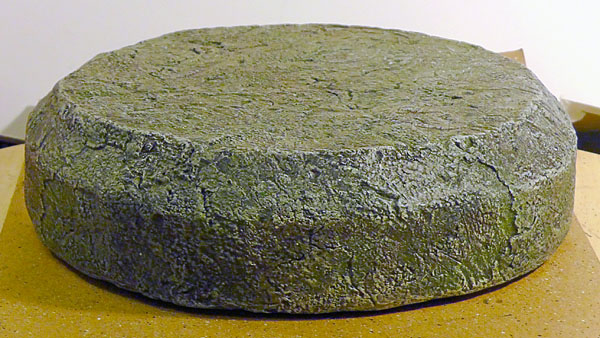
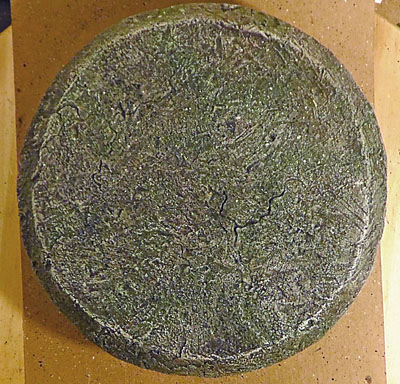
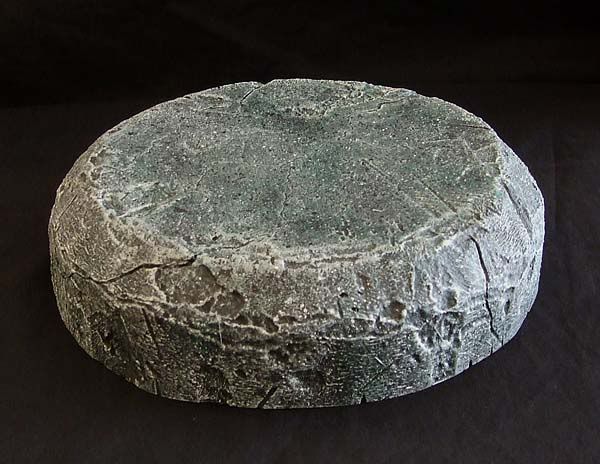
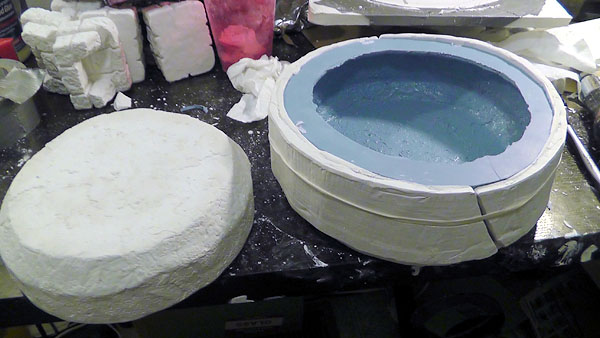
Here it is next to a miniature swimming pool.... no wait, that's the mold.

ip-e_pull03.jpg

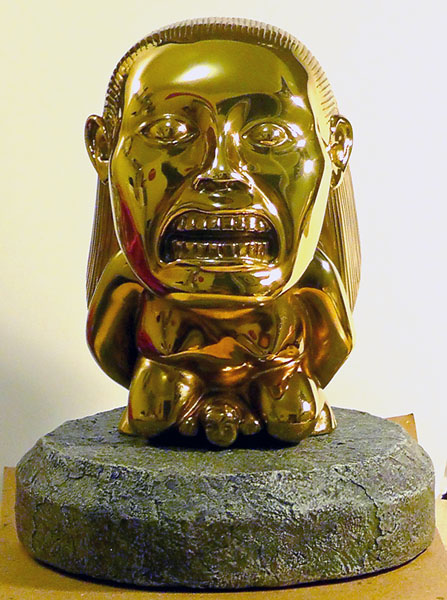
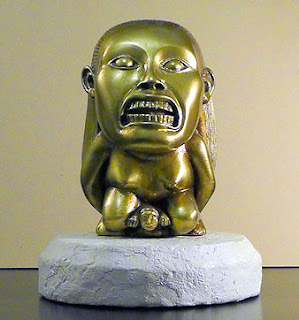
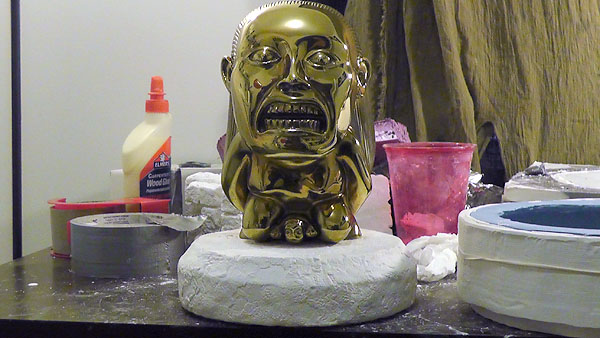
Please, DON'T throw me the Idol... it's really heavy and I don't want my skull cracked open.

The two first castings are still drying and will take another several days before they're fully cured. Then they'll be ready for sealing, priming, and painting. Stay tuned for a look at a completed piece.
 
That looks great! I'm looking for an easy DIY version of something like this for mine, but I really don't want to go through the process of casting one and making a mold. I'm hoping to find something that can be carved then painted & detailed. I really like yours though and I'll keep an eye on the JY if you ever decide to offer these. Excellent work!
 
What are these going to run?

Not really sure yet. I didn't really want to turn this into a sales thread to keep with the moderators' guidelines. Just sharing a project for now. If these show up on the Junkyard, you'll know. :angel

Thanks so much for the kind feedback!

-AL
 
How'd you do the painting? I'm a noob at this, and love the dark crack/lighter surface look you got!

It's a multi-step process. The trick is, start with dark, then layer on lighter colors as you go. This gives it more dimension and makes the surface detail pop. With each proceeding layer, you dry-brush (lightly applied paint strokes across the surface) lighter and lighter (in color and amount). This piece has different blends of black, brown, green, and white.

Hope that helps,
-AL
 
Thanks for the kind feedback.

The original sculpt I started with the basic shape carved in floral foam, then layered the surface with an air-hardening compound called DAS Pronto. It's kind of like a paper mache, only finer, and dries very hard and solid. The surface detail was sculpted in by hand with sharp sculpting tools and the stone texture was achieved by dabbing in a piece of floral foam throughout the surface, which leaves behind a nice rough and bumpy surface. Once it's all dry I used a rotary tool and carved in the final cleaving effects and additional cracks and scuffs.
 
This thread is more than 11 years old.

Your message may be considered spam for the following reasons:

  1. This thread hasn't been active in some time. A new post in this thread might not contribute constructively to this discussion after so long.
If you wish to reply despite these issues, check the box below before replying.
Be aware that malicious compliance may result in more severe penalties.
Back
Top