Nessy
Active Member
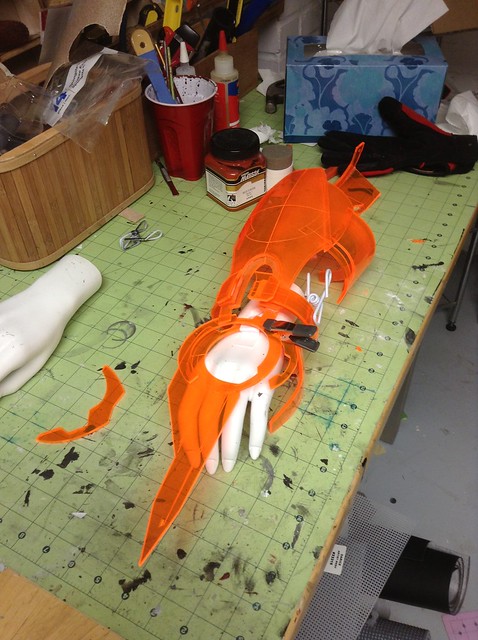
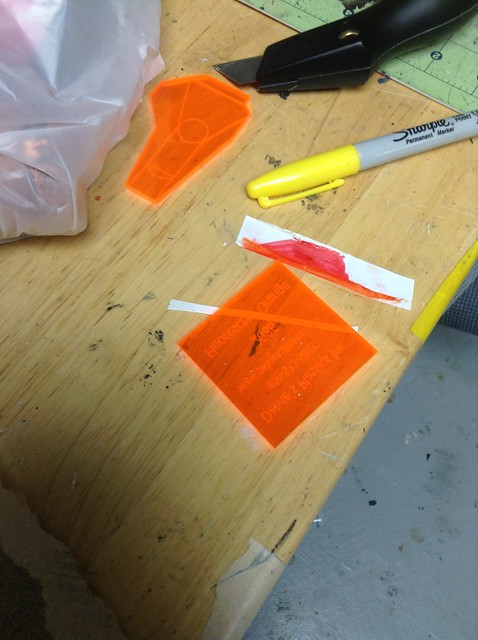
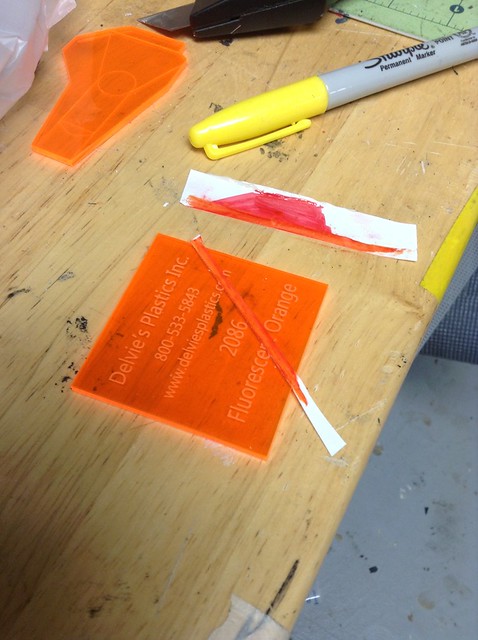
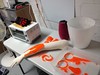
Amazing work! I was following your facebook page but for some reason I wasn't getting all your updates in my newsfeed. I played with some settings to fix that. Thanks again for sharing all the progress pictures and how-to information, this has been a great build to follow. I can't wait for more pictures because these are amazing!
")