You are using an out of date browser. It may not display this or other websites correctly.
You should upgrade or use an alternative browser.
You should upgrade or use an alternative browser.
Fallout New Vegas Desert Helmet (pep-files)
- Thread starter NeXXt
- Start date


Looks great. Lots of details! I am building mine now... I have a thread on it. Anyways, I got a lot done this weekend but I still have a lot left to do. I am not putting as many details on mine as you are though as I am trying to finish the whole costume and a PipBoy in time for a convention in a couple weeks. Nice work.
Crimson13, i hope so, but only after finishing of the 2–3 first successful kits.
Next I tried to print decals (cold water decals). Result turned quite well.

Then i transferred it on the helmet (as a test). Some proportions needs to be resized on next prints.


Hello, I really need to know how you did those decals. It sounds like you made them yourself. I have tried to look up ways of doing white decals and the only feasible process I can find would print a color background on white water slide decal paper and then that would give you the white letters. The problem with that is trying to match the color of the helmet. Please let us know what you did here or send me a PM, thanks.
NeXXt
Well-Known Member
Hello, I really need to know how you did those decals. It sounds like you made them yourself. I have tried to look up ways of doing white decals and the only feasible process I can find would print a color background on white water slide decal paper and then that would give you the white letters. The problem with that is trying to match the color of the helmet. Please let us know what you did here or send me a PM, thanks.
I printed this decals on special paper for laser printing -- clear waterslide decal paper (Laser Decal Paper). And you need special printer which can use white ink (ALPS or something new). Some of typographic machines like Mimaki use white ink and UV-drying.


NeXXt
Well-Known Member
Not at all. Because it was my first pepakura model there may be some troubles with small details.Awesome files man thanks for sharing!
Now back to the mask. Connect separated parts (front mask and occipital part) together with plasticine and magnets. Added borders from plasticine, waxed model surface and covered with Model Release Spray.

Cover with Rebound 25 (2 layers) and Mold Star 30 (3 layers with Thi-Vex), added silicone locks. Covered with PlastiPaste.


Removed plasticine. Then all steps repeated to second half.


NeXXt
Well-Known Member
Finished mold for mask.


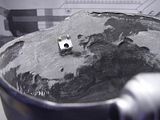
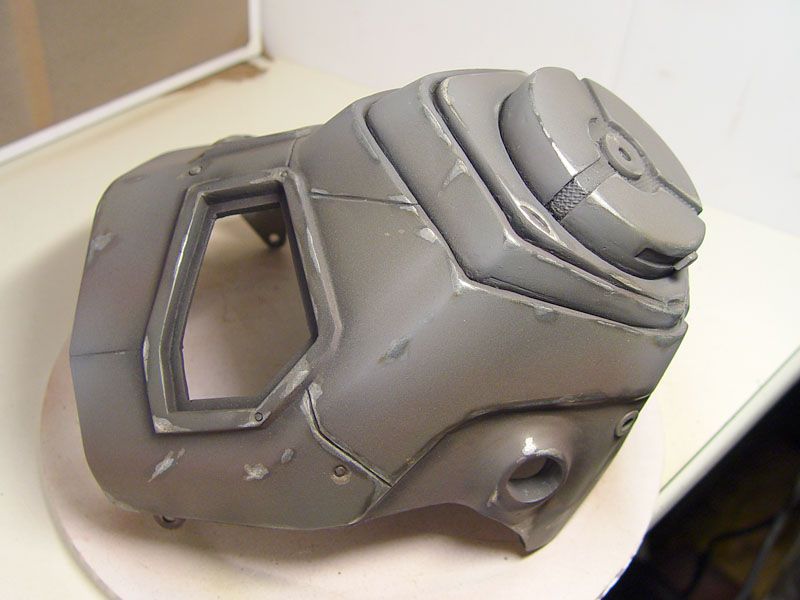
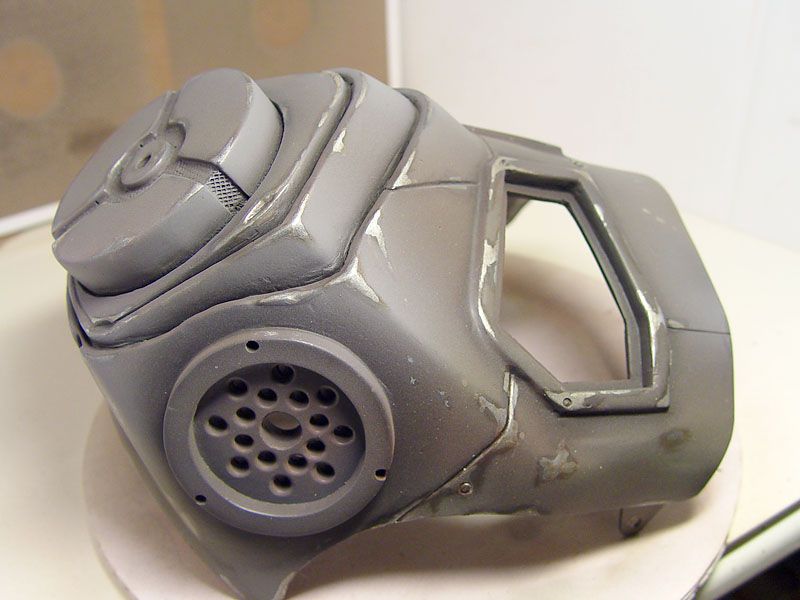
Casting the helmet. Resin (SmoothCast ONYX Fast) + powder (Cast Magic Silver Bullet) + filler (glass microspheres).


Casting the mask (SmoothCast ONYX Fast + Cast Magic Silver Bullet + glass microspheres +3 bolts).
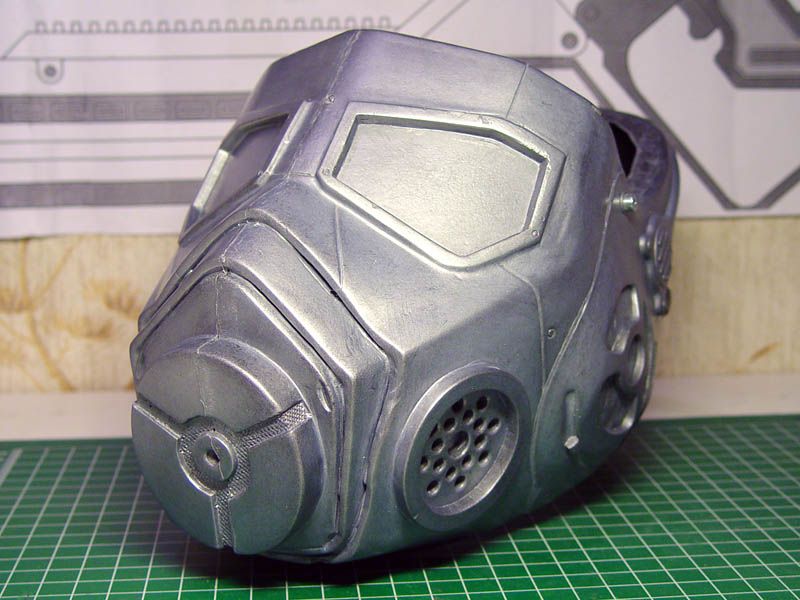
Next step: cutting off the lugs with dremel, drilling holes and grinding off all inner bulges.


Casting the helmet. Resin (SmoothCast ONYX Fast) + powder (Cast Magic Silver Bullet) + filler (glass microspheres).


Casting the mask (SmoothCast ONYX Fast + Cast Magic Silver Bullet + glass microspheres +3 bolts).


Next step: cutting off the lugs with dremel, drilling holes and grinding off all inner bulges.


NeXXt
Well-Known Member
Latest works. Adding metal hinges on mask parts (perforated for better fixing on Poxipol).
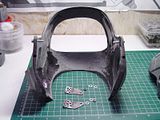
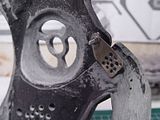

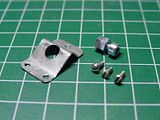
2 locks for fixing helmet on mask (1-mm steel, 3 cap screws M2). Third lock point is a hole on backside of the helmet.
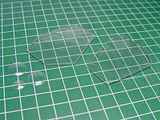
Works with polycarbonate glass:
1. thermal curving for oculars (water ~100˚C);
2. pressing 1-mm hot glass (same hot water) between perforated ruler and rounded stick (for lamps on helmet).
Then was deepening the lines between front amplifer and segments with thin conical cutter and knife.
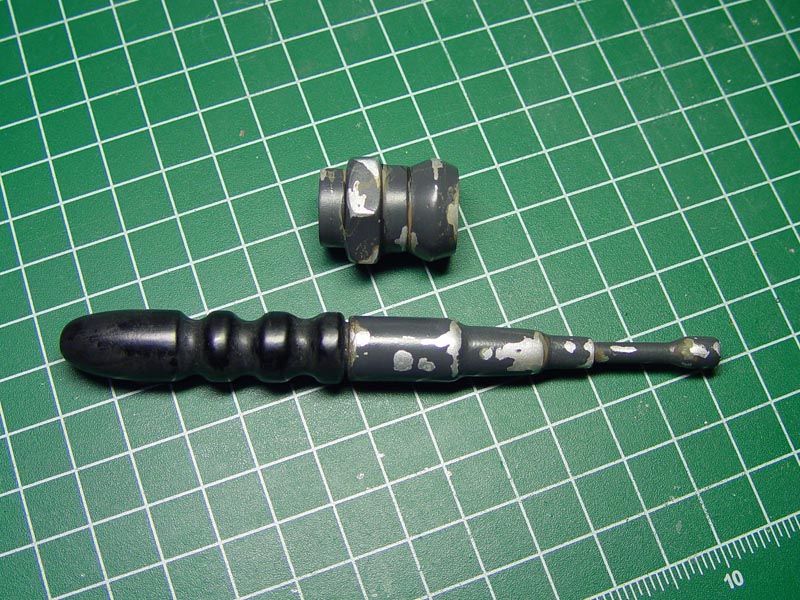
Works with antenna:
1. Cover it with grey primer.
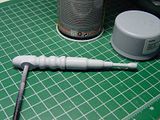
2. Masking tape on bottom part.

3. Silver paint on upper part.
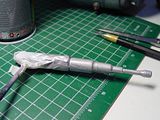
4. Latex mask (simple concentrated butadiene-styrene latex for walls) for future scratches and chips.
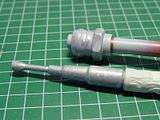
5. Masking tape and acrylic spray (dark grey for works with plastic bumper).
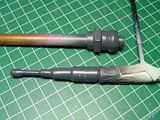
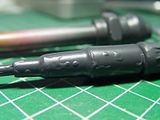
6. Black primer (I'll repaint it with black antigravelly spray on rubber base). All latex erased + thin weathering on whole surface.


2 locks for fixing helmet on mask (1-mm steel, 3 cap screws M2). Third lock point is a hole on backside of the helmet.


Works with polycarbonate glass:
1. thermal curving for oculars (water ~100˚C);
2. pressing 1-mm hot glass (same hot water) between perforated ruler and rounded stick (for lamps on helmet).

Then was deepening the lines between front amplifer and segments with thin conical cutter and knife.

Works with antenna:
1. Cover it with grey primer.

2. Masking tape on bottom part.

3. Silver paint on upper part.

4. Latex mask (simple concentrated butadiene-styrene latex for walls) for future scratches and chips.

5. Masking tape and acrylic spray (dark grey for works with plastic bumper).


6. Black primer (I'll repaint it with black antigravelly spray on rubber base). All latex erased + thin weathering on whole surface.

Last edited:
NeXXt
Well-Known Member
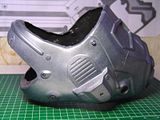
After the short break came back to painting.
Bought my first aerograph (JAS 1117) with compressor (JAS1203) and started to learn to work. Before the first probation i did the paint hood (glued plastic box with 2 fans, rotating table and plain air-filter).


Sprayed the shadows and deep contours with flat black.

Just studying to work wit this tool (change the thinner — special Aqueous HC110 instead of ethanol) and making cover paint layer by layer. Lot of fails at this moment.

Sprayed the highlights and rusted areas with Tamiya XF21 (sky), XF9 (hull red) and XF54 (dark sea grey).


Very nice! still looking great!
Bilbo Baggins
Well-Known Member
I don't like it..
I LOVE IT !!
Very Entertaining Build
I LOVE IT !!
Very Entertaining Build
Frenchtoast
New Member
this is awesome I would love to buy a pull from this
NeXXt
Well-Known Member
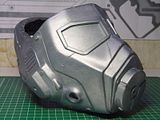
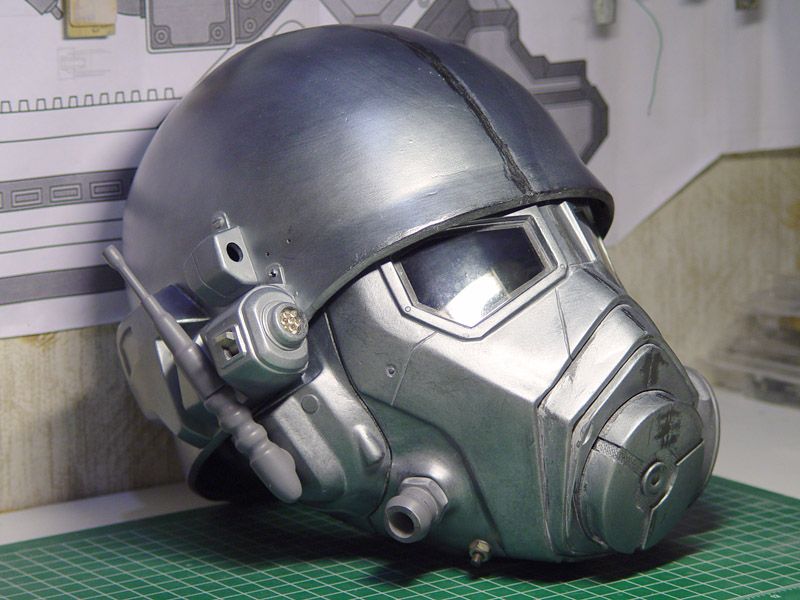
Back to the helmet. Added a liquid latex mask (for splits and scratches) Then coated whole surface with grey primer.

After drying up started to spray paint (light army green). It required around 3–4 layers for homogeneous paint surface.

Added shading (green army + black, 4:1) and then a bit brighten up (yellow sand). Then coated the helmet with matte varnish.

Time to do the mask for battery and lamp blocks. Maybe i'll use the pre shading tech.

Decals looks too clear and new so i'll coat it with light ochre (rust and dust) and varnish.

Last edited:
NeXXt
Well-Known Member
Pyrotechx, thank you!
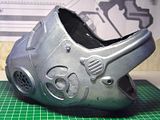
Back to work with helmet by the pre-shading method. I blocked with sticky tape the zone around lamps and battery block and wraped other parts with cellophane film (food film). Then sprayed dark grey paint on it and remove film and tape. Next step: black paint airbrushed on joints and riffles. Also added the burn marks.

After the airbrushing the helmet's surface (coated it with ochre with uniform sand and intensified relief with black) I removed latex mask (burn marks, scratches and splits). I added last decals (on PVA) and cover it with transparent matte lacquer.


Similar threads
- Replies
- 2
- Views
- 444
- Replies
- 69
- Views
- 7,899
- Replies
- 12
- Views
- 2,764