BossierBob
New Member
Hey everyone, decided to post my progress on this mask I've been working on for a Christmas Present for a friend of mine.
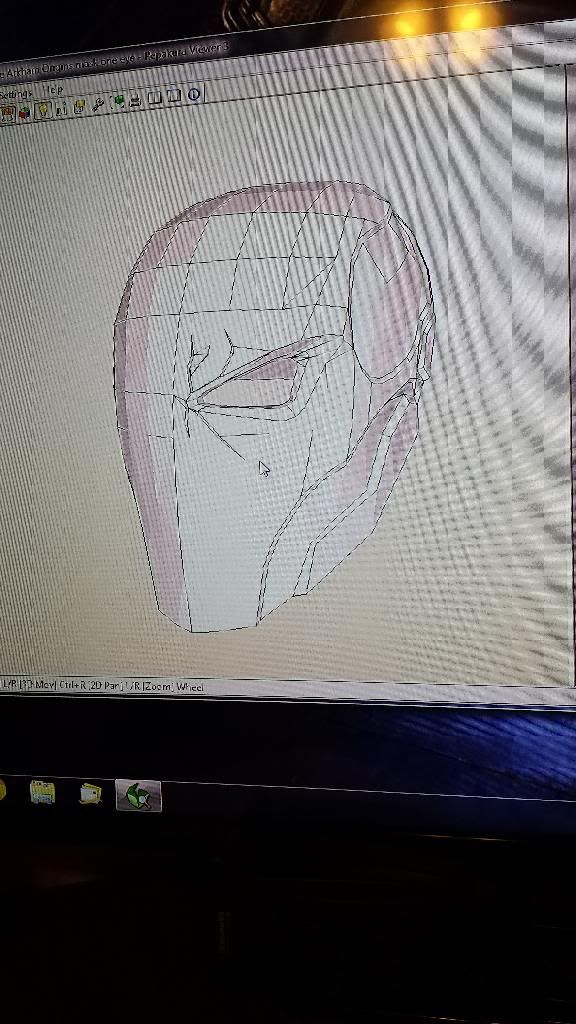
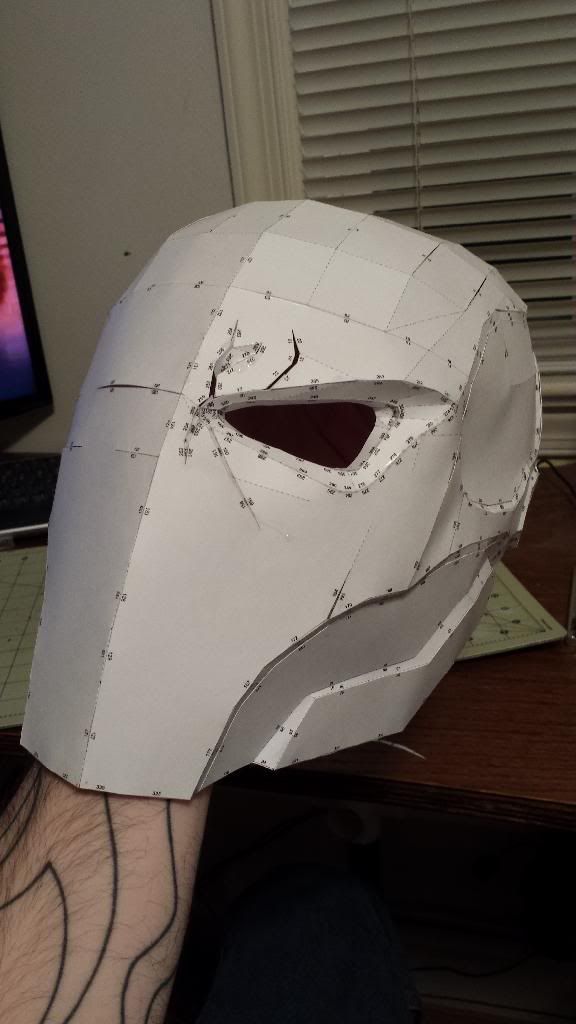
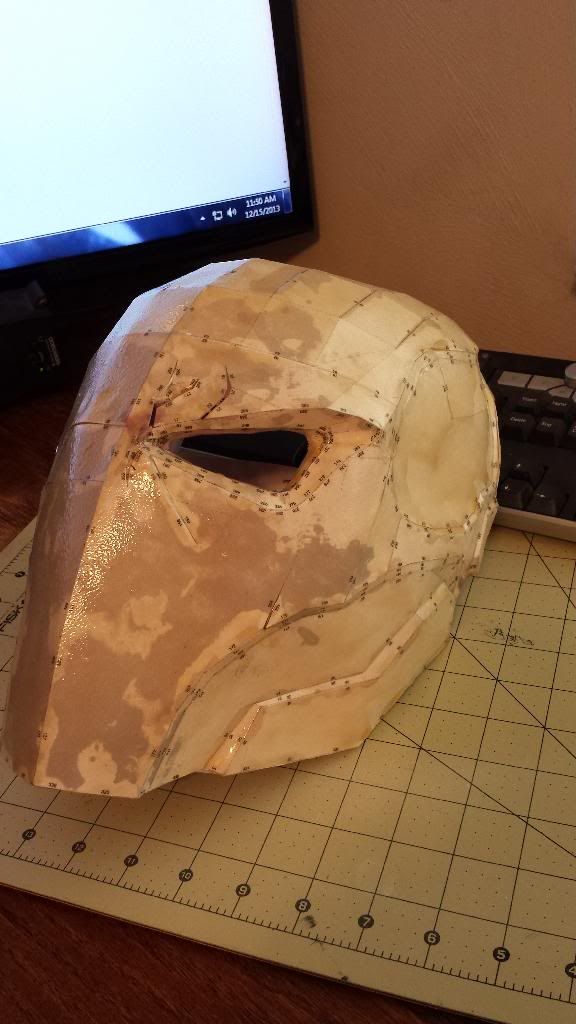
I got the Pep file for this from Black Kaos here on the forums and am very pleased with the file. Just enough detail in it to show me what it should look like, but just easy enough for quick assembly. I assembled the file in just one day.
Once I had the file done I went on to the resinning process per the norm
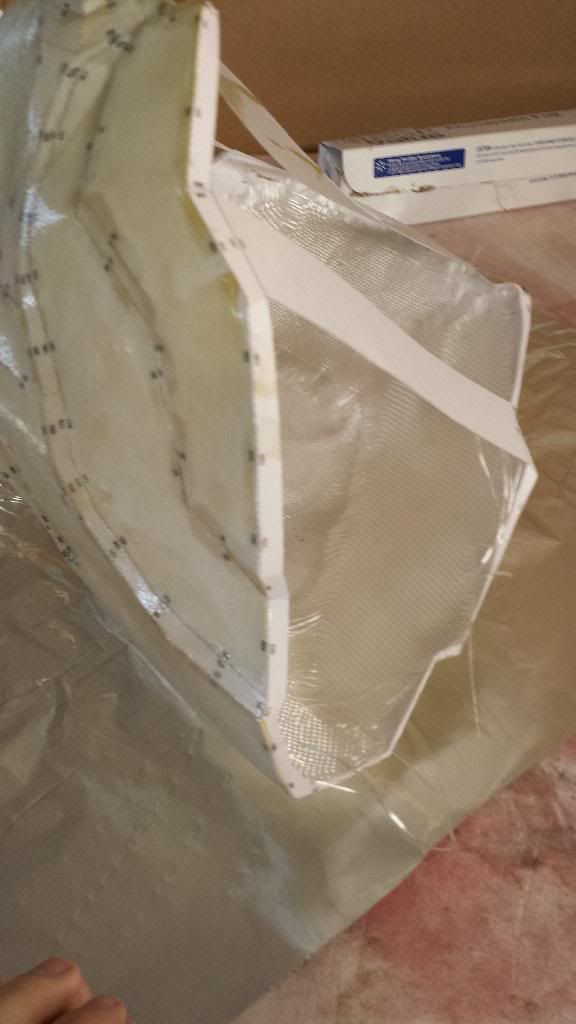
But when I went to do the inside of the helmet with actual cloth I got a little impatient and decided to rondo and lay cloth all at the same time instead of resinning the inside of the paper which turned problematic later on. (The temperature was causing my curing times to be too long for my patience lol)
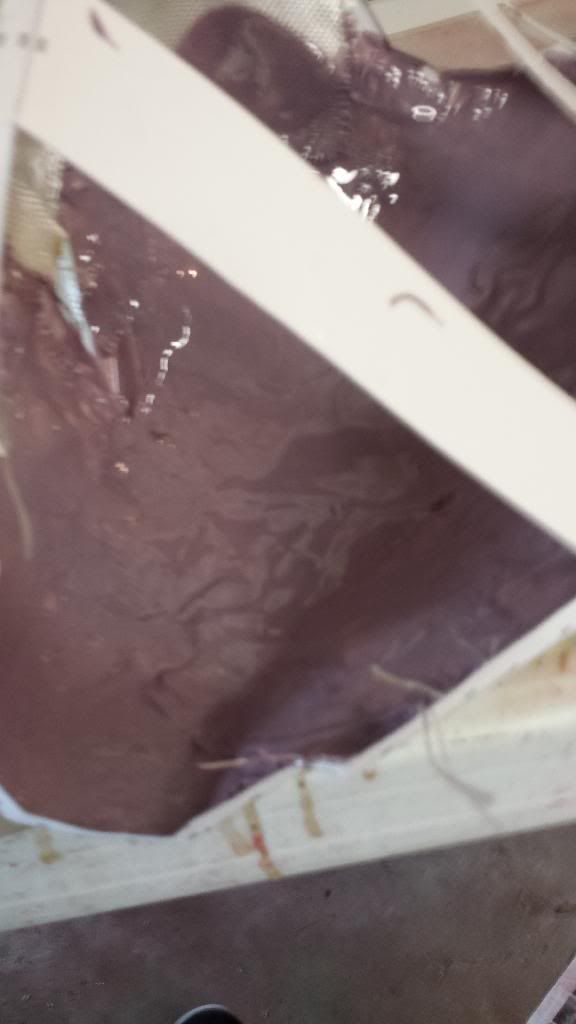
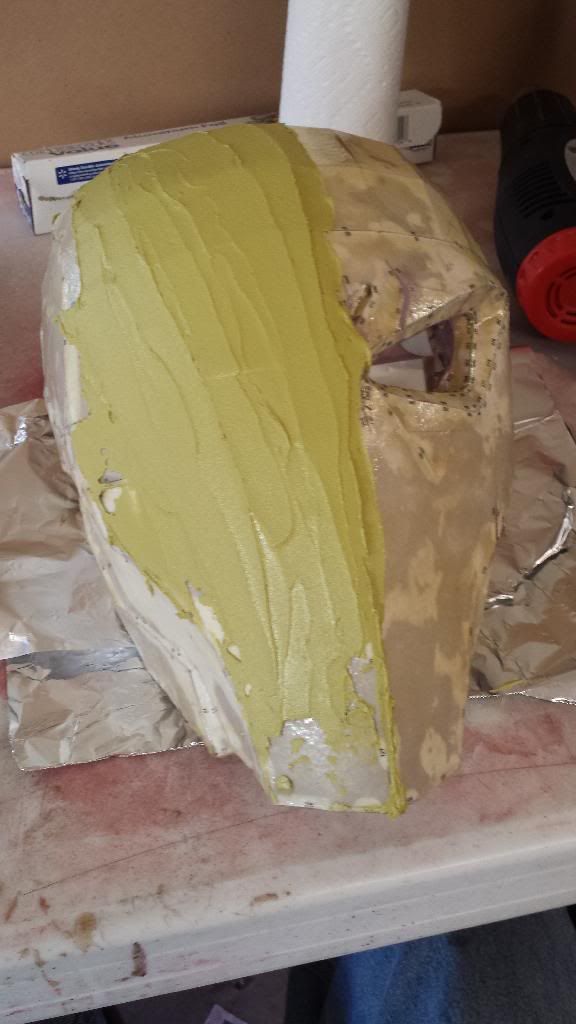
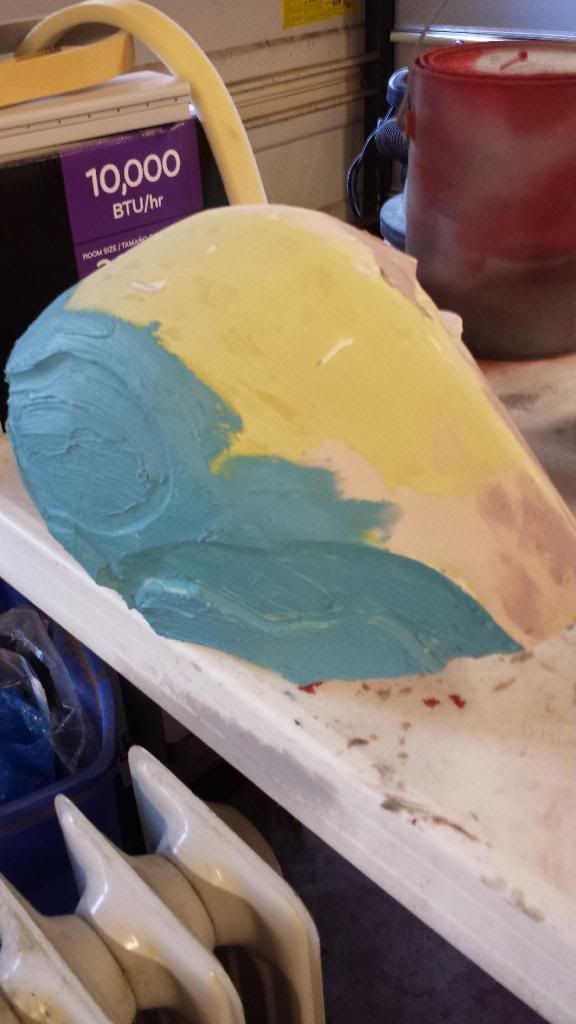
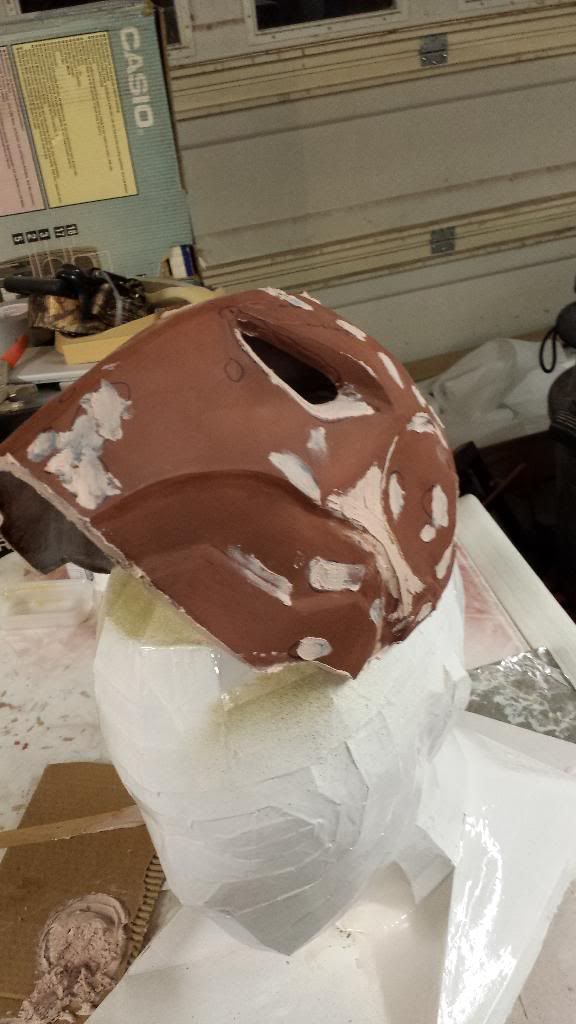
After all the resin, was time to start shaping. I started off using a putty scraper for laying the bondo, on the first coat but then switched to just using my hands as I could shape it out better and get in all the edges. I like to add some basic acrylic paint to my batches of bondo, mainly cause looking at pale pink gets boring lol but also to make it easy to tell when I get down to the previous layer.
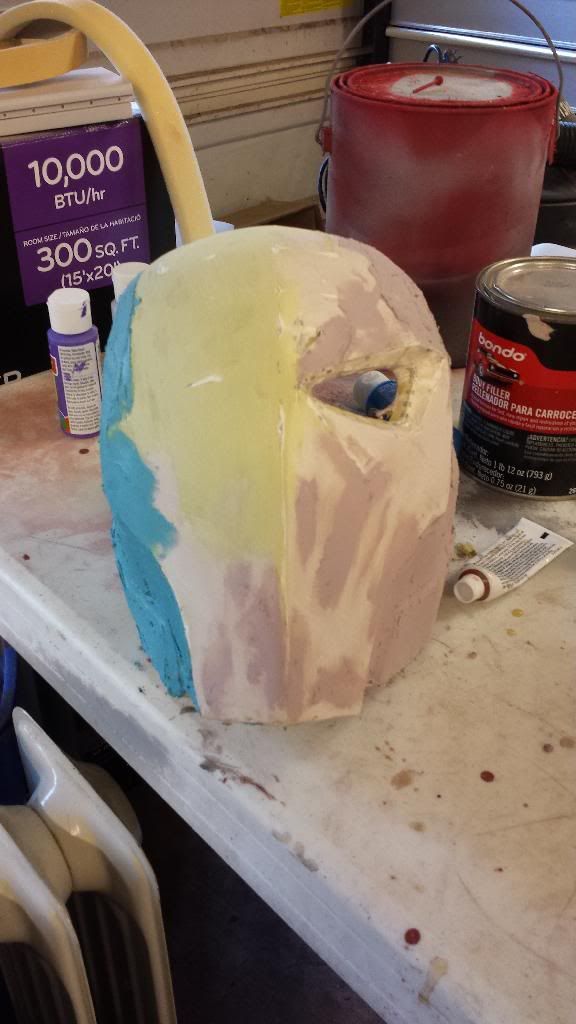
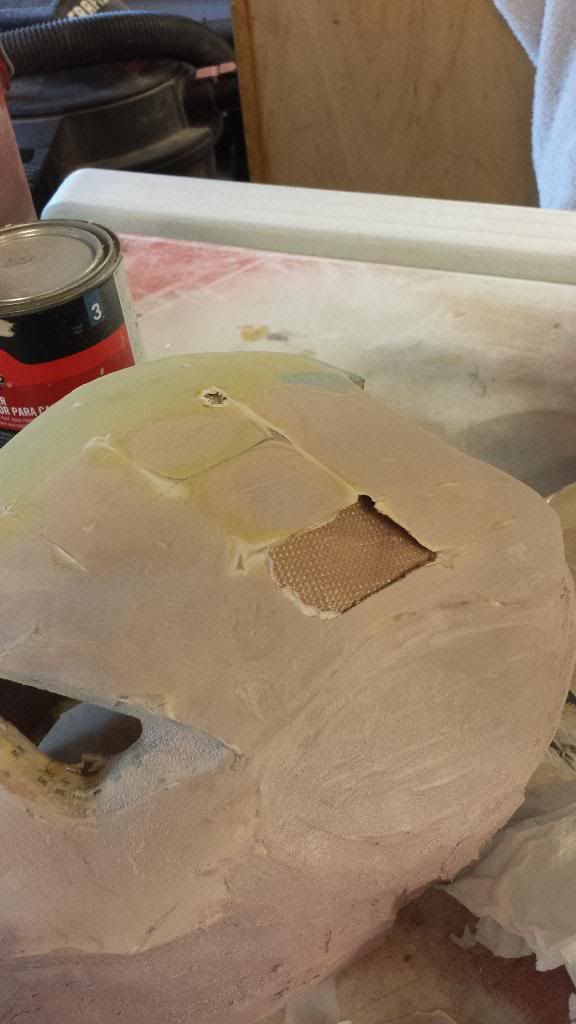
But this is where my impatience came to bite me in the ass. Because I hadn't resined the inside of the mask I had a bunch of soft spots where the cloth didn't adhere to the cardstock to reinforce it.
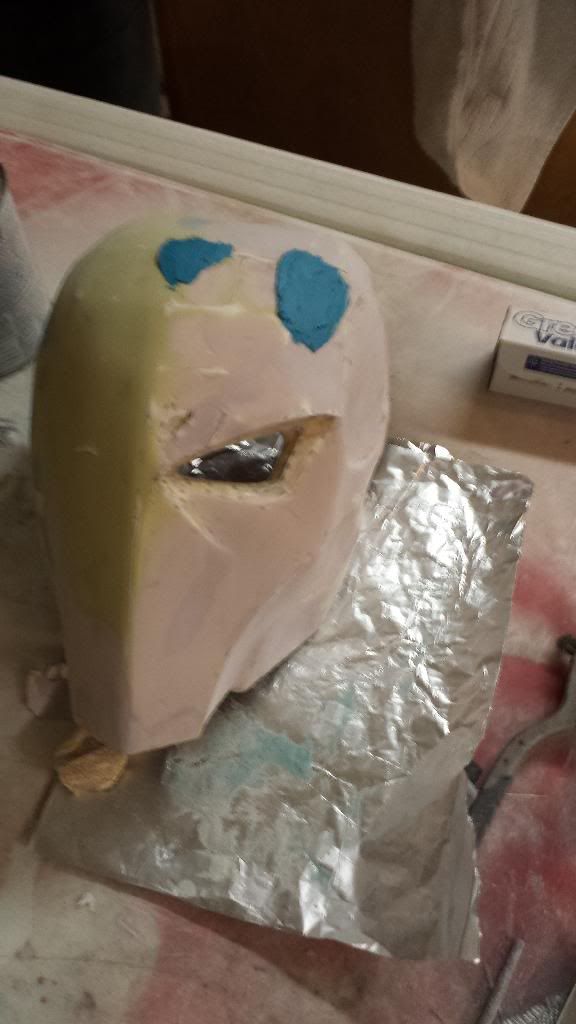
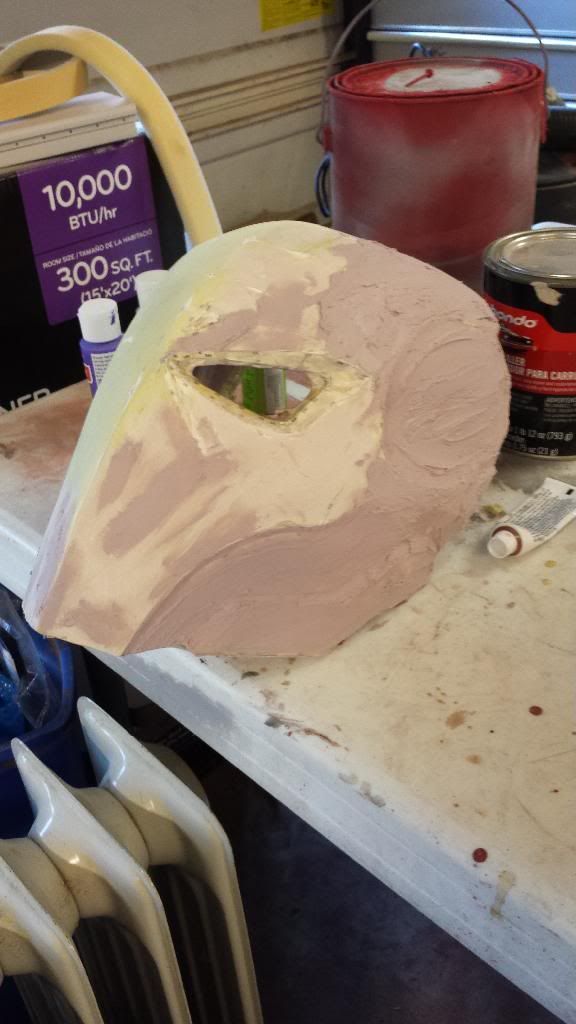
But after repairs, it was time for primer. I ran out of standard grey primer/sealer but I had a can of anti rust primer for metal that did the job.
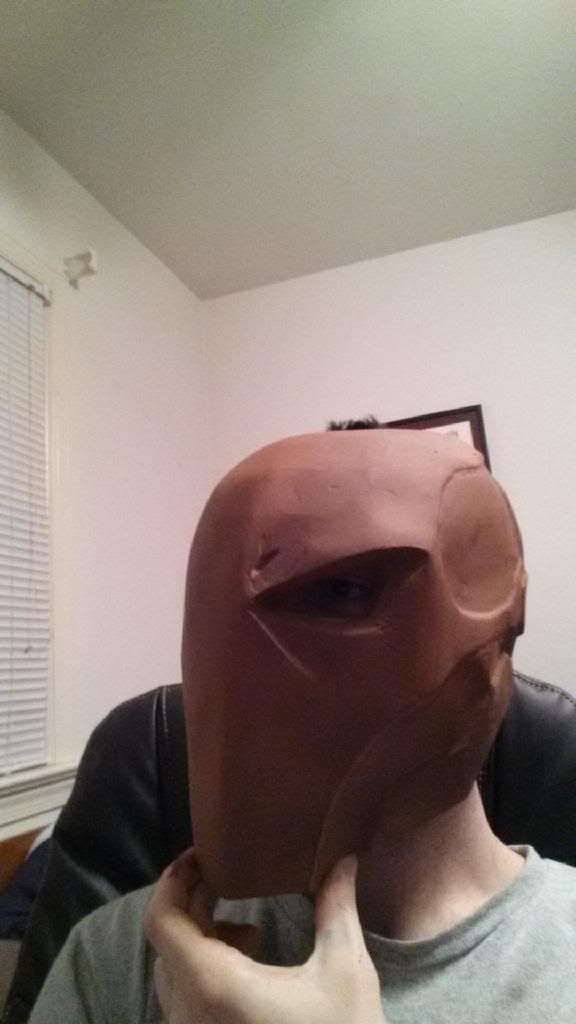
SELFIE!!!! The sizing is pretty average. It fits me and I have been told I have a festivally large cranium lol.
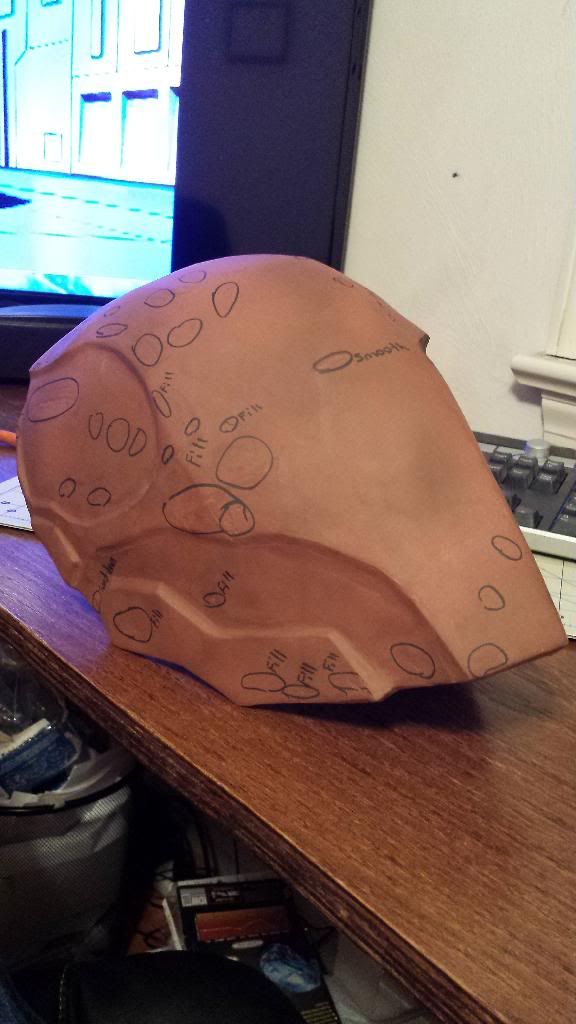
Now was the time for my OCD to kick in. Fixing imperfections and pin holes!!!

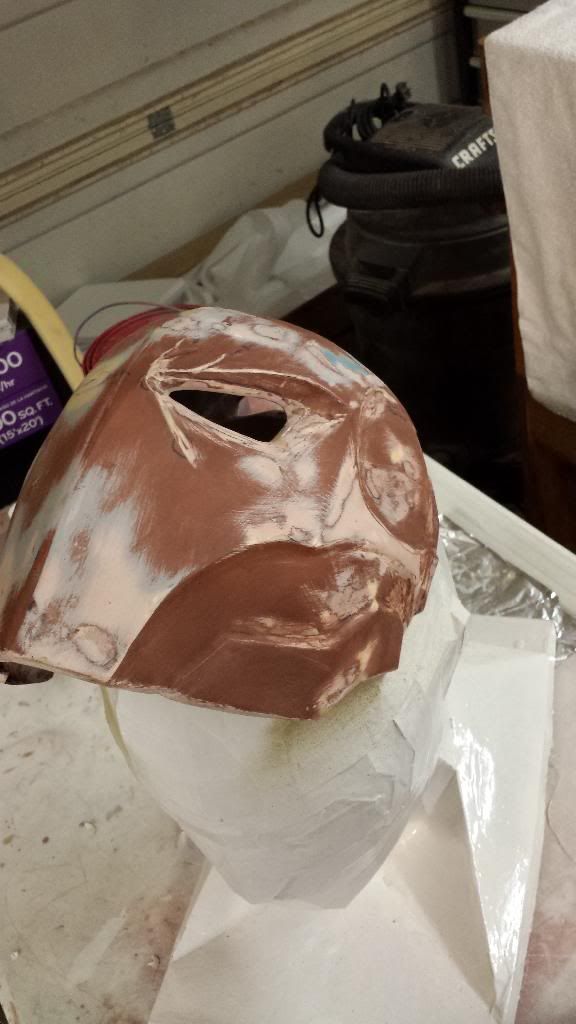
But after final sanding and another coat of primer I was on to the fun part: Painting!!!!
I am using just standard enamel paints that I got at walmart. Rustoleum brand that I am mixing together and thinning down with acetone to run through my airbrush. Much more cost effective than rattle cans and I can control what colour I want to use.
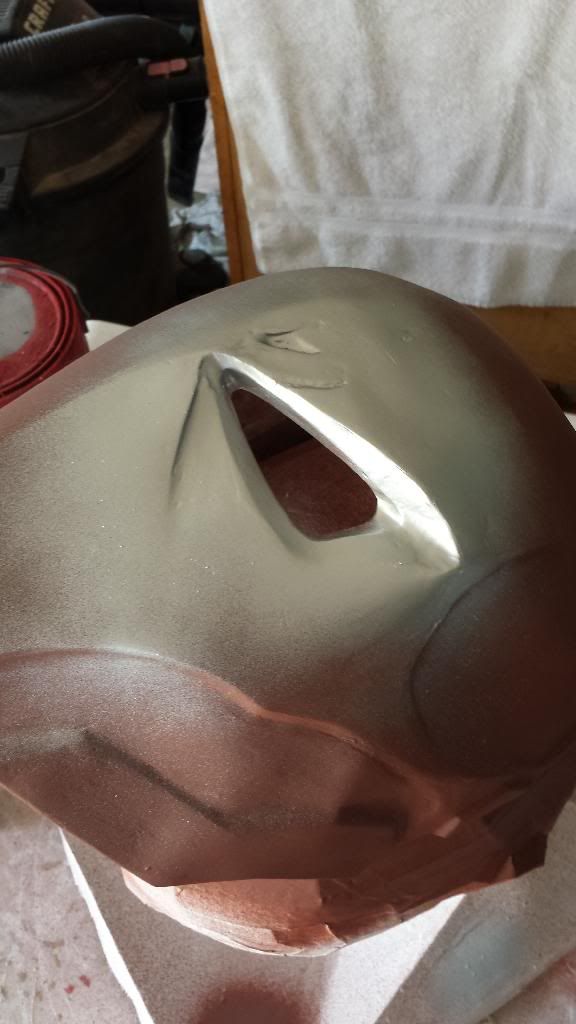
Started of with a little bit of silver that I will sand through too when all is done for some scarring and damage.
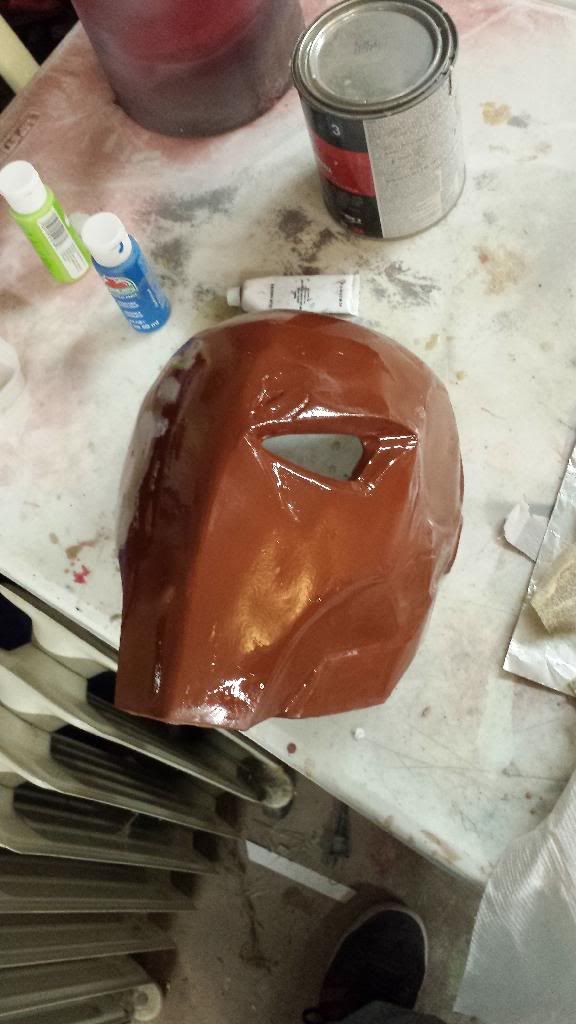
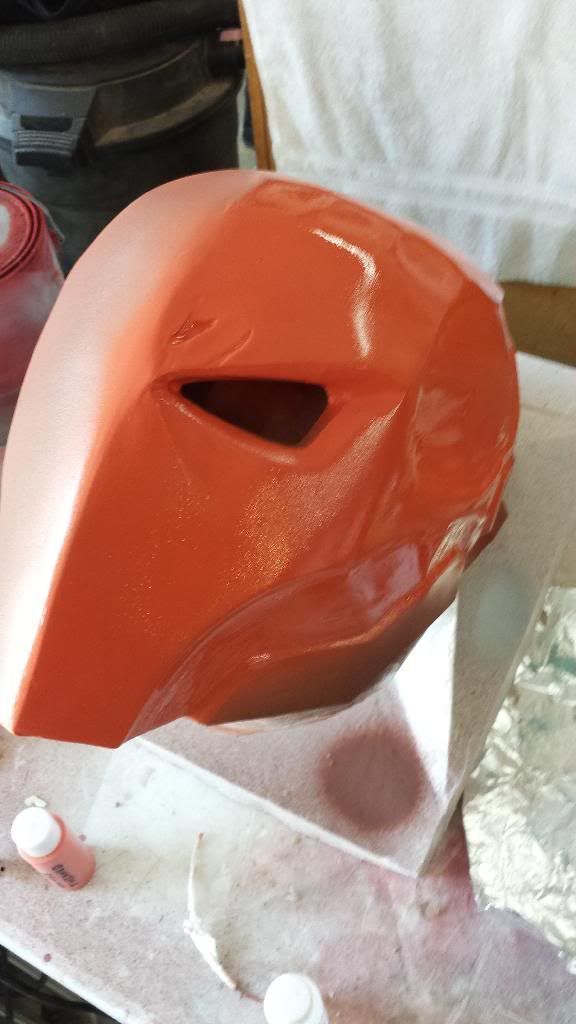
Then some orange
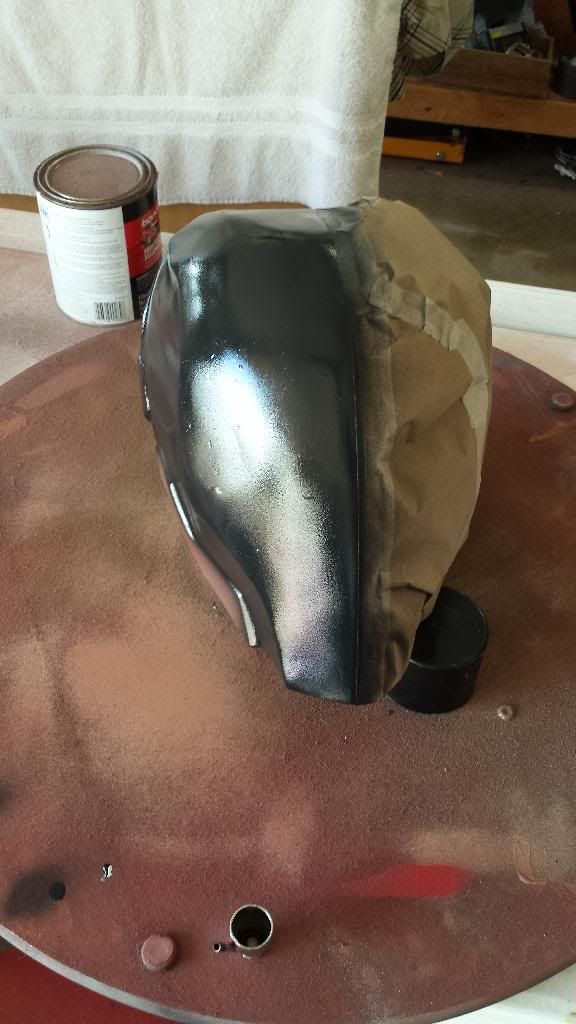
And some black
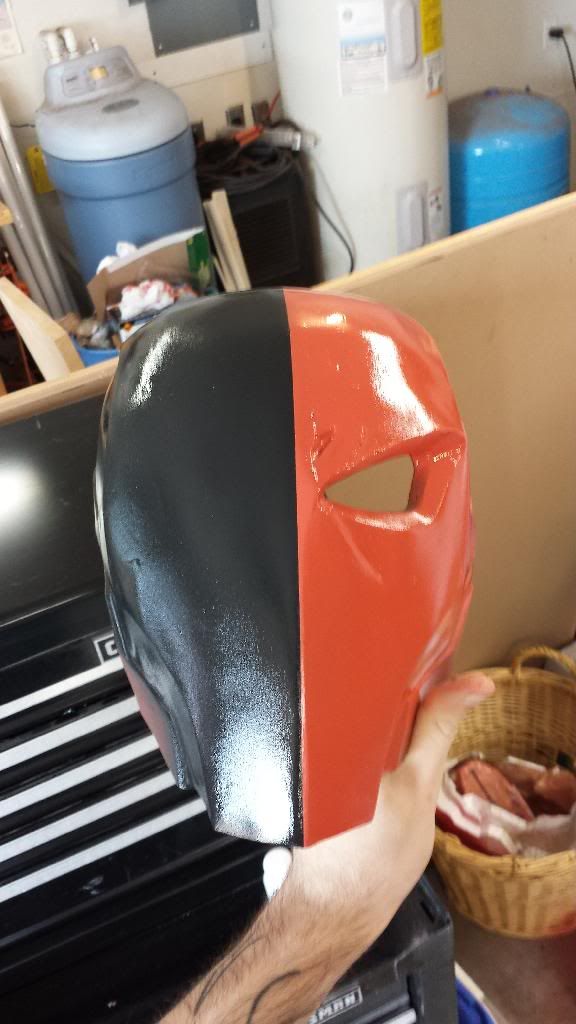
And this is where it sits as of right today. My paint times are usually one coat a day, cause its taking a long time to dry but hopefully I only need one coat of each colour. Plus this weather in VA is odd, gotta love 80 degrees on the first day of winter!!!
Any feedback would be great or tips/pointers. But please be gentle, I am definitely a novice as this is only my fourth pep, but I am getting better lol. I am hoping to get this done by Tuesday night so I can give it to her Wednesday. All I have left is some flat black around the eye, edges of the mask, cheeks, and inside of the mask and I am done. Which I should be able to accomplish after work each day.
I got the Pep file for this from Black Kaos here on the forums and am very pleased with the file. Just enough detail in it to show me what it should look like, but just easy enough for quick assembly. I assembled the file in just one day.


Once I had the file done I went on to the resinning process per the norm

But when I went to do the inside of the helmet with actual cloth I got a little impatient and decided to rondo and lay cloth all at the same time instead of resinning the inside of the paper which turned problematic later on. (The temperature was causing my curing times to be too long for my patience lol)


After all the resin, was time to start shaping. I started off using a putty scraper for laying the bondo, on the first coat but then switched to just using my hands as I could shape it out better and get in all the edges. I like to add some basic acrylic paint to my batches of bondo, mainly cause looking at pale pink gets boring lol but also to make it easy to tell when I get down to the previous layer.


But this is where my impatience came to bite me in the ass. Because I hadn't resined the inside of the mask I had a bunch of soft spots where the cloth didn't adhere to the cardstock to reinforce it.


But after repairs, it was time for primer. I ran out of standard grey primer/sealer but I had a can of anti rust primer for metal that did the job.

SELFIE!!!! The sizing is pretty average. It fits me and I have been told I have a festivally large cranium lol.

Now was the time for my OCD to kick in. Fixing imperfections and pin holes!!!


But after final sanding and another coat of primer I was on to the fun part: Painting!!!!
I am using just standard enamel paints that I got at walmart. Rustoleum brand that I am mixing together and thinning down with acetone to run through my airbrush. Much more cost effective than rattle cans and I can control what colour I want to use.
Started of with a little bit of silver that I will sand through too when all is done for some scarring and damage.

Then some orange

And some black

And this is where it sits as of right today. My paint times are usually one coat a day, cause its taking a long time to dry but hopefully I only need one coat of each colour. Plus this weather in VA is odd, gotta love 80 degrees on the first day of winter!!!

Any feedback would be great or tips/pointers. But please be gentle, I am definitely a novice as this is only my fourth pep, but I am getting better lol. I am hoping to get this done by Tuesday night so I can give it to her Wednesday. All I have left is some flat black around the eye, edges of the mask, cheeks, and inside of the mask and I am done. Which I should be able to accomplish after work each day.


 Hopefully I'll be able to fix it tomorrow. Gonna spray the orange on and probably just brush the flat on so I don't have to tape over the orange and risk a repeat. As well as brushing it on will allow me to hopefully finish it in one night.


