BobbyFromBUF
Well-Known Member
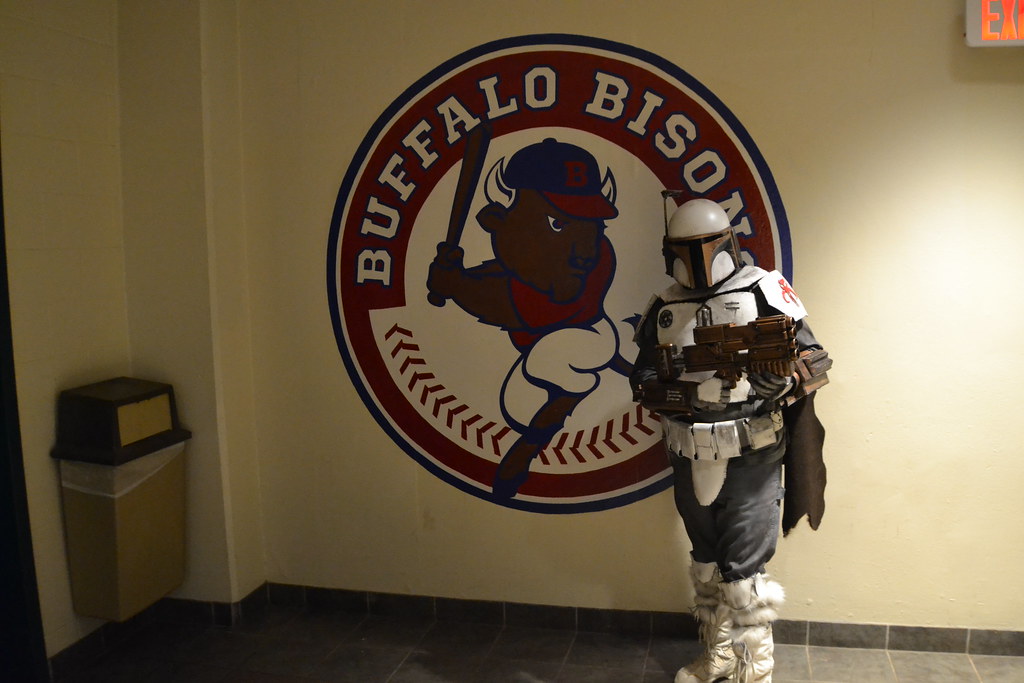
Hi All,
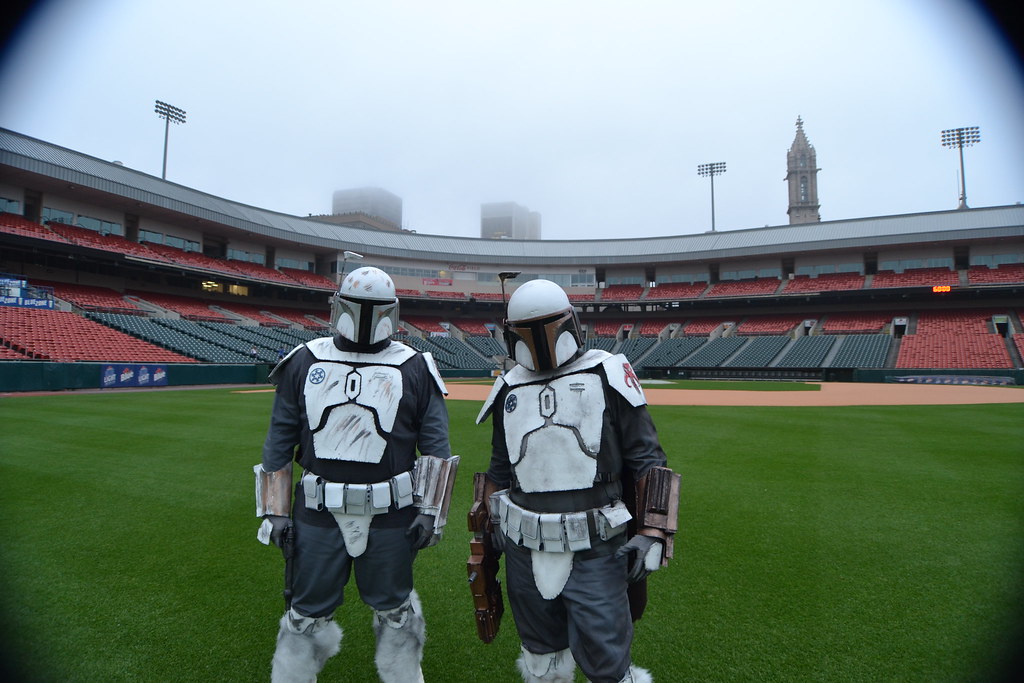
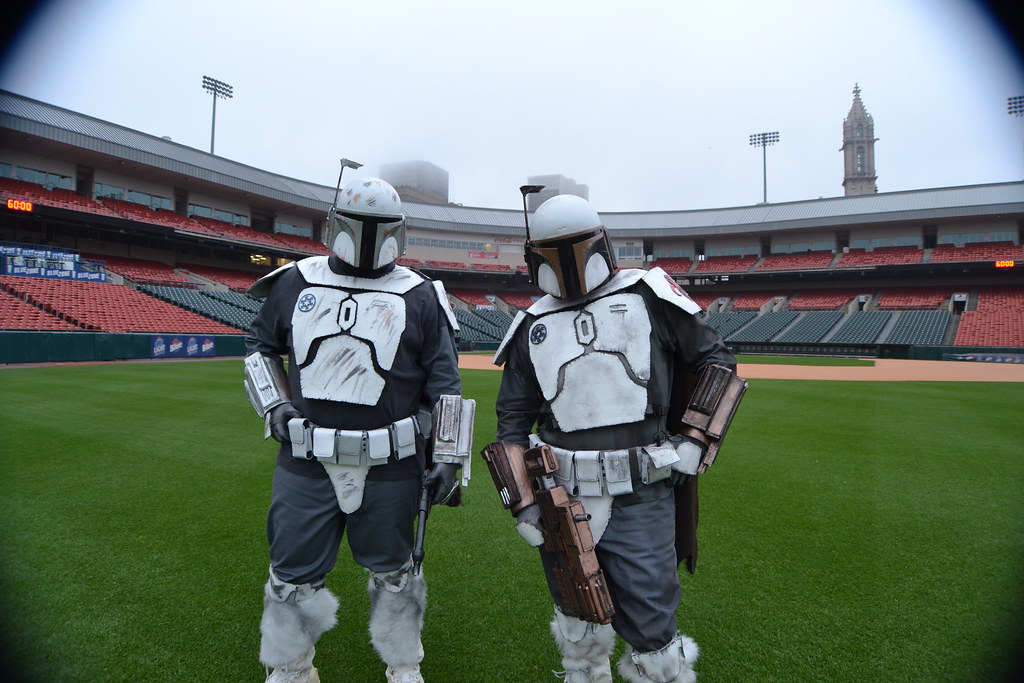
My buddy and I have decided to make some sets of custom foam Mandalorian Armor. As you may or may not be aware, EVA foam is forbidden by the Mandalorian Mercs as a build material. With that in mind, this costume will be built 100% for my personal enjoyment. We will not be applying for any official status when we are finished.
We live in Buffalo, NY, and the local Star Wars Fan Force - The Northridge has an entire group of "Snow Mandos". We have taken our inspiration from them. To start off I found the pepakura files readily available here on the RPF. After printing them out, and starting to cut them out with scissors (which is extremely painstaking and time consuming - PROPS to anyone who uses this method!), I decided that since this costume will not be "official" that I could just free-hand some drawings on poster board, and go from there.
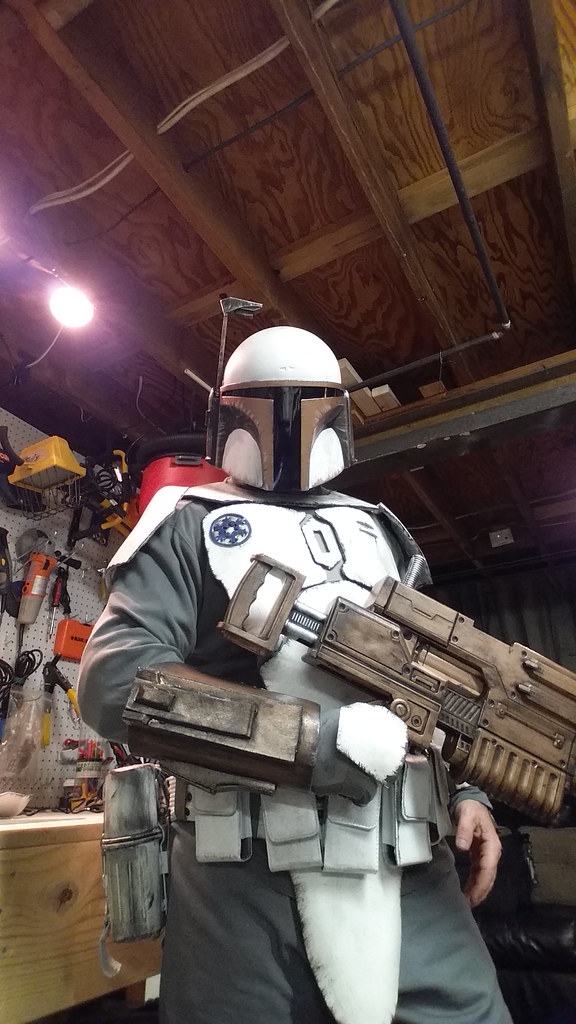
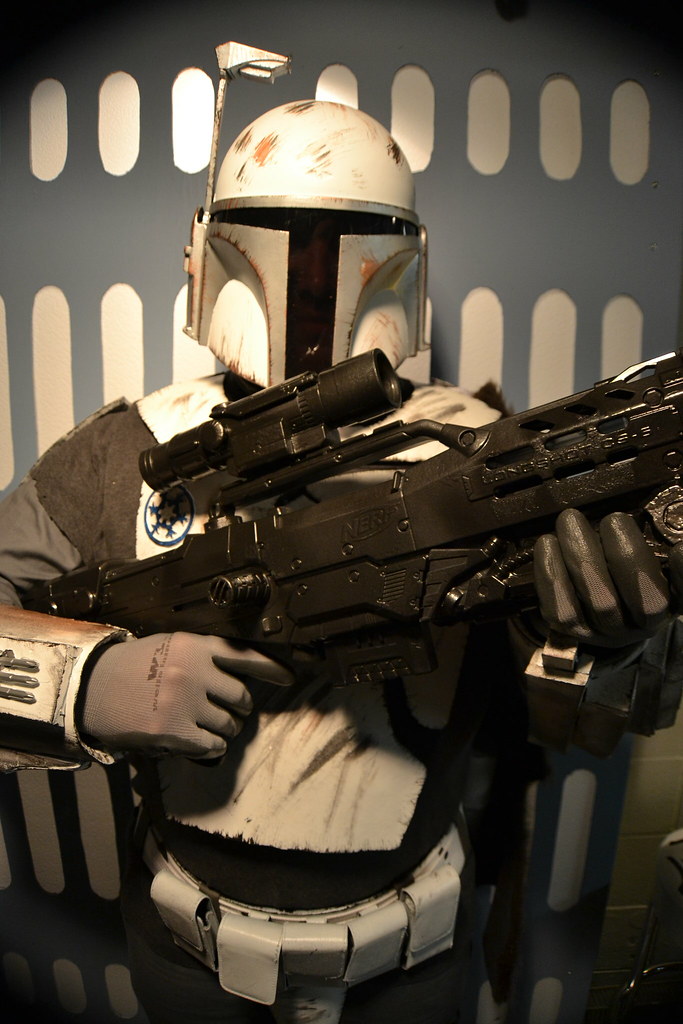
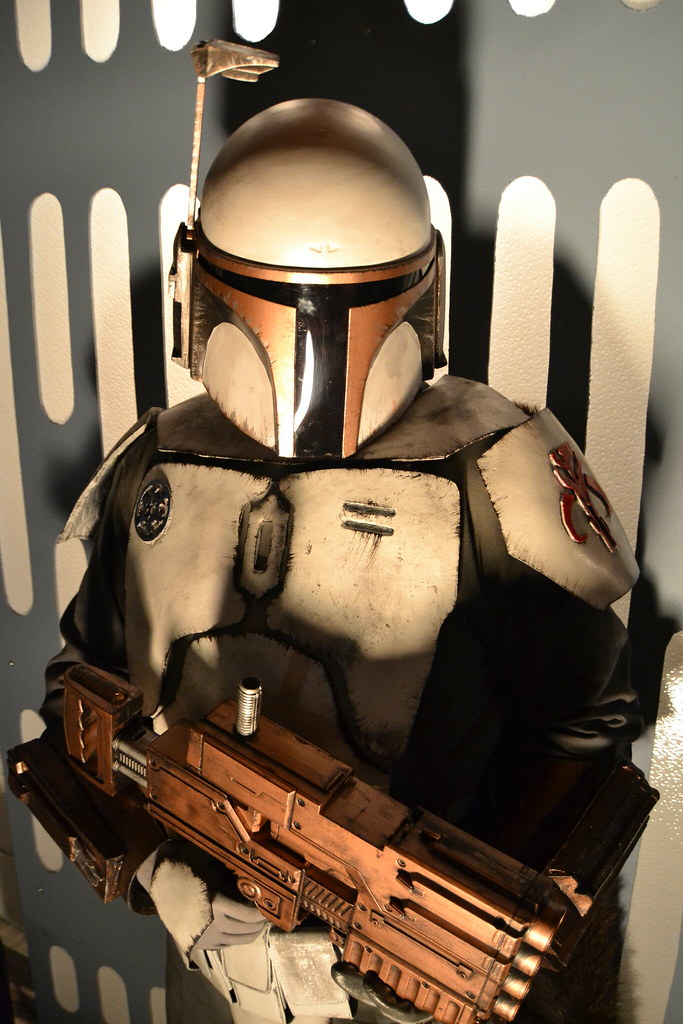
I have a really great Boba Fett shirt that I used as my inspiration.
 20150407_173749 by bobby_whalen, on Flickr
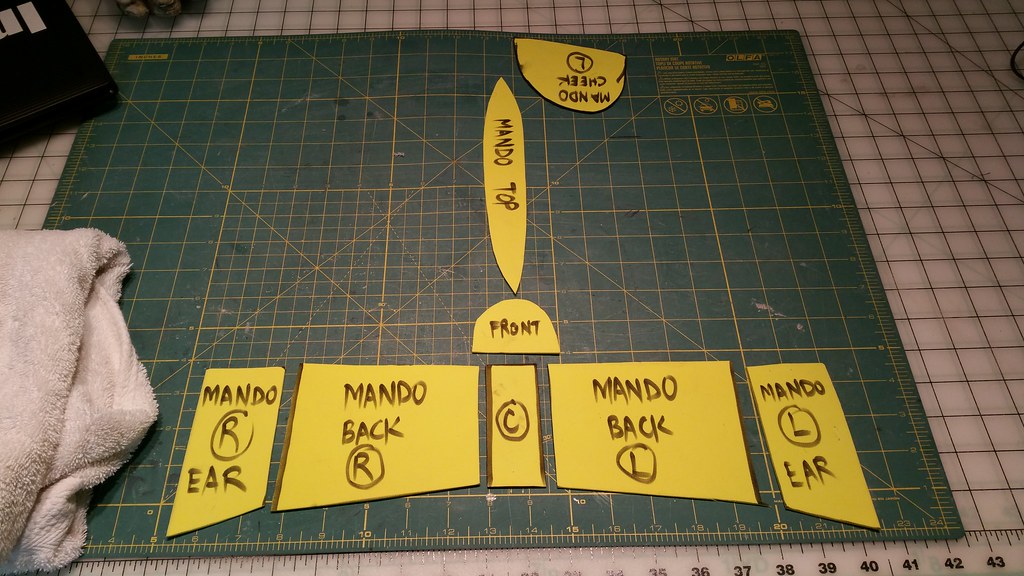
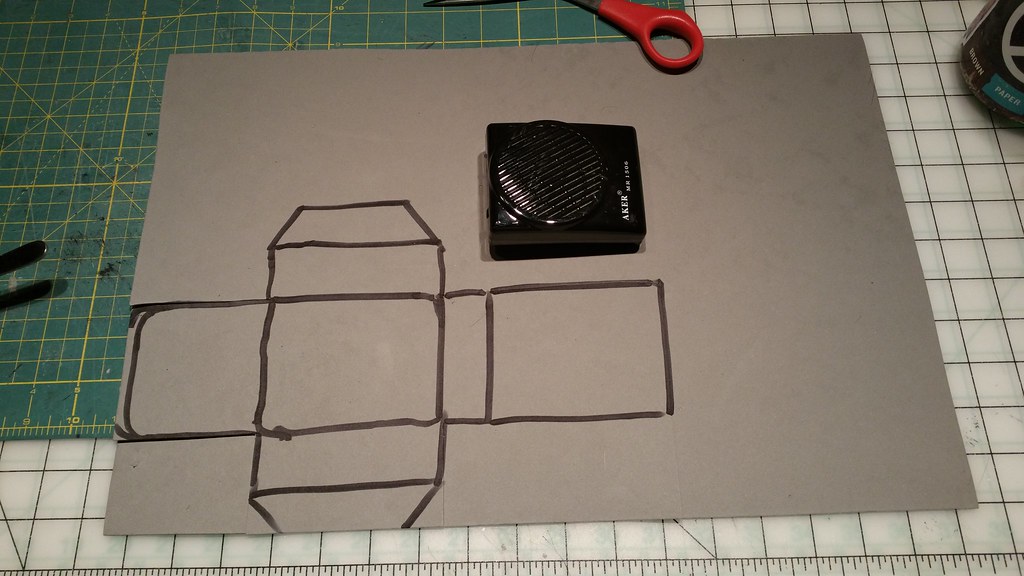
Since my posterboard was black I used chalk for the drawings. Here's how they turned out...
 20150401_002919 by bobby_whalen, on Flickr
I found these grey jumpsuits at Ollie's Bargain Outlet for $20.
 20150401_002858 by bobby_whalen, on Flickr
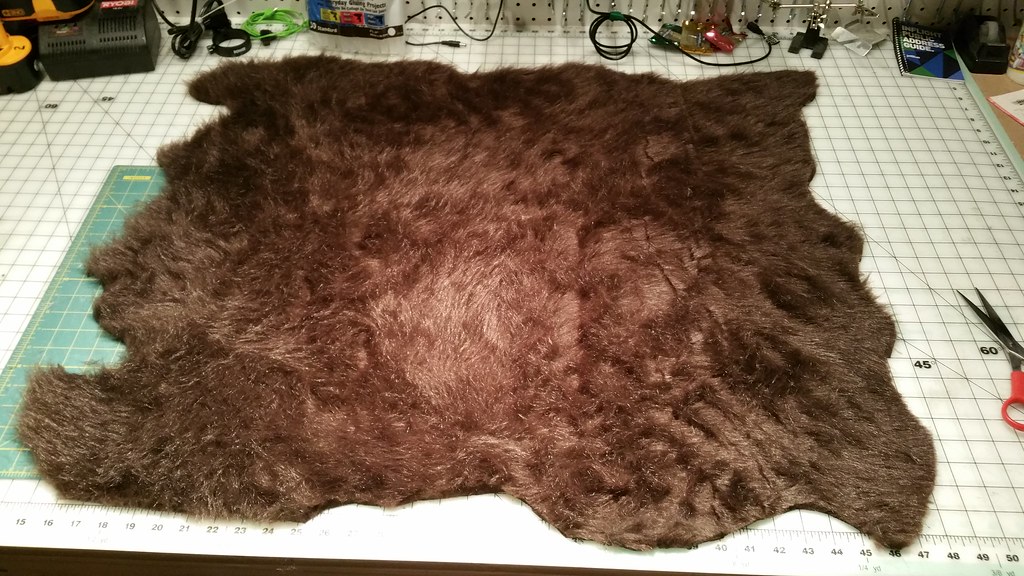
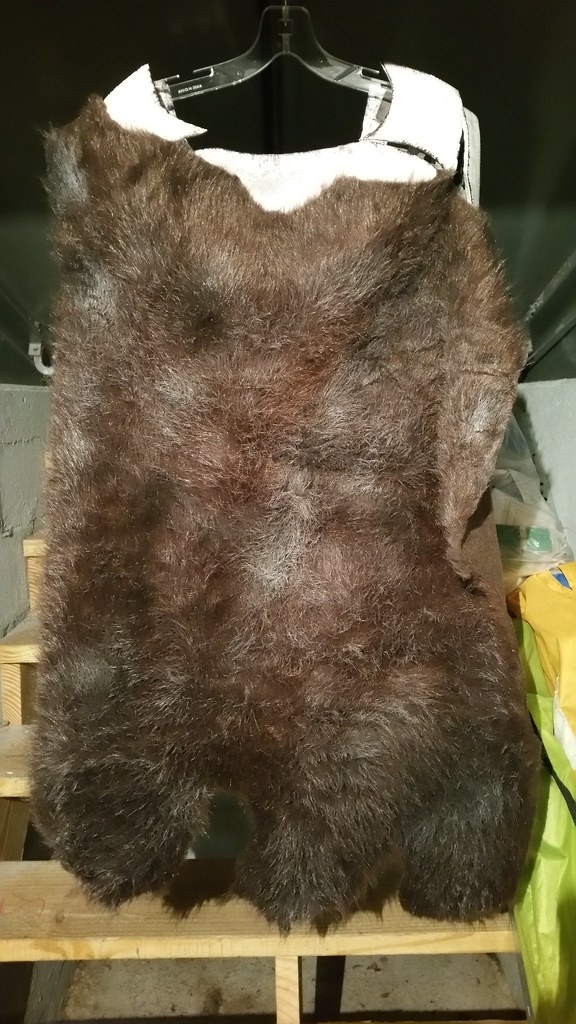
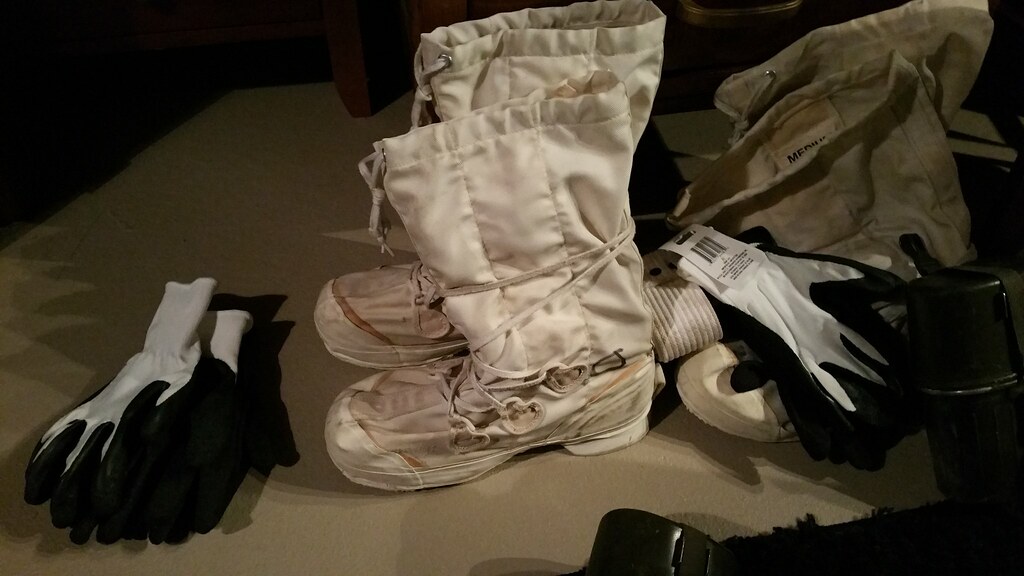
I found these used Mukluks at the local Army/Navy Surplus store for about $25.
 20150331_122904 by bobby_whalen, on Flickr
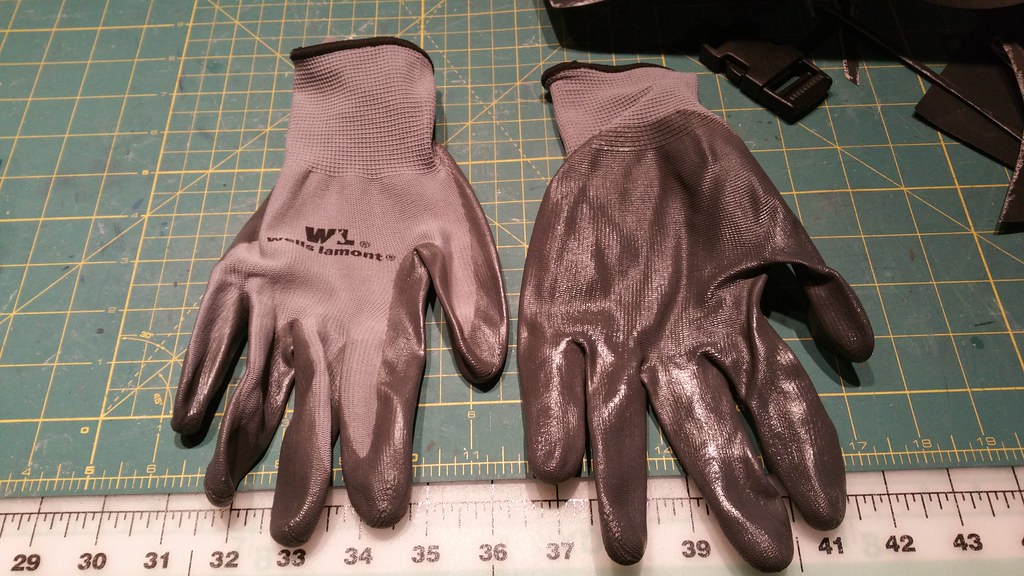
These gloves were $1 at Walmart.
 20150401_002822 by bobby_whalen, on Flickr
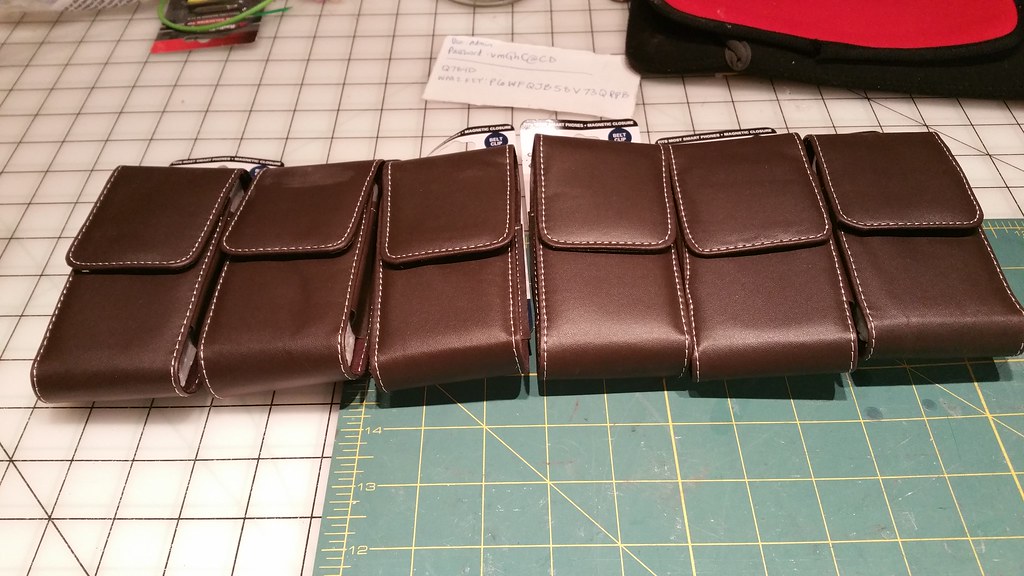
I found these cell phone cases for $1 each at Dollar Tree.
 20150401_004947 by bobby_whalen, on Flickr
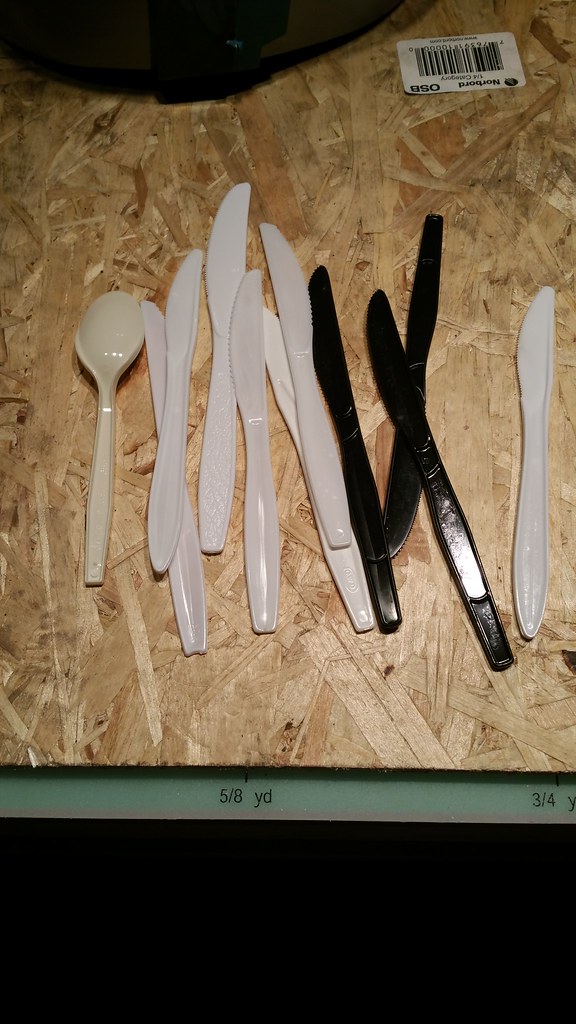
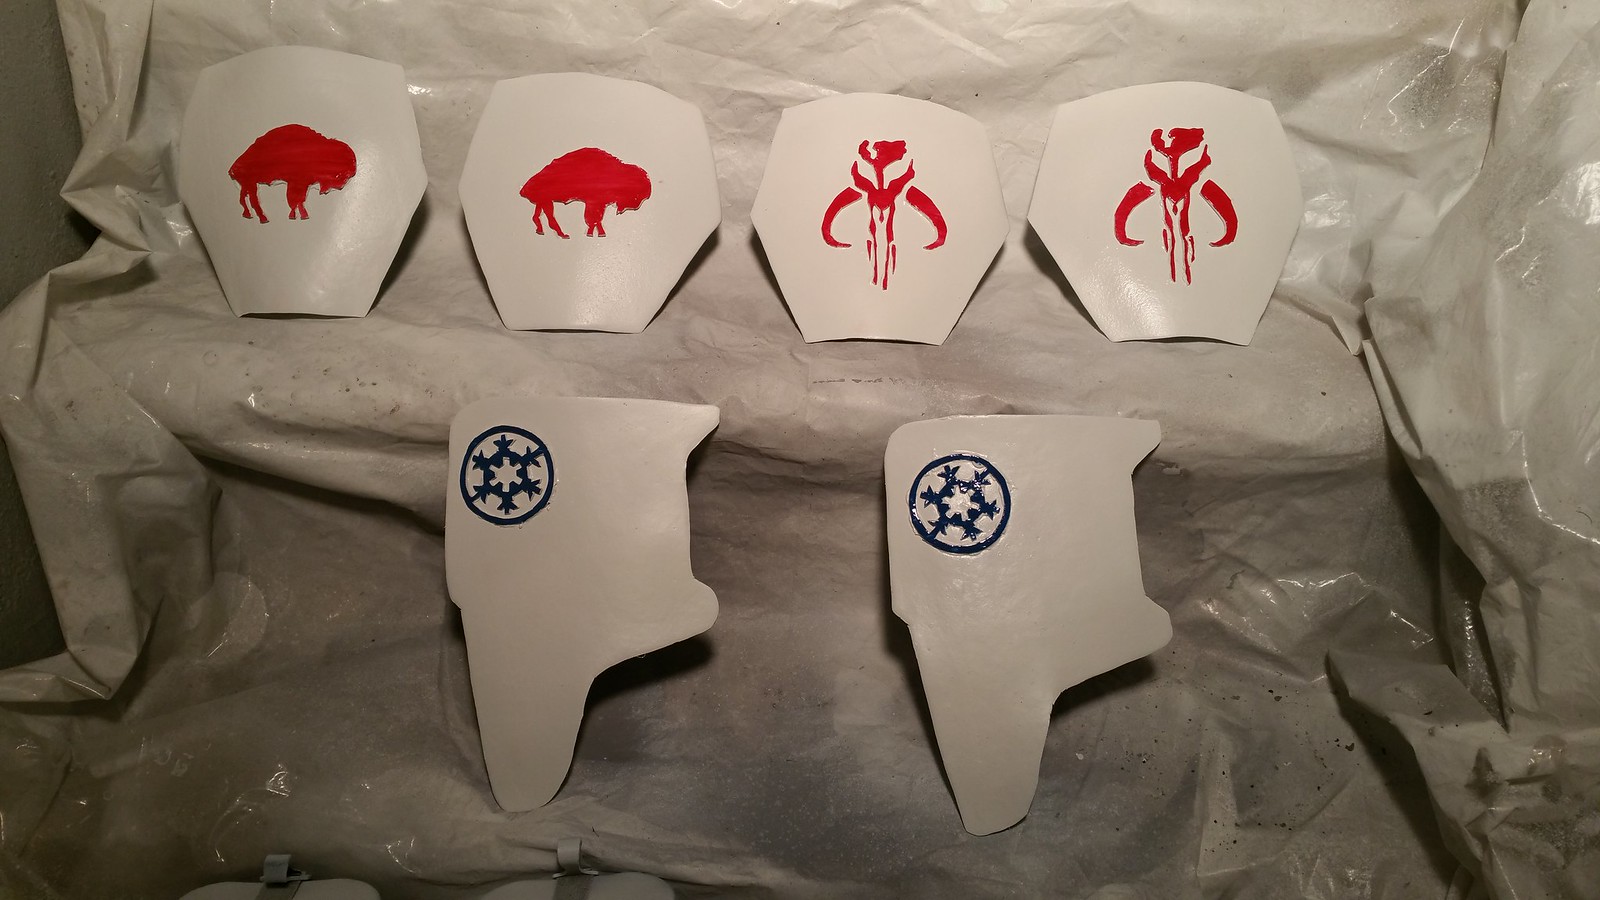
For the knees I found some images online that I could print out on scrap paper. For the shoulders I just free-hand drew those...
 20150401_165431 by bobby_whalen, on Flickr
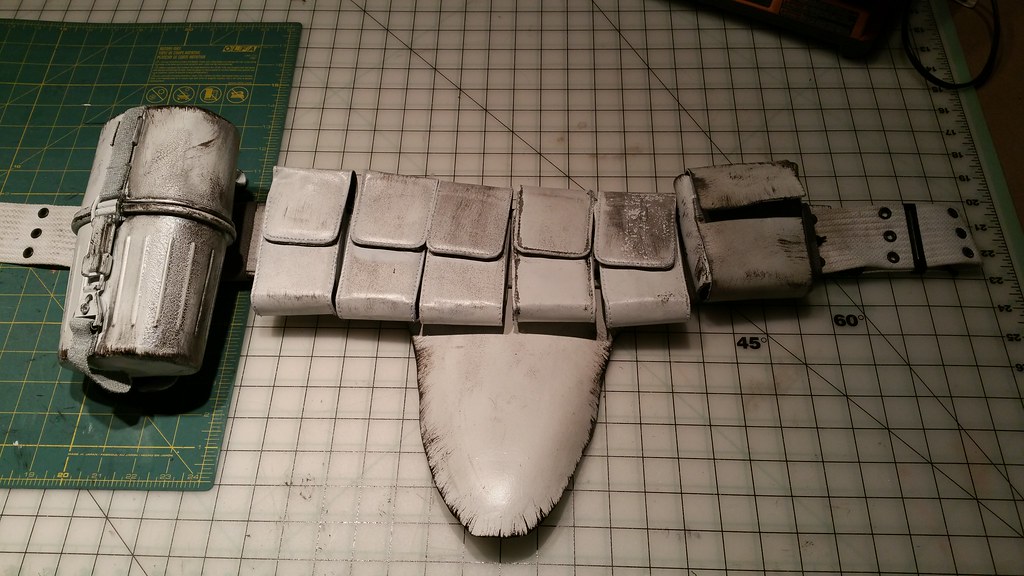
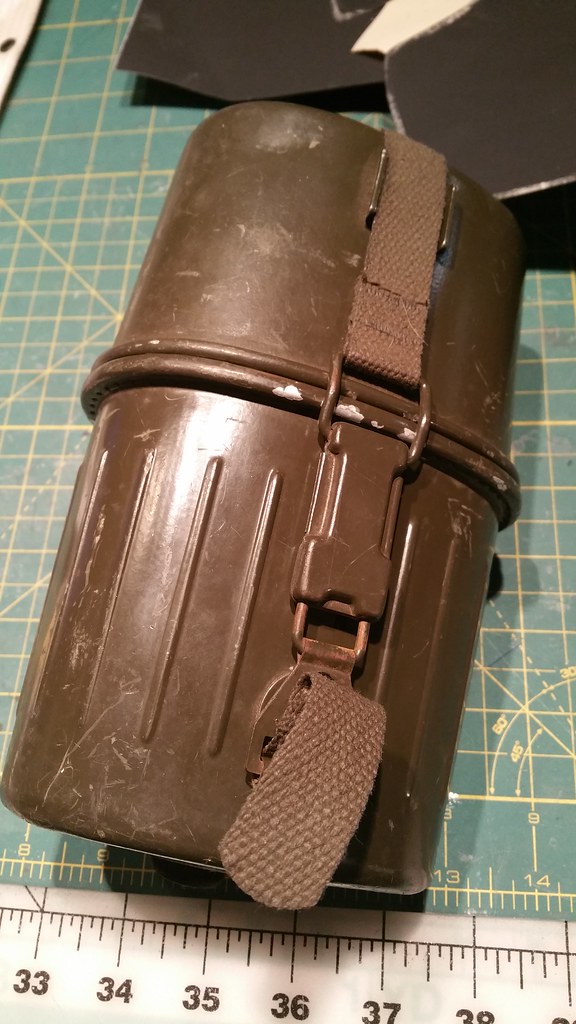
Another cool accessory for the belt. About $8 from the surplus store.
 20150401_003147 by bobby_whalen, on Flickr
The belt itself was about $4. (The tag says $9.95, but all used merchandise is always 60% off...)
 20150401_002841 by bobby_whalen, on Flickr
These balaclavas were actually full price since they were new. $9.
 20150401_141553 by bobby_whalen, on Flickr
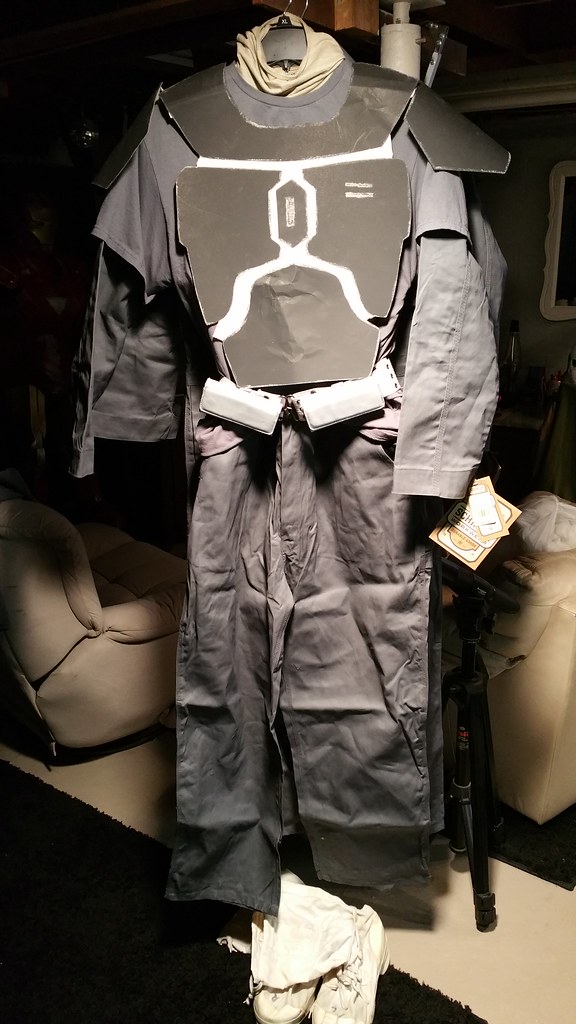
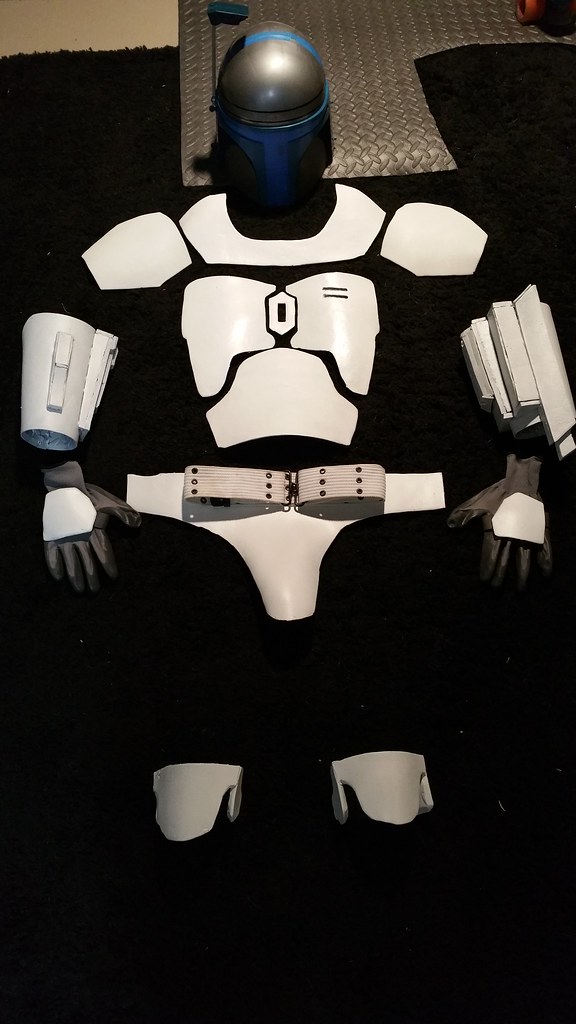
Here's a look at how my parts first began to come together.
 20150401_162400 by bobby_whalen, on Flickr
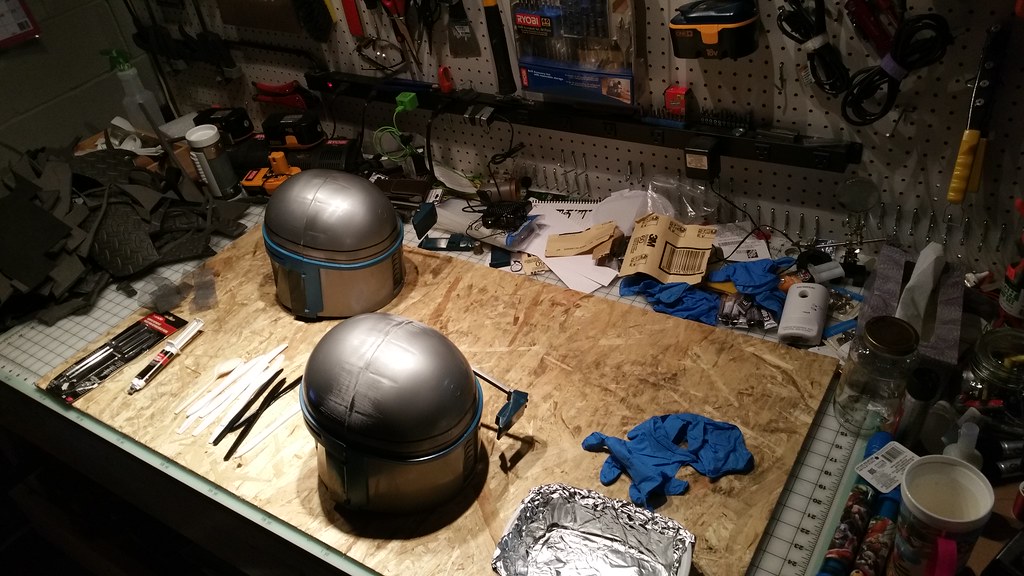
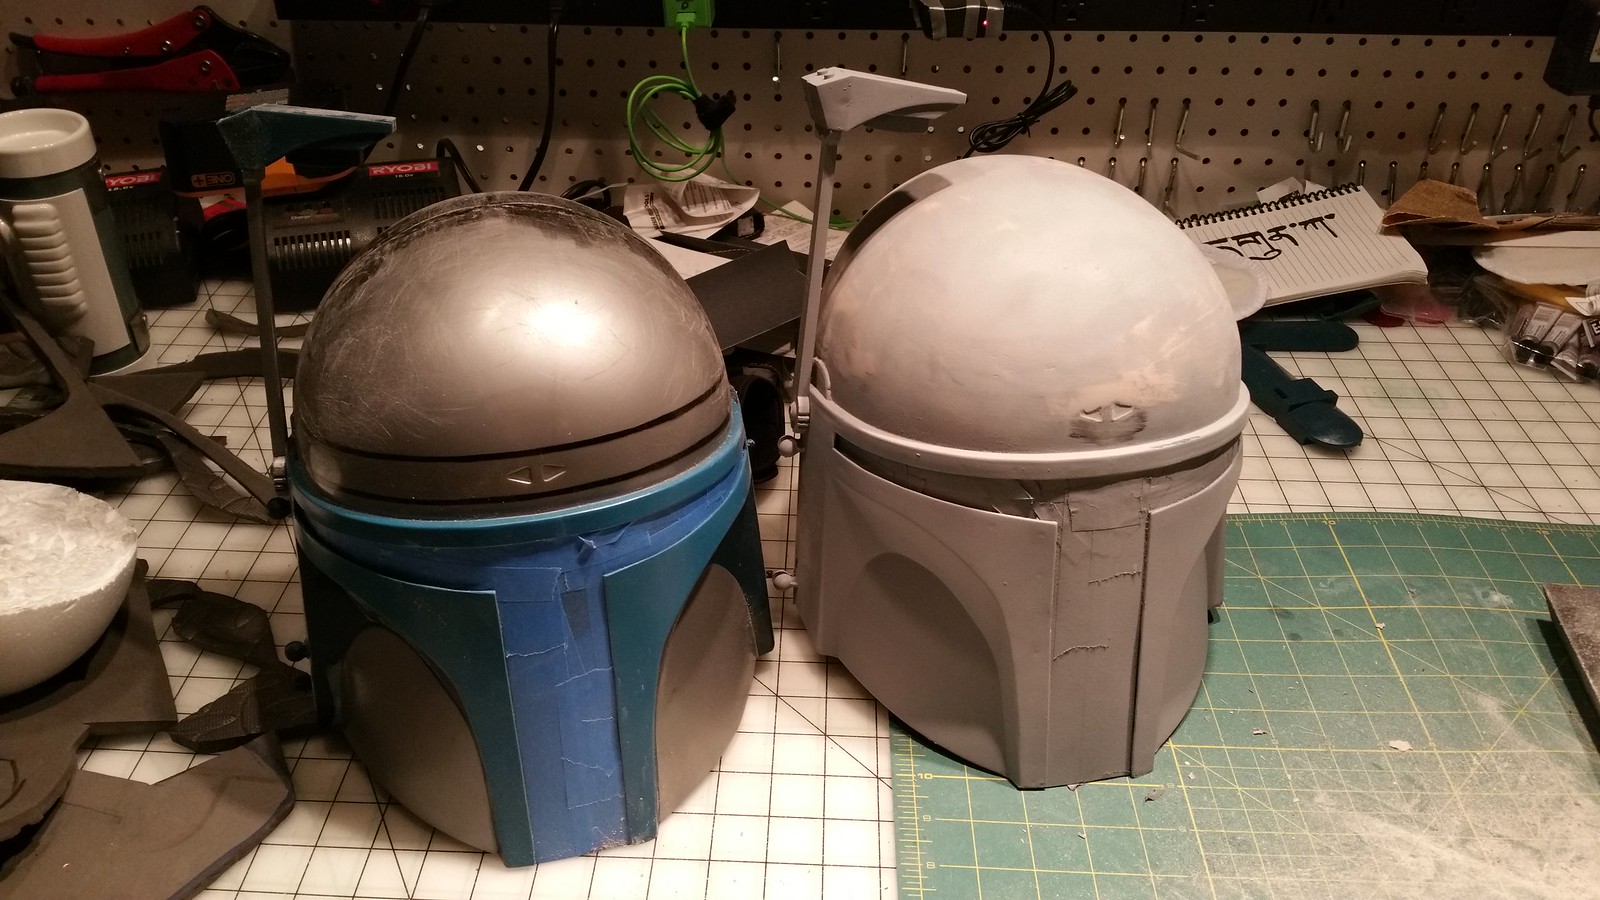
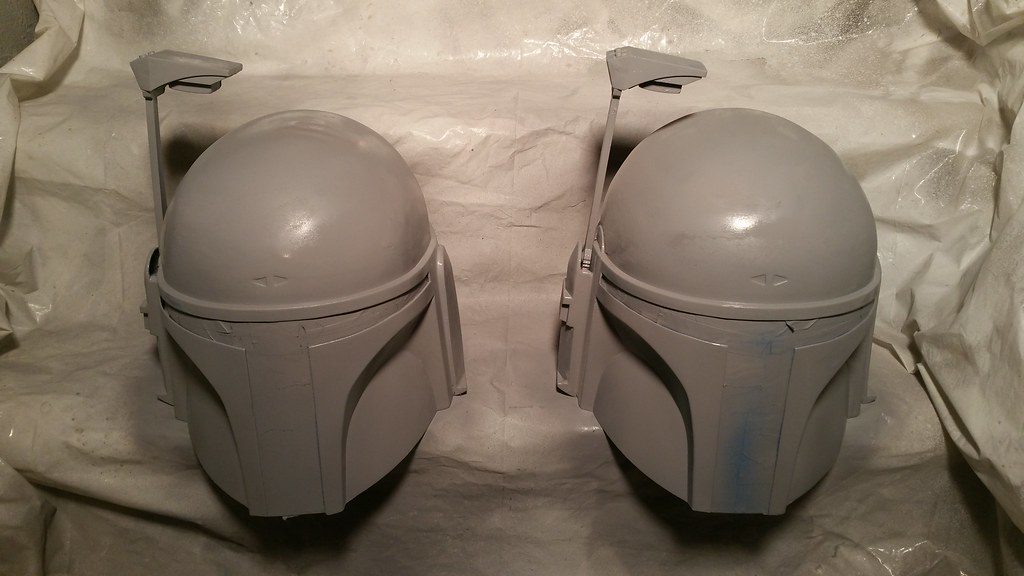
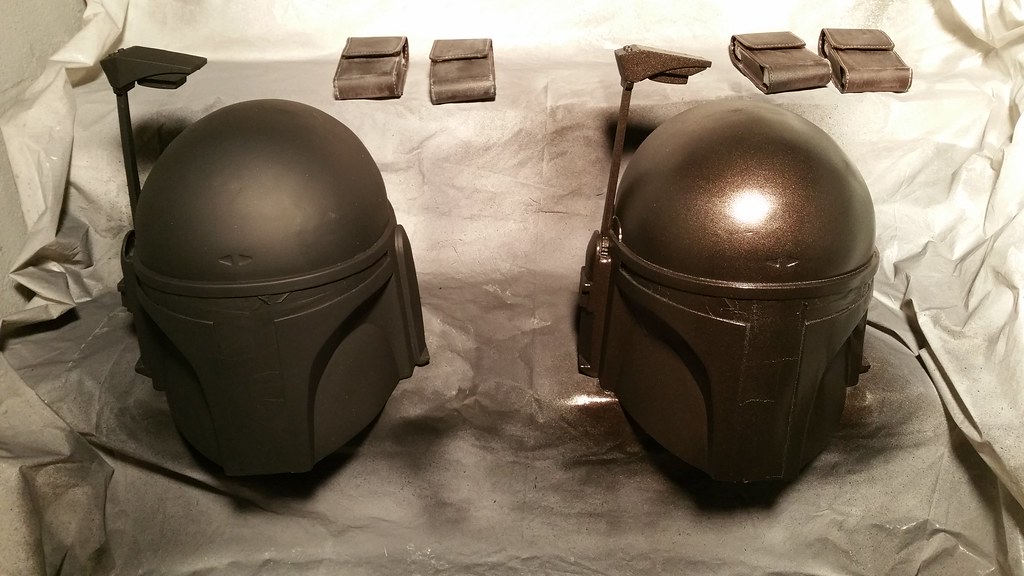
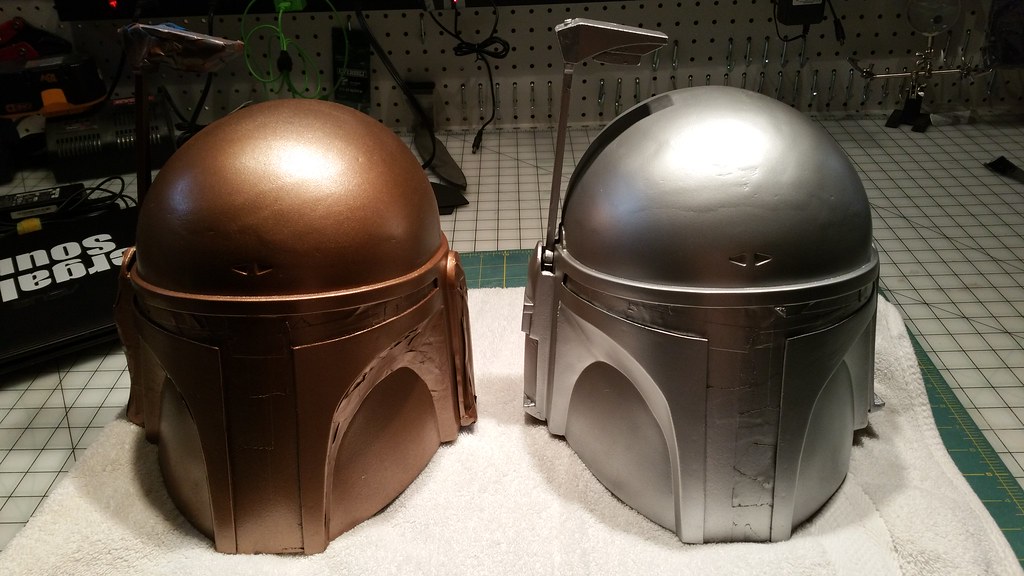
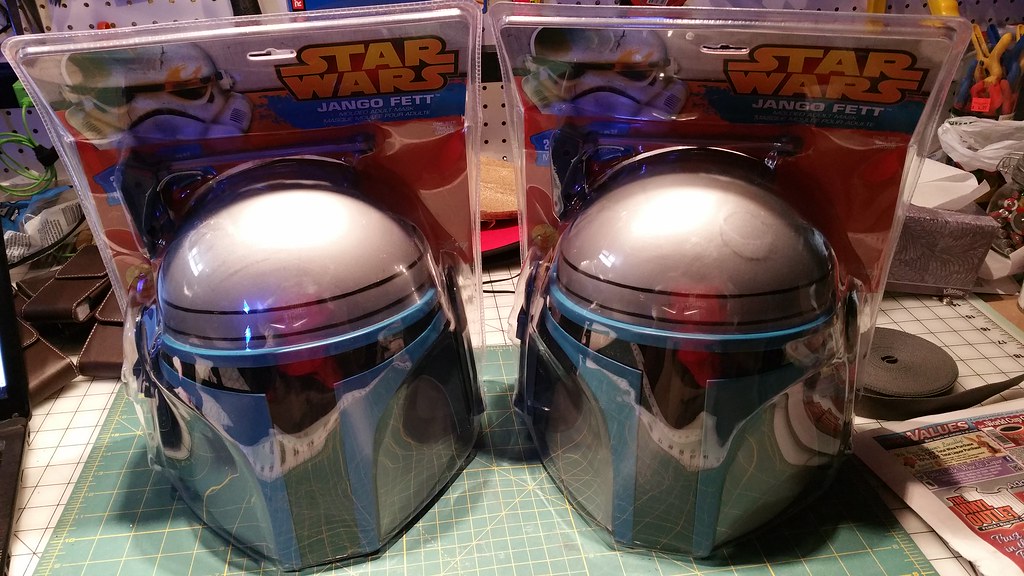
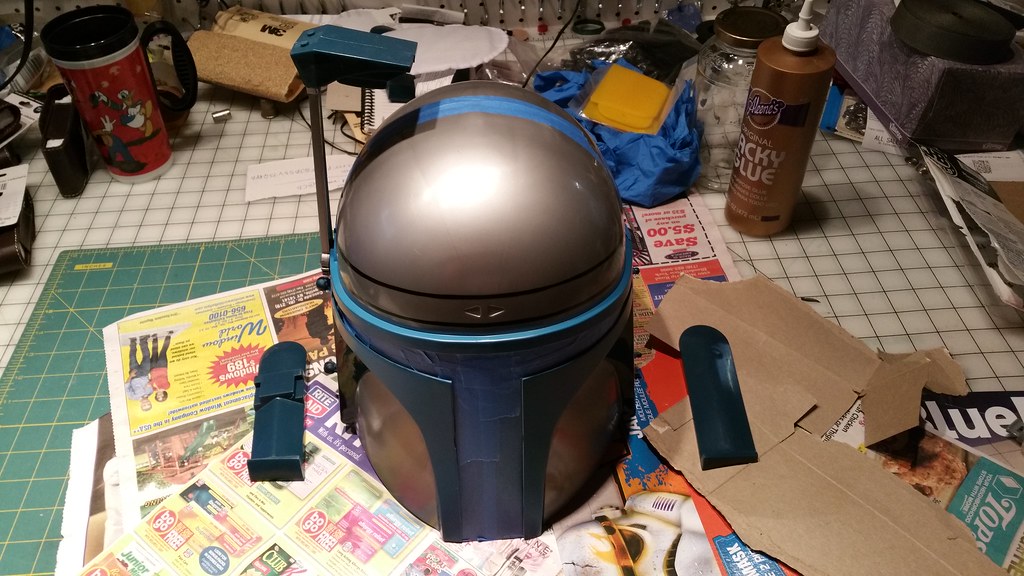
We ordered these super cheep Jango Fett helmets to use. They were $34. LOTS of modifications will be needed to bring these up to speed.
 20150406_141601 by bobby_whalen, on Flickr
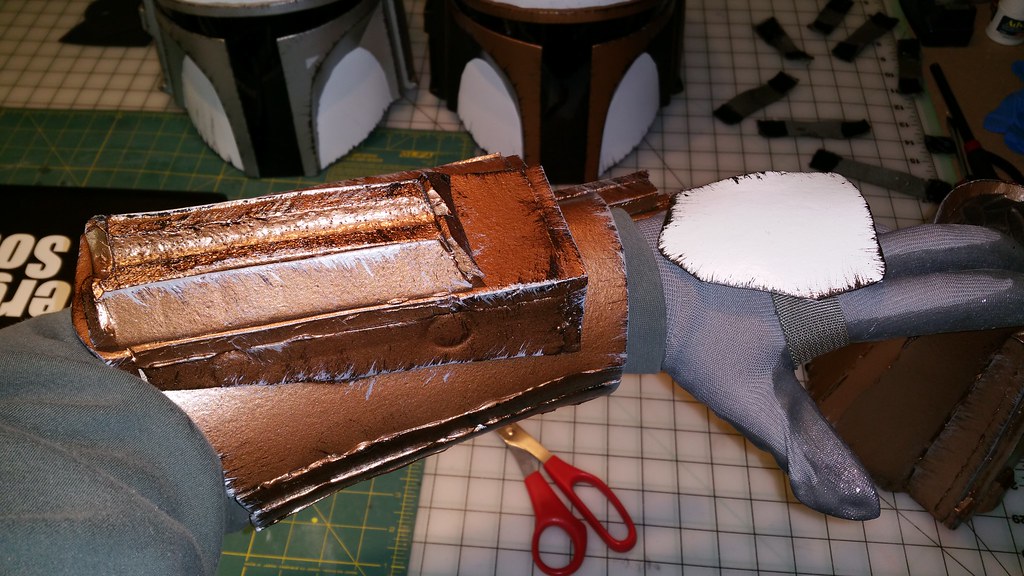
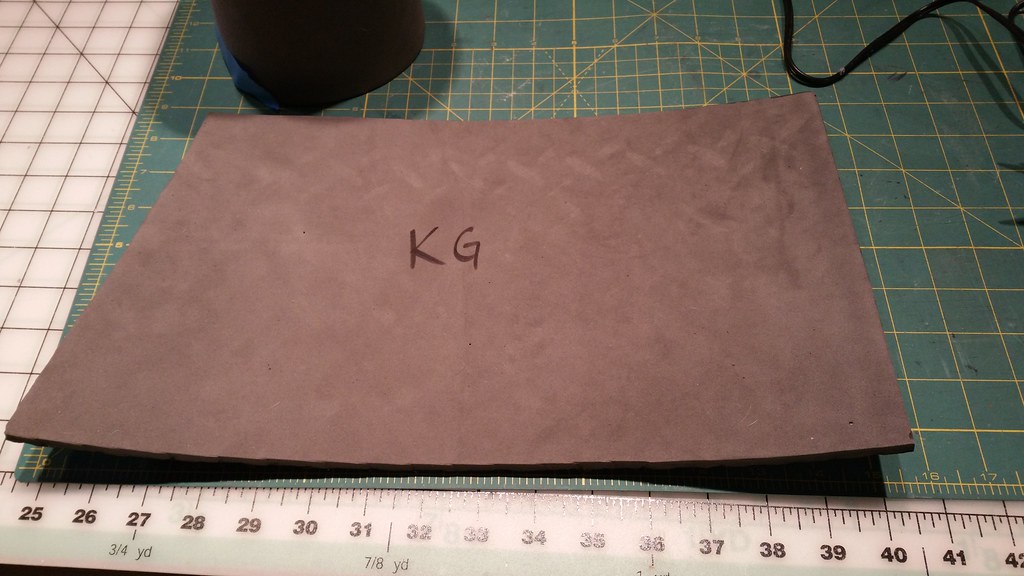
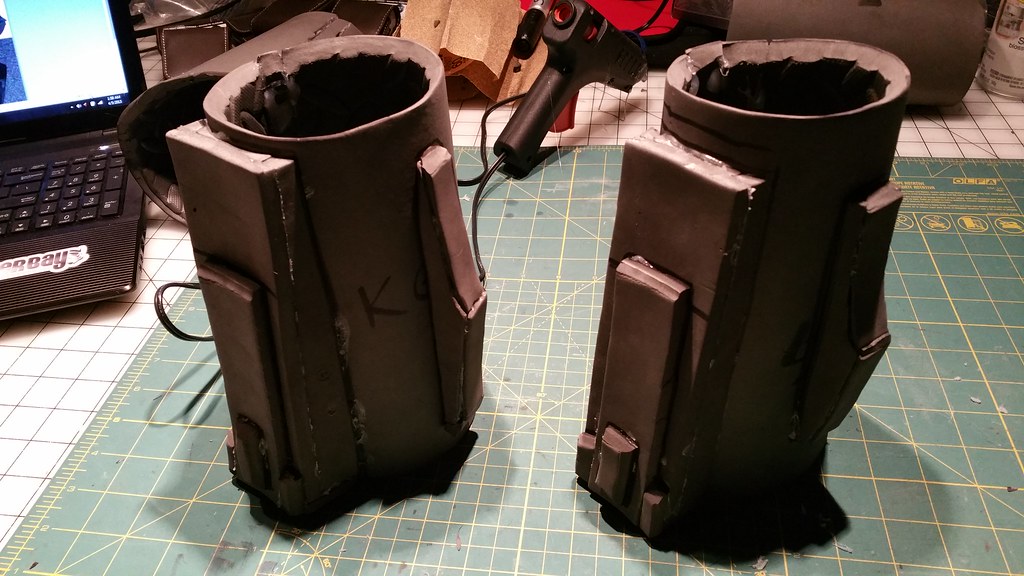
The forearms were the first part I started to build. KG stands for "Kevin's Gauntlet".
 20150401_161036 by bobby_whalen, on Flickr
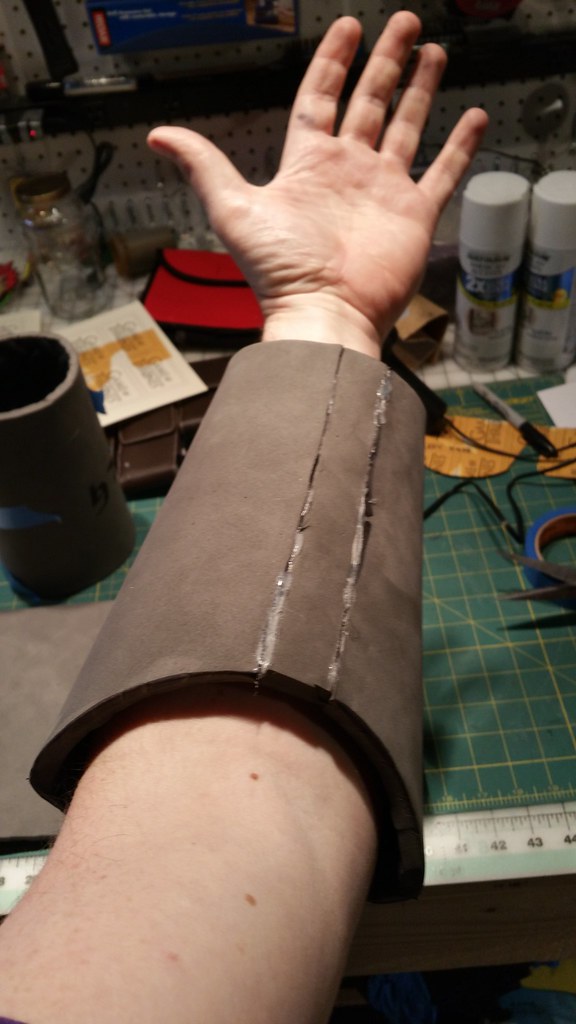
Got the basic shape down. Then started trimming from there...
 20150401_151326 by bobby_whalen, on Flickr
 20150401_161101 by bobby_whalen, on Flickr
 20150401_161109 by bobby_whalen, on Flickr
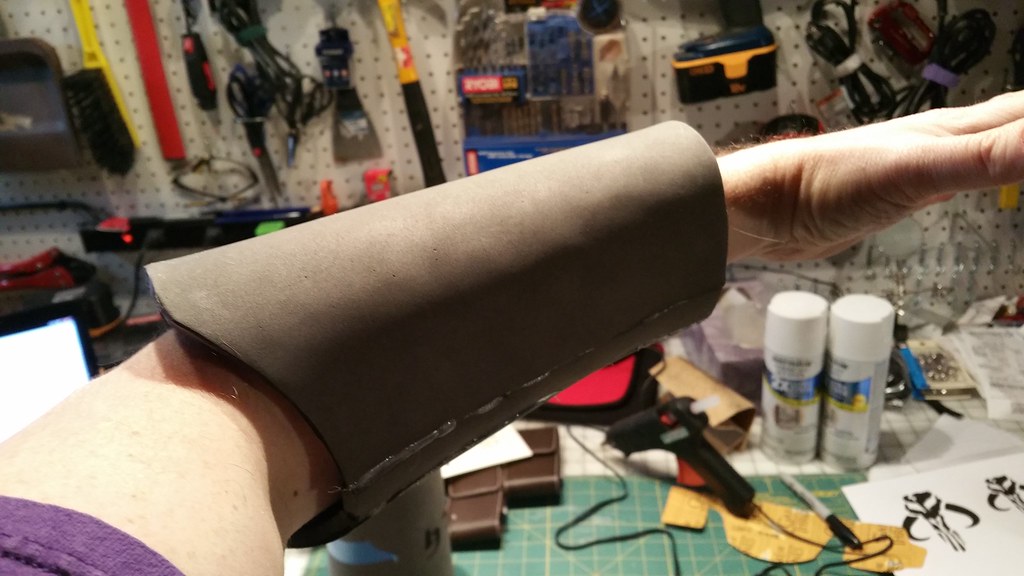
Just kept adding layers of foam until the forearms started to look more like Boba's...
 20150405_015957 by bobby_whalen, on Flickr
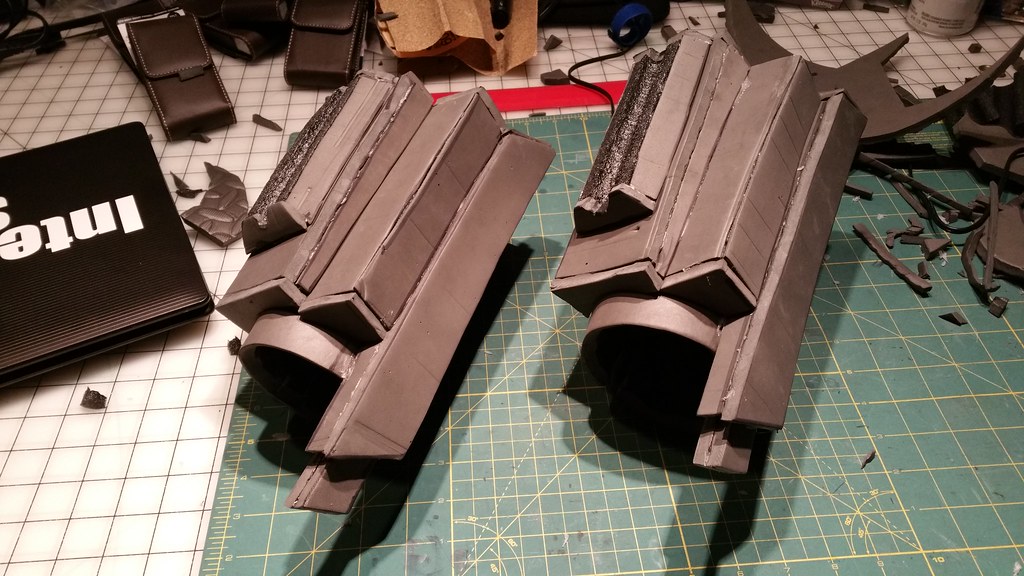 20150405_051127 by bobby_whalen, on Flickr
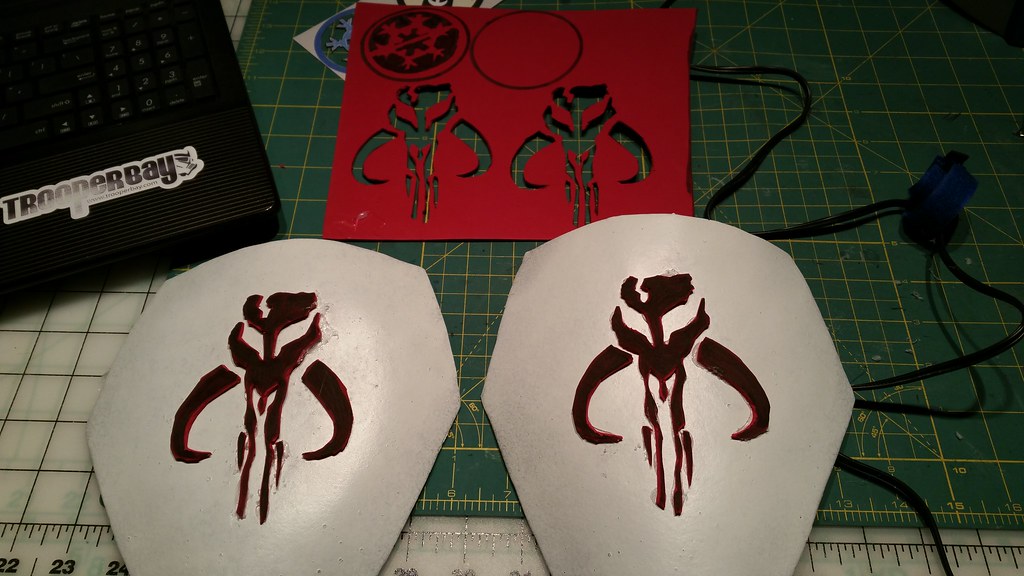
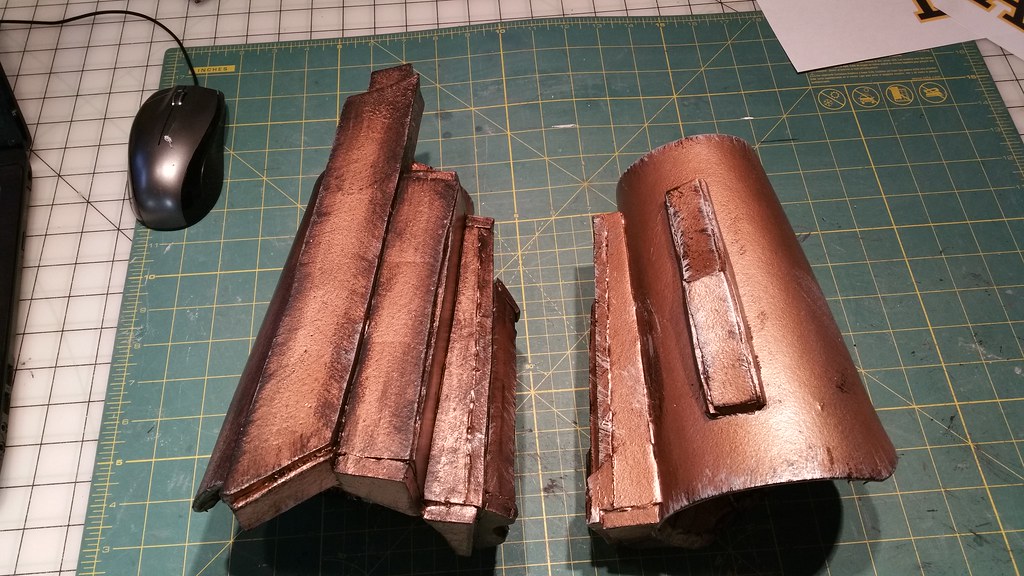
Next I traced the posterboard patterns onto the foam. I found that one of the keys is to trim the edges of the foam. Once everything was cut out I used my Heat Gun to shape the foam and "heat seal" it.
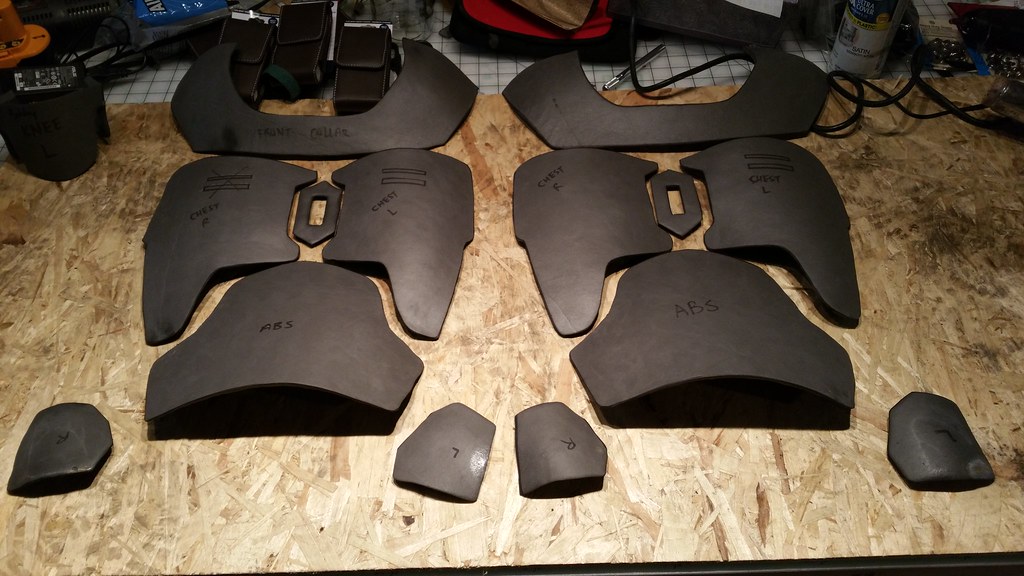 20150403_155554 by bobby_whalen, on Flickr
Little bit of fitting...
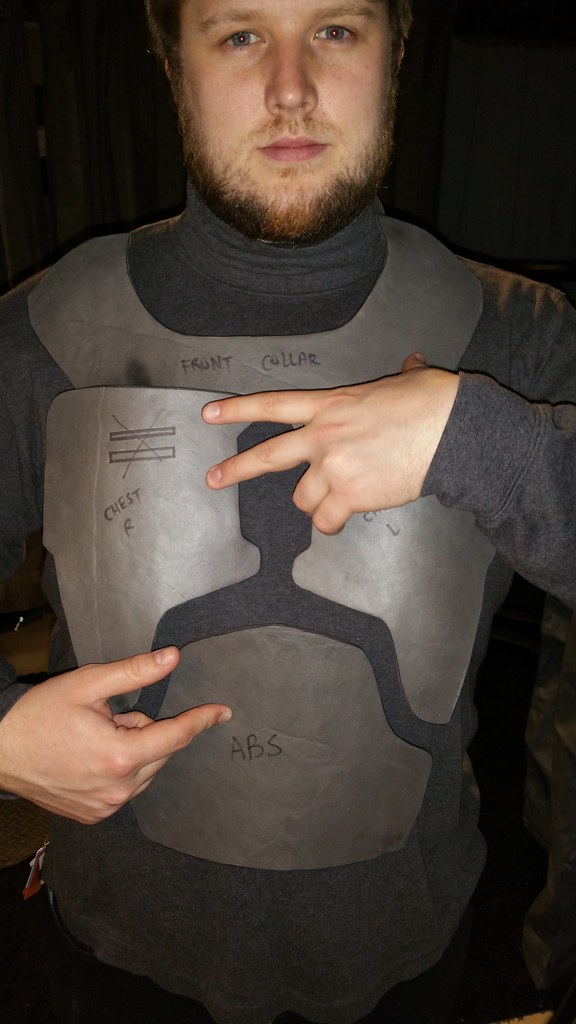 20150403_212416 by bobby_whalen, on Flickr
Before and after shots of the back. The one on the left is just flat foam. The one on the right is sculpted using heat.
 20150403_194754 by bobby_whalen, on Flickr
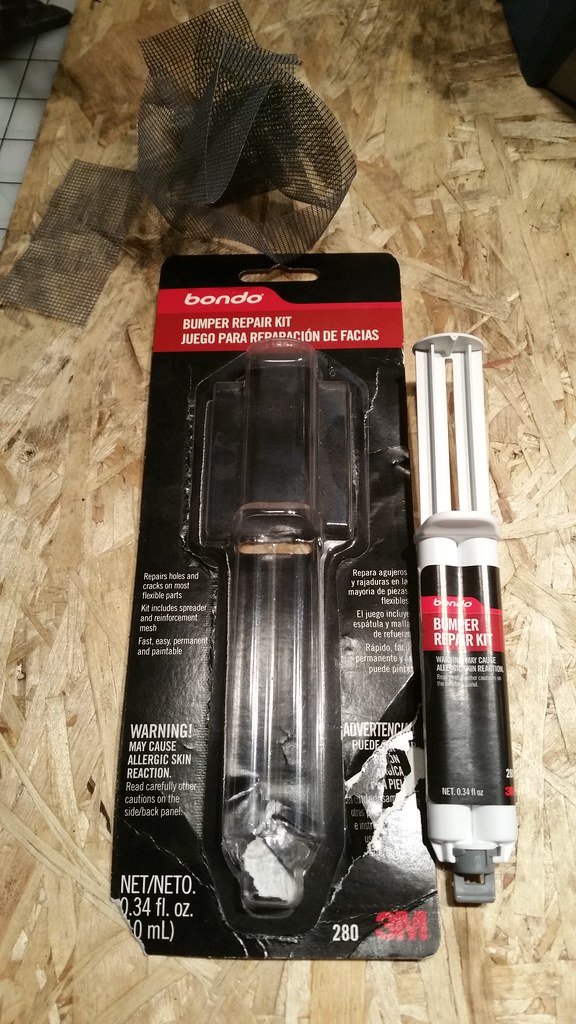
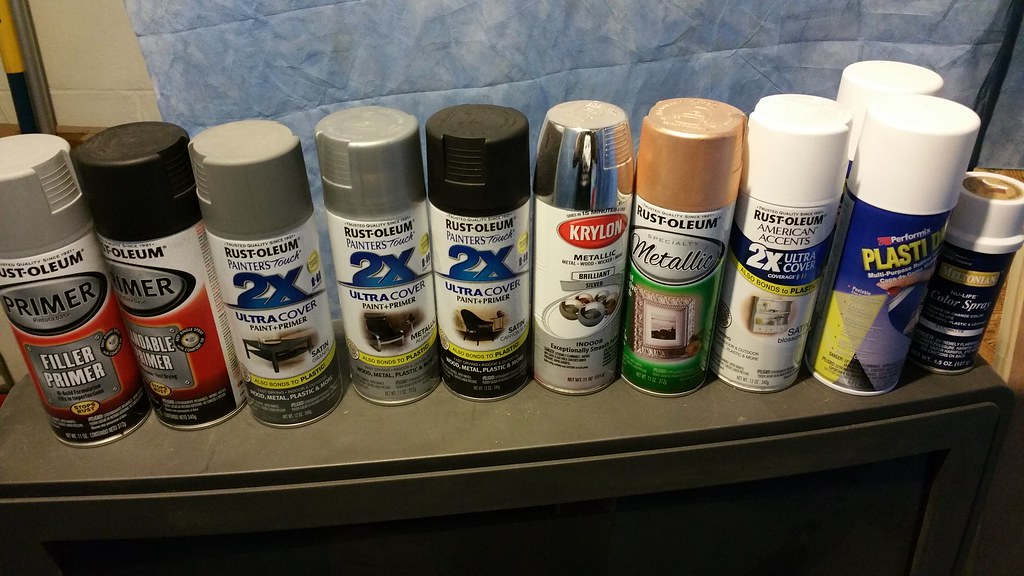
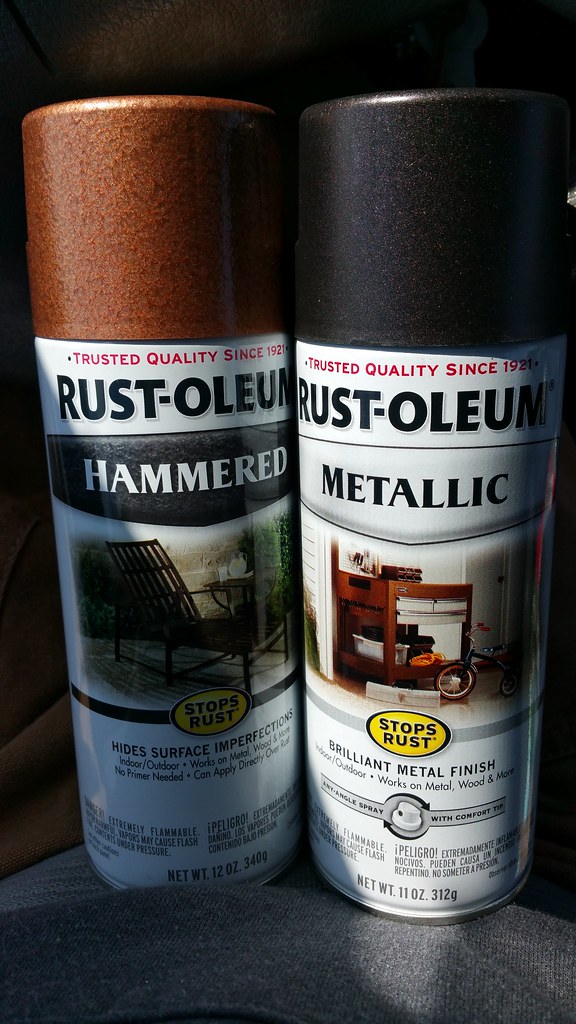
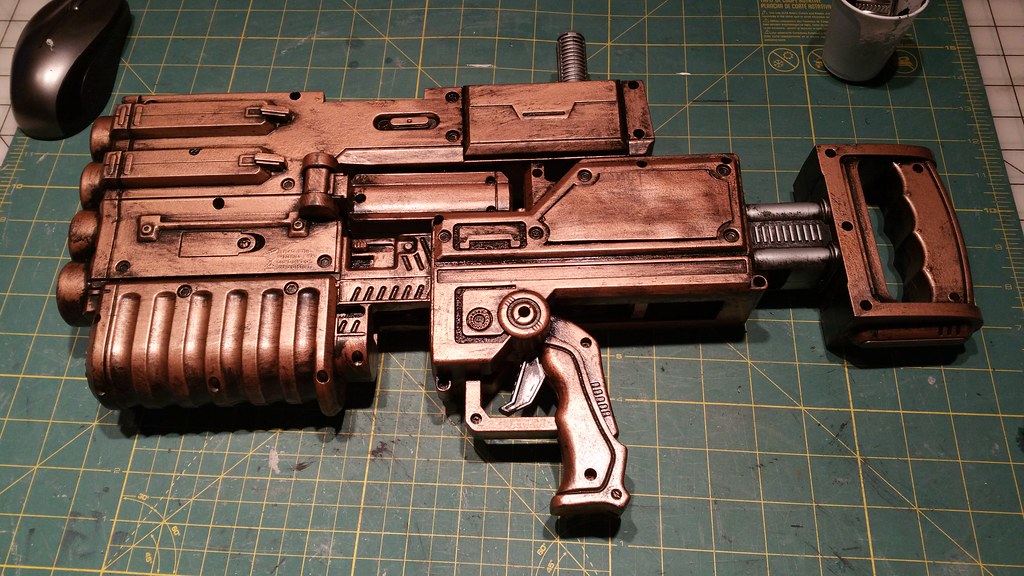
Lots of coats of Plasti-dip to get a good seal and finish. For 2 sets of armor, we have gone through about 5-6 cans of Plasti-dip. Not that cheep at $5.96 per can at Home Depot.
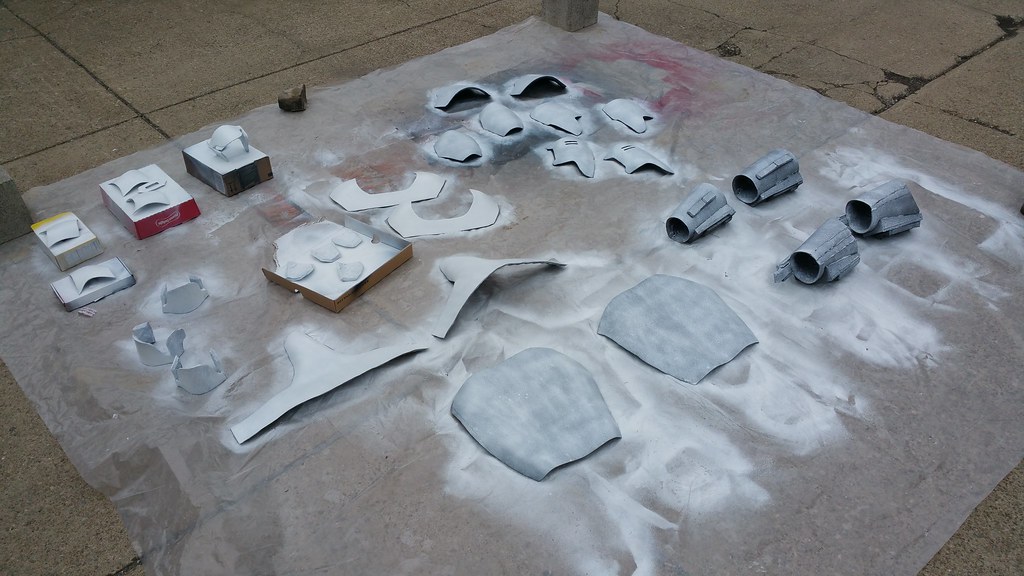 20150406_150456 by bobby_whalen, on Flickr
Here we are after a few coats.
 20150407_002014 by bobby_whalen, on Flickr
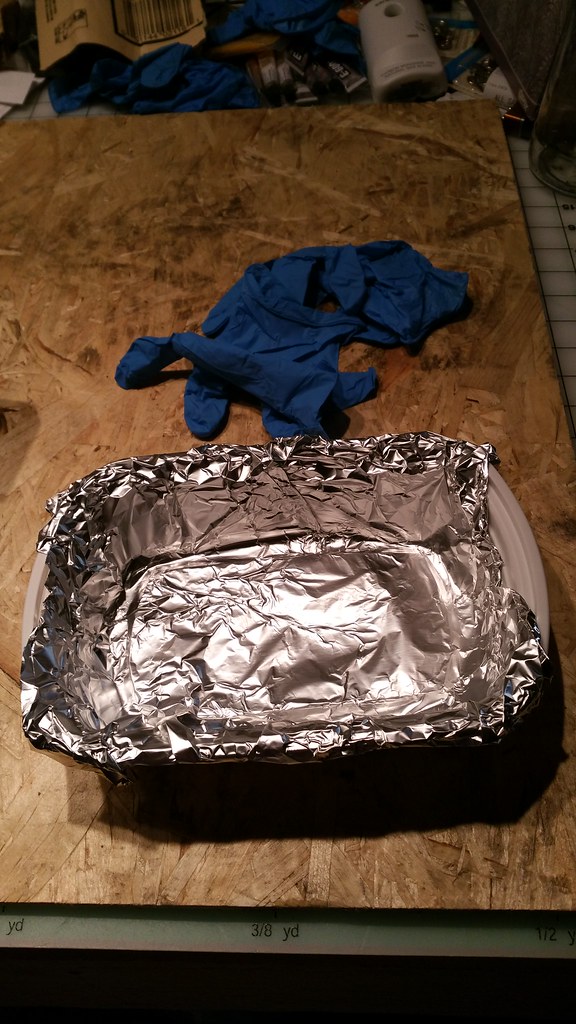
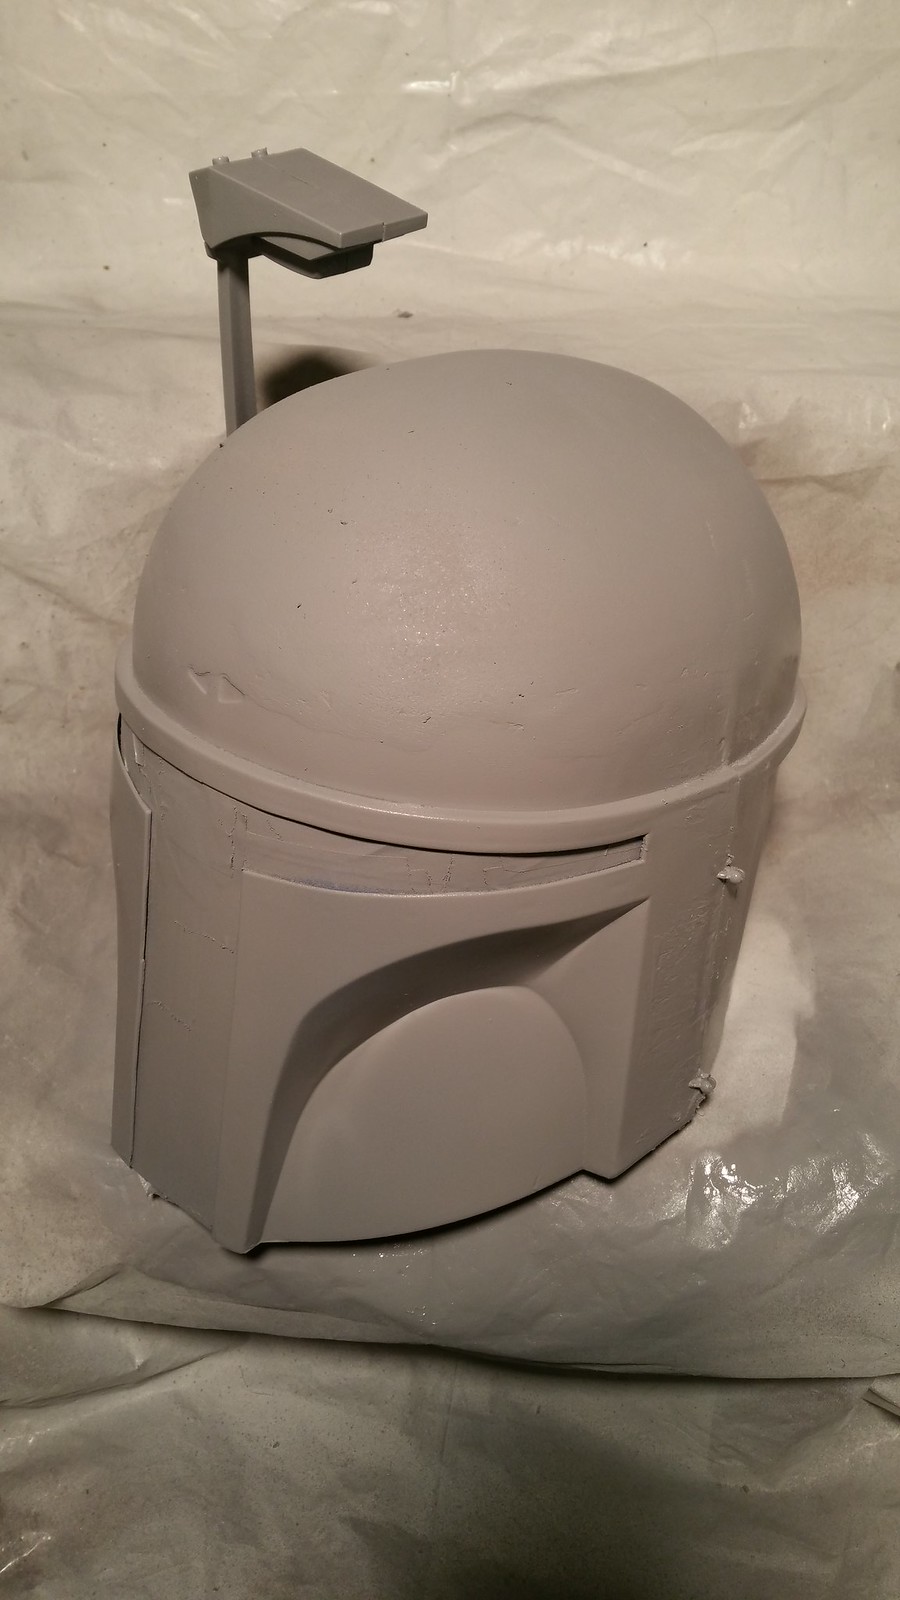
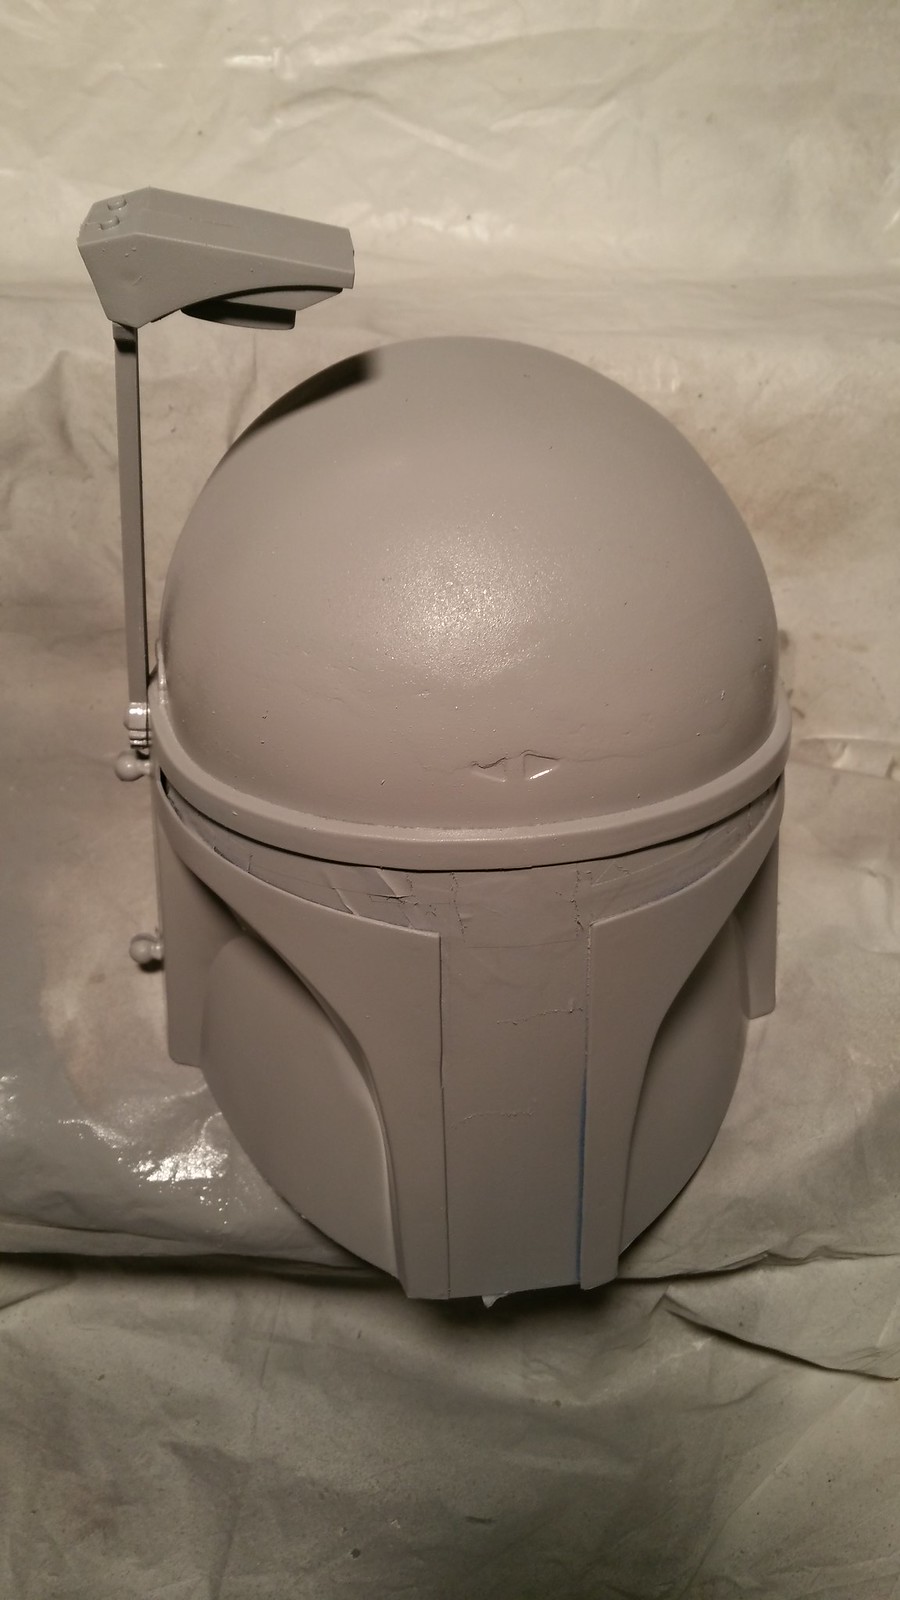
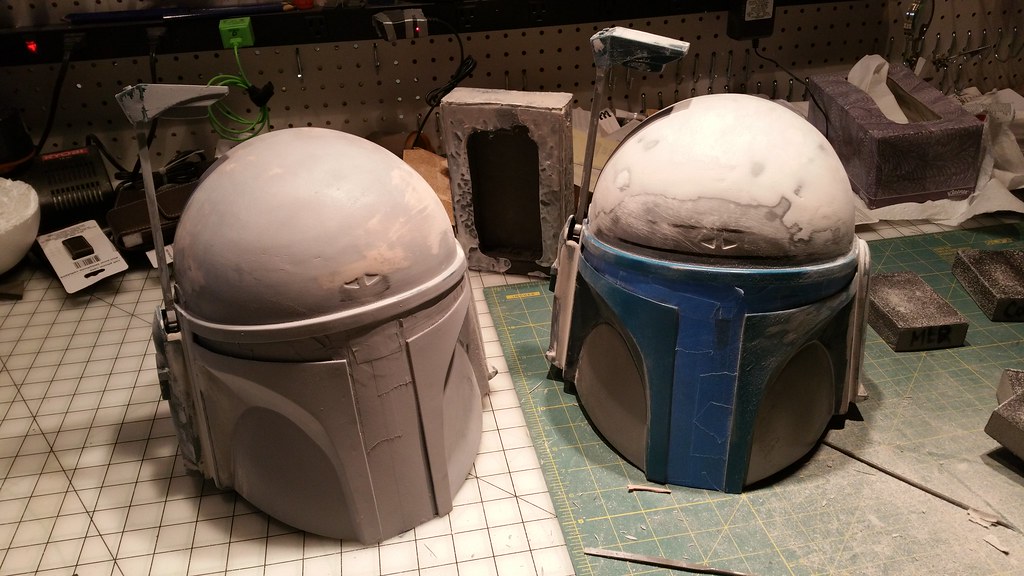
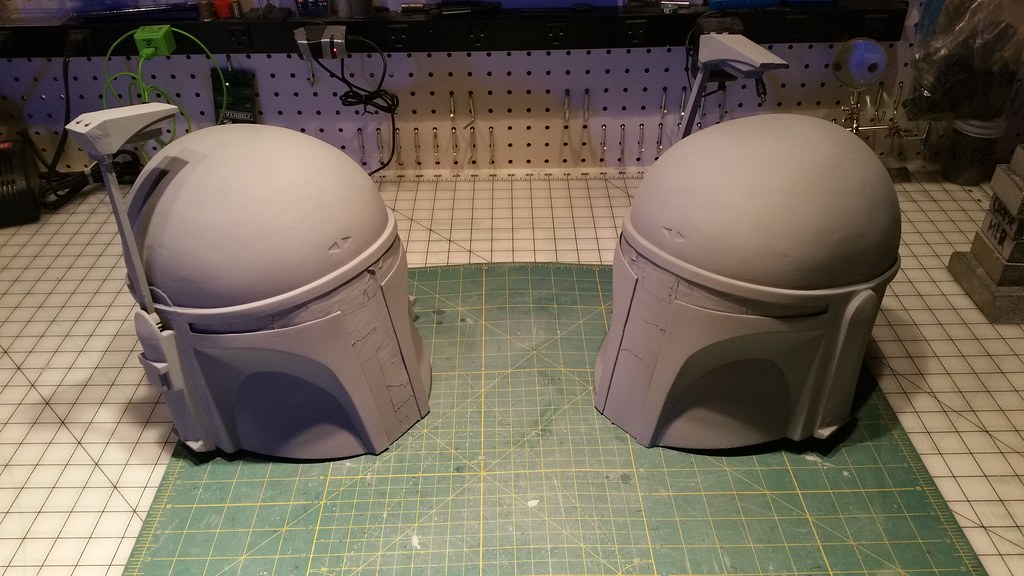
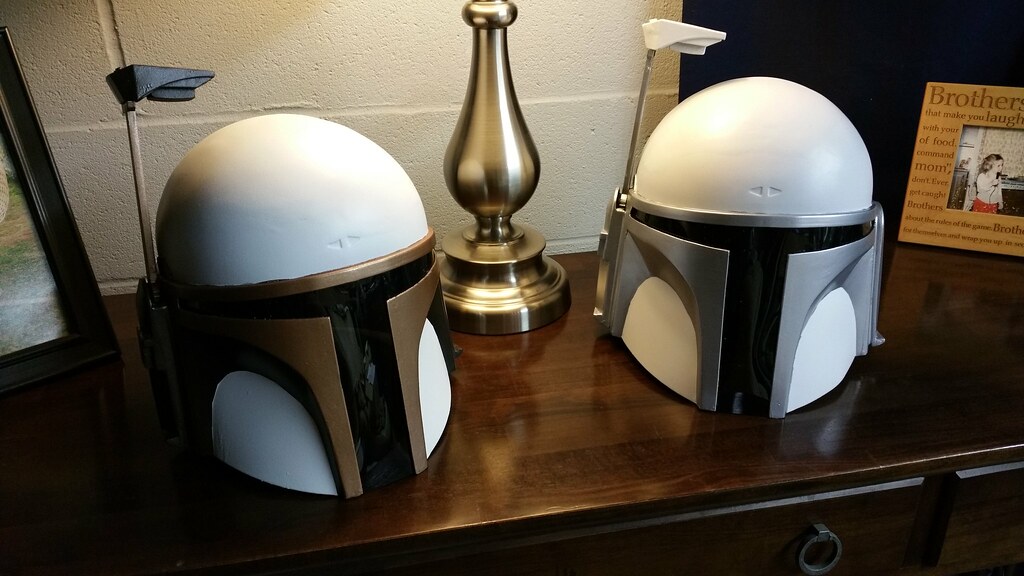
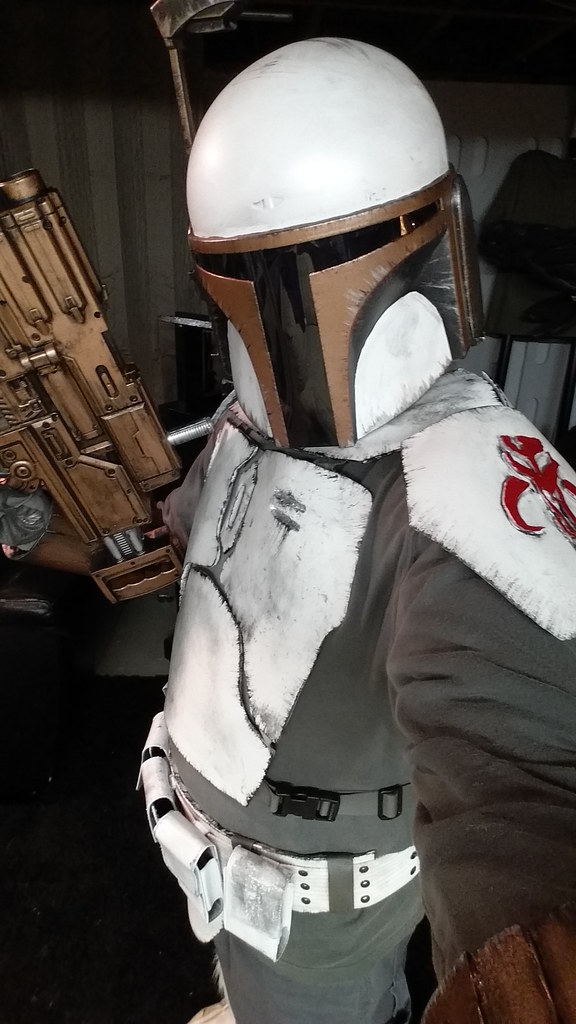
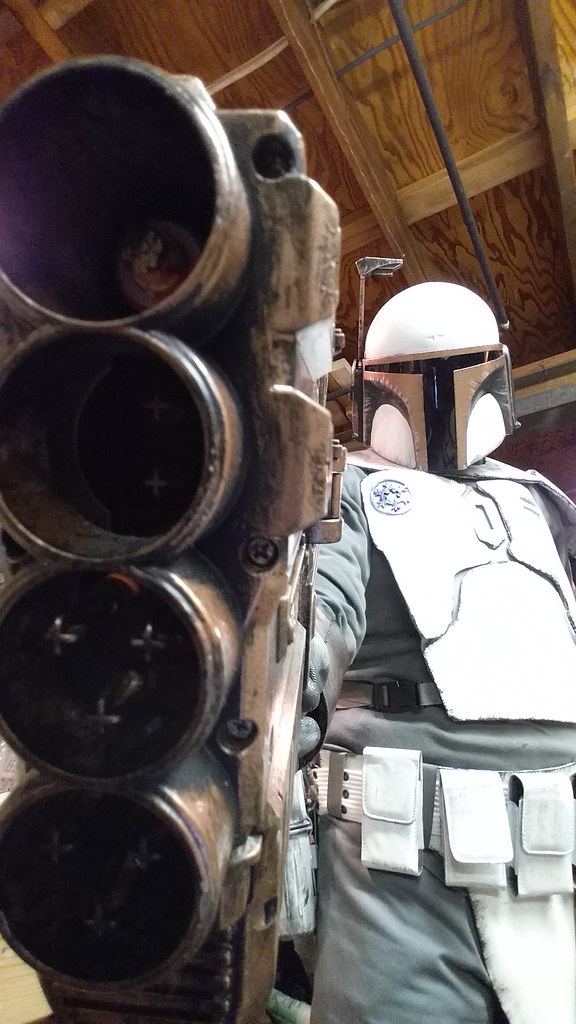
Now on to the helmet...
 20150406_142019 by bobby_whalen, on Flickr
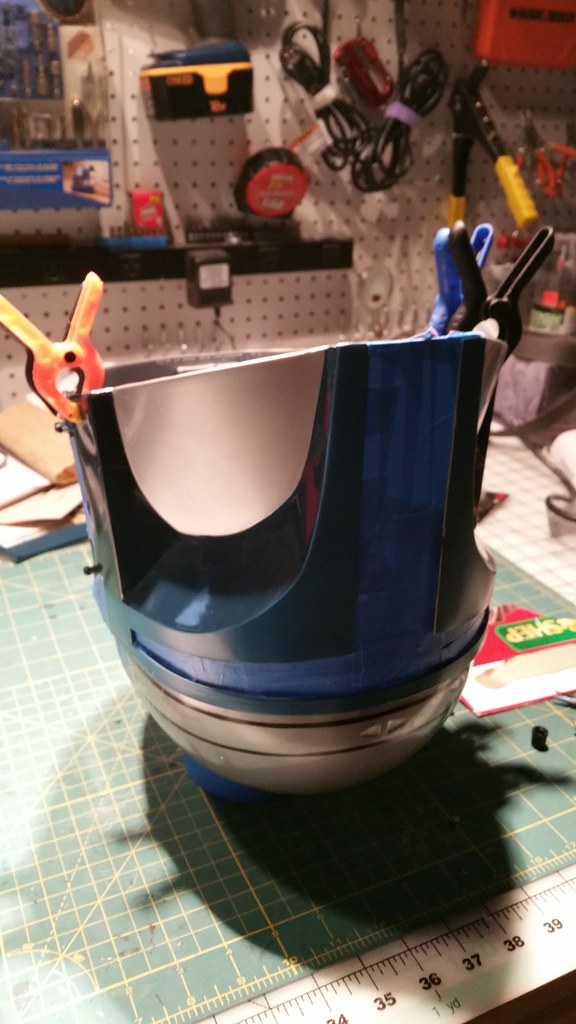
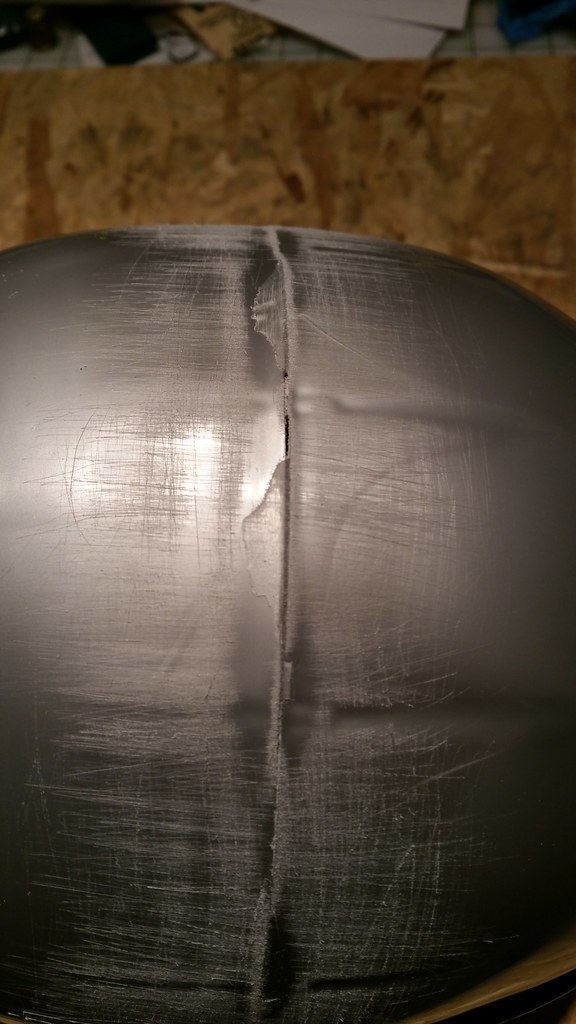
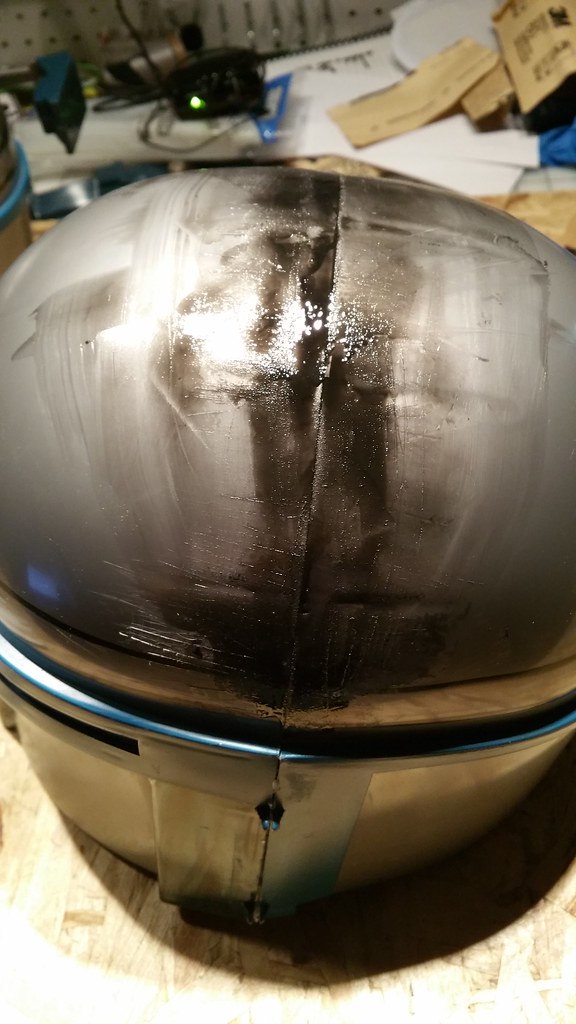
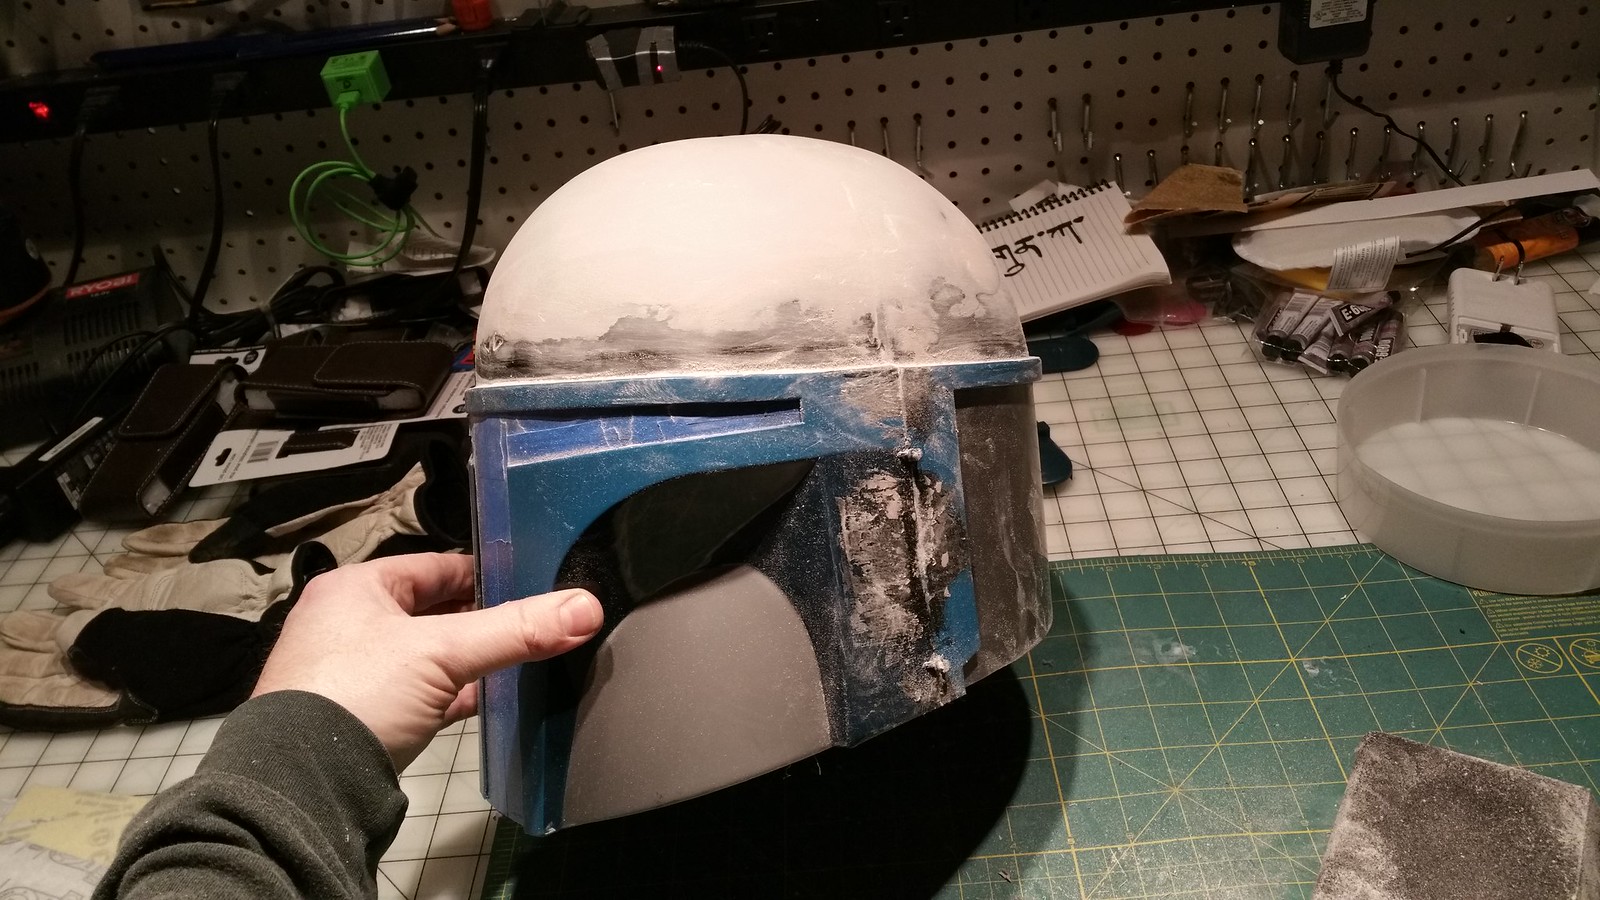
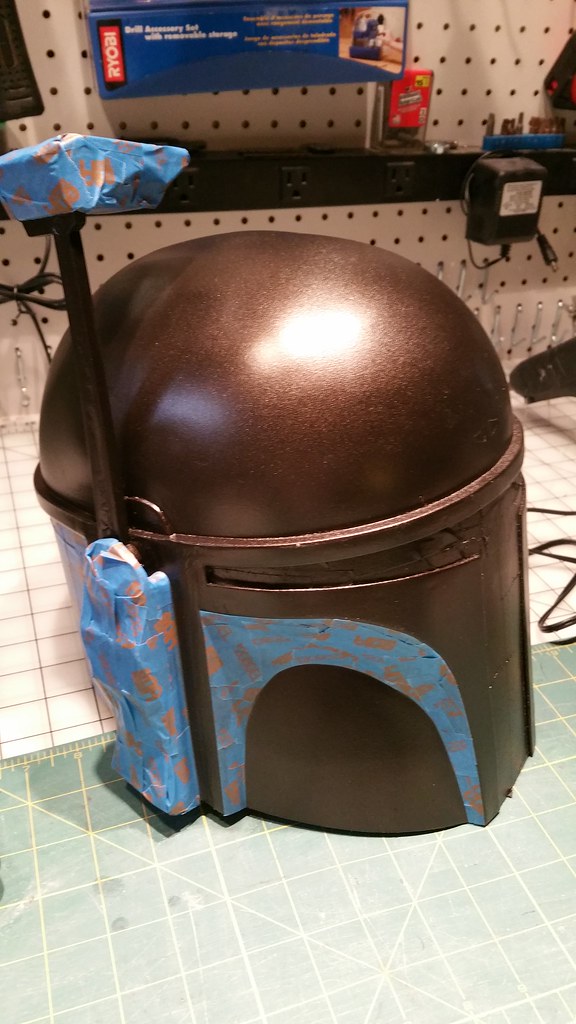
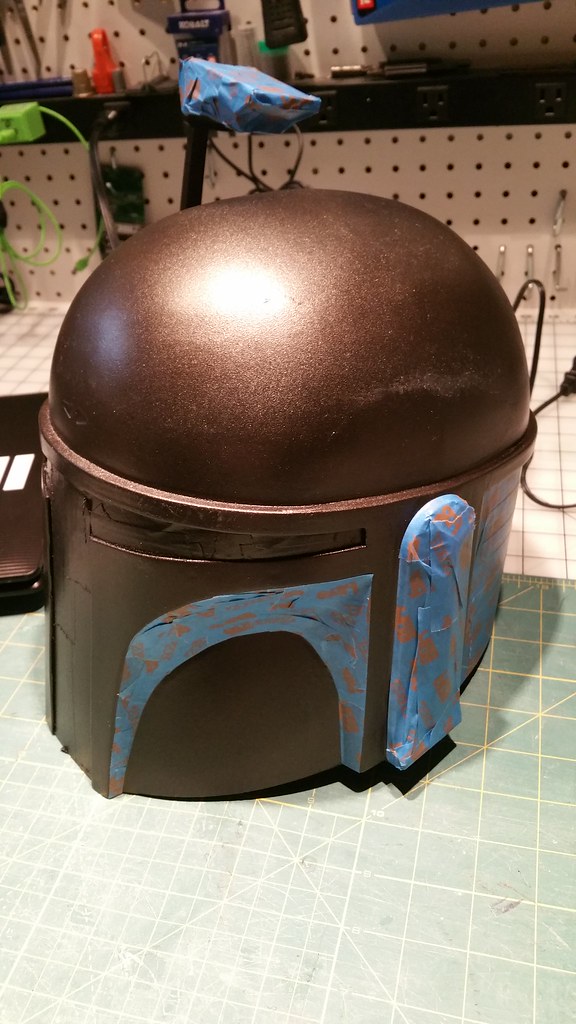
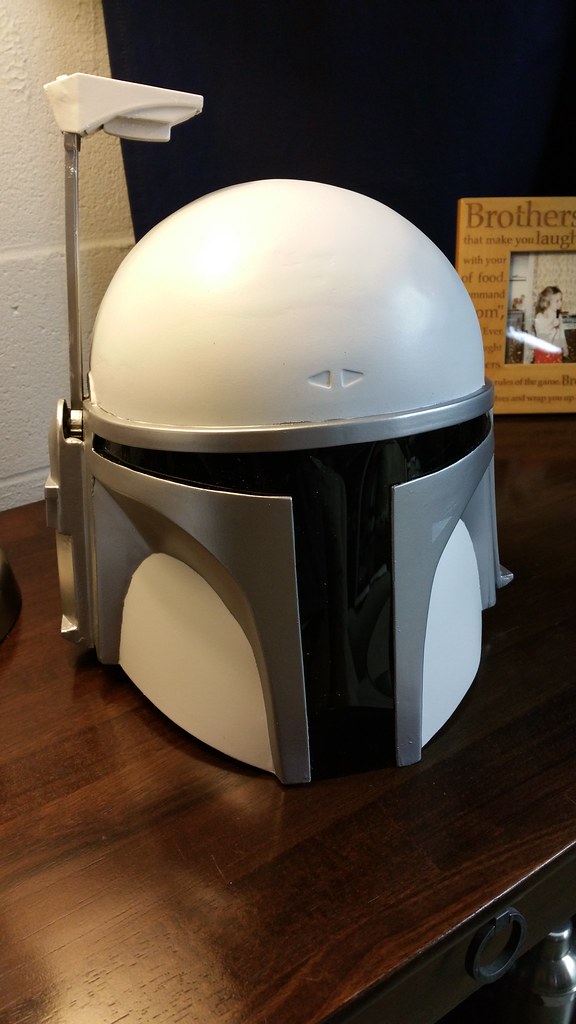
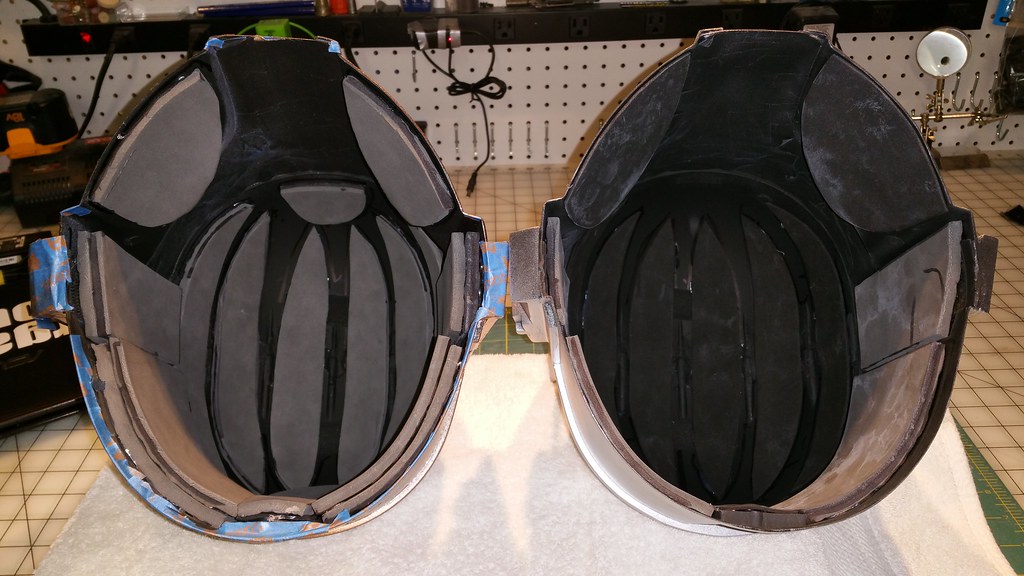
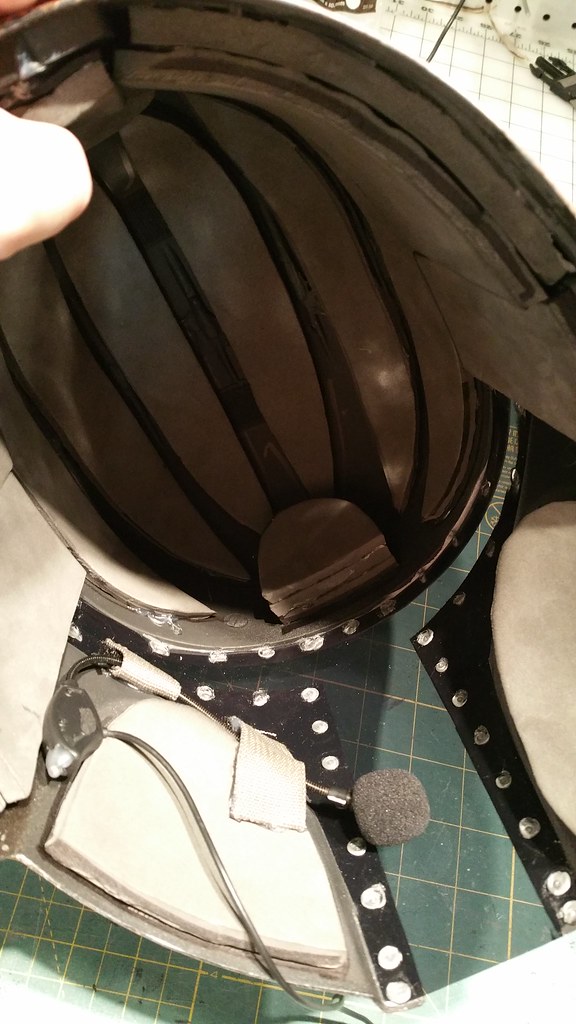
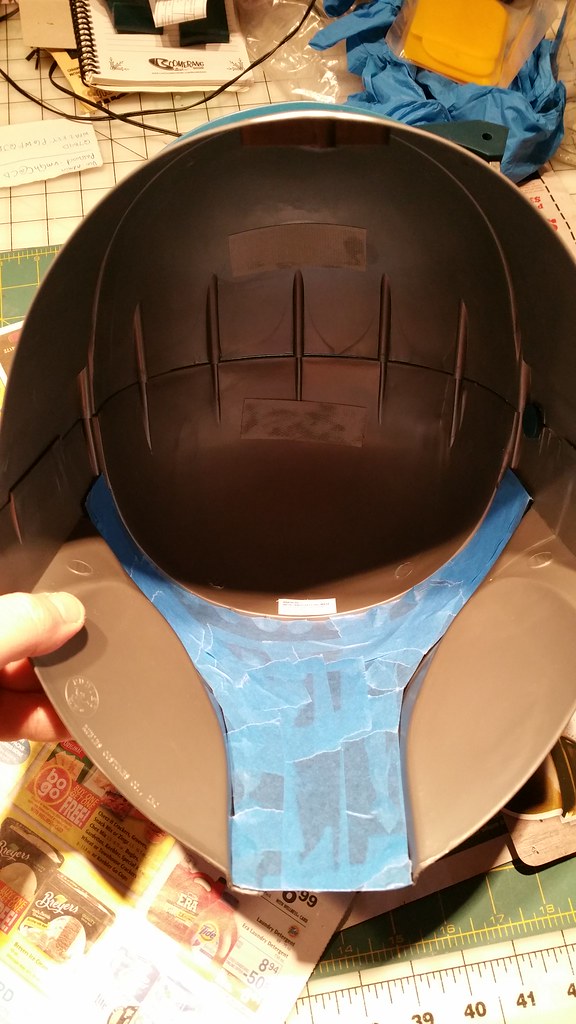
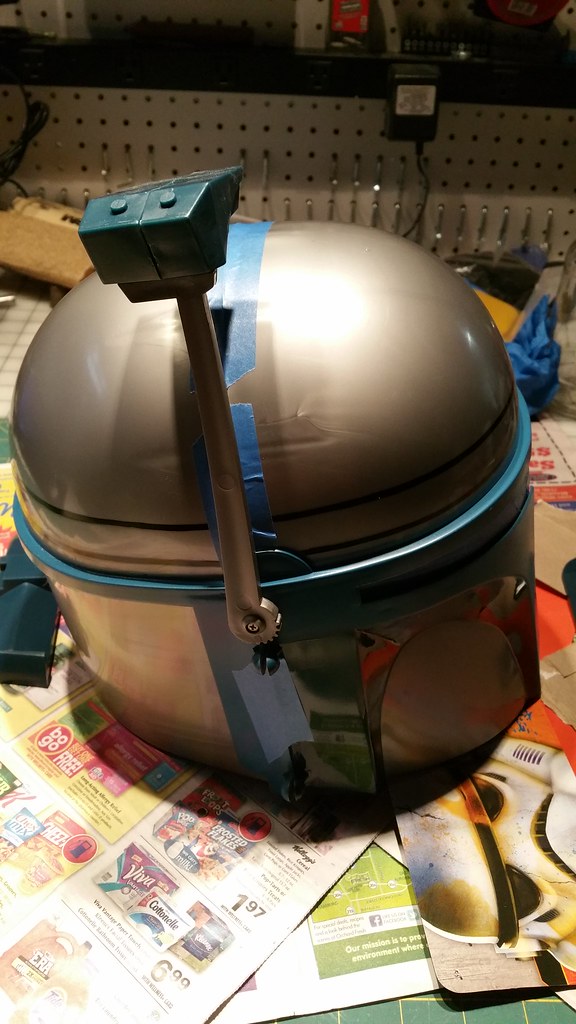
I started off by taping the visor. I am going to try and use the existing visors to save some money, but we'll see what happens...
 20150407_170214 by bobby_whalen, on Flickr
 20150407_170244 by bobby_whalen, on Flickr
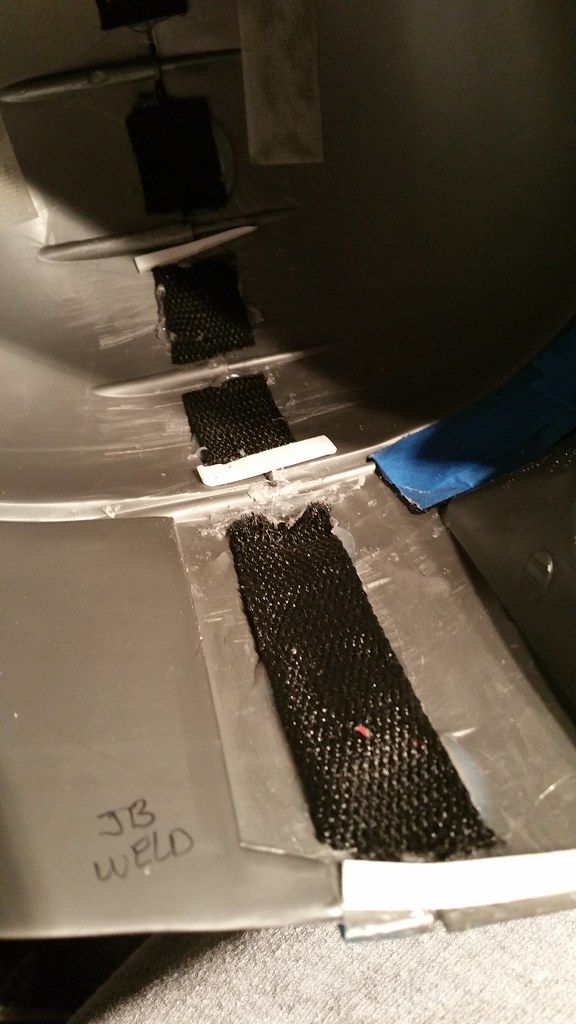
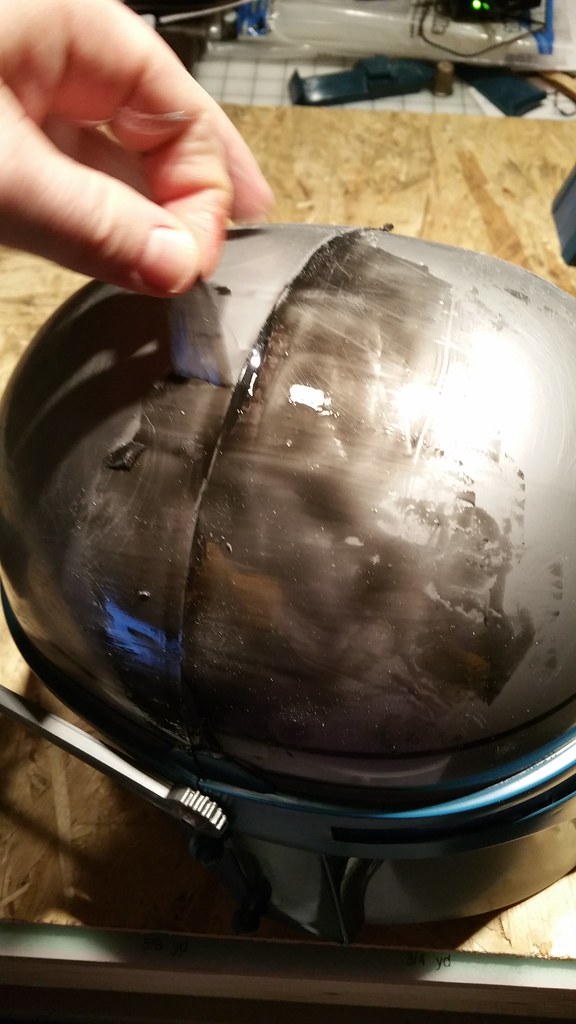
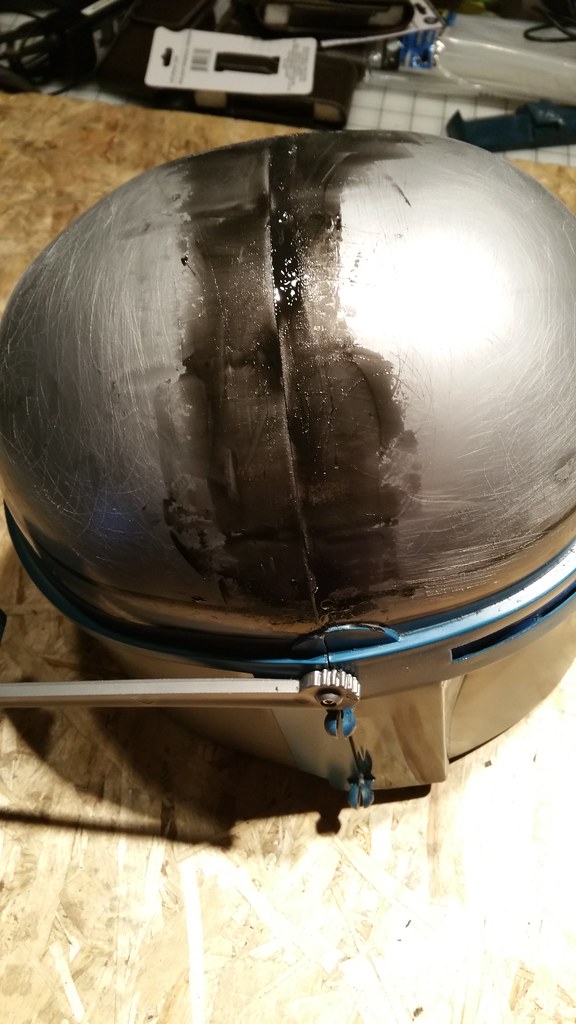
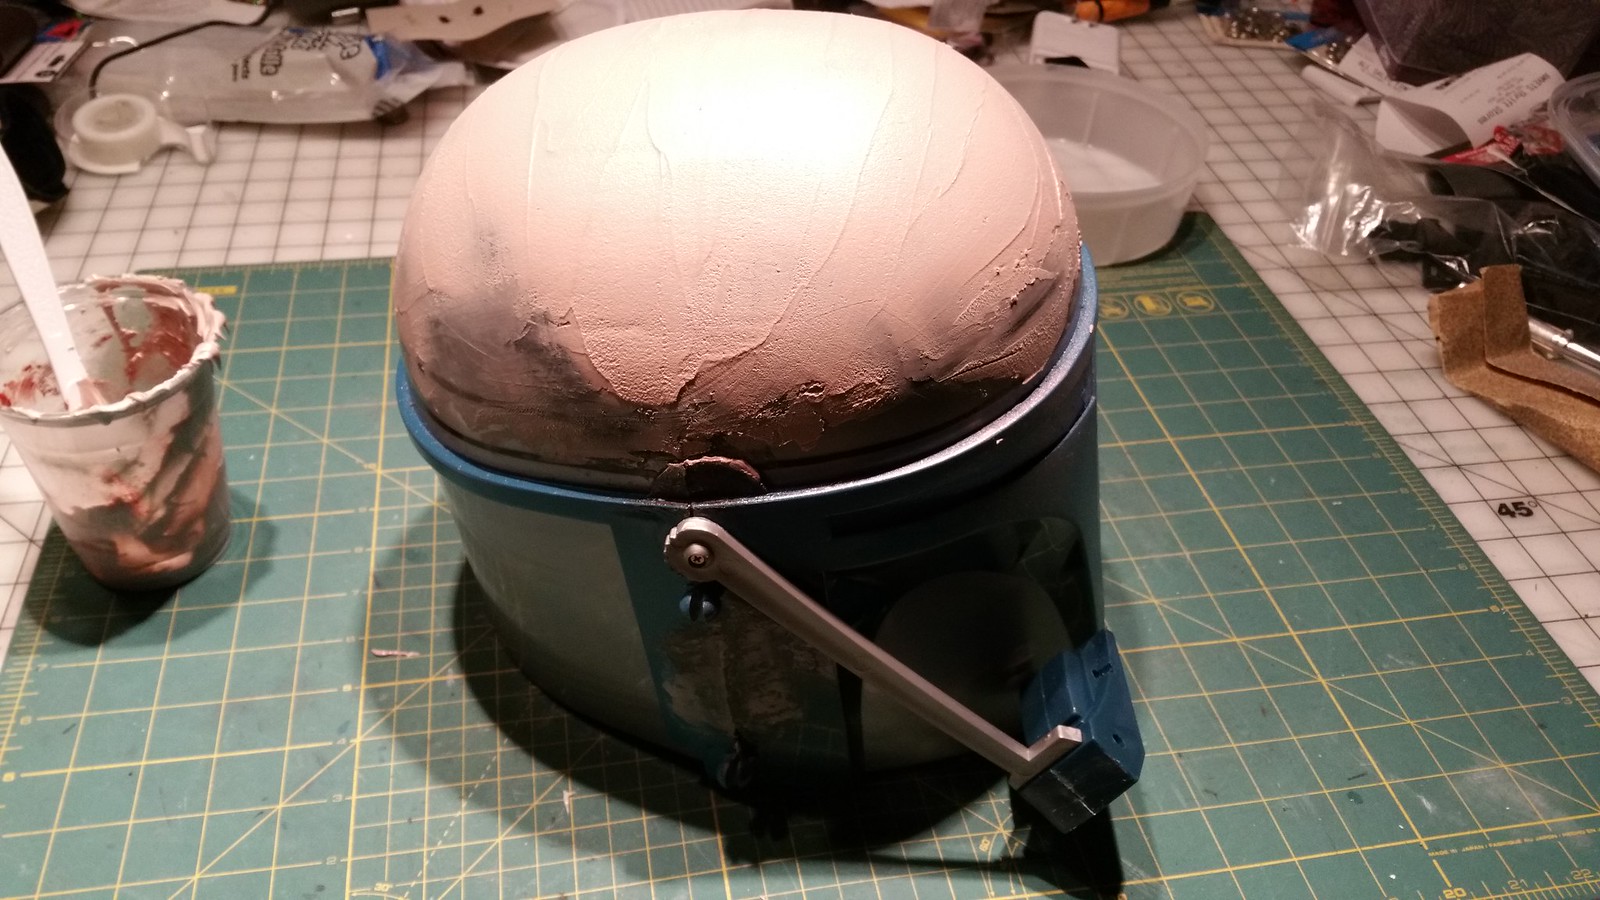
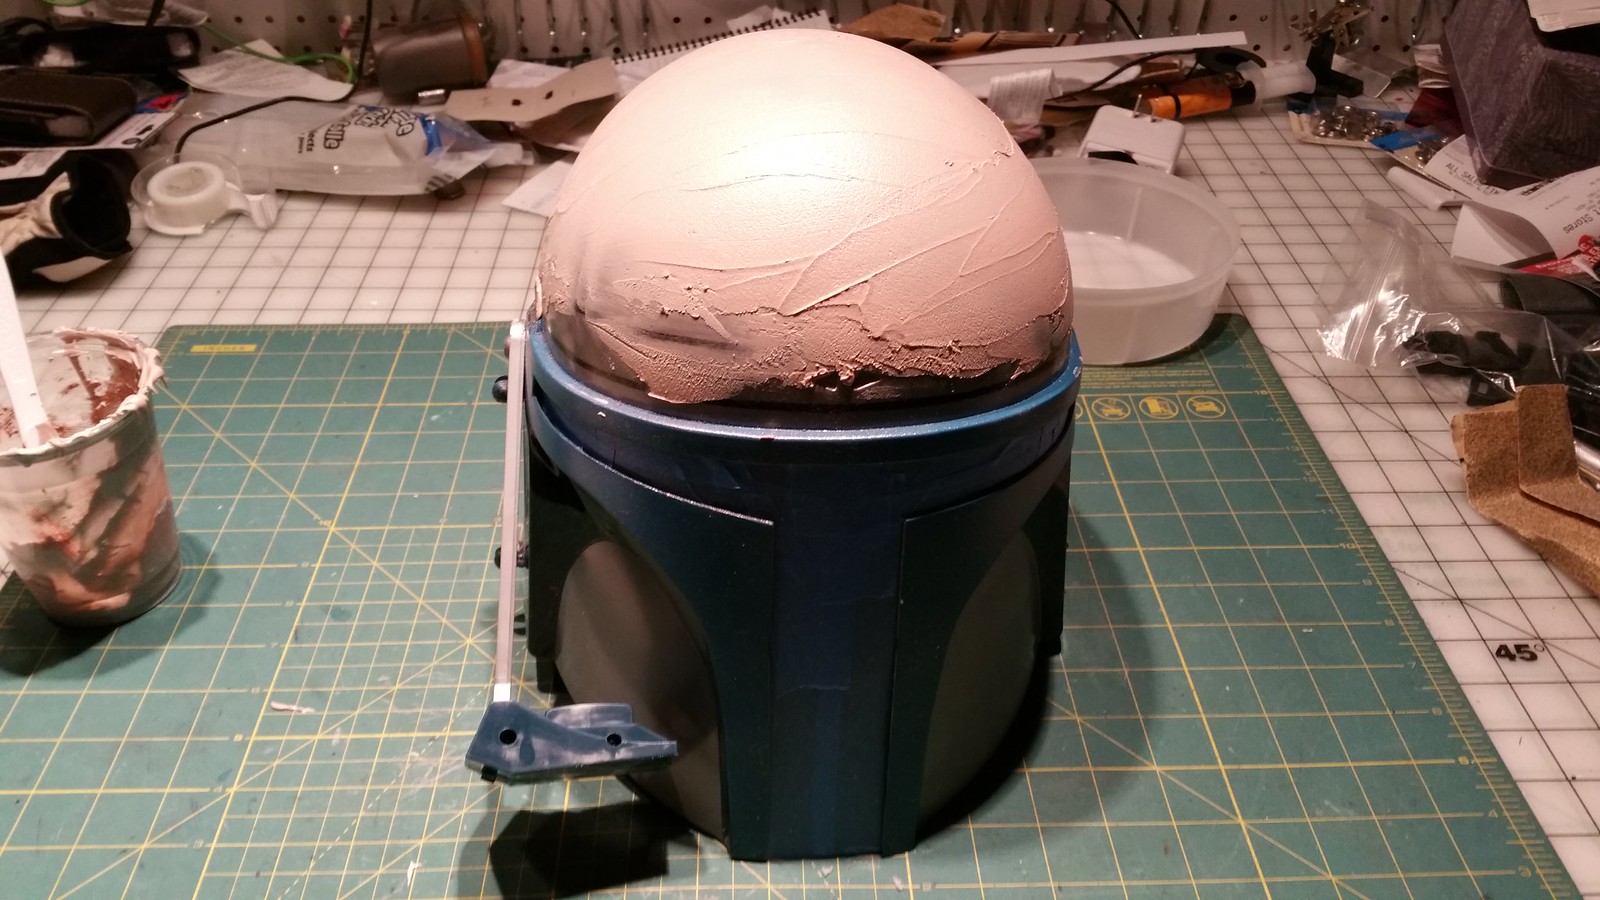
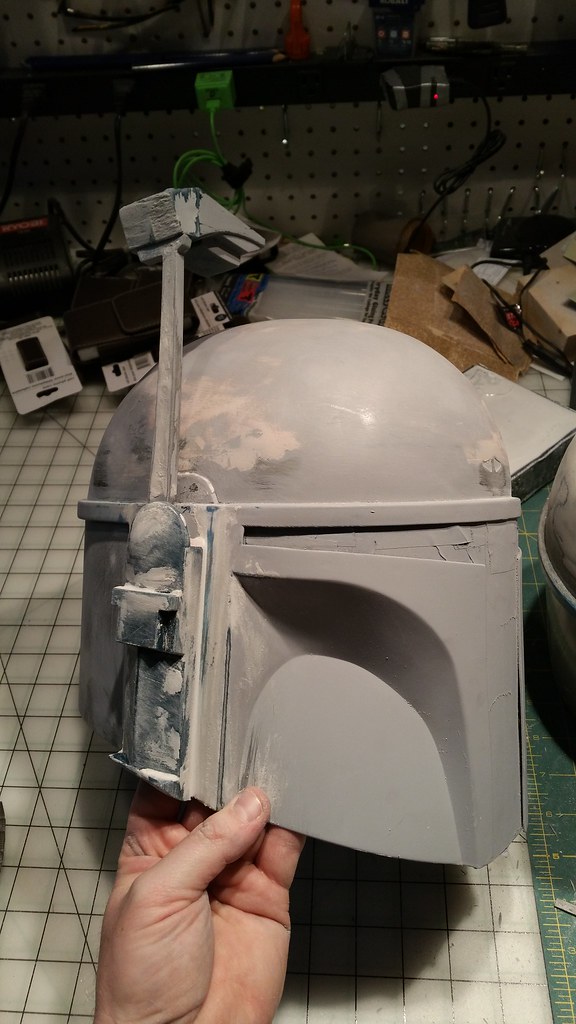
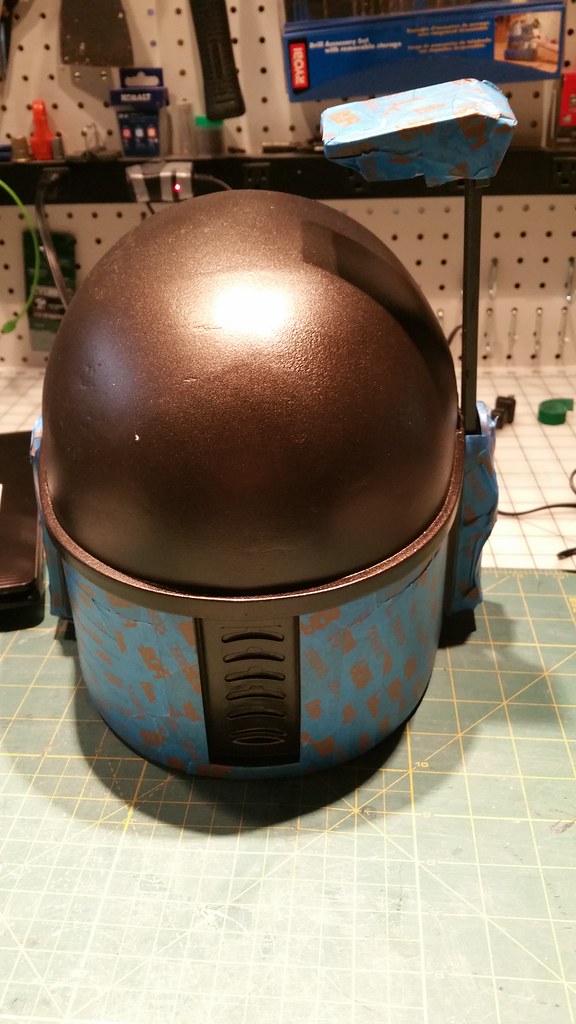
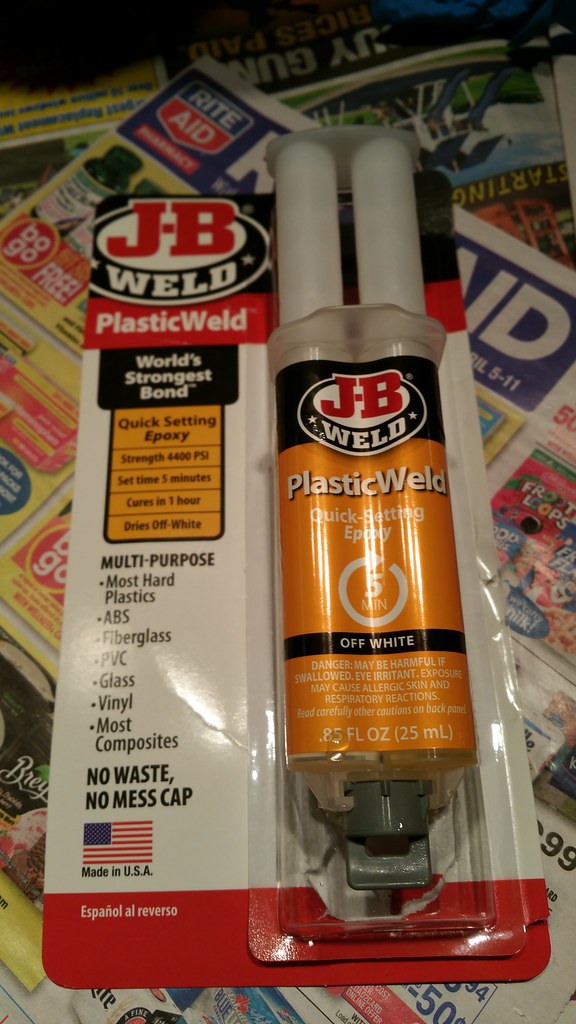
Since this lid is 2 pieces, the next step will be to attach the two halves with some JB Weld.
 20150407_170324 by bobby_whalen, on Flickr
 20150407_170226 by bobby_whalen, on Flickr
That's all for now. More updates soon!
My buddy and I have decided to make some sets of custom foam Mandalorian Armor. As you may or may not be aware, EVA foam is forbidden by the Mandalorian Mercs as a build material. With that in mind, this costume will be built 100% for my personal enjoyment. We will not be applying for any official status when we are finished.
We live in Buffalo, NY, and the local Star Wars Fan Force - The Northridge has an entire group of "Snow Mandos". We have taken our inspiration from them. To start off I found the pepakura files readily available here on the RPF. After printing them out, and starting to cut them out with scissors (which is extremely painstaking and time consuming - PROPS to anyone who uses this method!), I decided that since this costume will not be "official" that I could just free-hand some drawings on poster board, and go from there.
I have a really great Boba Fett shirt that I used as my inspiration.
20150407_173749 by bobby_whalen, on FlickrSince my posterboard was black I used chalk for the drawings. Here's how they turned out...
20150401_002919 by bobby_whalen, on FlickrI found these grey jumpsuits at Ollie's Bargain Outlet for $20.
20150401_002858 by bobby_whalen, on FlickrI found these used Mukluks at the local Army/Navy Surplus store for about $25.
20150331_122904 by bobby_whalen, on FlickrThese gloves were $1 at Walmart.
20150401_002822 by bobby_whalen, on FlickrI found these cell phone cases for $1 each at Dollar Tree.
20150401_004947 by bobby_whalen, on FlickrFor the knees I found some images online that I could print out on scrap paper. For the shoulders I just free-hand drew those...
20150401_165431 by bobby_whalen, on FlickrAnother cool accessory for the belt. About $8 from the surplus store.
20150401_003147 by bobby_whalen, on FlickrThe belt itself was about $4. (The tag says $9.95, but all used merchandise is always 60% off...)
20150401_002841 by bobby_whalen, on FlickrThese balaclavas were actually full price since they were new. $9.
20150401_141553 by bobby_whalen, on FlickrHere's a look at how my parts first began to come together.
20150401_162400 by bobby_whalen, on FlickrWe ordered these super cheep Jango Fett helmets to use. They were $34. LOTS of modifications will be needed to bring these up to speed.
20150406_141601 by bobby_whalen, on FlickrThe forearms were the first part I started to build. KG stands for "Kevin's Gauntlet".
20150401_161036 by bobby_whalen, on FlickrGot the basic shape down. Then started trimming from there...
20150401_151326 by bobby_whalen, on Flickr20150401_161101 by bobby_whalen, on Flickr20150401_161109 by bobby_whalen, on FlickrJust kept adding layers of foam until the forearms started to look more like Boba's...
20150405_015957 by bobby_whalen, on Flickr20150405_051127 by bobby_whalen, on FlickrNext I traced the posterboard patterns onto the foam. I found that one of the keys is to trim the edges of the foam. Once everything was cut out I used my Heat Gun to shape the foam and "heat seal" it.
20150403_155554 by bobby_whalen, on FlickrLittle bit of fitting...
20150403_212416 by bobby_whalen, on FlickrBefore and after shots of the back. The one on the left is just flat foam. The one on the right is sculpted using heat.
20150403_194754 by bobby_whalen, on FlickrLots of coats of Plasti-dip to get a good seal and finish. For 2 sets of armor, we have gone through about 5-6 cans of Plasti-dip. Not that cheep at $5.96 per can at Home Depot.
20150406_150456 by bobby_whalen, on FlickrHere we are after a few coats.
20150407_002014 by bobby_whalen, on FlickrNow on to the helmet...
20150406_142019 by bobby_whalen, on FlickrI started off by taping the visor. I am going to try and use the existing visors to save some money, but we'll see what happens...
20150407_170214 by bobby_whalen, on Flickr20150407_170244 by bobby_whalen, on FlickrSince this lid is 2 pieces, the next step will be to attach the two halves with some JB Weld.
20150407_170324 by bobby_whalen, on Flickr20150407_170226 by bobby_whalen, on FlickrThat's all for now. More updates soon!