Starting an actual thread rather than continue to clutter up the Hero DL-44 thread. I say "conjectural", as the Imperial Mauser-based blasters were cast dummies with fairly simple greebling -- basically the province of Stunt props. As I started on my build, one thing and another I kept wanting to do "better" than it looked on those props, and I realized I was building a Hero. Which makes sense, as all my costume and prop projects I want to be able to stand up to scrutiny at close range, which Stunt-finished items tend not to. But since there was no Hero version of this/these blaster(s) made, I'm doing my best to extrapolate finish and detailing while remaining true to the essence of what we see in the photos.
Thanks beyond expression go to jheilman, for upgrading to an MGC and selling me his partially-modded Denix; to Dark Energy Creations, for having a couple leftover parts from his earlier DL-44 parts kit run (since I didn't need the whole kit -- just flash hider with no holes, booster, and bull barrel... which he ran across and offered me); to deadbolt, for all his research into Han's Hero blaster, the revelations to the identities of some of the parts, and for making highly-accurate 3D-printed replicas available on Shapeways; to lonepigeon, for the Parts of Star Wars site and all his ongoing research into what everything is, which pointed me in a more accurate direction for the "scope" thingie; and to all the participants in the ANH Hero DL-44 discussion thread.
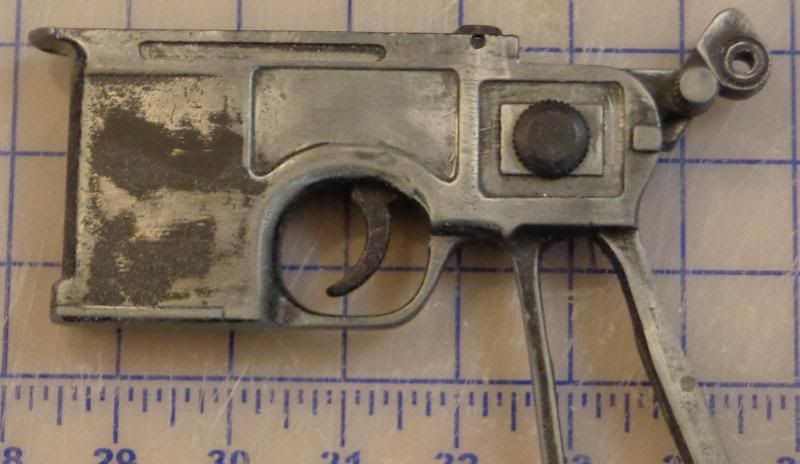
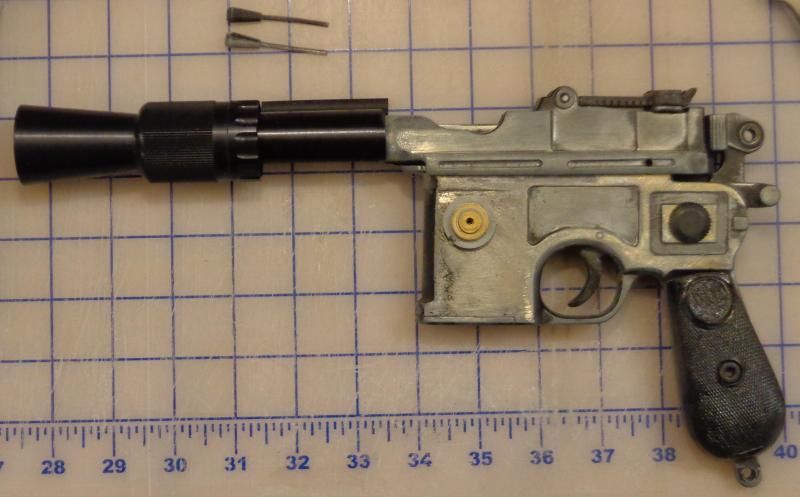
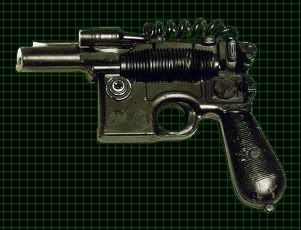
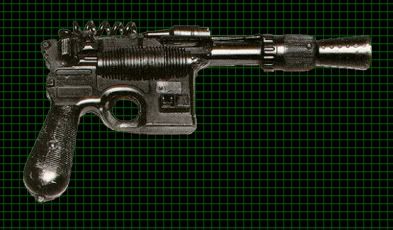
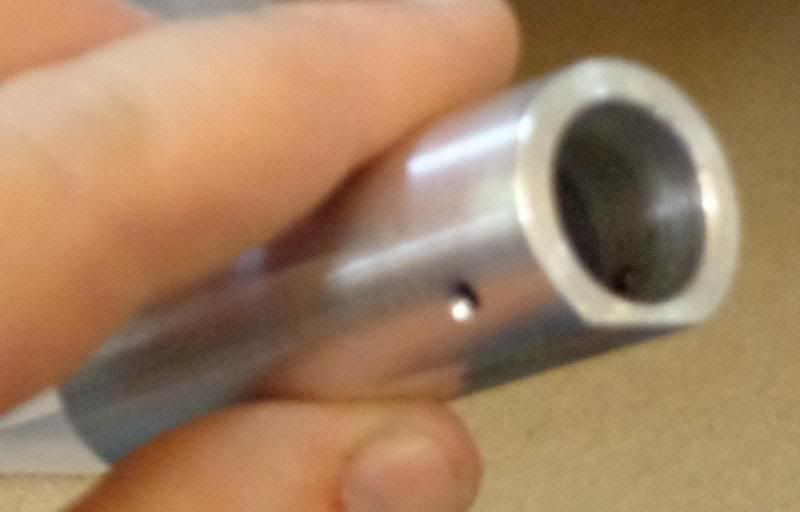
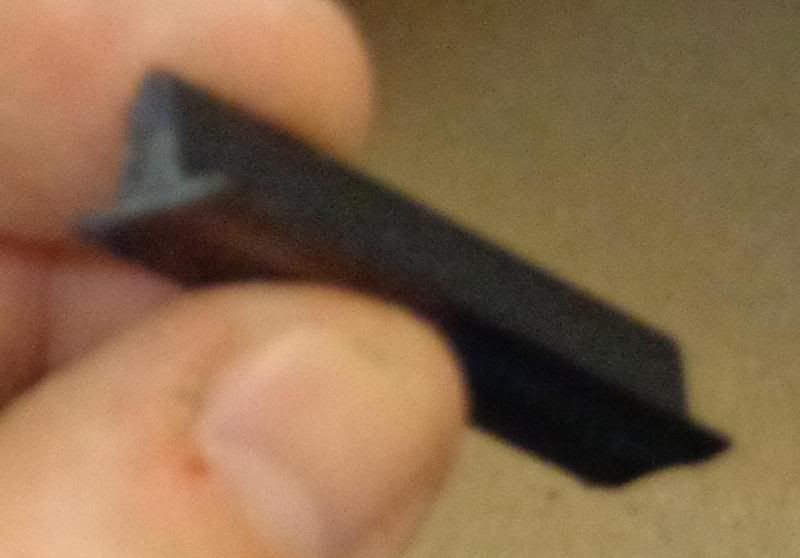
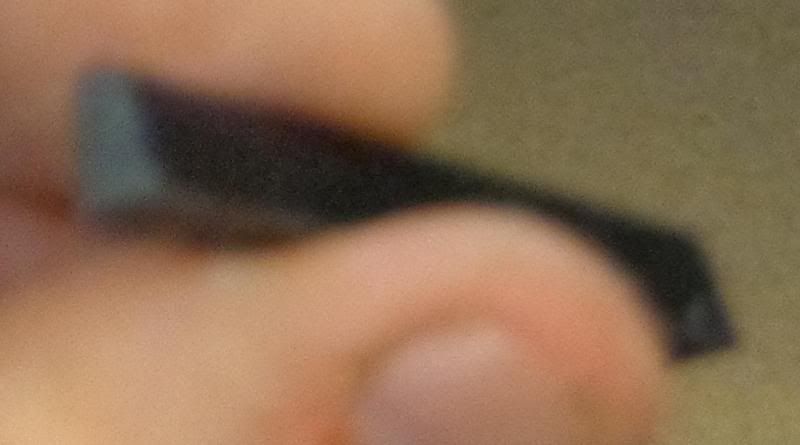
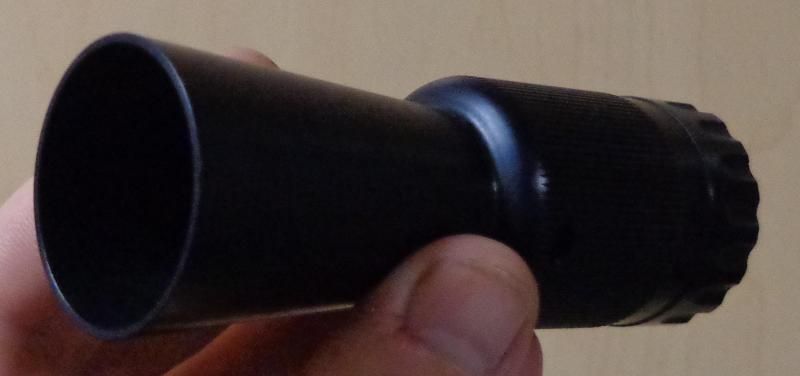
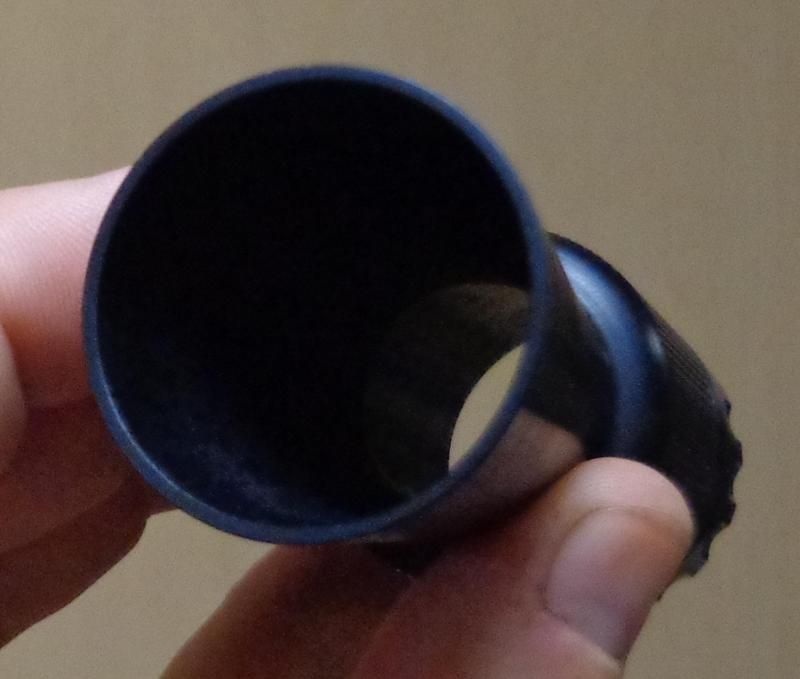
So. Here's what I'm starting from. The "Model 44":
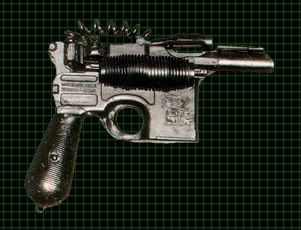
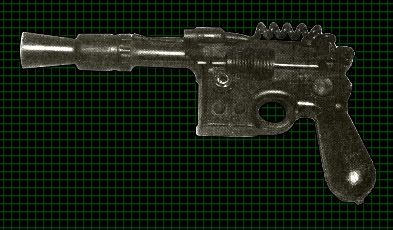
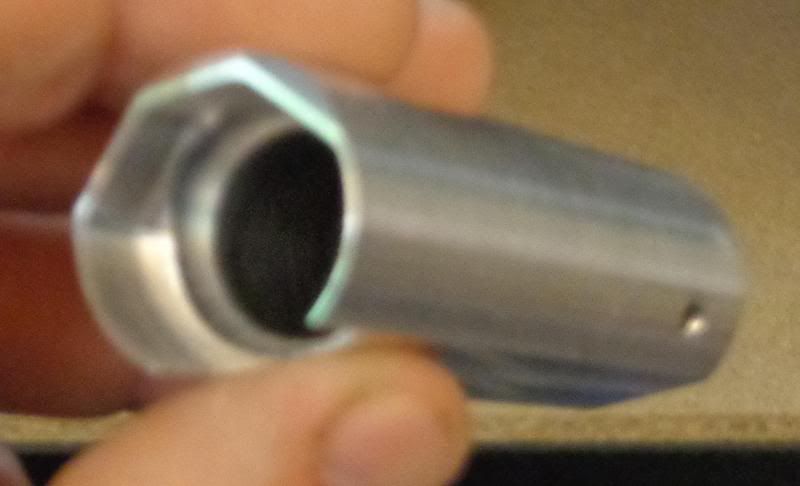
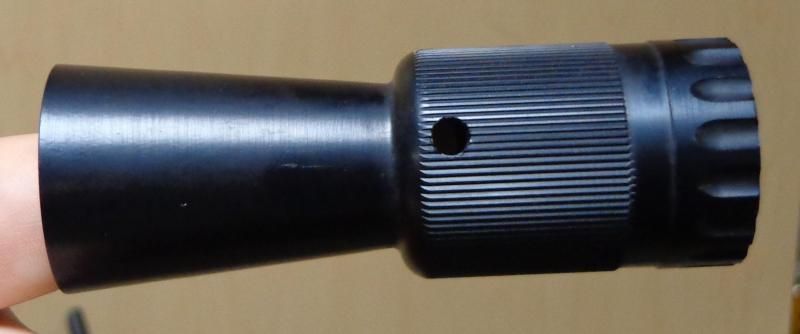
...and the "Power 5":
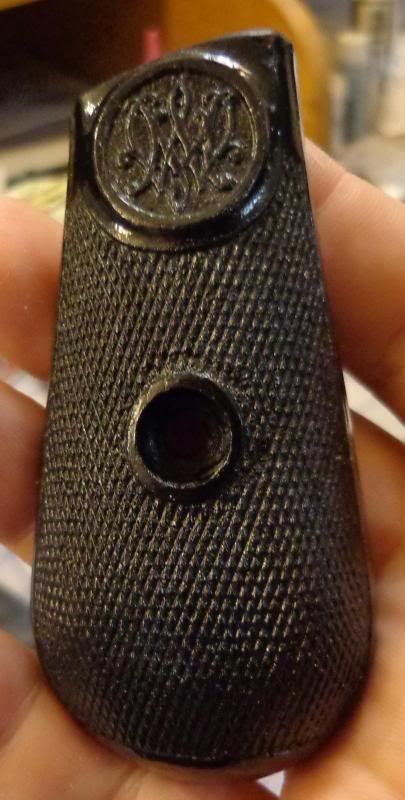
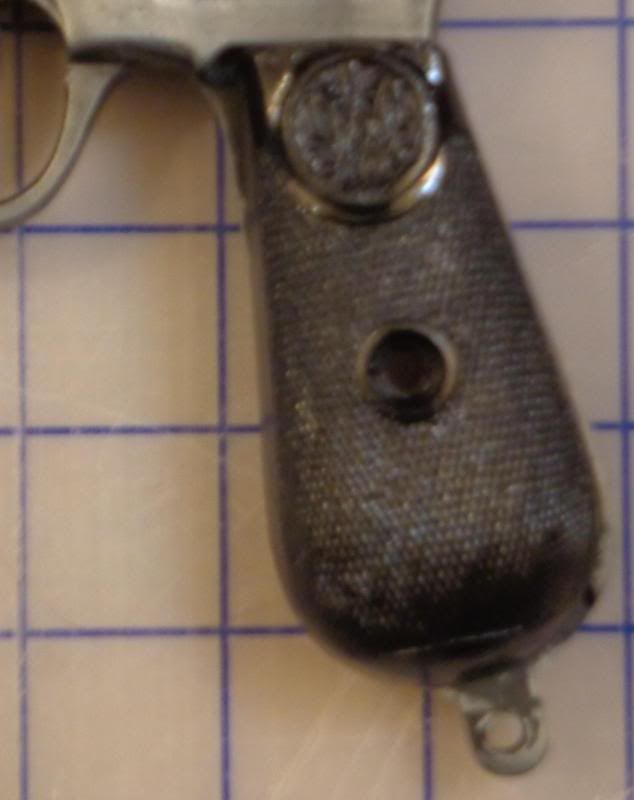
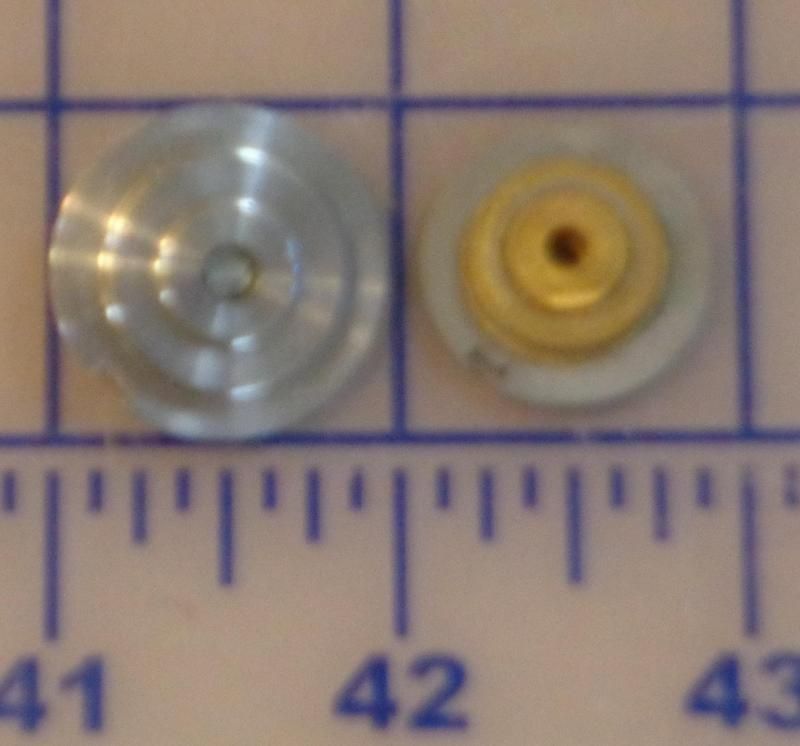
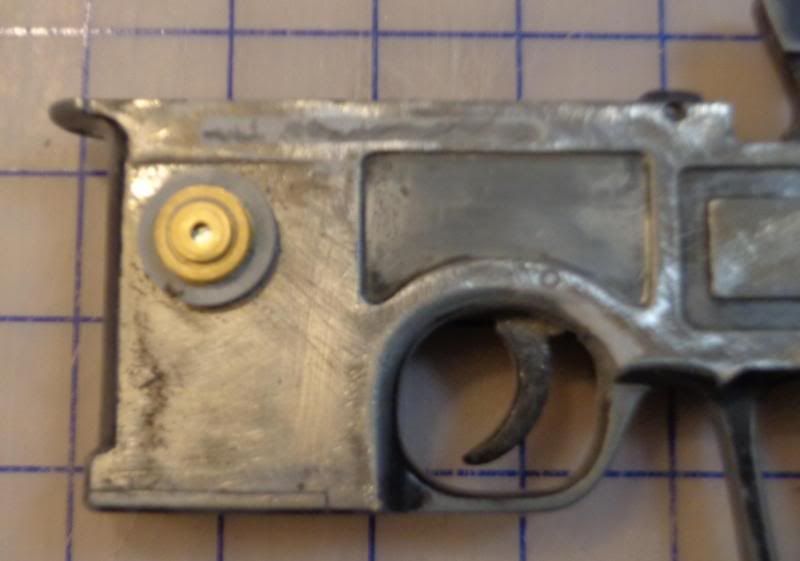
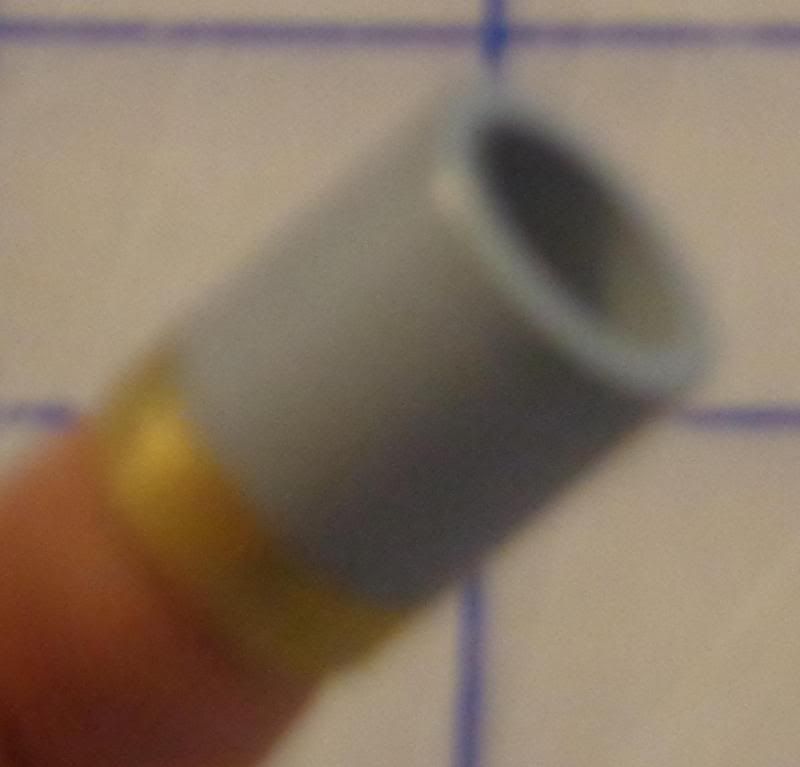
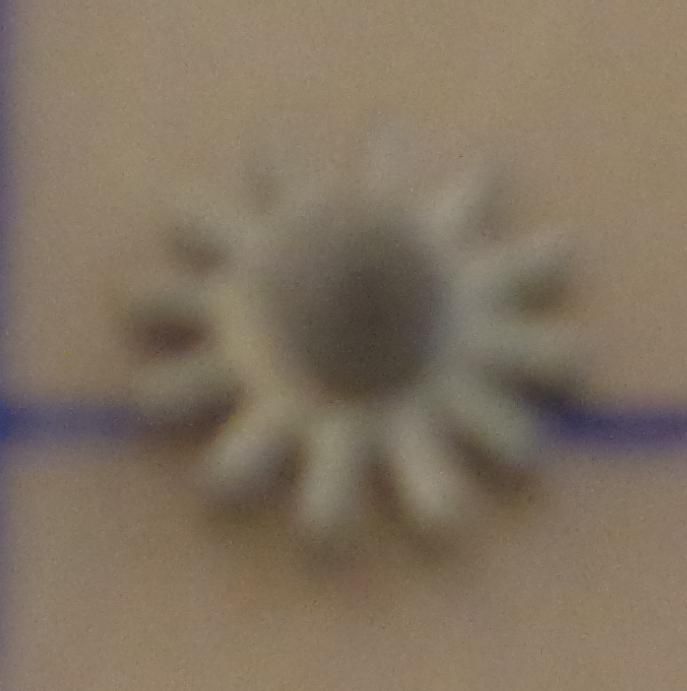
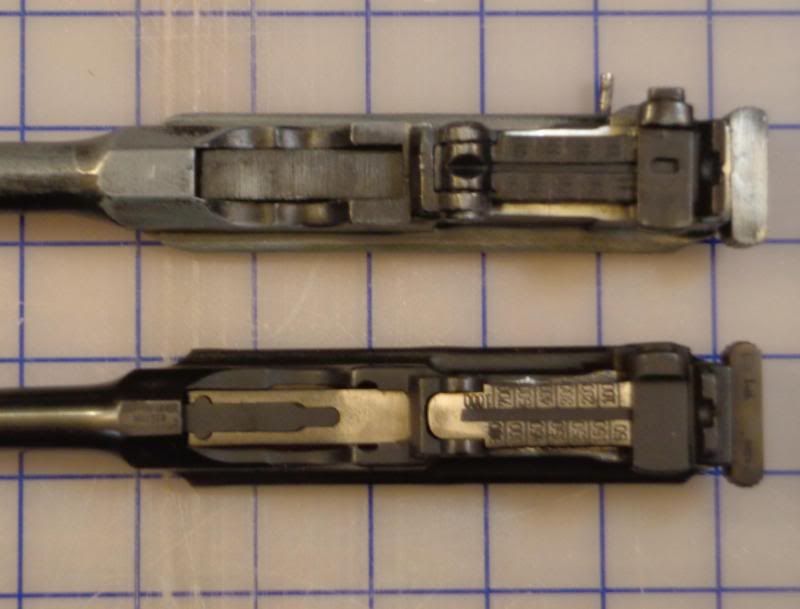
Because of all the digging into minutiæ in that thread, the real-world history of this blaster is related to Han's DL-44. There's a gunmaker in London who makes (or at least made) specialized firearms for various film and TV productions in the UK. These included at least three Mauser C96s modified in similar ways. They went through pieces of them when working out Han's blaster. They were quite probably most of the way there when they cast the Imperial blasters, but then used a different lower frame and chopped the bull barrel down further for the final version of Han's blaster. There's also a circular raised detail on this blaster on the left side of the frame toward the back. That's the remains of one of the scope mounts one particular modded Mauser had. The other is hidden by the Imperial disc greeblie on the magazine.
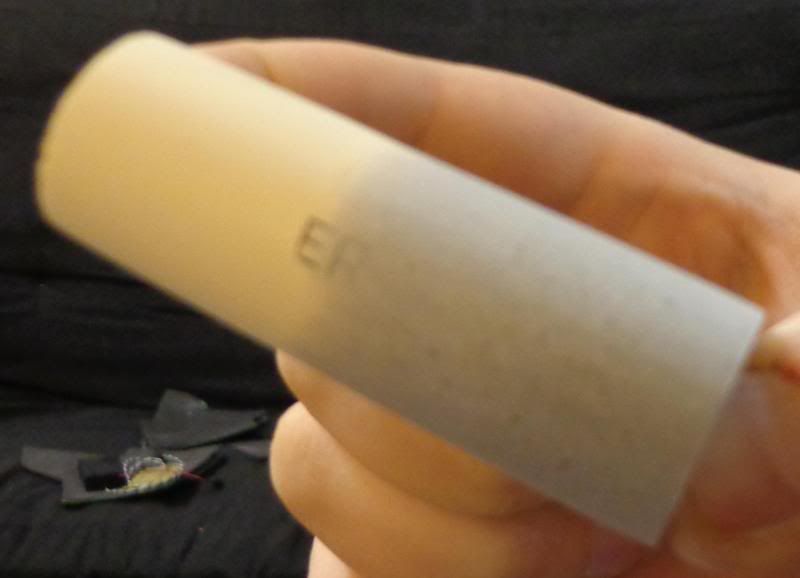
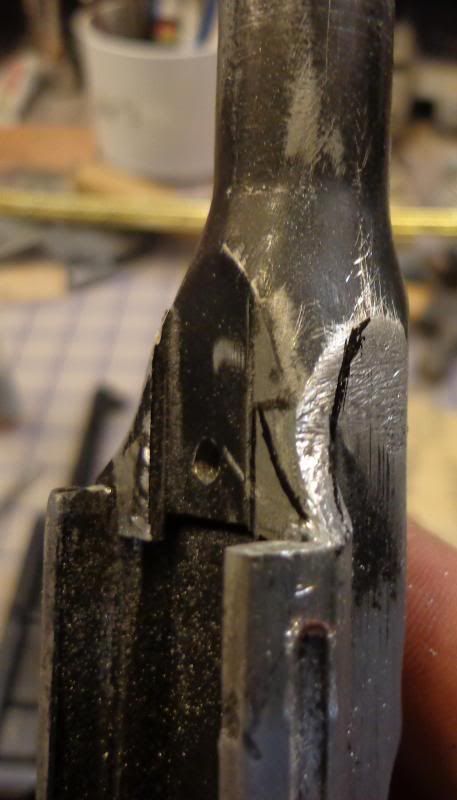
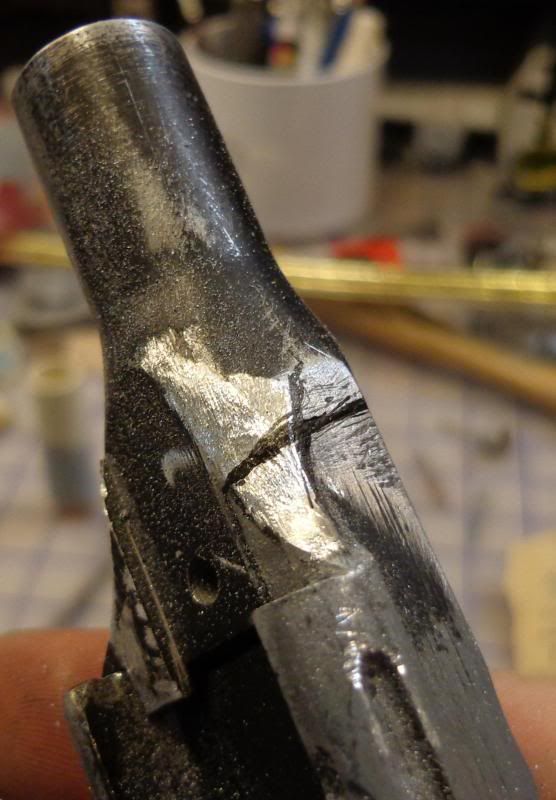
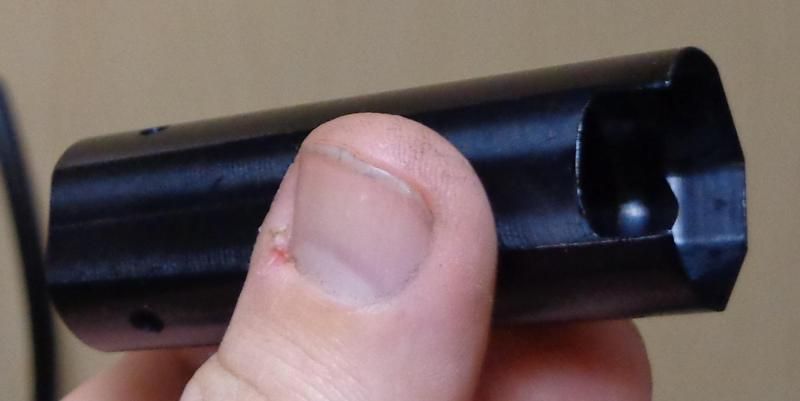
For the "Model 44" version, the propmakers snapped off the flash hider. The flash hider assembly was probably cast as a single piece and then glued onto the end of the bull barrel. The undercut into the muzzle would be too much for many moulds to handle. I said "snapped off" above because the ragged end of the Model 44's barrel implies something was glued to it and then forced off -- the resin snapping before the glue bond did. It also appears that the T-track and pushrods were glued onto each after casting, as the "iron sights" on the Model 44 are significantly shorter than on the Power 5 (though still much, much longer than those on the DL-44).
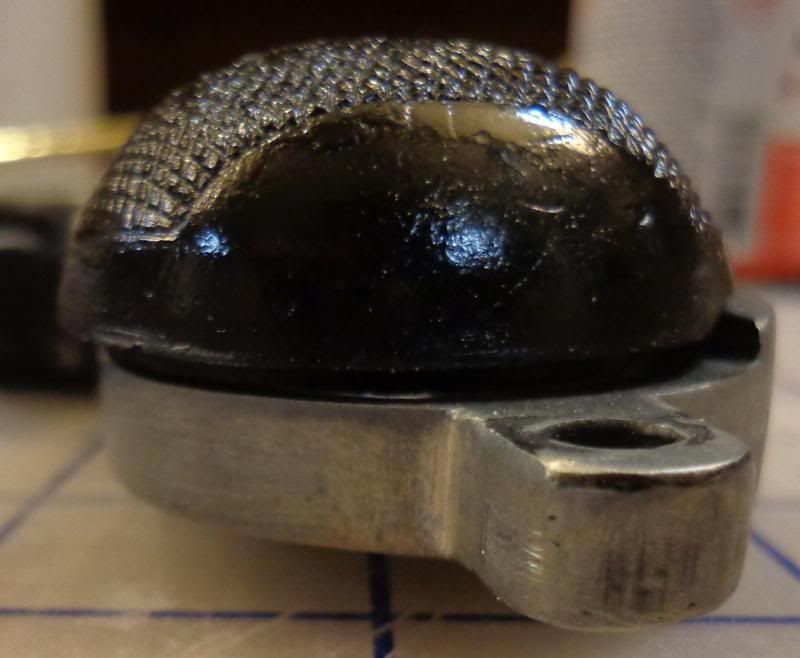
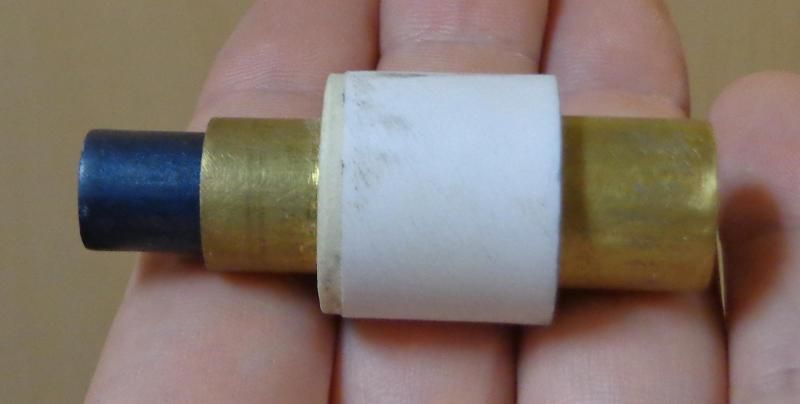
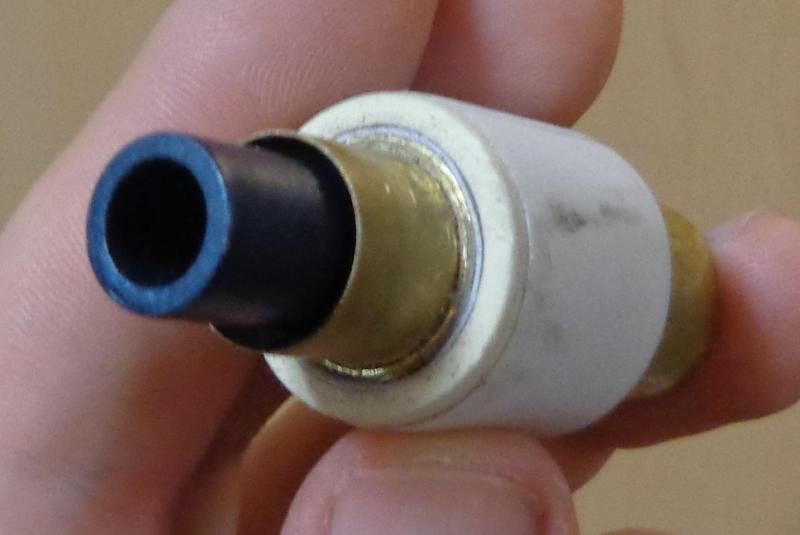
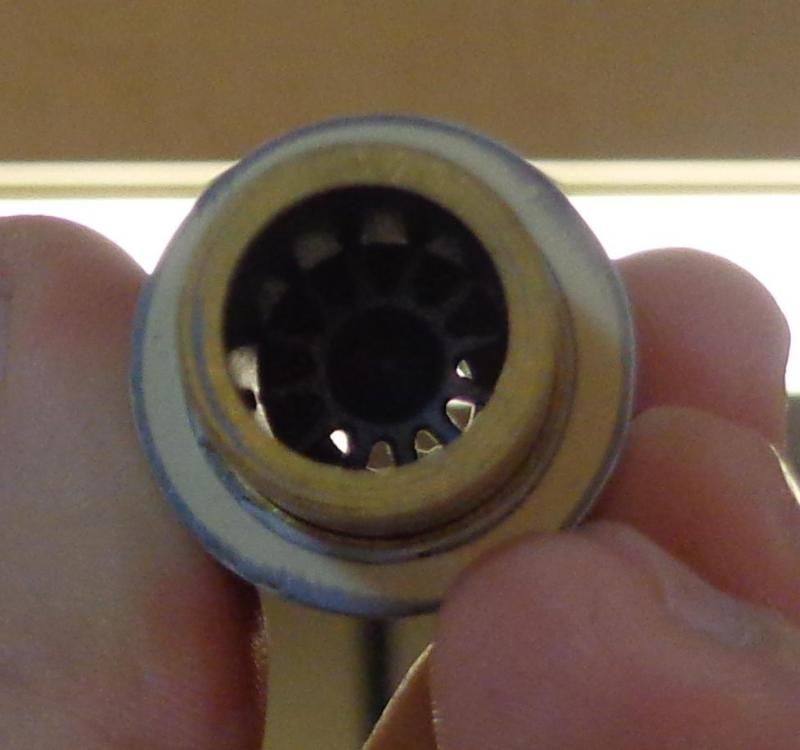
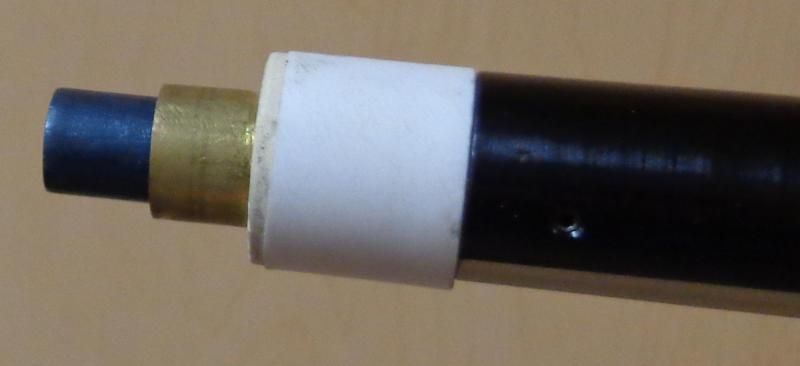
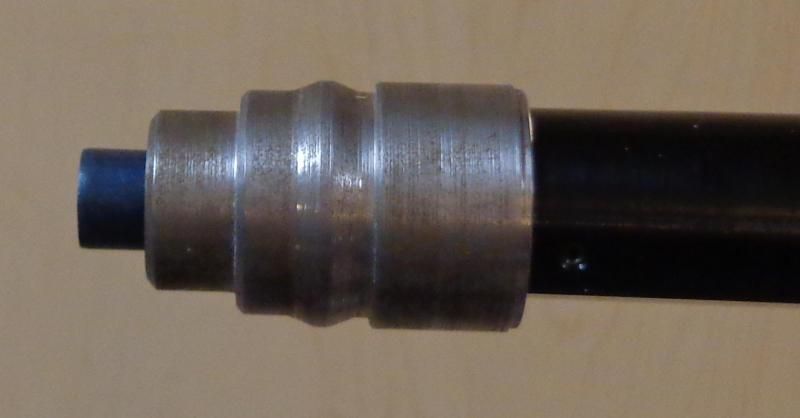
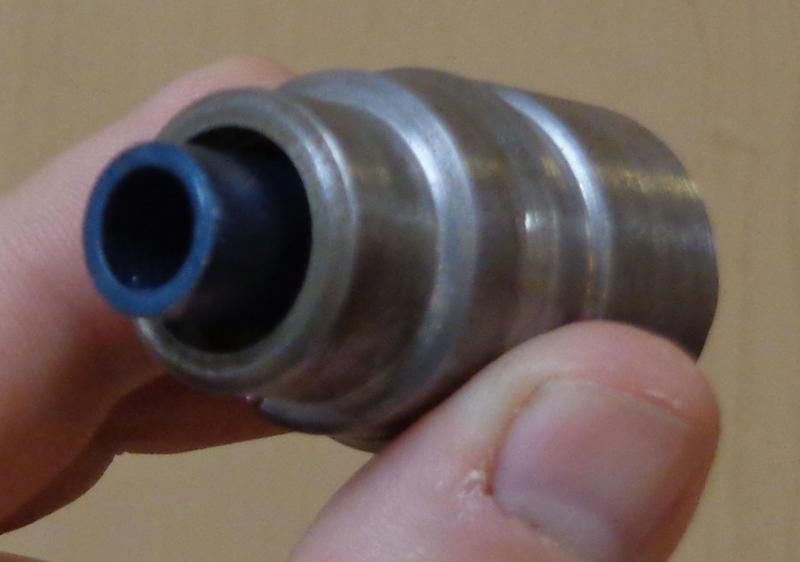
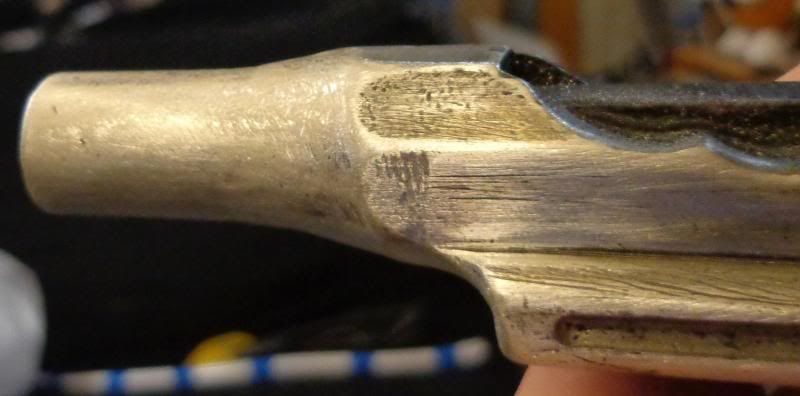
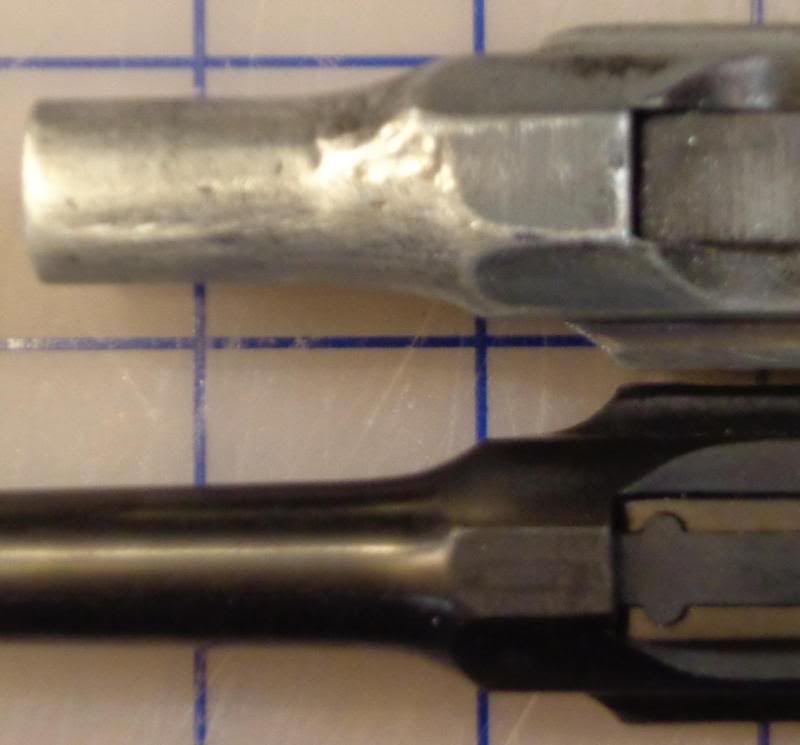
In-universe, the story is essentially that BlasTech made the DL-44 hoping for a military contract (as arms manufacturers all want). The Empire took one to Merr-Sonn and said "can you do this cheaper?". The result was Merr-Sonn's "Model 44". Imperial procurement noted the obvious lack of booster/flash-hider assembly and asked if it was as powerful as BlasTech's version. Merr-Sonn said, "*shrug* Yeah, pretty much". And were told they were supposed to do better than "pretty much". And the result was the "Power 5" version. The Merr-Sonn has a different heat-dissipation setup, with the heat sinks along the rail between upper and lower parts of the frame instead of on the front of the magazine box. The bull barrel is longer on the Merr-Sonn, which means the flash hider sits further forward. This also leaves more room for the "iron sights" along the top of the bull barrel. The detailing on the lower frame of the gun is different, too. And, of course, the DL-44 has the big scope and mounting rail, where the Merr-Sonns both have that plug acting as targeting optics.
Me being me, I'm making a stupidly over-engineered version of both blasters in one.
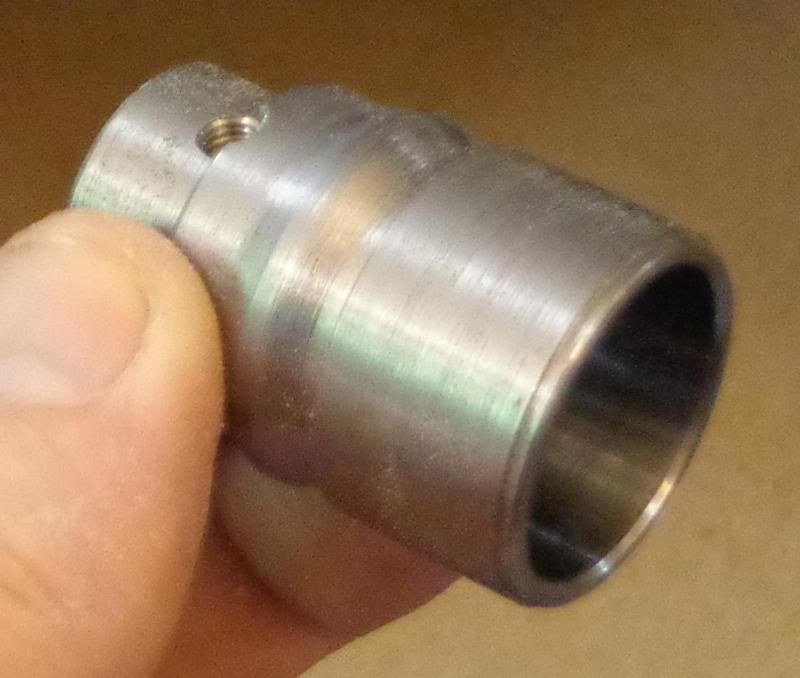
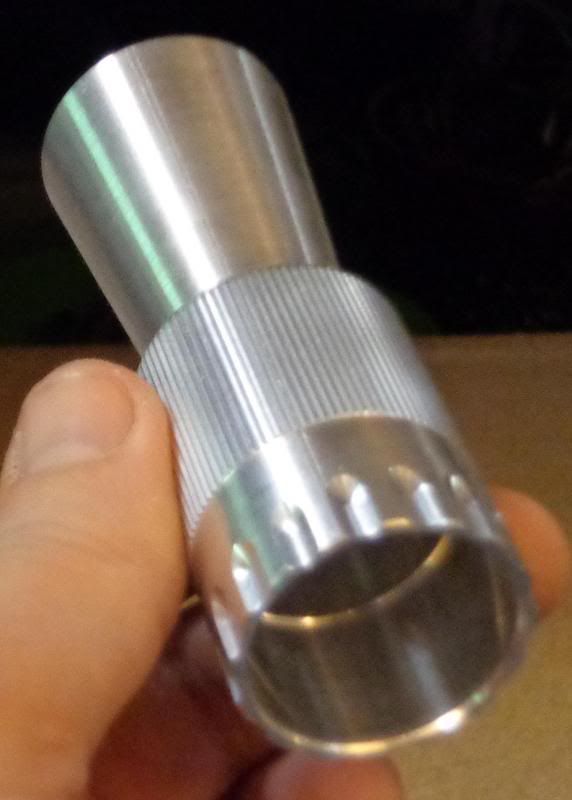
 I'm making the Power 5, from which I can remove the booster/hider assembly and the greeblie on the right side of the magazine box to turn it into a Model 44. I'm treating the other minor differences as ignorable -- the different lengths of the iron sights, and the lesser detailing on the Model 44's magazine box. I'll address all that greebling as I get to it. Next up: starting point...
--Jonah
Thanks beyond expression go to jheilman, for upgrading to an MGC and selling me his partially-modded Denix; to Dark Energy Creations, for having a couple leftover parts from his earlier DL-44 parts kit run (since I didn't need the whole kit -- just flash hider with no holes, booster, and bull barrel... which he ran across and offered me); to deadbolt, for all his research into Han's Hero blaster, the revelations to the identities of some of the parts, and for making highly-accurate 3D-printed replicas available on Shapeways; to lonepigeon, for the Parts of Star Wars site and all his ongoing research into what everything is, which pointed me in a more accurate direction for the "scope" thingie; and to all the participants in the ANH Hero DL-44 discussion thread.
So. Here's what I'm starting from. The "Model 44":
...and the "Power 5":
Because of all the digging into minutiæ in that thread, the real-world history of this blaster is related to Han's DL-44. There's a gunmaker in London who makes (or at least made) specialized firearms for various film and TV productions in the UK. These included at least three Mauser C96s modified in similar ways. They went through pieces of them when working out Han's blaster. They were quite probably most of the way there when they cast the Imperial blasters, but then used a different lower frame and chopped the bull barrel down further for the final version of Han's blaster. There's also a circular raised detail on this blaster on the left side of the frame toward the back. That's the remains of one of the scope mounts one particular modded Mauser had. The other is hidden by the Imperial disc greeblie on the magazine.
For the "Model 44" version, the propmakers snapped off the flash hider. The flash hider assembly was probably cast as a single piece and then glued onto the end of the bull barrel. The undercut into the muzzle would be too much for many moulds to handle. I said "snapped off" above because the ragged end of the Model 44's barrel implies something was glued to it and then forced off -- the resin snapping before the glue bond did. It also appears that the T-track and pushrods were glued onto each after casting, as the "iron sights" on the Model 44 are significantly shorter than on the Power 5 (though still much, much longer than those on the DL-44).
In-universe, the story is essentially that BlasTech made the DL-44 hoping for a military contract (as arms manufacturers all want). The Empire took one to Merr-Sonn and said "can you do this cheaper?". The result was Merr-Sonn's "Model 44". Imperial procurement noted the obvious lack of booster/flash-hider assembly and asked if it was as powerful as BlasTech's version. Merr-Sonn said, "*shrug* Yeah, pretty much". And were told they were supposed to do better than "pretty much". And the result was the "Power 5" version. The Merr-Sonn has a different heat-dissipation setup, with the heat sinks along the rail between upper and lower parts of the frame instead of on the front of the magazine box. The bull barrel is longer on the Merr-Sonn, which means the flash hider sits further forward. This also leaves more room for the "iron sights" along the top of the bull barrel. The detailing on the lower frame of the gun is different, too. And, of course, the DL-44 has the big scope and mounting rail, where the Merr-Sonns both have that plug acting as targeting optics.
Me being me, I'm making a stupidly over-engineered version of both blasters in one.
--Jonah
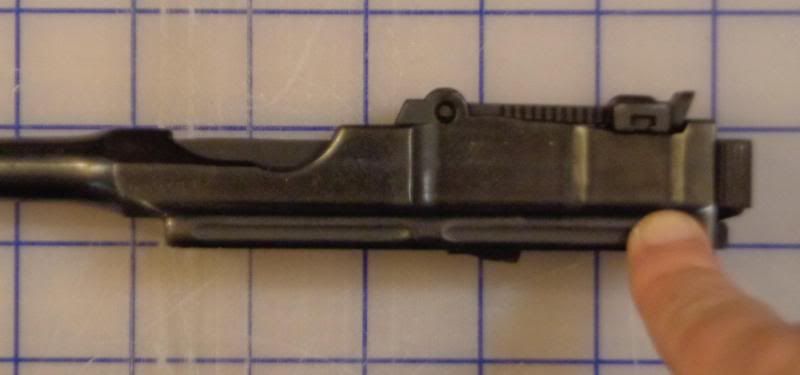
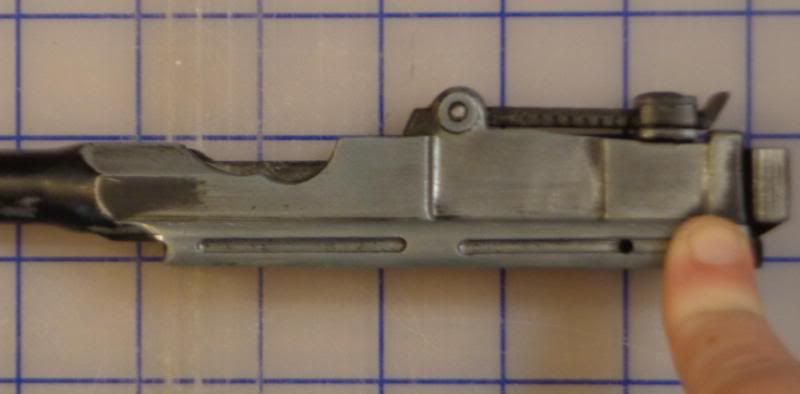
") Moving down to the frame now...
Moving down to the frame now...