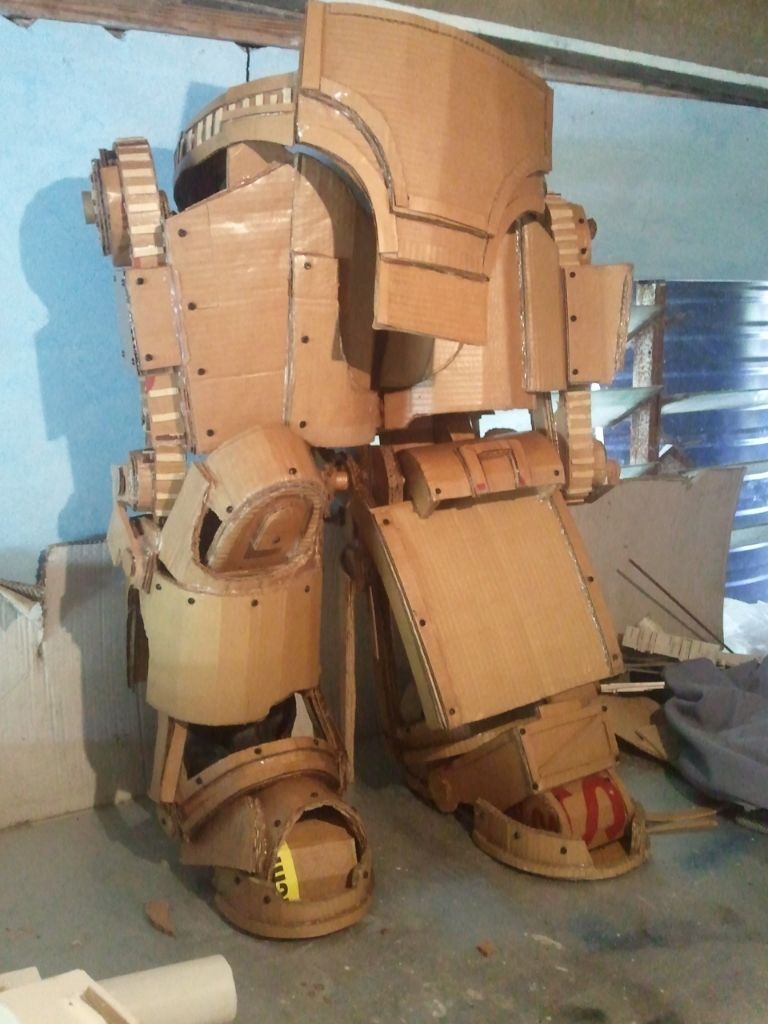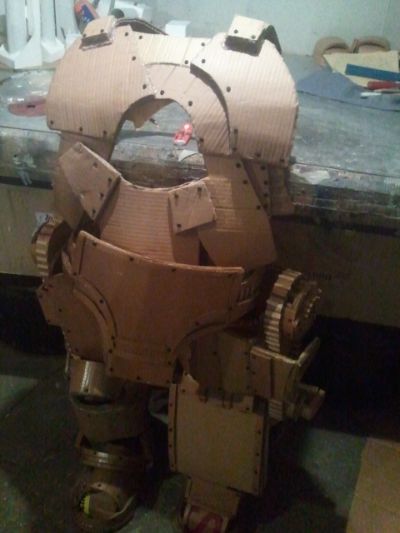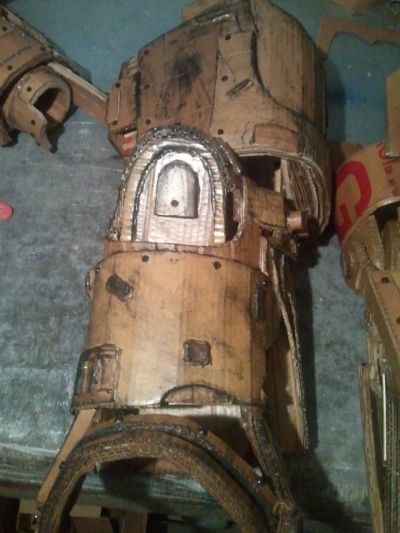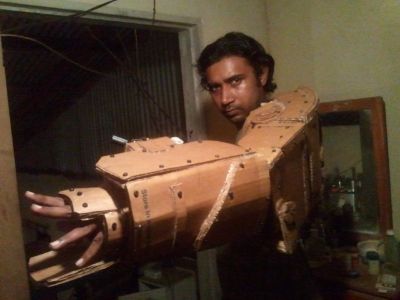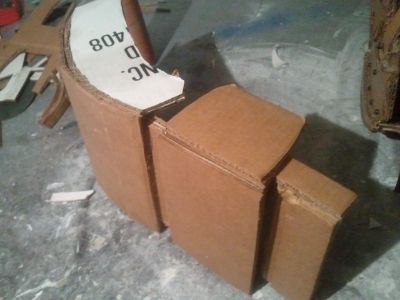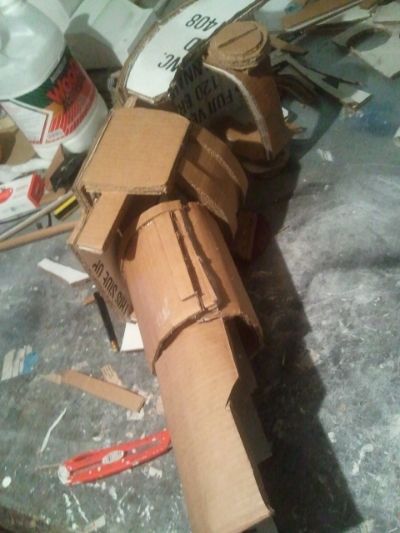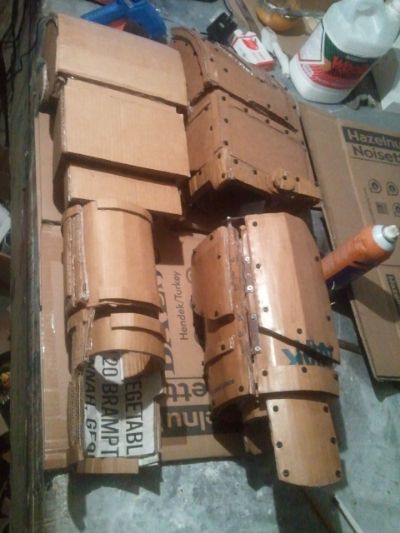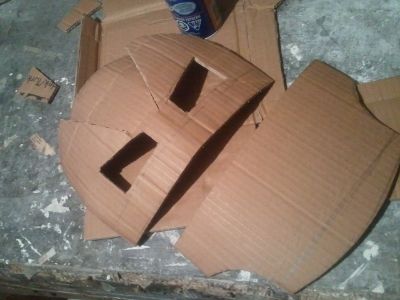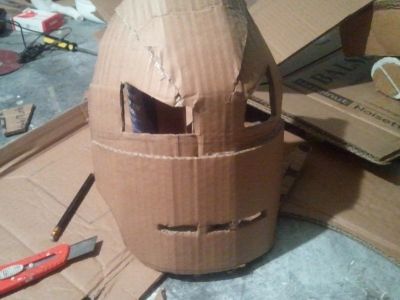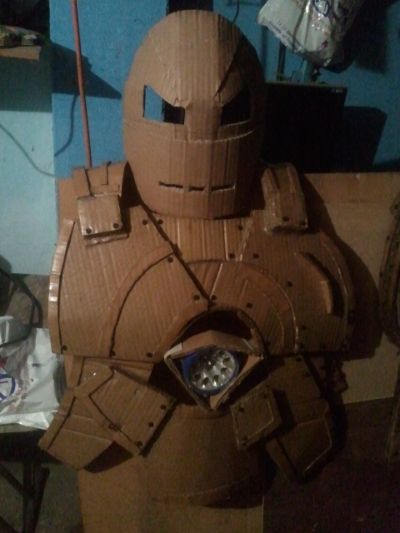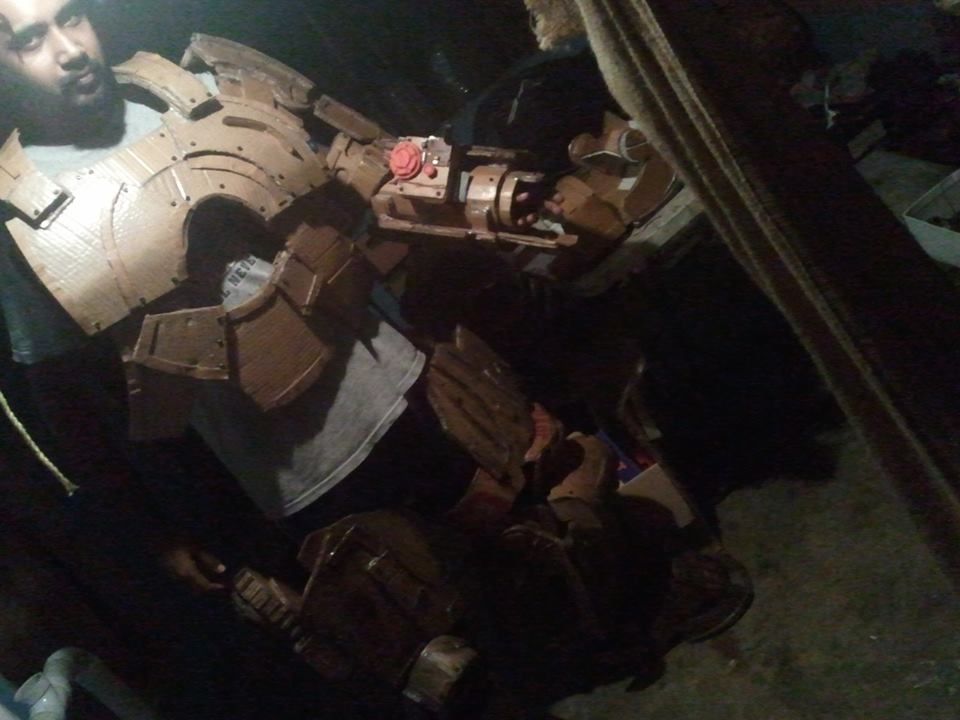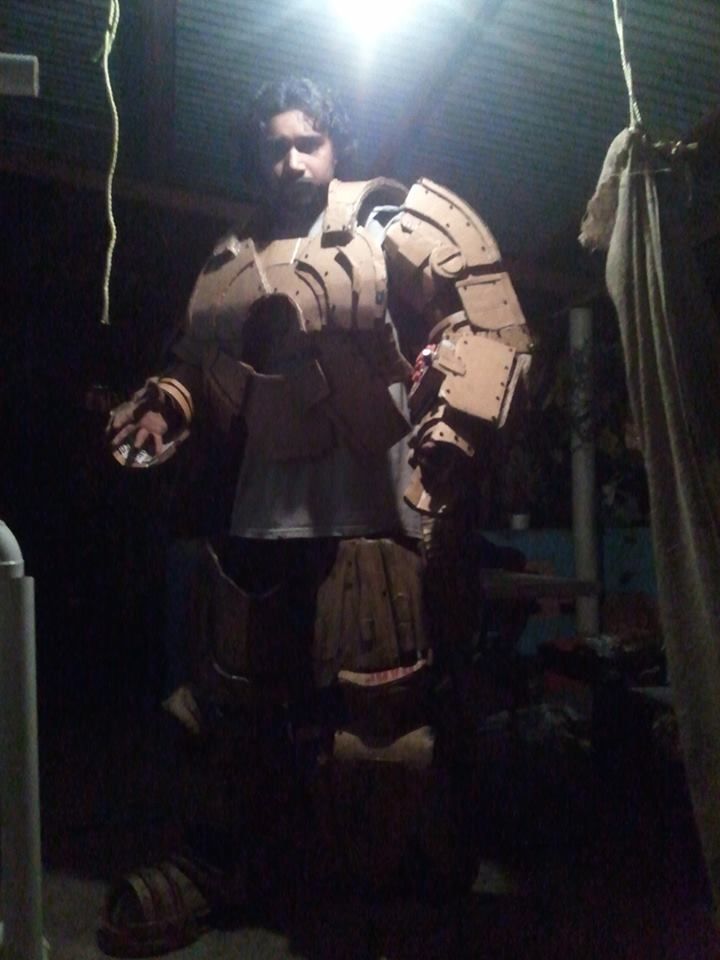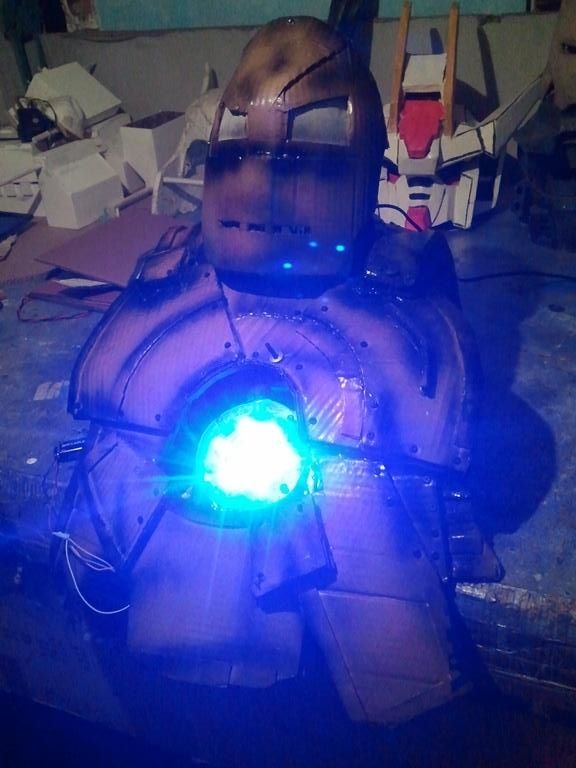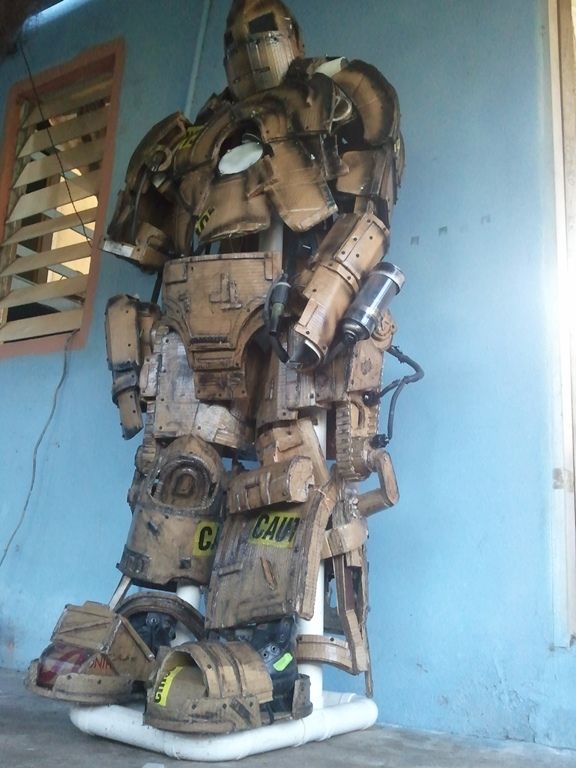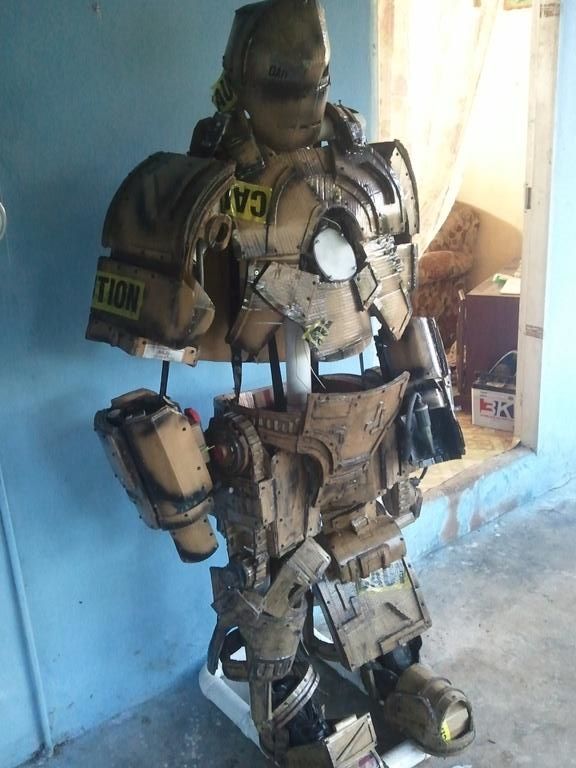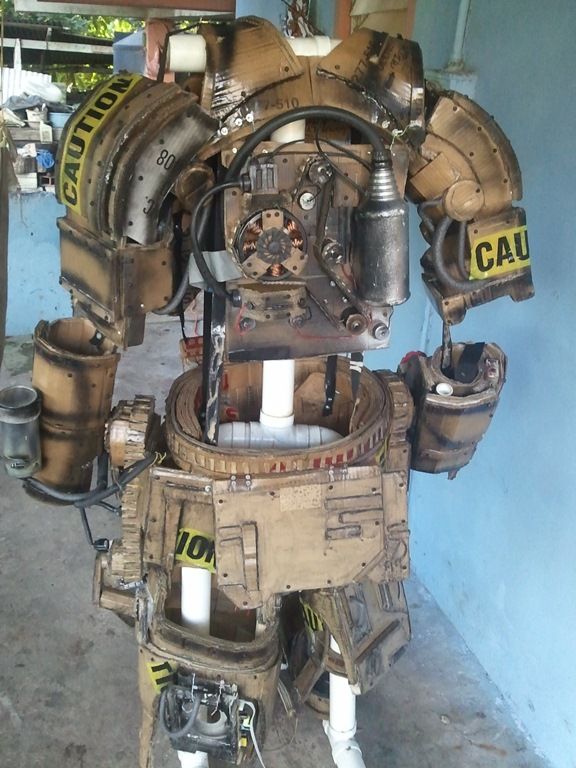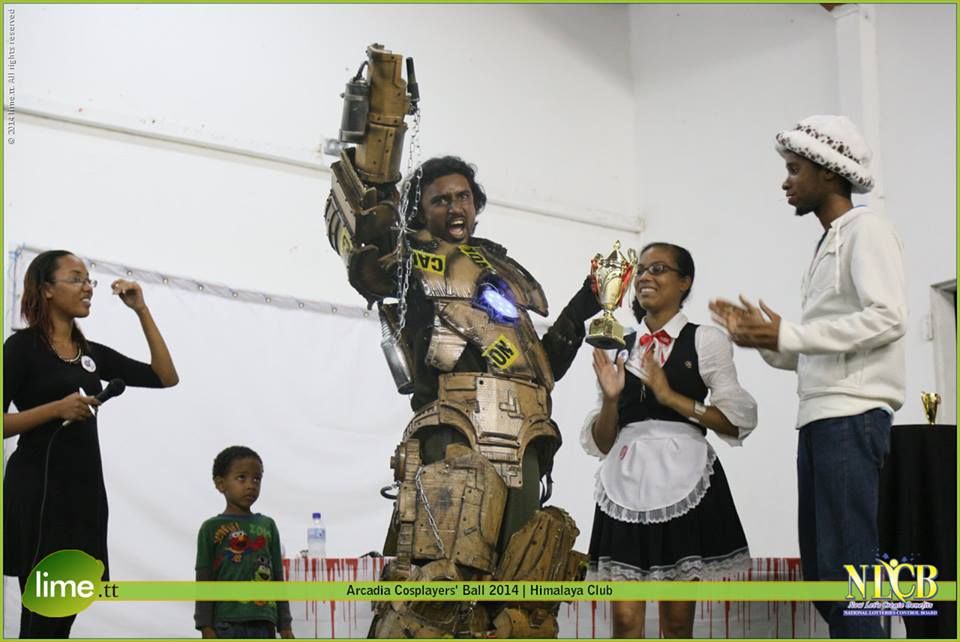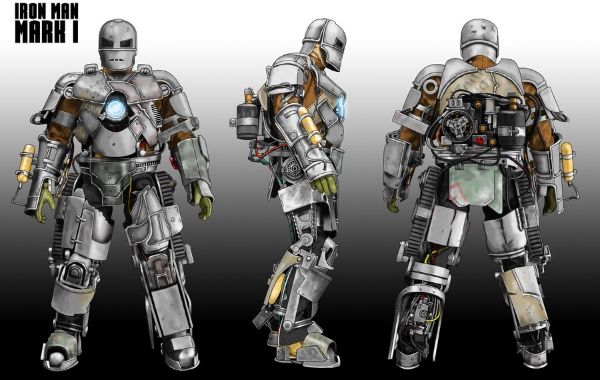
So,as the title says,Ive begun work on a Mk1 IronMan Suit to be made from cardboard. But, im keeping the over all look more to the suit so thats it recognizable.But alot of the finer details will not be a dead on copy over.
Mostly as i like keeping a little of my own touch to it ^^ cause it makes it mine and not another carbon copy. This will be for a convention that will be held in November and these will be the process as im going through it.
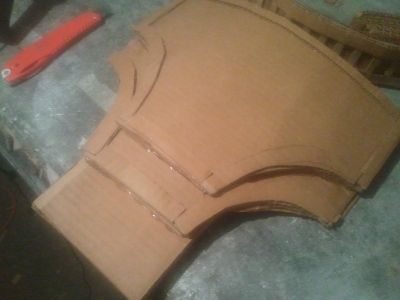
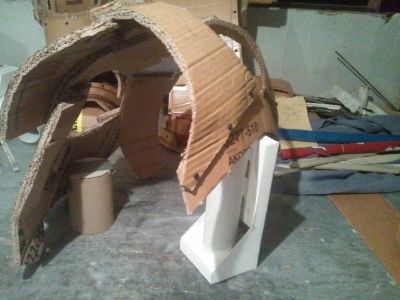
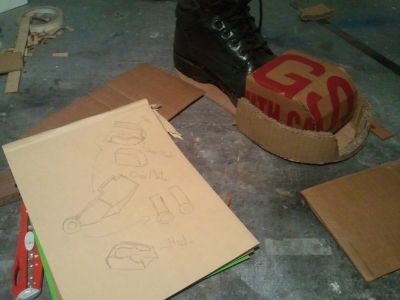
SO first off I decided to start from the boot come up, cause it it follows an actual boot inside it, so i started off with some draft cuts to form the cap
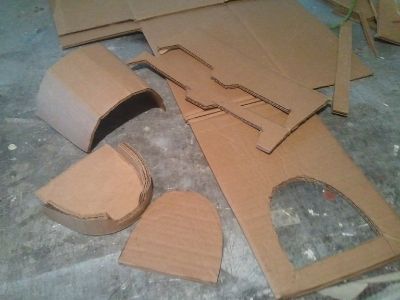
Here i sawed off some Mdf board to put below, i considered letting the boot fall flat and just build it around it, but...just wanted that extra 10%
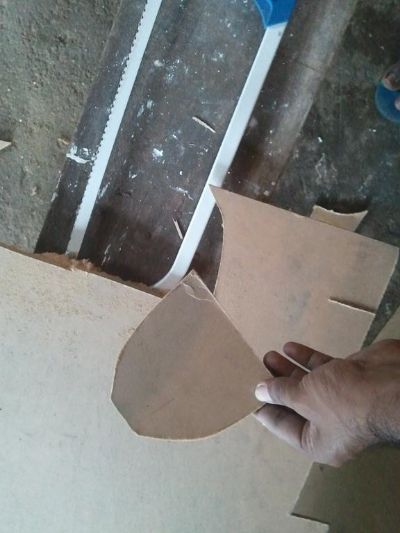
I started putting it together, using 2-3 layers make it about 3/4" thick and started forming it into shape.
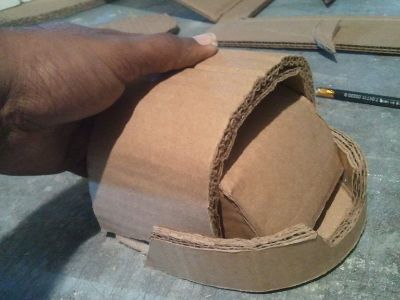
Worked on the heel after ...but i started to realise, making it in two pieces was a bad idea xp
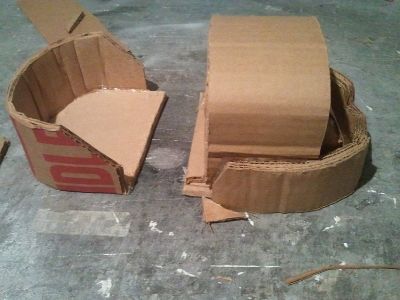
After a few tries, mostly cause i had to get the scale right, i finally worked it around an old work boot i had. Now that i had the scale right, i could work the rest of the armor in relation to the scale.
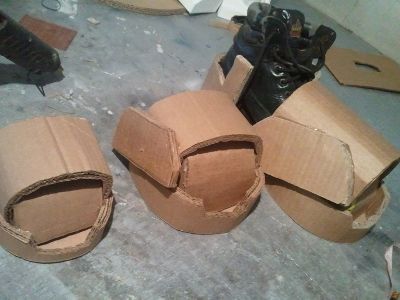
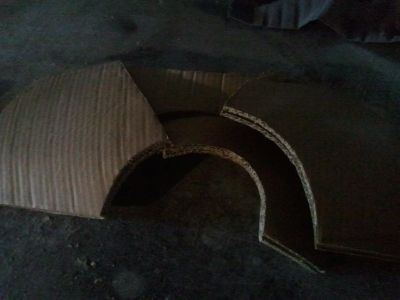
Now the real work begins. Working by eye watching and averaging the basic shapes by breaking them down into parts
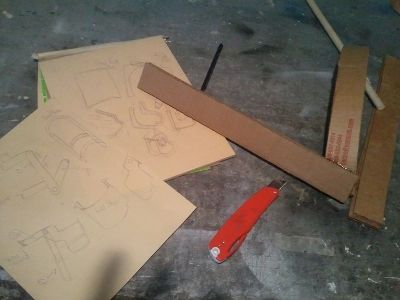
So I started on the basic shape and how i worked out it look like
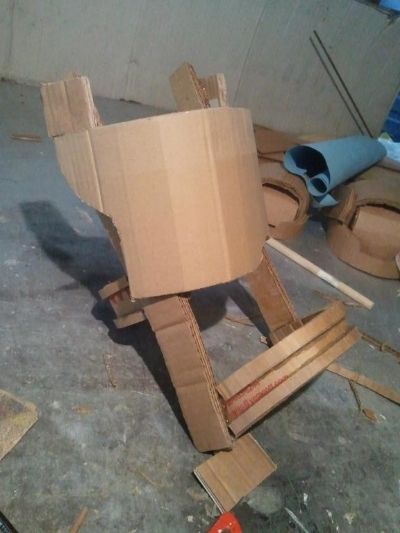
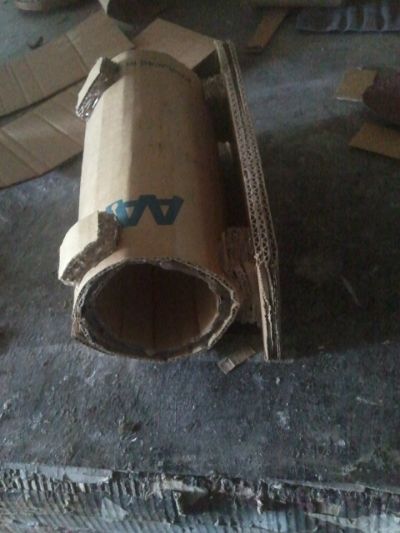
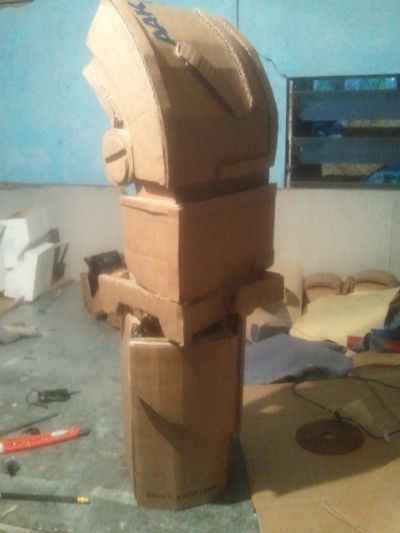
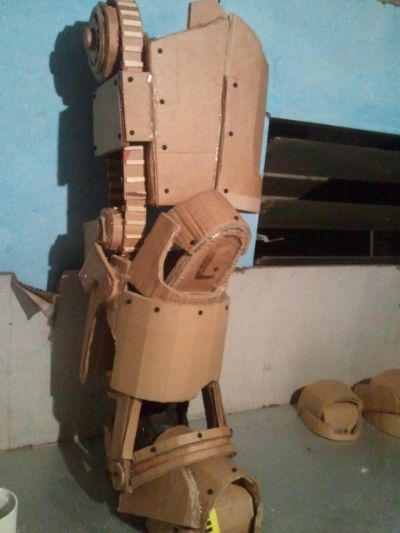
Pretty soon i got the lower leg to look the part.
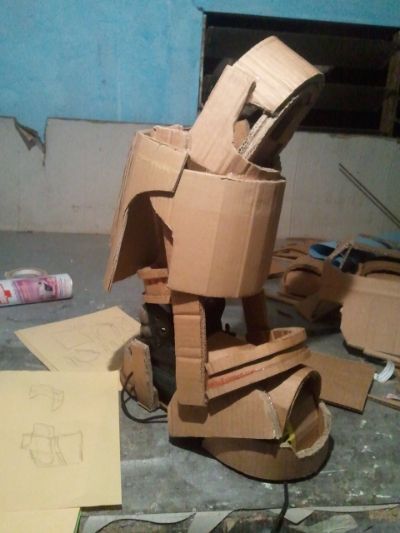
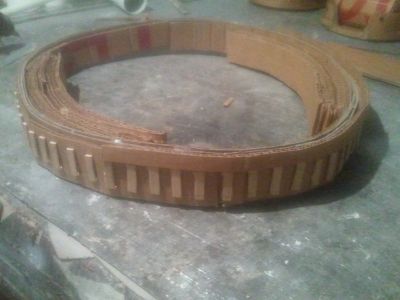
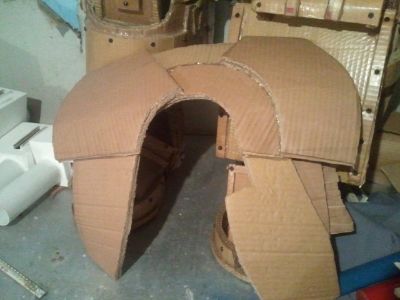
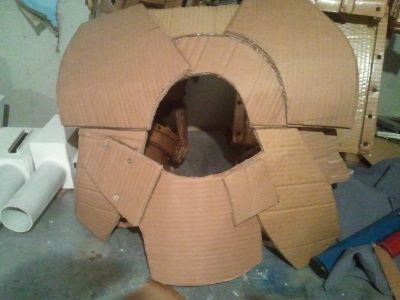
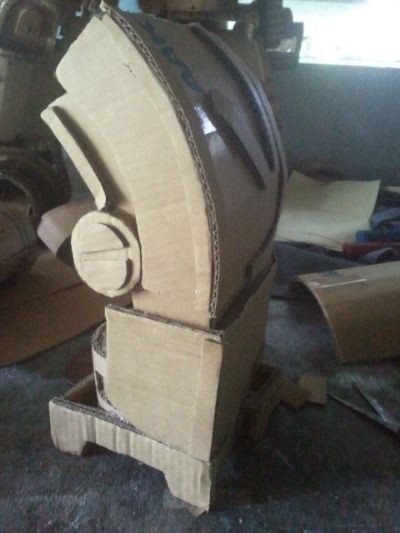
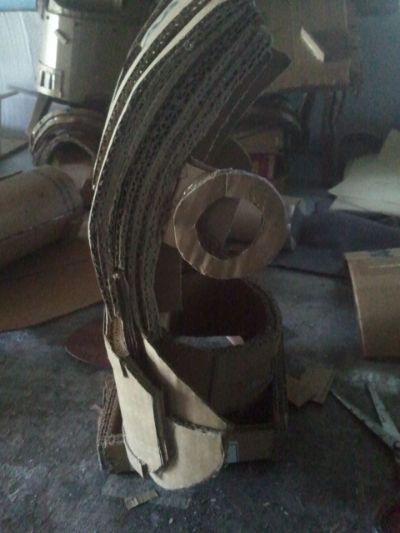
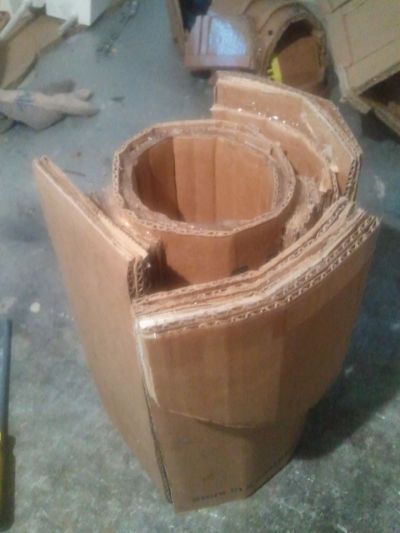
The thigh was pretty fun to work on beacuse of its gear steam punk like shape
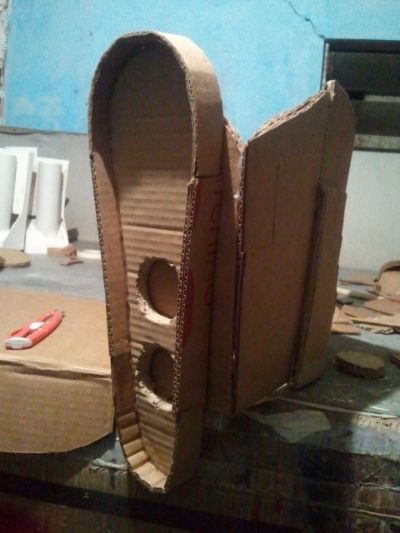
Pretty soon, i got the over all...but the real work was coming.
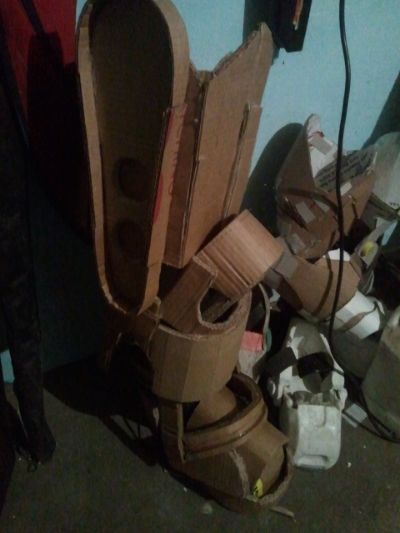
Sooooo like i know im not the neatest prop maker lol...but hey, if your not enjoying it.
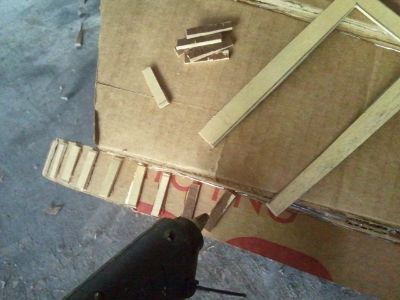
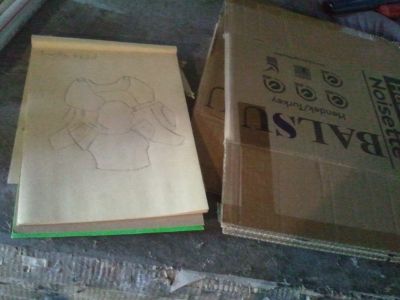
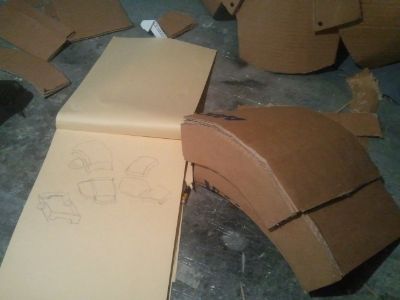
Drew up the rest of the sketch plans to work out what to do
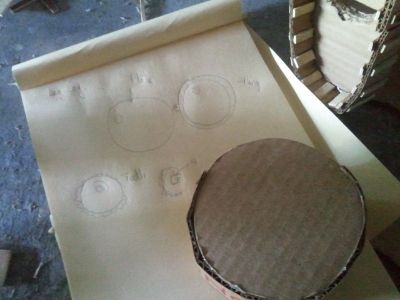
Felt really accomplished when it came out ^^....it loved how it looked for me personally
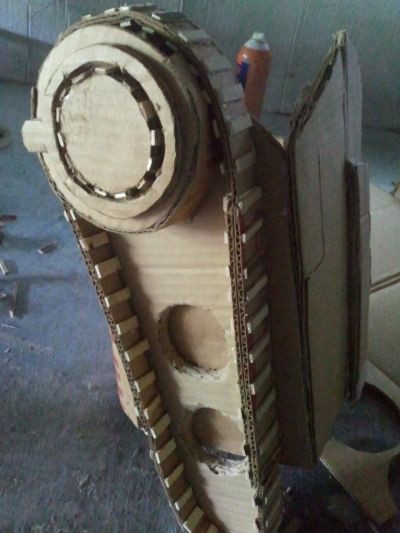
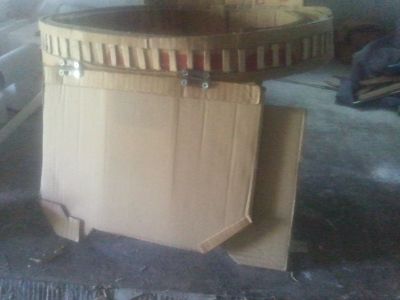
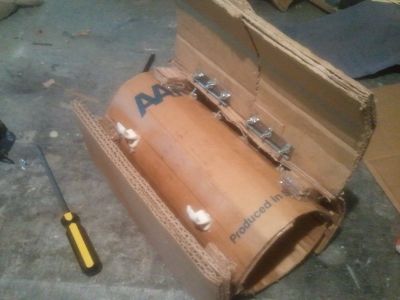
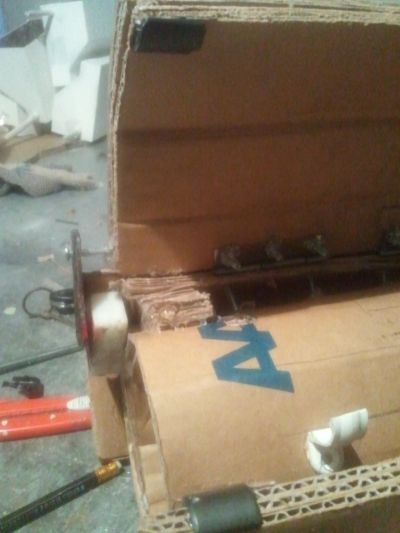
So i worked out some MDF board and some nuts and bolts. Used some Rattle can caps for the anchor and slapped it all together to make it work out in the end
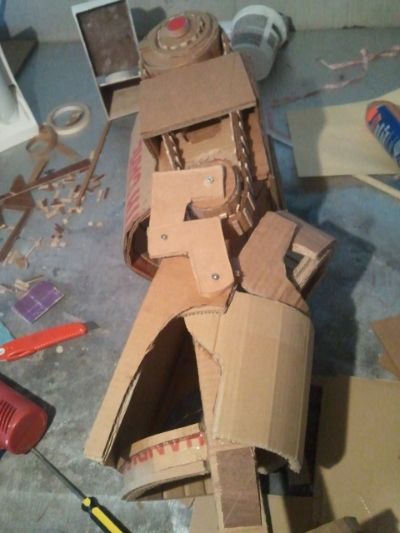
And thus the first leg was done....phew..XD.... so more to come soon
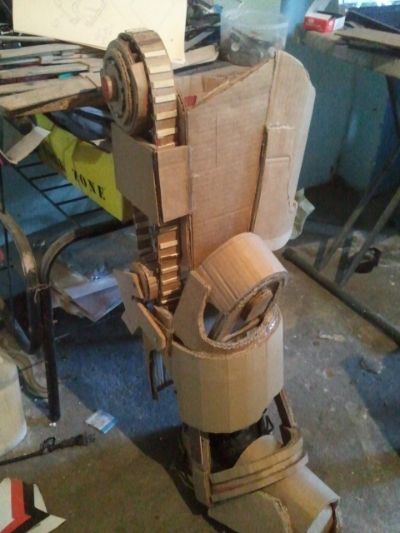
************************************PHASE TWO***********************************************
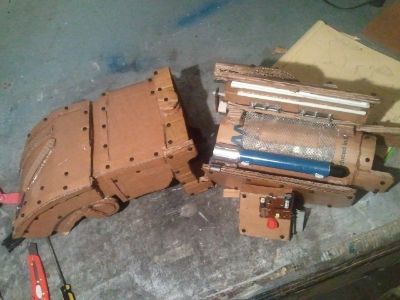
When i had finished the first leg, while it looked great, it looked a little plain, so i decided to add some little detailing like these Cupboard screws.
Which ended up looking like rivets
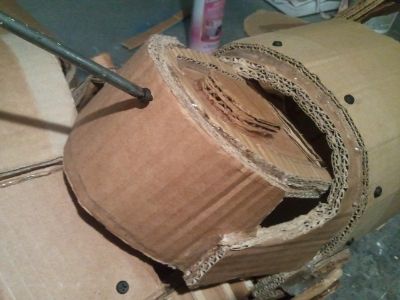
Which really made it pop for me ^^
So Im getting started on the other leg, using the same method of breakdown and building it around the right boot
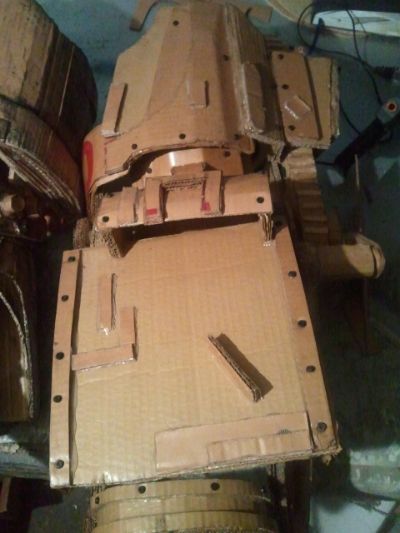
Though its well shown that this leg is vastly different from the left. making the linking mechanism to the lower half in advance was a bit tricky. But i managed to get it to swivel and rotate
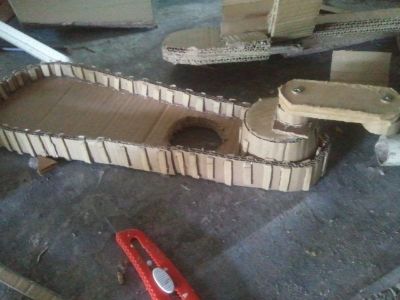
This is the finish overall for the right gear thigh
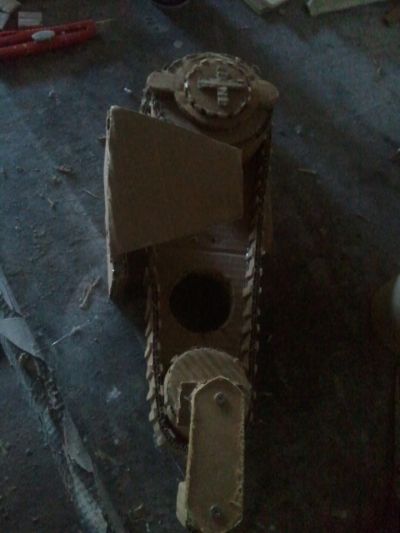
After a while though XD i started to ask myself WTF am i doing lol....
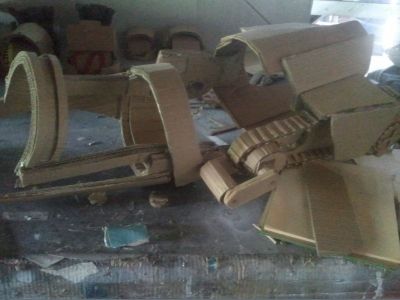
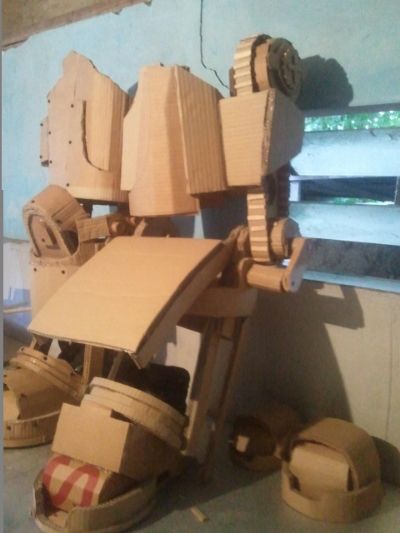
In the end....phew..><...took about 5 hours...but i managed to pull it all together, but i not skipping that i think i got a bit of the scale off a bit, since i didnt add the knee cap here, but when i get to it youll see what i mean.
Last edited:

