Captain America WWII Shield

Monk

Well-Known Member
This is my first prop build. Sort of. I've built shields for RenFest's and various other stage props, but this is my first, "Take pictures as you go and show people what kind of hack you are" build.

So here goes.

On campus, the theater has a leaky roof. It damaged some seat backs.

6243641999_4733294e0c.jpg


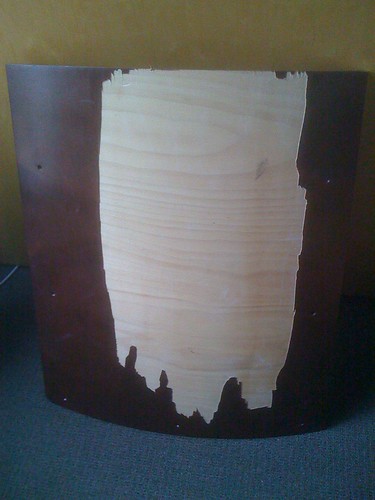
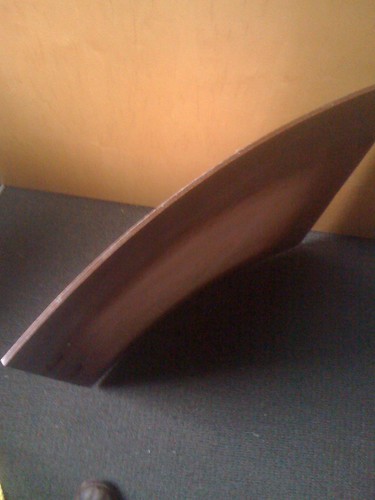
But I noticed the plywood had a real nice curve to it.

6244159444_e19be5947c.jpg


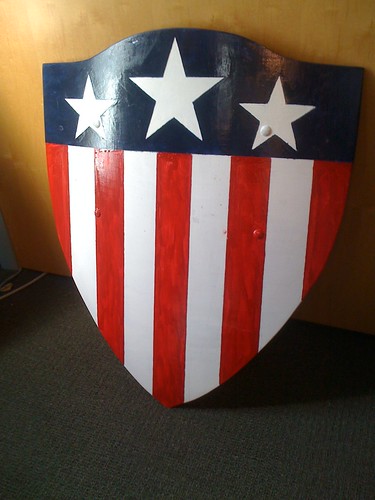
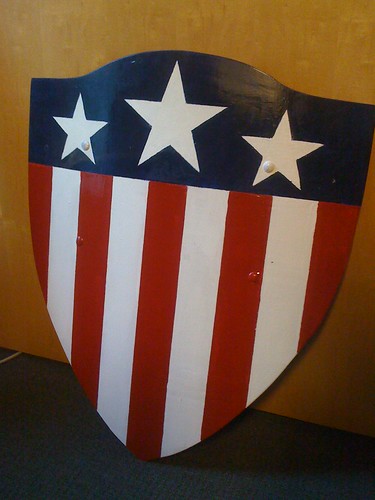
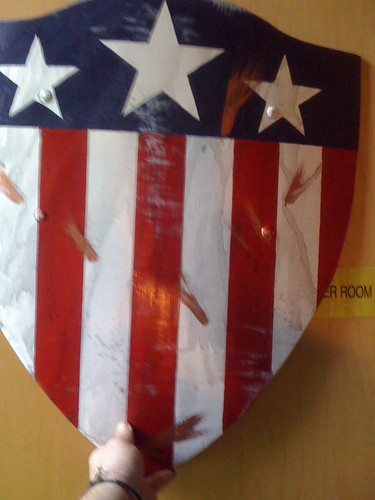
So, inspired by this photo...

6243640375_19a2c60b95.jpg


I decided to build a shield to hang on my wall in my office.

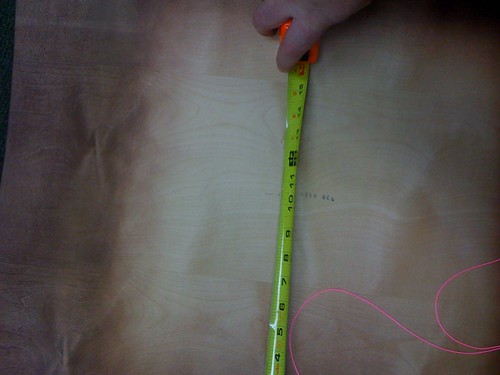
First, I found the center of the seat back.

6244159690_a8cd3ce85d.jpg


Then I used a simple method for creating the curves.

6243642419_9c73f73fc6.jpg


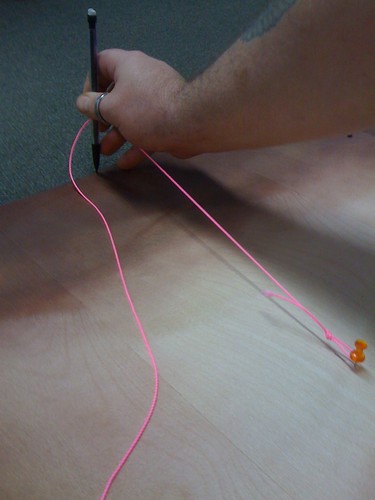
and came out with a decent pattern on the material I have.

6243642783_f7ef5d21f7.jpg


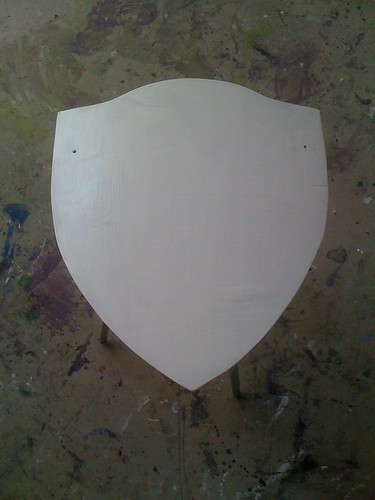
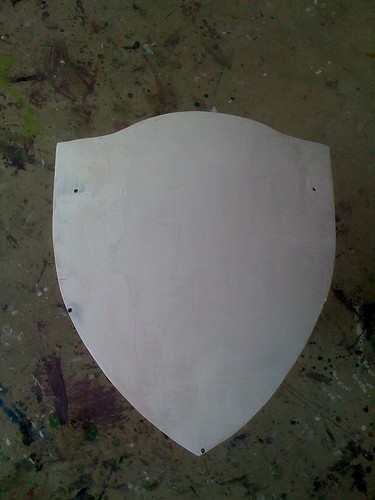
From there it was off to the shop and play with the band saw. I then sanded the edges as well.

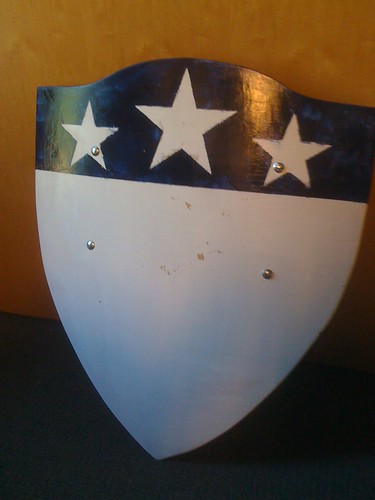
Gave it a coat of white to prime the surface and here it is so far...

6243642867_6a5f1cc9c0.jpg


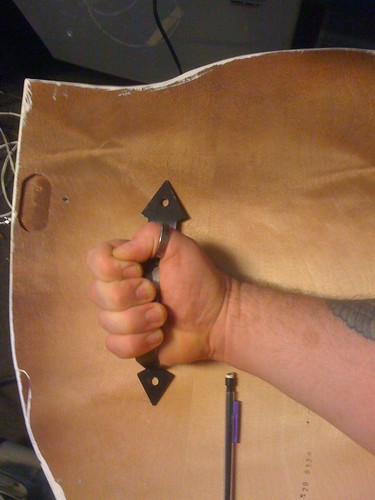
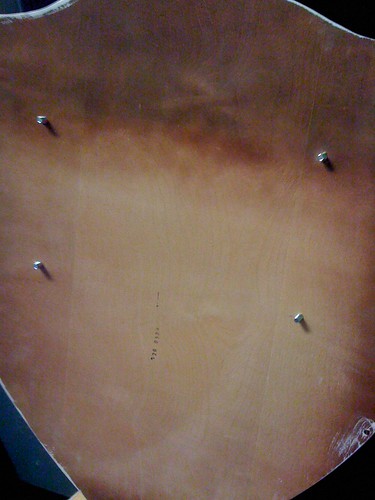
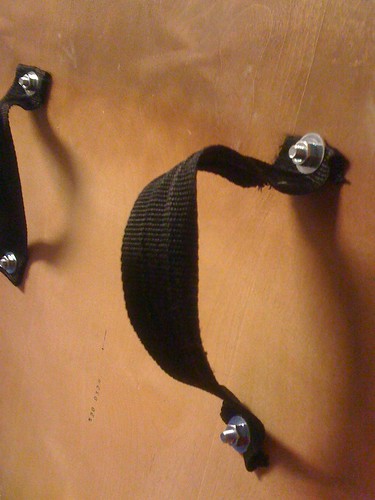
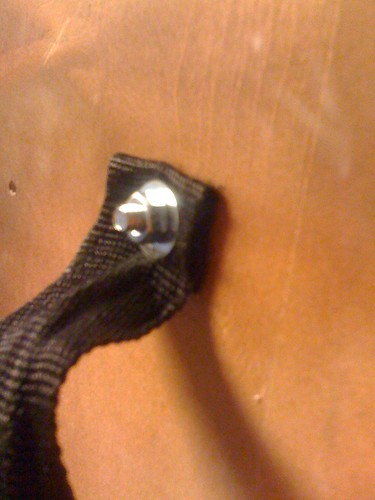
Next up, fill a few small holes, another coat of white and drill the holes for the handle and arm strap.

So far, so good.
 
Thanks, this is also my first time describing my workflow out loud... so I hope not to skip a step.

We did some filling of a couple of small holes, I leave two for hanging purposes later. (leather cord)

So here it is after some additional sanding and second coat of white.

6244035181_745ff802c7.jpg


And then using Adobe Illustrator, I printed out a couple of stars for patterns. The center one is 5.5" and the outer two are 4"


6244552628_6a32b8b7e6.jpg


I have to let the paint dry, and then I'll drill some holes for handle and strap hardware before moving on to more paint. This won't be "Movie accurate" but it will look really great on the wall next to a prop gun belt.

after looking at it with the stars, I'm knocking down the small size to 3.75" vs 4" seemed to look more accurate as far as scale was concerned..

Monk
 
Last edited:
actually i wouldnt let the holes in. you can use different things to attach the handles on back, and hang it from that, but the holes make it look, how do i say this....proppy
i hope you know what i mean, it looks like its just made for the sole interest of hanging it up, maybe its just me, but i think a prop should be close as possible :)

still, awesome work :)

another hint:
download posterizer, cut out the shield still frame, blow it up to actual size, and print it out via posterizer, then you have a perfect overlay for painting etc :)

hth
EoS
 
I think you're right, I'll fill in those holes and sand them smooth.

The finished look will be the battle look as in the picture with the strafing.

Here is how I figure out bolt hole placement. I use a handle as a gauge.

6254113634_ece4f5ff2b.jpg


Then I drill four holes, and use carriage bolts.

6253583253_f983e13e7f.jpg


The bolts pretty much disappear once they're painted.

6253583081_5c30592361.jpg


I then use some strapping from an old gym bag that was in the office. It was pretty shredded, but a heat gun cleans up the rough edges

6253583459_c77719dd36.jpg


Close up of how they straps attach. The fabric is folded over, and the bolt runs through the middle of it.

6253582981_1cf5c22673.jpg


I'll be doing more today during lunch. and will post pictures as I can.

Monk
 
first coat of blue and the stars are roughed in. So far I'm happy with the progress.

6254781181_d95574ef19.jpg


we'll clean up the lines to sharpen the stars and paint over the bolts, then up next, red stripes.
 
I decided I don't like the rounded tops of the carriage bolts, I am either going to:

a. find flat headed bolts
b. grind them flat real quick, and cover with some bondo.

I'm going to make more progress on this tomorrow.
 
I looked around for flat carriage bolts and failed.

So maybe on shield MKII we'll push it further.

For now, here's the second coat of blue and first coat of red for the stripes.

6263952760_8246f323d7.jpg


we'll let that dry for an hour or so, add another coat, touch up the white and then start the battle damage. Strafing and dirt.
 
Ok, second coat of red, and another coat of white to finish the stripes.

We'll let it dry overnight and do the battle damage tomorrow.

6264784636_31111a3c77.jpg
 
Ok, here is the final result, (sorry for the blur...)

6266707007_516b10fe8e.jpg


And here is a comparison.

6267219822_e25b51be7e.jpg


Pretty close, more gloss than the film version, but we can hit that with some steel wool and take down the shine.
 
This thread is more than 12 years old.

Your message may be considered spam for the following reasons:

  1. This thread hasn't been active in some time. A new post in this thread might not contribute constructively to this discussion after so long.
If you wish to reply despite these issues, check the box below before replying.
Be aware that malicious compliance may result in more severe penalties.
Back
Top