ceije1010
New Member
So I've been going through a lot of the post and collecting great info from a lot of talented individuals making the CA Avengers costume.
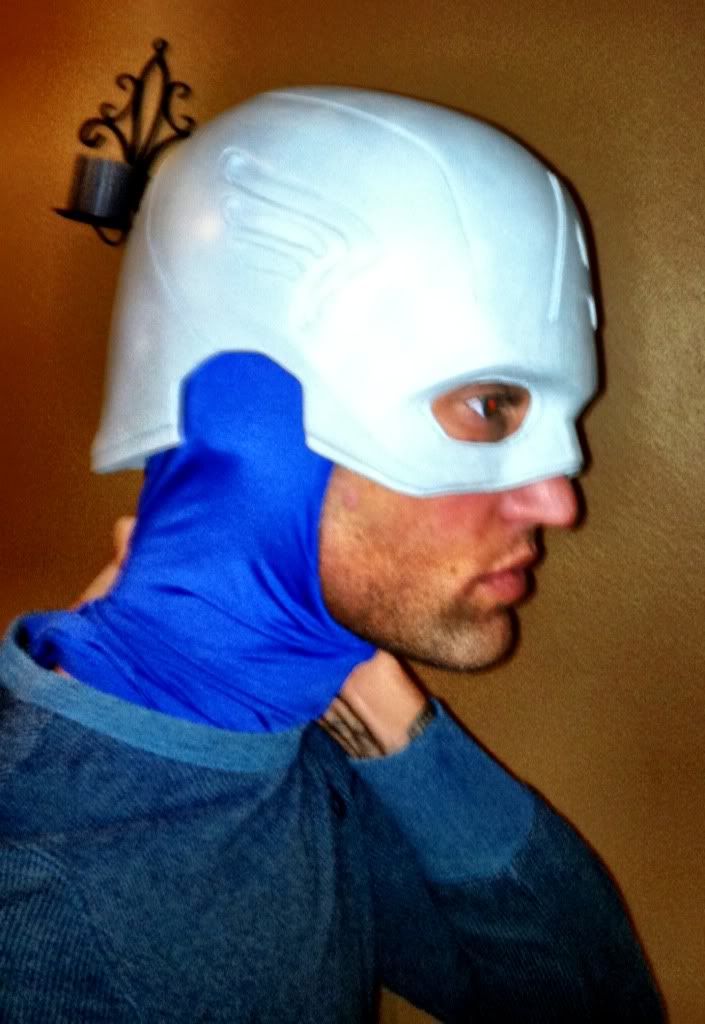
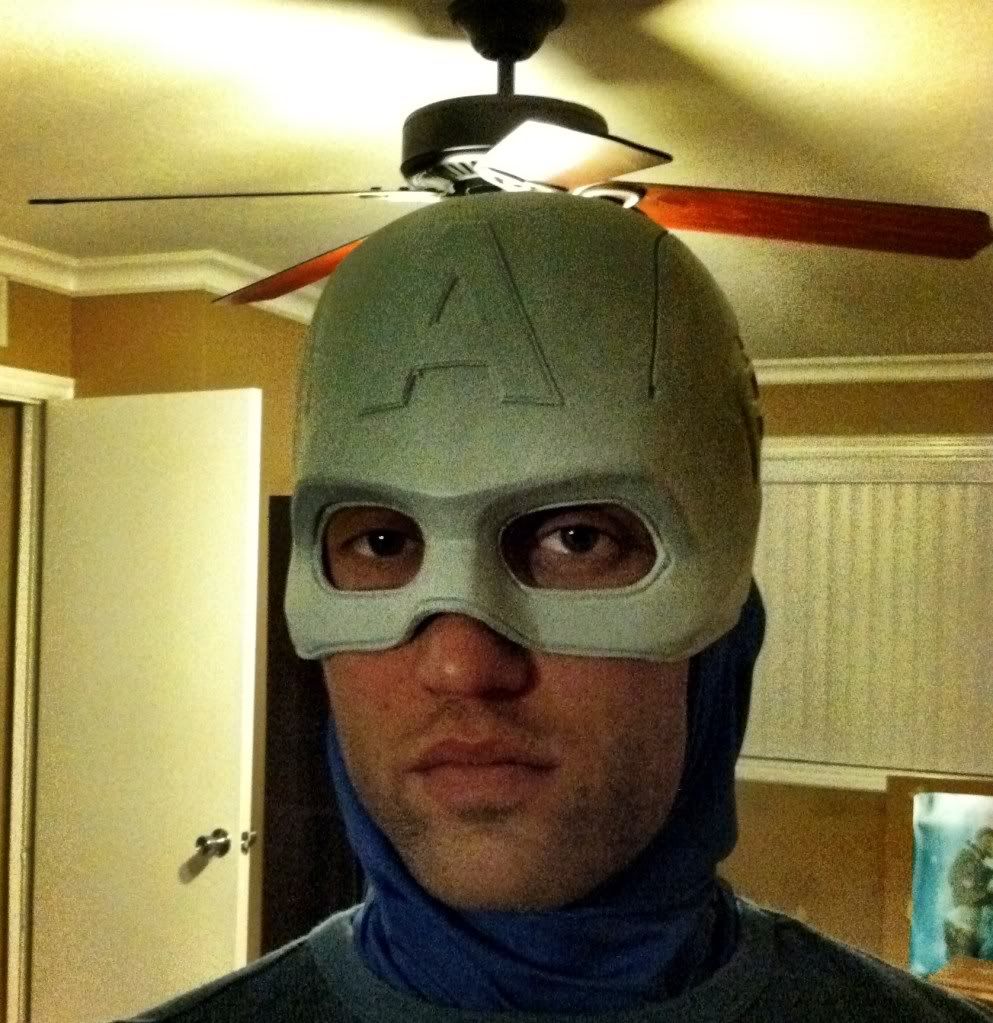
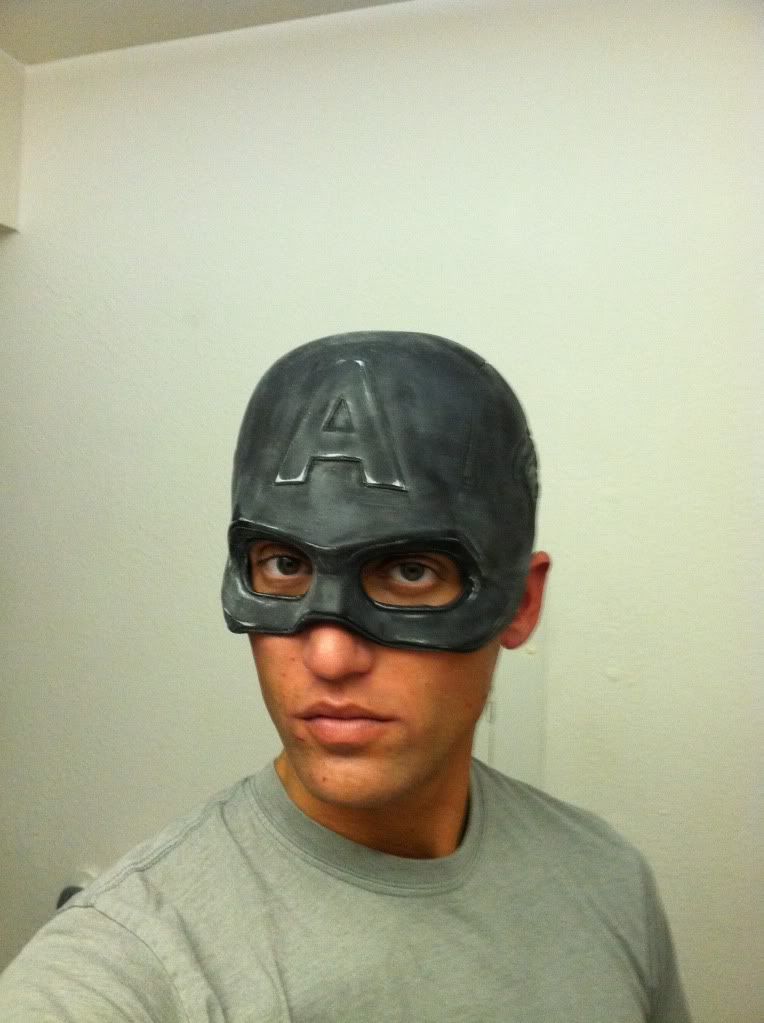
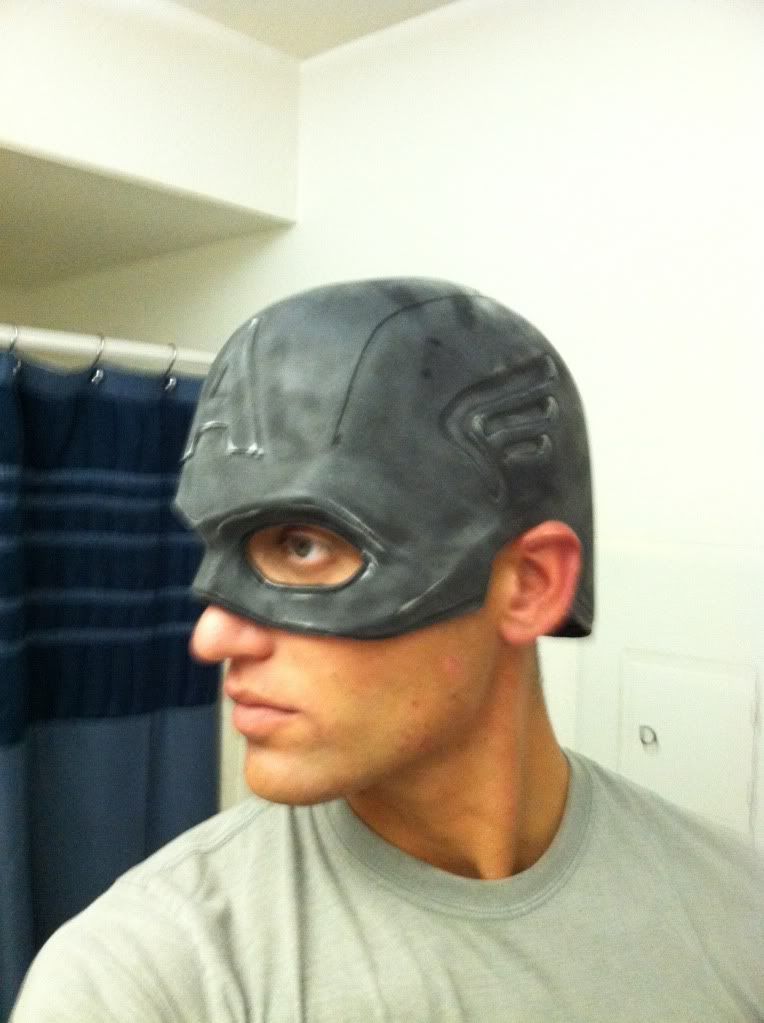
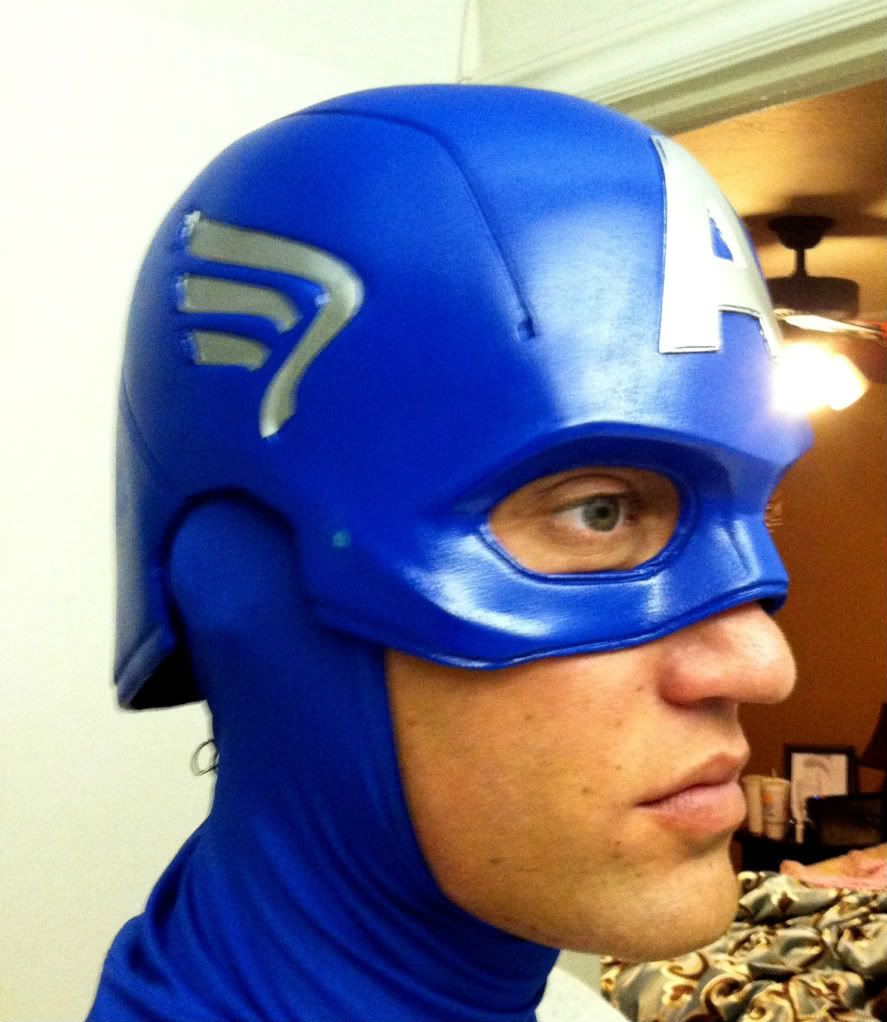
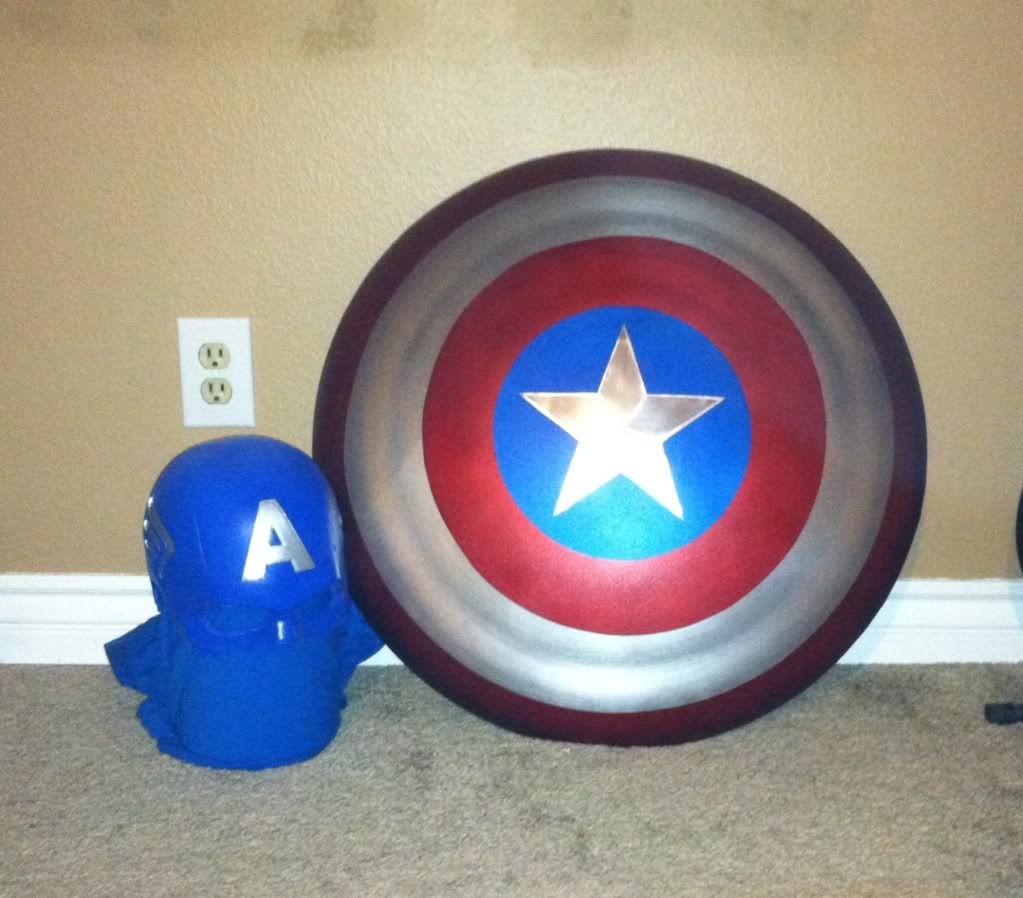
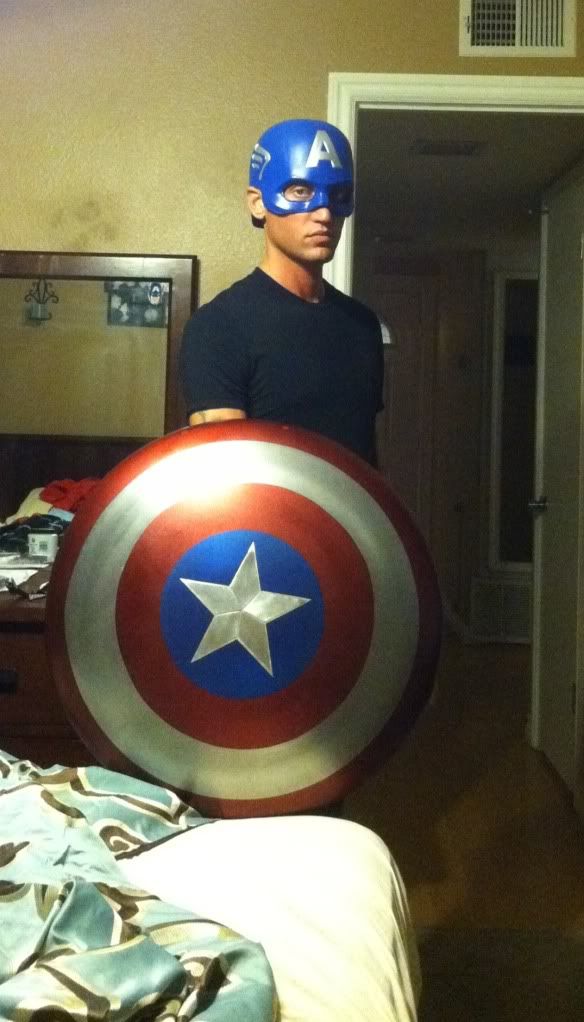
I've been working on the helmet lately. I got it from Maulfett. (great skills that man) After about two weeks of reshaping the interior to fit my strange shaped head and trimming, sanding, priming, sanding again then final pain and detail... it's about 90% done and I may still darken and fade the blue.
I'm going to take some motorcycle jacket material (cordura, I believe) for the neck piece since the material is stiff and will hold a shape but still be flexible and breathable and give the "printed" fabric look.
I'm going to go with the Oakley Assualt shoe and build on that as being done by TheCrusader on his posting
Icon red pursuit gloves and build on gauntlets as TheCrusader is doing in his post
I'm debating the torso piece between having it made pro or going the motorcycle jacket route and chopping it up and building off that. I like the build of the jacket and material is easy to color.
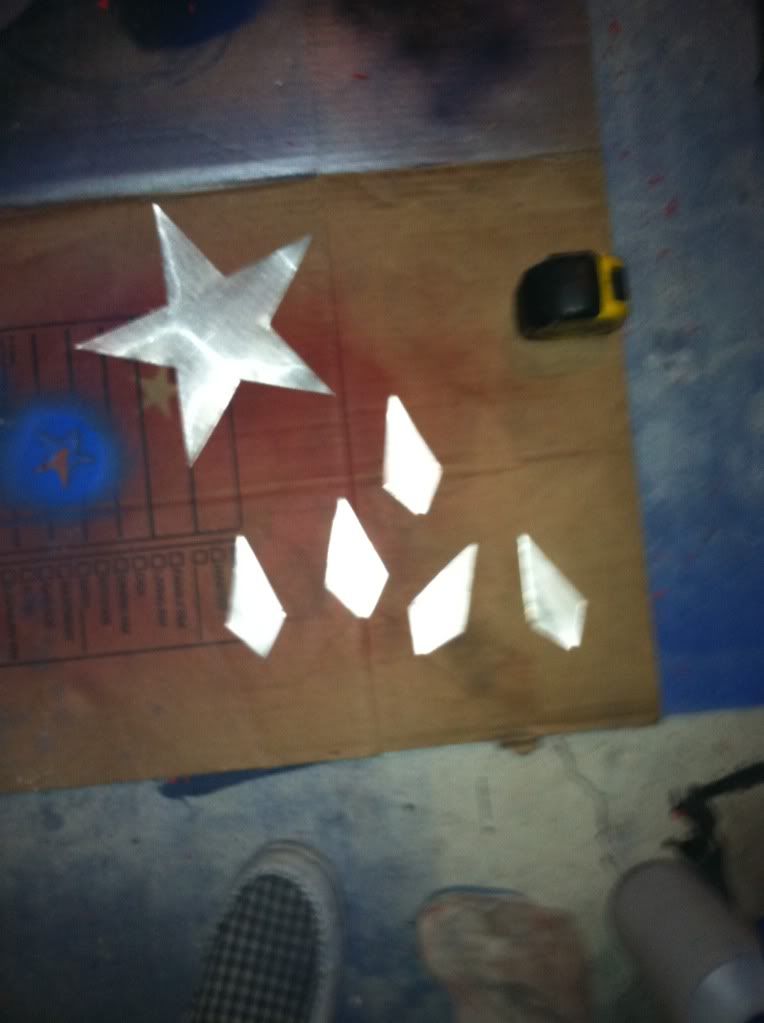
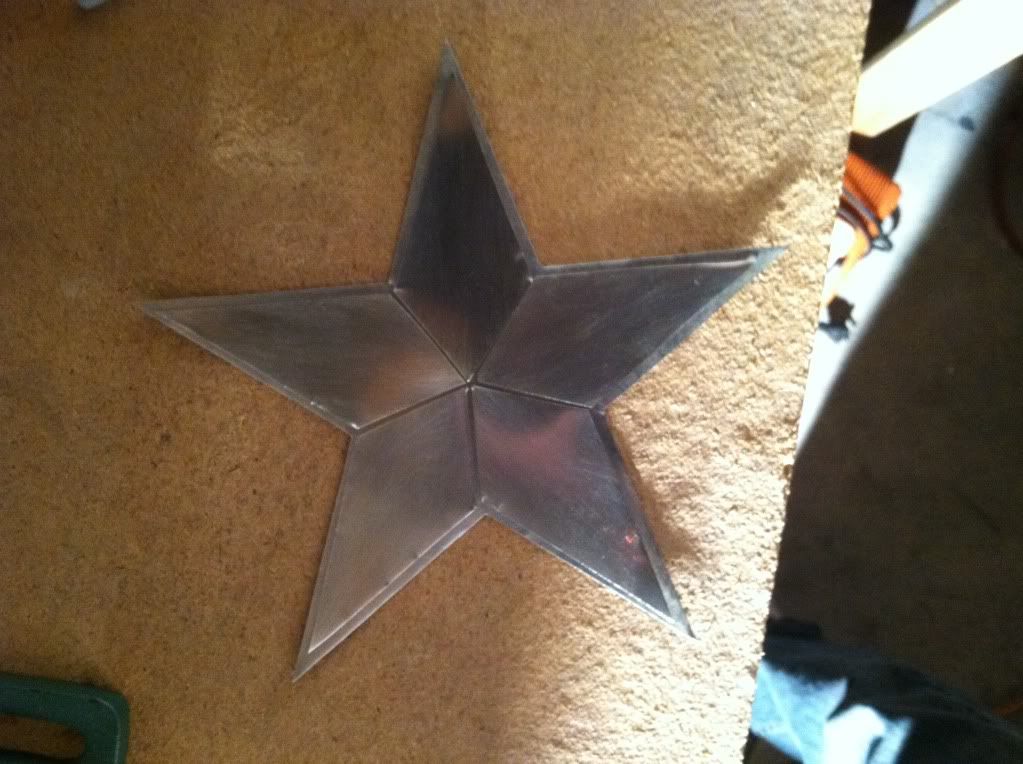
Bamabat supplied me the chest star and was nice enough to through in some extra ones, I used to test paint. Found auto interior trim paint was the best for the rubber. No cracking... (3rd times a charm)
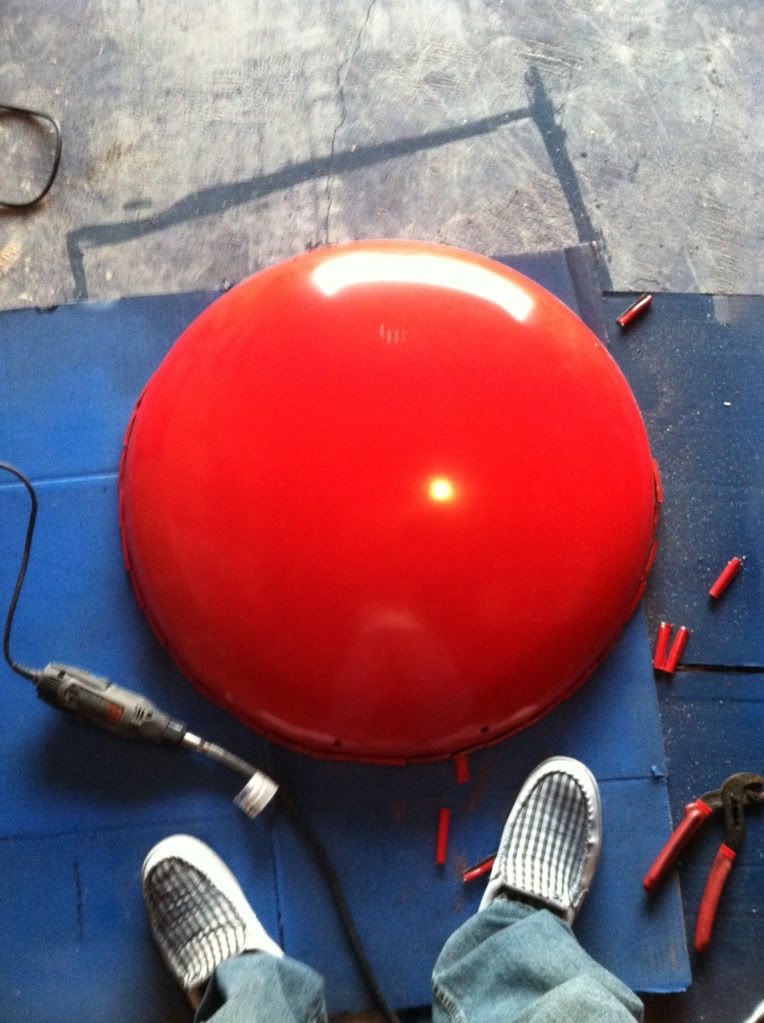
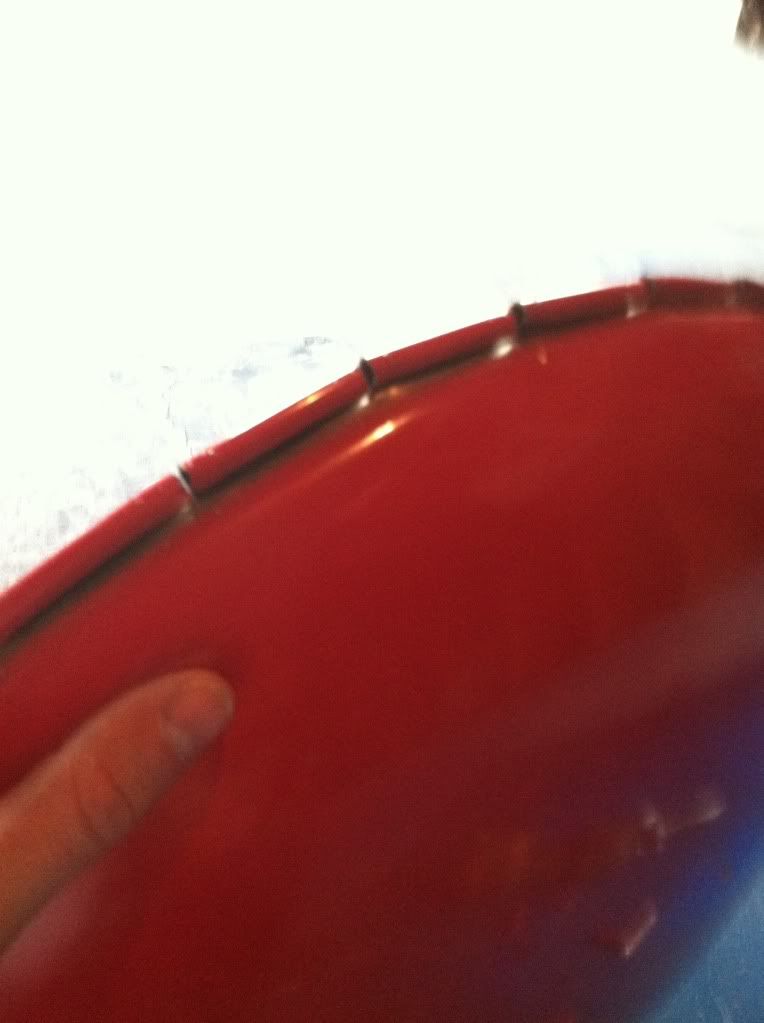
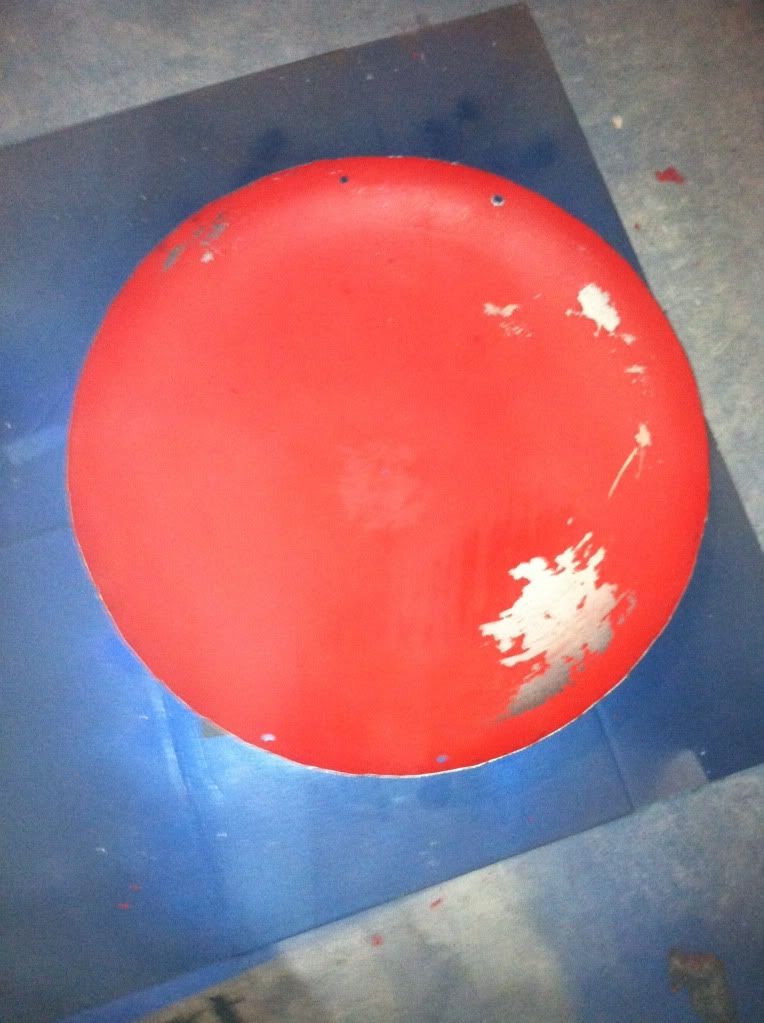
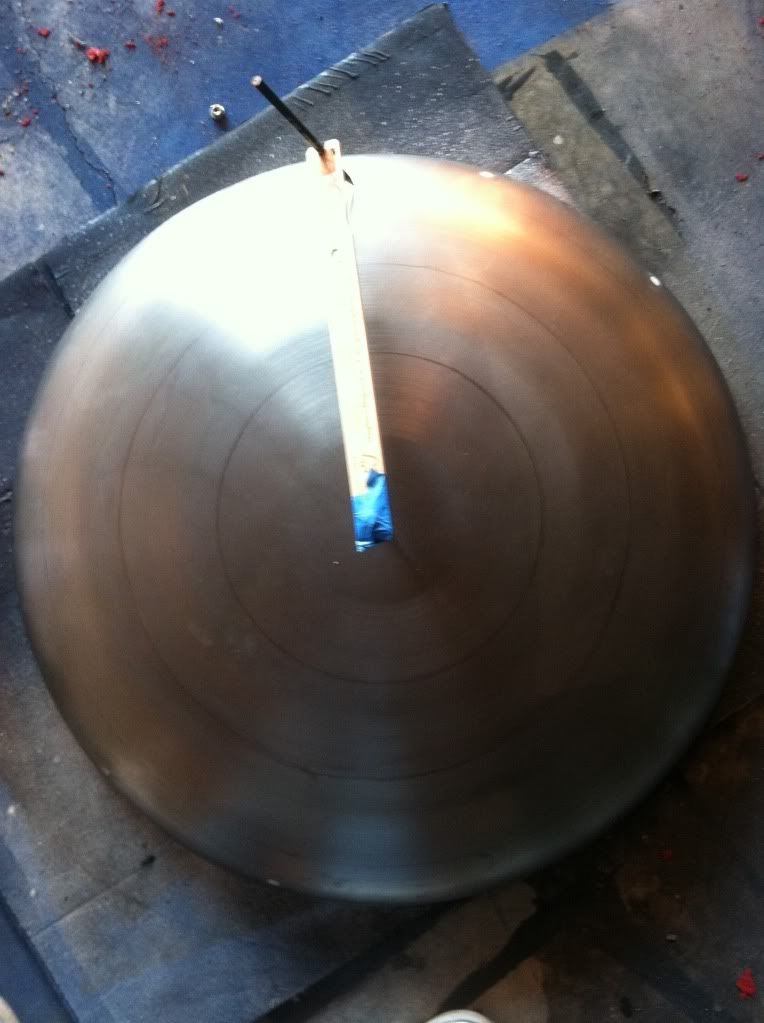
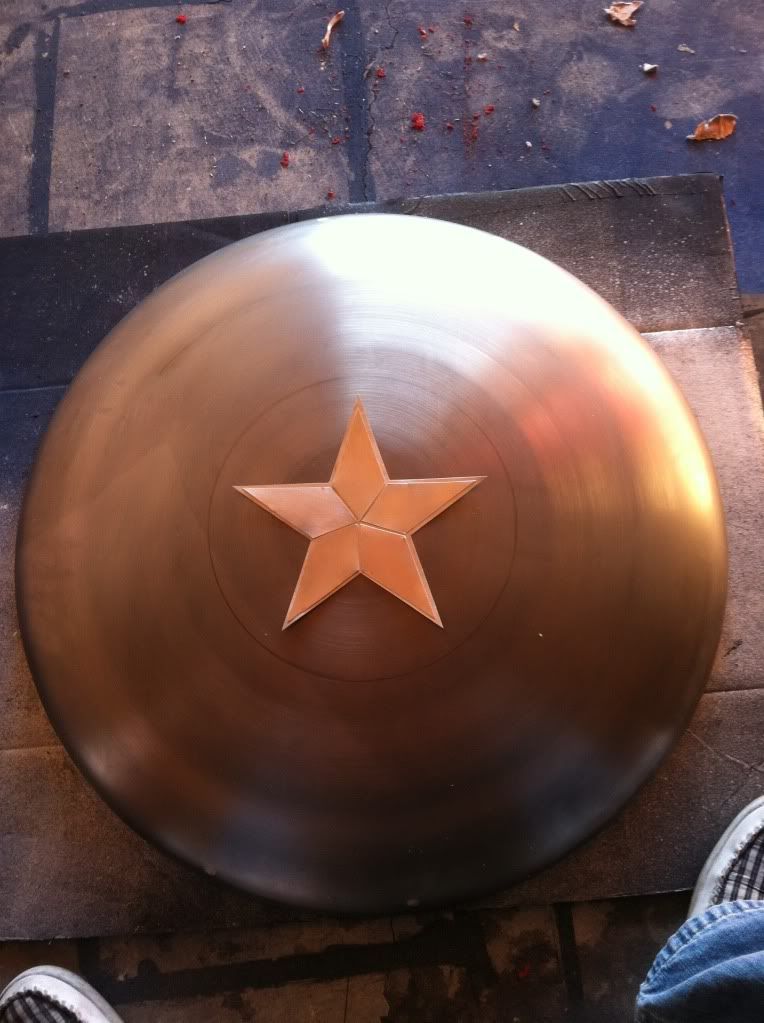
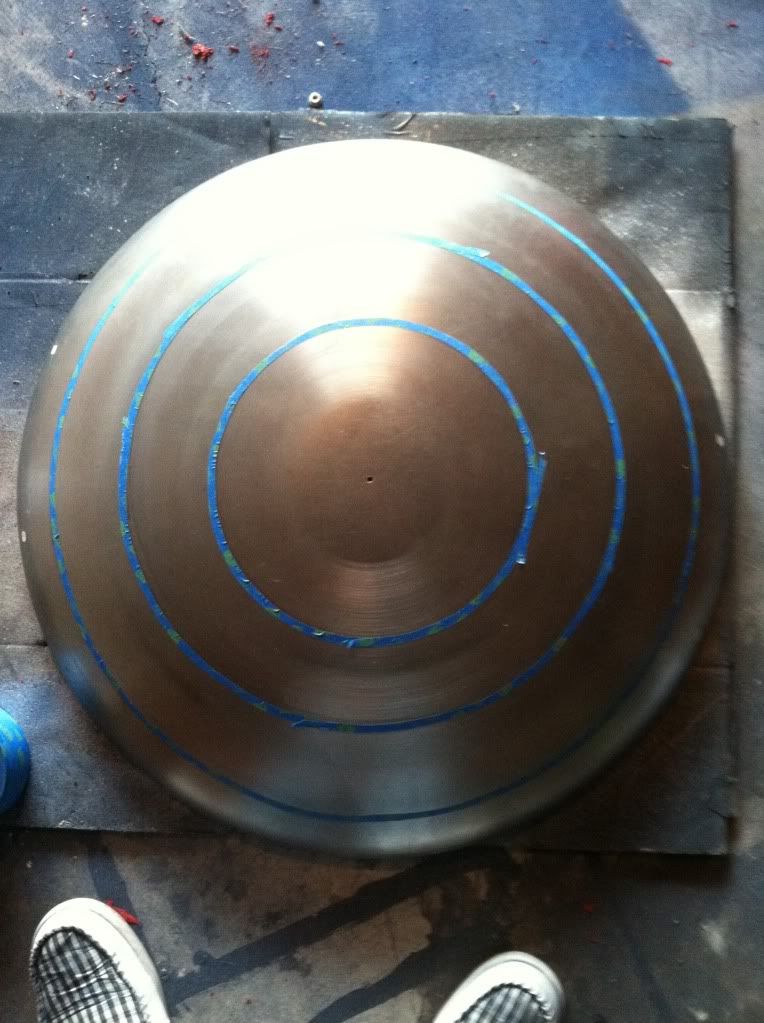
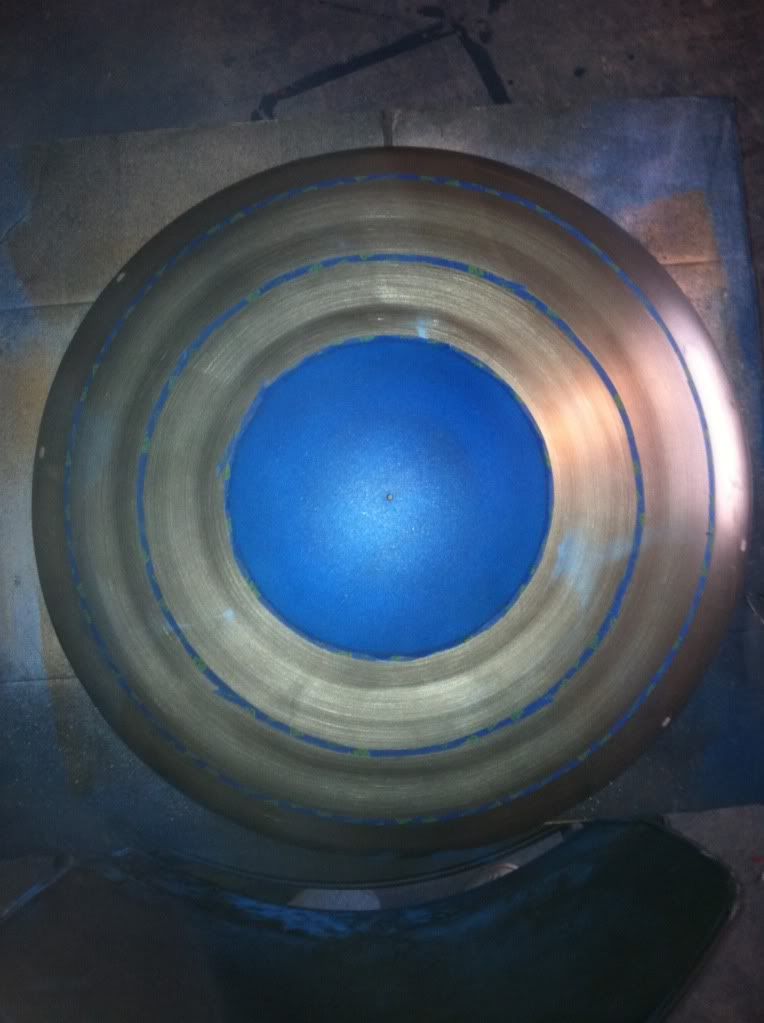
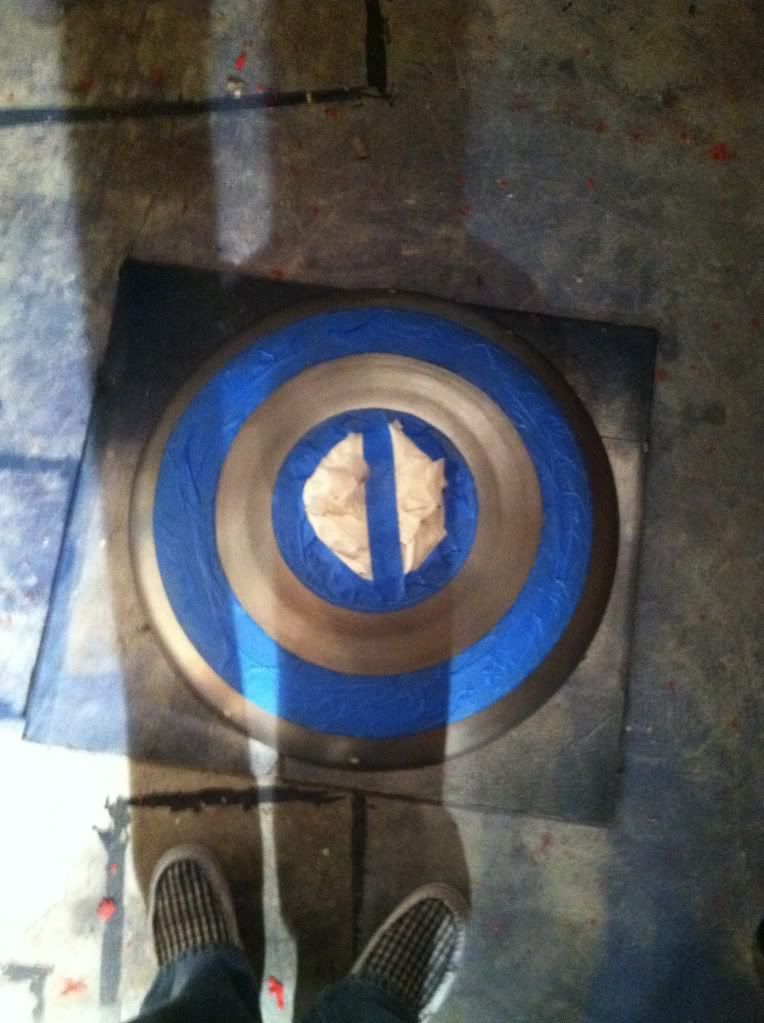
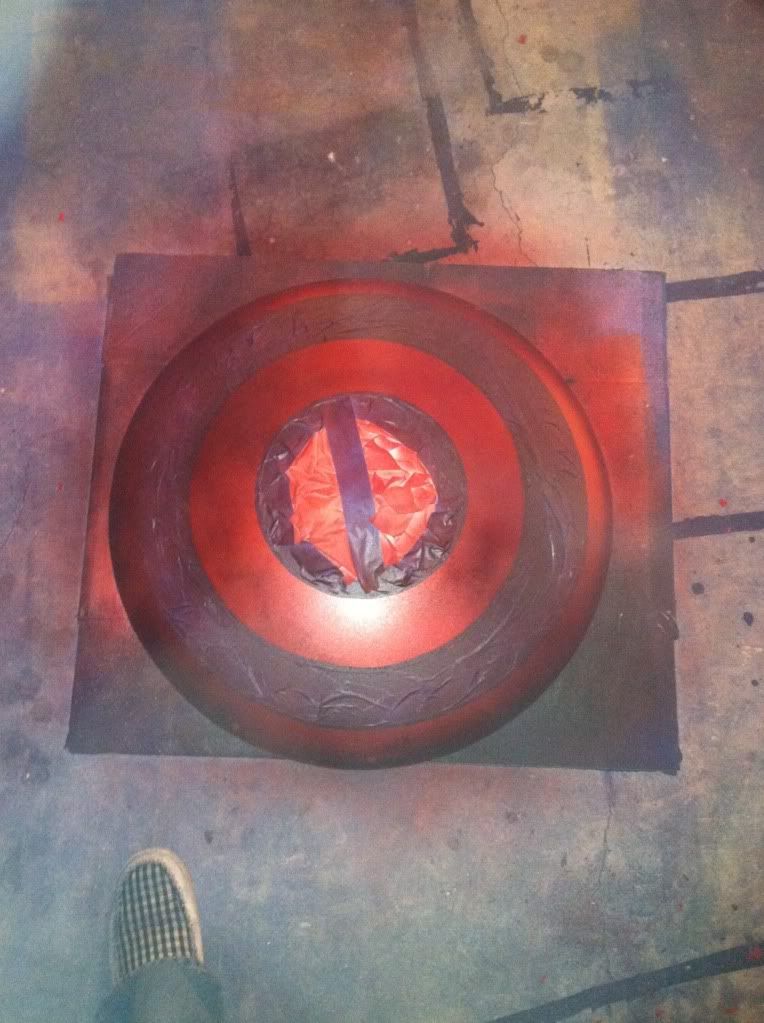
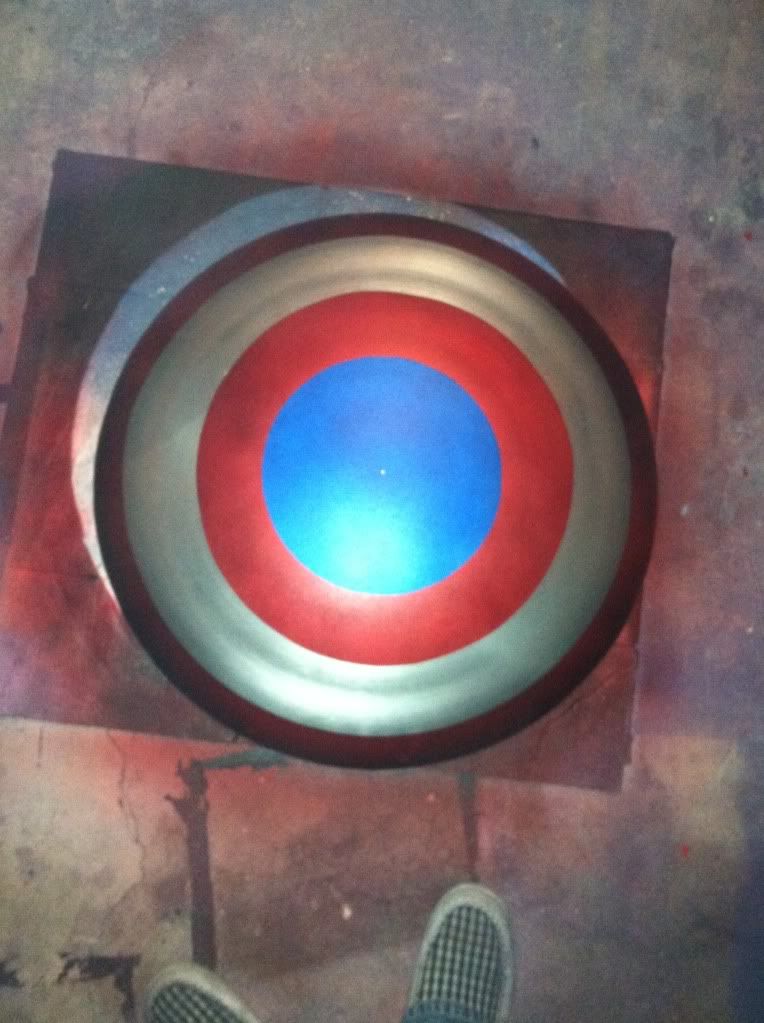
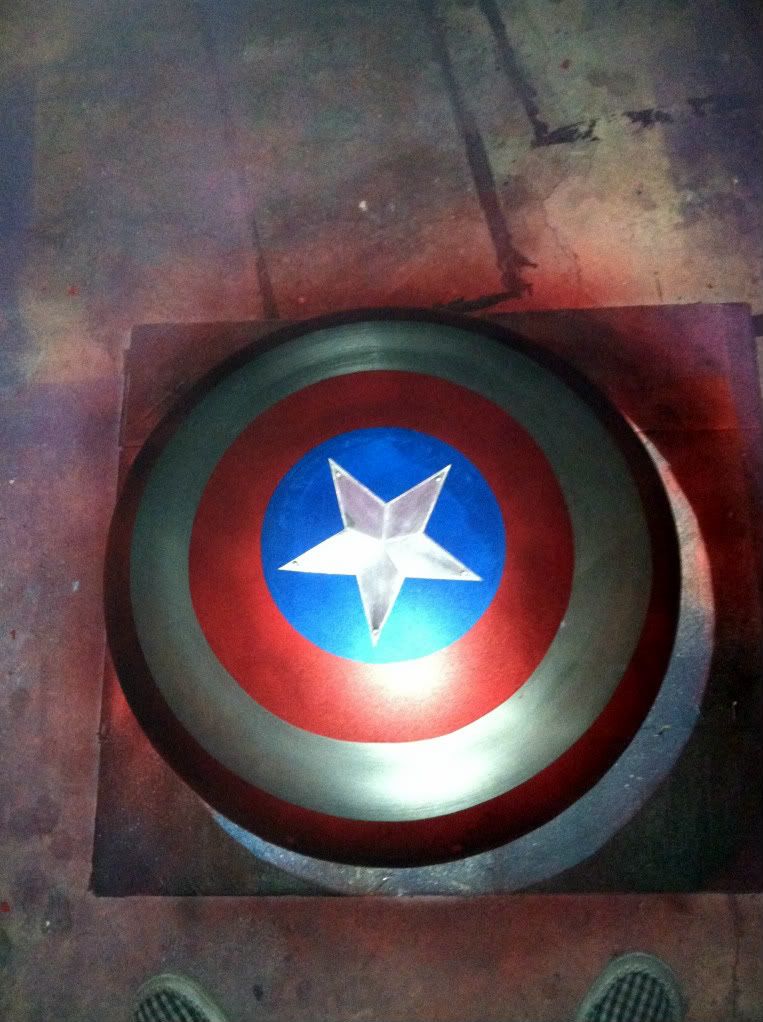
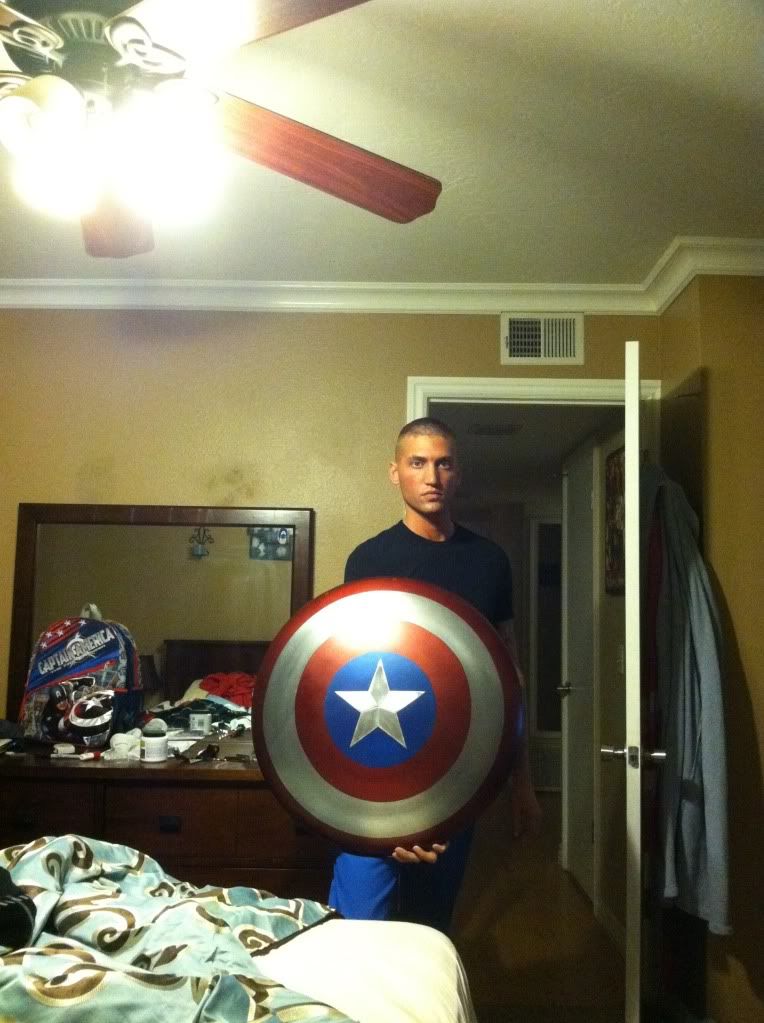
Shield will be done to Valor's 10" center specs
And the pants will be a built up pair of dickies
The belt will be a Molly system belt I have from my days in the military with the pouches. I will most likely test color with fabric paint then if that doesnt work I'm going to wrap it.
I'll post update pics as I go, I'm thinking all in all about a 6 month build (finances mainly, mouths to feed and such)
side note: hopefully I'm giving credit where credit is due on my ideas. Greatly appreciate the inspiration.
old school blue
I've been working on the helmet lately. I got it from Maulfett. (great skills that man) After about two weeks of reshaping the interior to fit my strange shaped head and trimming, sanding, priming, sanding again then final pain and detail... it's about 90% done and I may still darken and fade the blue.
I'm going to take some motorcycle jacket material (cordura, I believe) for the neck piece since the material is stiff and will hold a shape but still be flexible and breathable and give the "printed" fabric look.
I'm going to go with the Oakley Assualt shoe and build on that as being done by TheCrusader on his posting
Icon red pursuit gloves and build on gauntlets as TheCrusader is doing in his post
I'm debating the torso piece between having it made pro or going the motorcycle jacket route and chopping it up and building off that. I like the build of the jacket and material is easy to color.
Bamabat supplied me the chest star and was nice enough to through in some extra ones, I used to test paint. Found auto interior trim paint was the best for the rubber. No cracking... (3rd times a charm)
Shield will be done to Valor's 10" center specs
And the pants will be a built up pair of dickies
The belt will be a Molly system belt I have from my days in the military with the pouches. I will most likely test color with fabric paint then if that doesnt work I'm going to wrap it.
I'll post update pics as I go, I'm thinking all in all about a 6 month build (finances mainly, mouths to feed and such)
side note: hopefully I'm giving credit where credit is due on my ideas. Greatly appreciate the inspiration.
old school blue


") Looking forward to seeing more!
Looking forward to seeing more!