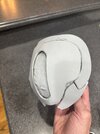
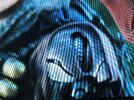
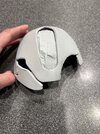
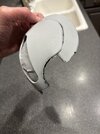
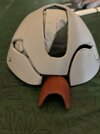
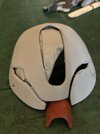
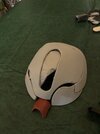
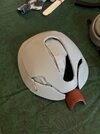
Moving on to the shoulder. Wanted to replace the foam with something more durable. Was not sure i could get the complex curves with sintra but watched some you tube videos about forming it and decided to give it a go. Here is the original foam piece, the new foam template and the sintra formed piece. The only reason it worked I think is b/c I only needed the top and bottom to connect since the oval cut out is there.
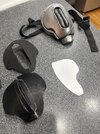
It took a lot of heat forming and luck with super glue and contact cement. I had to reinforce the back on the top and bottom contact points. luckily the top needed a tab to connect the outer portion on the piece. There were gaps at the connection point I had to fill with foam then cover with bondo to smooth it all out. heat formed the outer ring and glued it all to the tabs i added to connect them.
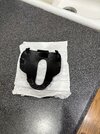
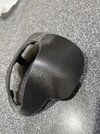
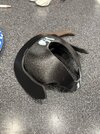
Finished out the 2 parts that fit on the lower portion of the outer ring glued them on and got it filler primed and sanded smooth.
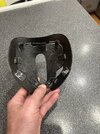
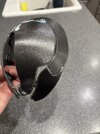
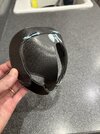
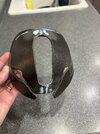
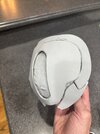
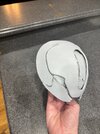
Next up is the piece below the oval cutout that connects to one of the cables. Once its painted silver i will add the cables to the inside that can be seen through the cutout.

It took a lot of heat forming and luck with super glue and contact cement. I had to reinforce the back on the top and bottom contact points. luckily the top needed a tab to connect the outer portion on the piece. There were gaps at the connection point I had to fill with foam then cover with bondo to smooth it all out. heat formed the outer ring and glued it all to the tabs i added to connect them.


Finished out the 2 parts that fit on the lower portion of the outer ring glued them on and got it filler primed and sanded smooth.


Next up is the piece below the oval cutout that connects to one of the cables. Once its painted silver i will add the cables to the inside that can be seen through the cutout.

