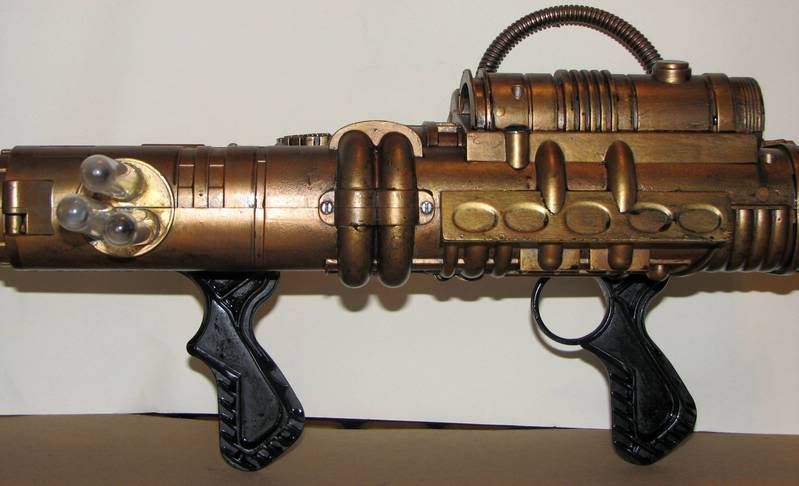
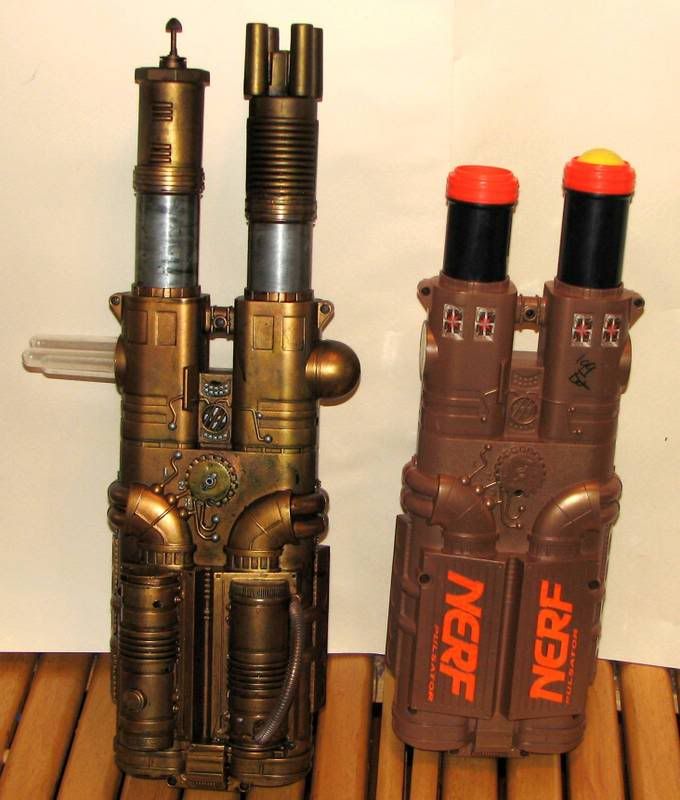
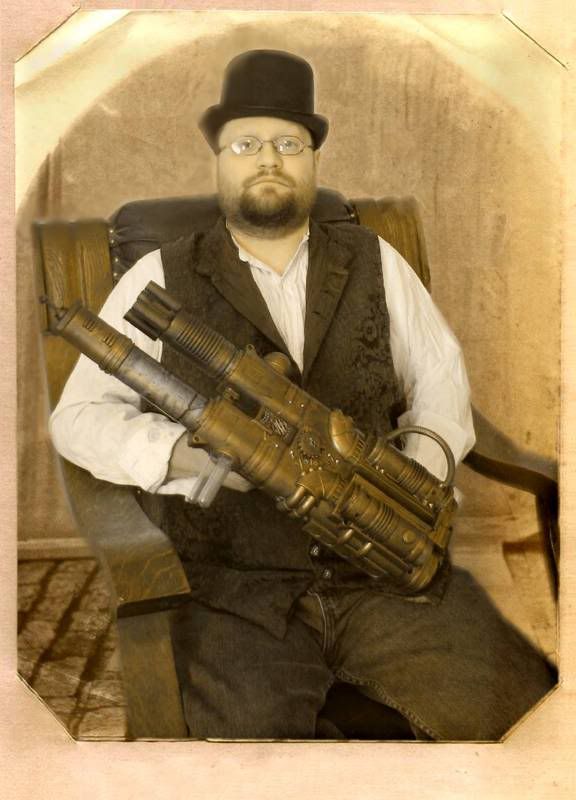
Guyver
New Member
Done!
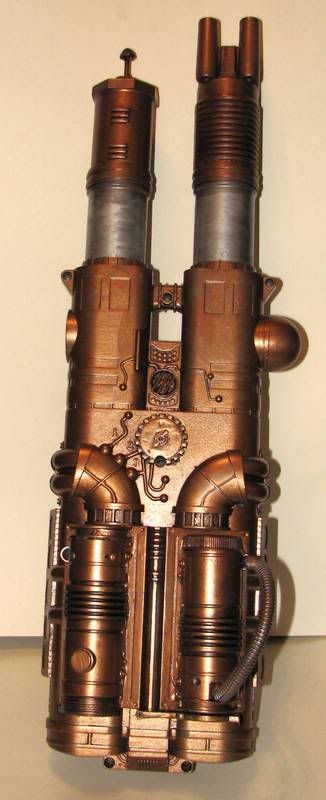
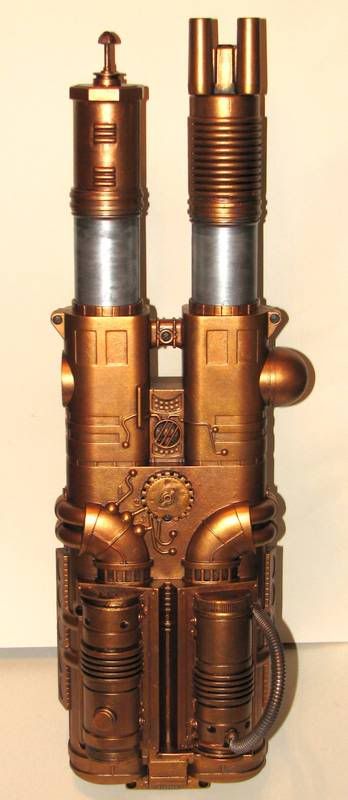
I have had requests for "how to" painting tutorials after posting my prop guns so I figured I would spend the time I am working on a new project to give a paint and building tutorial all at once.
So lets start.
I always find inspiration in the oddest places. Last night I was walking in a local thrift shop and saw an odd shaped Nerf gun called the "Pulsator". They had 2 at $1.99 each so I grabbed them. I was taken in by the industrial look of them and had an idea for a "Mad Scientist Electro-gun".
Here is the untouched gun:
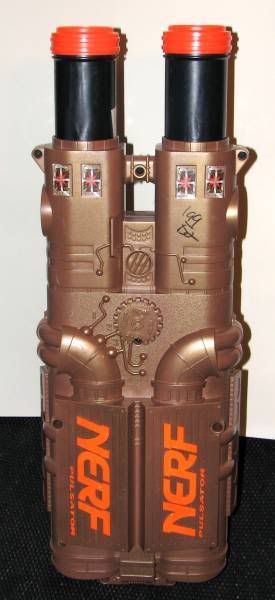
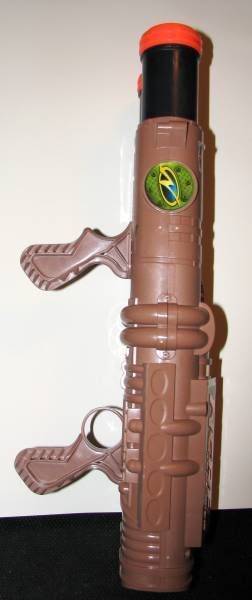
As soon as I had it home is sanded off the smaller "NERF" logos on the body and removed the stickers. The 2 large logos could not be removed without destroying some nice detail that I wanted to try to keep.
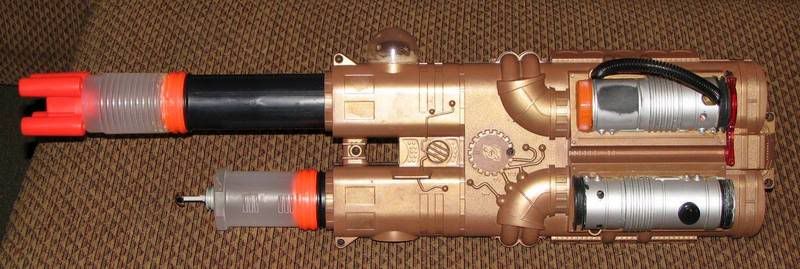
I started digging in the "B.O.D.A.G." (box of doom and gloom) where I keep all my junk parts and bits of junk I cant seem to let go of. I found some toy light saber parts, a lens canister, the front off of an older Nerf style gun and a few other bits that i thought might look good. Using "Gorilla Glue" and super glue to attach the parts I started to get a better feel of how I wanted the final paint job to look.
Gun with parts, no paint:
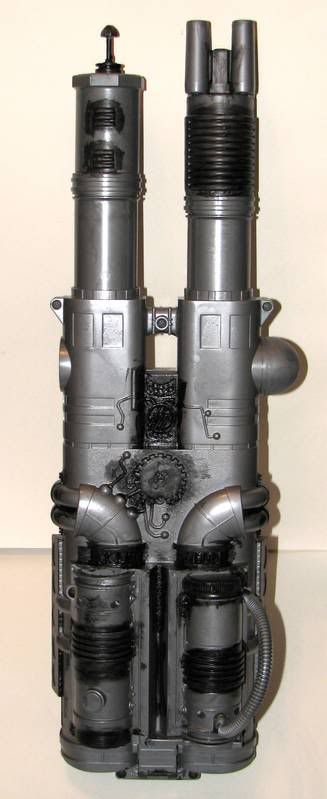
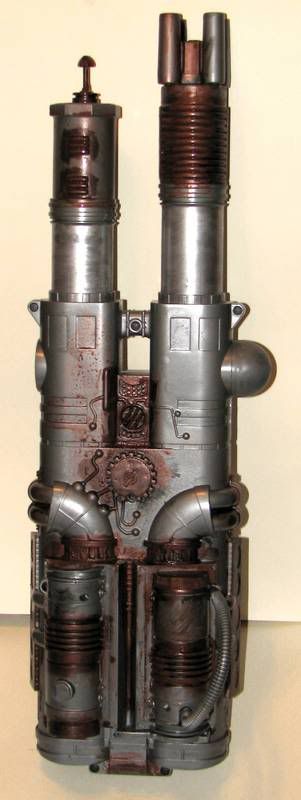
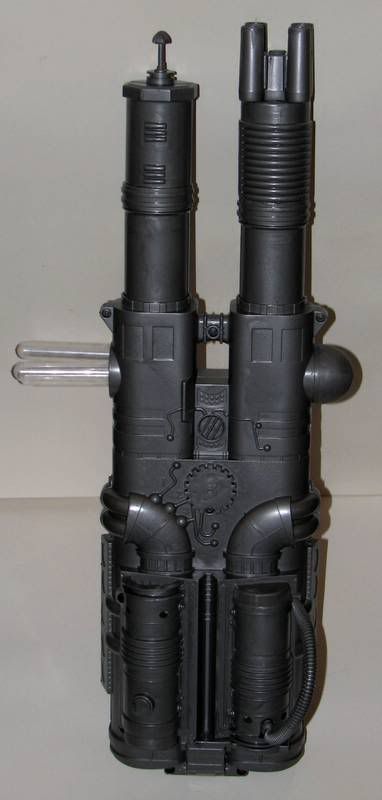
Normally I would us black Krylon Fusion paint as the base but this time I wanted it to have an industrial look so I am starting with a Gun Metal Gray primer that I have had for a few years. It is cold and damp outside and as some of you may know, paint is not going to dry right in that condition. I used that to a bit of an advantage. The paint, once dry, has taken on an uneven tone that I will use in the next painting step to give it a bit more personality.
Here is the gun now with the base coat :
As I work overnights and have to work this eve, I am forced to stop at this point for today so I can sleep. It is now noon and I got up at 7pm last night.
I will pick up again tomorrow night with the next step in painting.
Thank you for taking your time to read this and I hope I will be able to help out with your future projects.
Guyver.
I have had requests for "how to" painting tutorials after posting my prop guns so I figured I would spend the time I am working on a new project to give a paint and building tutorial all at once.
So lets start.
I always find inspiration in the oddest places. Last night I was walking in a local thrift shop and saw an odd shaped Nerf gun called the "Pulsator". They had 2 at $1.99 each so I grabbed them. I was taken in by the industrial look of them and had an idea for a "Mad Scientist Electro-gun".
Here is the untouched gun:


As soon as I had it home is sanded off the smaller "NERF" logos on the body and removed the stickers. The 2 large logos could not be removed without destroying some nice detail that I wanted to try to keep.
I started digging in the "B.O.D.A.G." (box of doom and gloom) where I keep all my junk parts and bits of junk I cant seem to let go of. I found some toy light saber parts, a lens canister, the front off of an older Nerf style gun and a few other bits that i thought might look good. Using "Gorilla Glue" and super glue to attach the parts I started to get a better feel of how I wanted the final paint job to look.
Gun with parts, no paint:

Normally I would us black Krylon Fusion paint as the base but this time I wanted it to have an industrial look so I am starting with a Gun Metal Gray primer that I have had for a few years. It is cold and damp outside and as some of you may know, paint is not going to dry right in that condition. I used that to a bit of an advantage. The paint, once dry, has taken on an uneven tone that I will use in the next painting step to give it a bit more personality.
Here is the gun now with the base coat :

As I work overnights and have to work this eve, I am forced to stop at this point for today so I can sleep. It is now noon and I got up at 7pm last night.
I will pick up again tomorrow night with the next step in painting.
Thank you for taking your time to read this and I hope I will be able to help out with your future projects.
Guyver.
Last edited:

