TVsRobLowe
Active Member
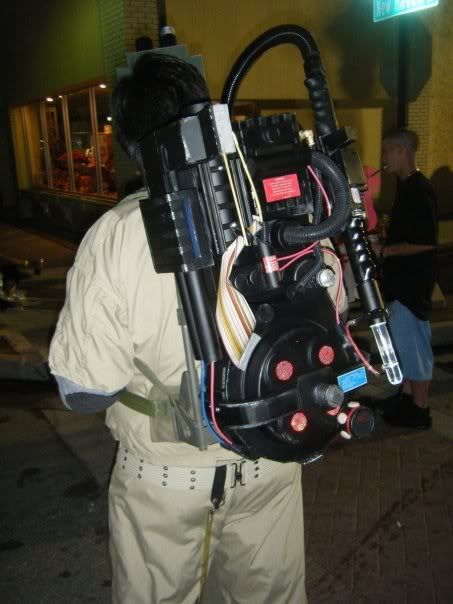
This is copied over from a thread on another forum. I've been waiting for registration to open to post here, so pardon the past tense used in this post. The packs are now complete and I will post finished pictures tonight. I was able to make all 4 with Alice Packs for $165.
I'm going to try to get them as accurate as I can within my budget. Now I'm not a person to nitpick and go all out and be completely accurate on my props, but I know when something looks like ****. I have a background in graphics and sign making, so I decided the most durable way to do it the cheapest way and have a somewhat accurate representation to do these was with foamcore.
Taking Stefan's plans, I scaled them up in photoshop and printed out templates for the main parts. Using my excellent, trustworthy, and sexy Logan 1500, I got started on cutting. Once the main parts were assembled, they were filled with Great Stuff for stability. The Great Stuff warped the gun mount blocks a bit, but eh, I don't feel like rebuilding them.
All foamcore parts are held together with Elmer's glue within the 45 degree cuts, hot glue on the corners, and Elmer's version of Gorilla Glue for anything attached to either the motherboard or another part (for example: Ion Arm to Booster box is the gorilla glue). On some of the areas you'll see some yellow poster board, that was overlayed just to smooth out the areas.
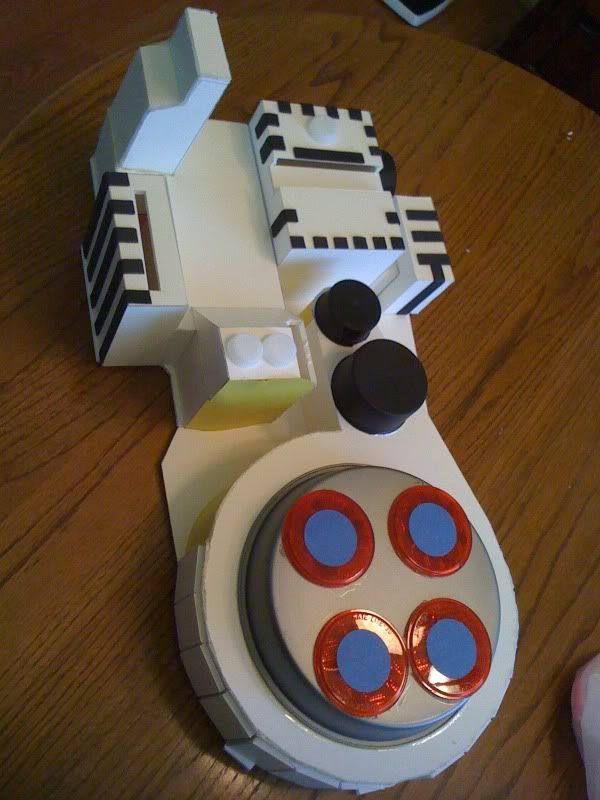
(the Powercell, gearbox, and gunmount are not attached yet)
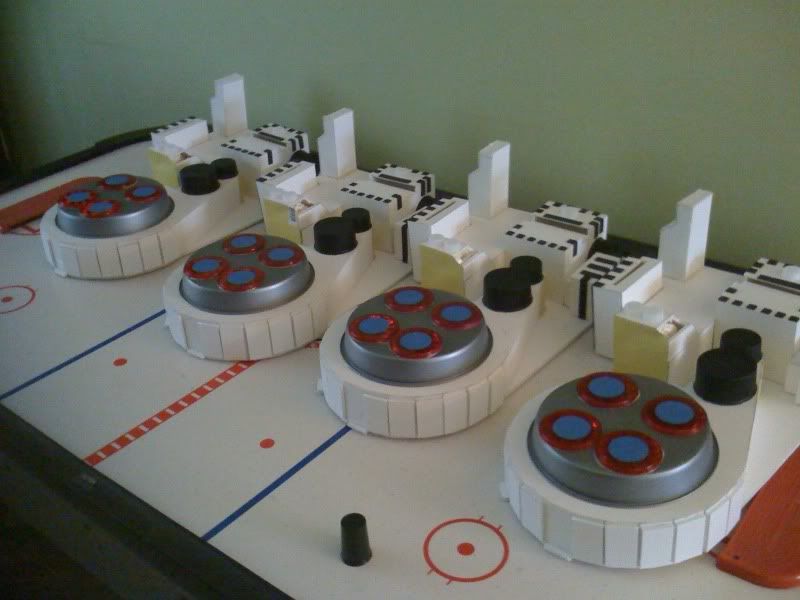
For the cyclotron, 9" Cake pans from Dollar General were bought because Walmart no longer stocks those 2-for-4 dollar aluminum ones. I looked all over online and at local Hardware stores for the correct size washers, and couldn't find anything near the correct size (******* Ace Hardware). So screw it, I'll use 3" reflectors bought in bulk on ebay and mask off the center hole. Good enough for me. Measuring cups are used for those round things on the spacer and the ..is it HGA? I don't remember. Water Bottle caps for accents on the booster and crank knobs.
Hmm, what else. The cosmetic strips on the Power Cell, gun mount, and gear box are craft foam.
For the actual gun mount, I'm using flushmount brackets instead of the V-Hooks.
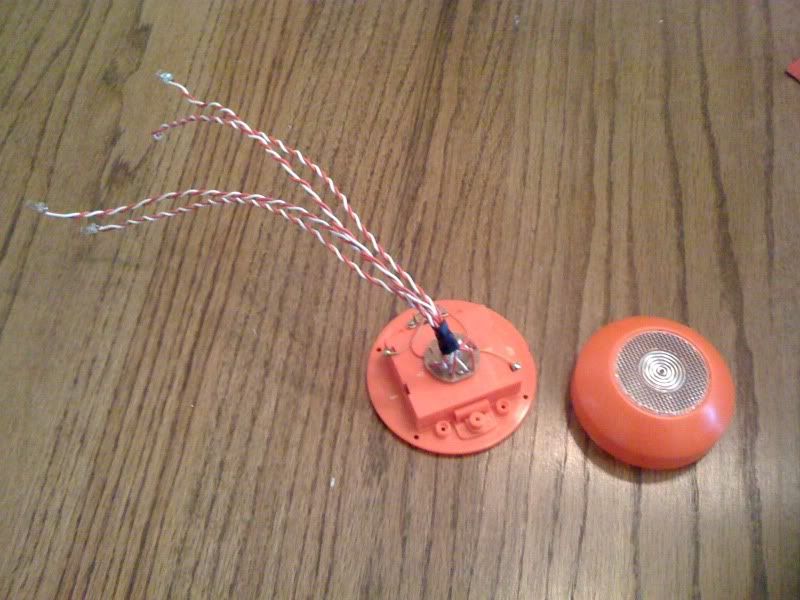
For lighting, I'm using off-the-shelf battery powered lights. Last year I picked up these pumpkin lights with a red LED chaser for 25 cents during Walmarts after Halloween clearance. I removed all of the LEDs, and replaced and extended 4 of them. Incredibly cheap cyclotron lights, but damn am I happy with them.
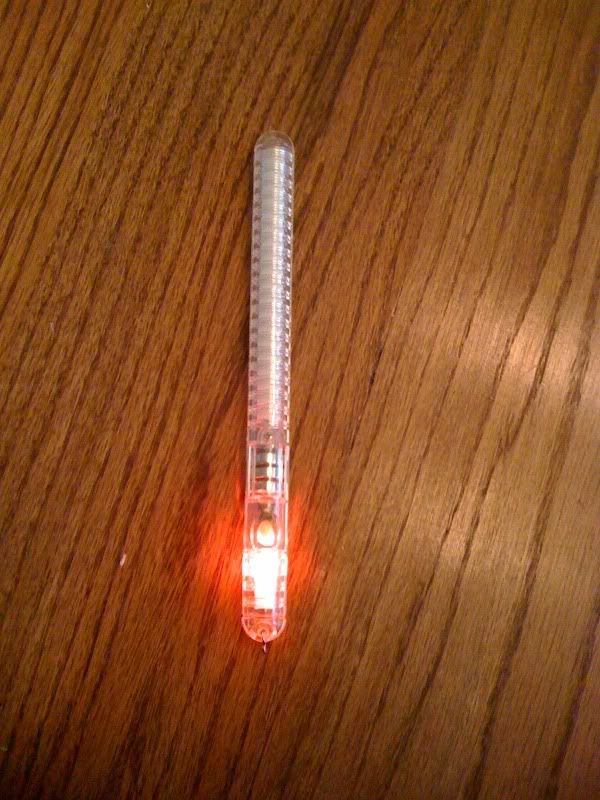
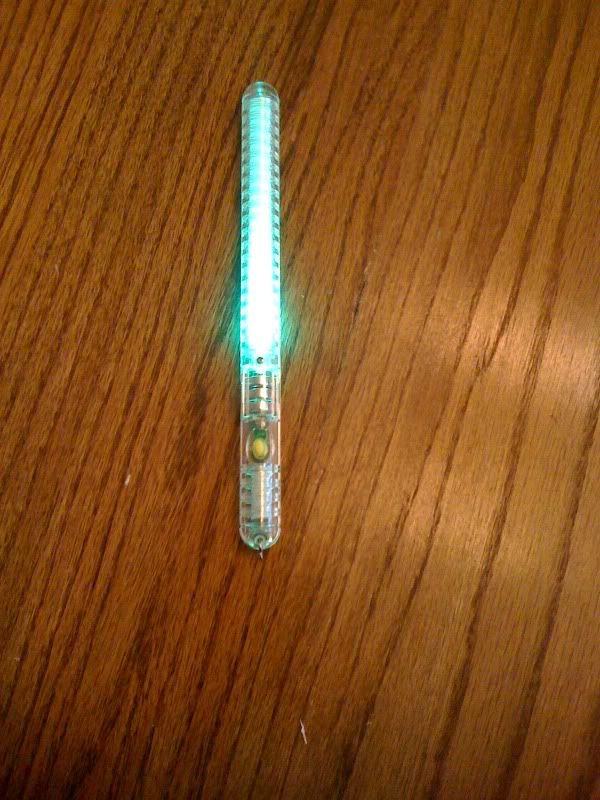
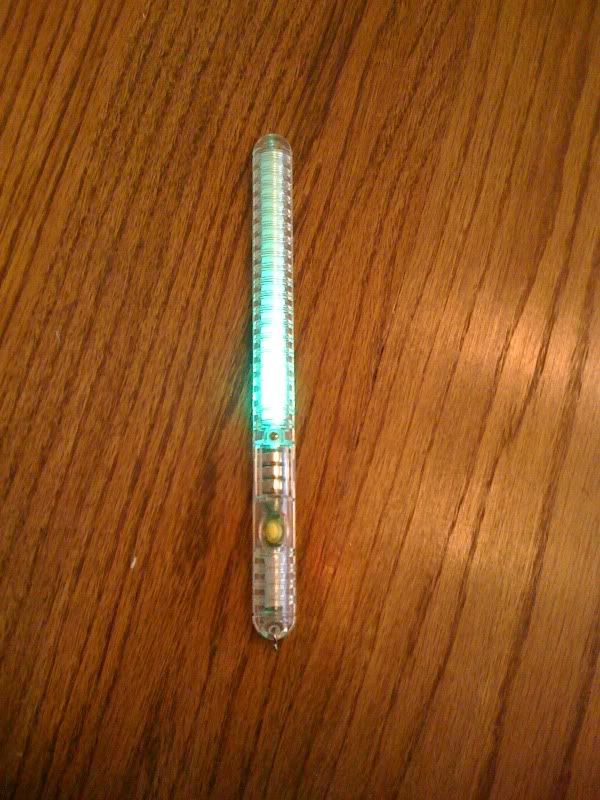
For the powercell, I bought these umm...Raver sticks on ebay? They have 7 modes, but the one I will be using chases up/down from red to blue LEDs. Yes, I know the powercell doesn't have red lights. My cheap one does.
Here is a picture of all of them together:
Next on my list, before I get to the throwers, is to do the bumpers.
When I get to them, the Clippards, PPD, and Booster tube will be made from PVC pipe. Booster frame made from some picture frames from the dollar store.
I've picked up some striped cloth to make my pack cable. It's not accurate by any means, but it has thin vertical stripes in gray, white, yellow, black, and blue. I plan to stiffen it by painting it with Mod Podge, then cutting to size.
Before I put any sort of paint on these, I'm going to paint them with latex primer. Not only because it seals the foamcore, but also because it will waterproof the packs, which was a big problem last year when the Halloween street party I went to was rained out.
Update 11/16
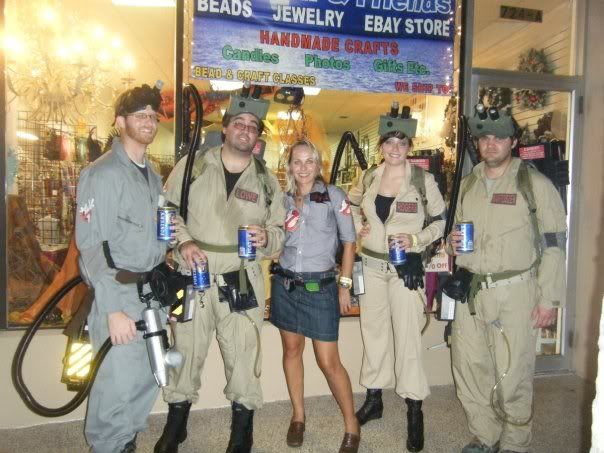
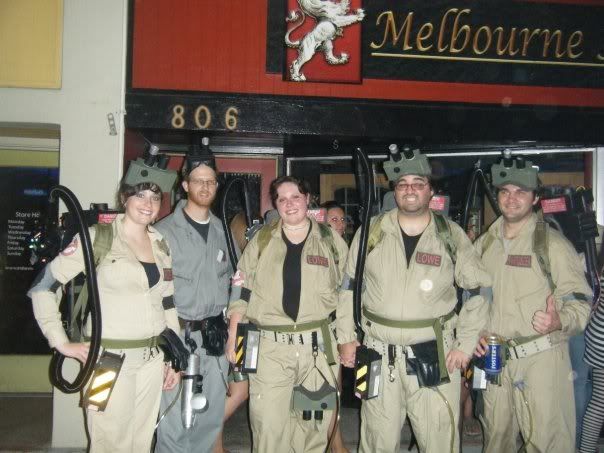
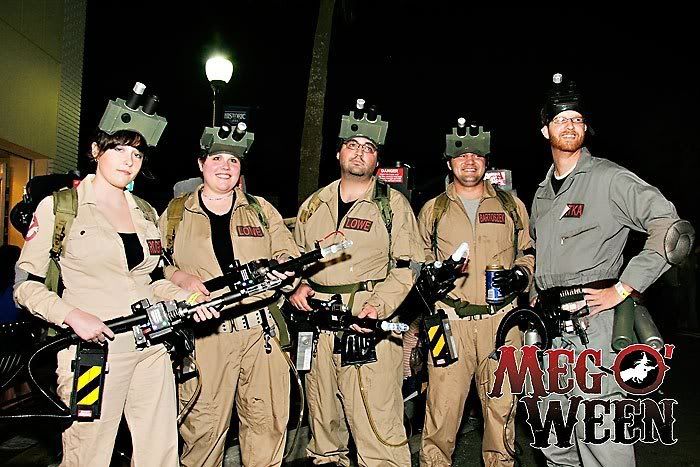
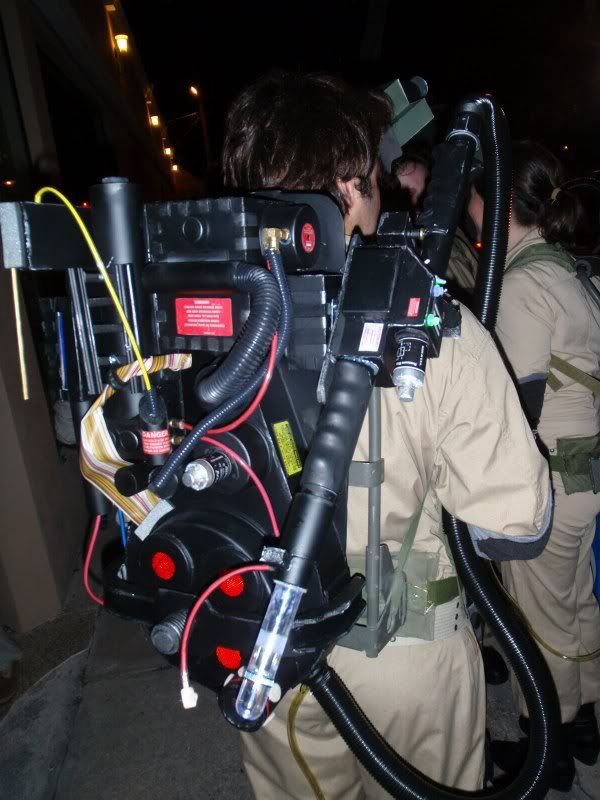
Here are a few pictures of the completed packs & other gear (with some crowd abuse) from a massive Halloween street party :

Thanks for looking!
- Rob
I'm going to try to get them as accurate as I can within my budget. Now I'm not a person to nitpick and go all out and be completely accurate on my props, but I know when something looks like ****. I have a background in graphics and sign making, so I decided the most durable way to do it the cheapest way and have a somewhat accurate representation to do these was with foamcore.
Taking Stefan's plans, I scaled them up in photoshop and printed out templates for the main parts. Using my excellent, trustworthy, and sexy Logan 1500, I got started on cutting. Once the main parts were assembled, they were filled with Great Stuff for stability. The Great Stuff warped the gun mount blocks a bit, but eh, I don't feel like rebuilding them.
All foamcore parts are held together with Elmer's glue within the 45 degree cuts, hot glue on the corners, and Elmer's version of Gorilla Glue for anything attached to either the motherboard or another part (for example: Ion Arm to Booster box is the gorilla glue). On some of the areas you'll see some yellow poster board, that was overlayed just to smooth out the areas.

(the Powercell, gearbox, and gunmount are not attached yet)
For the cyclotron, 9" Cake pans from Dollar General were bought because Walmart no longer stocks those 2-for-4 dollar aluminum ones. I looked all over online and at local Hardware stores for the correct size washers, and couldn't find anything near the correct size (******* Ace Hardware). So screw it, I'll use 3" reflectors bought in bulk on ebay and mask off the center hole. Good enough for me. Measuring cups are used for those round things on the spacer and the ..is it HGA? I don't remember. Water Bottle caps for accents on the booster and crank knobs.
Hmm, what else. The cosmetic strips on the Power Cell, gun mount, and gear box are craft foam.
For the actual gun mount, I'm using flushmount brackets instead of the V-Hooks.

For lighting, I'm using off-the-shelf battery powered lights. Last year I picked up these pumpkin lights with a red LED chaser for 25 cents during Walmarts after Halloween clearance. I removed all of the LEDs, and replaced and extended 4 of them. Incredibly cheap cyclotron lights, but damn am I happy with them.


For the powercell, I bought these umm...Raver sticks on ebay? They have 7 modes, but the one I will be using chases up/down from red to blue LEDs. Yes, I know the powercell doesn't have red lights. My cheap one does.
Here is a picture of all of them together:

Next on my list, before I get to the throwers, is to do the bumpers.
When I get to them, the Clippards, PPD, and Booster tube will be made from PVC pipe. Booster frame made from some picture frames from the dollar store.
I've picked up some striped cloth to make my pack cable. It's not accurate by any means, but it has thin vertical stripes in gray, white, yellow, black, and blue. I plan to stiffen it by painting it with Mod Podge, then cutting to size.
Before I put any sort of paint on these, I'm going to paint them with latex primer. Not only because it seals the foamcore, but also because it will waterproof the packs, which was a big problem last year when the Halloween street party I went to was rained out.
Update 11/16
Here are a few pictures of the completed packs & other gear (with some crowd abuse) from a massive Halloween street party :


Thanks for looking!
- Rob
Last edited:

