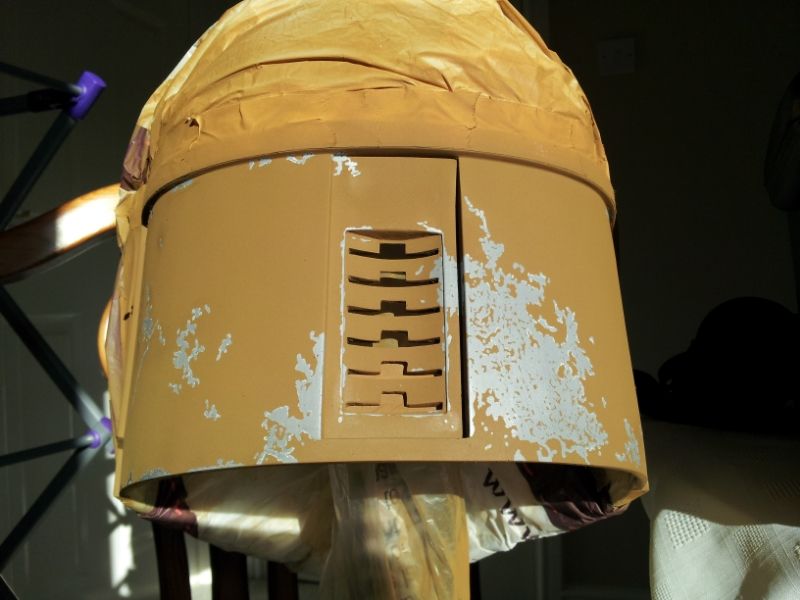
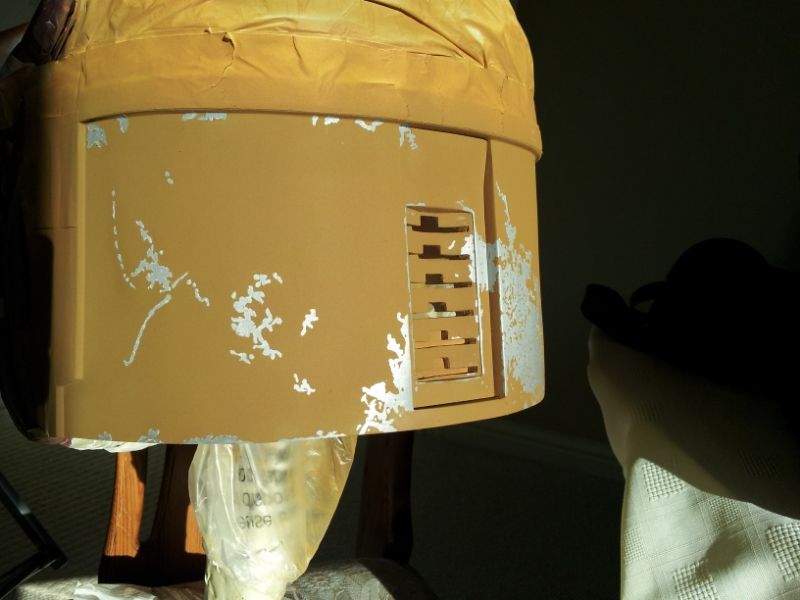
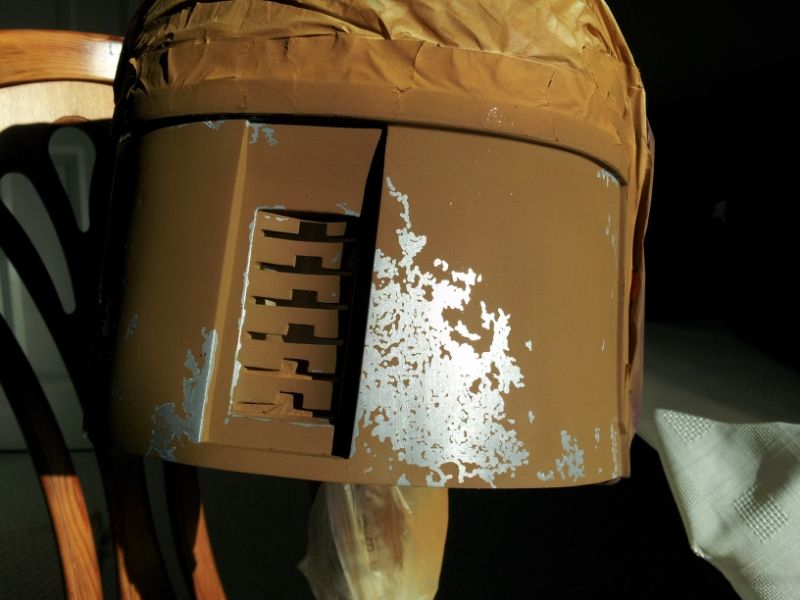
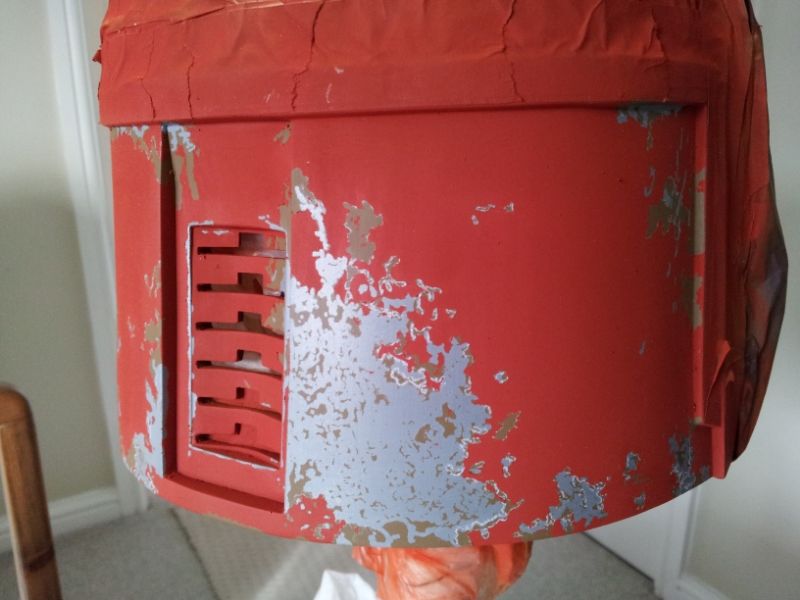
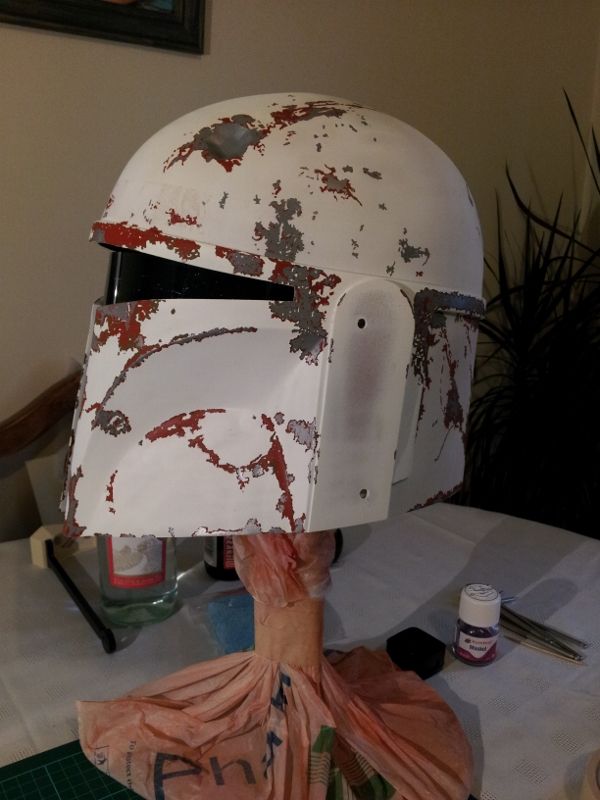
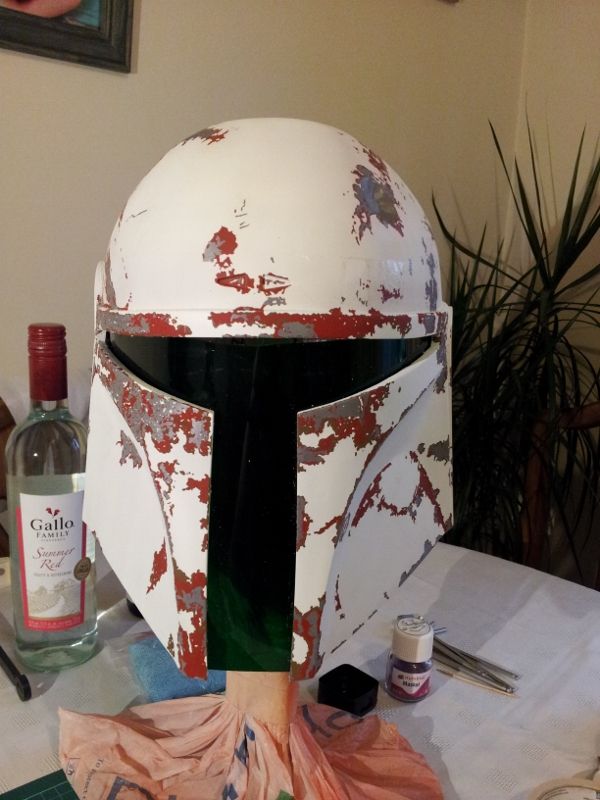
Boba Fett helmet build, ongoing project.

first i wanna say i like how you did the earpiece. when i was making mine i didnt have the forethought to slice it beforehand. so i had to think up a way to do it after finishing. i decided to use bondo as a kind of cast. i covered the otherside with vasaline after cutting the bolt holes and slots for the nuts and resining them into place. then i appliedthe bondo and tightend the screws to cast the side. it works well and i cant see the crack so im happy lol
IMG_0851.JPGIMG_0852.JPGIMG_0853.JPGIMG_0854.JPGIMG_0855.JPG

Hello again,

(firstly, this is quite a lengthy and wordy post, so if you're not in a reading mood, sorry)

Thank you, badfishman, Bobasbounty, and lord magneto for the kind words.

And crank, if youre excited to order one, im even more excited to see my work in the hands of another skilled builder to see what they do with it.

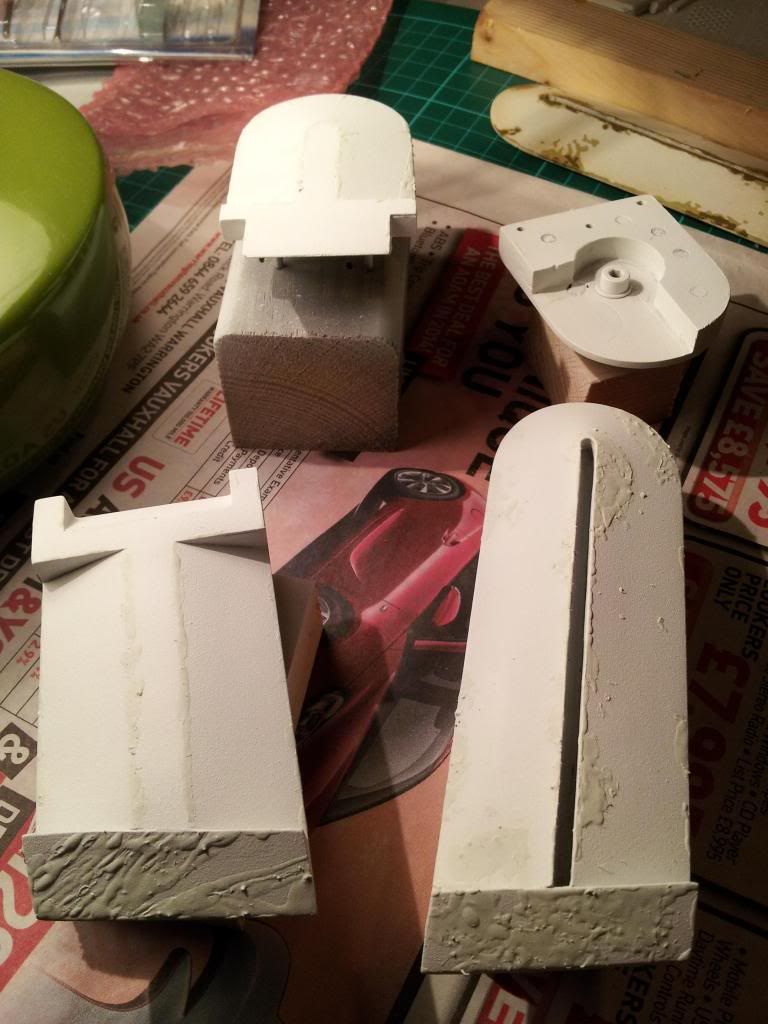
Now lets get down to it, just been working on the final ear cap, the one that cover the rang finder stalk pivot point, if that doesn't explain which i mean, stay tuned the the photographic evidence.
So i couldn't see a sturdy way or practical way for that matter how to attach this ear cap using the nut and bolt method i had previously used on the other ear caps so i went with magnets.

First, decide on the magnets, i chose wrong, but i think it will work for my first go. i went with some neodymium magnets which is really only ones to use, 4mm dia @ 1mm thick, they aren't quite enough strong though, didn't provide as much hold/pull as i had hoped for, which will explain the amount i used.

http://i84.photobucket.com/albums/k19/Rosskow/pepa fett/20140107_194748_zpsaba1869d.jpg
i had intended to just have two points on each ear cap, not the 5 i ended up with, but as i said, i wasn't happy with the amount of pull with just 2,3 or 4 points so decided on 5, which was lucky because as you can see i was running out of space.

http://i84.photobucket.com/albums/k19/Rosskow/pepa fett/20140107_194801_zps9c2e2df1.jpg
Now i had the two parts of the ear cap attached, i went about attaching them to the helmet.

For this, i was only using a single nut and bolt to hold these in place, which is also the bolt that the range finder stalk pivots on.
Because of this it would not hold it's rotation, and could spin, so i decided to use dowel pins to lock in place.
First drilled the holes through the ear cap and test fitted the dowels.
http://i84.photobucket.com/albums/k19/Rosskow/pepa fett/20140107_194838_zps5d839c3a.jpg

Then lined it up where i wanted the ear cap and drilled through the helmet
http://i84.photobucket.com/albums/k19/Rosskow/pepa fett/20140107_194850_zps99226dcc.jpg
I wasn't happy with the one on the right of the picture, so i drilled in the middle as well

http://i84.photobucket.com/albums/k19/Rosskow/pepa fett/20140107_195102_zps42fd59ca.jpg
That is just held in-place with the dowels.

Then bolted on, along with the outer cap held on with the magnets
http://i84.photobucket.com/albums/k19/Rosskow/pepa fett/20140107_195316_zps31e37737.jpg

You may have noticed the stalk isn't present in the above pictures, well there is a reason...
http://i84.photobucket.com/albums/k19/Rosskow/pepa fett/20140107_195526_zpsa677fa4e.jpg
http://i84.photobucket.com/albums/k19/Rosskow/pepa fett/20140107_195615_zps77fcce51.jpg

Haven't decided on how to resolve this yet, i have a few options though in mind.

Thank you for your attention, i'll let you go now.
 
Hello again,

I have been quiet for a while, but i haven't been completely lazy.

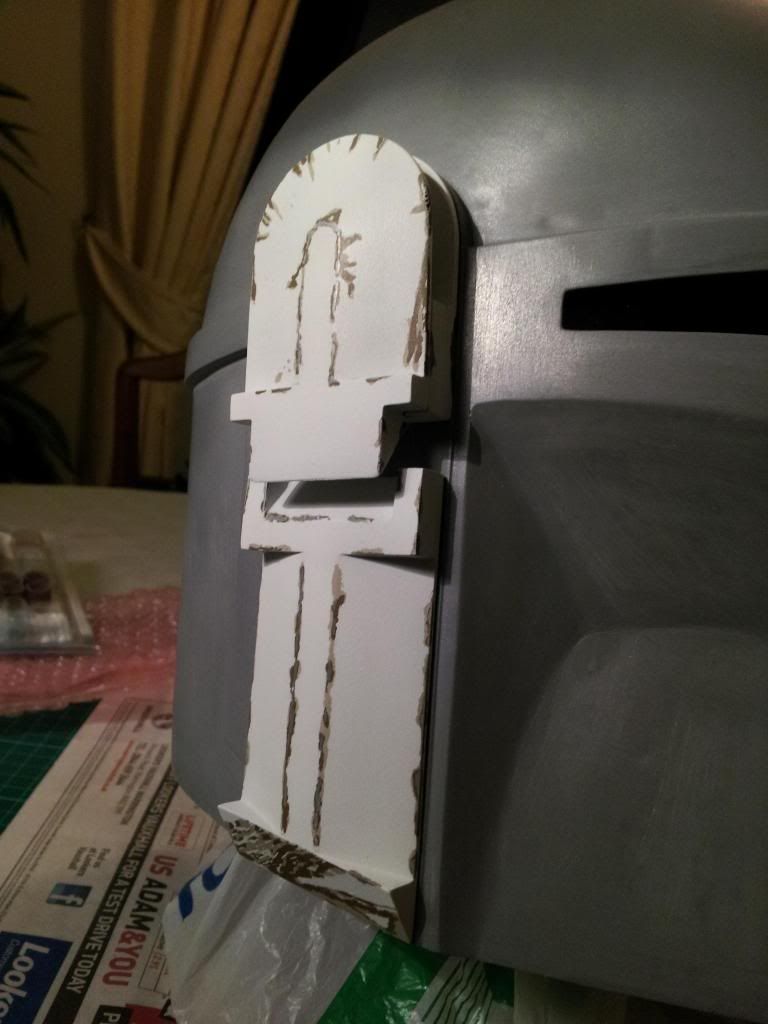
(Sort of) finished the 4 ear caps (minus a clear coat and weathering) in my desired paint scheme, i changed out the light brown/sand colour for a more bland beige to tone it down a little, still not completely happy with it though.
Final Layer before removing the Masking fluid


Comments and questions welcome.
Till next time.
 
Hi

Now I have the ear's (sort of) finished, I can move onto the helmet, more specifically the rear panels.
Im using RafalFett's templates/stencils from The Dented Helmet, incredible templates to use, thank you.

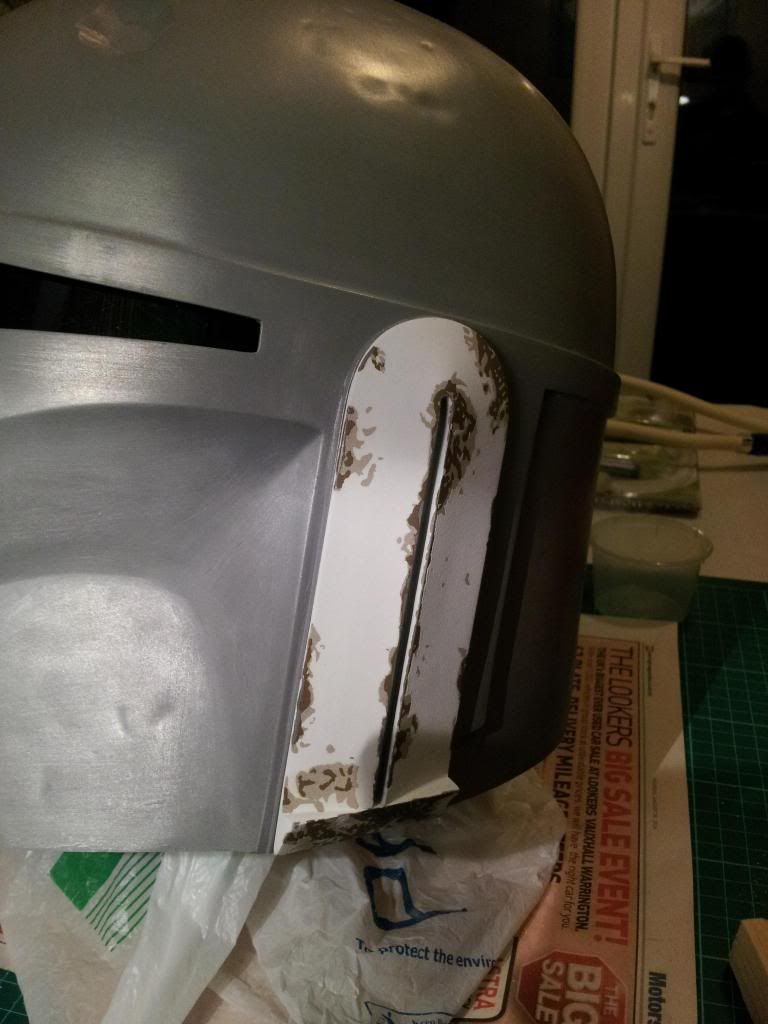
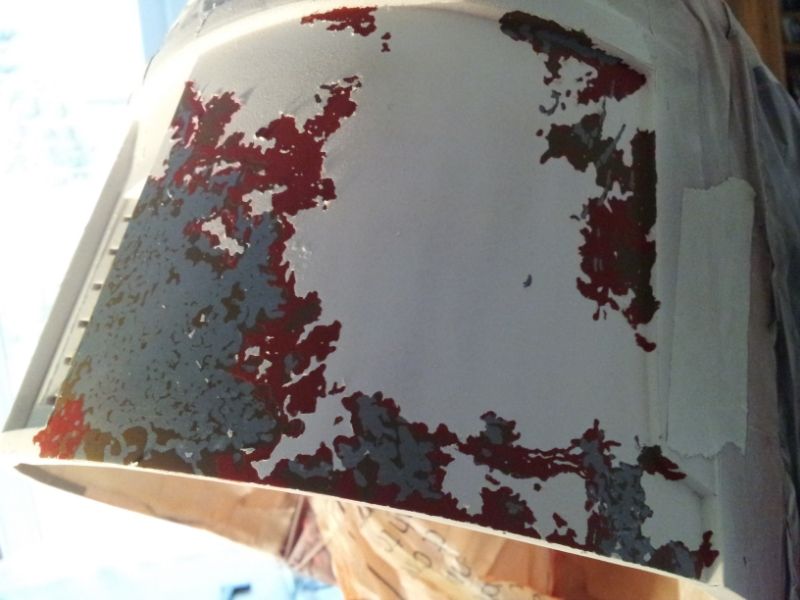
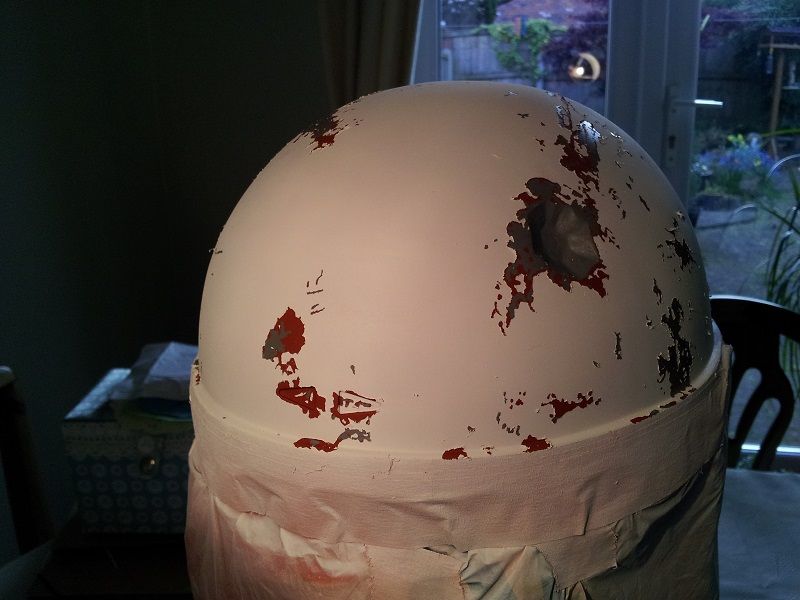
Masking fluid applied.


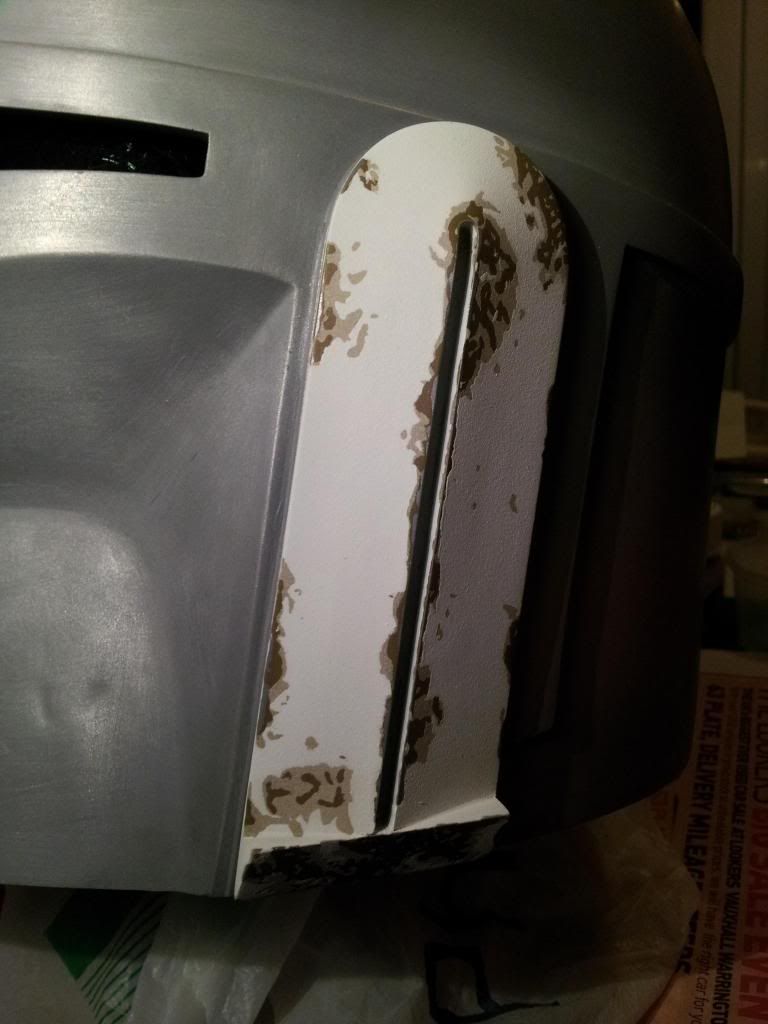
Painted up and masking fluid (carefully) removed.


Reminder, I am not doing a traditional ESB/ROTJ paint colour scheme, I am using templates of the paint job but not the colours.

I have changed the sandy/beige colour again as I still wasn't happy, whether this means I will re-do the ears, I'm not sure yet, as they will obviously differ from the helmet now.
 
Beige colour swapped out for...


Still not sure what to think about it, i'm having all kinds of difficult finding the right colour i'm after, but this time its on the helmet so its can't do much about it now, guess i'll just have to weather the hell out of, but i think i'll be sticking with it throughout the helmet as the middle layer colour anyway.
For those who haven't been keeping up (where have you been...?) the last layer to go on now is white, which i should be able to do at the weekend.

Till next time.
 
Good work!!! I wish I had the skill and determination to do this.:) I have just started to venture into the this awesome community, and you will definitely be one of my roll-models in building these amazing helmets.
 
That looks fantastic, Ross! Much better than my 1st attempt at a Fett paint job.
Im sure your colours were closer to screen accurate though :)
Thanks though Crank, I am pleased at how it's coming along, sadly though my layer of white must of been a little light in areas because after a brush with some steel wool I swear I can see the red coming through in places.
 
Wow, first i want to say dude this is an amazing job.this was the thread that actually got me to sign up for the forum in the first place.

I'm also working on a Boba Fett helmet ( nowhere near the quality of your helmet) but right now I'm kind of just trying to figure out how to do certain things. What did you use as a plug for the helmet's dent? I've only just sanded down a general area of where I want the dent to be. This is pretty much where I'm at. Still doing about a metric butt ton of sanding and I still have way more to go. Also i gotta make it not look a little wonky and flatten the top of the dome down a bit.


image.jpg

Dude you are an inspiration and I really want to see more of what you can do, cause your helmet is beautiful.
 
Hello there, new user here.

I just wanted to stop by and thank you for the inspiration to start my own helmet build.

Once I can get some cardstock I will begin my own WIP thread.

I can already tell that almost all the information I will use has been learned from this thread

Like you, this will be my first attempt at Papercraft/helmet making. Here's hoping all goes well.

Thanks again..
 
Wow, first i want to say dude this is an amazing job.this was the thread that actually got me to sign up for the forum in the first place.

I'm also working on a Boba Fett helmet ( nowhere near the quality of your helmet) but right now I'm kind of just trying to figure out how to do certain things. What did you use as a plug for the helmet's dent? I've only just sanded down a general area of where I want the dent to be.

the plug was custom made, i'll try explain how i ended up with the resin plug as seen in post # 293, page 12.
took an outline of the dent via some useful references, see PDF: http://www.thedentedhelmet.com/atta...lmet-paint-stencils-dent.pdf-24359d1209631343
using that, i cut shape outline out of peice of styrene, placed it onto a blob of clay and carved into the clay the actually dent, once happy, poured in some mould resin which left what you see.

that make sense?, any at all?

-----------------------

painting update.


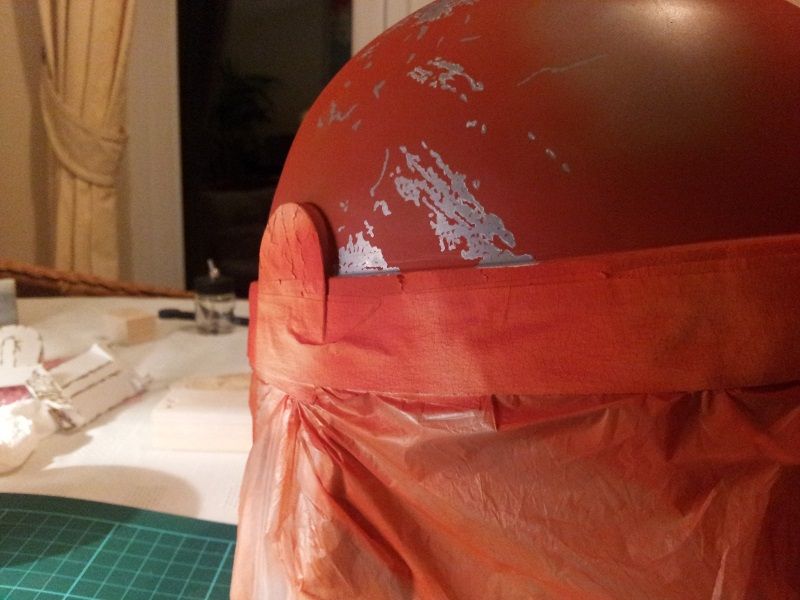
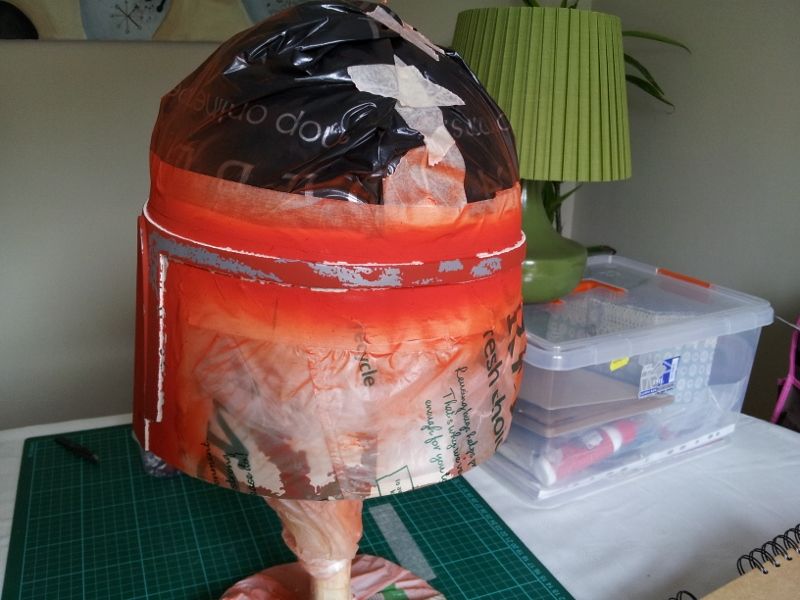
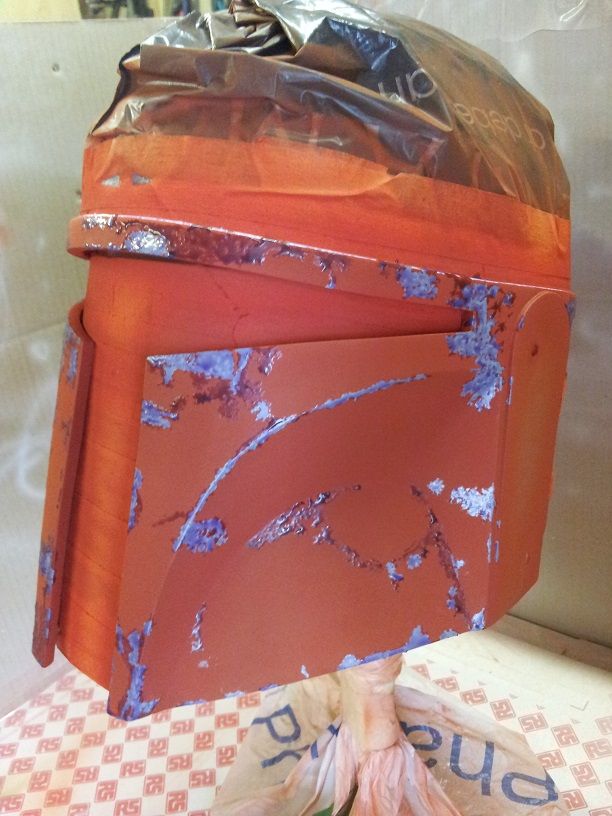
only 1 picture of the red/orban/rust layer


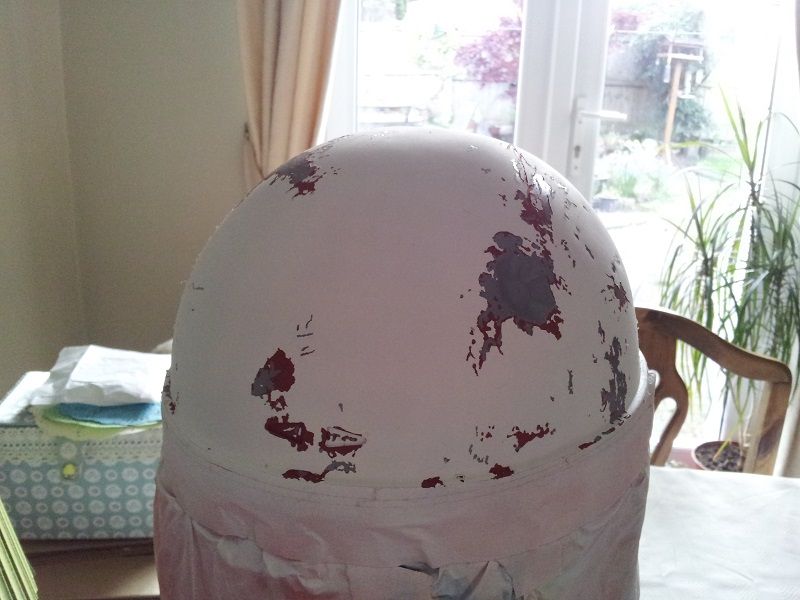
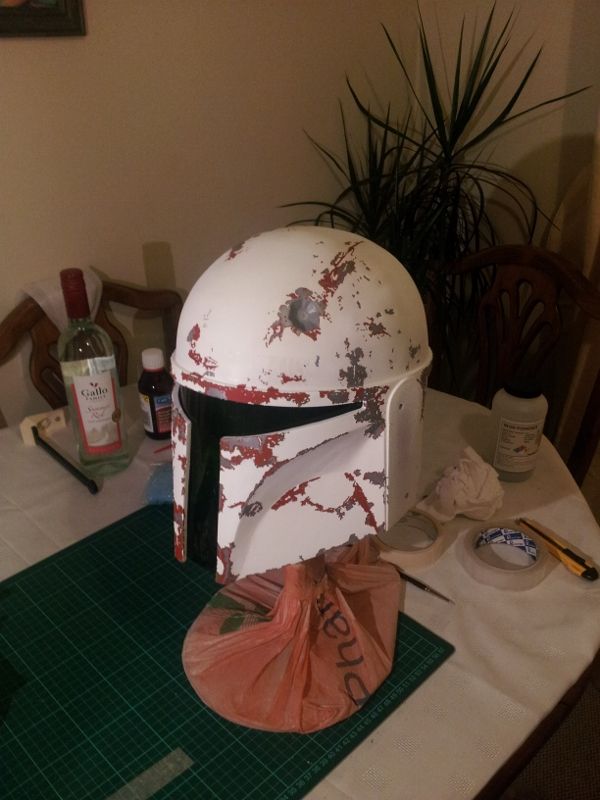
and the top white layer


In case you're looking at the dent/scratch area, and thinking that doesn't look quite right, well you're right.
I mistakenly did the scratch coming from the dent so it went more over the top of the dome, when it is meant to be more around the side of the dome. but i can live with it.
 
Oh okay, that makes plenty sense actually. Thanks! By the way, your helmet is coming along great. I can't wait to see it finished
 
I'm new and really wanted this to be my first project so I downloaded pepakura viewer but I can't seem to download the pdo and have no idea how to convert it to PDF to view in the viewer to print out. Is there somewhere you can send me to to get the know how to do such a thing or someone who can help me like you were helped?
 
Long time no updates, but that's usual now.
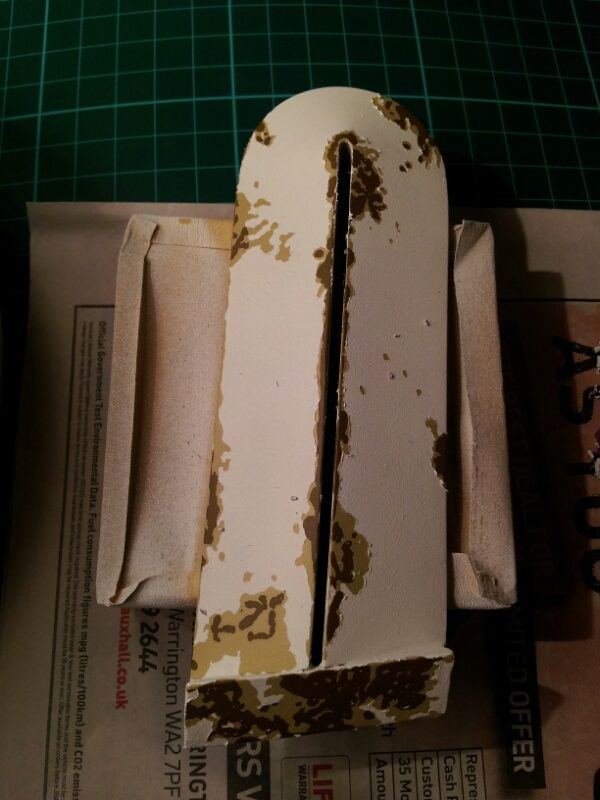
anyway, on to the painting.

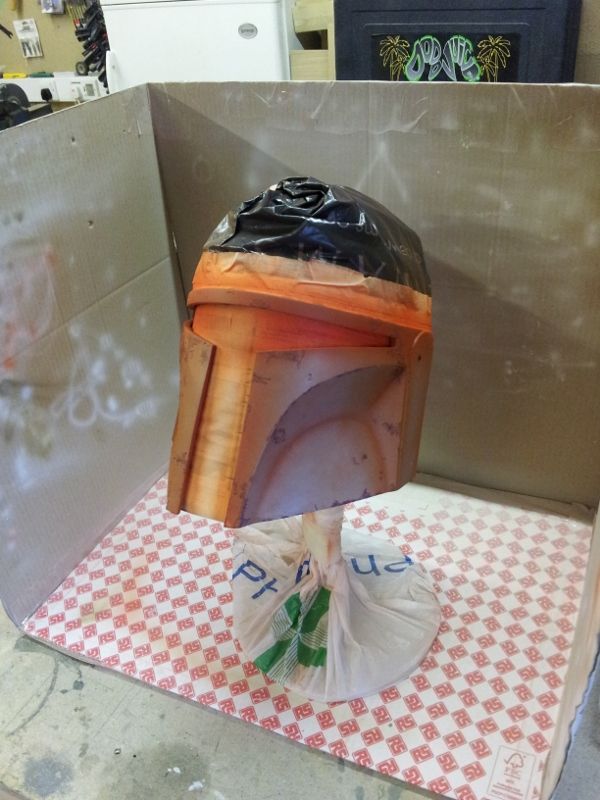
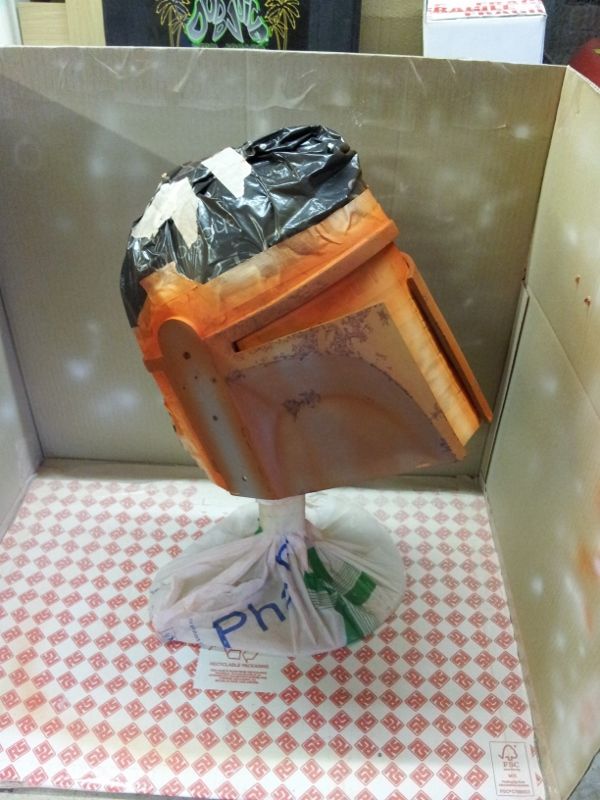
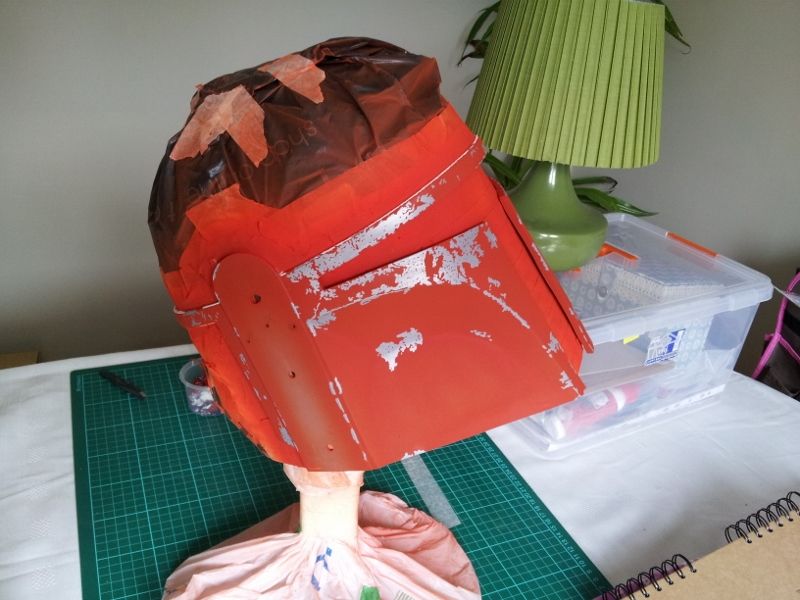
Base Layer on


Masking Fluid removed.


only 2 more layers to go on top of the red and then it will (not to repeat myself for the fiftieth time, but) be near completed, but don't quote on that.
time next time.

till next time...
 
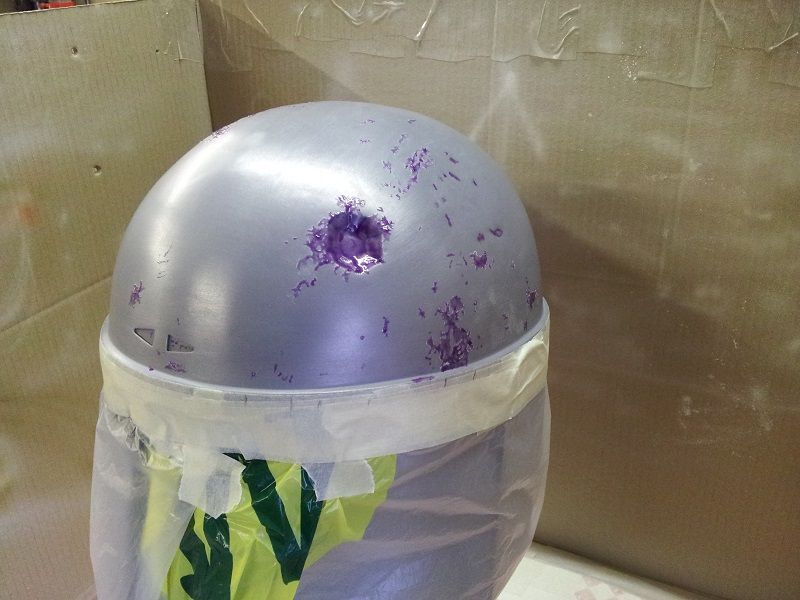
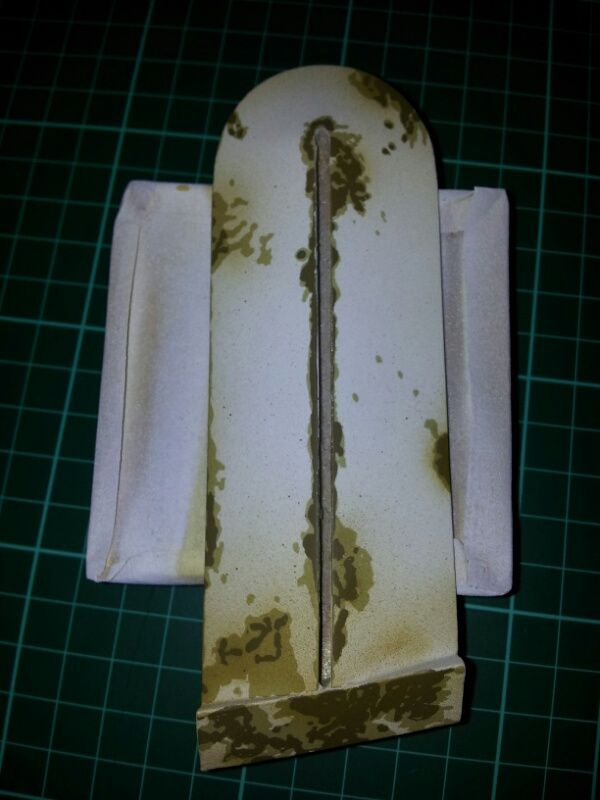
More masking fluid added


I have painted the next layer onto this but as you can see, there are no pictures of this, they'll be coming soon.

Only one more layer of white paint to go and that will be it, then it'll need a touch of clear coat and finally some weathering.
 
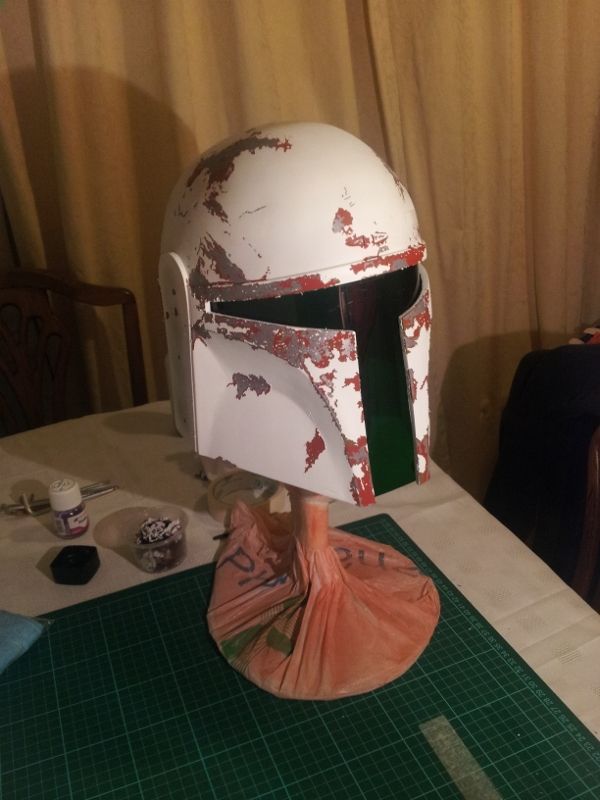
Going to skip ahead a bit here, to a nearly finished helmet, so just sit back and look at pictures.
These are not progress pictures though, just of to show where it stand as of now.


I dont know how or why but somehow the helmet has warped sudden, bring the brow up which can be seen in the above and below pictures. and also twisted the side of the helmet, making the flat areas which the ear caps sit on no longer level, dont really know what i am going to do about this right now...
I have said it plenty of times before, and i will no doubt say it again later at some point, but the angle of the picture just above, straight on and close-up makes the helmet look incredible narrow, it isn't a good representation of the actually piece in terms of shape/size.


What do you think? can you seen the direct template/pattern of the original ESB paint scheme? do the colours/paint job work, or not?
I'd like to hear some opinions at this point since it isn't exactly your everyday boba fett paint job.

till next time


ALSO, i am in need of some help and/or advice, if you take a look at the last picture, just below the dent, you can see a sort of shine/dis-colouration, that is the sticky residue of the masking tape i used, it has only left the sticky goop at this one point though.
My question, how can i remove this without damaging the paint? your help with this would be greatly appreciated. Thanks.
 
Last edited:
Hi again,

so i have been working on some weathering

Original Piece


Some light airbrushing added


Added rust effect


Finally, black washed


Any thoughts/comments/?
 
Back
Top