You are using an out of date browser. It may not display this or other websites correctly.
You should upgrade or use an alternative browser.
You should upgrade or use an alternative browser.
Boba Fett helmet build, ongoing project.
- Thread starter rosskow
- Start date
Lord Magneto
Sr Member
Man of man. Glad to see you made more progress with this man. It looks great!
BobasBounty
Sr Member
That helmet looks amazing. Great job!
badfishman
New Member
fantastic helmet. you have inspired me to finally give costume/prop building a try ")
rosskow
Sr Member
Hello again,
(firstly, this is quite a lengthy and wordy post, so if you're not in a reading mood, sorry)
Thank you, badfishman, Bobasbounty, and lord magneto for the kind words.
And crank, if youre excited to order one, im even more excited to see my work in the hands of another skilled builder to see what they do with it.
Now lets get down to it, just been working on the final ear cap, the one that cover the rang finder stalk pivot point, if that doesn't explain which i mean, stay tuned the the photographic evidence.
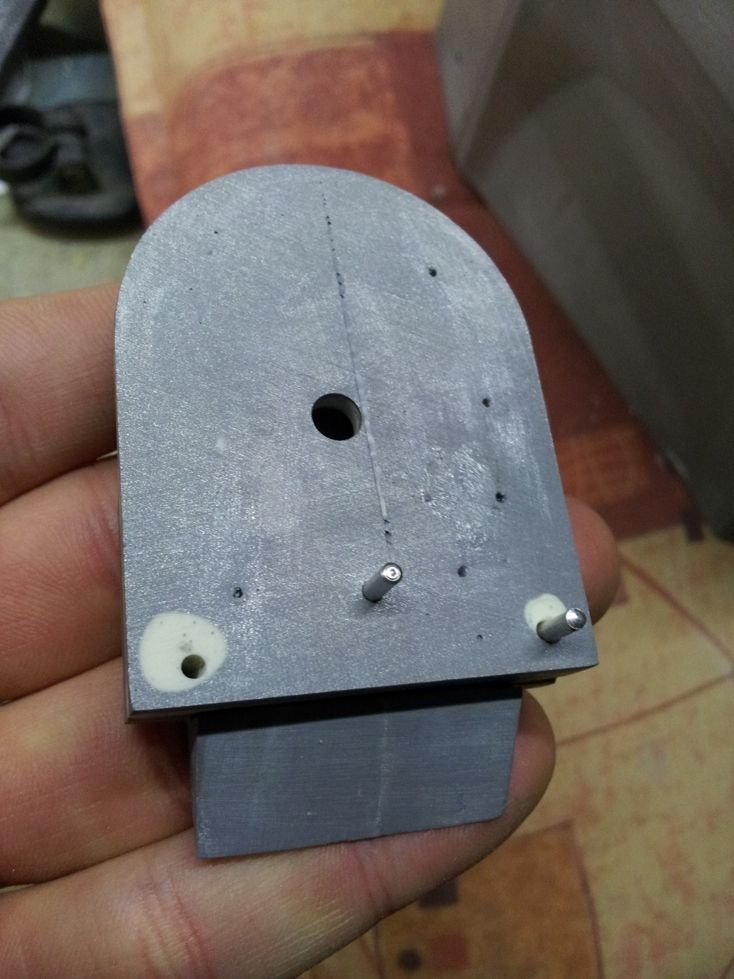
So i couldn't see a sturdy way or practical way for that matter how to attach this ear cap using the nut and bolt method i had previously used on the other ear caps so i went with magnets.
First, decide on the magnets, i chose wrong, but i think it will work for my first go. i went with some neodymium magnets which is really only ones to use, 4mm dia @ 1mm thick, they aren't quite enough strong though, didn't provide as much hold/pull as i had hoped for, which will explain the amount i used.

i had intended to just have two points on each ear cap, not the 5 i ended up with, but as i said, i wasn't happy with the amount of pull with just 2,3 or 4 points so decided on 5, which was lucky because as you can see i was running out of space.

Now i had the two parts of the ear cap attached, i went about attaching them to the helmet.
For this, i was only using a single nut and bolt to hold these in place, which is also the bolt that the range finder stalk pivots on.
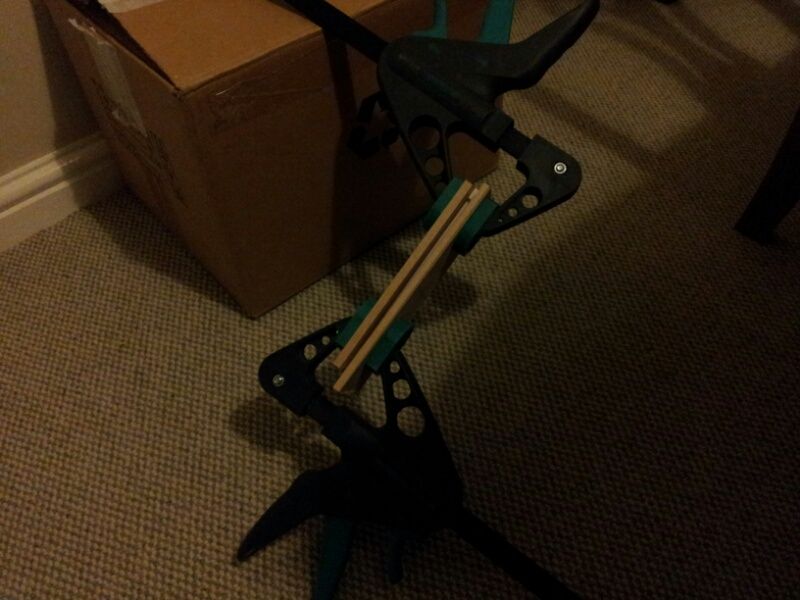
Because of this it would not hold it's rotation, and could spin, so i decided to use dowel pins to lock in place.
First drilled the holes through the ear cap and test fitted the dowels.
Then lined it up where i wanted the ear cap and drilled through the helmet
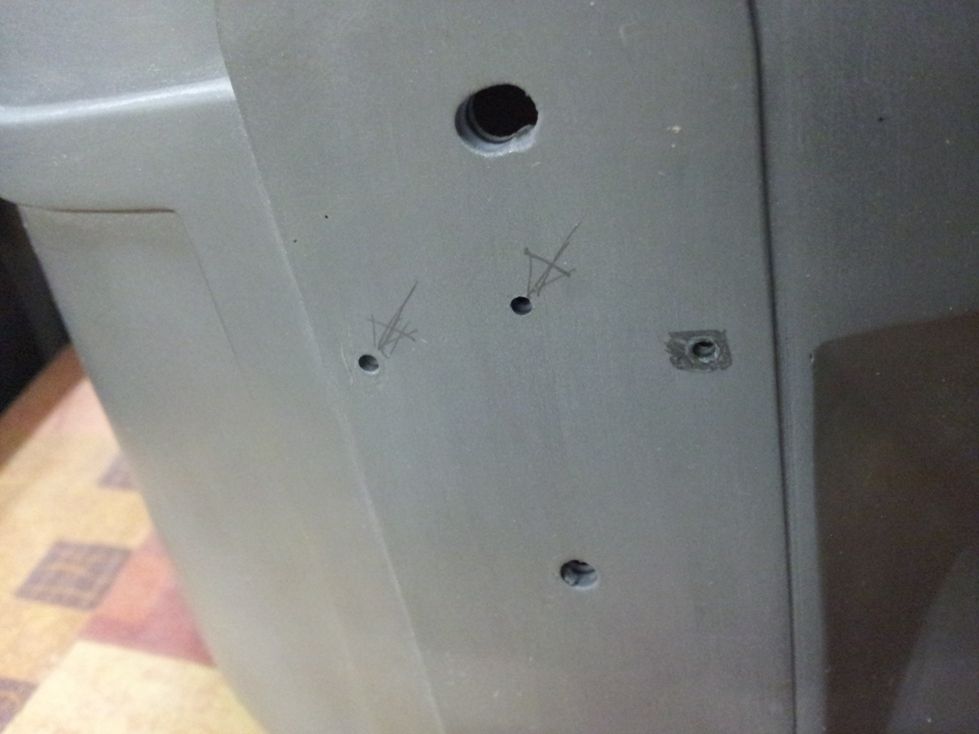
I wasn't happy with the one on the right of the picture, so i drilled in the middle as well

That is just held in-place with the dowels.
Then bolted on, along with the outer cap held on with the magnets

You may have noticed the stalk isn't present in the above pictures, well there is a reason...

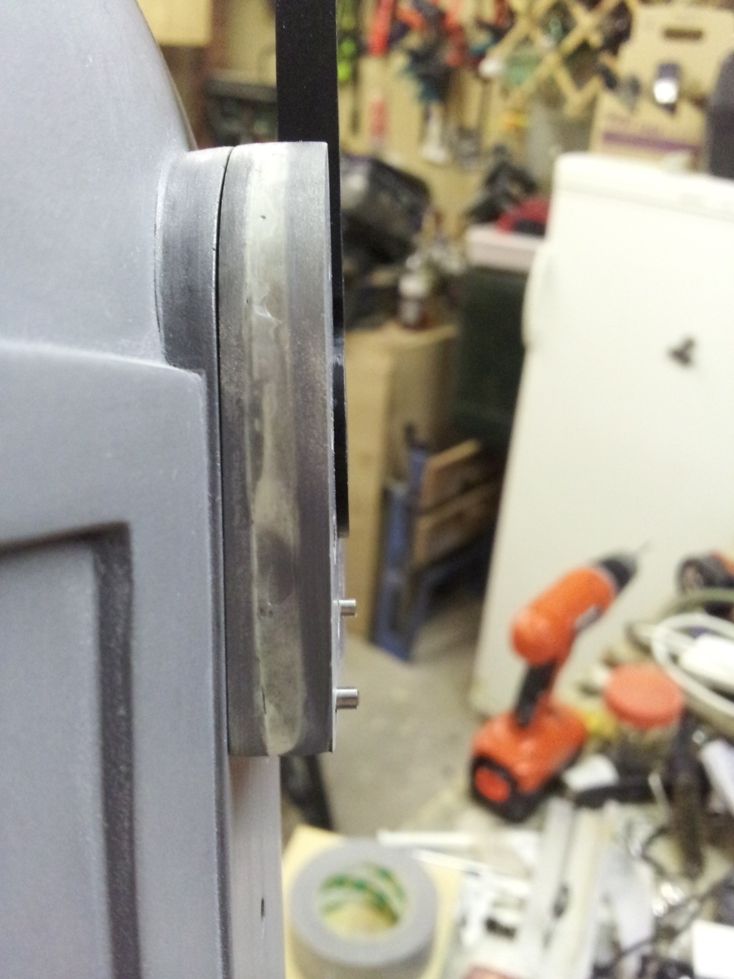
Haven't decided on how to resolve this yet, i have a few options though in mind.
Thank you for your attention, i'll let you go now.
(firstly, this is quite a lengthy and wordy post, so if you're not in a reading mood, sorry)
Thank you, badfishman, Bobasbounty, and lord magneto for the kind words.
And crank, if youre excited to order one, im even more excited to see my work in the hands of another skilled builder to see what they do with it.
Now lets get down to it, just been working on the final ear cap, the one that cover the rang finder stalk pivot point, if that doesn't explain which i mean, stay tuned the the photographic evidence.
So i couldn't see a sturdy way or practical way for that matter how to attach this ear cap using the nut and bolt method i had previously used on the other ear caps so i went with magnets.
First, decide on the magnets, i chose wrong, but i think it will work for my first go. i went with some neodymium magnets which is really only ones to use, 4mm dia @ 1mm thick, they aren't quite enough strong though, didn't provide as much hold/pull as i had hoped for, which will explain the amount i used.

i had intended to just have two points on each ear cap, not the 5 i ended up with, but as i said, i wasn't happy with the amount of pull with just 2,3 or 4 points so decided on 5, which was lucky because as you can see i was running out of space.

Now i had the two parts of the ear cap attached, i went about attaching them to the helmet.
For this, i was only using a single nut and bolt to hold these in place, which is also the bolt that the range finder stalk pivots on.
Because of this it would not hold it's rotation, and could spin, so i decided to use dowel pins to lock in place.
First drilled the holes through the ear cap and test fitted the dowels.

Then lined it up where i wanted the ear cap and drilled through the helmet

I wasn't happy with the one on the right of the picture, so i drilled in the middle as well

That is just held in-place with the dowels.
Then bolted on, along with the outer cap held on with the magnets

You may have noticed the stalk isn't present in the above pictures, well there is a reason...


Haven't decided on how to resolve this yet, i have a few options though in mind.
Thank you for your attention, i'll let you go now.
Alonzo Fonzo
Active Member
Great work!
I also used a magnet for the earpiece. I got mine from an old harddisk, its really strong and still thin enough for the earpiece.
I also used a magnet for the earpiece. I got mine from an old harddisk, its really strong and still thin enough for the earpiece.
lovelyandy
Sr Member
Amazing. A real inspiration.
rosskow
Sr Member
Hello anyone reading.
Not much of an update, but here you go.
Got a couple of things in the post t'other day.

Also got my cheap Chinese half face respirator to save my lungs while I paint.
Will hopefully make a start (at least practicing) at the weekend. I have a couple of ear pucks (no spare fett buckets sadly) lying around so thought i'd try out on one of them, should be able to show what paint scheme/look I am aiming for once i start it as i am not doing a traditional ESB or ROtJ paint job.
till next time.
Canobi
Sr Member
Hi Rosskow, That buckets looking rad dude. Is that a double action airbrush(ie can you control airflow and paint flow indipendantly with the trigger button), or single?
I used to do all sorts of stuff with airbrushes back in the day, even had one of my posters up in a GW store once. Man I loved my airbrush, your going to have fun dude, once you get used to using it, you'll love it :thumbsup
One thing of note, when doing very fine lines using air straight from a pump without using a reservoir , the paint and airs rate of flow is qaffected by the pump and the lines actually come out as strings of very closely linked dots (one dot per beat of the pump). For everything else though, the pump works fine on its own. Can't wait to see what paint scheme you come up with this time
rosskow
Sr Member
So there was some mess, some frustration, some learning, some failure and some success.
Apologises now for the pictures, its hard to tell the difference in the colours till right at the end, you'll see what i mean.
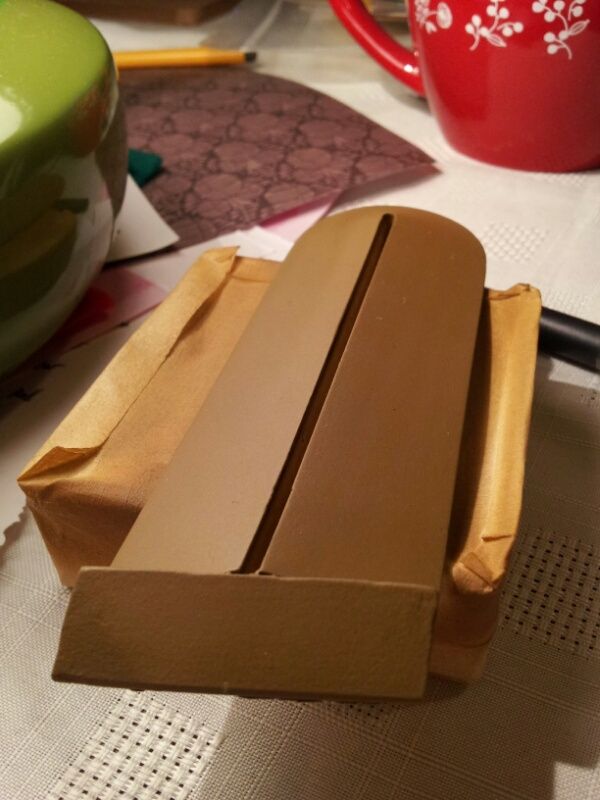
So, as i said previously, i was practicing on a spare ear puck to get used to..well, everything really.
Started by priming and then done a base coat of silver (which become redundant) then onto the air brushing.
Here is the ear after first layer of base coat.
I'll do some quick explaining, I'm still using the ESB stencils, thank you RafalFett (of thedenteddentedhelmet) but using a different colour scheme, and since the ear cap only has three colours, the green, red and grey/silver, it meant that my base colour of silver iwas pointless because i had already bought my 3 air brush colours so my silver wasn't necessary, causing (what you see in the above picture) brown to be my base colour. (hopefully that makes sense, if not just look at the pictures and enjoy)
Anyway, here is the first layer after a couple of coats and time to dry out a bit
It is darker than the picture will have you believe.
Masked ready for my second layer, this was just done free hand using ref pictures/stencils at hand to look at.
That is the same colour as the picture before it.
Gets even more frustrated with the next picture...
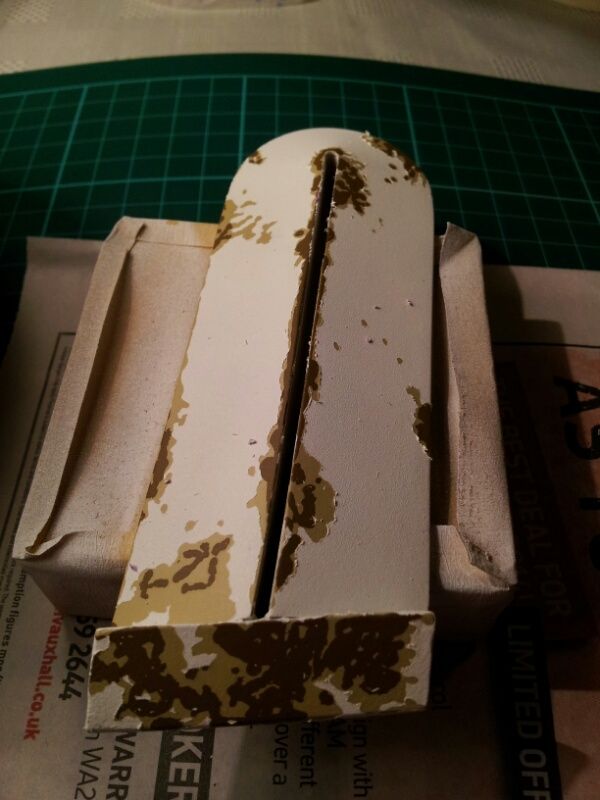
...because that is the second colour/layer done which is much, MUCH light cream colour that the first brown coloured layer.
The difference between the colours is evident in the next picture, masking fluid removed.
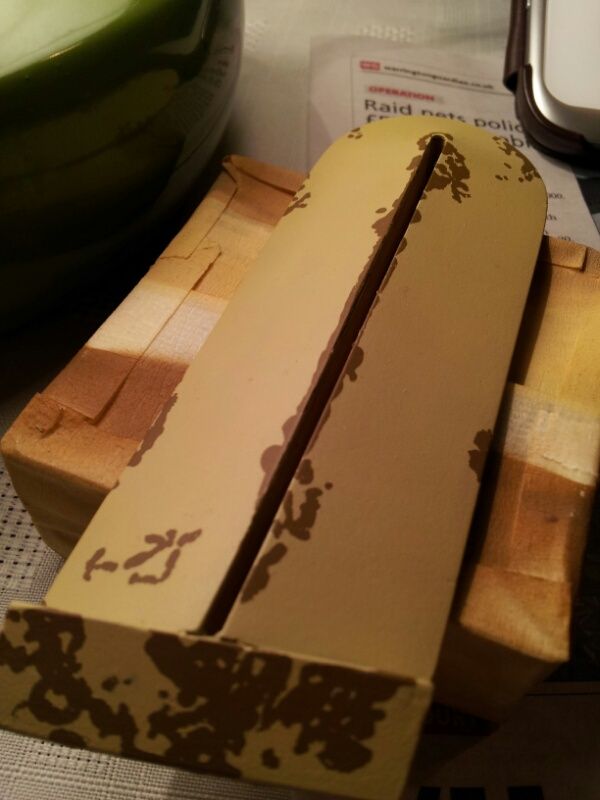
Now before you think, I'm not doing a desert camo theme, I couldn't help but think that myself as I removed the masking fluid.
One more colour/layer to be added before some light weathering so it doesn't look so sterile.
So how does it look from your end? See any issues or have any suggestions or questions, all comments welcome (within reason, lets keep it clean)
Till next time.
Apologises now for the pictures, its hard to tell the difference in the colours till right at the end, you'll see what i mean.
So, as i said previously, i was practicing on a spare ear puck to get used to..well, everything really.
Started by priming and then done a base coat of silver (which become redundant) then onto the air brushing.
Here is the ear after first layer of base coat.

I'll do some quick explaining, I'm still using the ESB stencils, thank you RafalFett (of thedenteddentedhelmet) but using a different colour scheme, and since the ear cap only has three colours, the green, red and grey/silver, it meant that my base colour of silver iwas pointless because i had already bought my 3 air brush colours so my silver wasn't necessary, causing (what you see in the above picture) brown to be my base colour. (hopefully that makes sense, if not just look at the pictures and enjoy
)Anyway, here is the first layer after a couple of coats and time to dry out a bit

It is darker than the picture will have you believe.
Masked ready for my second layer, this was just done free hand using ref pictures/stencils at hand to look at.

That is the same colour as the picture before it.
Gets even more frustrated with the next picture...

...because that is the second colour/layer done which is much, MUCH light cream colour that the first brown coloured layer.
The difference between the colours is evident in the next picture, masking fluid removed.

Now before you think, I'm not doing a desert camo theme, I couldn't help but think that myself as I removed the masking fluid.
One more colour/layer to be added before some light weathering so it doesn't look so sterile.
So how does it look from your end? See any issues or have any suggestions or questions, all comments welcome (within reason, lets keep it clean)
Till next time.
rosskow
Sr Member
Hi again,
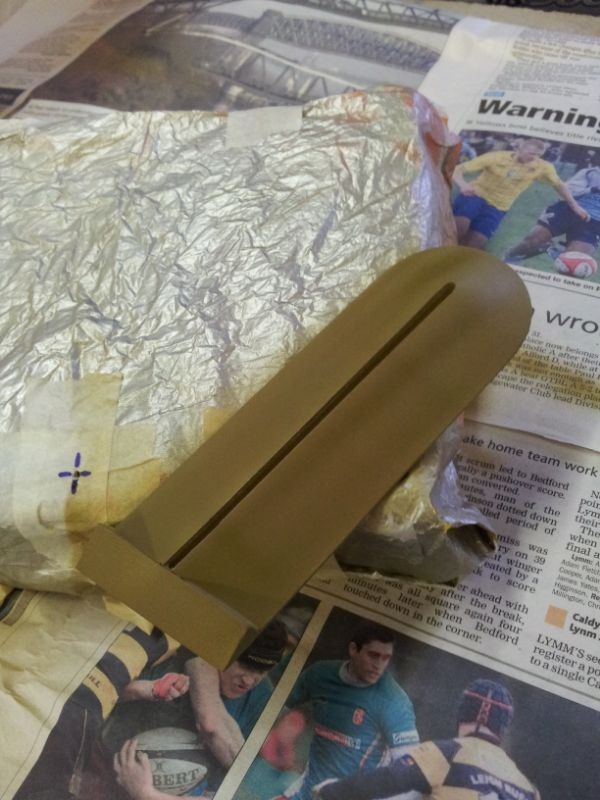
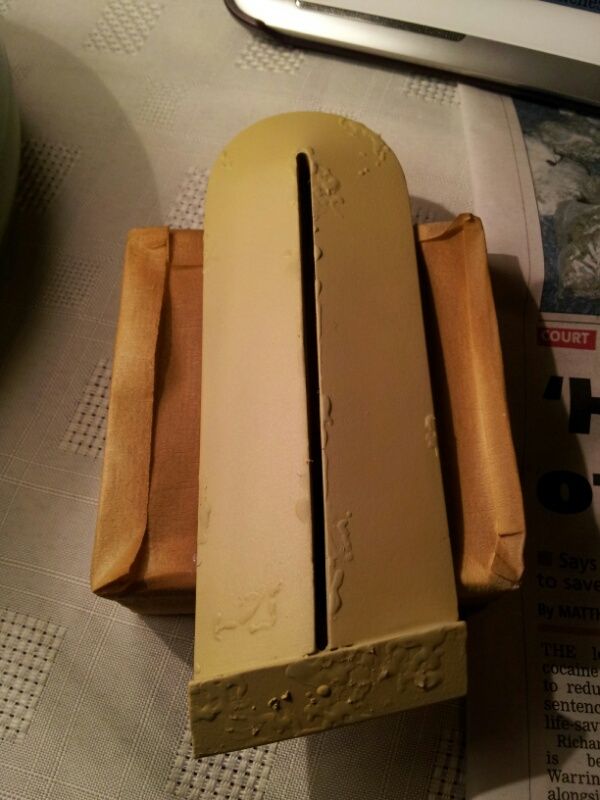
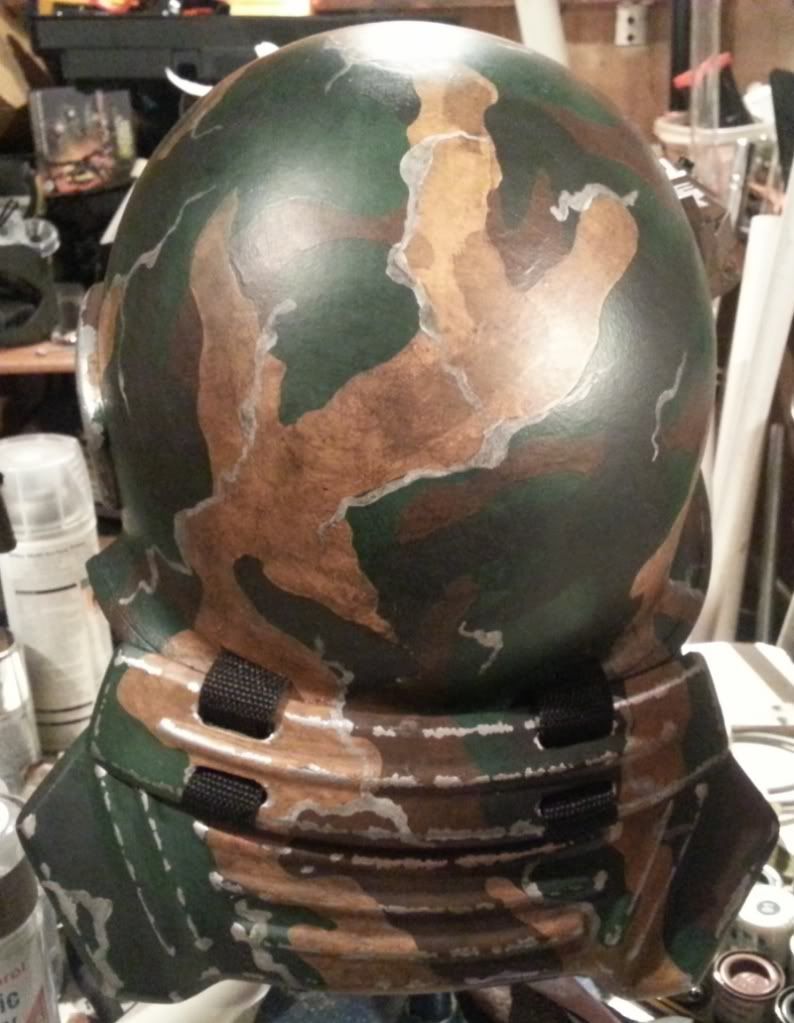
Final masking and painting done on the practice ear cap.
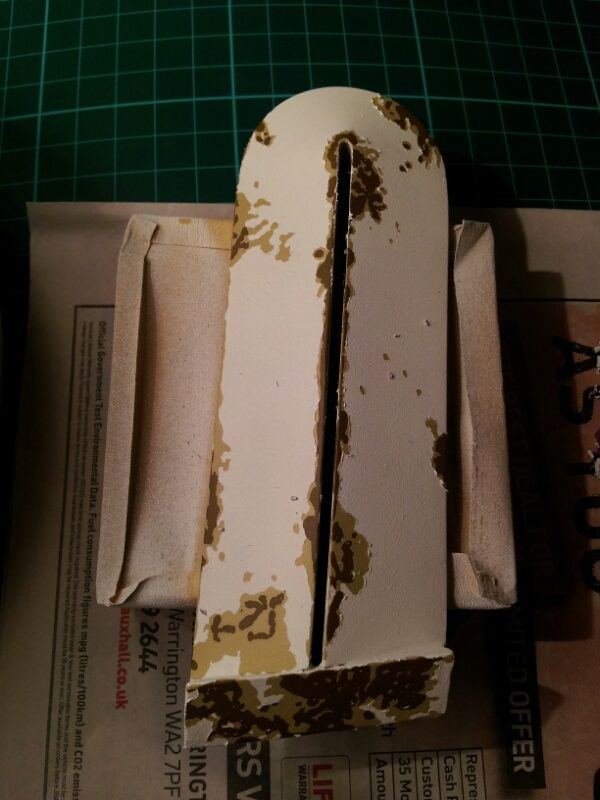
So there is the paint scheme... in a sense.
The second/middle/beige colour wasn't quite what i was hoping for. I intended for it to be a off-white colour just.
Masking fluid only just removed prior to picture, so a light going-over with some 0000 wire wool to clean it up it needed and then some weathering i think.
Weathering, some thing else i haven't never done before either.
Purpose (as always with weathering) is to make it just look a little dirty/rusty/worn, but i'm unsure how best to tackle this. I'll no-doubt go on youtube later tonight or search threads/forums for ideas and techniques, but would really appreciate it if you, the reader, could offer up suggestions or ideas, etc.
And on a side note, making my own stalk for the range finder, see how that pans out...
As always, comments welcome.
Thanks for reading.
Final masking and painting done on the practice ear cap.


So there is the paint scheme... in a sense.
The second/middle/beige colour wasn't quite what i was hoping for. I intended for it to be a off-white colour just.
Masking fluid only just removed prior to picture, so a light going-over with some 0000 wire wool to clean it up it needed and then some weathering i think.
Weathering, some thing else i haven't never done before either.
Purpose (as always with weathering) is to make it just look a little dirty/rusty/worn, but i'm unsure how best to tackle this. I'll no-doubt go on youtube later tonight or search threads/forums for ideas and techniques, but would really appreciate it if you, the reader, could offer up suggestions or ideas, etc.
And on a side note, making my own stalk for the range finder, see how that pans out...

As always, comments welcome.
Thanks for reading.
Canobi
Sr Member
I really like the paint scheme, it's going to look awesome :thumbsup
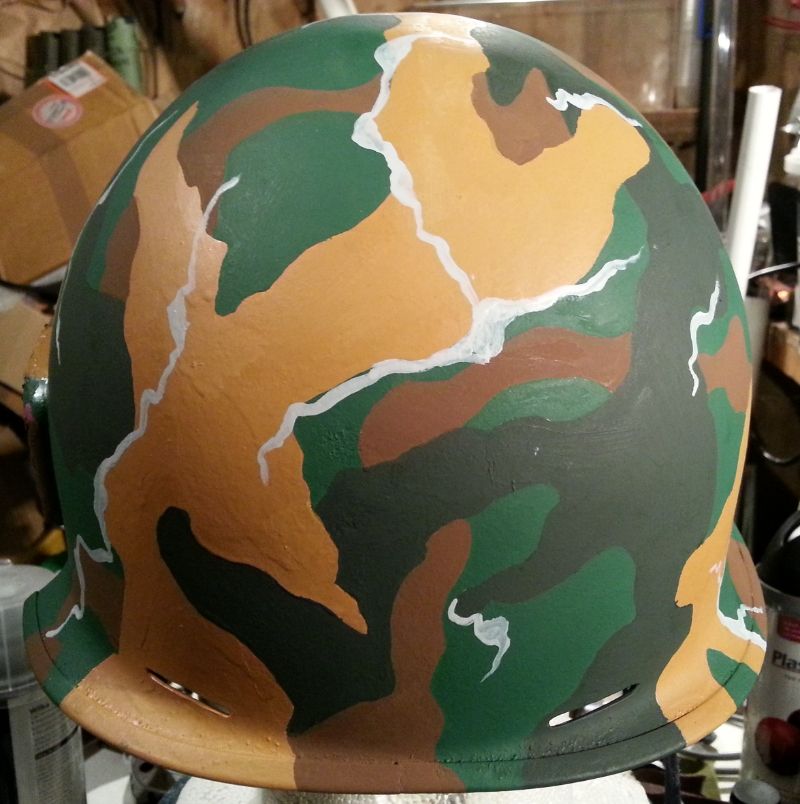
The simplest trick for weathering is ink washes (normally browns and black acrylic ink), and since the helmet is coldcast, scratches and crapes on the highest points and protrusions that go through the paint will reveal the silver underneath, or paint the silver marks on before doing a wash for dulled silver and after washes for fresh marks.
Here's a quick before and after following as described above (I think I only gave it about three washes). The longer you leave the ink on before you wipe off the excess, the more gets left behind so make each pass a short one till it looks right (you can always add more).


rosskow
Sr Member
Hello,
Just a quick one.
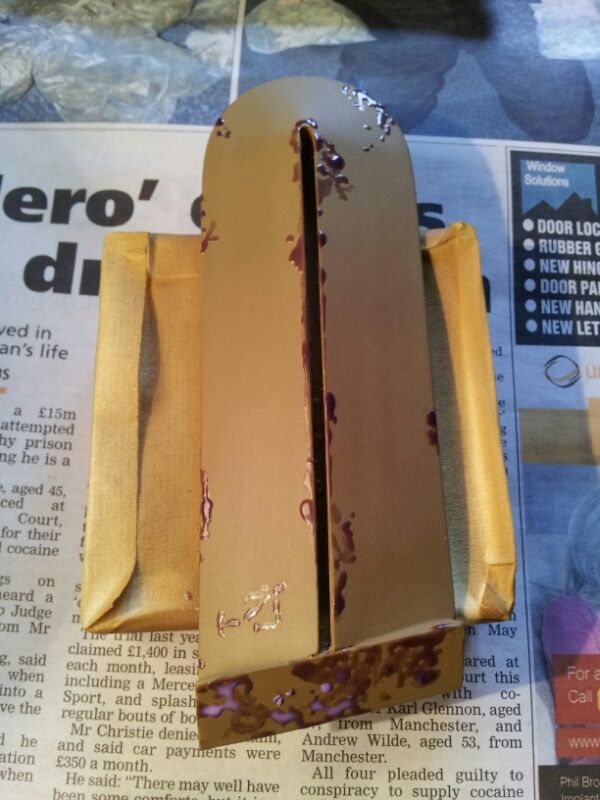
Gave it my best attempt of weathering.

Very basic, just a bit of the brown i used previously, misted over and and some splodges in the "chipped" areas.
Still needs a light going over with some wire wool to blend it together.
I guess its time to start work on the real culprit.

Thanks for reading.
Just a quick one.
Gave it my best attempt of weathering.

Very basic, just a bit of the brown i used previously, misted over and and some splodges in the "chipped" areas.
Still needs a light going over with some wire wool to blend it together.
I guess its time to start work on the real culprit.

Thanks for reading.
GTImotion
Well-Known Member
Digging the desert camo look. :thumbsup Ok rosskow, I don't know if you or anybody else thought about this before or not or if even possible :confused but ever since I first saw you working on the ear/rangefinder piece I have been thinking on how awesome would be to see the rangefinder move by itself by just pressing a button. Can the rangefinder be retrofitted with a small servo to give it that awesome automated range move, is there even enough space between your ear and helmet for a small servo to fit comfortably?
joshvanrad
Master Member
The amount of information I have ripped off from this thread is flat out disgusting.
Thanks for the help, rosskow
Thanks for the help, rosskow
bpwmd
Well-Known Member
Hello,
Just a quick one.
Gave it my best attempt of weathering.
http://i84.photobucket.com/albums/k19/Rosskow/pepa fett/13921447015010_zps38db1590.jpg
Very basic, just a bit of the brown i used previously, misted over and and some splodges in the "chipped" areas.
Still needs a light going over with some wire wool to blend it together.
I guess its time to start work on the real culprit.
http://i84.photobucket.com/albums/k19/Rosskow/pepa fett/20140101_163006_zpse3834feb.jpg
Thanks for reading.
do you have a pep file for the range finder and stalk? the one i have that came with the helm didn't turn out right.
a little too fat and the display panel wast quite the right shape
Similar threads
- Replies
- 3
- Views
- 565
- Replies
- 10
- Views
- 877
- Replies
- 0
- Views
- 855
- Replies
- 6
- Views
- 400