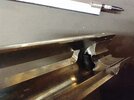
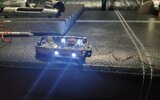
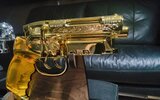
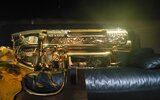
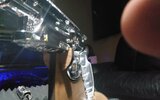
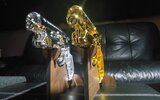
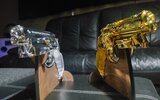
Thanks for the kind words. To answer your question, I purchased a 3mm thick black rubber (NBR or Buna-N) washer, cut it up, and super glued a small portion of it to the backside of the front cap of the blaster. (There are plenty of listings for such items on ebay, which is where I purchased mine.) This greatly improves the feel of the bolt mechanism and holds the bolt handle firmly in place - preventing it from rattling around. The feel and firmness of the solution tends to vary depending on the size of the rubber piece and its placement, so it may be worth doing a bit of experimenting. Fortunately, the rubber can easily be removed if it's not to your liking. If you do go this route, make sure you purchase actual rubber. When I initial tried this solution, I rather foolishly purchased silicon washers and discovered that super glue doesn't adhere to such material. Finally, in the interest of honesty, this isn't something I came up by myself, but rather something I discovered on another thread in therpf and decided to give it a shot. For such a simple and inexpensive mod, I've been very pleased with the results. Here's a photo to give you a better idea on the size and placement: