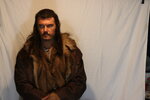
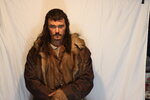
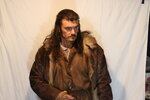
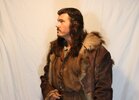
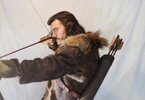
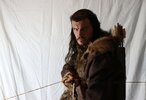
I finished up the quiver-only arrows (no heads) by coloring the white quills to dark brown. I then wrapped them in black string to match the onscreen bindings. I will not be waxing or coating this section, as would have been done with historic arrows, but I did coat both end wraps, per arrow, with clear glue.

20240103_235620.jpg


I still need to make one arrowhead and add the shoulder pad to the quiver strap but it is exceptionally close to done now.

20240103_235502.jpg


If these continue to present so brightly, I will stain all the feathers with a gray-brown overcoat.
 
Working with some really cranky sculpy oven bake clay today. Garage sale find and in metallic gray. The non metal flake is workable but this metal flake is crumbling. I put three close colors together in a ziplock and put it in warm water to soften. It is baking clay so getting it too hot makes it worthless.

This was a serious test of my patience and I warn anyone against attempting to use old sculpy.

I finished the sculpt and just finished baking it so now it is cooling and, when done, I will drill out the shaft end.

20240104_230122.jpg


I did already cut out the central diamond hole per this screenshot example:

20240105_000511.jpg


So, like a Concord jet at the head, with a reverse, thicker version connecting to the shaft.

I had seen other versions of the dwarven arrowheads and they were clunky and squarish all over and not arrow worthy. Like artsy to a fail. But this screen cap is not so. This screen cap shows a viable sharp point that would puncture armor very successfully. But it widens like a hunting broadhead so would not go in deeply in armor. A small point would go in much deeper. For a non-armored combatant, wolf, spider or goblin, it would be a real world killer. Just imagine holding up this arrow on the tip of your finger. Not a razor but better against armor and scales than a razor.
 
Last edited:
Disclaimer: it is wider than it should be.

Here is my baked clay arrowhead, shaved, drilled and mounted:

20240105_013234.jpg


But even with its proportion inaccuracies, I believe it will present well in a final pose.
 
I dropped the arrow with arrowhead into the quiver and realized really fast that the others now look short. I had my wife pick up some floral foam and I will brace the 4 arrows in that while also raising them to the appropriate height.

His on screen shots make his arrows look locked into position in the quiver as well.
 
So it is as suspected. In several scenes and after expending several arrows, Bard continues to have these four arrows in the quiver unmoving. Even when he leans forward, the arrows stay at the back of the quiver against gravity.

bardboat.jpg
 
It kills me to cut these feathers down. I really like how they look but they are just too wide to be screen accurate. I have pictures of them so I can remake them if I want to. I will trim down the fletchings tomorrow.

20240105_214359.jpg
 
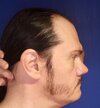
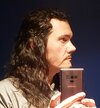
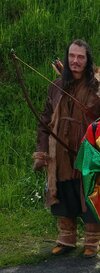
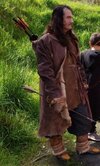
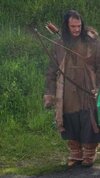
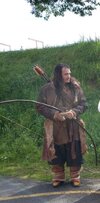
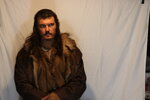
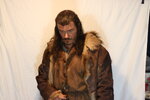
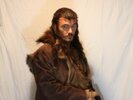
My wife asked that I bring Bard to their school Hobbit party. Not an official Hobbit holiday but the celebration of the fifth grade class completing their reports on the Hobbit, which all read in its entirety. This was not my intended weight loss pictures so Bard is not yet considered complete. I have been working on Bard's wig and a crazy new comb over project of my own creation. The comb-over and style worked gloriously the night before but this morning it was a complete flop, so I went with slicky hippy Aragorn ranger hair. While at the school, an 11th grader said "Wow, nice Aragorn costume", so I was correct about what my hair looked like. So here is my natural hairline pic, then my comb-over (The good one), and finally a woods action pose. Still 10 pounds to go before final pictures. Class pictures in next post.20240407_101509.jpg20240407_104705.jpg20240406_223857.jpg20240406_223935.jpg20240406_211202.jpg20240406_234433.jpg

20240408_125824.jpg
 
Last edited:
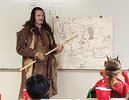
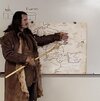
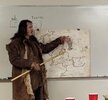
And here are my pics of me on the playground and me giving my short lecture on Geography.

Big thumbsup to therpf here because my costume is from following the Bard build of jessamygriffin , the map was printed by Darth_Nickel and redrawn by asavage from the original book plates (imagine really tiny version split across two pages or more).

All told, it was a lot of fun. The two dragons were running around the entire time.... "Baaaaard!!! Aaaaagh!!"


20240408_202608.jpg20240408_202707.jpg
20240408_202739.jpg
20240408_202757.jpg20240408_202824.jpg20240408_202839.jpg
 

Attachments

  • 20240408_203110.jpg
    20240408_203110.jpg
    55.7 KB · Views: 65
  • 20240408_203039.jpg
    20240408_203039.jpg
    114.3 KB · Views: 71
After much up and down on my weight, I had to compromise and just move forward. I decided to do a final run on Bard poses. I did the big rock again and then cleared out the computer room/office and set up the side by side projection with remote shutter trigger to take my own portraits with most being inspired by stills of Luke Evans.

My son helped with the outdoor shots. Nothing exciting, just some final facial hair work and the first time the "world's greatest comb-over" was complete during daylight hours. Each time I worked on hair, previously, I failed to do so at a time I could then costume up and go outside.

For anyone following, some will look like repeats but are posted to show the hair work. The coat needs to be dehaired on much of the inside to reduce its bulk. The gloves need hair trim as well.

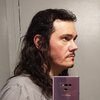
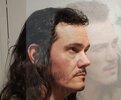
The following shot explains why I decided to complete the shots. I know I still need to lose 10 pounds but after I completed the hair work, I spliced in a comp of Luke. The differences were negligible. Chin length, fullness of lower lip but really, it was time to do the pics.

20240704_065807.jpg


And yes the mirror needed cleaned so here is a clipped shot:

20240704_065824.jpg


I will continue below as I complete the side by sides with inspiration shot and my pose combos. I added more hair color to the chops after the above picture.
 
Apologies, I did have a new addition, so not just hair work. I purchased plexiderm on advice from Chris Ellerby, a counselor with Stan Winston School, and the owner of VexFX.com. This allowed me to cheat a bit on the weight loss. Usually, I would have done a 3 to 4 day, strict, Keto diet, to purge the puffiness that comes with carb storage (glycogen). Plexiderm used on the under eye bags shrinks the puff in about 3 minutes and keeps it gone for hours. I would have been far happier with the keto results AND the plexiderm but the hair turned out and is a HUGE effort, so it was out of necessity that I decided to finalize the pictures immediately. As seen before, I have little to nothing to work with for hair line and this results in the comb over of a life time:

20240704_154418.jpg

The resulting top and sides were spraying the skin, letting it dry, spraying the hair, pulling it forward, and using a "contact adhesive" style pressing the two together to get the following coverage (top and sides):

20240705_233511.jpg
 
One of my biggest triumphs, other than weight loss, was the jawline. I have spent months using the exercise gum, mastiha tears.

20240705_234403.jpg
20240705_234425.jpg


Luke has the jaw bulge when he clenches. So does Orlando Bloom, another cosplay still in the works. Although, this does not fall into the area of "fx", it does work and is a lifestyle enhancement as a bonus side effect. Unlike jaw exercisers, this gum does not create the rounded face but instead focuses growth to the bottom corner of the jaw.
 
bardthebowmanimpersonationcosplaycostume.JPG


The pose is a repeat but this one includes the final hair and makeup work. Most of the other shots were indoors and I am slowly getting them paired up to the movie or poster inspiration shots.

At the extreme right edge of this photo, there is a cable hanging down from the tree. This cable was here when we moved to this property. We found cables in other trees nearly 200 feet away from this one. After some inquiring, we found that the previous owners had been growing illegal crops and had slung a professional military camo net over a half acre of the property. The cables are now bound by the trees having grown over them.
 
Last edited:
Apologies for the many coming uploads. I want to get these pictures online so I don't have to worry about a loss of data/pictures.
 
bard-the-bowman-cosplay-leftface.jpg
 

Attachments

  • bard-the-bowman-0661.JPG
    bard-the-bowman-0661.JPG
    4.1 MB · Views: 47
  • bard-the-bowman-0660.JPG
    bard-the-bowman-0660.JPG
    4.1 MB · Views: 46
  • bard-the-bowman-0651.JPG
    bard-the-bowman-0651.JPG
    4.4 MB · Views: 46
  • bard-the-bowman-0645.JPG
    bard-the-bowman-0645.JPG
    4.5 MB · Views: 43
  • bard-the-bowman-cosplay-head-side.jpg
    bard-the-bowman-cosplay-head-side.jpg
    547 KB · Views: 59
  • bard-the-bowman-cos-side.jpg
    bard-the-bowman-cos-side.jpg
    2.1 MB · Views: 49
  • bard-the-bowman-cosplay-0623.JPG
    bard-the-bowman-cosplay-0623.JPG
    4.3 MB · Views: 45
  • bard-the-bowman-cosplay-rightface.jpg
    bard-the-bowman-cosplay-rightface.jpg
    1.8 MB · Views: 49
Finally getting to scene overlays. Some lighting tone changes but staying true to my rule if no photoshop touch up on me or the costume. This first was just clippibg out my background.

20240715_075630.jpg
20240718_235019.jpg
20240720_213944.jpg
 
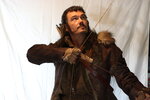
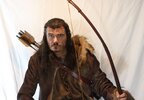
I am just super happy with how my hand made arrows are showing in the pictures. Even the arrowhead looks great close up.
 
Back
Top