Bandai 1/144 Millennium Falcon GROUP build awakens! OPEN TO EVERYONE! :)

im not sure if that will melt the plastic, maybe try a small area on the model to see if it is affective. someone on here will know the best way. i have used thinner to get paint off, but may be to weak for enamel.

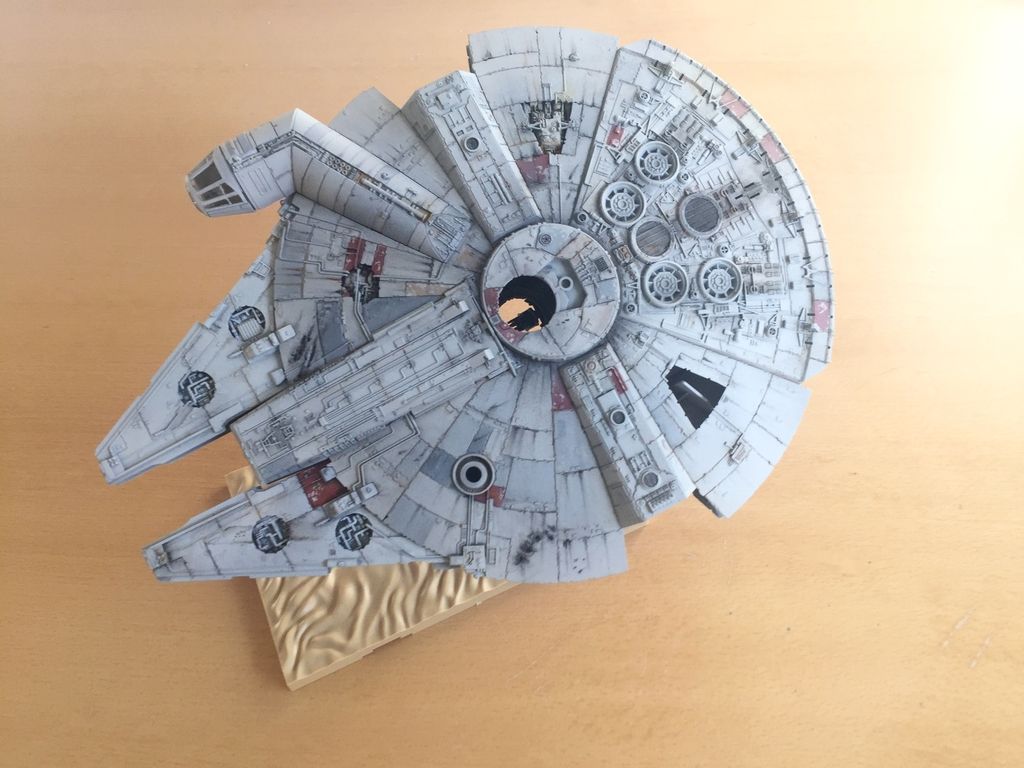
maybe try the caustic soda again but only for a short time. I have not used it before and for all i know it may be a bad idea, but if it already took the paint off that quickly you might want to do some more. did it harm the plastic or just the paint? hard to tell from the pics.

I have also heard oven cleaner is a good method, but again not tried it myself.
 
Best is to get all the paint off. I use "Drano" for such exercises, its the same stuff as oven cleaner but in liquid gelly form. Some warm water mixed with Drano and the parts socked in it. This will chew all the paint off without harming the plastic nor the glueing. But be aware its stinks and you have to wear rubber gloves. Best done outside. Dump the parts in it...next morning the paint will be at the bottom of the bucket.

cheers
Uwe
 
Thanks Uwe.
thats not a product available here buthere equivalents..might just get an oven cleaner spray and do that..probably the same ingredients..ive no caustic soda left so hope itll work.
 
Think I saved it. Only some small flaring and if It Survives the base coat and weathering it will just add texture. My excuse and I'm sticking to it :)
image.jpeg
 
Working on the lighting rig iv'e put together , i plan to have four fibre optic strand lights in the cockpit, 2 white, 1 red, 1 multicolor changer . 2 headlights white and of course the engines. Here's LED setup
the two leds on the left are the red and white, the one on the right is the changer
1stlightrig1.jpg 1stlightrig2.jpg 1stlightrig3.jpg 1stlightrig4.jpg1stlightrig5.jpg i use a very small drill bit to drill down into each LED just enough not to hit the diode, this makes sure the fibre optic strand sits very close to the diode giving me maximum light, then i glue them in place, after that i light block all LED's
 
Last edited:
Looks great! I have an ikea led strip I was thinking of putting in and glueing some fibre optic cables off each one. Not sure I have the chops for it though :) what are you using for a power source?
image.jpeg
 
I'm using a regular double AA power pack that you'd find on those cheap christmas lights from 2euro stores, no need to fit resistors to LED's
Here's what the pack looks like hidden beneath the base 1stfalconpowerpack.jpg
Looks great! I have an ikea led strip I was thinking of putting in and glueing some fibre optic cables off each one. Not sure I have the chops for it though :) what are you using for a power source?
View attachment 586036
 
Ok..so i'm either colour blind or somethin went arseways :) im naming this the what can go wrong will go wrong..
the red split on me cos i made it too thin and tried to darken by hand with a dirty red..didnt work..ill do em again tomorrow
then put the lighter greys on..and they look green (the bottle is top left of this pic..and in fairness the hull doesnt look this cold white in day light at all, its closer to this grey) but somehow the panels look green? got a new lightbulb today, hoping its that?

first go at the airbrush properly..shoulda done a pratice run on something else
.12666267_10154523149618032_180207301_n.jpg
 
If you're not happy with your paint just submerge the part in Simple Green for a couple days and scrub it clean. There's knockoff brands like "Mean Green" that cost $3 for a gallon at most Dollar General stores. You'll have clean plastic again.
 
Thanks Shadowman..i'm in now so i'm gonna keep goin 'cos I know the light in this room in crazy..i will follow your advice if at the very end of the job i'm unhappy with it :) thanks :)
new to airbrushing and haven't made a kit in years but i wanna do this one as good as i can..i know the hull colour is actually ok...im hoping the light is just being weird..its 2:30am..
.12512717_10154515279963032_5910851366554201490_n.jpg
 
Ok..so i'm either colour blind or somethin went arseways :) im naming this the what can go wrong will go wrong..
the red split on me cos i made it too thin and tried to darken by hand with a dirty red..didnt work..ill do em again tomorrow
then put the lighter greys on..and they look green (the bottle is top left of this pic..and in fairness the hull doesnt look this cold white in day light at all, its closer to this grey) but somehow the panels look green? got a new lightbulb today, hoping its that?

first go at the airbrush properly..shoulda done a pratice run on something else
.View attachment 586242
It's not too bad if your building the TFA version as it definitely has more of these panels and your colour doesn't look too off, the original falcon was greyer than the TFA version
remember weathering will tone it down as well.
what was your undercoat again as it can affect the topcoat (depending on how heavy you put it on )
 
Yeah it'll balance out once the other darker grey panels to on and weathering happens. I'm definitely doing the FA one anyways.
Base coat was 1 bottle of flat white mixed with about 20 drops of I thnk Royal grey and about 5 drops of wooden deck tan for warmth. Looks like I should have used a tiny bit more:)
lim remembering my thinking now which was get shades slightly brighter than the decal sheet so the whole ship would be slightly brighter to accommodate the smaller scale. Looks OK in daylight it's the Reds (aka peuce pink dammit) making it look more off than it is. Redoing them today.

But it even in daylight that grey looks green :)
image.jpeg
 
Yeah it'll balance out once the other darker grey panels to on and weathering happens. I'm definitely doing the FA one anyways.
Base coat was 1 bottle of flat white mixed with about 20 drops of I thnk Royal grey and about 5 drops of wooden deck tan for warmth. Looks like I should have used a tiny bit more:)
lim remembering my thinking now which was get shades slightly brighter than the decal sheet so the whole ship would be slightly brighter to accommodate the smaller scale. Looks OK in daylight it's the Reds (aka peuce pink dammit) making it look more off than it is. Redoing them today.

But it even in daylight that grey looks green :)
View attachment 586424

It'll be fine,...looks cool....

Remember the effects guys said on a behind the scenes CG breakdown video,...it took them 2 years to finalise the paint on the falcon

J
 
Thanks. Basecoated the reds. Off to try find a deeper red then do them and some more grey panels. See how they work together. If they don't I might do these ones over into a real grey.
 
Ok..so i'm either colour blind or somethin went arseways :) im naming this the what can go wrong will go wrong..
the red split on me cos i made it too thin and tried to darken by hand with a dirty red..didnt work..ill do em again tomorrow
then put the lighter greys on..and they look green (the bottle is top left of this pic..and in fairness the hull doesnt look this cold white in day light at all, its closer to this grey) but somehow the panels look green? got a new lightbulb today, hoping its that?

first go at the airbrush properly..shoulda done a pratice run on something else
.View attachment 586242

I think you're being overly hard on yourself. This Subject lends itself to messups like no other. The grunginess of the falcon is part of its appeal and after a few more layers of weathering the slightly off tone will not even be noticeable. after some spatter, streak-marks, hull damage, blast marks, rust, and general dirtying it will look great.

Jedi Dade
 
Ok..so i'm either colour blind or somethin went arseways :) im naming this the what can go wrong will go wrong..
the red split on me cos i made it too thin and tried to darken by hand with a dirty red..didnt work..ill do em again tomorrow
then put the lighter greys on..and they look green (the bottle is top left of this pic..and in fairness the hull doesnt look this cold white in day light at all, its closer to this grey) but somehow the panels look green? got a new lightbulb today, hoping its that?

first go at the airbrush properly..shoulda done a pratice run on something else
.View attachment 586242

That looks spot on. Those panels are definatly a greenish grey which is correct, Great work dude :)

TBH im wishing maybe i had paint the panel colours now instead of the decals. its got a nice look.
 
A thanks man. I have spent too many hours sitting here weighing up decals or paint and the benefits and hassles of each. I'm in no position yet to make a call n which would be better but I am doing all the pannelling with paint. As painful and messy as its turning out to be :)

lets see see how I go though. I'll be using the tiny detail decals for sure though.
 
Back
Top