BACK TO BASICS - Captain Jack Curse Of The Black Pearl style

Capn_Jack_Savvy

Sr Member
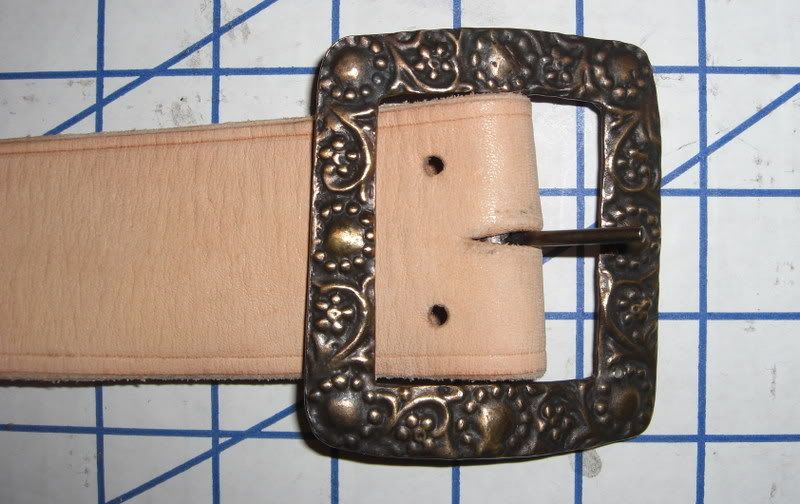
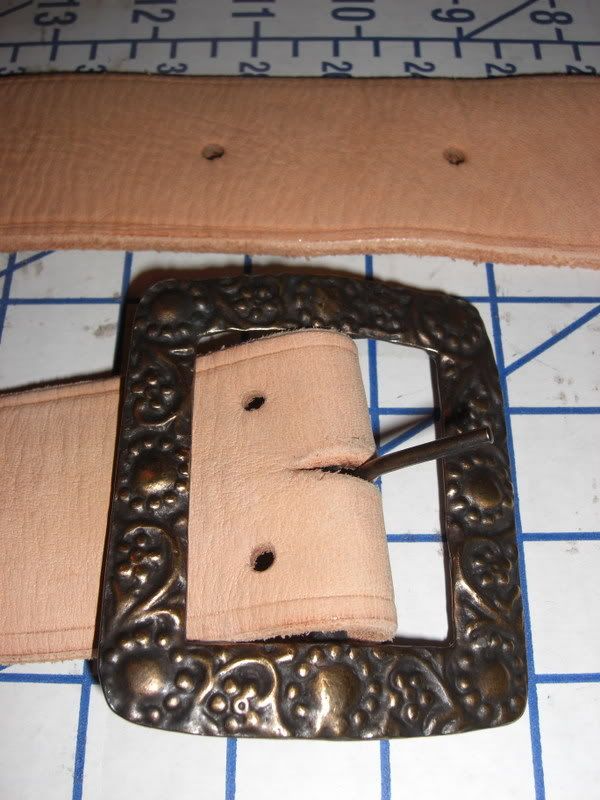
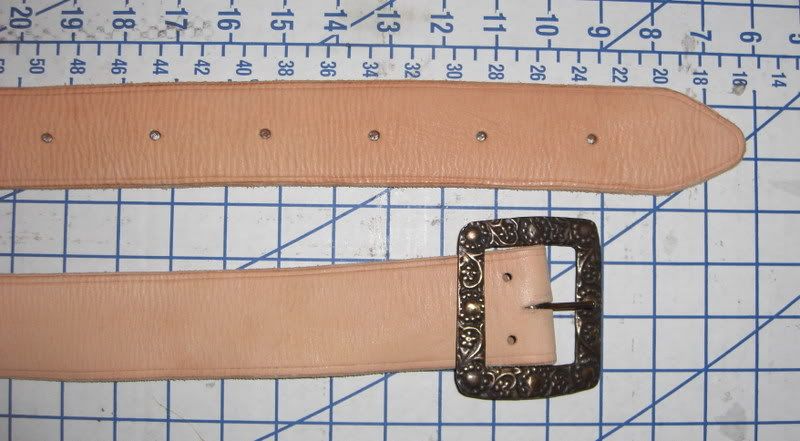
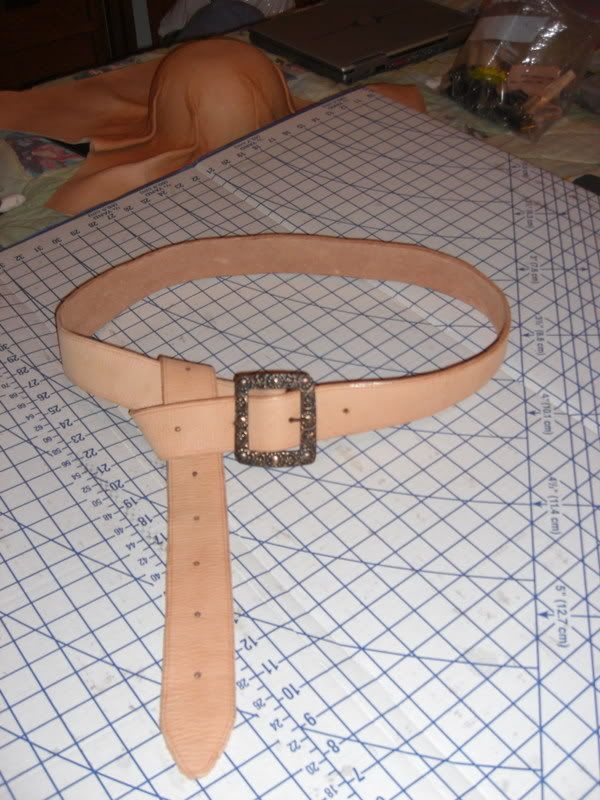
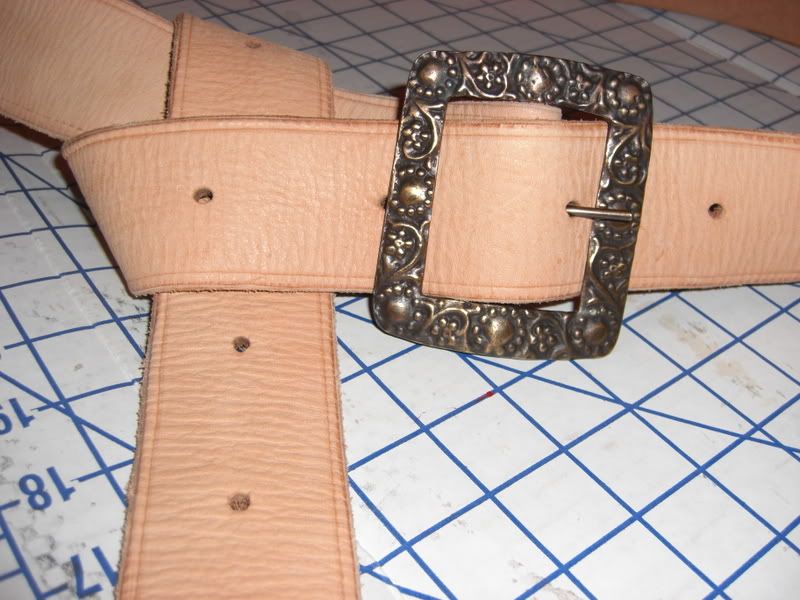
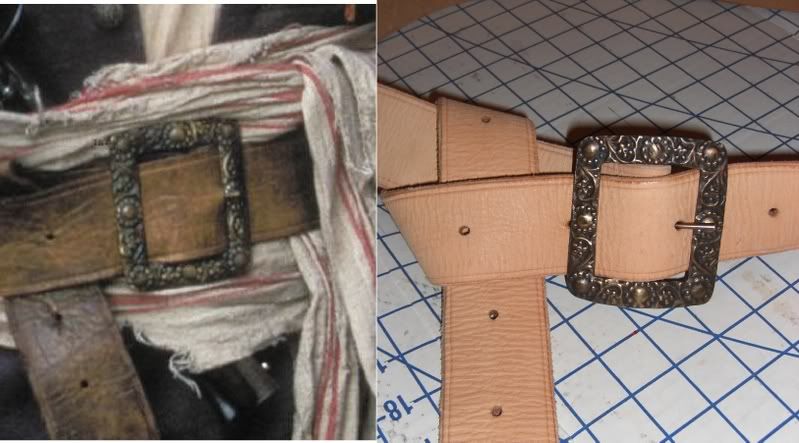
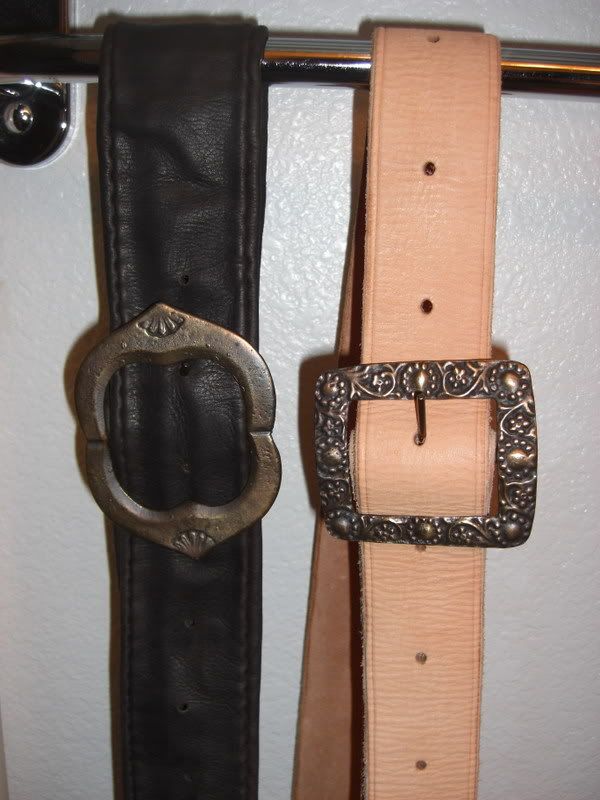
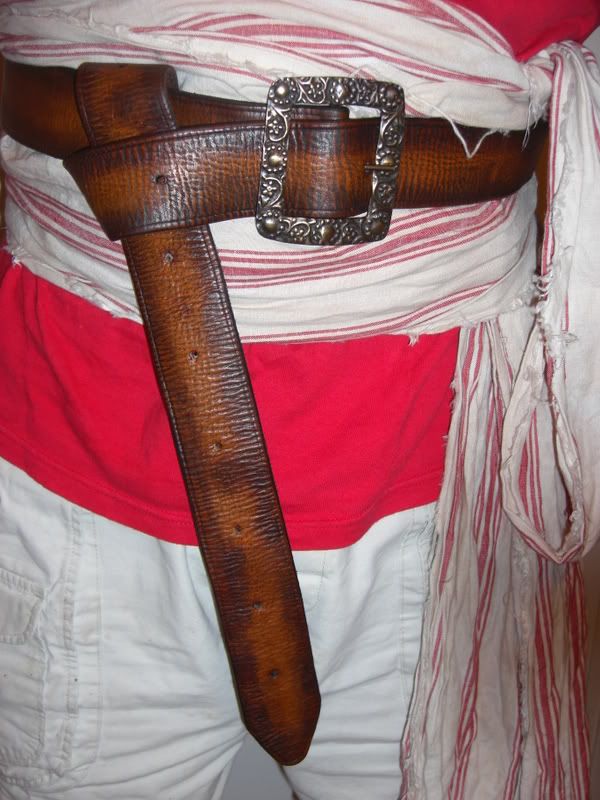
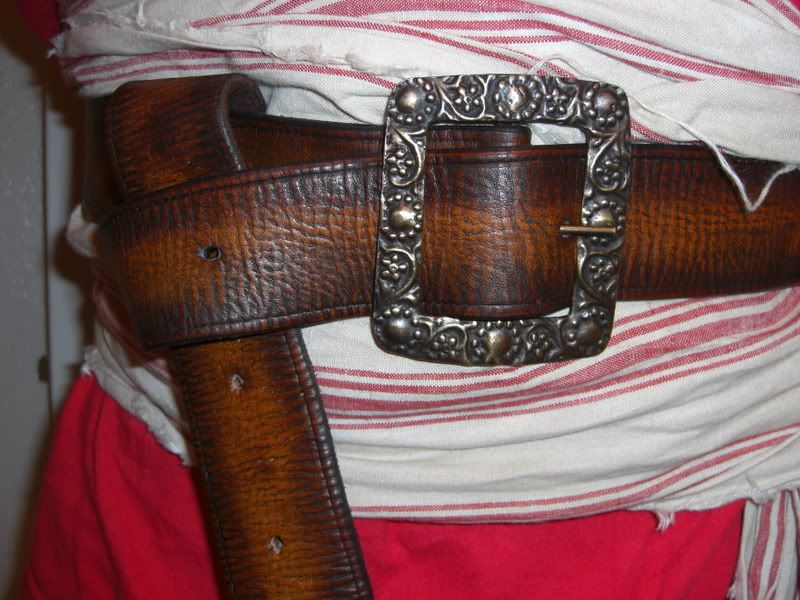
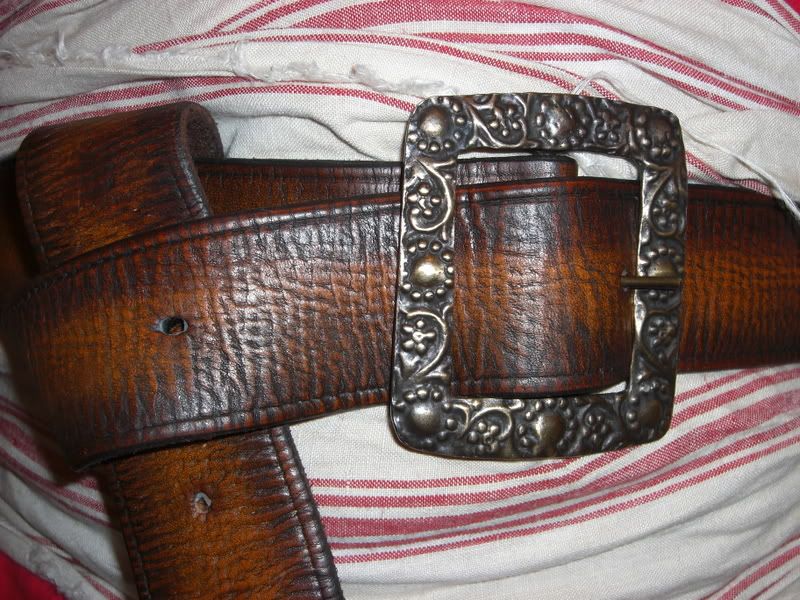
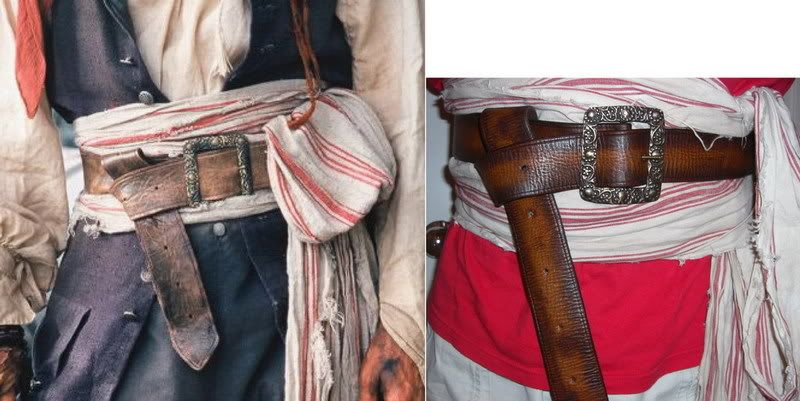
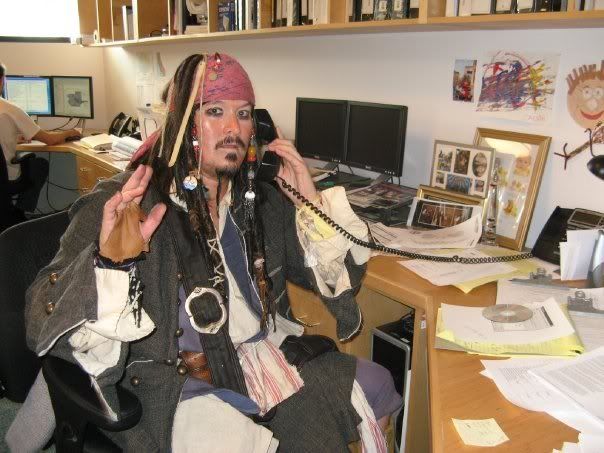
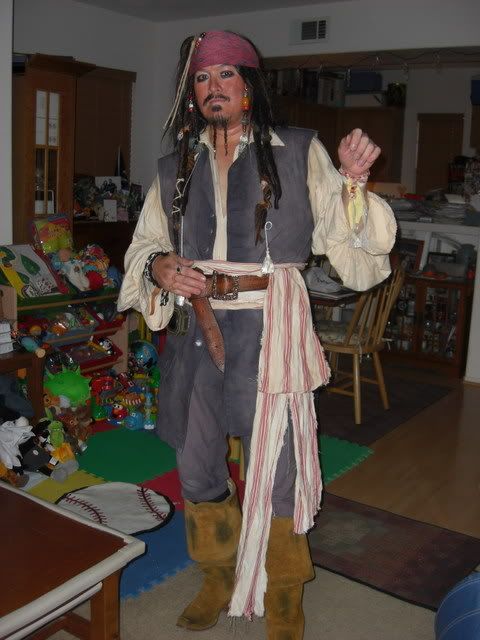
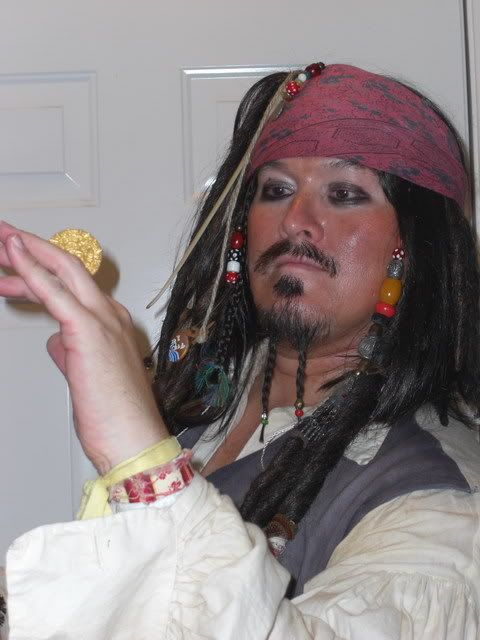
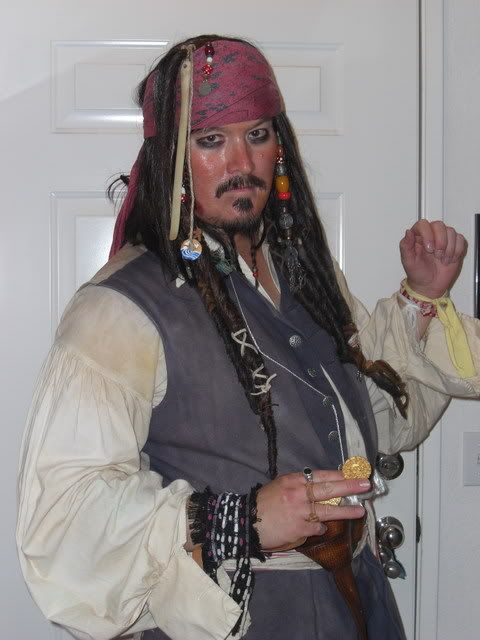
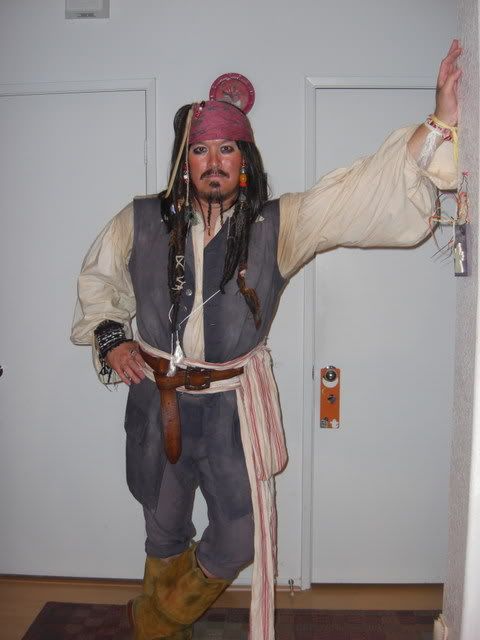
Well since I have done just about every incantation of Captain Jack Sparrow I decided to go back to basics and do the Curse Of The Black Pearl version. I got the updated belt buckle and baldric buckle cast from the real deal so I wanted to do this costume version of Captain Jack some justice.

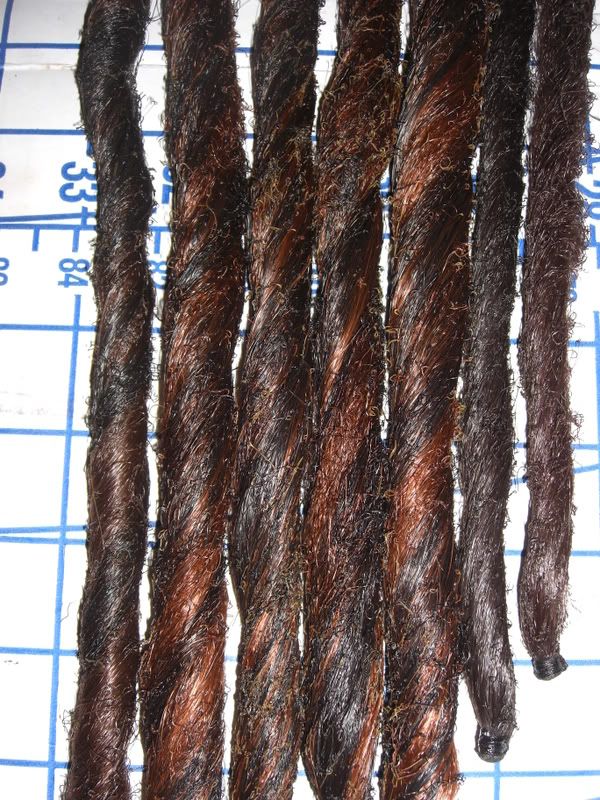
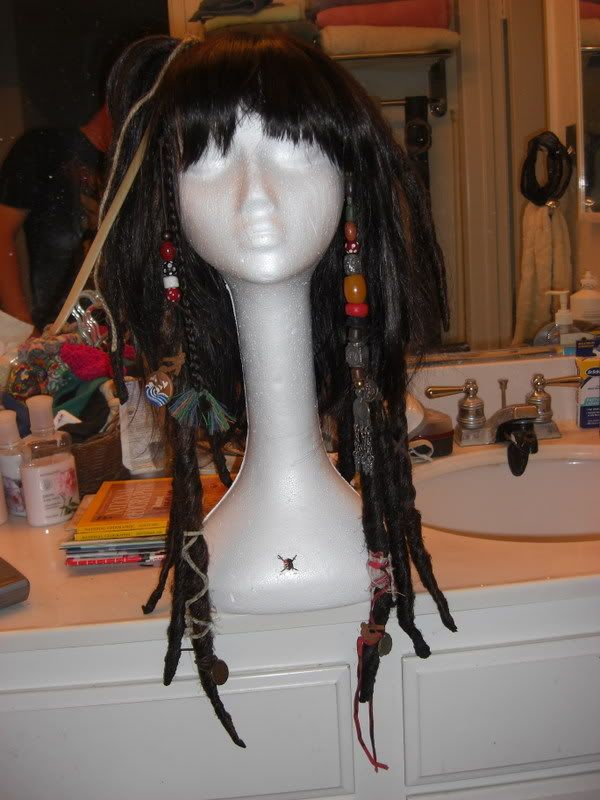
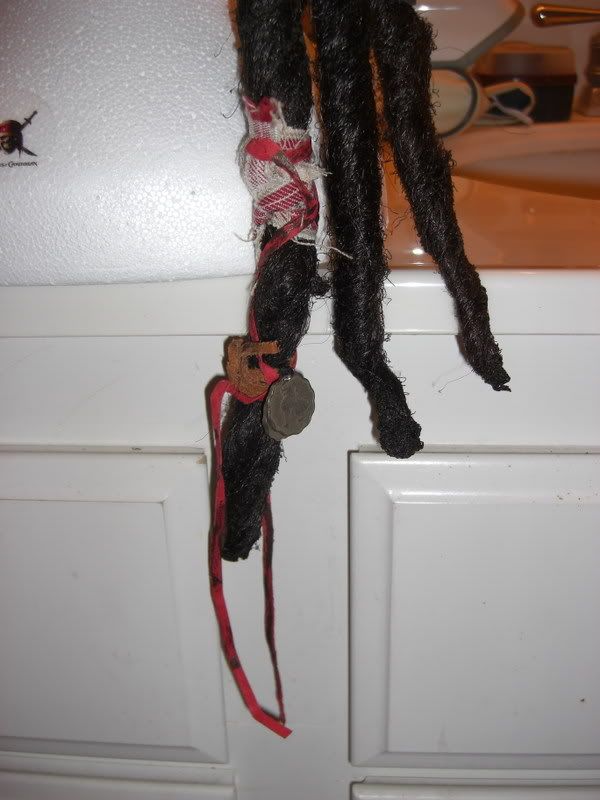
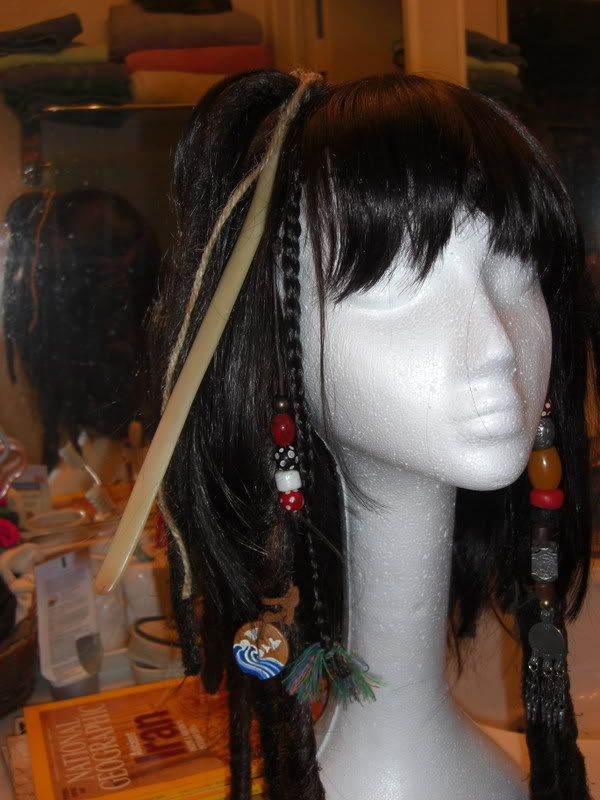
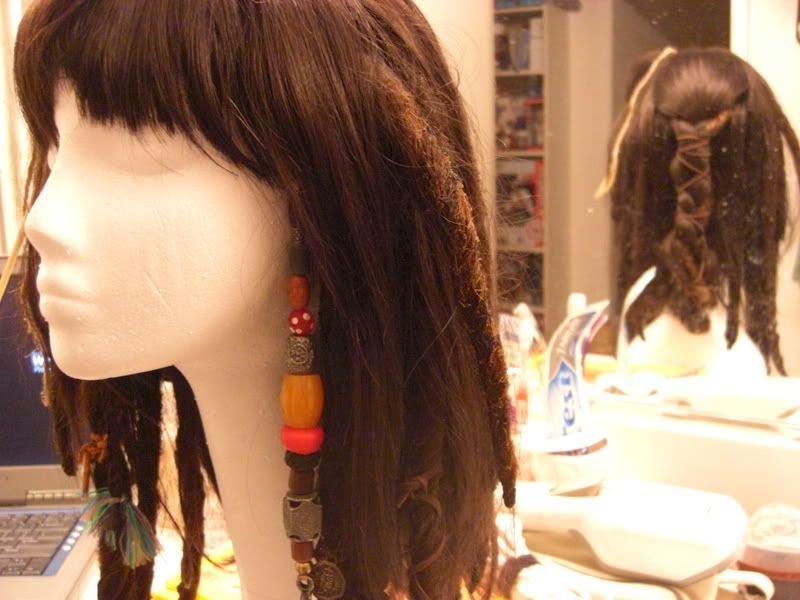
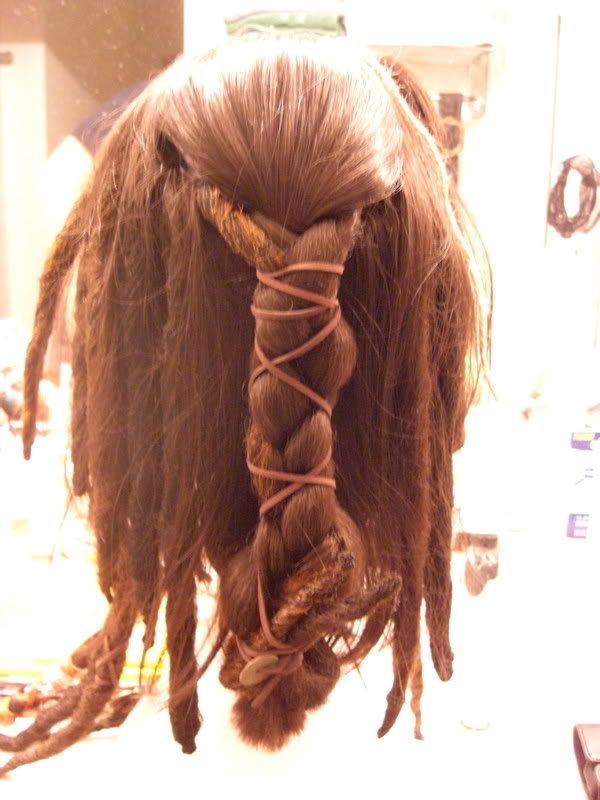
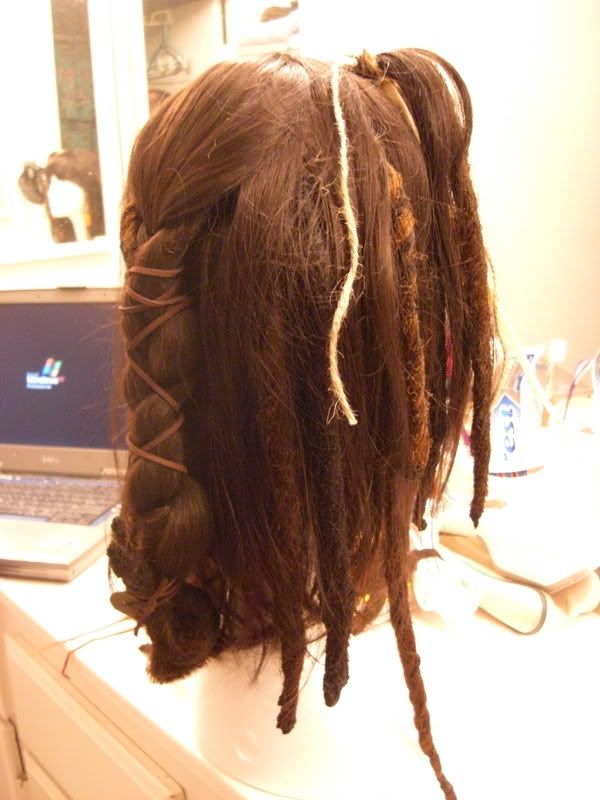
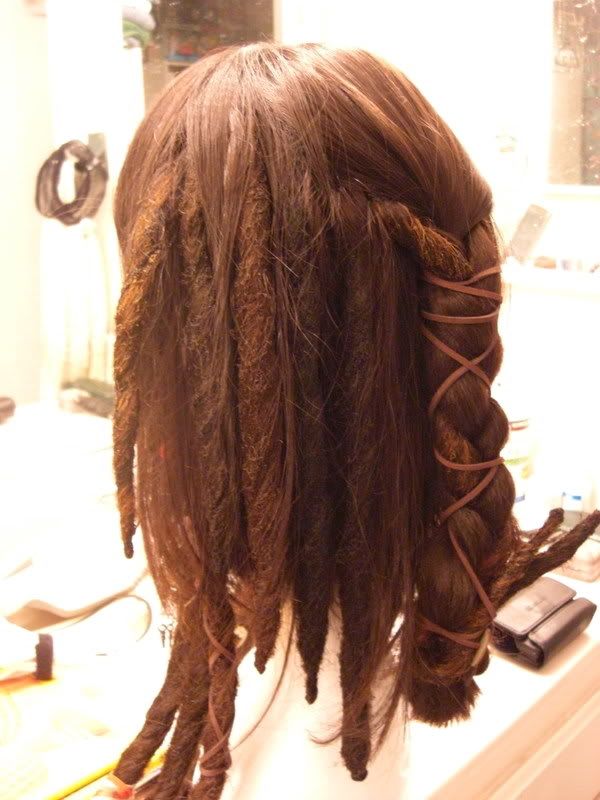
The wig. This took about a month to complete (working off and on). I went with a real medium brown wig and modified the dreads with more lighter colors. My next wig will be a real human hair wig that will probably be my last construction (other than a commissioned wig and possibly any changes for POTC 4)
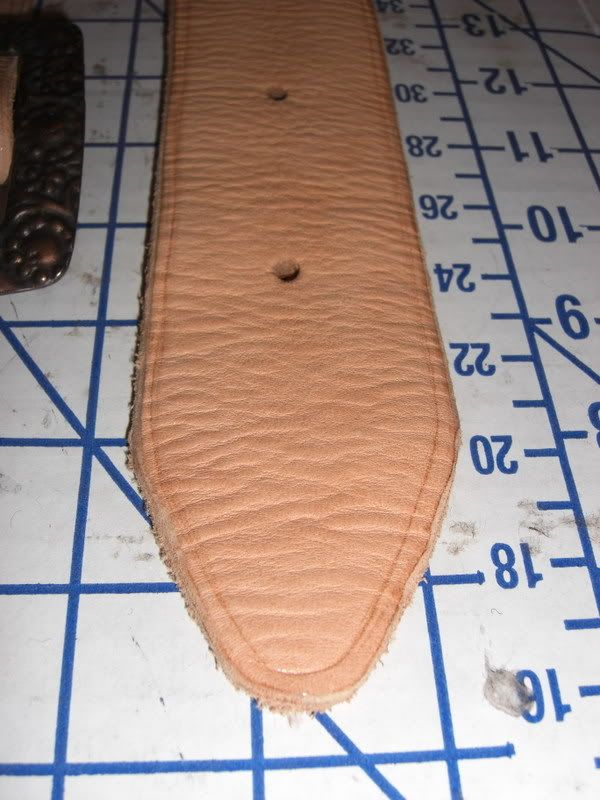
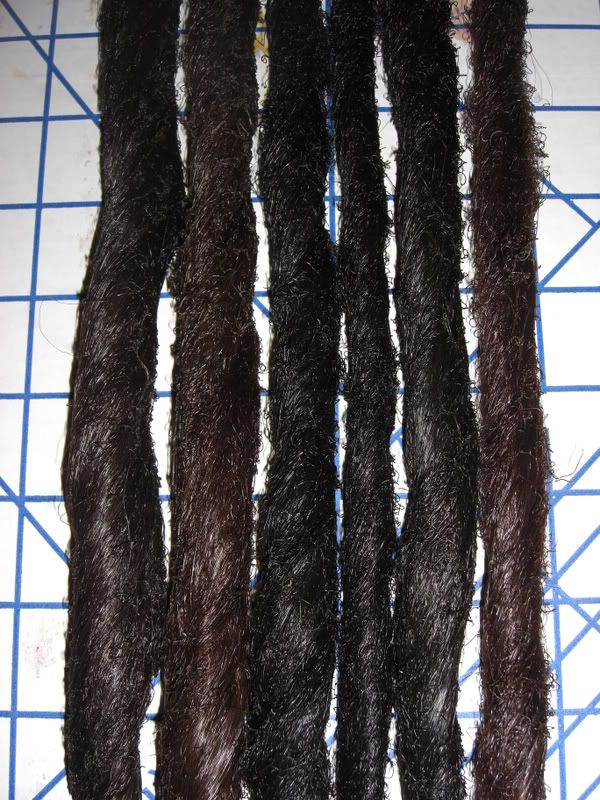
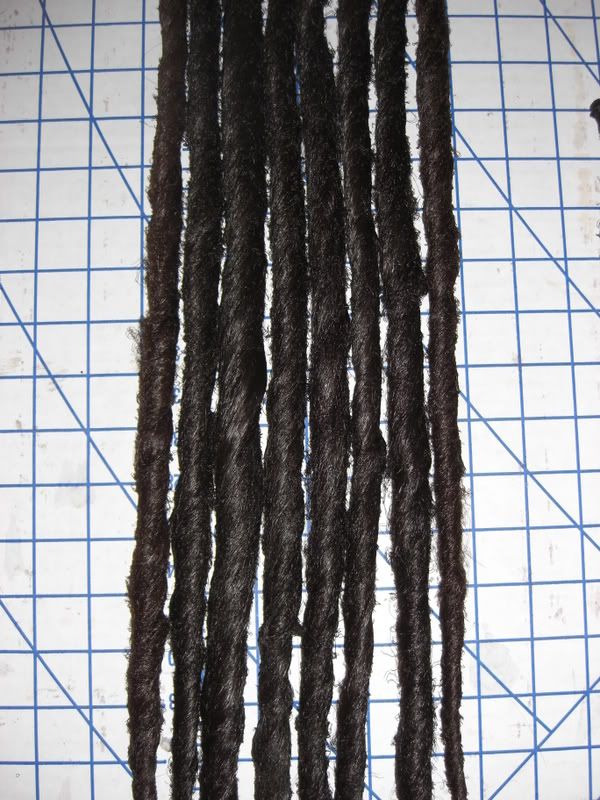
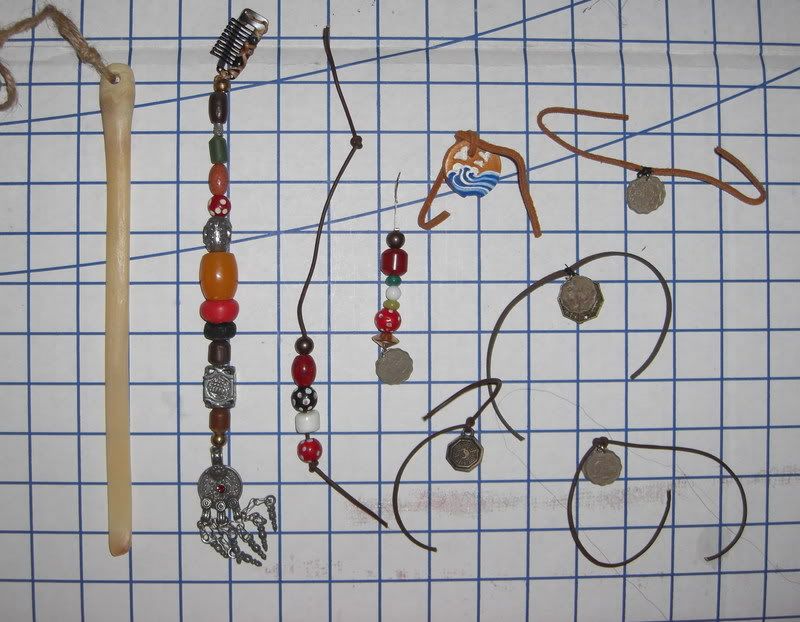
Prior to assembly:
01Someassemblyrequired.jpg

03Mixedcolor.jpg

04Solidcolorthick.jpg

05Solidcolorthin.jpg

07Beadsanddangles-1.jpg

07Beadsanddangles.jpg


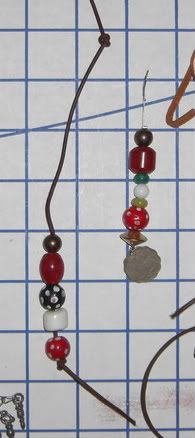
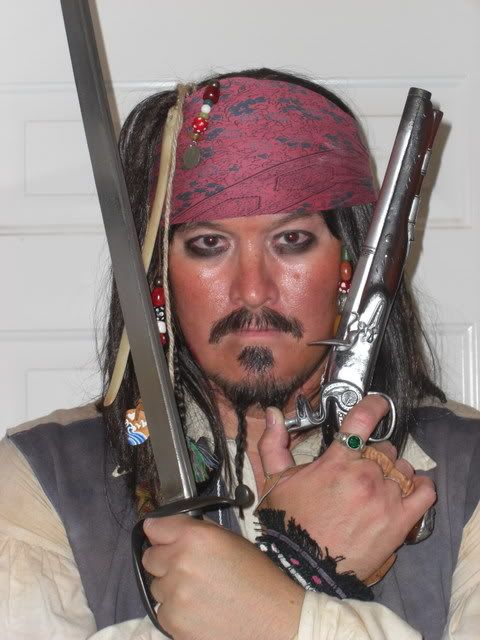
Long kuchi dangle is cast from the real movie prop but the rest I made myself.
01Completewig.jpg

02Dreadcoins.jpg

03Rightside.jpg

04Leftside.jpg

05Ponytail.jpg

06Ponytailright.jpg

07Ponytailleft.jpg


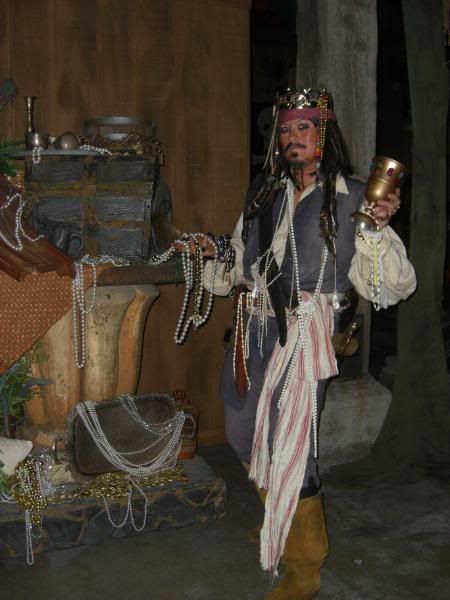
Isla De Muerte Captain Jack Sparrow at Mickey's Trick or Treat at Disney's California Adventure 10/24/08!
CIMG5132.jpg


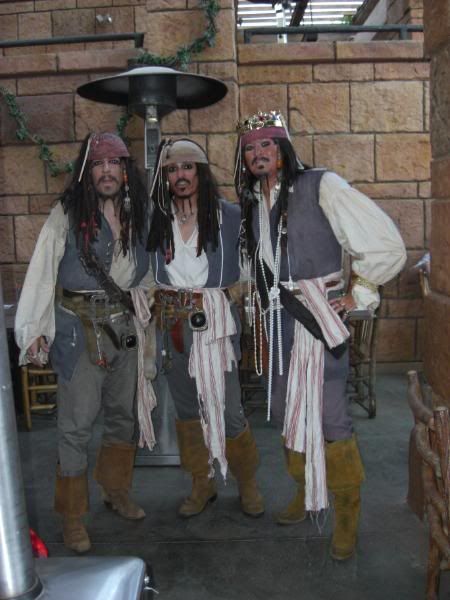
My fellow Jacks including one who doubled for Mr. Depp in POTC 2 and 3! Can you guess which one?:lol
CIMG5134.jpg


With Tortugan wenches. A friend made this for her daughters and spent about two months on the project. Hope to do future photo ops with them!
CIMG5141.jpg


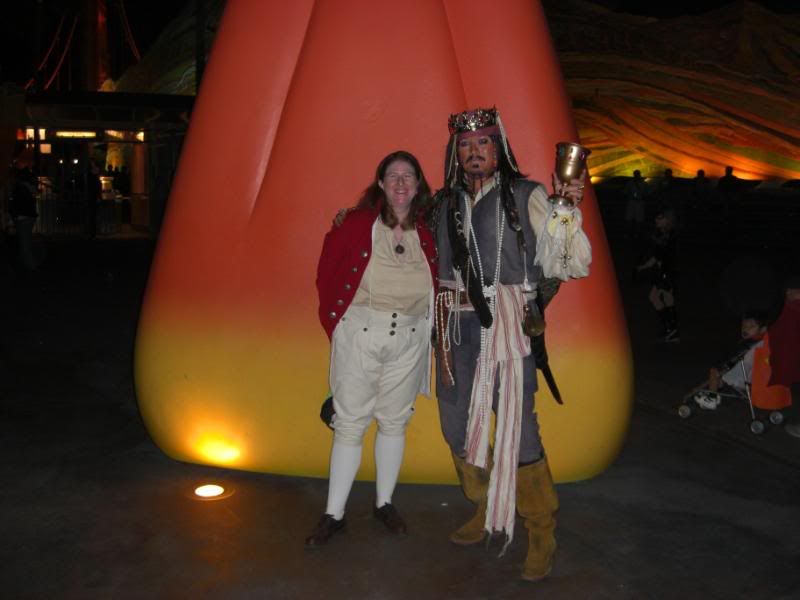
Me and my Elizabeth Swann. I was going to make the gold prop that she carries in the movie but I figured Disney would have considered it a weapon of some sort!
CIMG5144.jpg


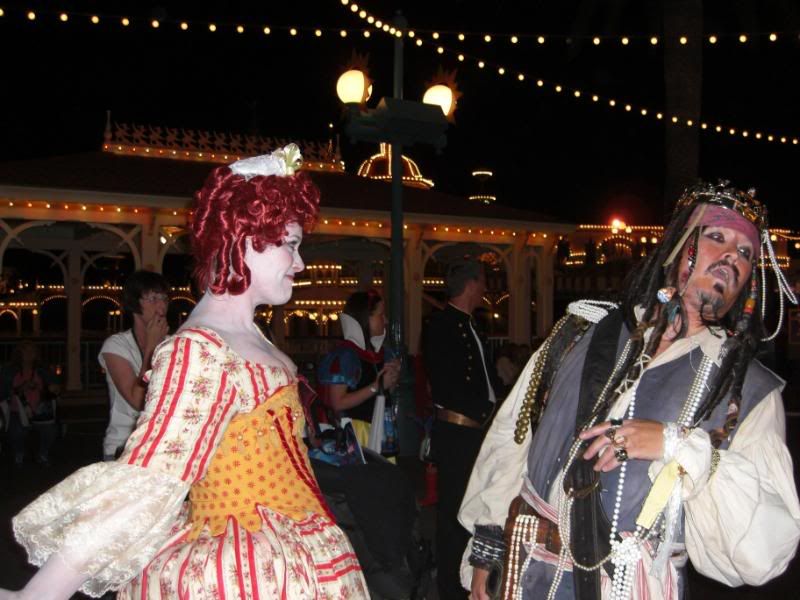
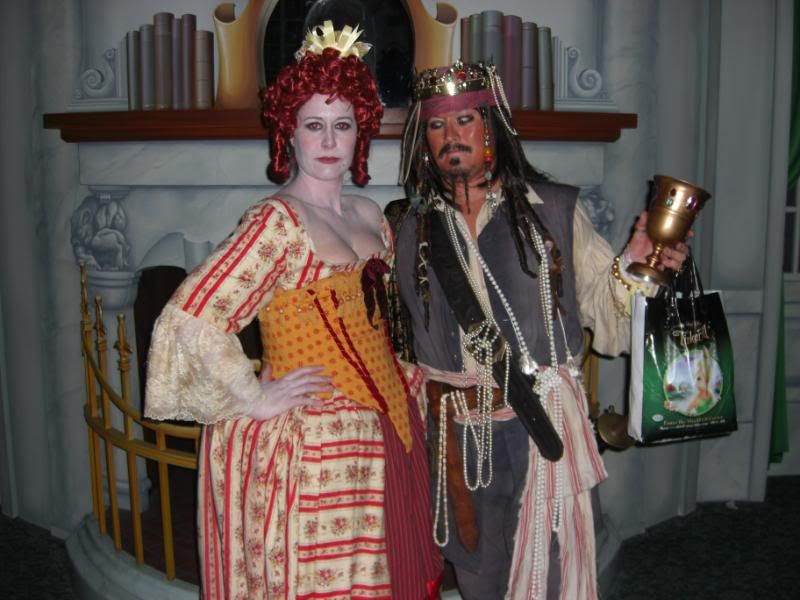
My good friend that surprised me with her costume of Scarlett! She had spent many a months working on this without me knowing it and surprised us on that night! She hopefully be my permanent Scarlett and I her permanent Captain Jack in future adventures. She is also going to be making my Captain Sao Feng robe and a few other "surprises to come!"
CIMG5146.jpg

CIMG5150.jpg

CIMG5167.jpg


And Halloween day!
2008Sapphos01.jpg

CIMG5417.jpg

CIMG5544.jpg

CIMG5547.jpg

CIMG5548.jpg

CIMG5550.jpg


Now what do I do???????? :confused
 
I really like the way you put attention to the details, is what I love in costuming!
Not to mention my love for this character as well...:D

I can't stop upgrading my costume every once in a while... Next stop new shirt (smaller) and more distressing on my vest...

Your costume looks great!:)
 
Nice, I finishes my Jack-head a few days ago... But Ive got a few problems, maybe you (as a pro) can help me... the bead at the scarf is really heavy, so it drops the scarf down, and it looks a little bit-... you know... :confused

The position of the sailors needle look wrong to me, too. Just a quick shot of my wig...


How you done it?
 
The wig's coming along really well! How did you do the dreadlocks? Is there a dread tutorial anywhere? Your attention to detail is awesome!:thumbsup
 
Thanks all! Yes I too am obsessed by this character and can't stop making stuff. Now I am going to be focusing on more props...keep a weathered eye on the prop forum! (Letter of Marque, DMC Voodoo Doll, new Jar O Dirt, Map of the Dead at end of AWE, and human hair wig!)

For the wig I would move the side ponytail higher up on the wig. This way the shinebone will also be higher up. You should actually see the side ponytail stick up about 2 inches from the center part on your wig.

Find WatchYourHeadNStep on YouTube and you will find a 7 part series on dread making! Long and boring but if you can survive the Tubes you will be well on your way to making the dreads.

http://www.youtube.com/WatchYourHeadNStep

Now I can finish up those promised projects for others that are long over due! You know who you are..............<leather tricorn>...................<leather scabbard>............<DMC/AWE wig!>
 
Last edited:
Thanks, I would love to see the letter (i know Magnolis letter) and the map... Ok, more than love to see it, is "love to own it"... :lol Anyone know, if the disney map is useful???
 
Thanks, I would love to see the letter (i know Magnolis letter) and the map... Ok, more than love to see it, is "love to own it"... :lol Anyone know, if the disney map is useful???

i love it,
how did you construct the potc belt and baldric???
 
i love it,
how did you construct the potc belt and baldric???

Funny you should ask mate!
1. I started out with a 2 inch x 52 inch leather belt blank. 8 ounces and veggie tan leather.

2. Soaked the entire think in warm water to get the leather soft. Next I spent about 15 minutes hammering the heck out of the leather with a rubber mallet to break up the leather filaments.

3. Punched the holes and added the trim design around the edges.

4. Bent, folded, twisted and folded and twisted and .......... :shock: to obtain the leather texture that was required for somewhat SA. This process took about an hour whilst watching TV.

5. Added the belt buckle rivet and pin holes.

6. After all leather was dry I skivved the entire edge of the belt blank to give the edges a nice rounded look.

Staining will be tomorrow!

The flower belt buckle:
01Bucklecloseup.jpg


Close up of the belt buckle and the edging design:
02Closeupbuckleedging.jpg


Belt buckle and bitter end of belt with pin holes:
03Buckleandbitterend.jpg


Bitter end and texture of leather after 1 hour of distressing:
04Bitterendshowingtexture.jpg


The entire belt with the Captain Jack Sparrow fold over and tuck:
06Beltunstained.jpg


Closeup of buckle and the fold over and tuck:
07Closeupbuckleandtuck.jpg


Side by side comparison...Jack's on left, mine on right (like you guys couldn't figure that out!):lol:
Sidebysidecomparison.jpg


COTBP Captain Jack look is SOOOOO close!!!!
08COTBPsidebyside.jpg


Well my COTBP belt is completed. I finished staining the leather today and let it roast (dry) in our extremely hot garage so it would dry nicely.

I used the commonly practiced light over dark technique for leather staining. I used a water based antique dark brown on the edges and on the bitter end of the belt for that splotchy look. Next I used a water based anitque tan and stained the rest of the unstained parts. To make the two colors blend better I used an alchohal dark brown and ran that over the edges until the color looked more natural.

I am not to sure I like water-based stains because they don't gone the leather as smoothly and consistenly like alcohol based stains. At least the alcohol based stains only required one or two staining passes.

Keep in mind that I don't have on my shirt or waistcoat so the belt is rather tighter around my waist. That explains the longer bitter end that is tucked up under the belt.

CIMG4138.jpg

CIMG4140.jpg

CIMG4141.jpg

CIMG4146.jpg


Side by side of the completed project!
CSHandCJSbeltandbuckle.jpg
 
absolutely loving it!!!
where did you get the buckles from to construct these 2 fine pieces?
do you got more pics of your potc baldric???
 
Both buckles were purchased from a friend who cast them from the real deal. PM me or get over to Keep To The Code.com and I can send you the info. Well worth the investment, construction, and overall look!!!:)
 
Back
Top