Another deadmau5 head...

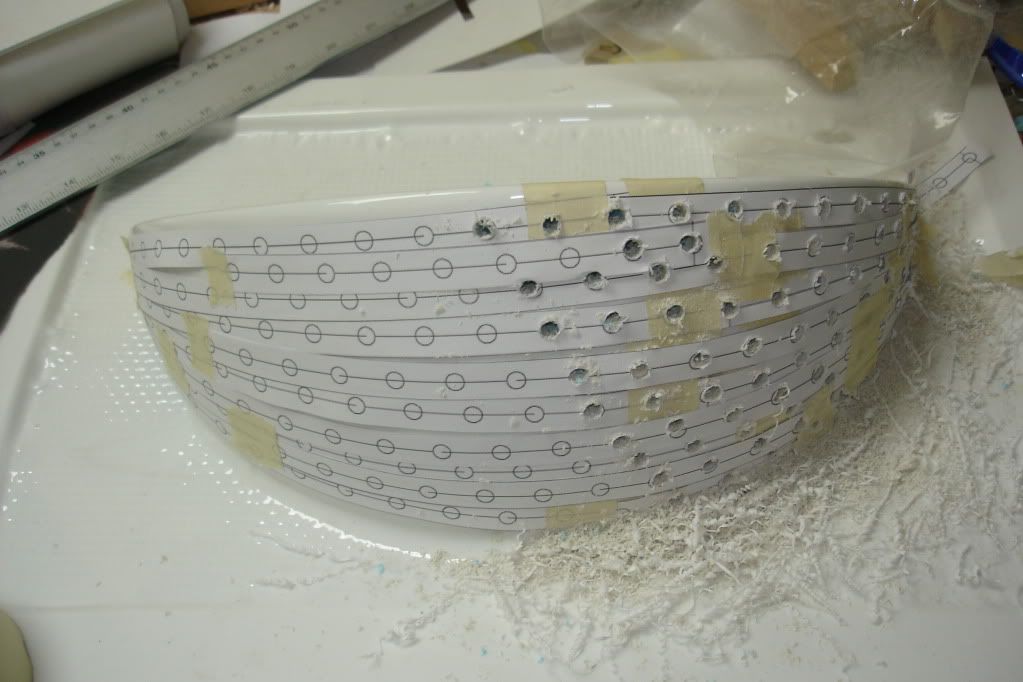
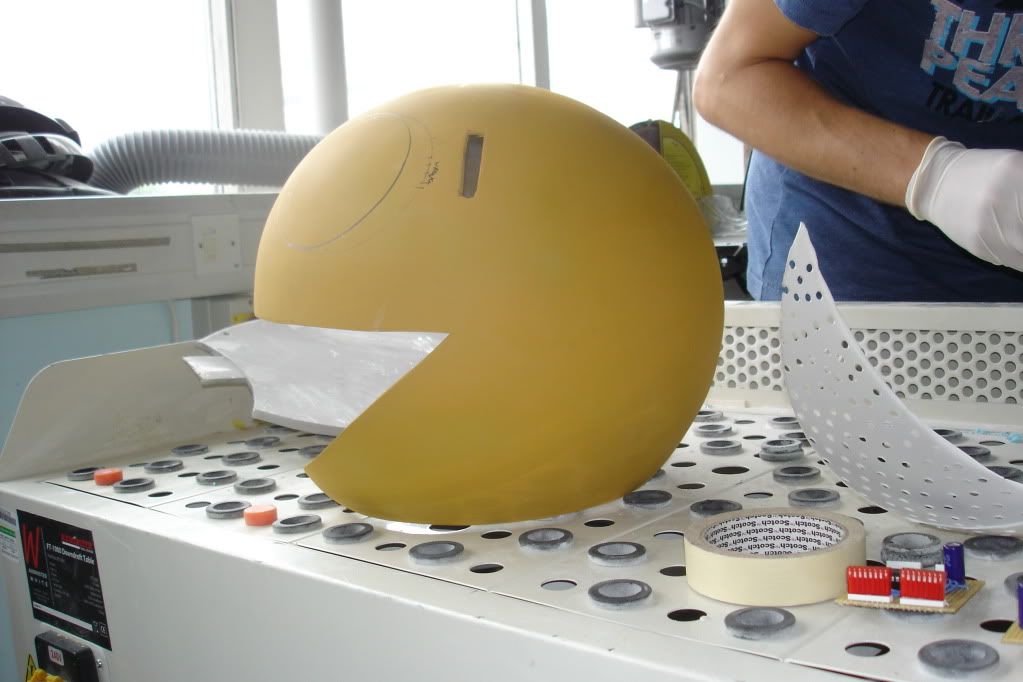
Next up came making the lip. I made some quarter circle templates with illustrator, mounted them to some 1mm styrene and cut them out. This is the template...

templatesssss.png

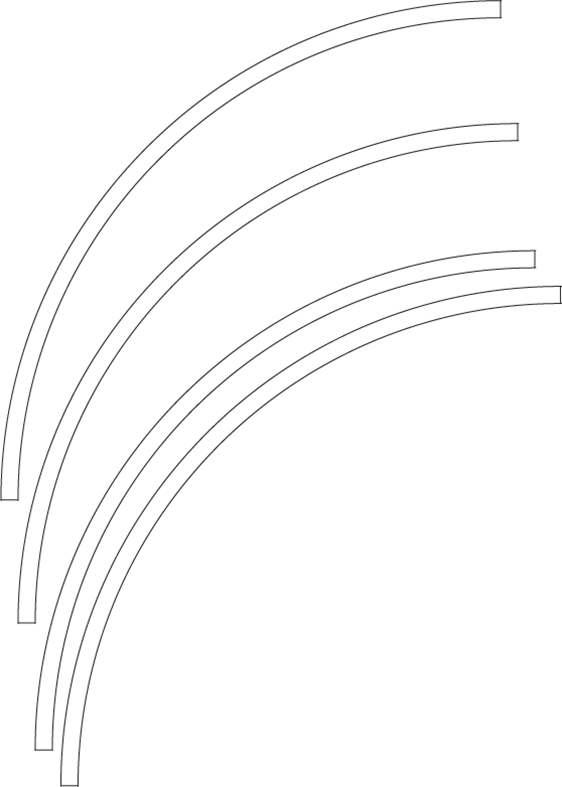
...only it was the correct size.

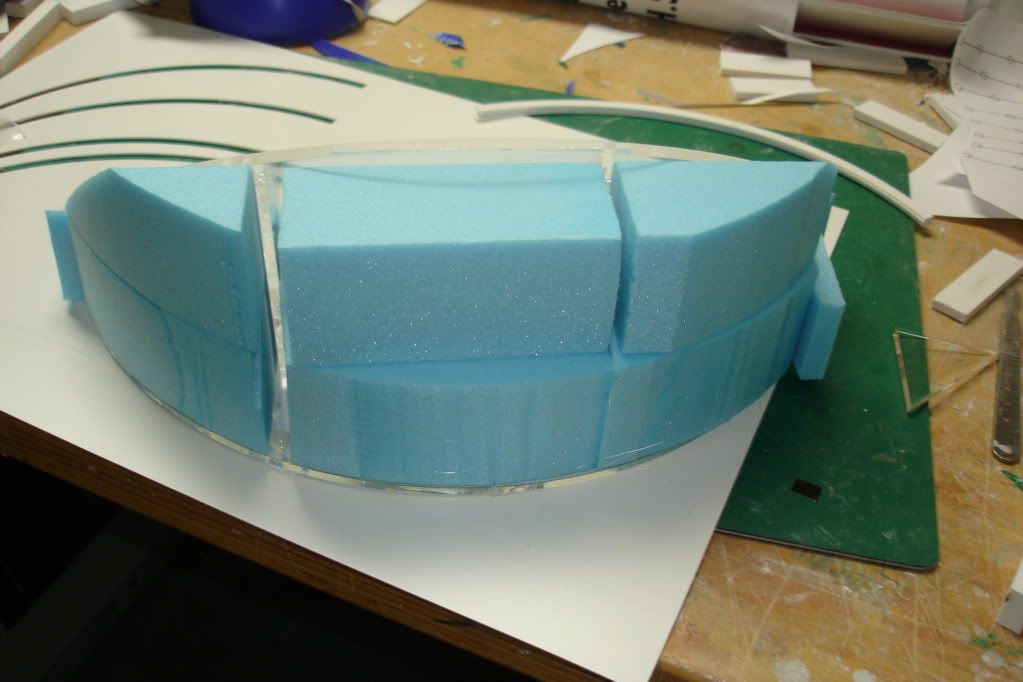
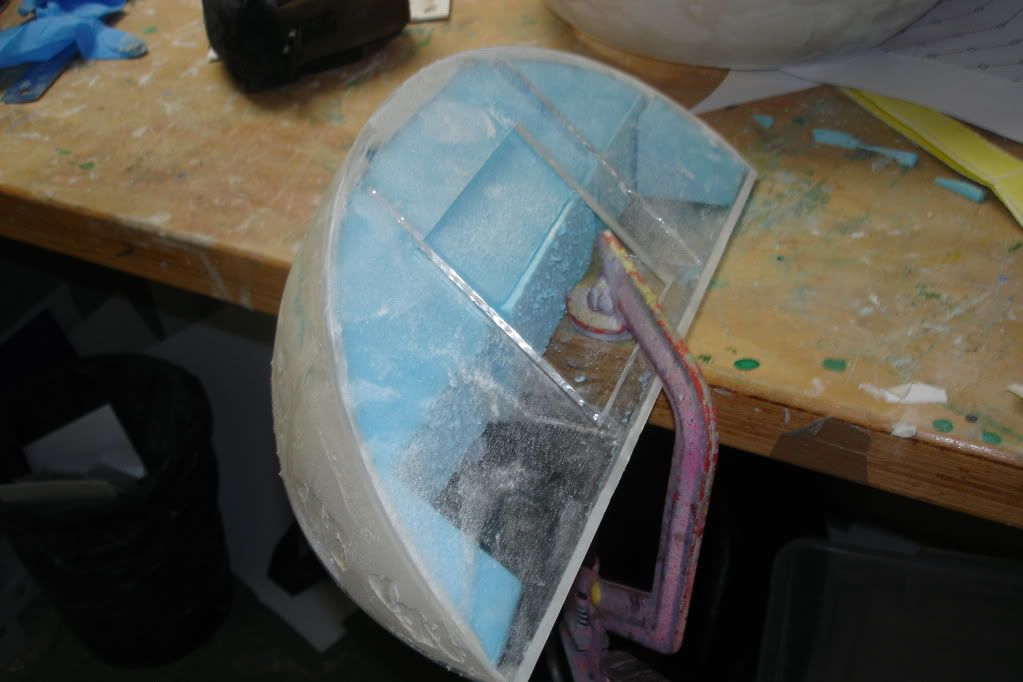
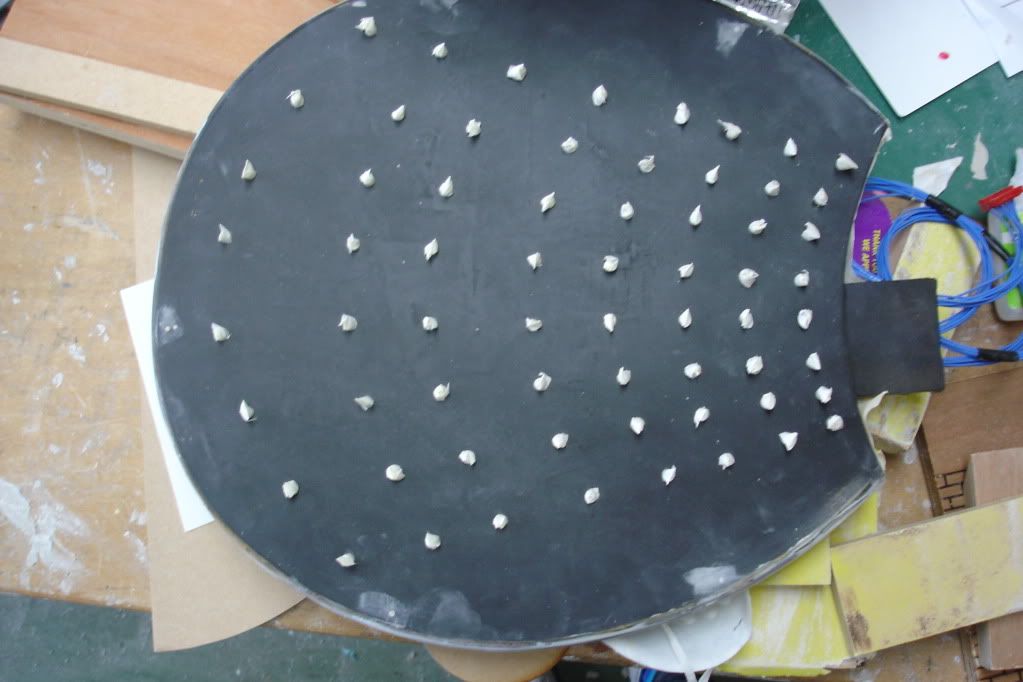
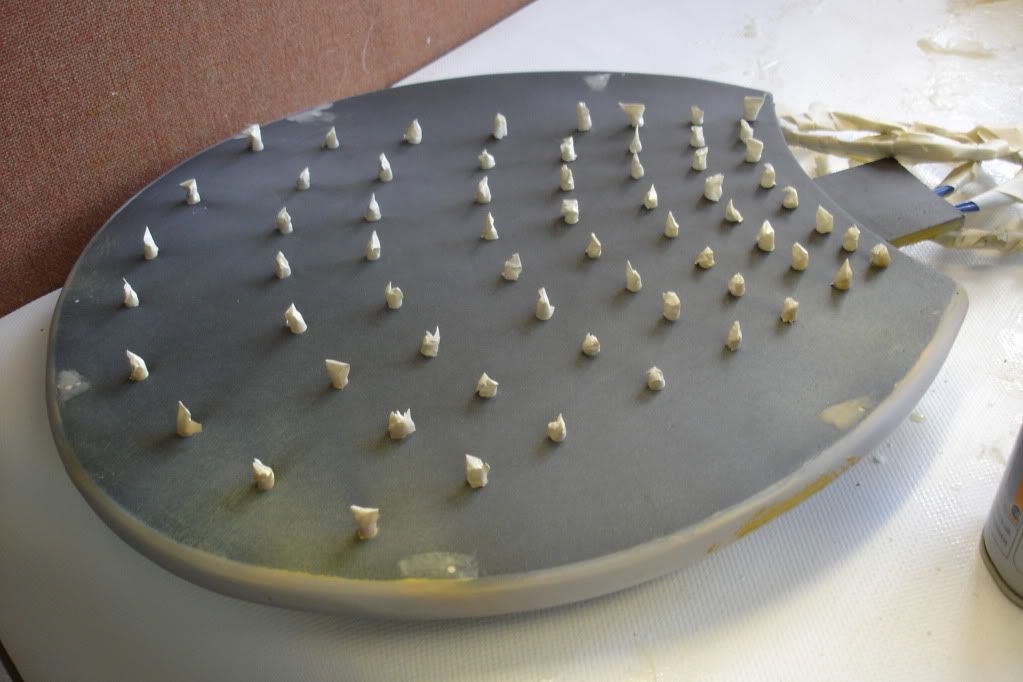
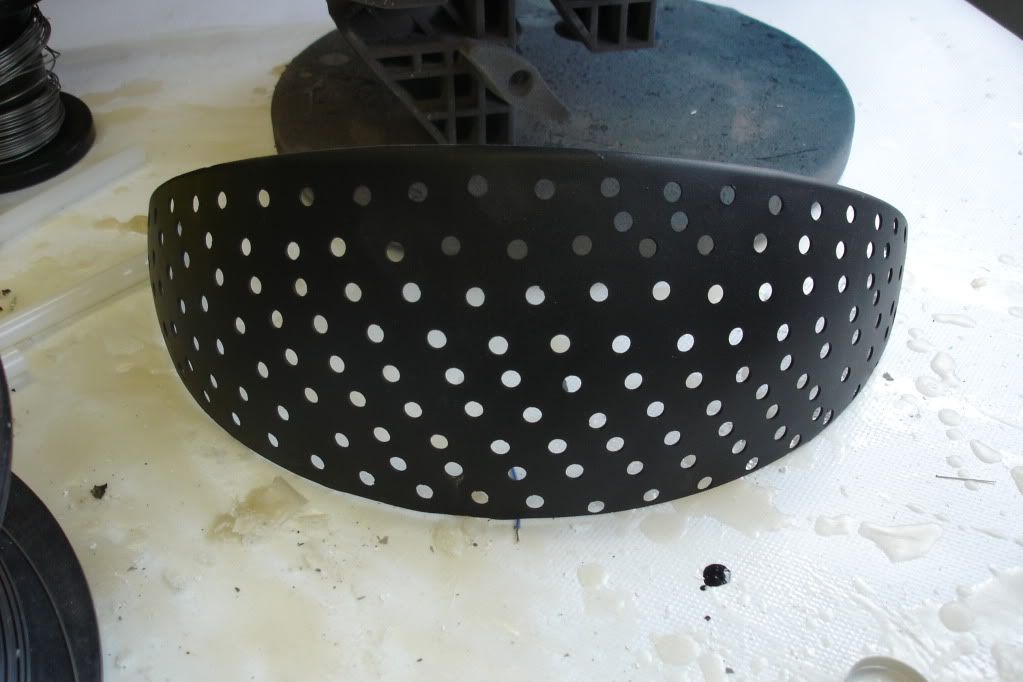
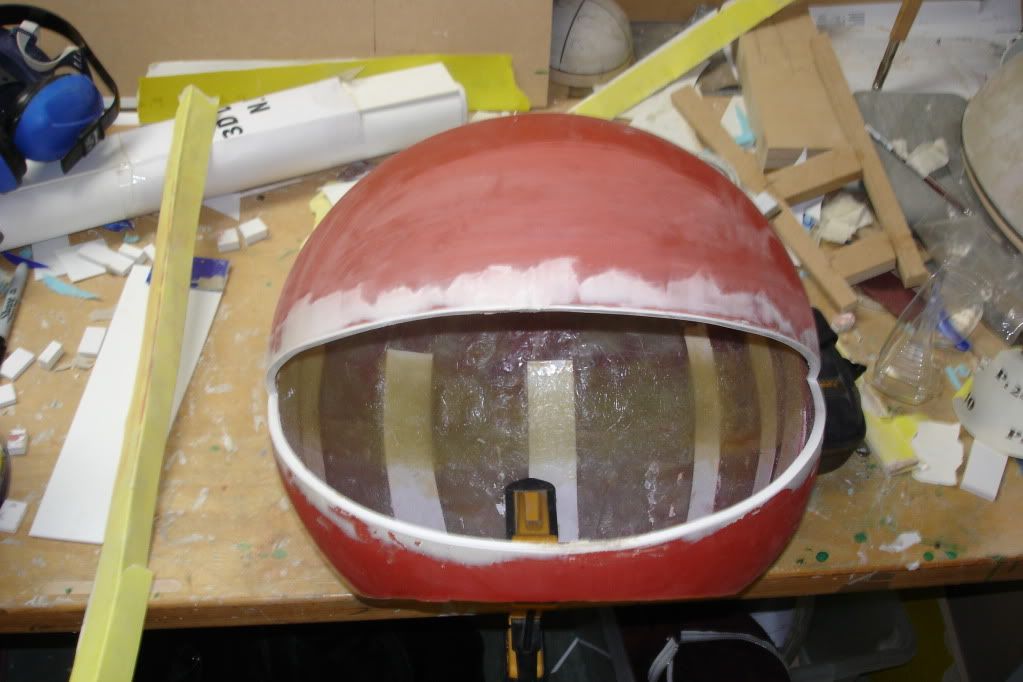
To give the styrene something to locate onto, some small pieces of foamex were superglued to the inside around the lip rim.

DSC00975.jpg


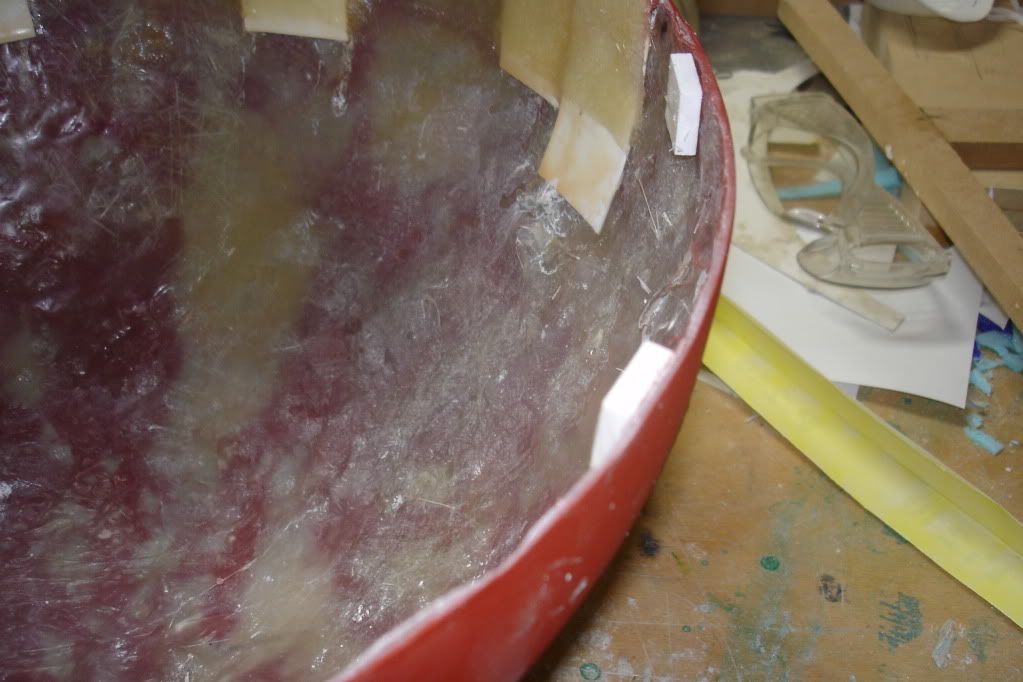
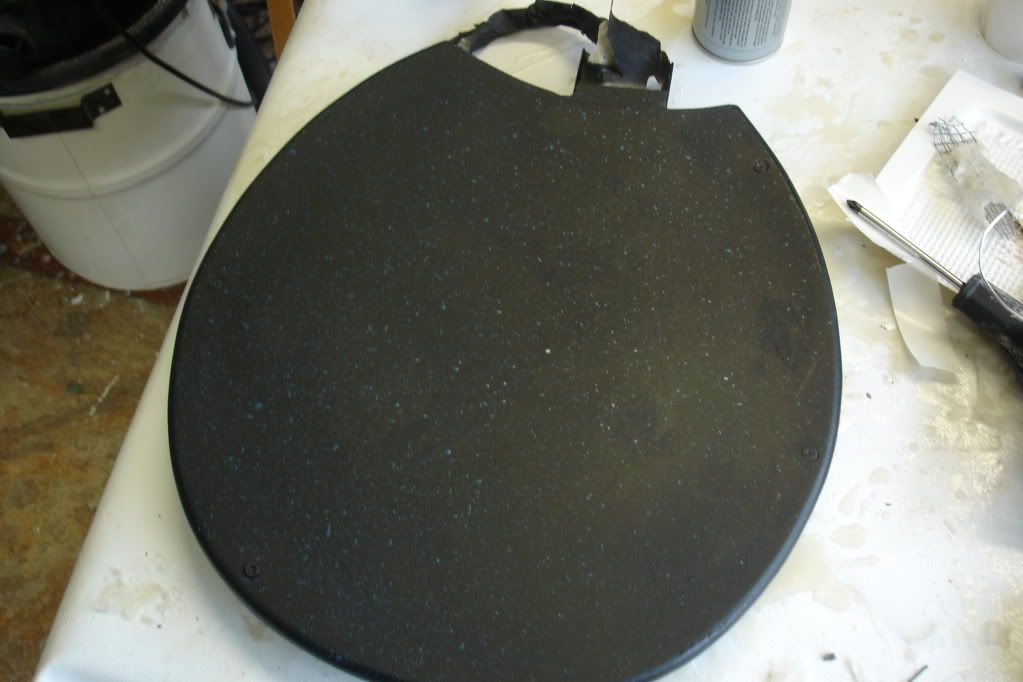
The styrene lip was then glued onto the foamex pieces first and then to the head itself, obviously gluing along the inside because superglue is disgusting stuff if its on the outside.

DSC00980.jpg


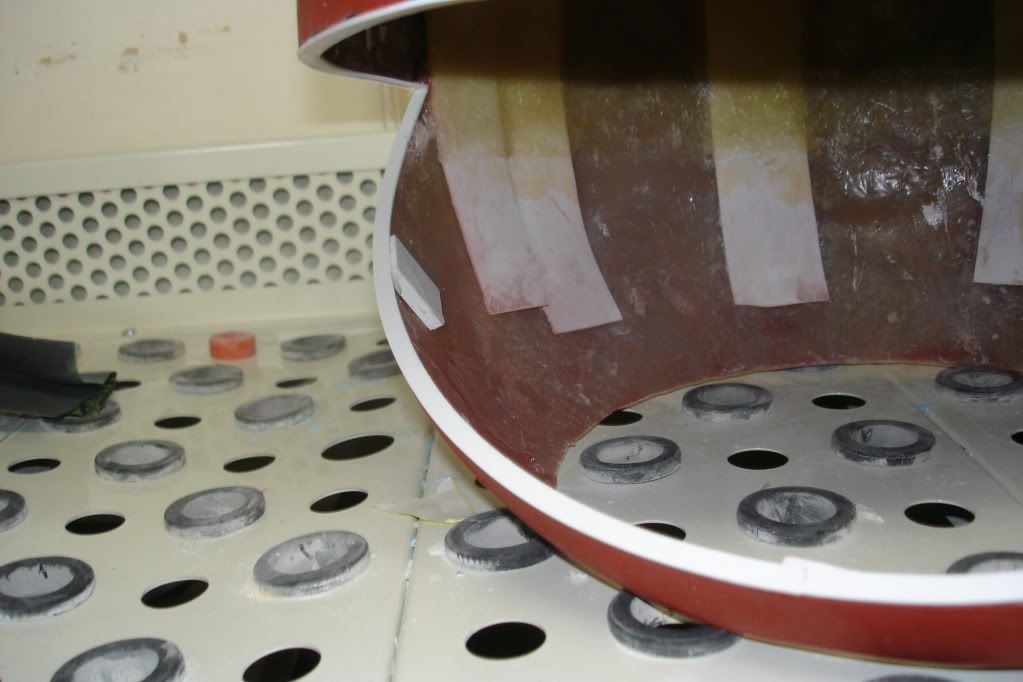
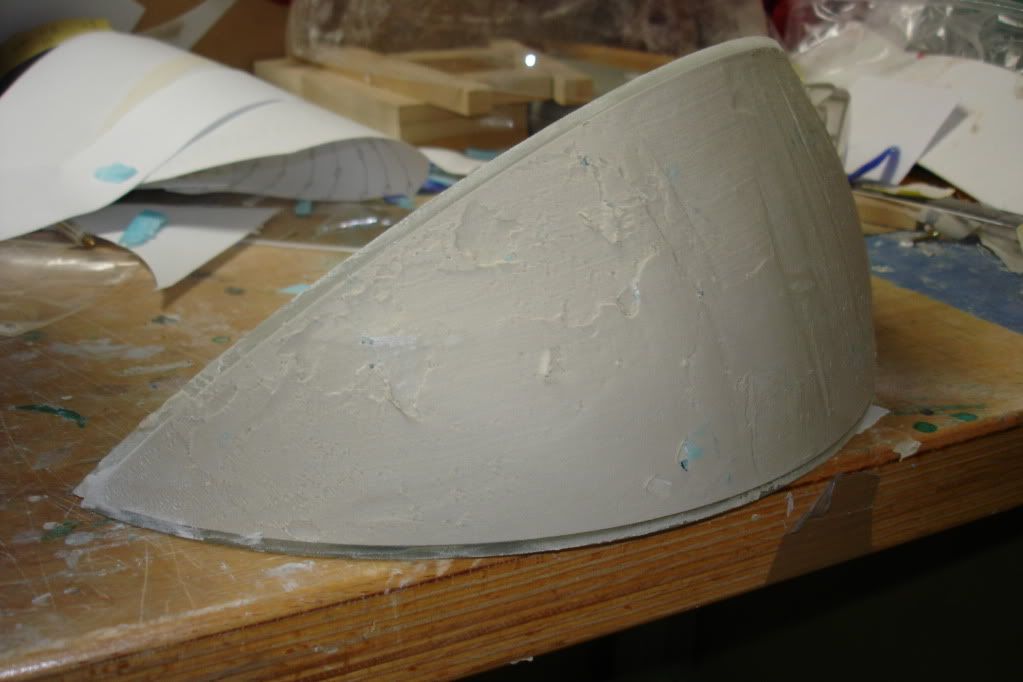
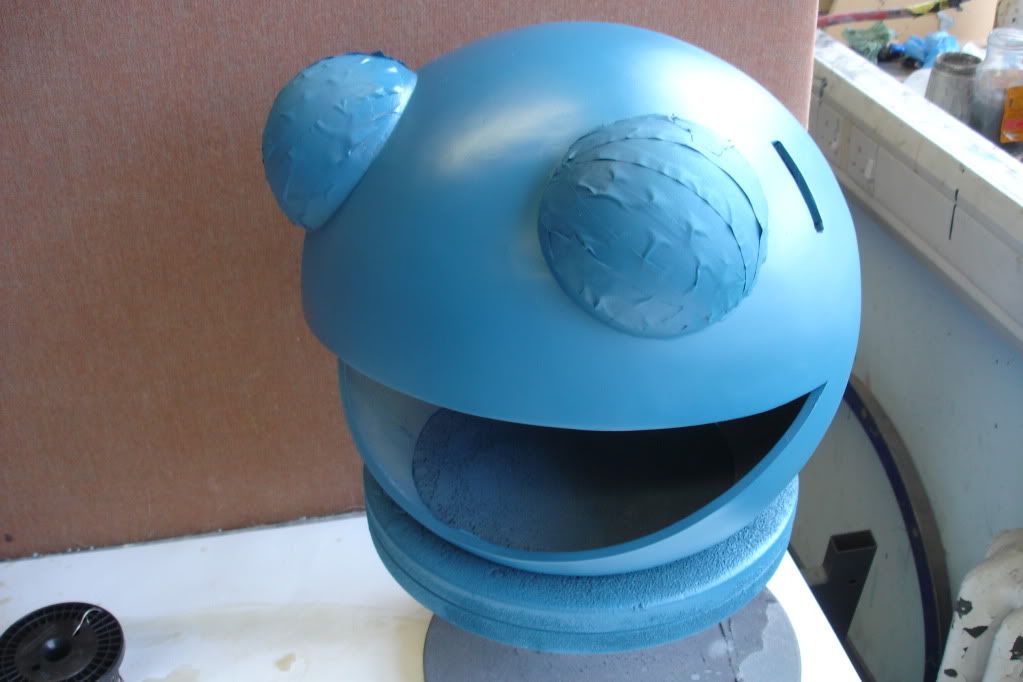
The exterior of the head around the lip was then smoothed over to fill in any gaps, using body filler again.

DSC00983.jpg
 
To make the visor I made a template to laser cut, then assemble and fill with foam...

DSC00956.jpg

...like this.

The excess foam was taken away with a surform, with chunks also being removed with a scalpel.

DSC00958.jpg


This was then filled over with some bondo, and sanded back with a long strip of sand paper like the eye and hemispheres were.

DSC00965.jpg


I'd thought of a clever little way to make securing the pattern for sanding easier...

DSC00968.jpg


...simple but effective.

This master was then vacuum formed. I seem to have lost the pictures of it just after it was vacuum formed, so I'll skip a step.

Templates were made up, again on illustrator to try and keep the holes on the visor evenly spaced. They were taped onto the form and drilled out.

DSC00996.jpg


With all the holes drilled out...

DSC00998.jpg


Then with the visor cut out...

DSC01001.jpg
 
Last edited:
DSC01004.jpg


Ears with the LED holes cut out, placed into the re-primed head. More sanding was to follow.

At this point I abandoned the project and instead made Pacman.

DSC01007.jpg


The Pacman yellow was actually another filler primer.

DSC01006.jpg


Working out eye placement here.

Some final sanding and filling. As it was just very small holes used I started to use plasto model putty. It's pretty crap until you get about half way through the tube when it becomes brilliant stuff that sets in a few minutes. Until that time however it comes out as a weird liquid that doesn't set for hours.

DSC01018.jpg


Eye circuits hot-glued in place, access points on the inside.

The eye vac forms were then superglued in place. As super glue is awful stuff I couldn't just use if from the tube. A medium density superglue was put inside a hypodermic needle (don't share needles), then gently and slowly run around the edge of the eye.

DSC01020.jpg


This was the result, one super bright LED that made an eye with a pupil and cornea.

And then the eyes were masked off for painting.

DSC01022.jpg


More coming very soon...
 
Last edited:
I've been neglecting to photograph the ears very well for some reason. But anyway, few stages skipped here. The ears had the holes drilled out for the LEDs, were primed and had a first coat of matt black paint. The LEDs were then all installed and wired. After that came the very tedious stage of masking off the LEDs to spray the ears. 128 LEDs to mask, great fun (if you can employ a friend to do half the LEDs as I did, it will save a hell of a lot of time, and your sanity).

DSC01023.jpg


DSC01036.jpg


As you can see, the two halves have been joined. To do this glued some small pieces of foamex to the inside of the front half of the ears and drilled a hole through it for a self tapper (tiny screw) to fit into. A hole was then drilled into the back on the other half of the ear to join them together. The edge was then smoothed over with some body filler in certain areas.

After the ears were joined and everything masked off, they were sprayed black and after that had set I sprayed a heavy dark blue mottle over them.

DSC01040.jpg
 
Now that the head was smooth with eyes attached and masked, it could be sprayed. I used a matt cobalt blue (I think it was cobalt) as the main coat.

DSC01029.jpg


This was then covered with the same dark blue mottle as the ears before it were.

The visor was primed, and then sprayed black. Very simple stuff.

DSC01039.jpg
 
I had hoped to have some EL wire on the head, but it didn't arrive in time. But everything for the LEDs did arrive in time...

DSC01048.jpg


DSC01047.jpg


DSC01046.jpg


DSC01043.jpg


The LEDs respond to an equalizer with a microphone attachment, so the LEDs will respond to whatever music is playing around it. It looks pretty cool when it's in full flow.

Unfortunately there wasn't time to de-bug the system, so the 5th row of LEDs stayed on regardless. This isn't much of an issue however and it will be resolved soon enough.

There is a helmet in there so it is wearable, it is held in place with some PVC piping and some filler. I think it's a bit heavy so I'll be removing the helmet and the filler to cut away some weight from the helmet and then putting it back in, probably with milliput but maybe fibre-glass. I've also decided I don't like the colour or finish of the eyes, thought the glossy styrene blue would look nice but it just looks odd. Going to make it white.

So not 100% finished yet, but almost.

Apologies for the poor quality of the images, going to get some much better ones and some video when everything's done.
 
Last edited:
great job, i am planning on making a replica like this for a project in school and the information and pictures are very useful. i just wanted to ask about how much did you spend getting all the items together for making it? (not counting the tools) and where can i find illustrator??
 
Hey Liquid, most of the materials were available at my college so I couldn't give an accurate price for them, but fibre glass matting and resin aren't to expensive if you get them from a wholesalers rather than somewhere like Halfords. Styrene is dirt cheap if you get larger sheets of it, so if you have access to a vacuum former then you're fine. I used lasercut acrylic in a few places to save time (which was about £20 worth of acrylic) but that's not necessary. The dome was about £50, and the electronics came to over £200. Hope that helps.
 
This thread is more than 11 years old.

Your message may be considered spam for the following reasons:

  1. This thread hasn't been active in some time. A new post in this thread might not contribute constructively to this discussion after so long.
If you wish to reply despite these issues, check the box below before replying.
Be aware that malicious compliance may result in more severe penalties.
Back
Top