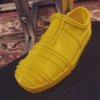
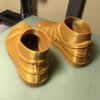
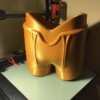
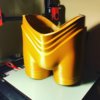
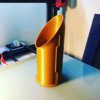
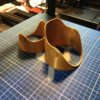
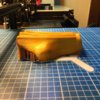
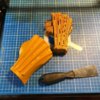
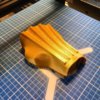
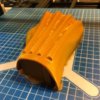
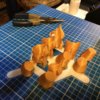
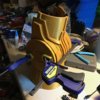
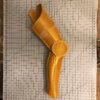
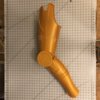
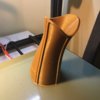
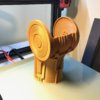
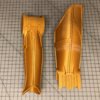
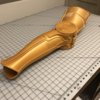
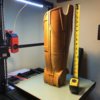
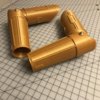
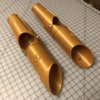
In September 2018 I began a project to build an animatronic C-3PO. I'm going to post here to record my progress since then, an hopefully keep updates coming until it's finished. The goal is to have him operational for Star Wars Celebration Chicago in mid-April 2019, working as the greeter at the Droid Builders room. One stretch goal is to have him tell the story of the saga in Ewokese, as he does in ROTJ.
This will be a stationary animatronic with as much range of motion as I can achieve. My goal is to replicate the movement and degrees of freedom of the C-3PO animatronic in the Star Tours queue area in the Disney parks. So, anchored at the feet, with legs and pants that can pivot at the waist, torso movement front-back and side-side, full shoulder-arm-wrist-finger articulation, and neck/head motion. I want to program the motion to be as realistic as possible, and to truly convey the spirit of the character. Voice-over, background sound effects, and a lighted base are also part of the plan.
I’ve wanted my own protocol droid for decades, actually longer than I've wanted my own astromech droid (which I've had completed since 2005). Now’s the time. Also, I am too claustrophobic to even attempt it as a costume. Plus I could never achieve the perfection of Gordon Tarpley or Chris Bartlett or Simon Wilke. So, animatronic it is.
Project components:
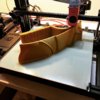
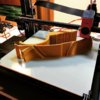
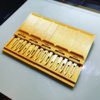
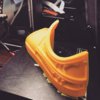
3D Printed Body Part Shells
Mechanical Subsystems
Electronic Subsystems
Finishing
Base and Frame
Transport Crate
I'll be posting updates as things happen. Here are some of the sketches from my project sketchbook where I try to work things out on paper before going to CAD or fabrication/prototypes:


This will be a stationary animatronic with as much range of motion as I can achieve. My goal is to replicate the movement and degrees of freedom of the C-3PO animatronic in the Star Tours queue area in the Disney parks. So, anchored at the feet, with legs and pants that can pivot at the waist, torso movement front-back and side-side, full shoulder-arm-wrist-finger articulation, and neck/head motion. I want to program the motion to be as realistic as possible, and to truly convey the spirit of the character. Voice-over, background sound effects, and a lighted base are also part of the plan.
I’ve wanted my own protocol droid for decades, actually longer than I've wanted my own astromech droid (which I've had completed since 2005). Now’s the time. Also, I am too claustrophobic to even attempt it as a costume. Plus I could never achieve the perfection of Gordon Tarpley or Chris Bartlett or Simon Wilke. So, animatronic it is.
Project components:
3D Printed Body Part Shells
- Head
- Torso and Neck Ring
- Shoulder Bells and Bearings
- Arms
- Pants
- Legs
- Feet/Shoes
- Greeblies (some in machined brass)
Mechanical Subsystems
- Neck motion (3DOF)
- Shoulder motion (2DOF each)
- Elbow motion (1DOF each)
- Wrist motion (2DOF each)
- Finger motion (5DOF each hand)
- Waist motion (1DOF pivot)
- Torso motion (2DOF)
Electronic Subsystems
- Eye lighting
- Audio system
- Base lighting
- Power control
- Motion control
- Show sequencing
- Wire management
Finishing
- Fiberglass interior coat
- Mount points
- Priming
- Sanding
- Chroming
- Weathering
Base and Frame
Transport Crate
I'll be posting updates as things happen. Here are some of the sketches from my project sketchbook where I try to work things out on paper before going to CAD or fabrication/prototypes:


Last edited:

