Hi RPFers !
For my first prop building, i choose something easy to assemble but something i instantly wanted when I saw ALIENS recently for the first time.
To start, you'll have to pick up all the parts needed for the assembly, and it will be the most difficult thing since the Motion Tracker was made with 80's parts.
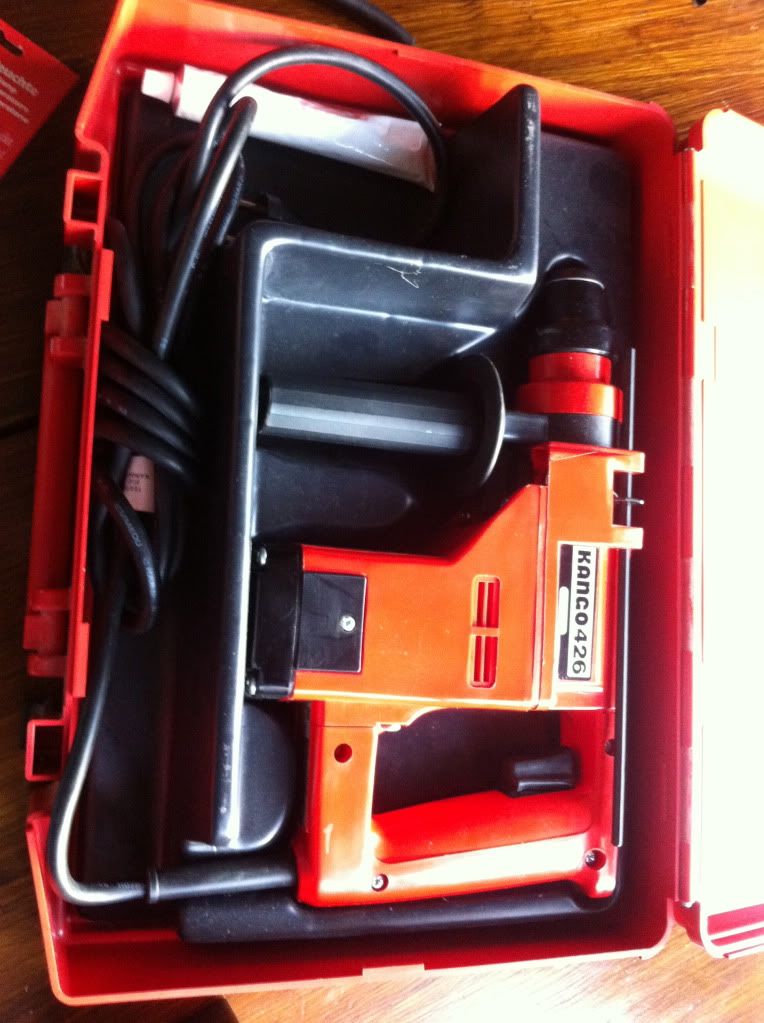
The motion trackers were made by Terry Reed. The basic shell of the tracker is a power drill casing, dressed with mostly photographic accessories.
(The Harry Harris Aliens Collection & Archive: Hudson)
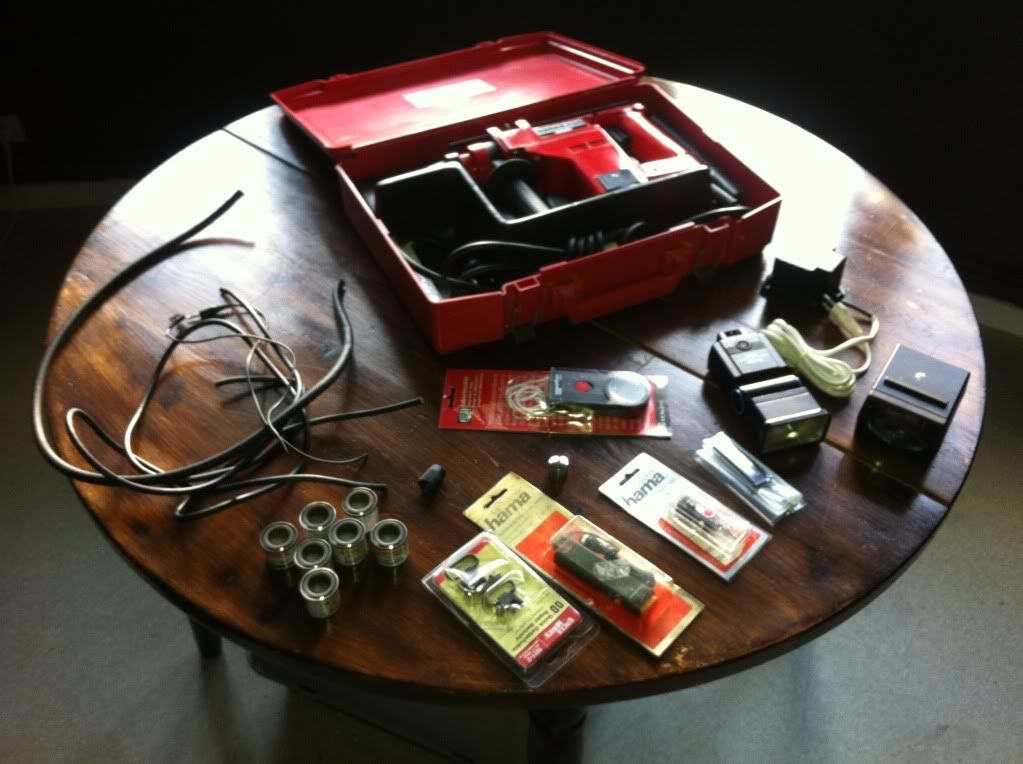
Here is a list of what you will need :
- A KANGO 426 drill
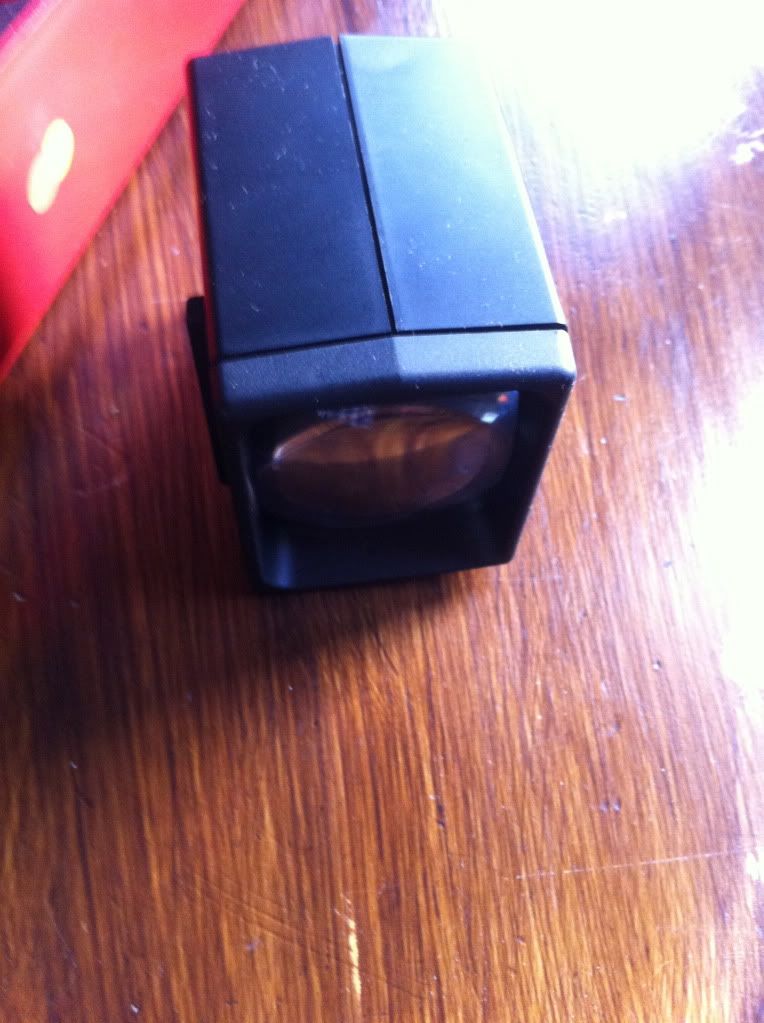
- A HAMA slide viewer
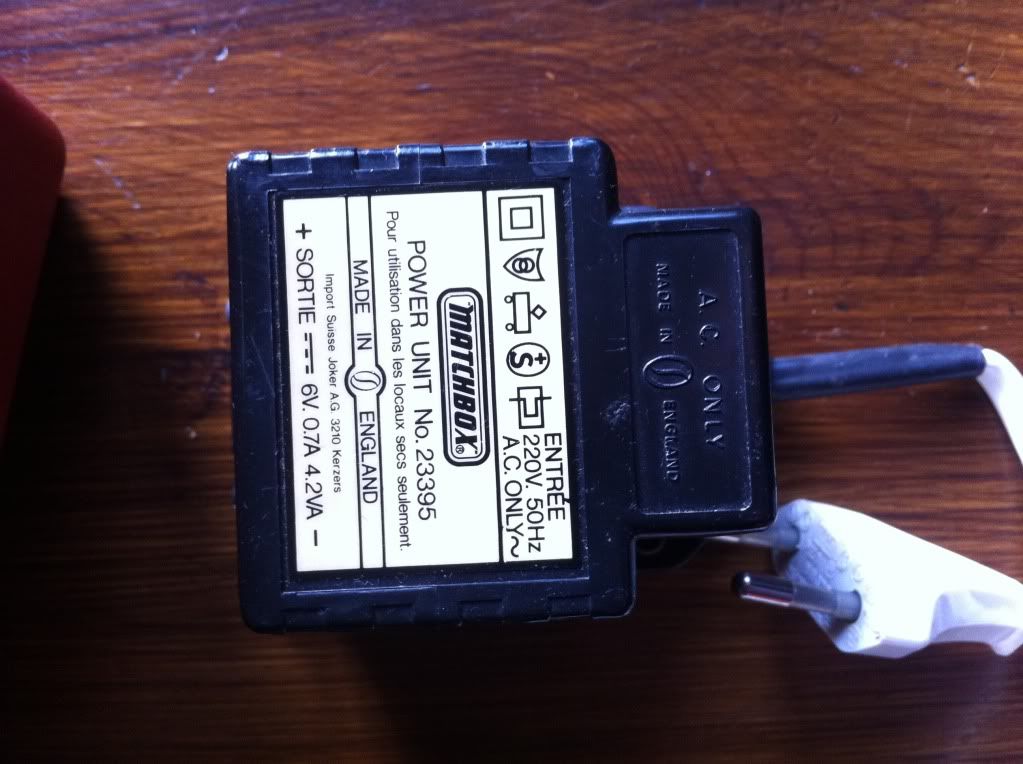
- A Power Unit Transformer from the brand "Matchbox"
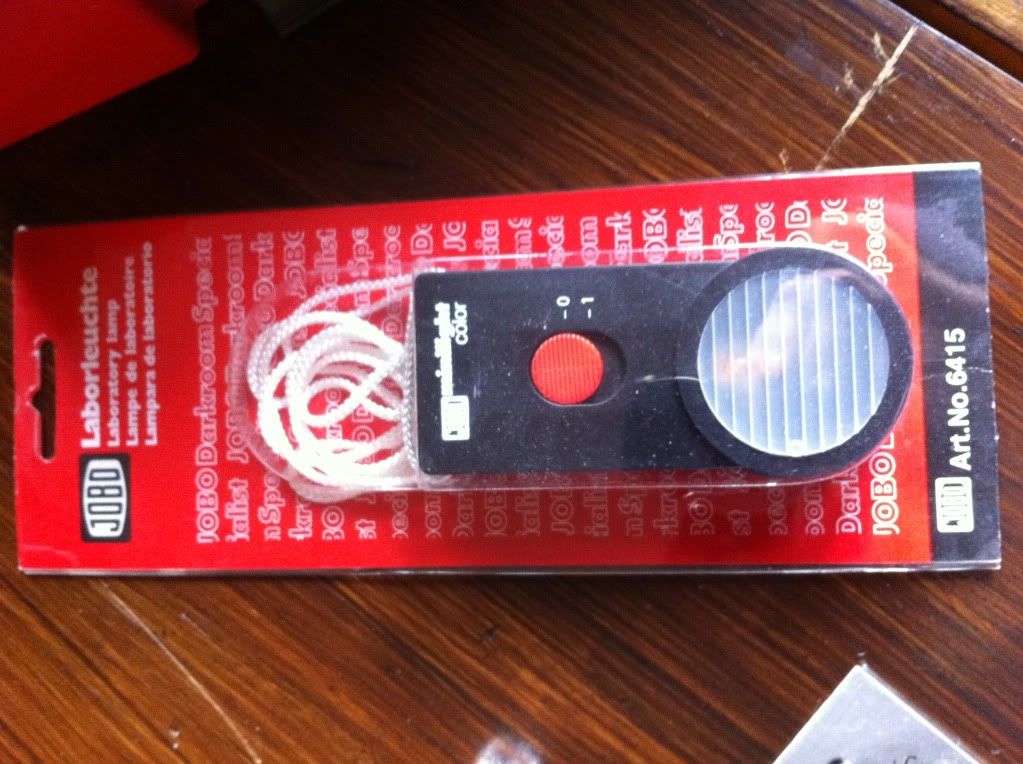
- A JoBo minilight darkroomlamp
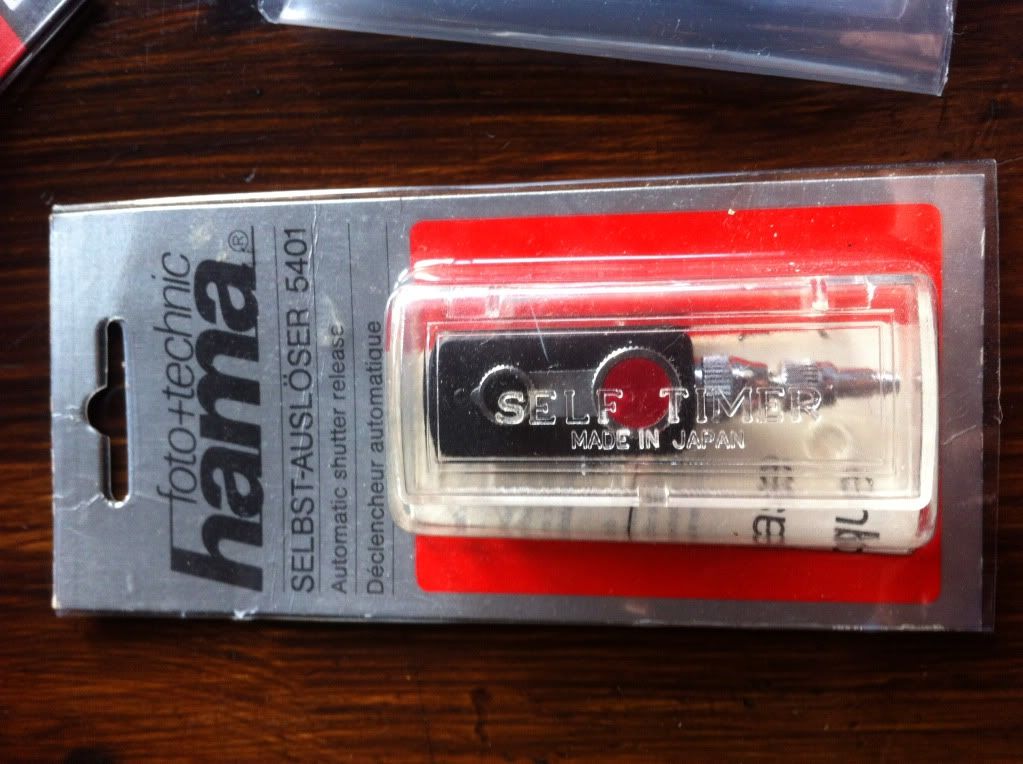
- A HAMA large flag mechanical self timer 5401 with its box
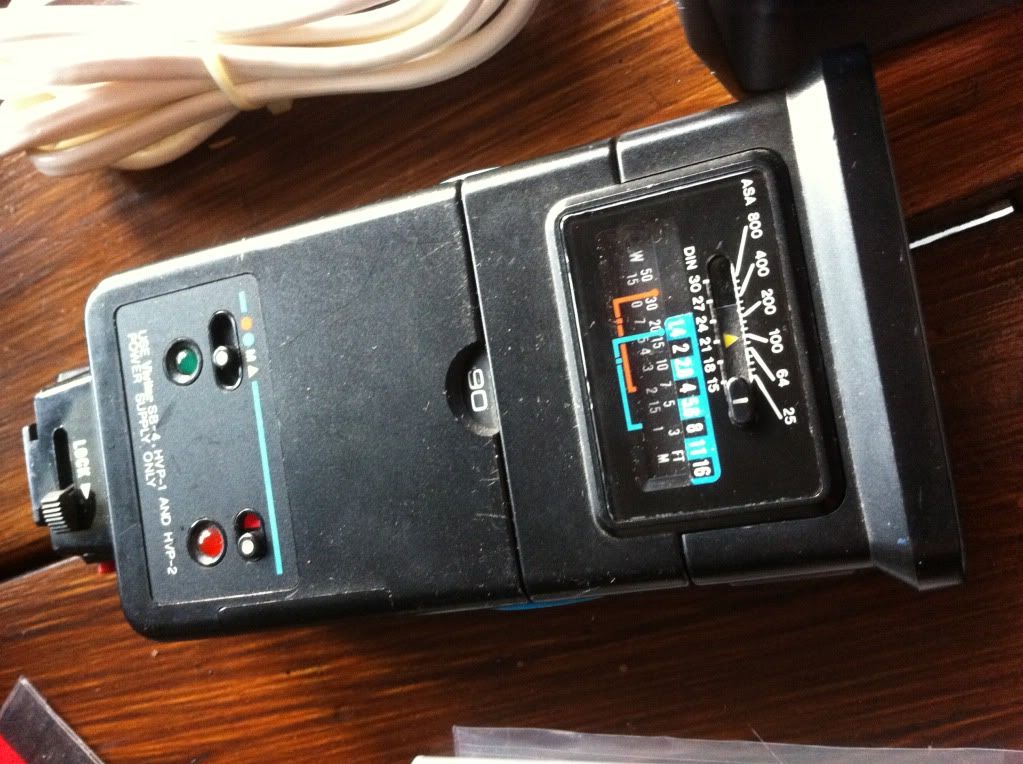
- A VIVITAR 2500 THYRISTOR Flash unit
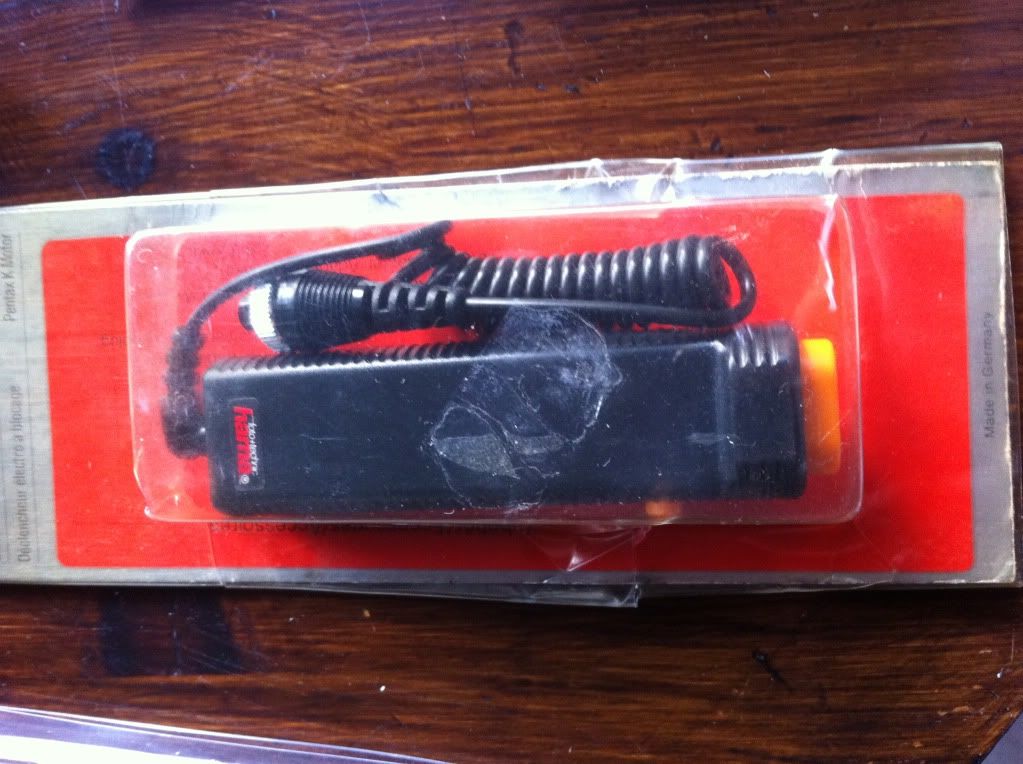
- A HAMA remote control for pentax
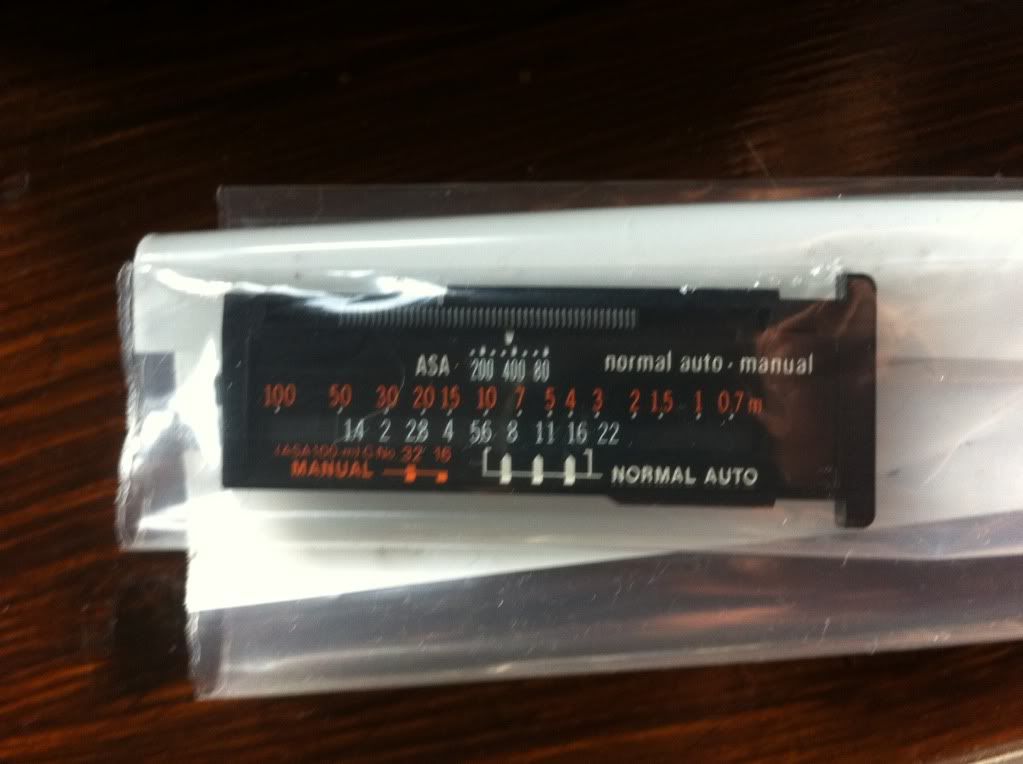
- An OLYMPUS T28 calculation panel (I could only find a T32 :unsure)
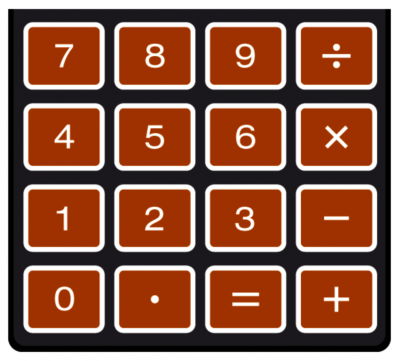
- A CASIO SL-80 series, calculator panel
I couldn't find one unfortunately, but you could find a nice replacement option in the Aliens Legacy forum, made by a member there :
http://forum.alienslegacy.com/download/file.php?id=5014&t=1
- A sphygmomanometer inner casing, from the brand ASSESS
I could'nt find it too... :unsure
Here is a picture posted by the member "Dacrates", in the Aliens legacy forum

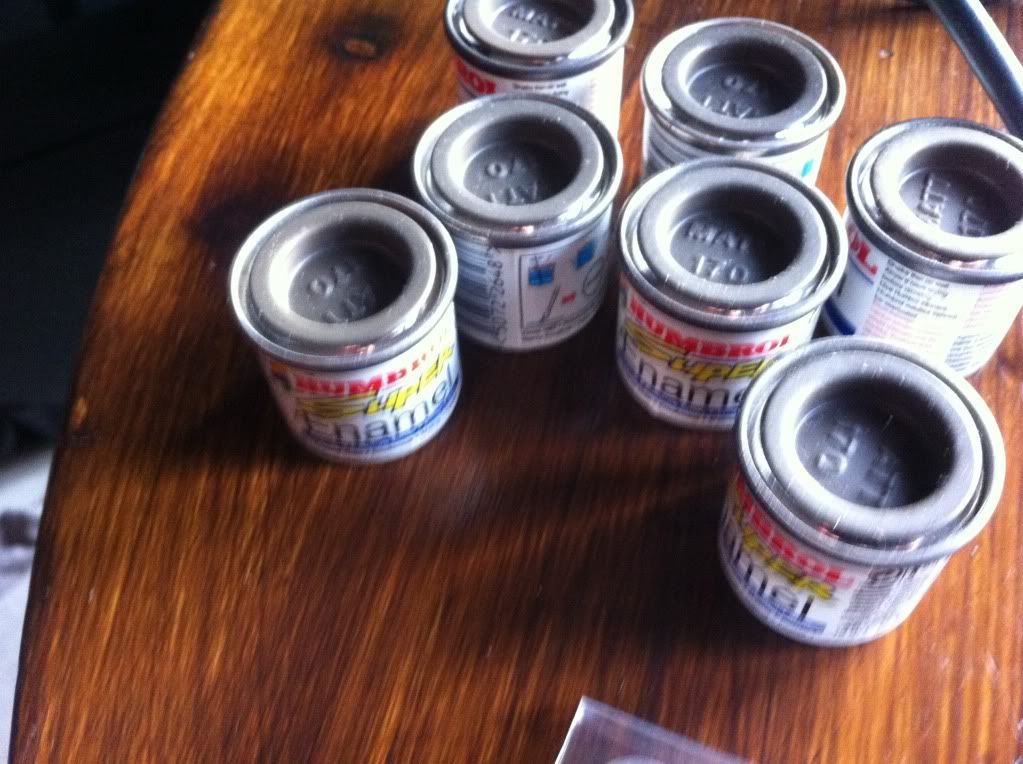
- Humbrol Brown Bess, ref 170 (Or if you want it O.D : ref 155)
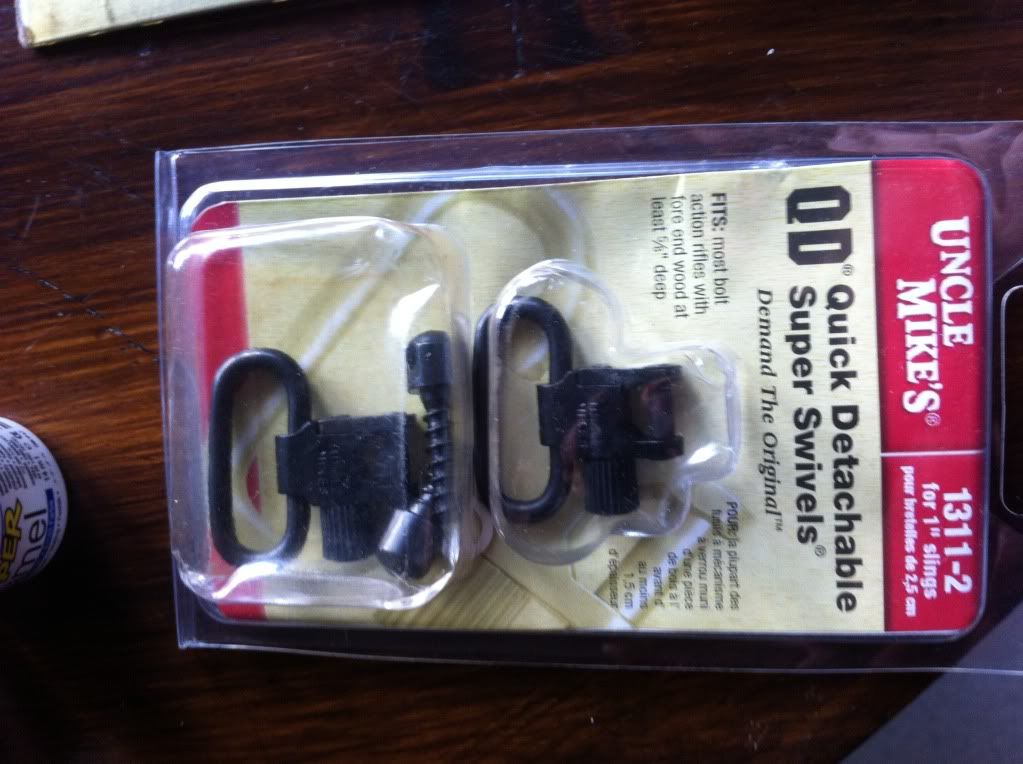
- Two metal swivels
- Multiple AV cables from different diameter
- A male and a female jack wires of 1.8"
- 4 screws (that could pick up from the drill, after disassembling it)
- A metal disc of 5,3mm diameter and 2mm of thickness
For my first prop building, i choose something easy to assemble but something i instantly wanted when I saw ALIENS recently for the first time.
To start, you'll have to pick up all the parts needed for the assembly, and it will be the most difficult thing since the Motion Tracker was made with 80's parts.
The motion trackers were made by Terry Reed. The basic shell of the tracker is a power drill casing, dressed with mostly photographic accessories.
(The Harry Harris Aliens Collection & Archive: Hudson)
Here is a list of what you will need :
- A KANGO 426 drill
- A HAMA slide viewer
- A Power Unit Transformer from the brand "Matchbox"
- A JoBo minilight darkroomlamp
- A HAMA large flag mechanical self timer 5401 with its box
- A VIVITAR 2500 THYRISTOR Flash unit
- A HAMA remote control for pentax
- An OLYMPUS T28 calculation panel (I could only find a T32 :unsure)
- A CASIO SL-80 series, calculator panel
I couldn't find one unfortunately, but you could find a nice replacement option in the Aliens Legacy forum, made by a member there :
http://forum.alienslegacy.com/download/file.php?id=5014&t=1
- A sphygmomanometer inner casing, from the brand ASSESS
I could'nt find it too... :unsure
Here is a picture posted by the member "Dacrates", in the Aliens legacy forum
- Humbrol Brown Bess, ref 170 (Or if you want it O.D : ref 155)
- Two metal swivels
- Multiple AV cables from different diameter
- A male and a female jack wires of 1.8"
- 4 screws (that could pick up from the drill, after disassembling it)
- A metal disc of 5,3mm diameter and 2mm of thickness
") )
)