3rd Century Roman Scutum (shield)

stoneagebowyer

New Member
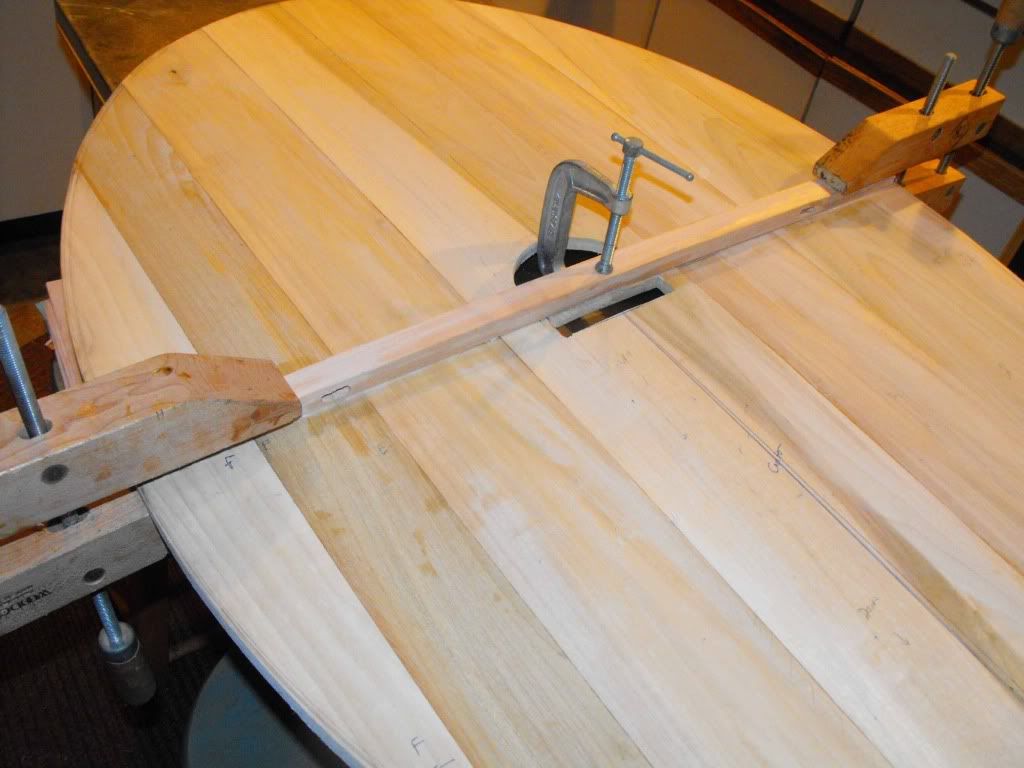
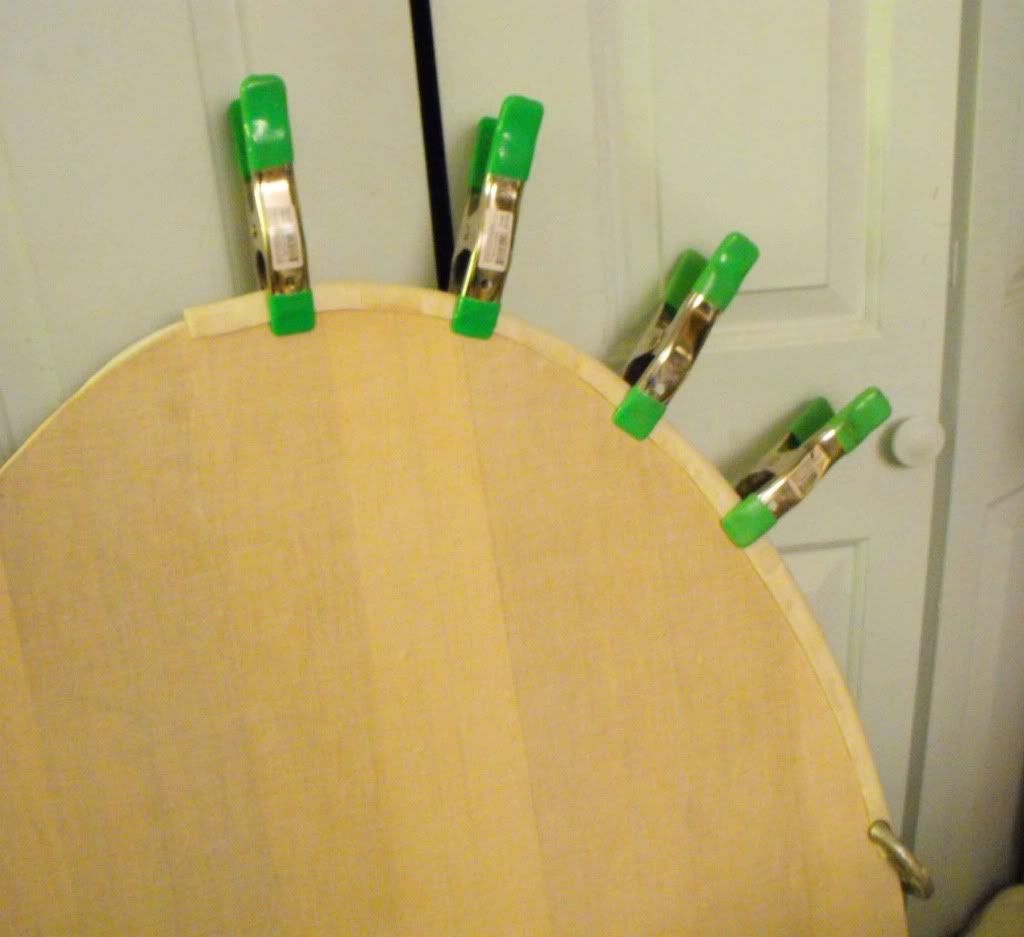
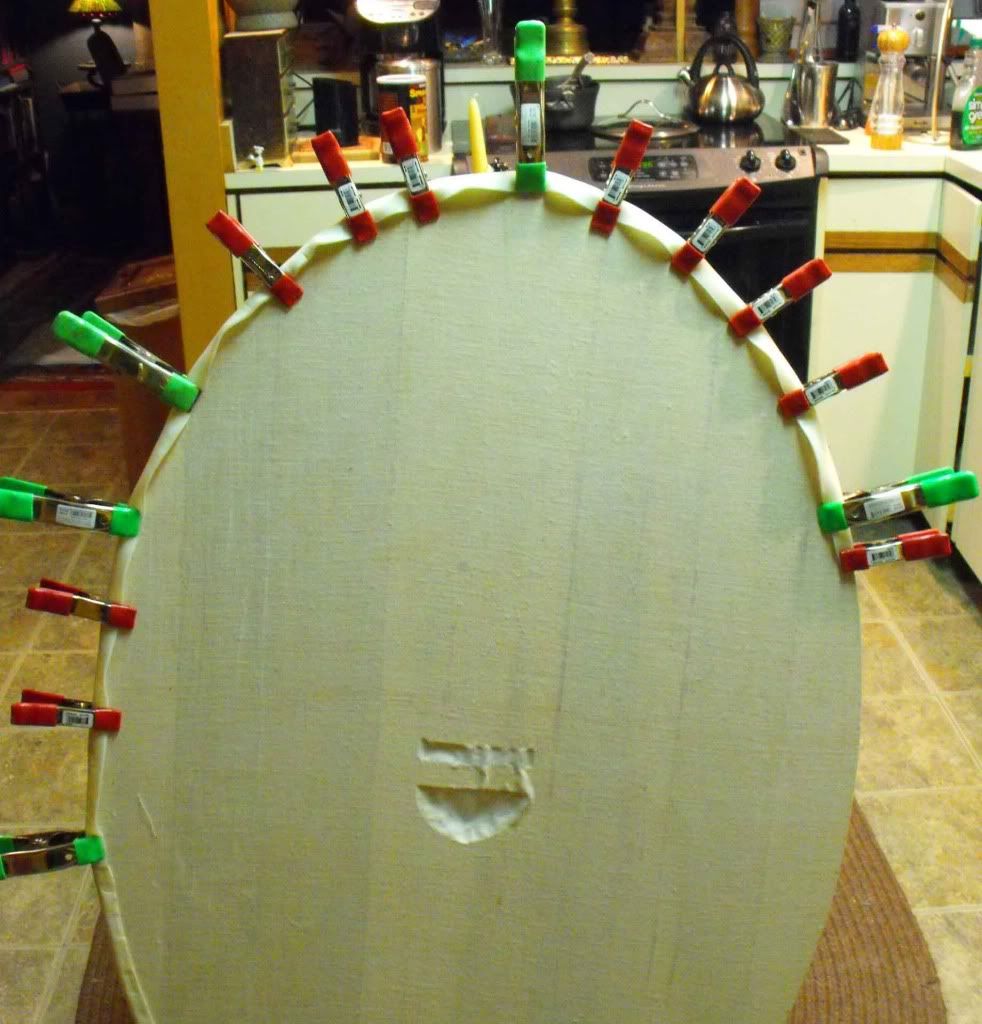
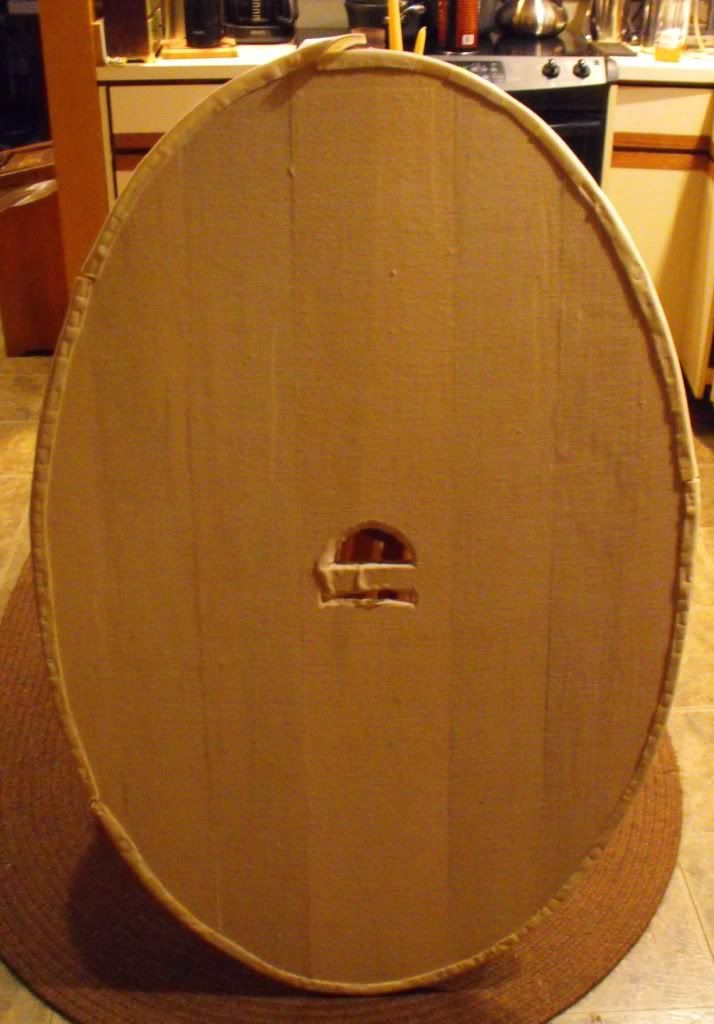
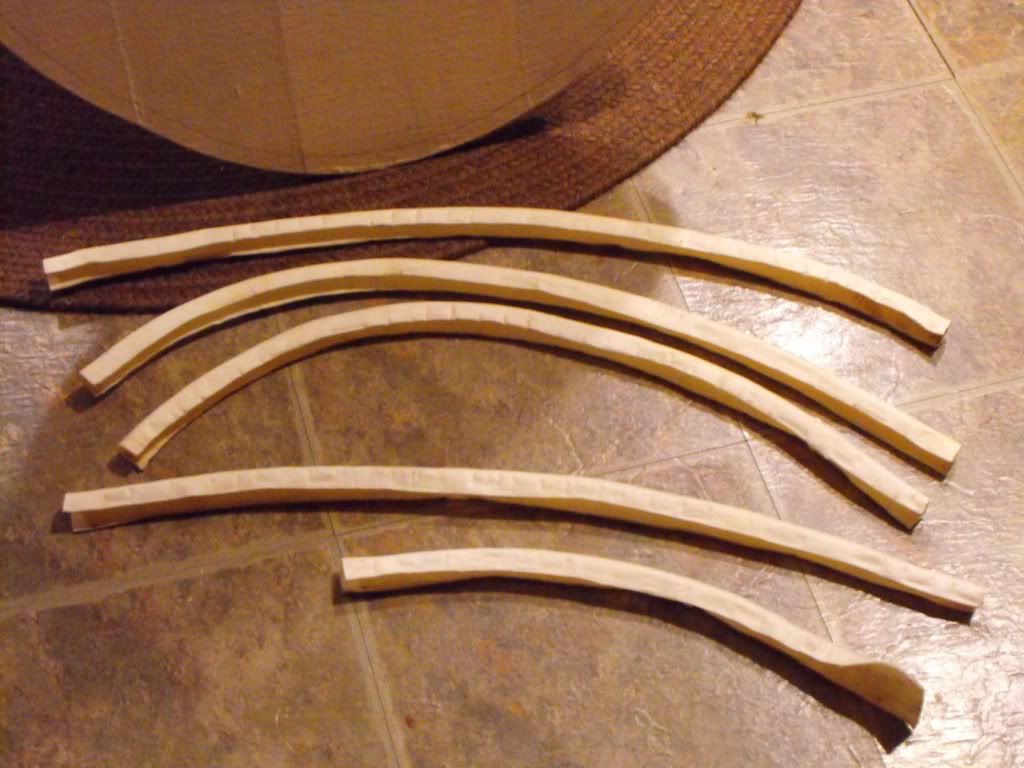
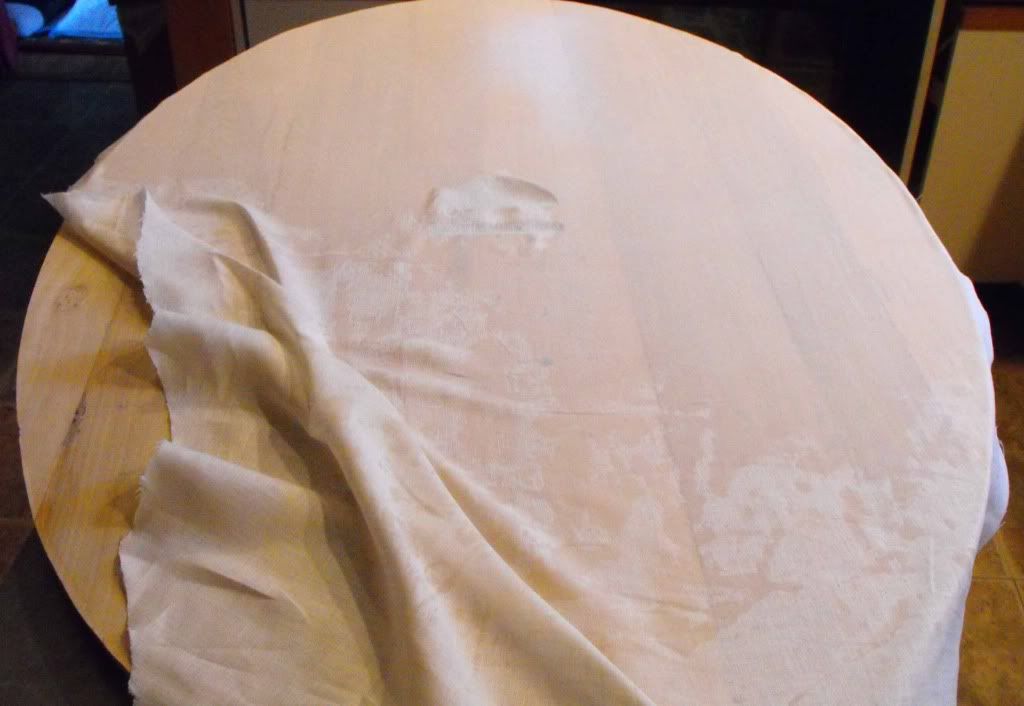
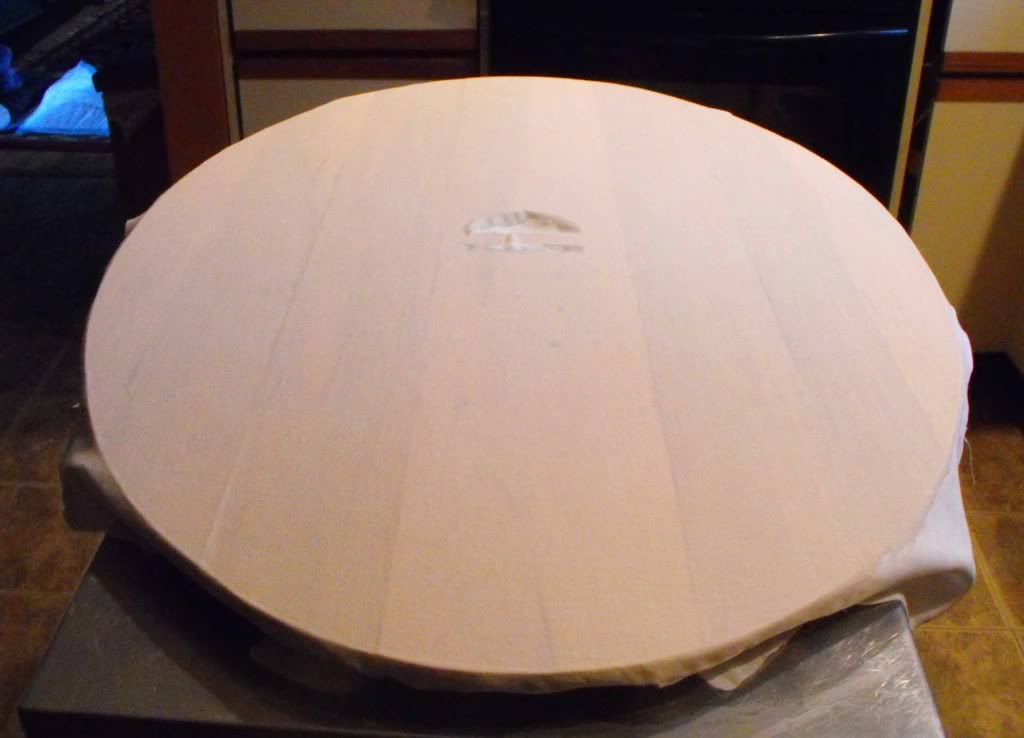
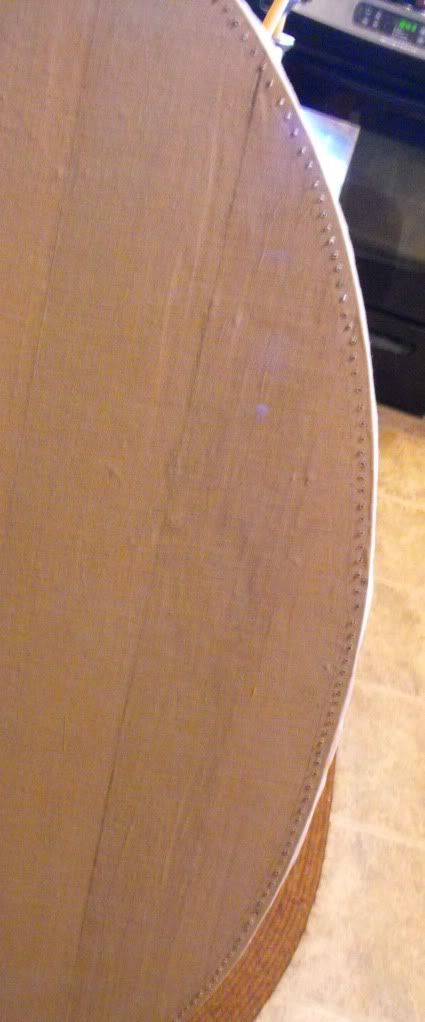
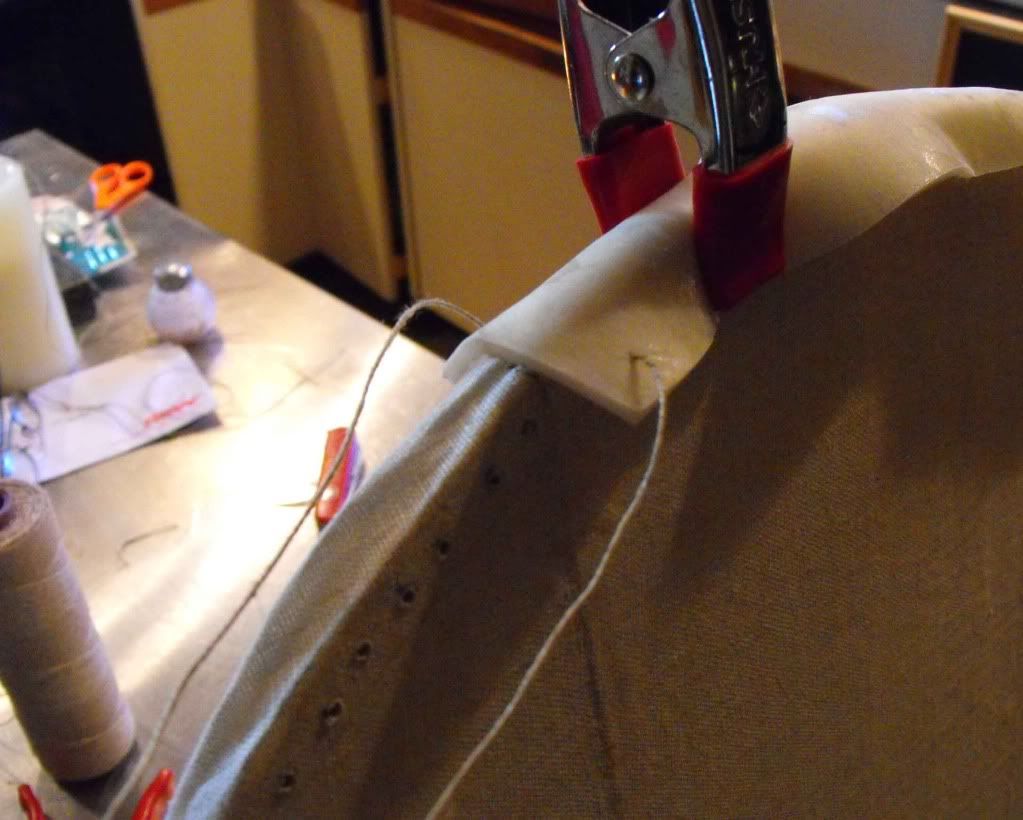
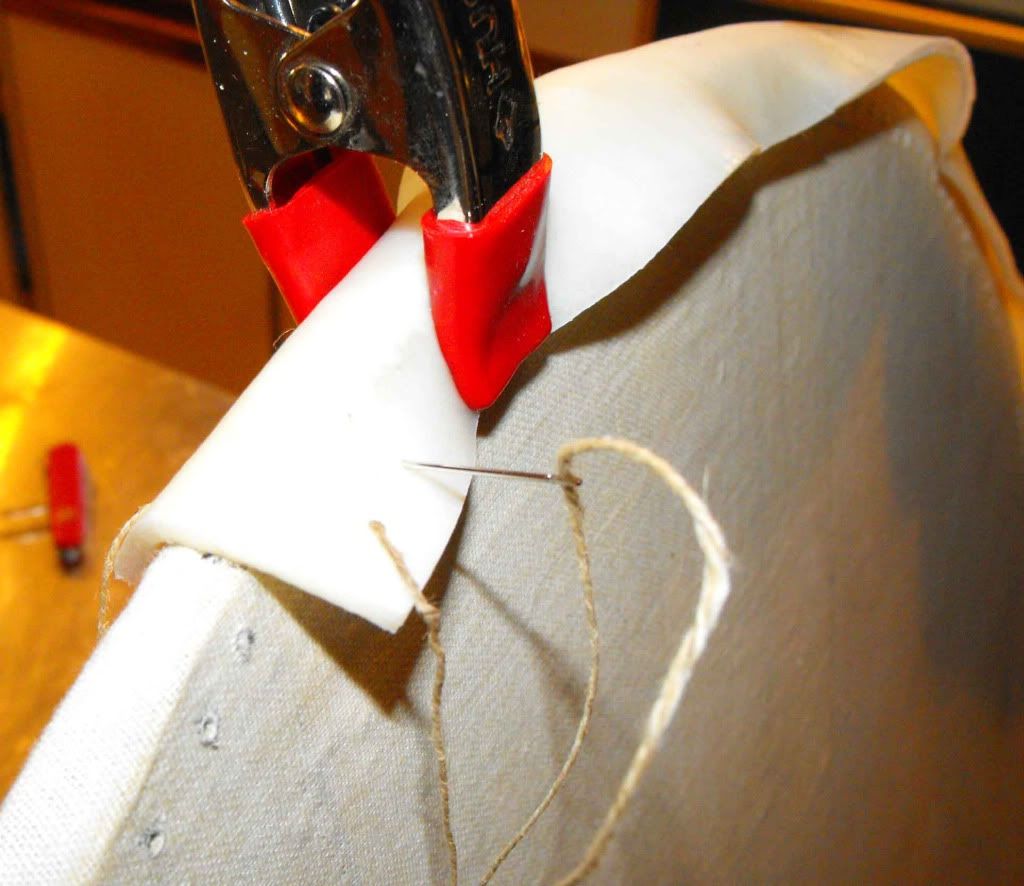
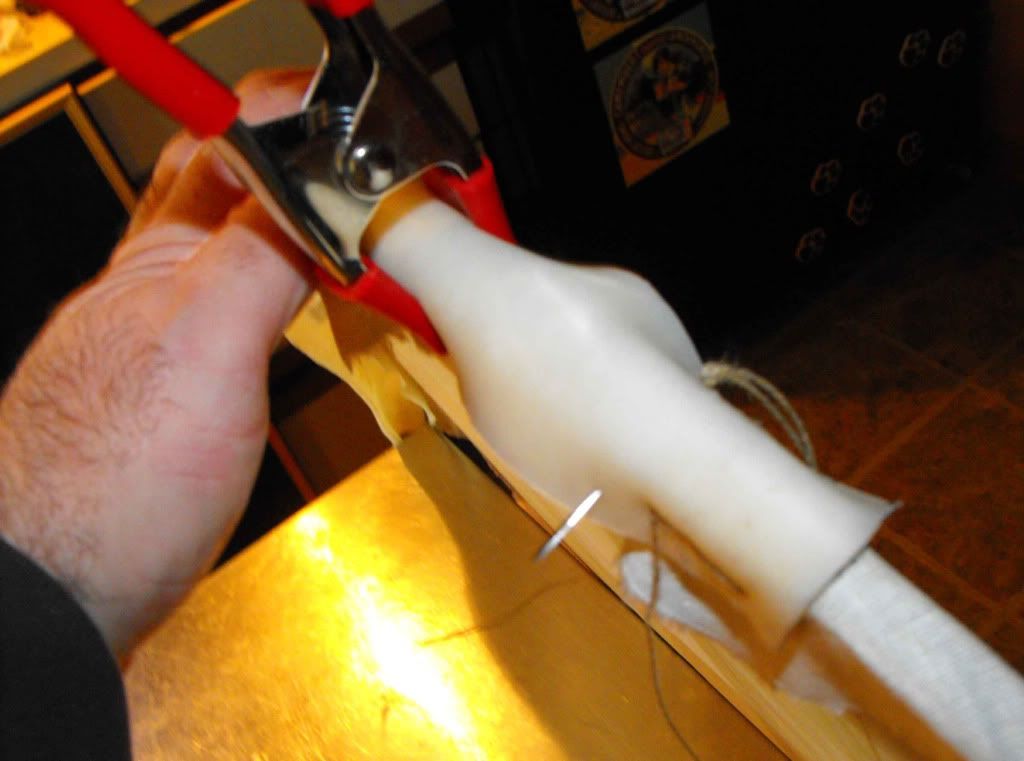
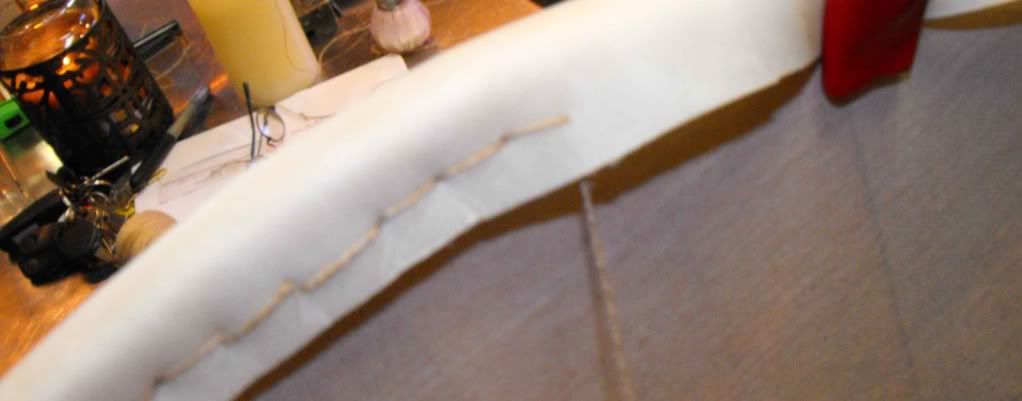
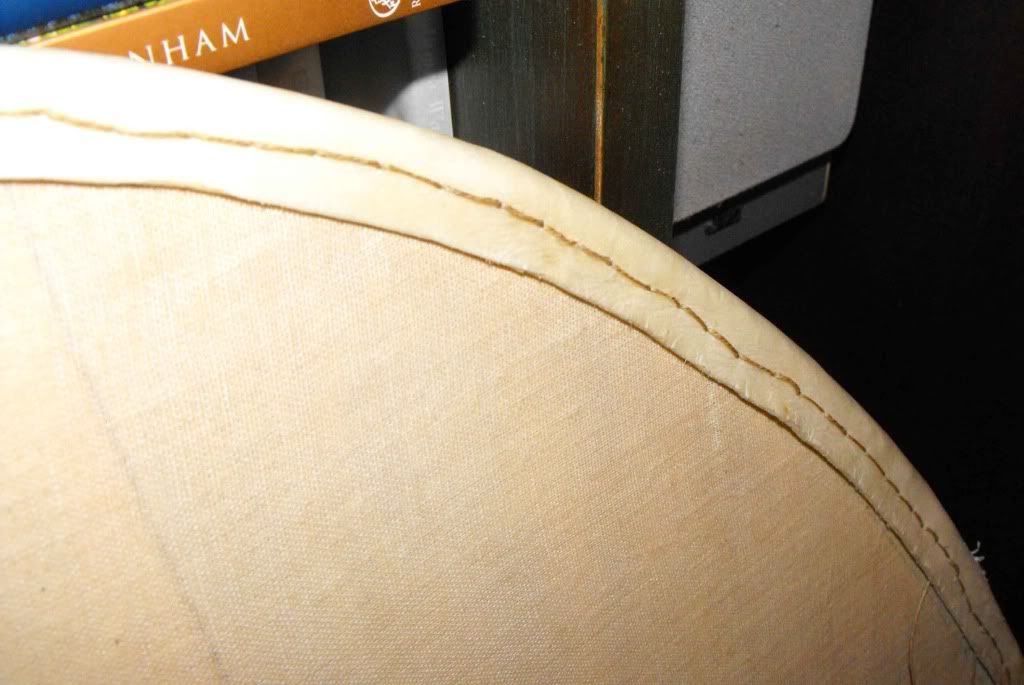
Hi, everyone. A thread about Capt. America's shield got me thinking about a project that I haven't quite finished, and should get back to this summer. One of my hobbies is Roman reenacting / living history. One unit I belong to is Excucatores iuniores Britanniciani, Auxilia Palantina. They were part of the last Roman forces in Britannia, which is the period the film King Arthur (2004). Now, while it wasn't a great film in my opinion, there were things about it I liked. So, this scutum or shield, while not replicating any particular prop from that film, does replicate an actual scutum from Dura Europus. The shield was build using edge joined poplar planks, each plank being a different width, with one central bracing that also was the hand grip, and the shield was edge drilled for presumably rawhide edging, a common method throughout Roman history. Brass edging was used, but was uncommon.

I cheated on this shield and used modern hand and power tools. I do have a set of hand forged Roman through Medieval period tools, and one day will build another scutum using only Roman woodworking methods, but for all intents and purposes, this shield is identical to what a late Roman soldier would have carried and used in battle.

Perhaps this will inspire others who are interested in making the kind of shield you would see in ancient history-based films, including the early medieval period, Viking period, and so on. This one is not quite done, and still needs to have the boss riveted on and then painted. The exact shield pattern for my recreated unit is recorded in an amazing document called the Notitia Digitatum. Late Roman Shield Patterns and the Notitia Dignitatum is the link to the entire document, and Late Roman Shield Patterns - Comes Britanniarum is the link to this unit. You can think of Excucatores iuniores Britanniciani, Auxilia Palantina as a type of frontier auxilary force, and they guarded the coast against mainly Saxon invaders and raiders.
 
Last edited by a moderator:
The thinnest poplar I could find were about 1” thick planks of various widths and lengths. Since the originals were built using various width planks, I went the same route, which saved considerably on time and material by not having to rip so many planks and then the associated waste from planing the edges of each board.

I used a power thickness planer to bring the thickness (depth) of the wood to 12mm, a lot thinner than I had expected a shield like this to be, but then thinking about the mid Empire scutums, not that thin at all. The cost for the poplar was about $22, so not a terribly huge investment.
scutum13.jpg


After planing, I used a hand bench plane on each edge of the planks until I was satisfied with each butt joint. Rushing this step would not have been advised, as a big part of the structural integrity of the scutum will depend on good solid joints. It wasn’t that difficult a step, and within 2 hours, I had all the planks planed and test fitted, and marked so I didn’t mix up the order of the planks. No photos of those steps, but nothing difficult about any of that.

scutum23.jpg


This is the method I used to get the oval shape. The scutums from this period average about 1.07 meters to 1.18 meters high and .92 and .97 meters wide. There is a mathematical formula for determining this oval, but I did it by moving the nails around a bit until I was satisfied with the shape of the oval.

scutum32.jpg


And here, you see the scutum all ready to be trimmed to shape.

scutum42.jpg


And then trimmed to the correct oval. I used a power saw for this, but a hand saw would work just fine, and popar is so soft, it went very quickly.

scutum62.jpg


You can also see the rought cut outs for the handhold, and the lines where the center bracing will be glued on.
 
Last edited by a moderator:
It still looks sloppy, but a farrier's rasp cleaned up the edge nicely.

I fabricated a cross piece out of ash with a hand axe, adze, and then two planes, and chiseled in two slots to attach a leather sling. Both sides of the scutum I need to hand plane a bit more, as well.

scutumcrossbrace2.jpg


Here is the center brace. You may notice that I ended up fabricating this piece with a very subtle curve on the glue surface side, and that caused the entire scutum to end up curling outward a bit (convex or concave? I get them confused all the time). But historic examples did show this curvature, so I am okay, though I would have preferred an entirely flat shield.

The edging is made from rawhide. You can see the size of the hunk of leather I used, which I got at an Indian trading post near my home. Davenport, my pug, is posing to show you the size of this rawhide. If you have never used rawhide, it is no fun to work, and you have to soak it for a few hours to get it soft enough to cut and sew.

scutum132.jpg


The last shots show the leather cut into strips, and then clamped to the scutum ede to dry. Rawhide will shrink as it dries, so factor that in for nice clean and close end seams. I let the pieces dry in place, then removed them to prepare for sewing on the edging by drilling about 150 holes in the wood, a very tedious job that would have been madening using hand drills as they would have done it back in the day.

scutum152.jpg


scutum172.jpg


scutum182.jpg


scutum192.jpg


scutum202.jpg
 
Last edited:
Next, I covered the front with linen. I sized both the fabric and the wood with dilluted Tightbond III wood glue, then lay the fabric on the surface, and smoothed it out as best I could. This really gave a lot of stability to the shield, which is compounded by the sewn on edging.

scutum92.jpg


scutum112.jpg


scutum122.jpg


And here we go with drilling the approx. 145 little holes. No fun at all, but it went fast with a hand held electric drill. Romans would have probably used a pump or a bow drill, or possibly burned holes into the edging, but it must have been very time consuming. By this point in Roman history, they had centralized fabricias (spelling?), or workshops, and these were manned in part by slaves, so the work would have been cheap, if not fast.

scutum212.jpg
 
Sewing began, using linen thread that I waxed with pure beeswax and used two large needles. I used an awl to punch holes corresponding with the holes in the scutum edging, and did this in stages rather than all at once.

scutum222.jpg


scutum232.jpg


scutum262.jpg


scutum272.jpg


scutum282.jpg


scutum302.jpg


And that is all for now. Just a matter of riveting on the steel shield boss, and decorating this. I will be painting the edge dark red, the shield facing white, and add a double headed yellow dragon in keeping with the original unit. I will probably paint a large chi-rho, over the entire back surface of the scutum, and perhaps my name, Titus Germanicus along one inside edge. I may also add a rack for a few plumbatums, which were lead-weighted tossing weapons, fletched at one end and with an arrow point at the other. I think of these as lawn darts from hell, and infantry troops from this period were trained to use these in battle.

I hope this may have inspired or helped someone reading this. Once I get the thing finished, I will post final photos, hopefully sometime this summer.

Dane
 
Last edited:
Stoneagebowyer, this thread tutorial is really FASCINATING! I just love Roman history, and I'm so in awe of what and how the Legions accomplished in that time.

How much does one of these scutums weigh approximately? (I can't imagine schlepping one of these all across Europe and the Middle East!) Would they have used animal glue back then?

I'm amazed that you found such a great piece of rawhide for this project. Really cool!

I can't wait to see more and how the rest goes. Thanks so much for documenting this project for us!

(y)thumbsup:thumbsup
 
Thanks, Potion. they arent terribly heavy, and i will weigh this later and let you know. I am thinking 5 or 6 pounds. We think they had a leather strap on the back to help in carrying the shield. Shields were a very important part of a soldier's defense, as well as using these as an offensive weapon in a very brutal manner.

Animal glue, yes, or perhaps fish based glue. I use Knox unflavored gelatin for hide glue. The stuff is actually food grade glue, so consider that next time you make jello lol. Rabit glue is available from art supply stores, and you can also take lots of leather shavings and boil it down into hide glue. It is incredibly strong, more so then even super glue, but affected by moisture in a big way.
 
I just went and measured it. It is 31" x 46", and weighs exactly 10 lbs. right now (fooled me :) ). I figure another 5 or so pounds when you add the boss and the paint job and the plumbatum rack.
 
Awesome, first the crossbows and now this.

You have a lot of talent going for ya! :thumbsup

Can't wait to see what else you are working on
 
Thanks so much, Apollo.

Right now, sketching out and determining dimensions for a Sleestak crossbow. :) I love how horribly these things perform, and want to duplicate the poor performance, because what good is a Sleestak weapon that actually works? I got a bunch of screenshots off the 3-volume Land of the Last CD collection yesterday, so I am close to starting this.

I just finished another project this morning, and will post photos later today. It is an atlatl, and to keep things in the spirit of this forum for replicating movie props, these already-done projects show facrications that do function in the real world, and were used in various films, mostly I am sure as props and not actual weapons.
 
Back
Top