1/24 X-Wing near 100% from scratch

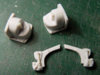
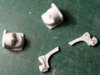
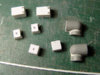
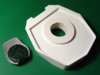
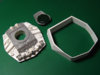
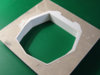
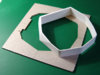
Hey Rafa, that droid strip is really incredible, true scratch building.
This is just mindblowing knowing not a single manufactured kit part will be found on your build. Can't wait to see the backplate done mate.

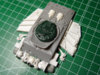
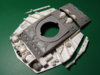
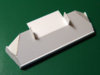
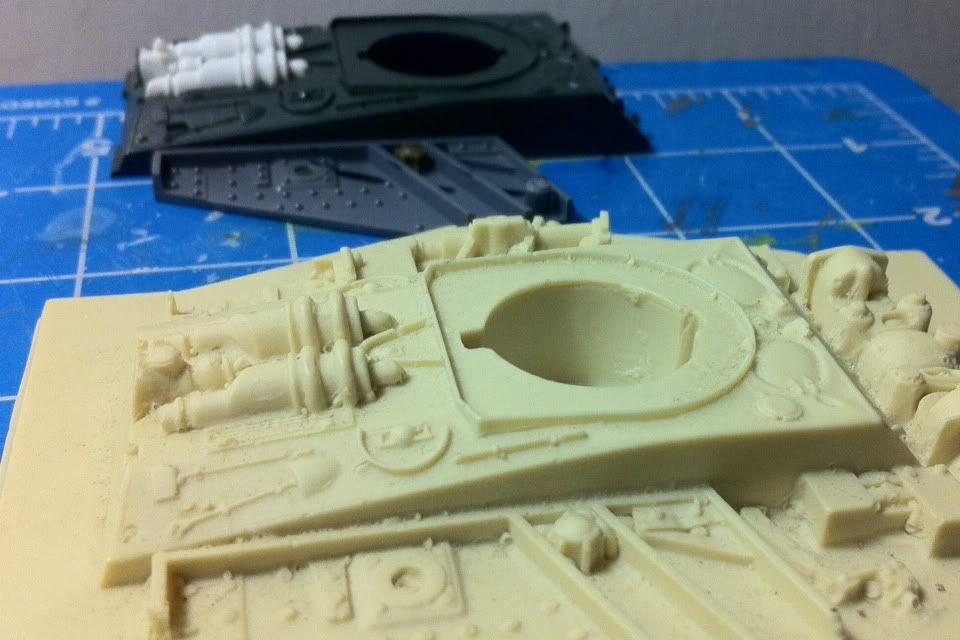
Ok, with the cutting of the Sherman hull, I would go the vertical way (red diagram pic), that has worked for me, others may disagree?. I'm sure this part wasn't cut horizontley, would just create more work in the end.

If you need any more help with kit part scans/sizes, LMK, no problem.
Stu
 
This question has bothered me also.

Comparing to a copy of the untrimmed backplate it would appear the horizontal cut is correct. My kit part was trimmed with a vertical cut and does not seem right.
0409B8EB.jpg


A vertical cut does not remove the extra material at the top missing on the original. I would argue the Hummel parts do not appear tall enough without a horizontal cut.

Sorry about the image size!


Hi! Nighteyes:)

I think ILM did the vertical cut and after that they sanded the bottom of sherman a little bit.
As you said, there may be a little difference between original and mine.:confused
I made comparison pic by using your attached pic.
Please check it out.
 
Last edited:
This question has bothered me also.

Comparing to a copy of the untrimmed backplate it would appear the horizontal cut is correct. My kit part was trimmed with a vertical cut and does not seem right.
0409B8EB.jpg


A vertical cut does not remove the extra material at the top missing on the original. I would argue the Hummel parts do not appear tall enough without a horizontal cut.

Sorry about the image size!


So that's where you store the shovel and broom on an x-wing....seriously tho super nice scratch work.
 
Hi all.

Thank you very much for your invaluable help.

Based on your contributions, I think it's best to cut the Sherman vertically and sand later if necessary to match the graphic references.
(I'm Sorry, in my previous post I wrote Panther when I wanted to write Sherman.)

Thank you very much again, folks.:love

This weekend I finished the two Hummel pieces.

Thanks for looking.

Rafa
 

Attachments

  • hummel-01.jpg
    hummel-01.jpg
    132.4 KB · Views: 439
  • hummel-02.jpg
    hummel-02.jpg
    156.3 KB · Views: 335
  • hummel-03.jpg
    hummel-03.jpg
    142.3 KB · Views: 373
  • hummel-04.jpg
    hummel-04.jpg
    157.2 KB · Views: 400
Hi folks!

Just a small update.

• The two Bandai Hummel remaining pieces.
• The two Aurora M8 Carrier pieces.

These pieces from the M8 Carrier were quite complicated to build by their different volumes and small details, but happily already finished.:cool

To end the backplate only remaining to build the two plugs from Aurora M8 Carrier and the two pieces from Bandai Shiden. I hope to finish it next week…:rolleyes
Many thanks for looking.

Rafa
 

Attachments

  • hummel-carrier-02.jpg
    hummel-carrier-02.jpg
    179.2 KB · Views: 366
  • hummel-carrier-01.jpg
    hummel-carrier-01.jpg
    195.2 KB · Views: 325
  • hummel-05.jpg
    hummel-05.jpg
    197.7 KB · Views: 314
WOW THis is AMAZING work!!!! And only just over a month since you started!!!
My hat's off to you!

Tek2graphics thank you very much.

Well, actually they are almost two months now, but the important thing was all the previous planning work. So now I can work quickly.:)
 
Brutal!!!!!!!!!!!!!!!!!!!!!!!!!!!!!!.... que trabajo !!!!!!!!!!!!!!!!!!!.. realmente increíble man!!!!!!!!!!!!!!!!!!!!!!
 
Hi guys.

Shiden and M8 Carrier parts finished.
For the Shiden curved parts I used some bits of a commercial kit sprue, and for the M8 plugs, I'm back to using the Milliput mold tip to get copies.

When I put all parts together it looks good, but I don't want to make mistakes by working too fast, so I'm currently evaluating if to follow working on new exterior details, or if it's the time to resolve the fuselage around the backplate.

Currently I'm a little stressed about wanting to work fast, so I'm going to take more calmly the following steps to think well the important decisions in the building process.:cool

Thank you very much everyone for your support.:love I hope to bring new updates soon.

Thanks for looking.
Rafa
 

Attachments

  • backplate-01.jpg
    backplate-01.jpg
    198.4 KB · Views: 706
  • m8carrier-03.jpg
    m8carrier-03.jpg
    171.7 KB · Views: 407
  • m8carrier-02.jpg
    m8carrier-02.jpg
    147.8 KB · Views: 355
  • m8carrier-01.jpg
    m8carrier-01.jpg
    174.8 KB · Views: 326
  • shiden-04.jpg
    shiden-04.jpg
    161.2 KB · Views: 349
  • shiden-03.jpg
    shiden-03.jpg
    175.1 KB · Views: 454
  • shiden-02.jpg
    shiden-02.jpg
    164.6 KB · Views: 346
  • shiden-01.jpg
    shiden-01.jpg
    218.1 KB · Views: 361
Hi guys.

The second stage of my model is finished.

Finally I decided that this second phase could not be terminated if not completed all the back piece, including also the end of the fuselage.

For the fuselage, I started by the upper block as it shows many angles and is the most complicated zone. By using Google SketchUp, I could determined the needed parts to build it using 1 mm. styrene. This is very important because not only did I define the specific profile of each piece, but I could even calculate the angle or bevel should have the sides of those pieces to fit perfectly with each other and obtain the desired part.

Once I got the top block, I made a template with 2 mm. rigid cardboard, in which I cut the outside profile of the fuselage, so that I could build the rest of the fuselage without risking to get out of that profile. Once the fuselage is finished, its perimeter is perfectly suited to the template, which guarantee that the shape is correct.

All the fuselage is made with 1 mm. styrene and some help of Milliput putty.

The next step was to define the inner profile of the rear fuselage to cut the back piece and sand the details until a good fit.

I Also put a inner tube on the Sherman piece that holds and reinforces the entire structure of the back piece.

Next… I'm still thinking about.:confused

Thanks for looking.:love
Rafa
 

Attachments

  • backplate-04.jpg
    backplate-04.jpg
    123.4 KB · Views: 516
  • backplate-03.jpg
    backplate-03.jpg
    138.3 KB · Views: 579
  • backplate-02.jpg
    backplate-02.jpg
    160.9 KB · Views: 704
  • rearfuselage-04.jpg
    rearfuselage-04.jpg
    132.6 KB · Views: 488
  • rearfuselage-03.jpg
    rearfuselage-03.jpg
    132.4 KB · Views: 485
  • rearfuselage-02.jpg
    rearfuselage-02.jpg
    125.9 KB · Views: 567
  • rearfuselage-01.jpg
    rearfuselage-01.jpg
    130.6 KB · Views: 478
  • backplate-05.jpg
    backplate-05.jpg
    140.1 KB · Views: 869
Well, now I'm going to have to scratch build my next X-Wing from the subatomic level up. Looking for the correct quarks now...

This is just really, really impressive Rafa.
 
You're something else Moska - unbelievable scratchbuilding prowess !!!

Holy smokes, this is astounding.

Many thanks crackerjazz and switchblade_slinger.
I'm very glad you enjoy my work progress.:)


Well, now I'm going to have to scratch build my next X-Wing from the subatomic level up. Looking for the correct quarks now...

This is just really, really impressive Rafa.


Hi -... . .- --..

Thanks so much for your support.

I don't forget that you helped me to identify some parts for my project and I'm very grateful.:love

I apologize for boring you in the past with my questions but I'm glad you can see now that my aspirations were to do a serious work.

All the best from Spain.
Rafa
 
This thread is more than 5 years old.

Your message may be considered spam for the following reasons:

  1. This thread hasn't been active in some time. A new post in this thread might not contribute constructively to this discussion after so long.
If you wish to reply despite these issues, check the box below before replying.
Be aware that malicious compliance may result in more severe penalties.
Back
Top