Roughneckone
Sr Member
God I've missed my Cockpit Therapy this last week or so, nice to see it back, really great work as IzzyMel said.
Roughneckone:cool
Roughneckone:cool
")


Awesome work as usual. Great start to 2016.
God I've missed my Cockpit Therapy this last week or so, nice to see it back, really great work as IzzyMel said.
Roughneckone:cool
I can't get enough of this thread. It's just mind blowing. Your skills and dedication are unbelievable. Keep it up guys!!
Sent from my iPhone using Tapatalk
Very good job as always Sofa!
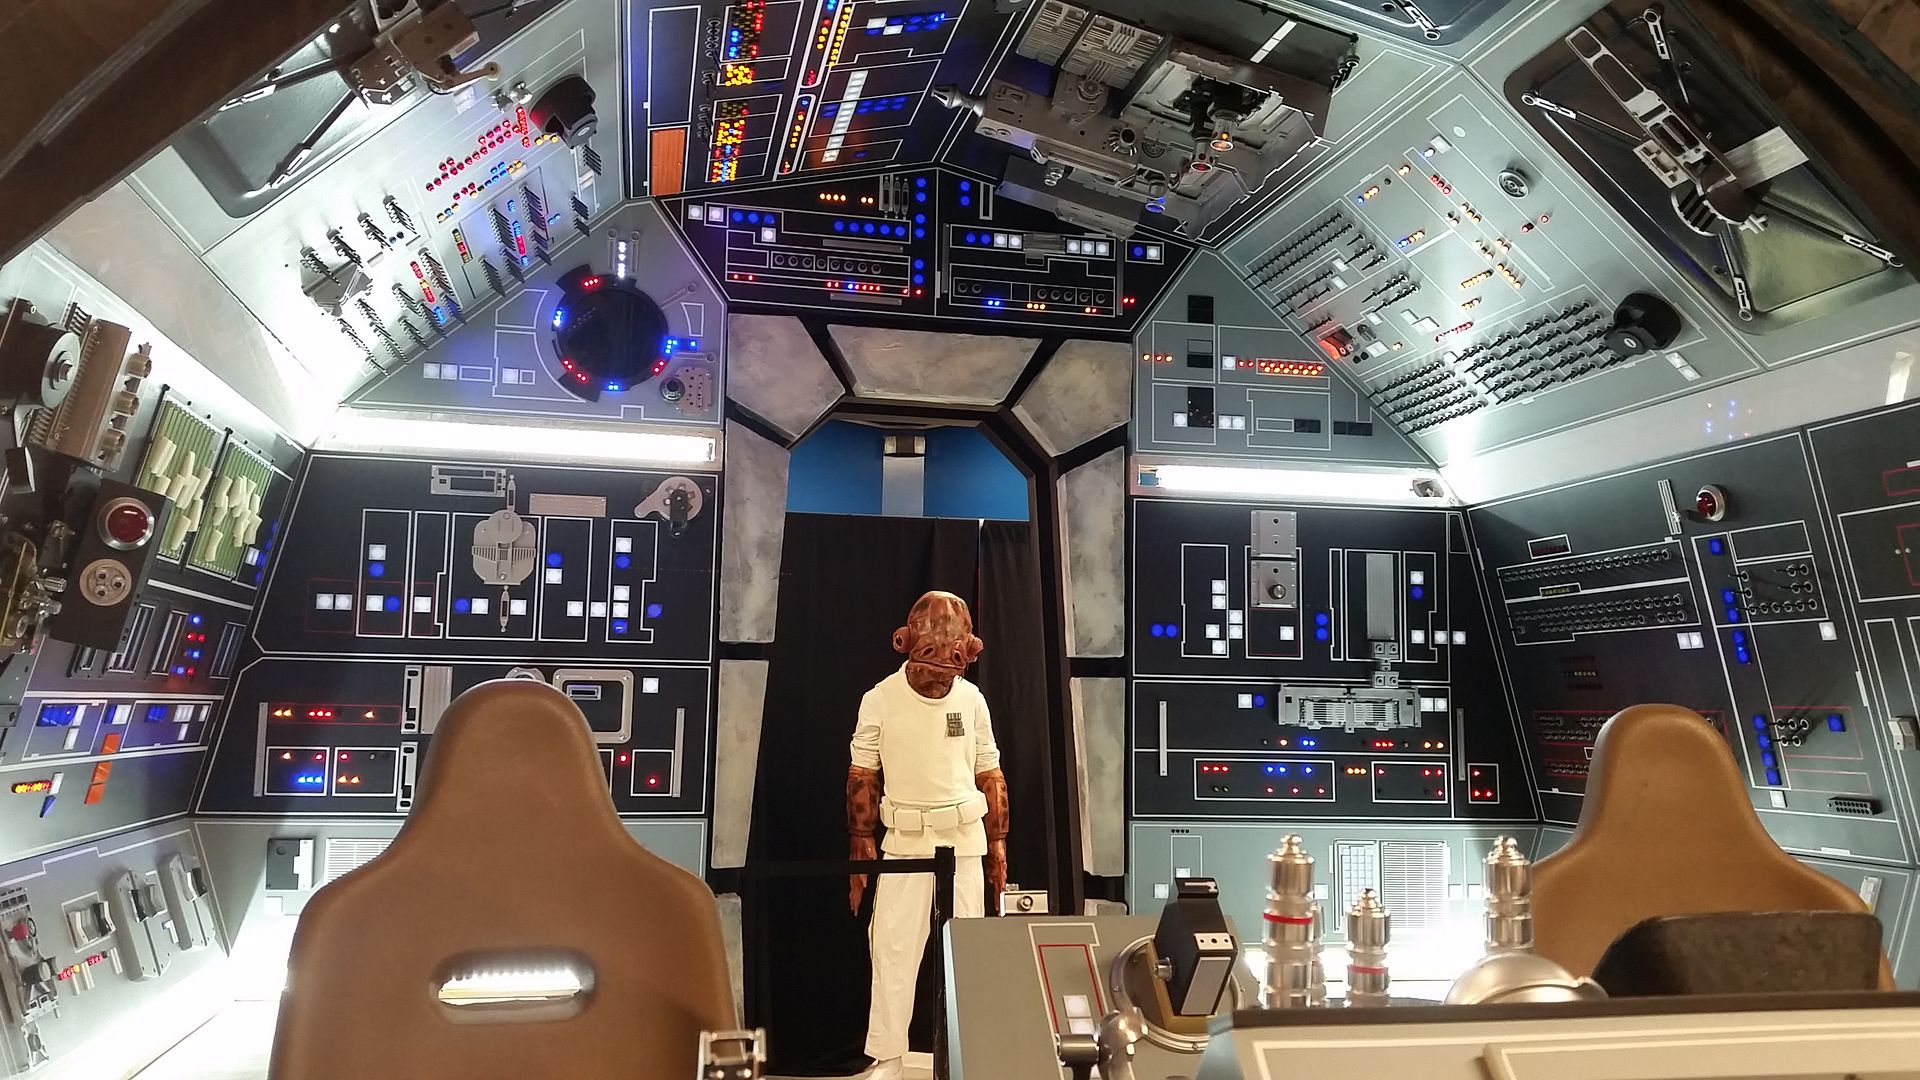
Can't wait to see this baby skinned and window framed! So close!!!Got to admit SK... when I saw that you were going to use the LEDs for the bar lighting I was worried a bit seeing as they used floresents in the original, but those really look good. You need to put a piece of black electrical tape on the inside in the middle of the side bars (about 1/4 in away from the diffuser) to complete that support bar look thou!
Stunningly beautiful. She's looking awesome.
The lighting strips and looking so cool too.
Love the last few updates. Great work Gang.
hah, Oh Man! That must be so damned satisfying, turning on the lightstrips with switches actually in the cockpit. Are there any other practical switch placements like that?
Really Fantastic. If anyone working on this is in SoCal, please pm me.
Any progress on the seats and nav chairs SK?


Those handles look amazing. I 2nd that. :thumbsup Can't wait to see them on the yokes.
Sweeeeeeeeeeeeeeettttttt
Sound like a good idea?