1:1 Millennium Falcon Cockpit Replica - Group Build

Thanks, LtW,

Believe it or not, the Jawa was a very nice woman who arrived with the Rebel Legion folks. Great sense of humor and fun to chat with. We all had a great time.

I love the R2 shots as well. I was really hoping someone would have the data arm. I just need to lower the socket housing a few inches to level the arm off.

The EVA Pod was/is a work of art. The photos do NOT show how perfect the paint job is. It rivals custom cars. It was a thing of beauty.

The XWing is Izzy's 1/6th scale cockpit. He brought all 3 1/6th scale builds: Falcon Cockpit, XWing and the Turbo Laser. Just awesome! The cockpit is a near duplicate of the full scale build as we're using the same files for both greeblies and frame / panels.

Not sure if I have the look to pull off a Han Solo... I was thinking more of Corellian Maint Crew. But it does get hot in those conventions and short and short sleeve shirt work out perfect! lol

- - - Updated - - -


Hi H,

Thanks for the kind words! :)

Congrats to exactly 10000 comments[emoji6][emoji10]. Really love your work and extremely excited to see it all coming together and being finished one day[emoji5][emoji5]
 
Cockpit porn:eek:cool Great pics and the result speaks for itself. All of those years toiling have a result! And what a result Sofa(y)thumbsup(y)thumbsup:thumbsup
And, as a 2001 A Space Odyssey fan, I cannot get over that 1:1 Eva Pod:eek:p(y)thumbsup(y)thumbsup:thumbsup What a beautiful job that builder did! It belongs to the Stanley Kubrick's exhibition for sure. Now, to convince the wife to let me build one:D

Hey J,

First, as far as your building a EVA Pod... it's easier to ask for forgiveness than it is permission! But I didn't say that! ;)

Thanks so much for the very kind words and continued support all these years! It really was (still is) a wonderful reception/reaction after having been locked up in a warehouse these past few years. The public couldn't have been any kinder! It was amazing!

The moment I saw the 2001 Props I instantly thought of you. Not sure what your plans for the Station is, but you really should consider getting it out in public and showing that beauty off! You deserve the recognition!
 
All those pics are really awesome. Looks like everyone really enjoyed themselves. Wish you had been at Megacon last weekend.
So how long does it take to setup the whole cockpit anyways?

Hey JM,

Thanks so much! Everybody had a great time! It was tough and we DEF worked and enjoyed meeting, greeting, geeking out and having people sit in the cockpit but it was worth the long wait and long hours we've all put into the build.

With the cockpit close to being finished, the list of future cons is growing. We DEF want to get the cockpit out and about and be seen and enjoyed.

In a perfect world, and once I work the bugs out, the cockpit shouldn't take anymore than a few hours to setup. The biggest road block is people wanting to chat and ask questions during assembly... and the same during tear down. But a team of 2 or 3 people should be be able to set up in a few hours.

- - - Updated - - -


OH YEAH! Another round of 3D goodness!

We had a few accidents during the convention so Izzy was nice enough to create a few new 3D printed, and more solid, console greeblies. We're hoping they wont pop off and snap during future photo ops!

And those barrel tips!
 
Last edited:
Congrats to exactly 10000 comments[emoji6][emoji10]. Really love your work and extremely excited to see it all coming together and being finished one day[emoji5][emoji5]

Hey J,

Thanks so much! The cockpit is now in Dallas, TX with Ken and Mitch with Real Movie Toys. They are going to add the exterior skin and new canopy! We're SO CLOSE to finally finishing it up... so we can basically start again! ;)

WOW! 10,000 comments? That's really exciting and means a lot to me and the entire team! Thanks so much to everybody and their continued support. I know I say and use those words often, but I really do mean it. The build never would have gone this far had it not been for the support, positive (and negative) comments and willingness to stick through the highs and lows with me!

I love you all! :)
 
Hey J,

Thanks so much! The cockpit is now in Dallas, TX with Ken and Mitch with Real Movie Toys. They are going to add the exterior skin and new canopy! We're SO CLOSE to finally finishing it up... so we can basically start again! [emoji6]

WOW! 10,000 comments? That's really exciting and means a lot to me and the entire team! Thanks so much to everybody and their continued support. I know I say and use those words often, but I really do mean it. The build never would have gone this far had it not been for the support, positive (and negative) comments and willingness to stick through the highs and lows with me!

I love you all! :)

I think I can speak for everyone here: We love you too[emoji5][emoji2]

Edit: Hang on. Exterior skin?! Does that mean it‘ll get stuff like armor plates on the outside or „just“ sth to give it a cleaner look from the outside?
 
Oh my gooddd!![emoji7][emoji7]. Do you go from the miniatures - 32“ or 5 ft model - or from the life-size builds?

Gesendet von iPhone mit Tapatalk

Sort of a combination of both. Fortunately, there is no wrong way to do the exterior but you have to be faithful to the originals in terms of weathering - that's probably the toughest part
 

Hey Izy, you missed the side of the panel being triangular, not squared. Why do you even bother 3d modeling and printing these panels when you have an original?!? Your model look s awesome but this is crazy .. youl (or SF) will have to spend TONS and TONS and TONS of time preping and sanding the part.

Surely this can't be worth it!?!
 
Hey JM,

Thanks so much! Everybody had a great time! It was tough and we DEF worked meeting, greeting, geeking out and having people sit in the cockpit but it was DEF worth the long wait and long hours we've all put into the build.

With the cockpit close to being finished, the list of future cons is growing. We DEF want to get the cockpit out and about and be seen and enjoyed.

In a perfect world, and once I work the bugs out, the cockpit should take anymore than a few hours to setup. The biggest road block is people wanting to chat and ask questions during assembly... and the same during tear down. But a team of 2 or 3 people should be be able to set up in a few hours.
!
I love what you are all doing with this. Are you charging people to sit in it and get pictures?
I know other groups charge, then donate to charitys. Like a group that had the BTTF delorean were donating to Michael J. Foxes charity.
Wondering if you have a charity you are giving to or whatever.
Either way, I'd sure love to see this in person some day.
 
Hey Izy, you missed the side of the panel being triangular, not squared. Why do you even bother 3d modeling and printing these panels when you have an original?!? Your model look s awesome but this is crazy .. youl (or SF) will have to spend TONS and TONS and TONS of time preping and sanding the part.

Surely this can't be worth it!?!


I will use it to make a scaled down version for the 1/4 and 1/6 scale version of the Cockpit.
 
I love what you are all doing with this. Are you charging people to sit in it and get pictures?
I know other groups charge, then donate to charitys. Like a group that had the BTTF delorean were donating to Michael J. Foxes charity.
Wondering if you have a charity you are giving to or whatever.
Either way, I'd sure love to see this in person some day.

Hey JM,

Thanks so much! It's been a long 6 years but we're really close to finishing up!

This was the first event where we charged people to sit and the sales went to the Museum of Science of Fiction. But it really depends on Convention to Convention.

We're hoping to get around to many of the larger cons later this year and cover a larger area instead of just the local shows.
 
Hi Gang,

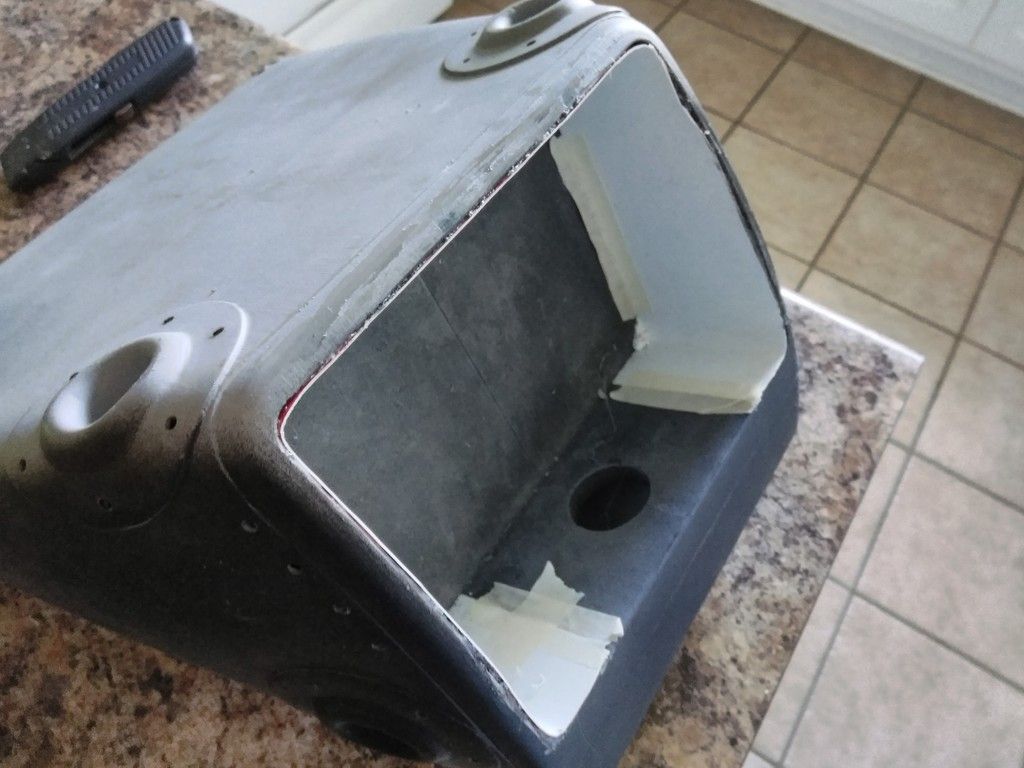
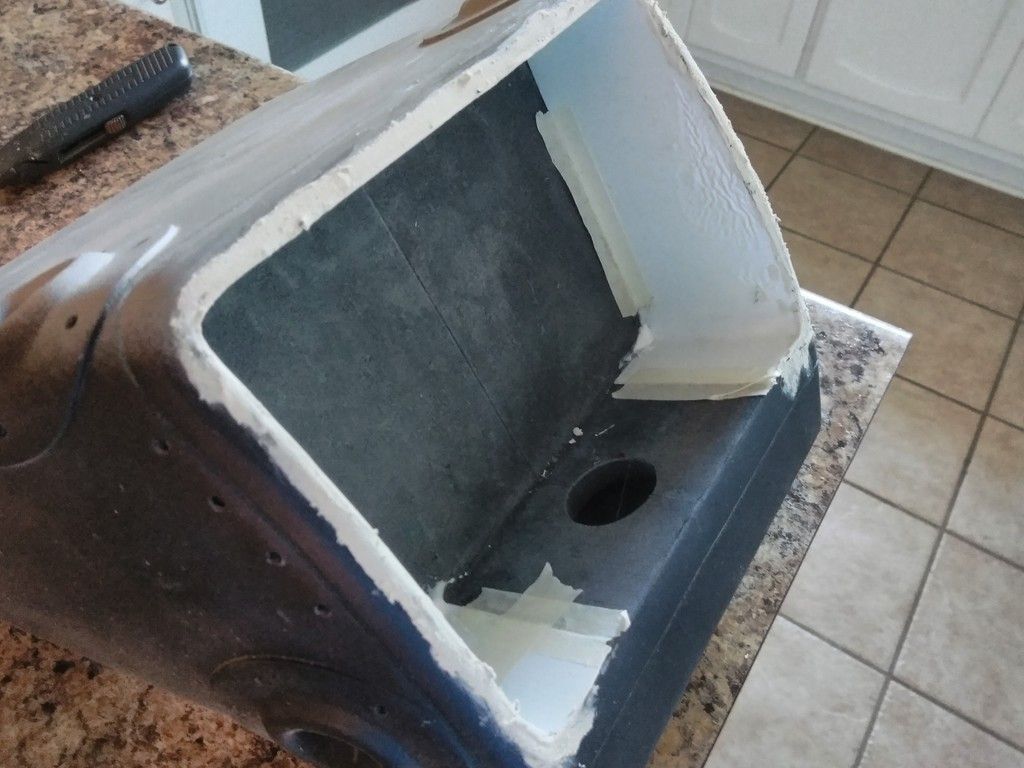
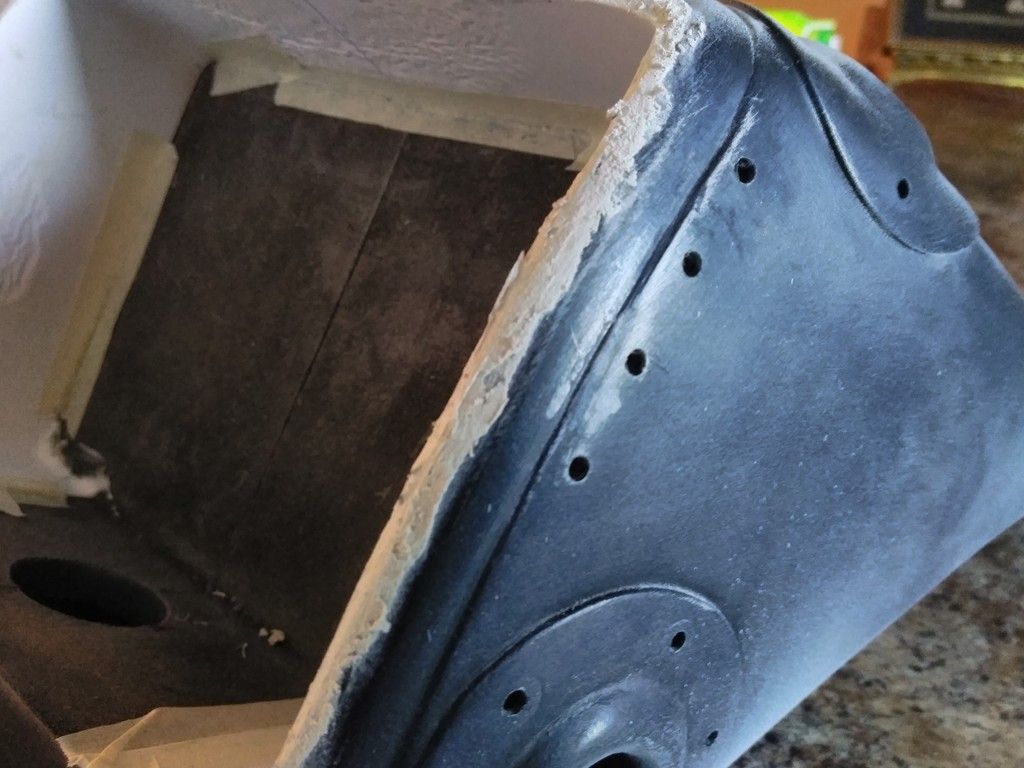
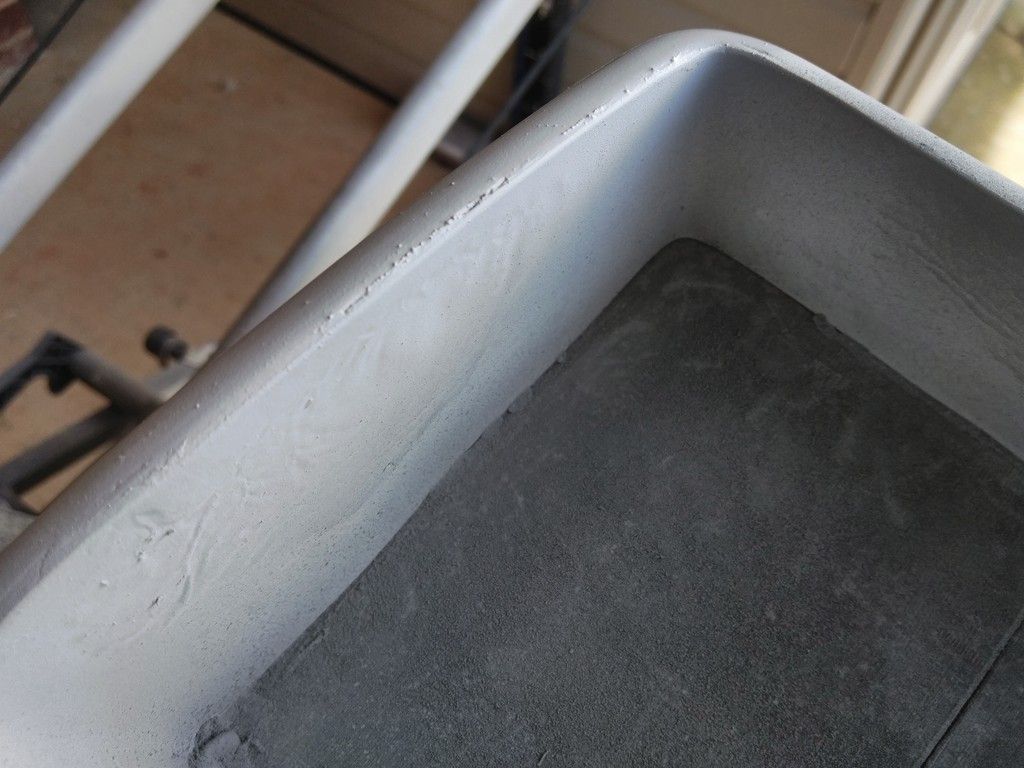
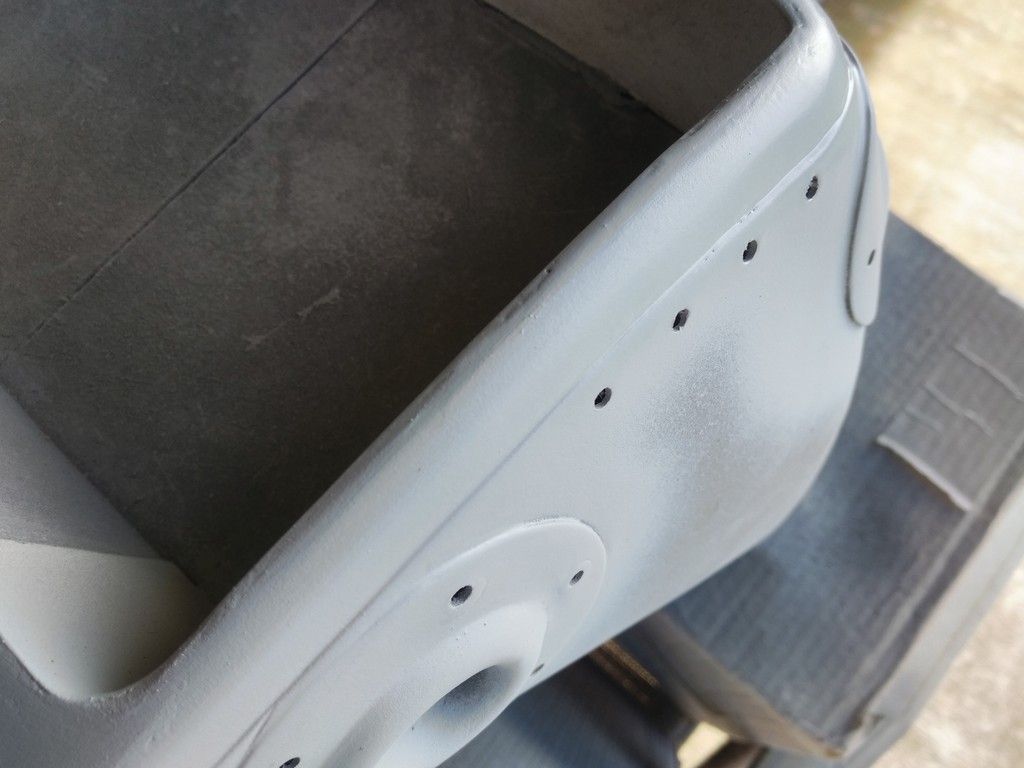
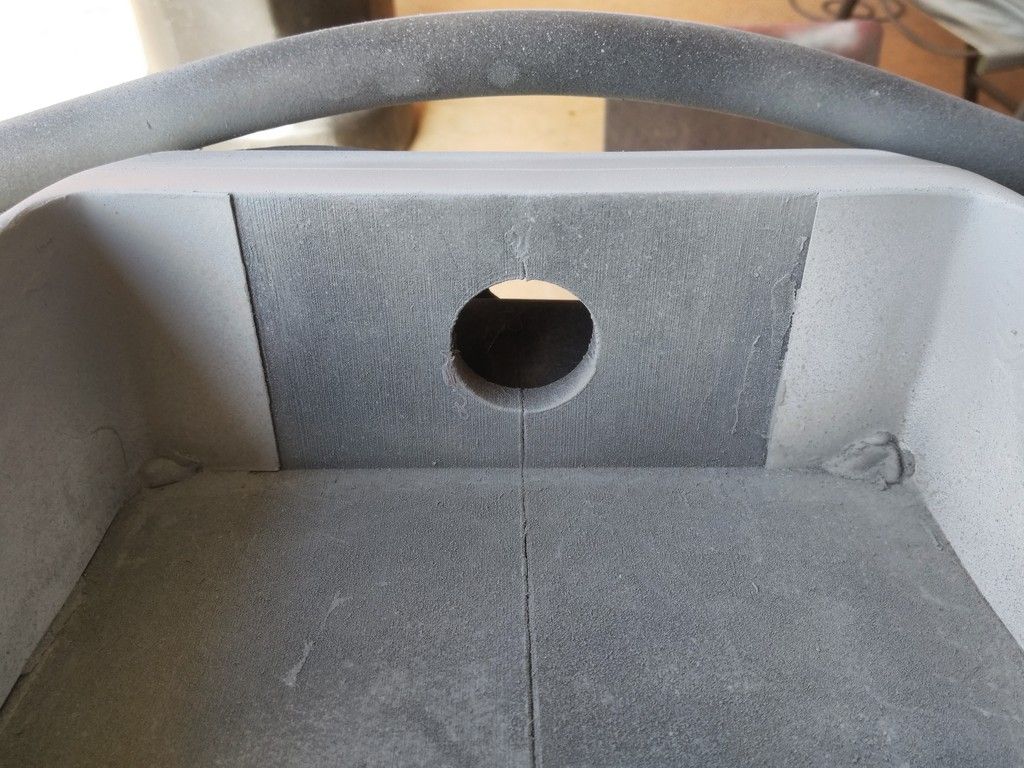
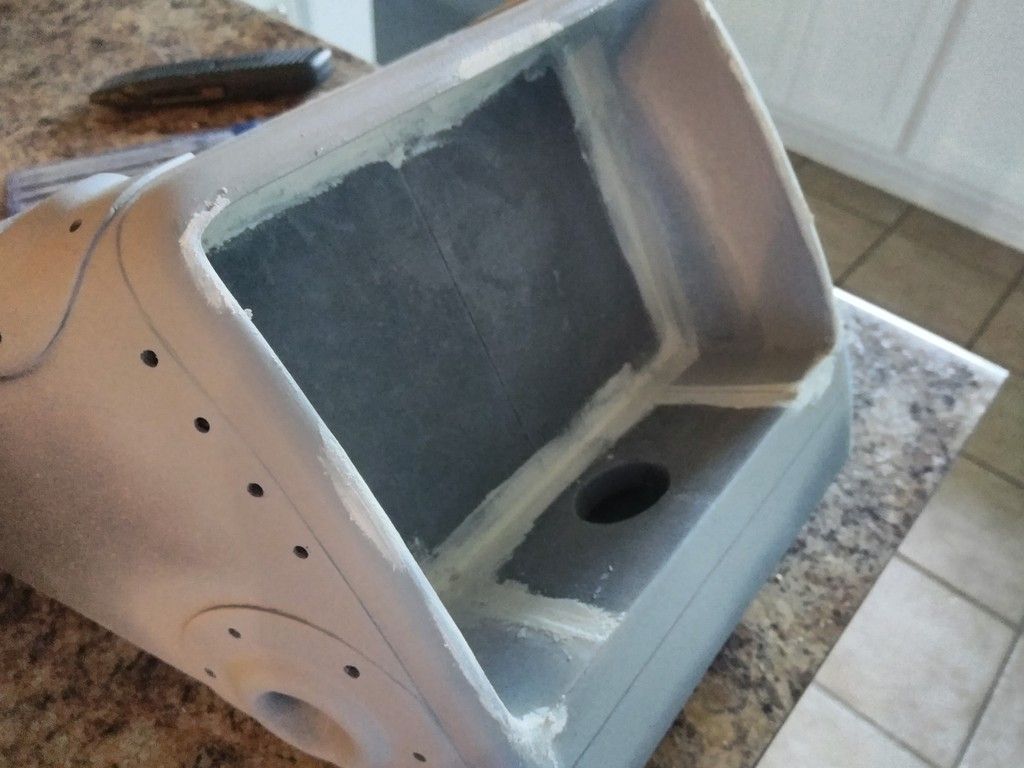
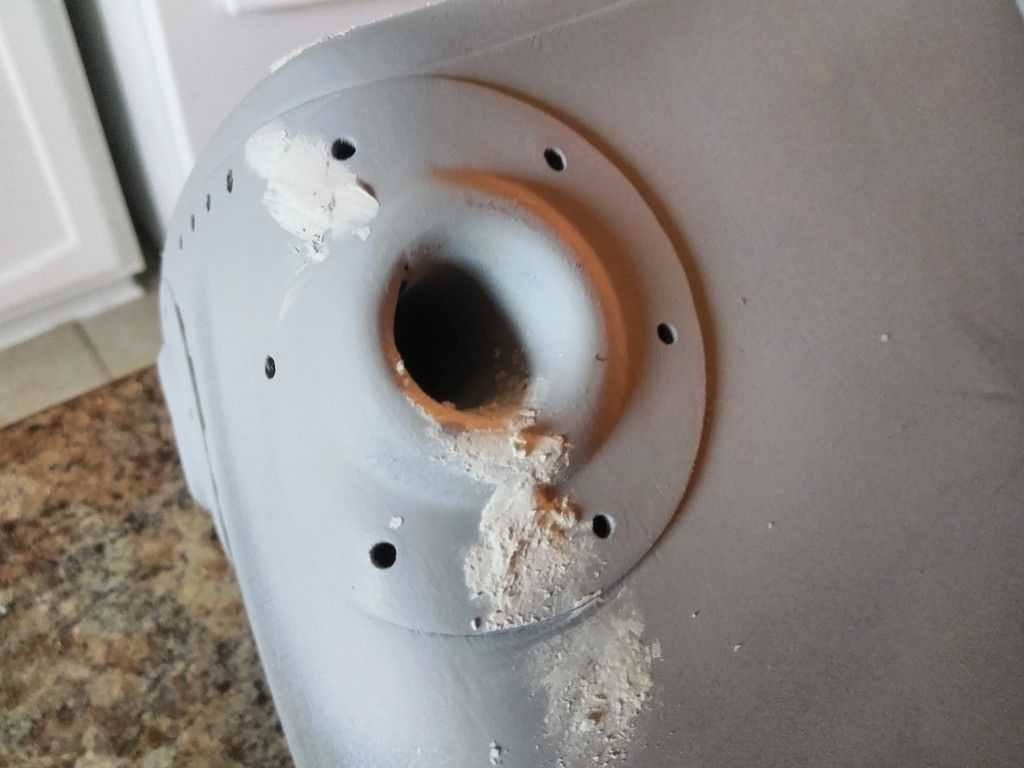
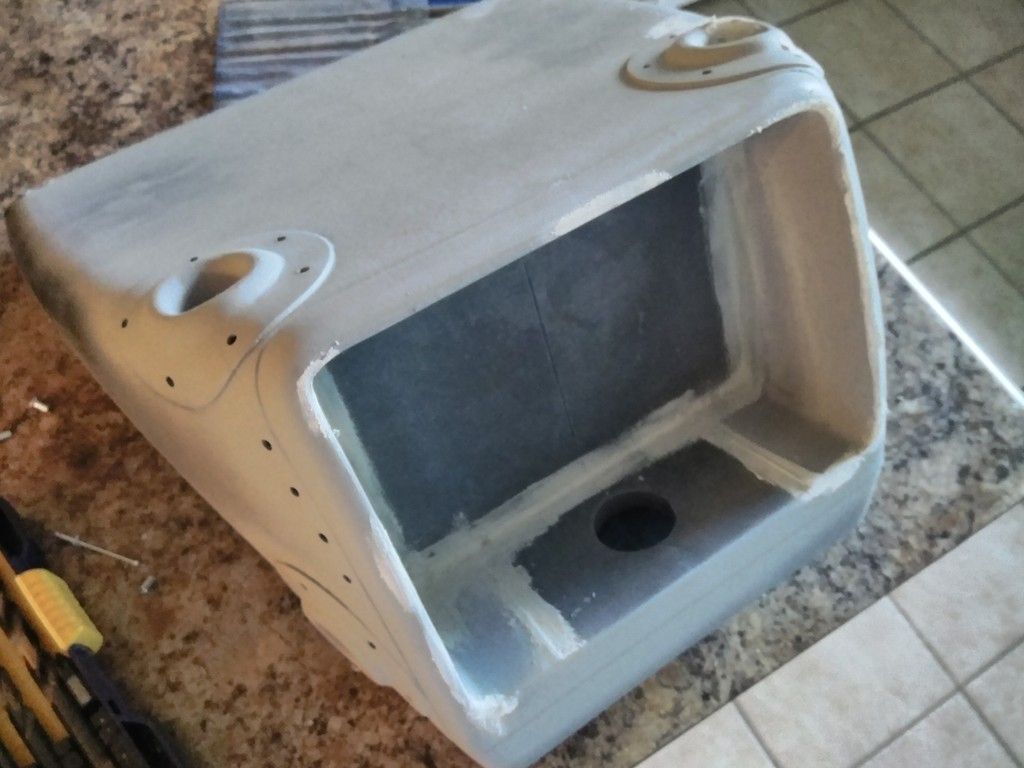
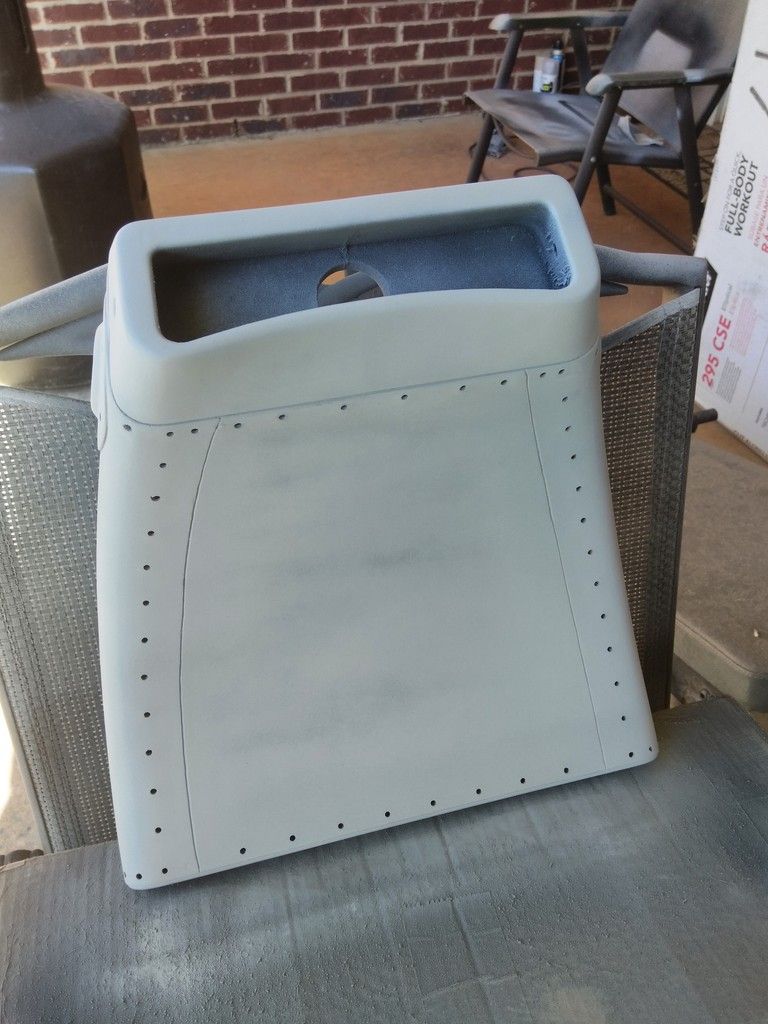
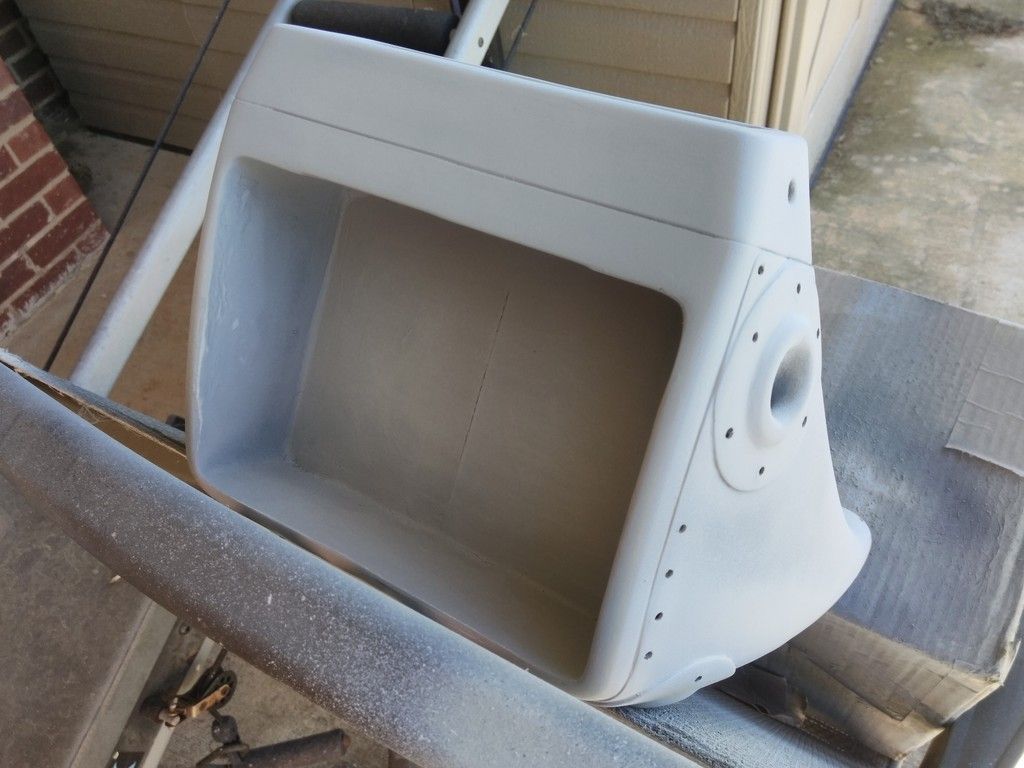
Time for the mid week update! Work on the Nav Chair Head Piece continues. This has taken a little longer than I expected. LOTS of sanding

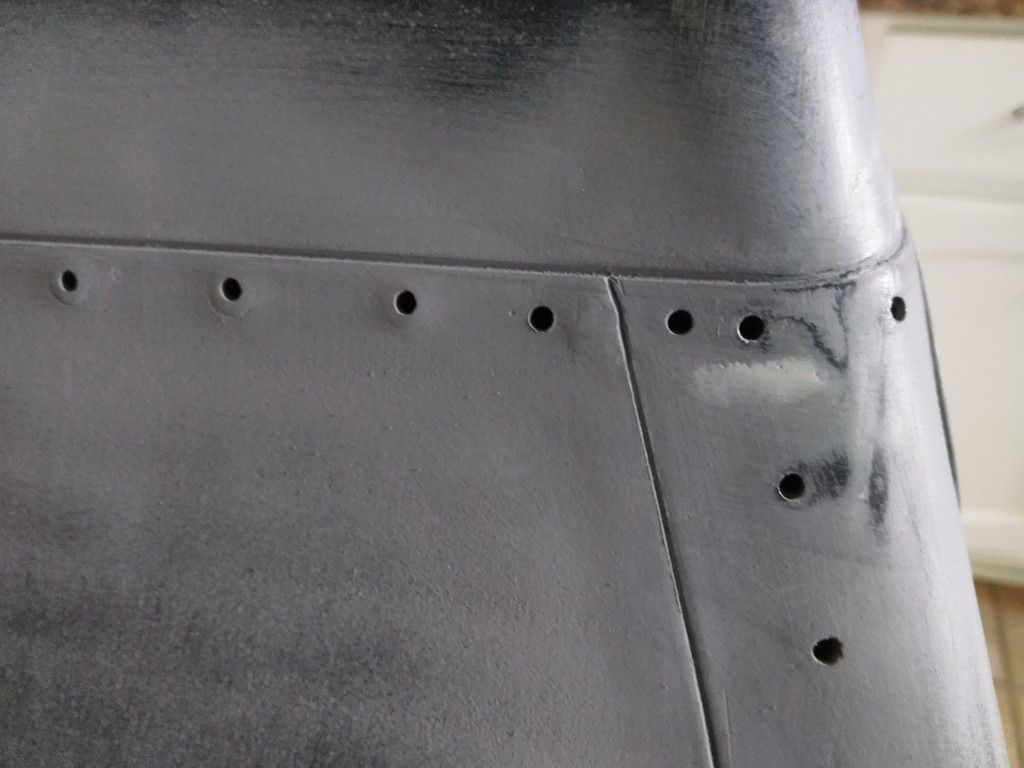
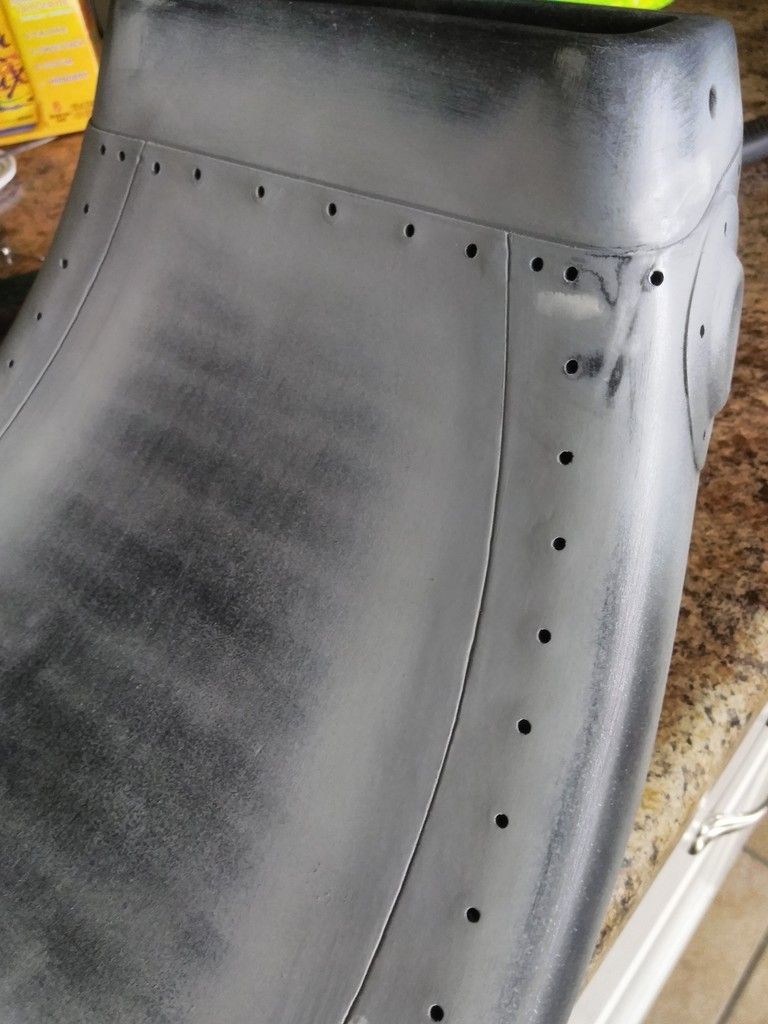
Drilled the extra holes
IMG_20180603_131215_zpsuqx9rd7l.jpg


IMG_20180603_131221_zpssablq25h.jpg


IMG_20180603_131236_zpsadhlfelh.jpg


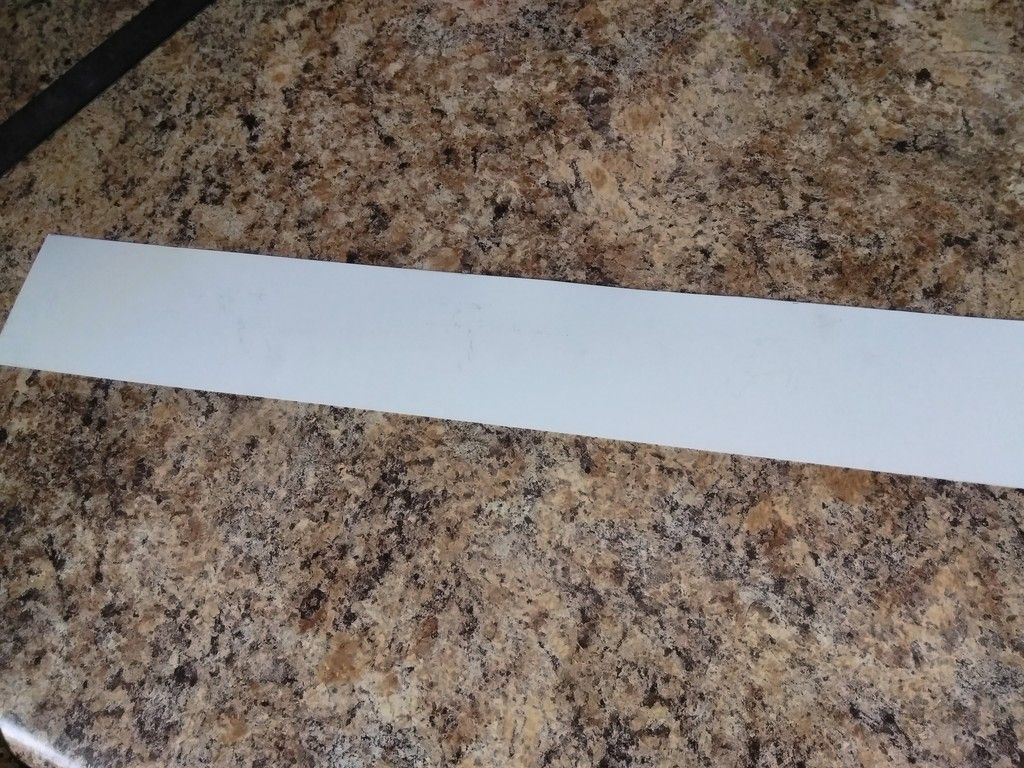
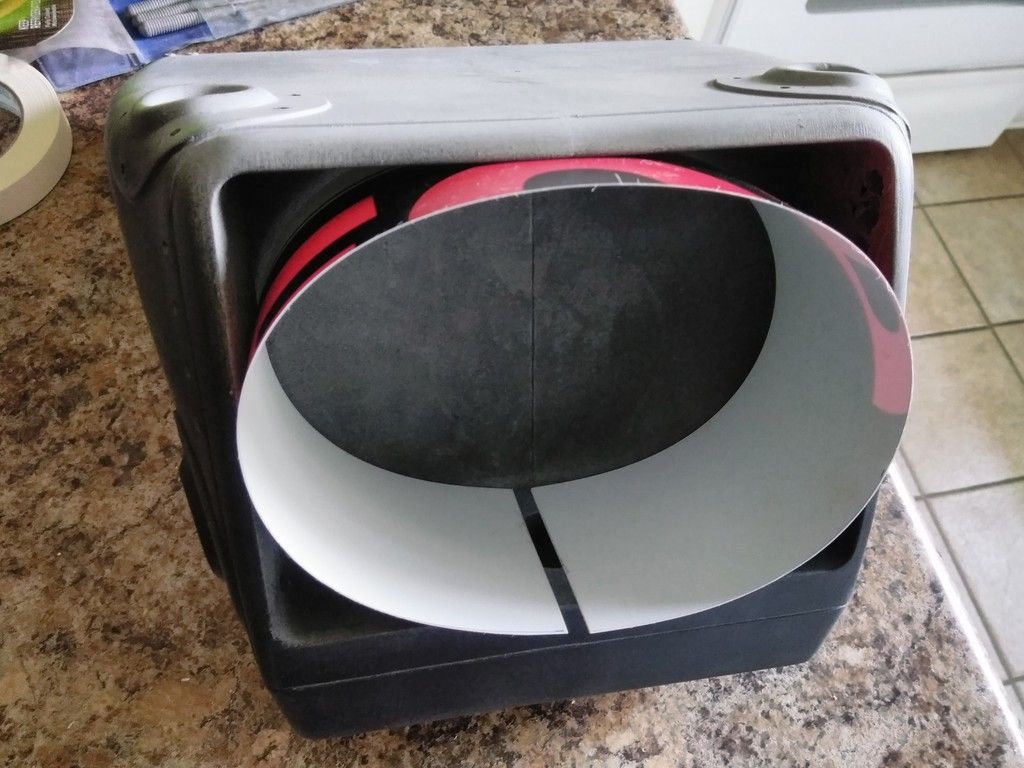
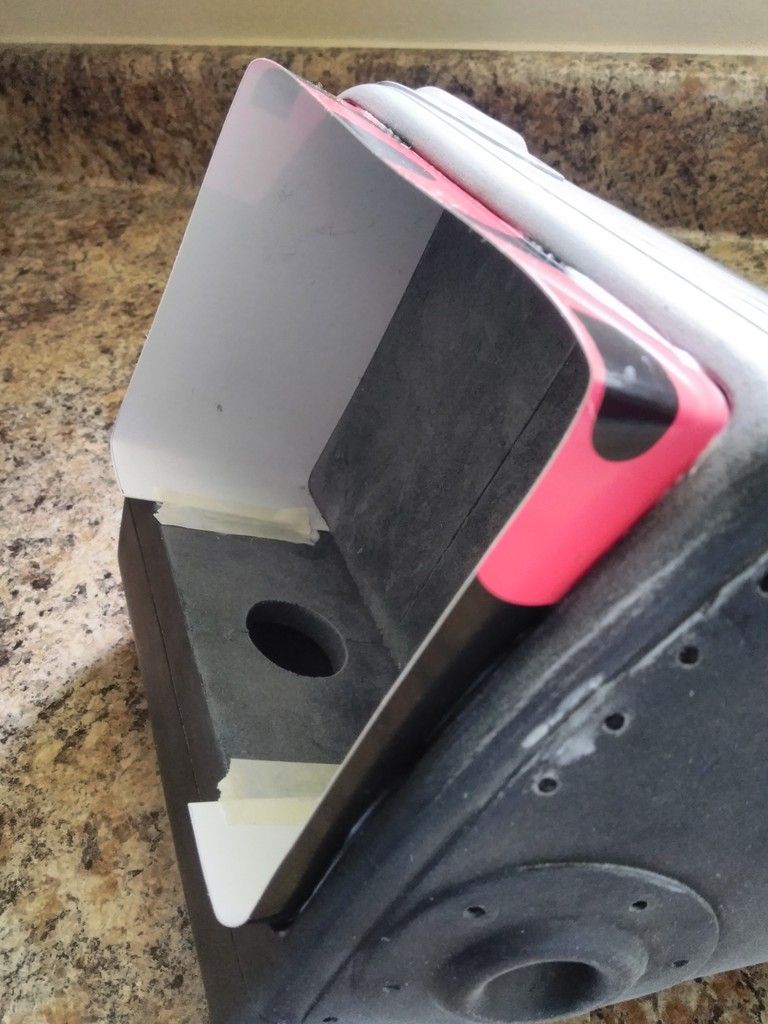
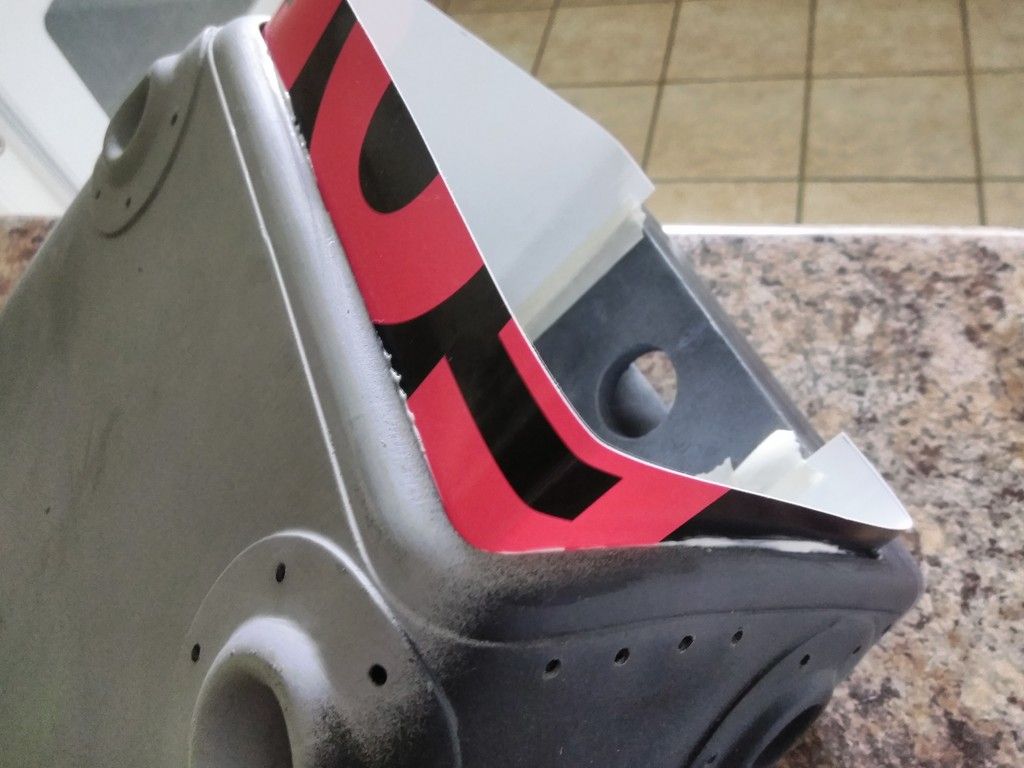
I picked up a "For Sale" sign and cut it down to size
IMG_20180603_134558_zpssksmyv6x.jpg


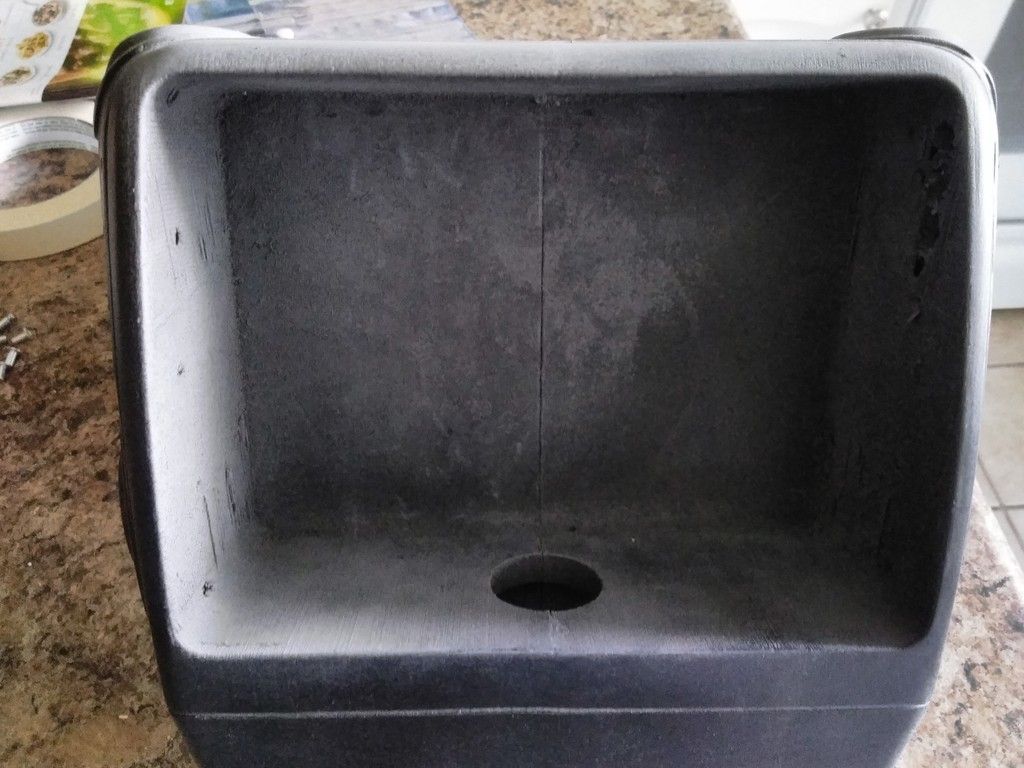
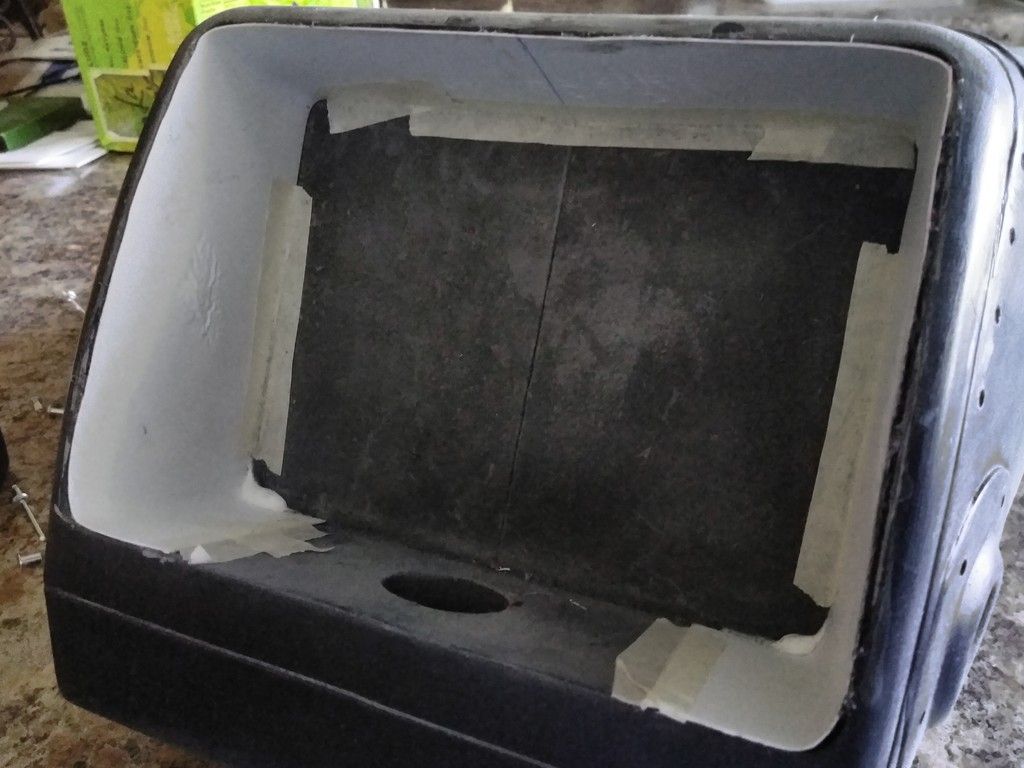
I will use the piece to wrap around the inside of the head piece
IMG_20180603_134616_zps1mzdggxk.jpg


IMG_20180603_134639_zpstcojpb16.jpg


Found center then made the appropriate bends/curves
IMG_20180603_135209_zpswysgurkb.jpg


Load it up with adhesive
IMG_20180603_135516_zps89w63vyy.jpg


Wasn't too thrilled with the "Craft" adhesive I found
IMG_20180603_135927_zps5gsdyzox.jpg


IMG_20180603_135936_zpsirotzwiq.jpg


Looks pretty good. Now I wait for 24 hours
IMG_20180603_135947_zpsk502bp9t.jpg


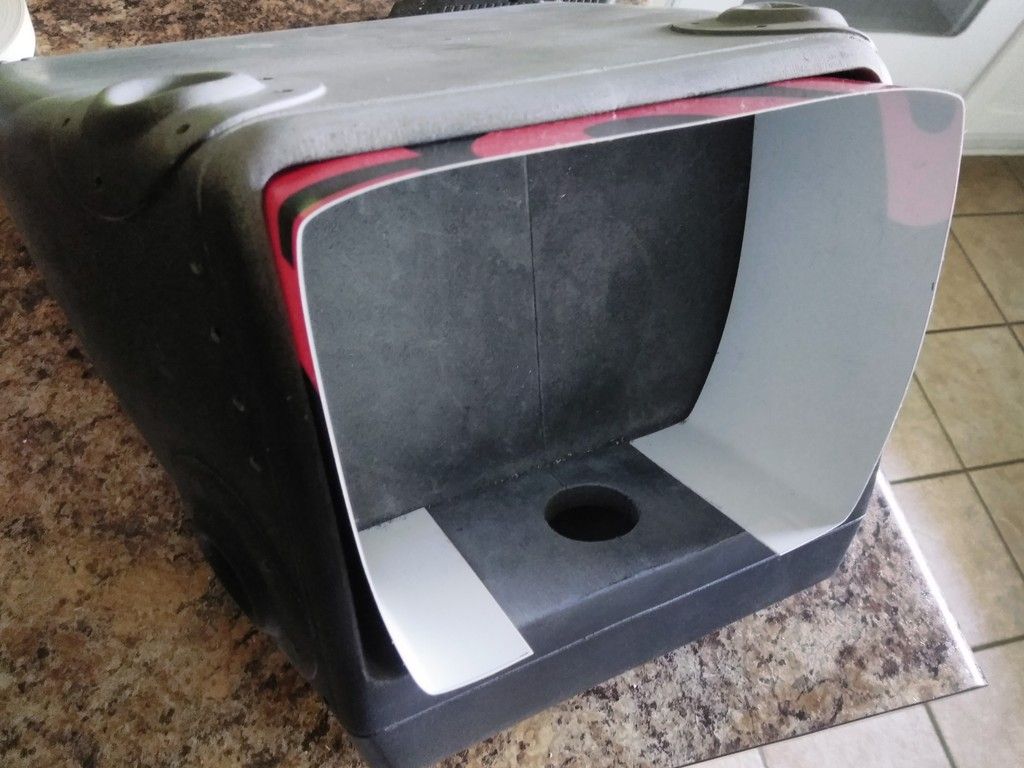
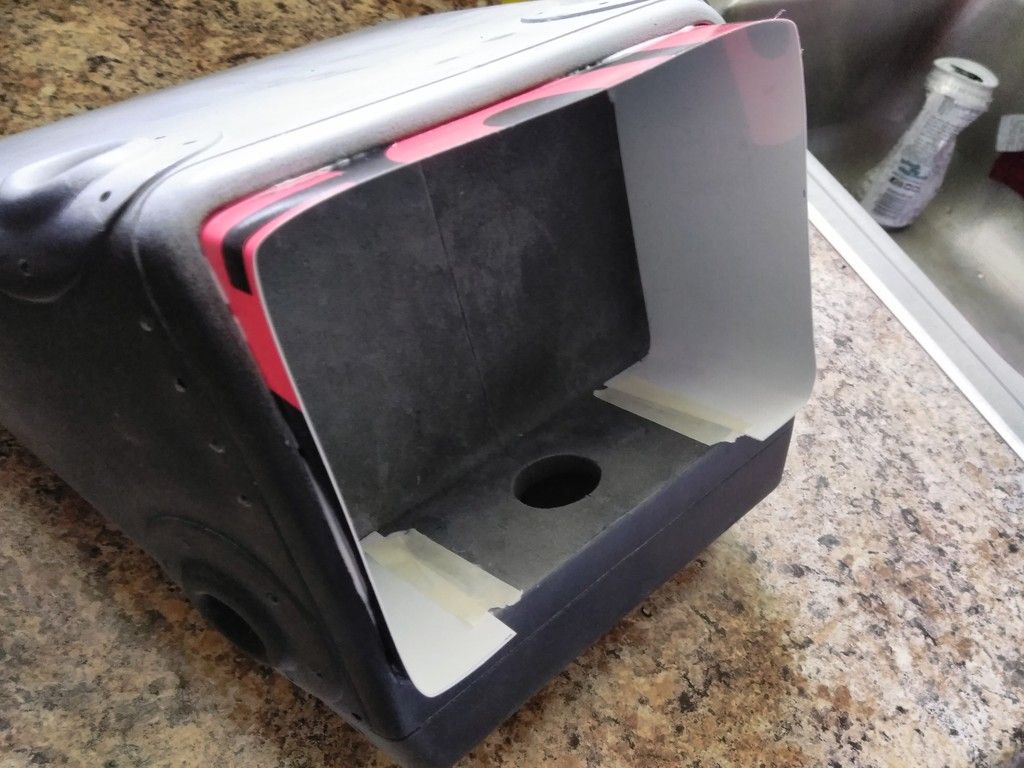
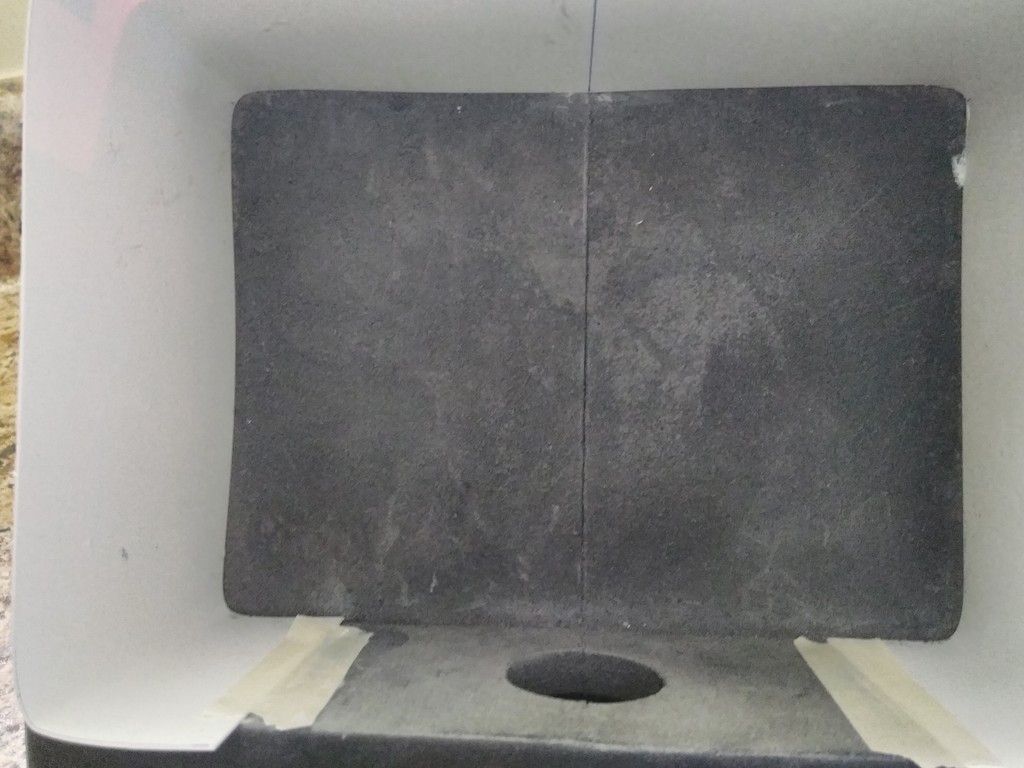
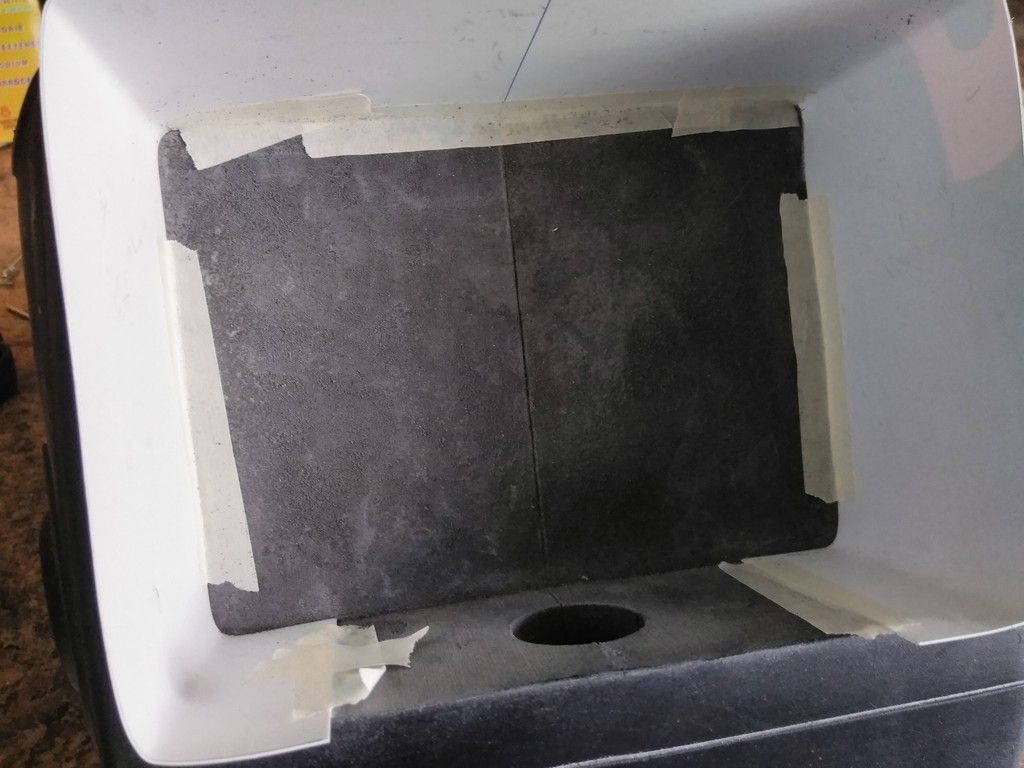
The plastic was slipping and sliding out of place - add some tape
IMG_20180603_140436_zpsvr3thygq.jpg


IMG_20180603_140443_zpsvj9c9bxe.jpg


24 hours later I cut the piece down to size and it still slipped out of position
IMG_20180603_161258_zpskiqpv0e6.jpg


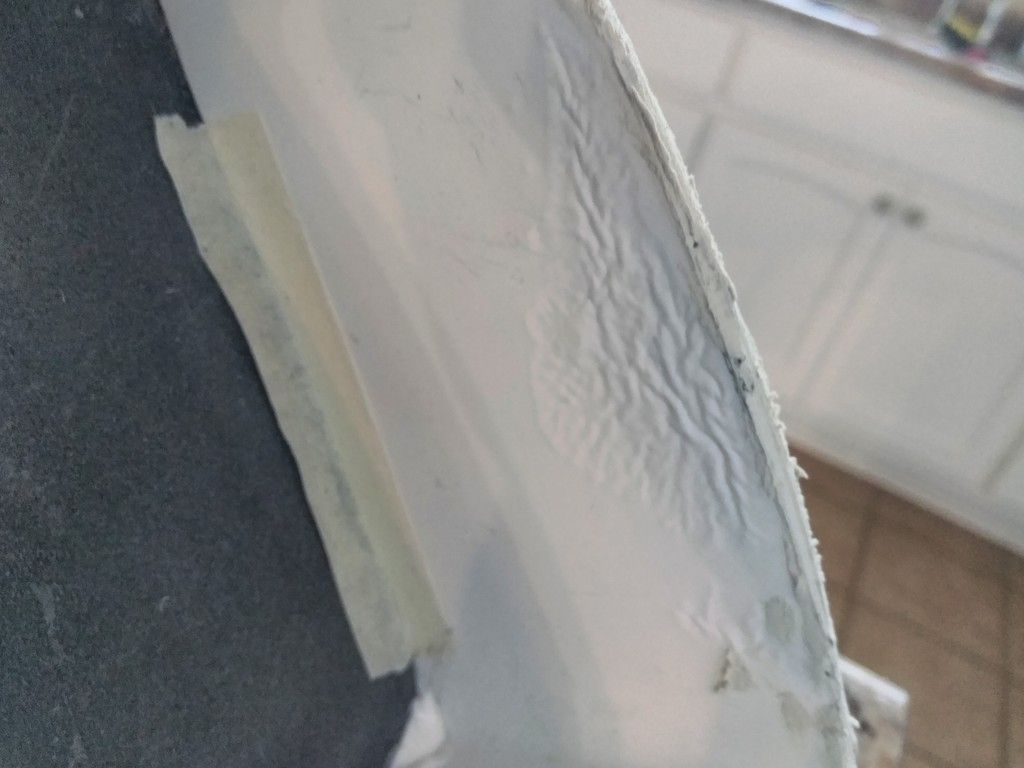
I tried using acrylic adhesive but that proved a bit too strong for the thin sign material
IMG_20180603_170013_zpsvmzwojqt.jpg


YIKES!
IMG_20180603_181615_zps0mpwdpt3.jpg


Lets march forward and get these edges cleaned up
IMG_20180603_181608_zpsxsxz1egi.jpg


IMG_20180603_181627_zpsjlg2nm3l.jpg


UGLY!
IMG_20180603_181634_zpso5yol43l.jpg


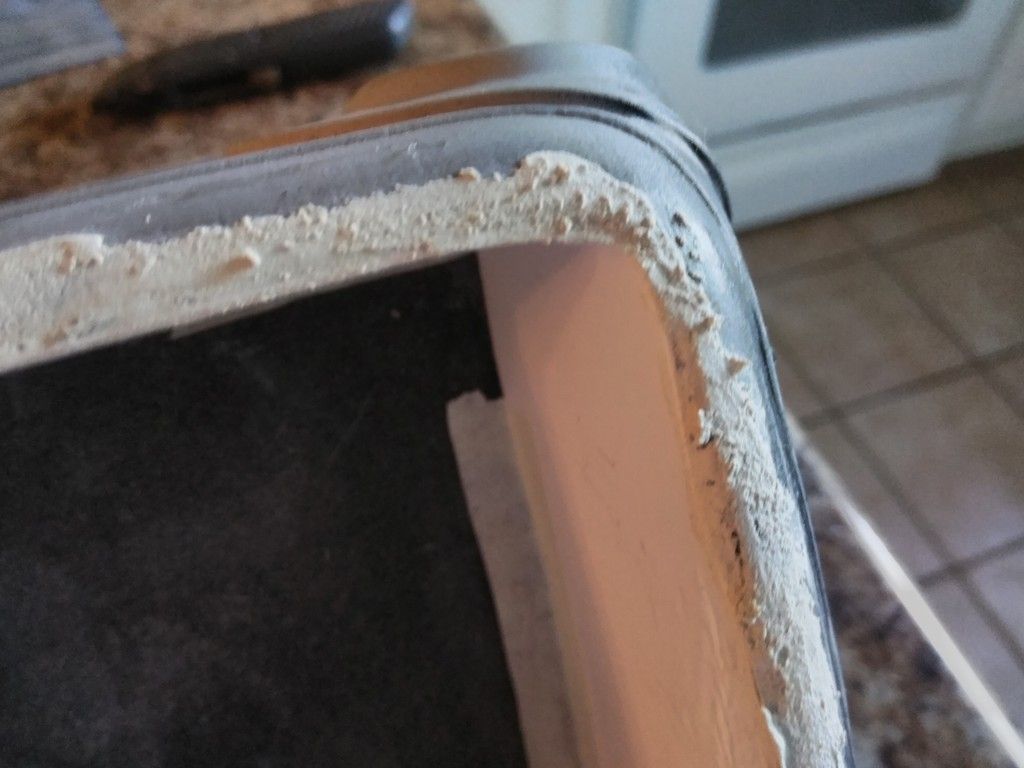
1st round of sanding and primer
IMG_20180604_171229_zpsfybyda50.jpg


Even still... the adhesive did not take
IMG_20180604_171237_zpsqyhih3qa.jpg


More clean up
IMG_20180604_171243_zpsawke9ejh.jpg


IMG_20180604_171248_zps6wfppcuv.jpg


IMG_20180604_171256_zpseicsyx4f.jpg


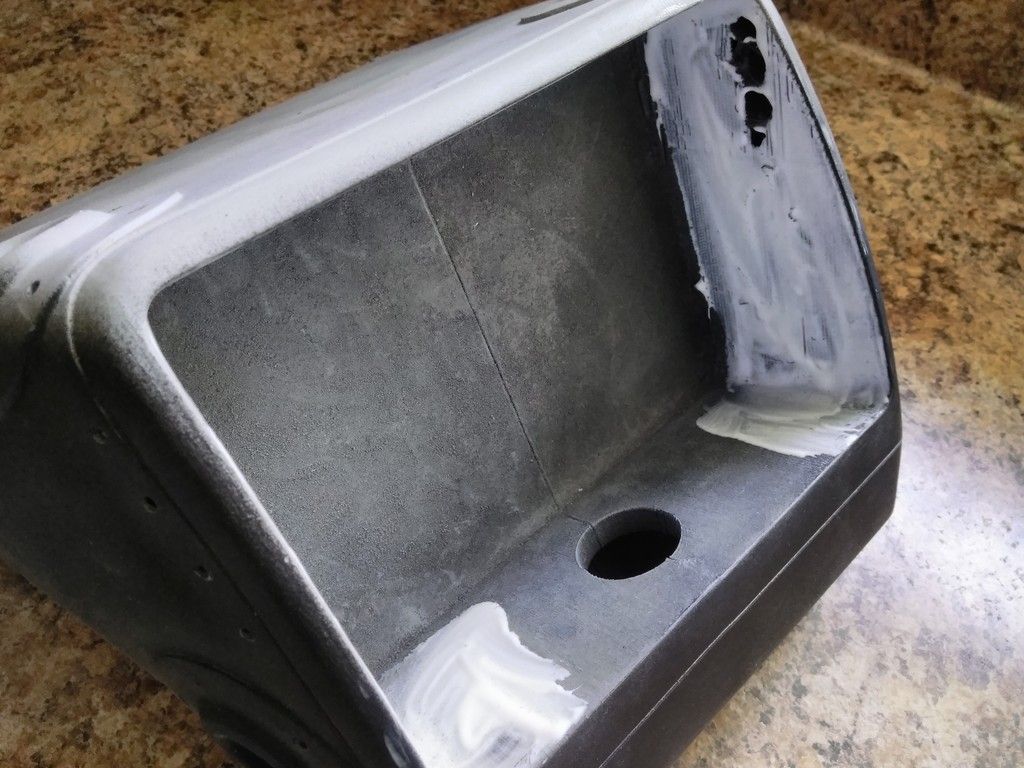
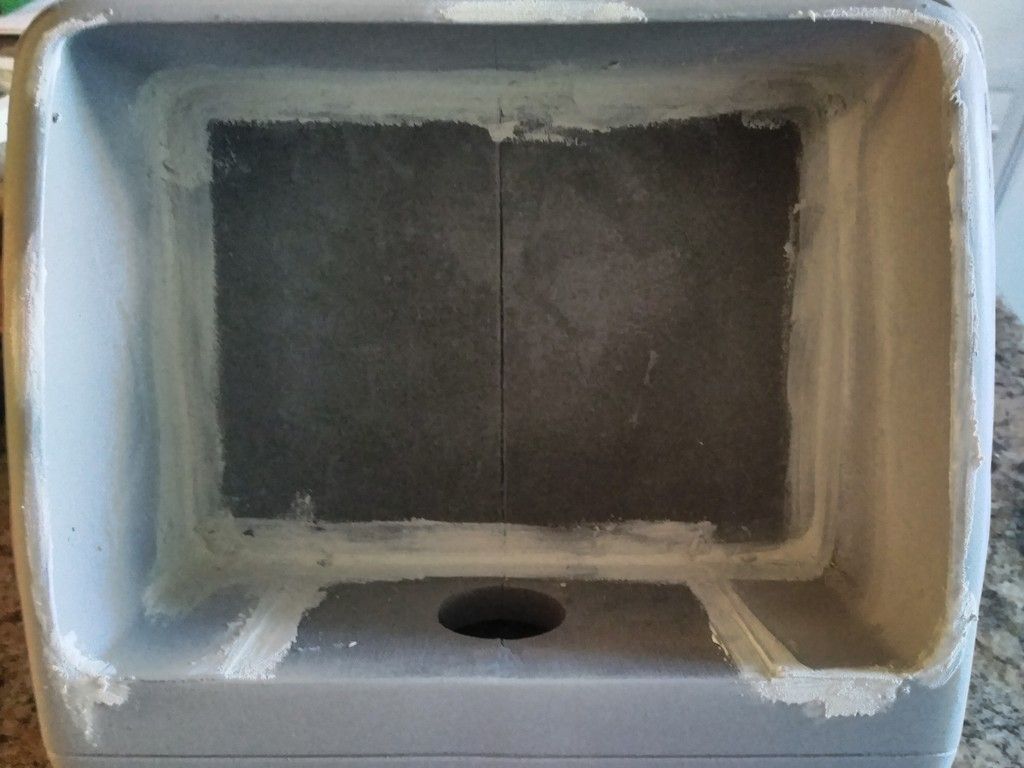
I removed all the extra adhesive, laid some superglue in place and then filled in all the bad areas and edges
IMG_20180604_185733_zpsj6n1fr20.jpg


IMG_20180604_185742_zpsed0ea7m5.jpg


More areas to fix
IMG_20180604_185750_zpsv2p008cq.jpg


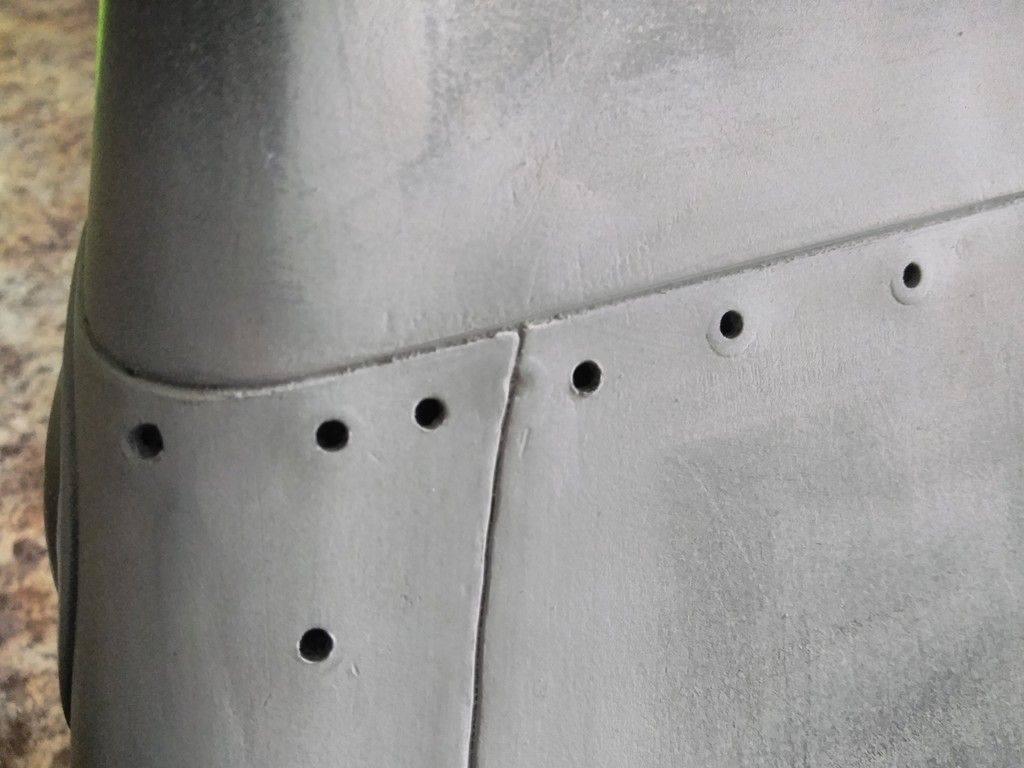
And this is where we are!
IMG_20180604_185804_zpscgxw2xb3.jpg


Stay Tuned! I'll be starting a part of the ship that will help compliment the Nav Chair! :)
 
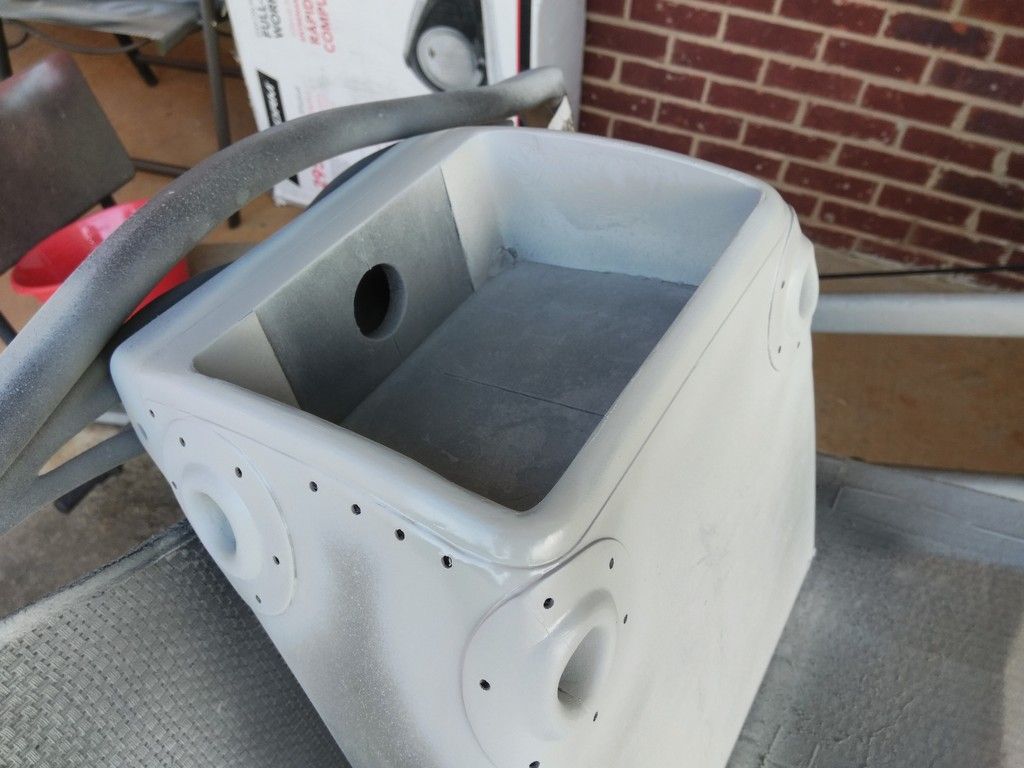
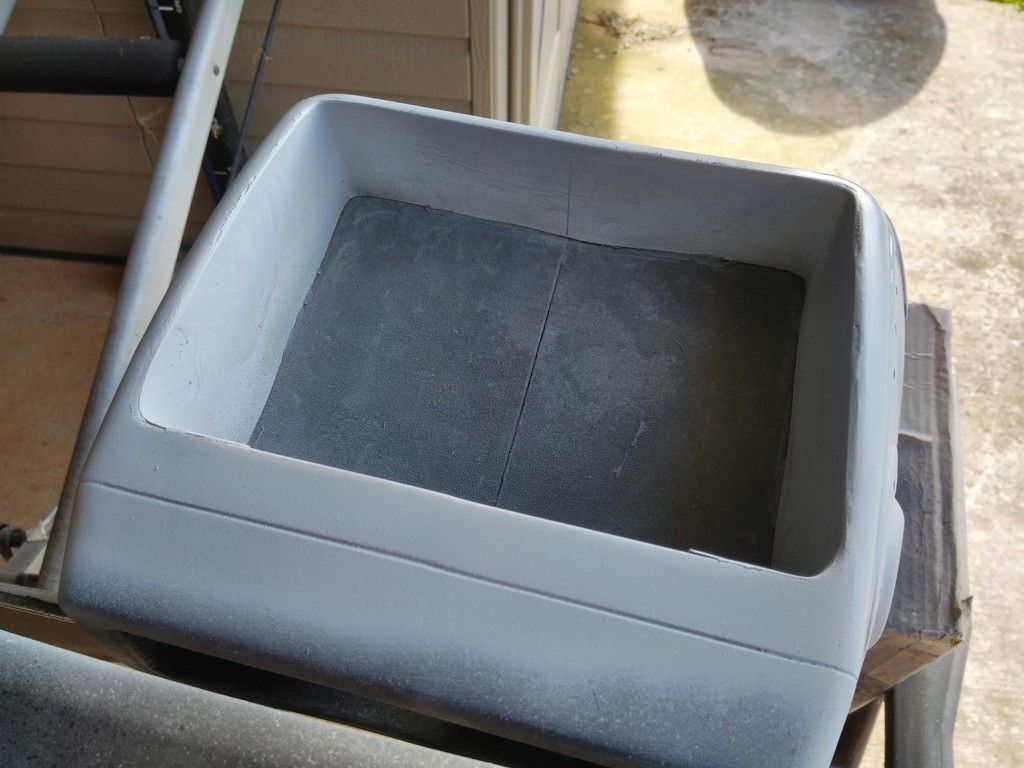
Hi Gang,

I love the Nav Chair head piece... BUT even I have breaking point!

Another coat of primer
IMG_20180606_164809_zpsh5swdsl9.jpg


IMG_20180606_164838_zpsm1v8wqfy.jpg


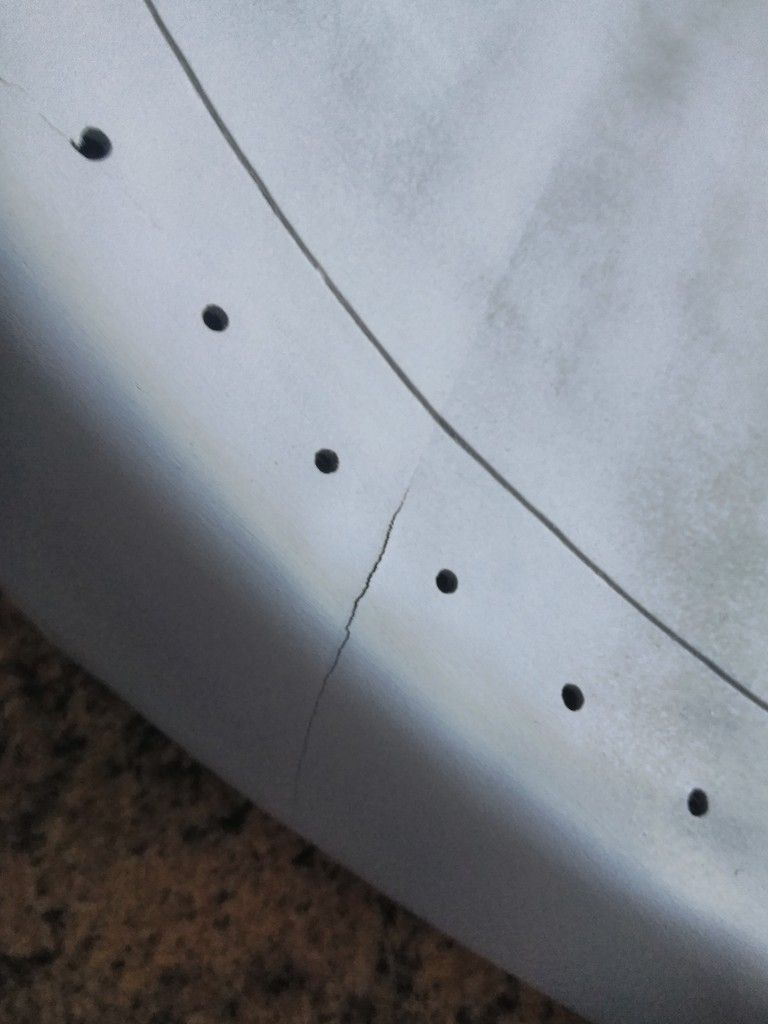
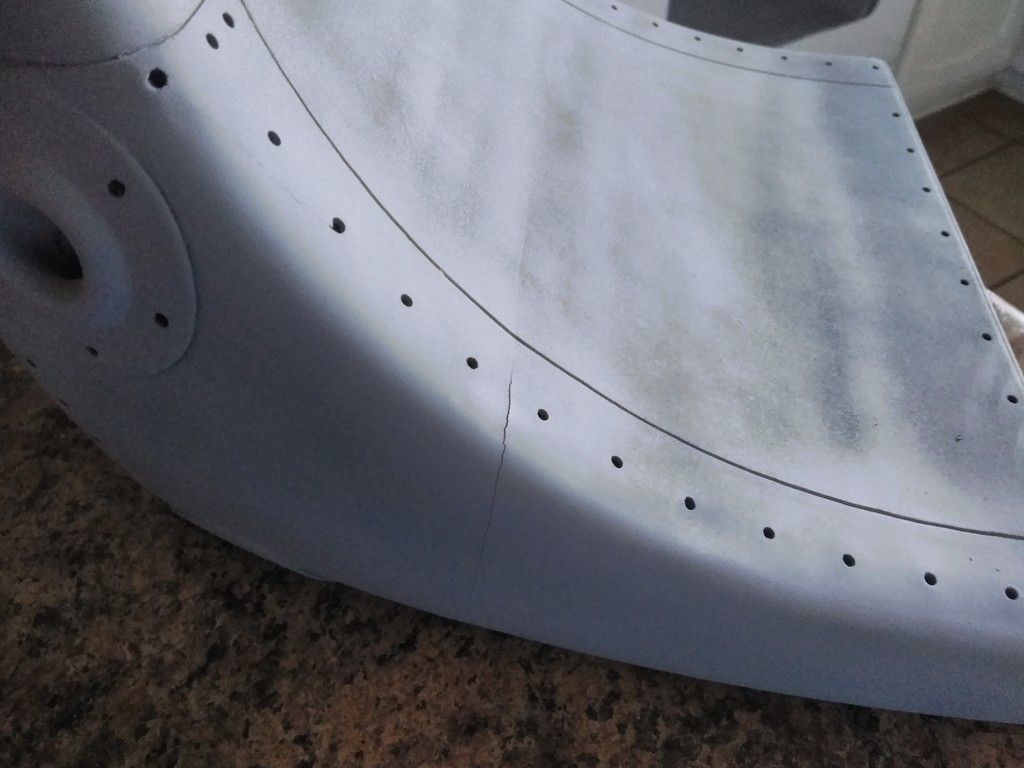
I left the piece in the sun for 15min... CRACKS and warping!
IMG_20180606_175214_zpsuzly8bov.jpg


IMG_20180606_175222_zpsphxzcyqa.jpg


UGH!:facepalm

More to Follow
 
Last edited:

Your message may be considered spam for the following reasons:

If you wish to reply despite these issues, check the box below before replying.
Be aware that malicious compliance may result in more severe penalties.
Back
Top