Oh, great... Now you need to build an R2 unit to plug him in to fix the hyperdrive!
You know... sometimes I dont understand human behavior
")
Oh, great... Now you need to build an R2 unit to plug him in to fix the hyperdrive!
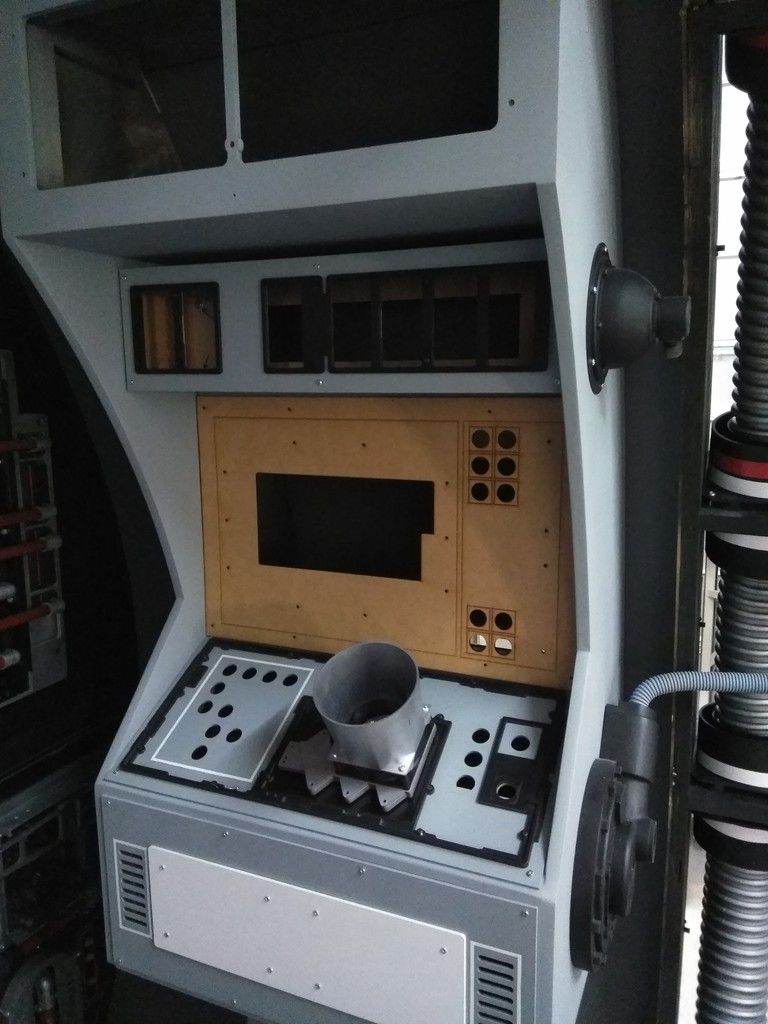
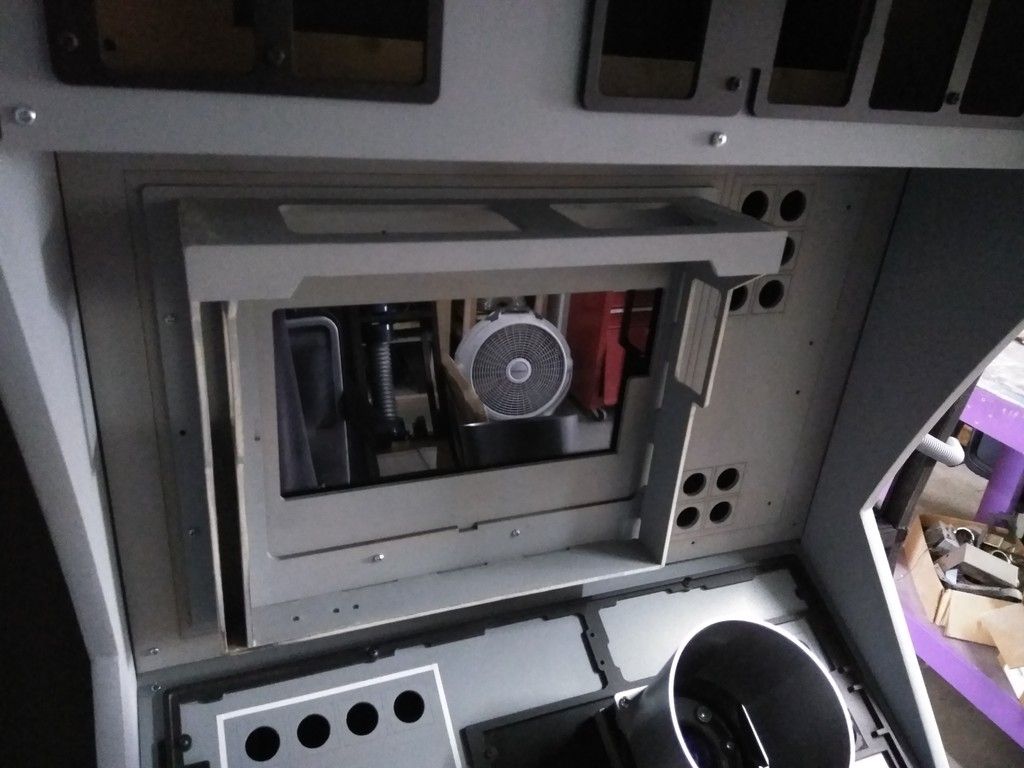
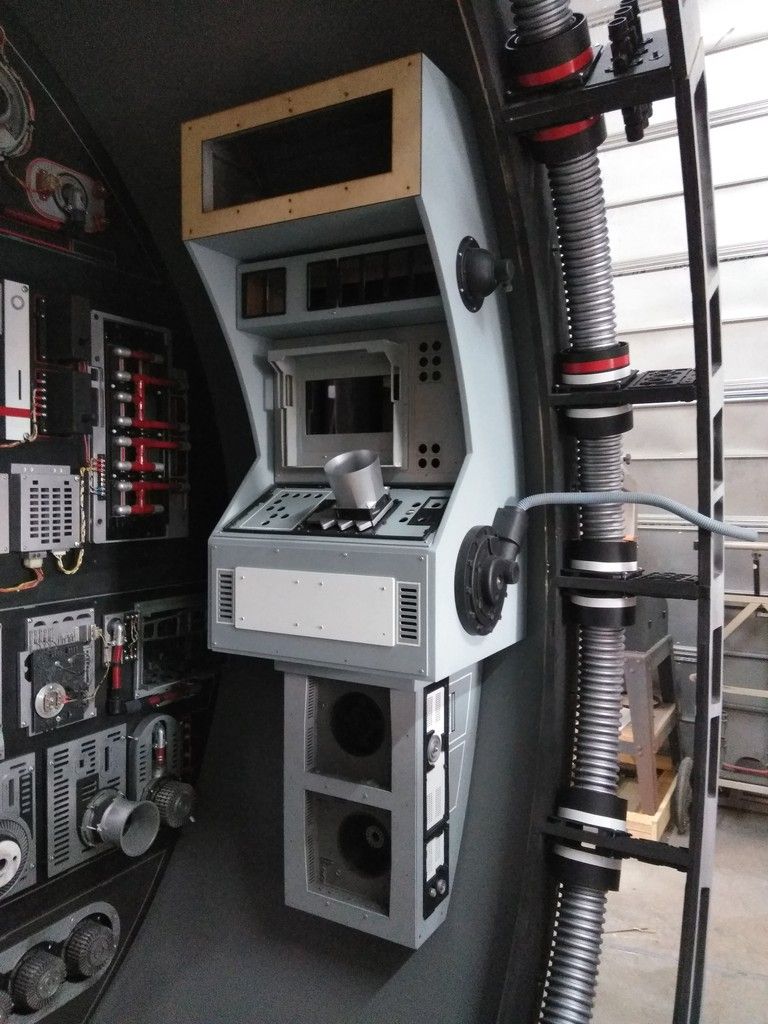
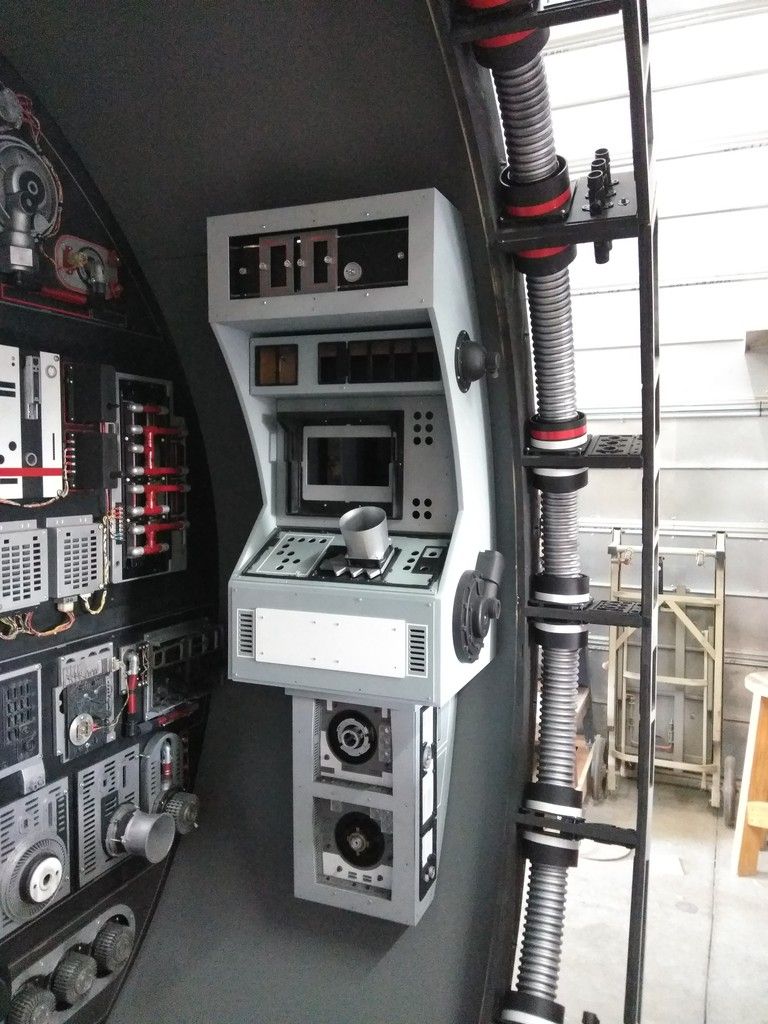
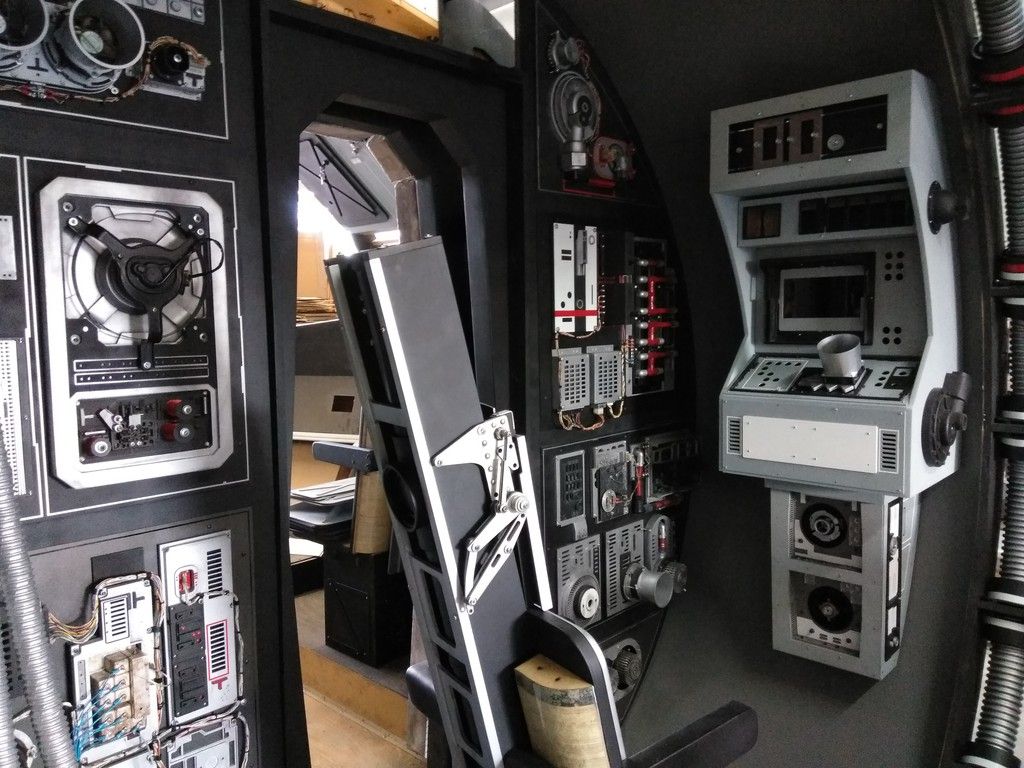
That update surely rocks Sofa:cool Wow, the amount of work/details is staggering!! Btw, that famous hose at the right hand side of the console is still "off" (my 2 cents). Why not pivot the main "hose holder" toward the bottom? That way, the hose can be attached at the bottom of the curved wall...with the proper attachment to hold that hose in place?
hi thanks, yes i guess thats a lot of fun working together with your friends, hahaha mad house zoo lol:lol
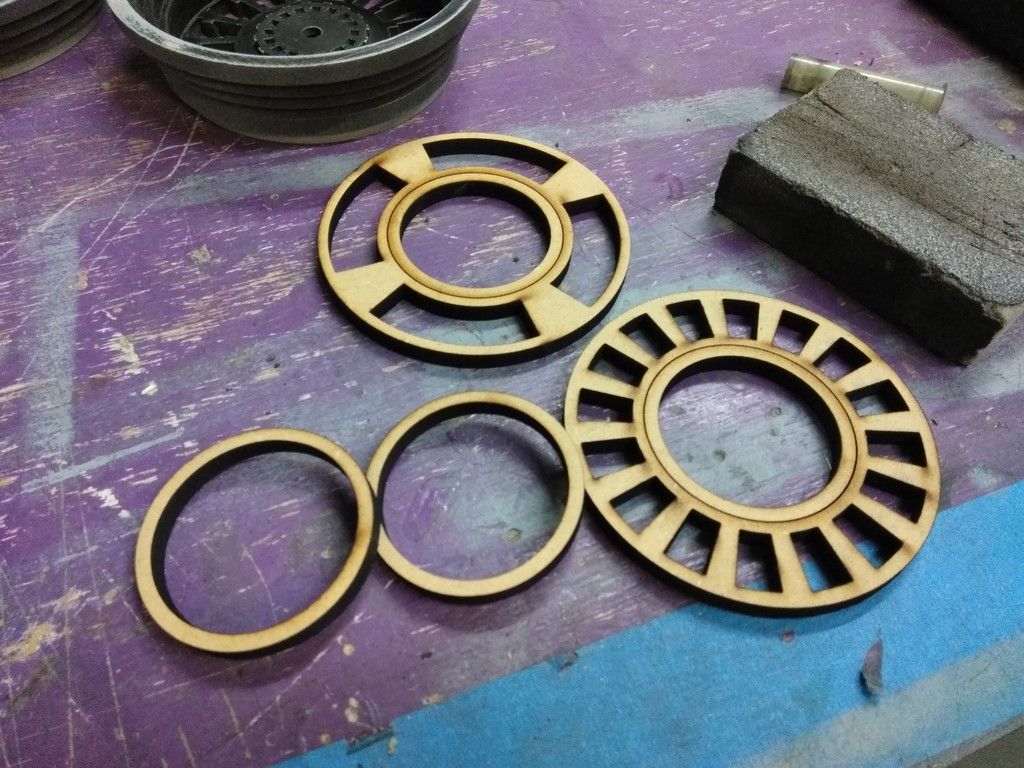
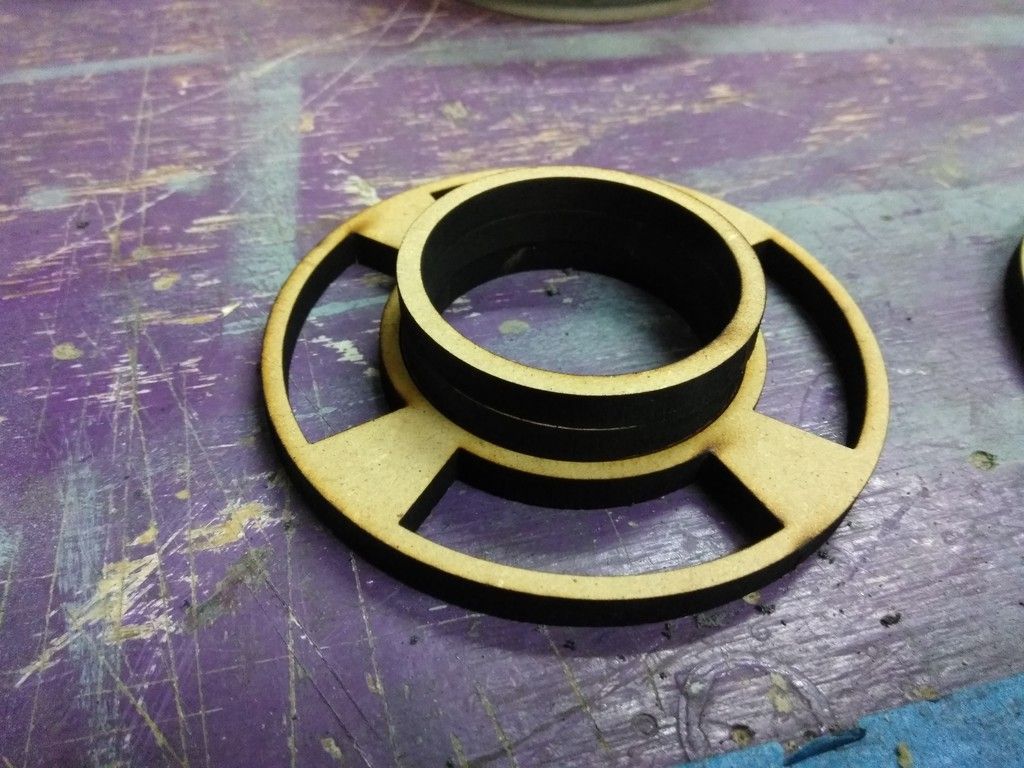
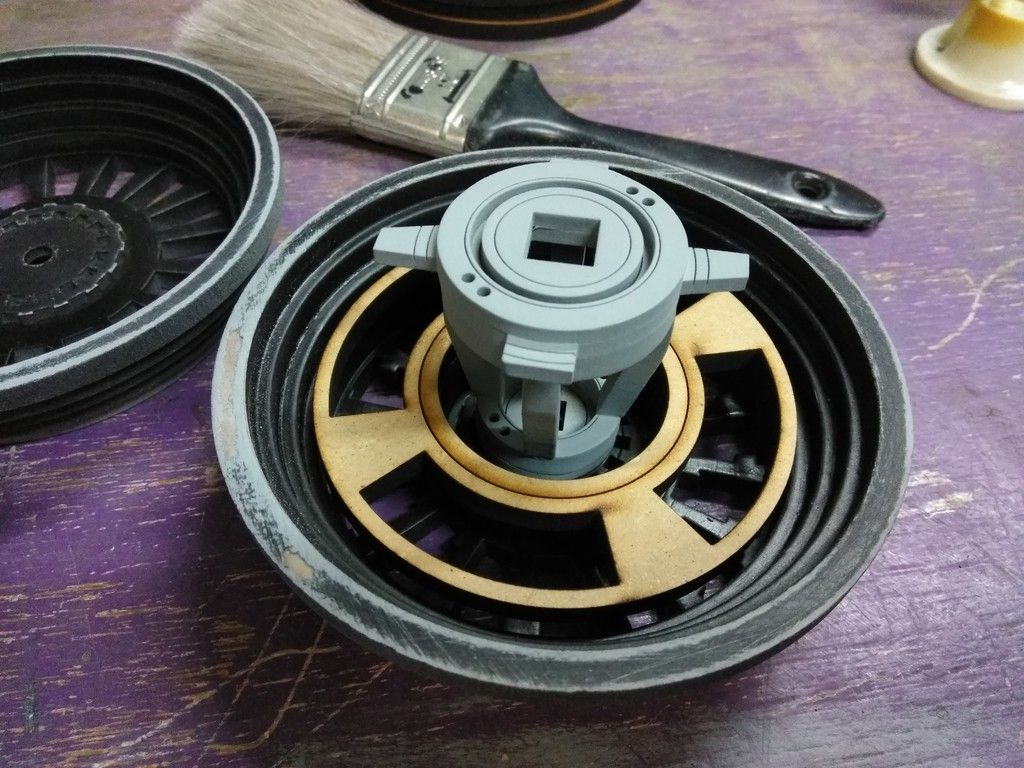
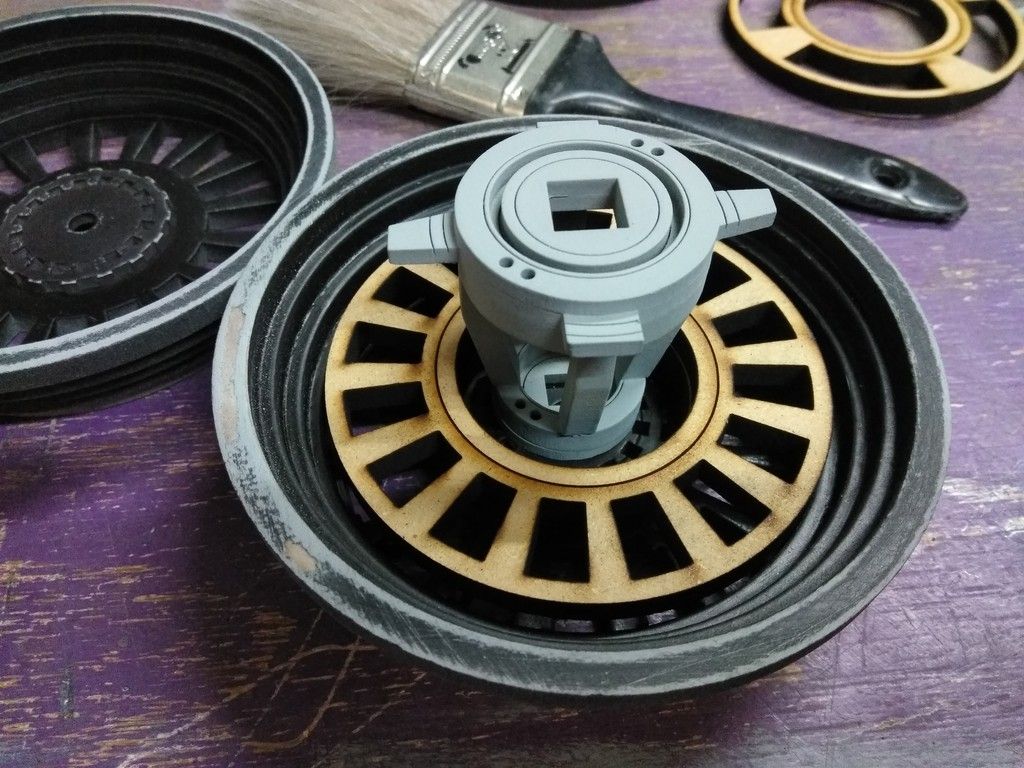
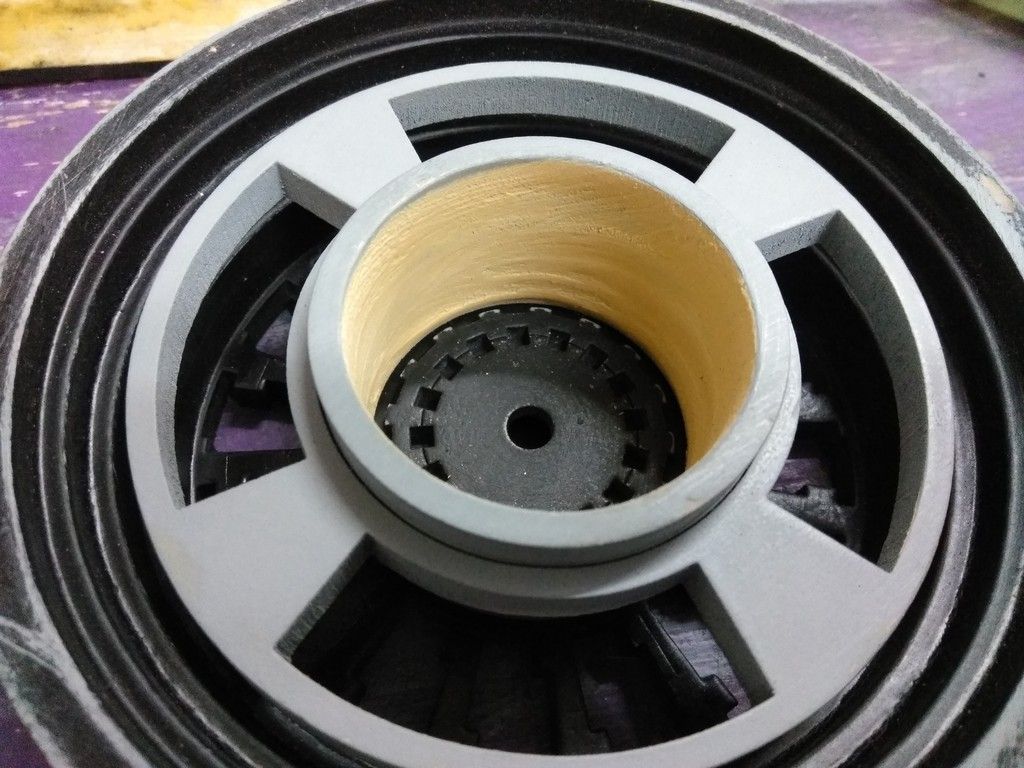
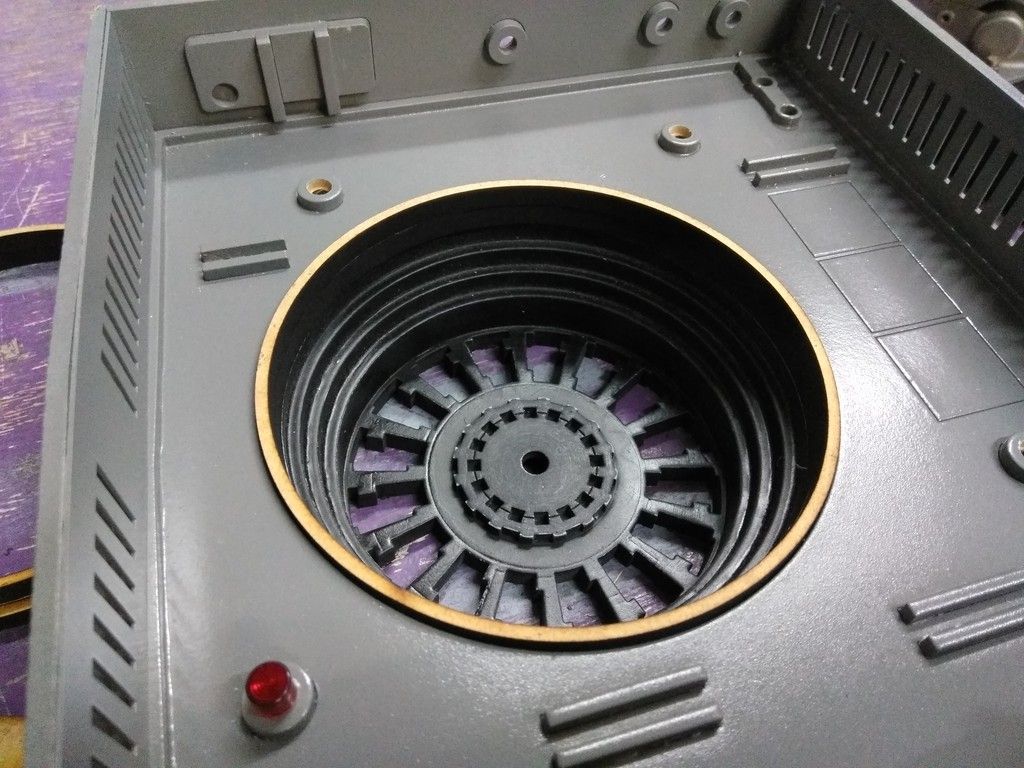
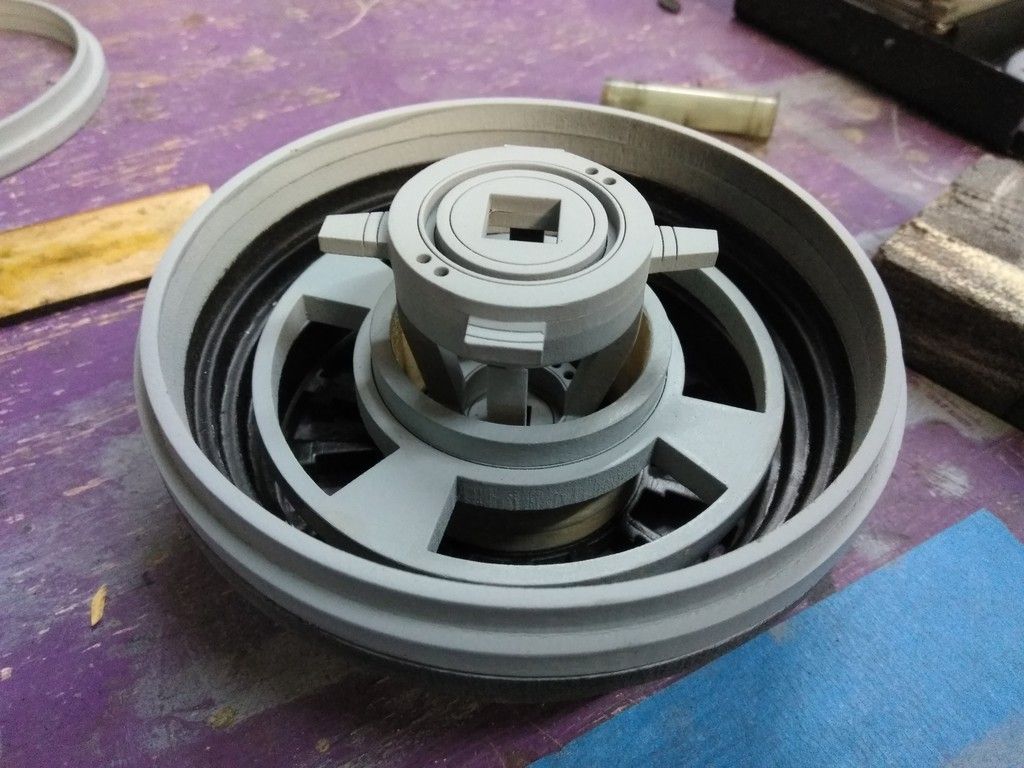
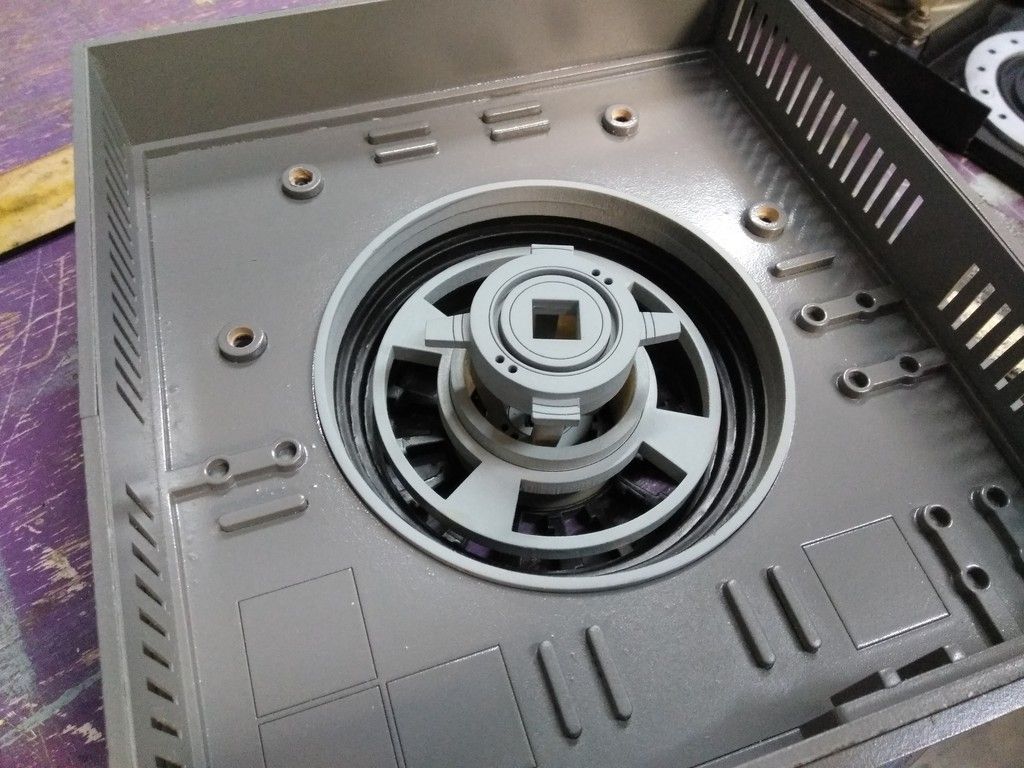
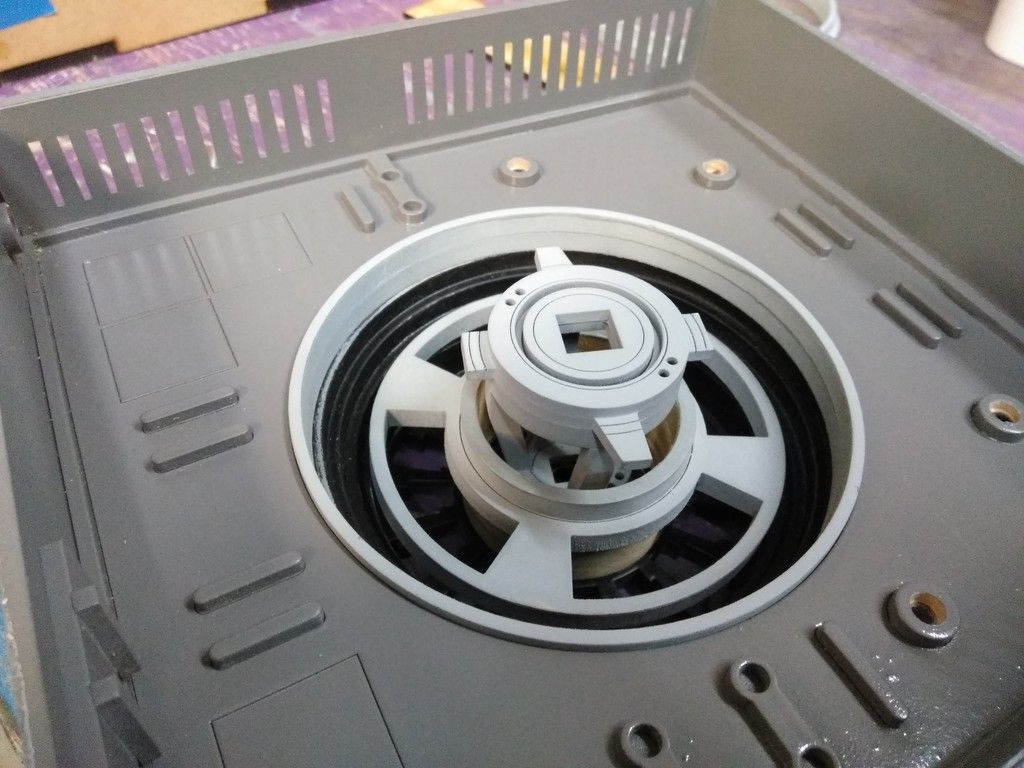
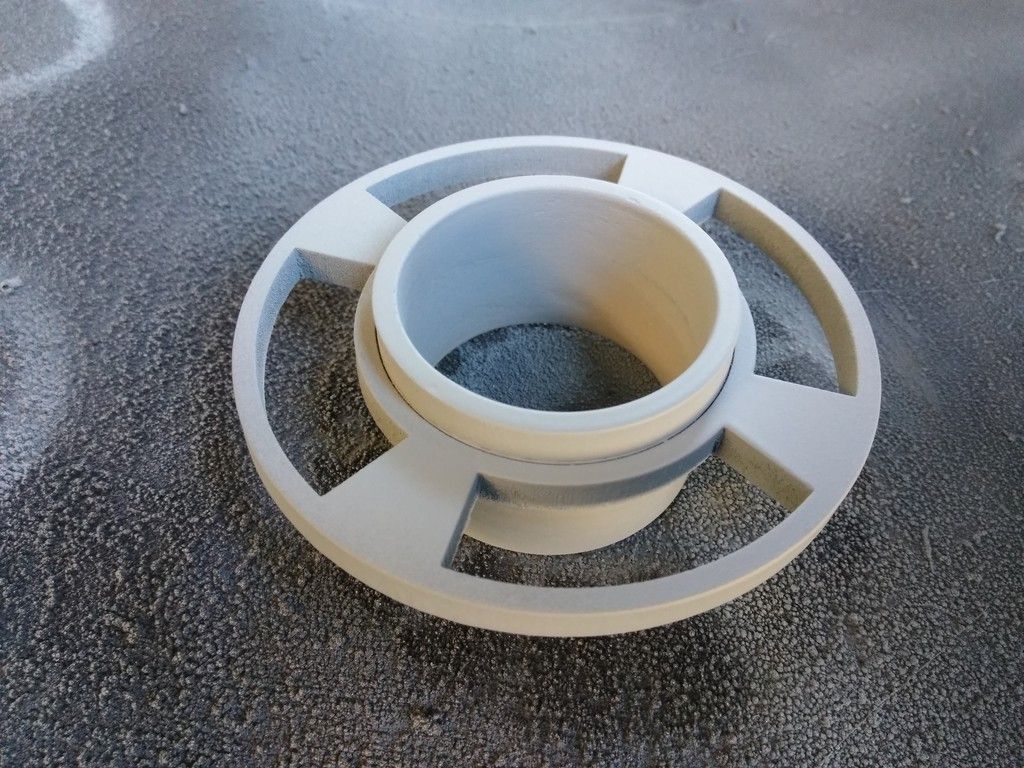
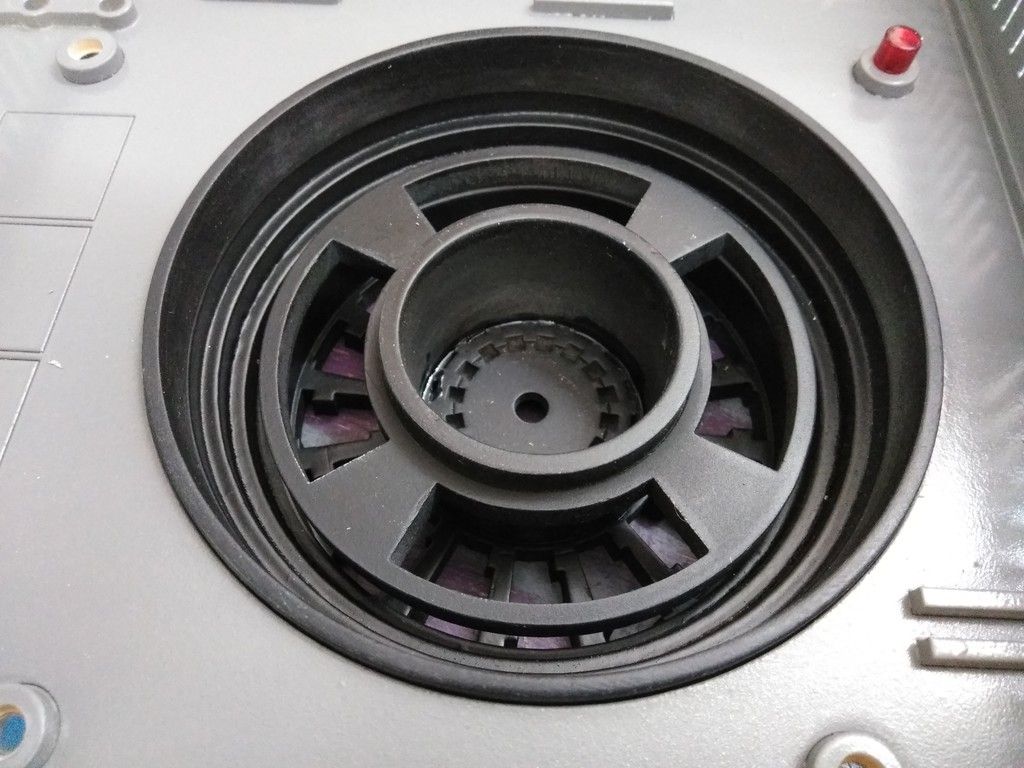
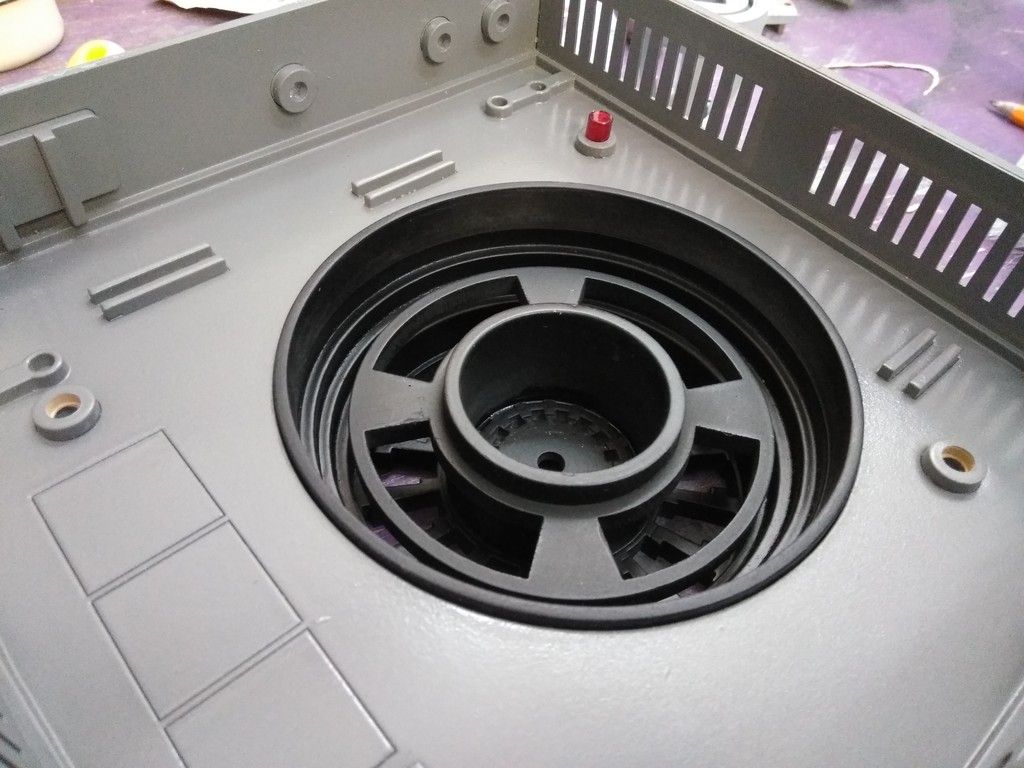
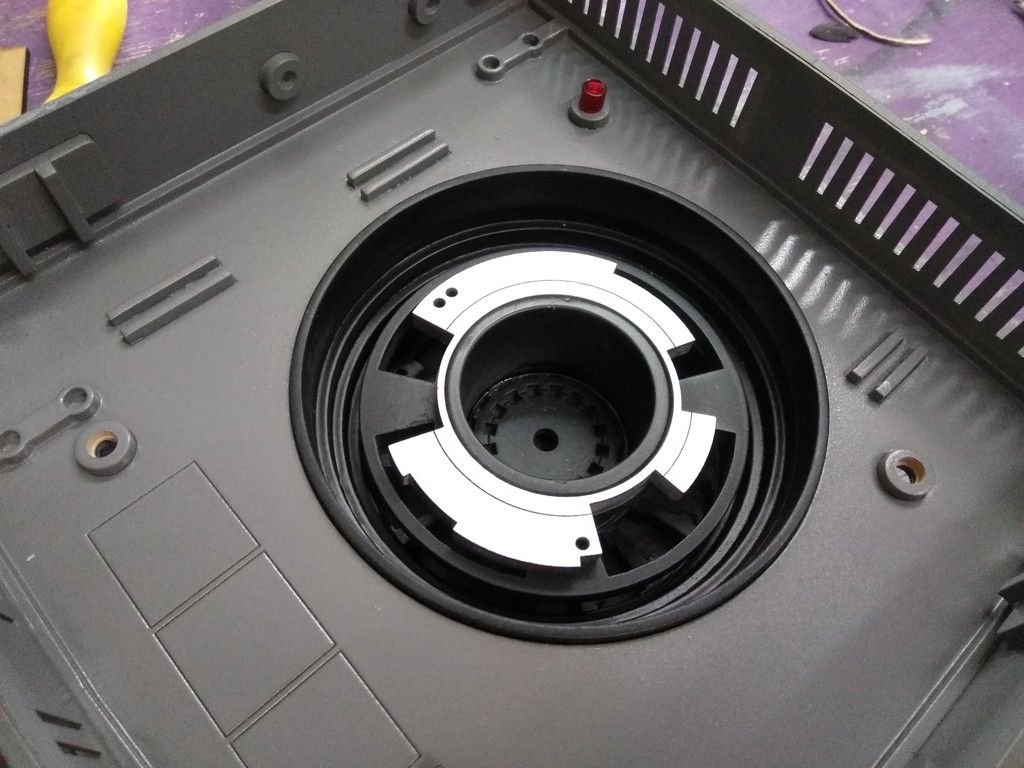
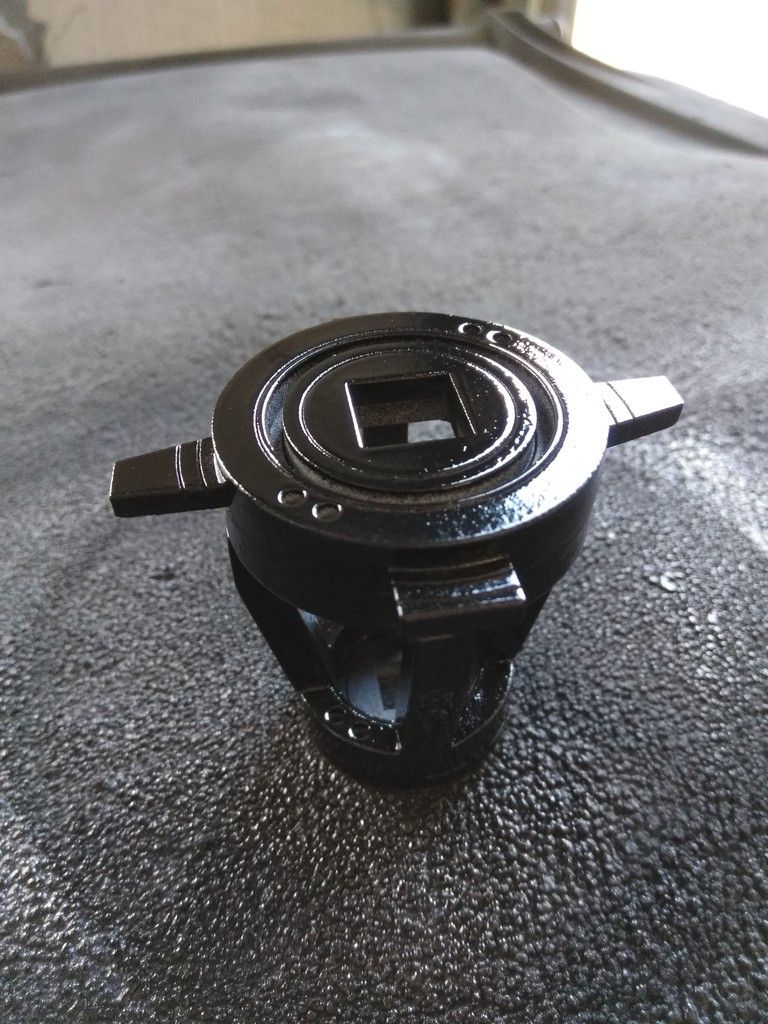
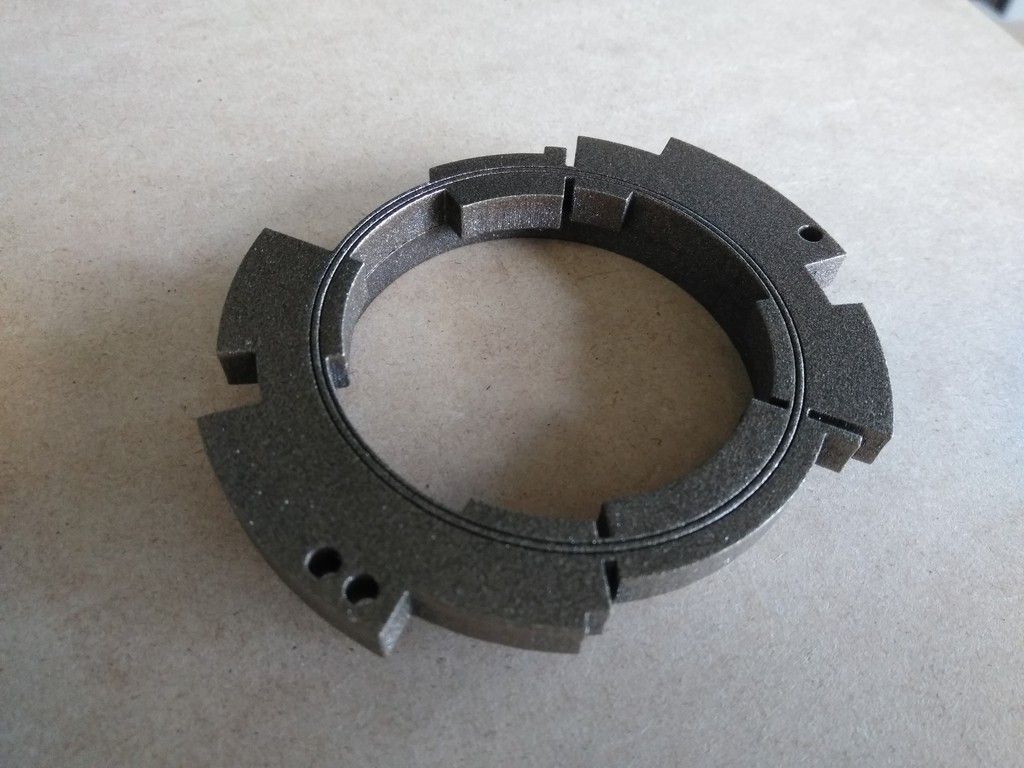
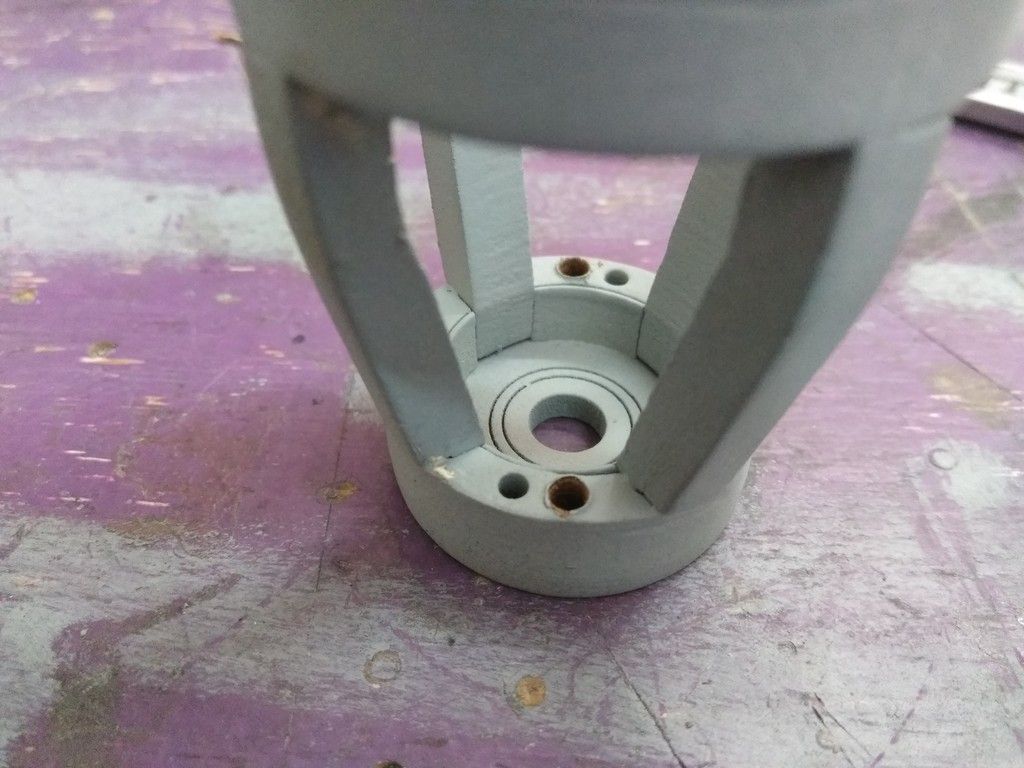
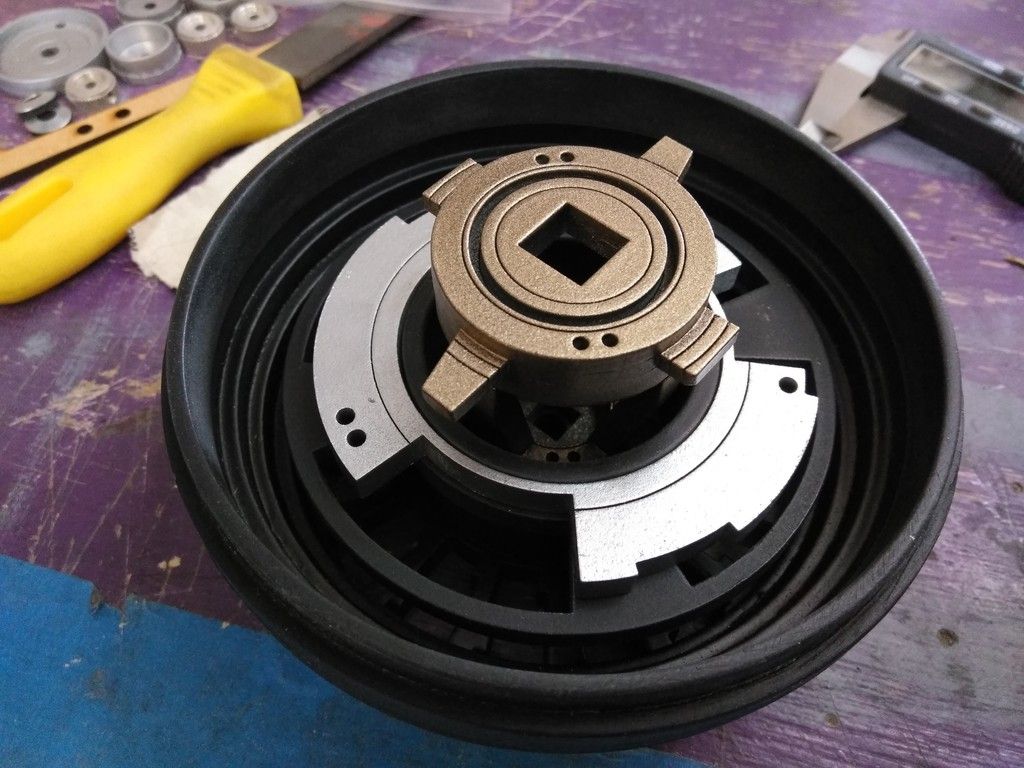
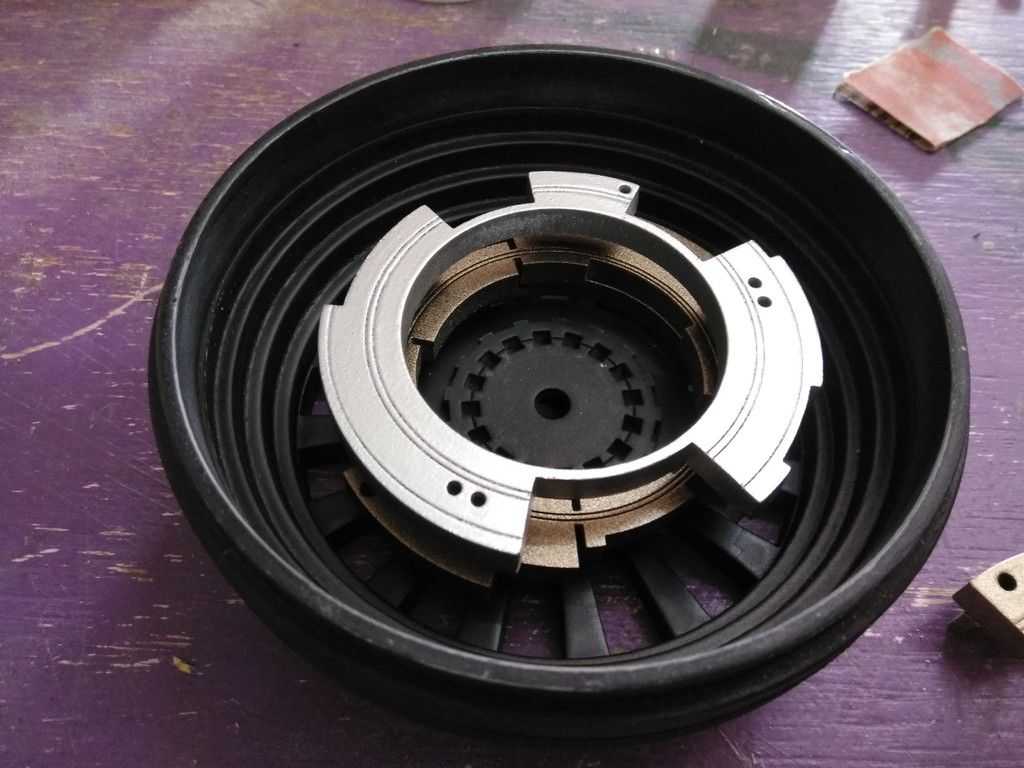
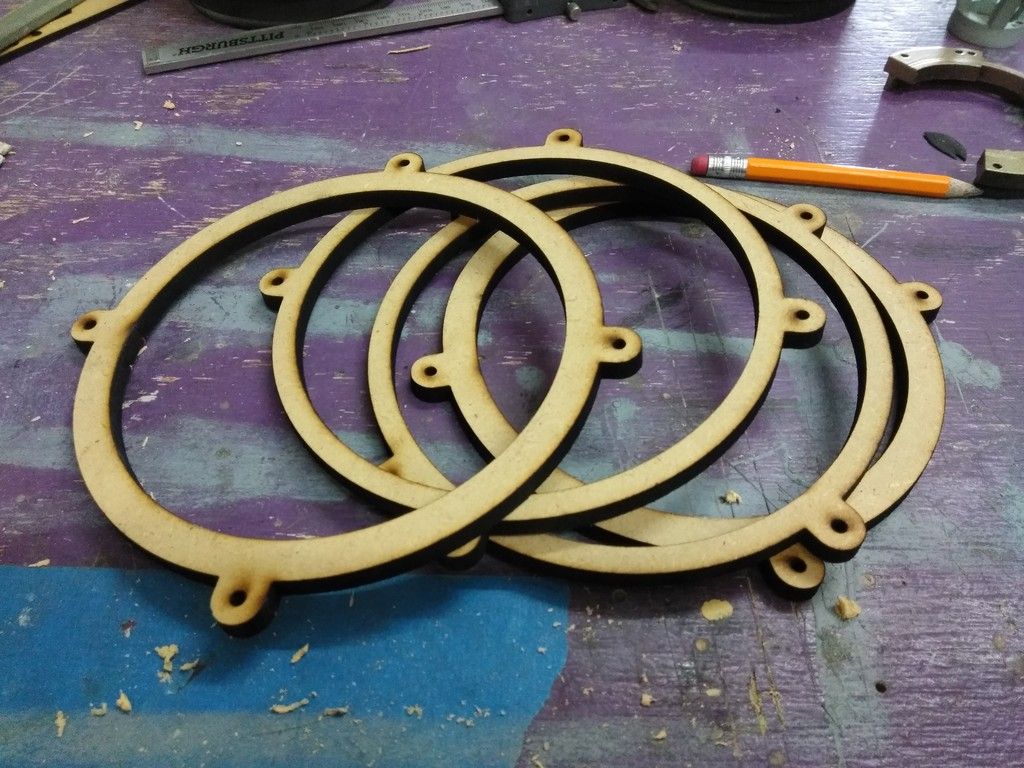
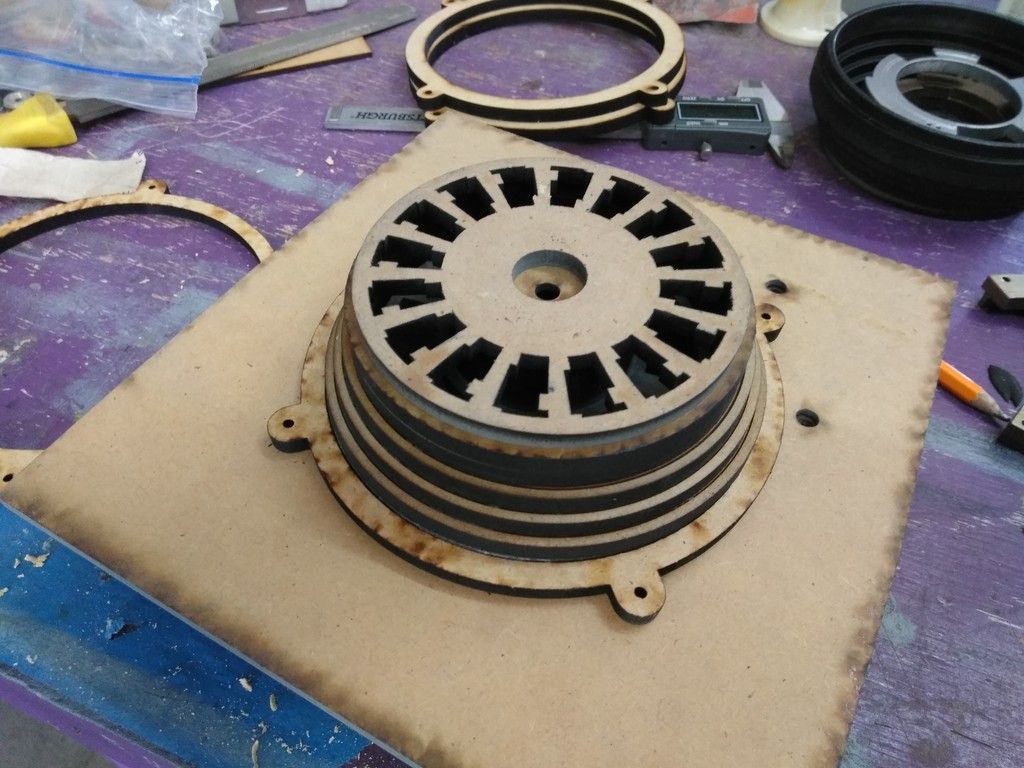
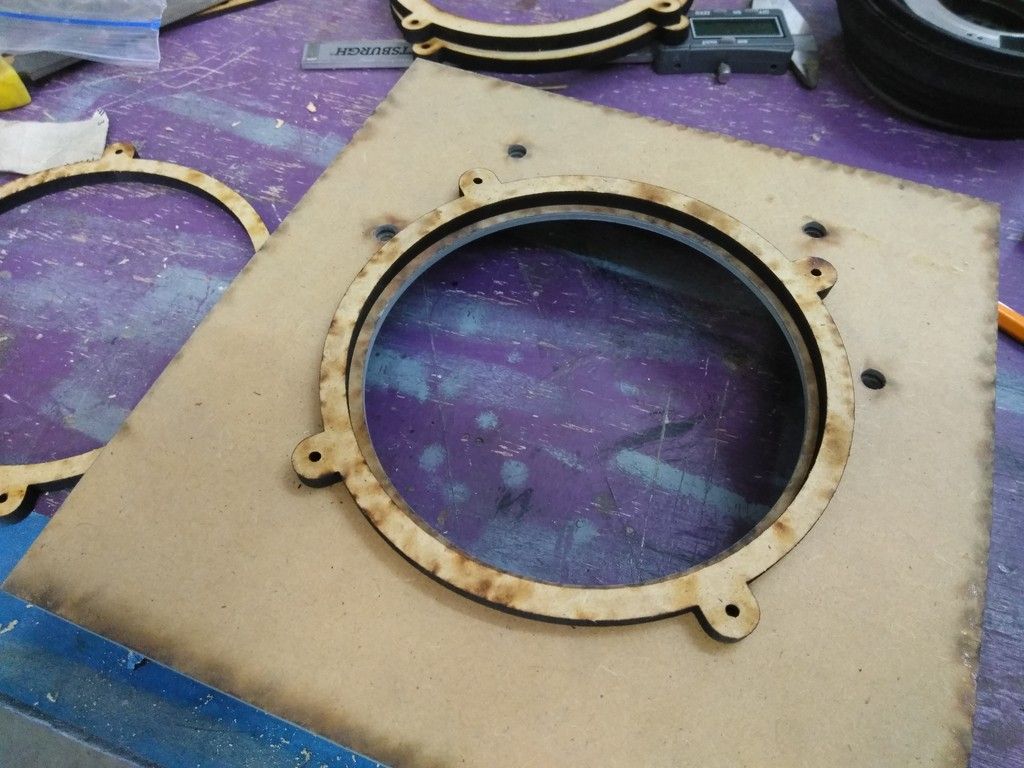
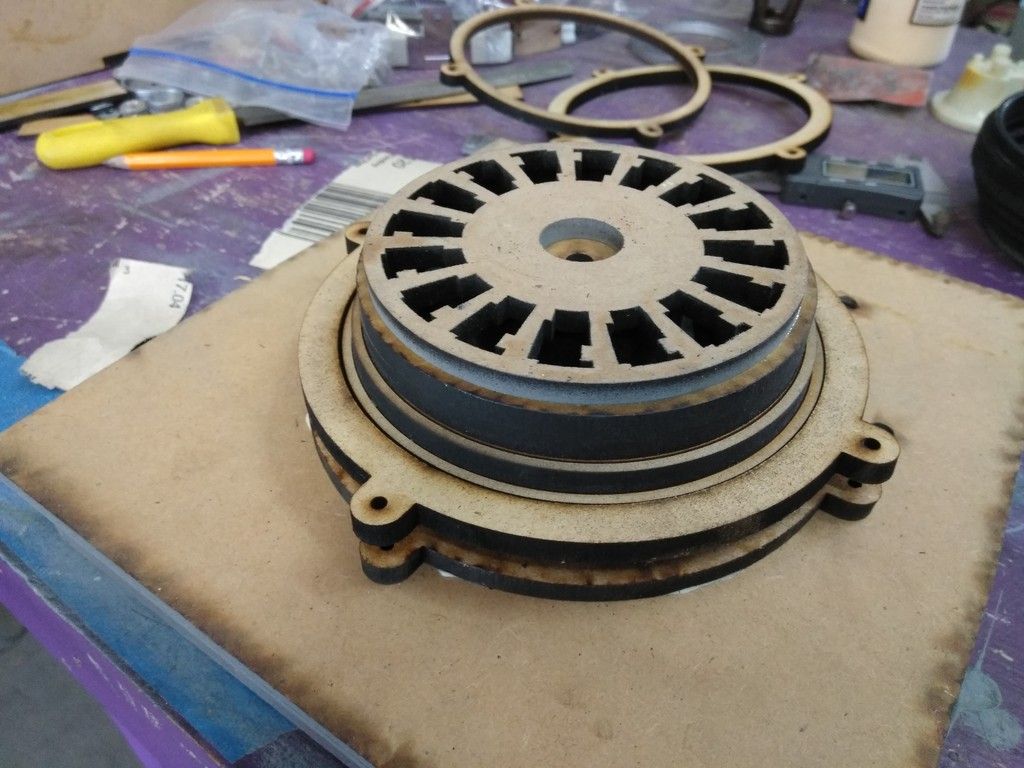
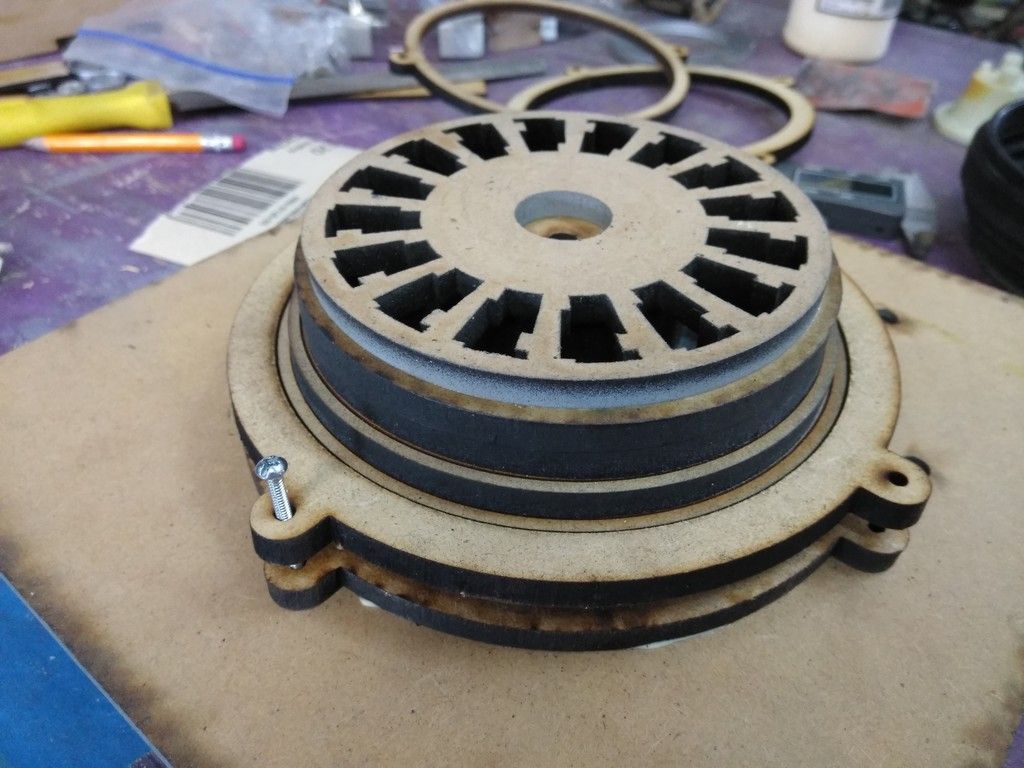
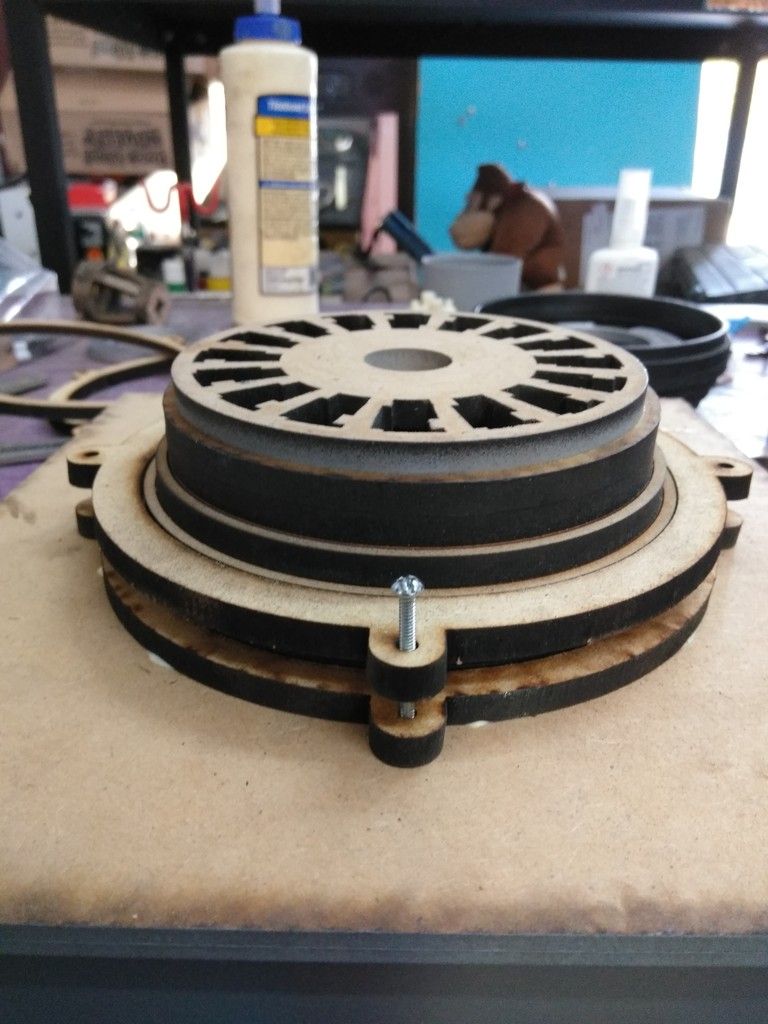
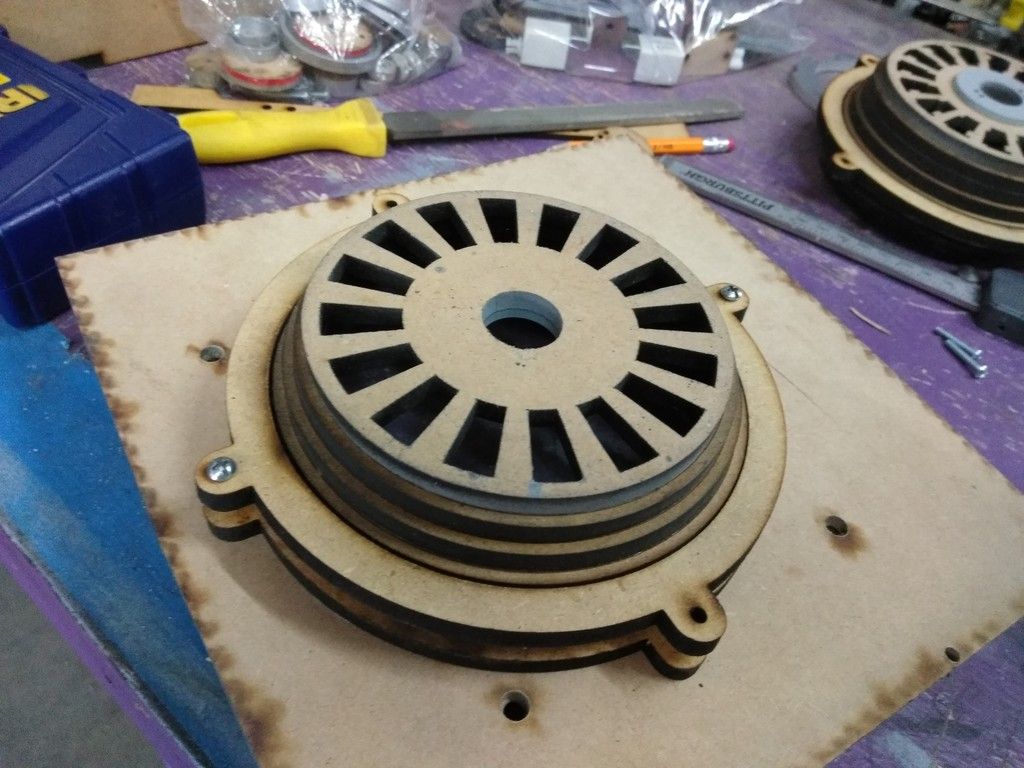
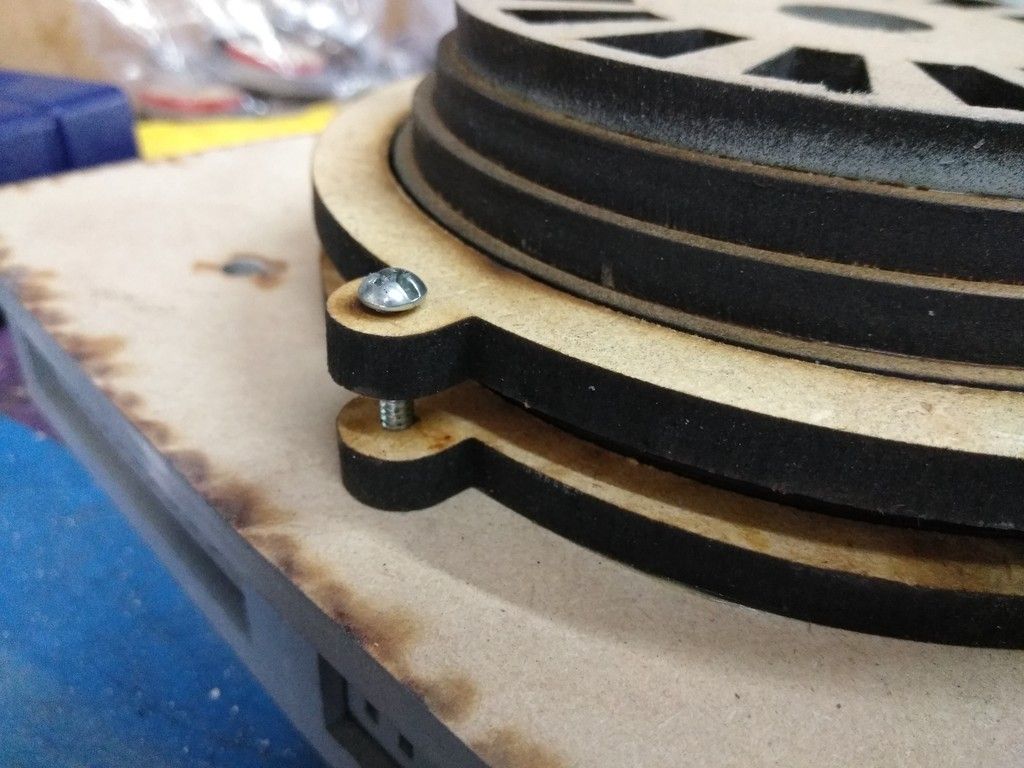
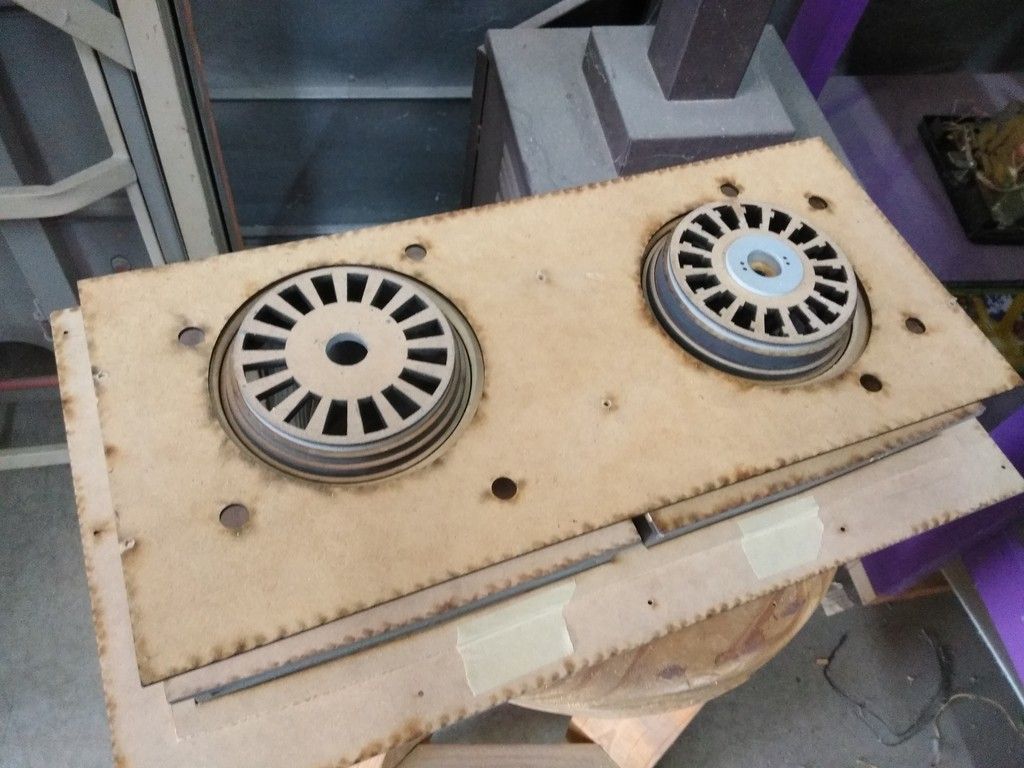
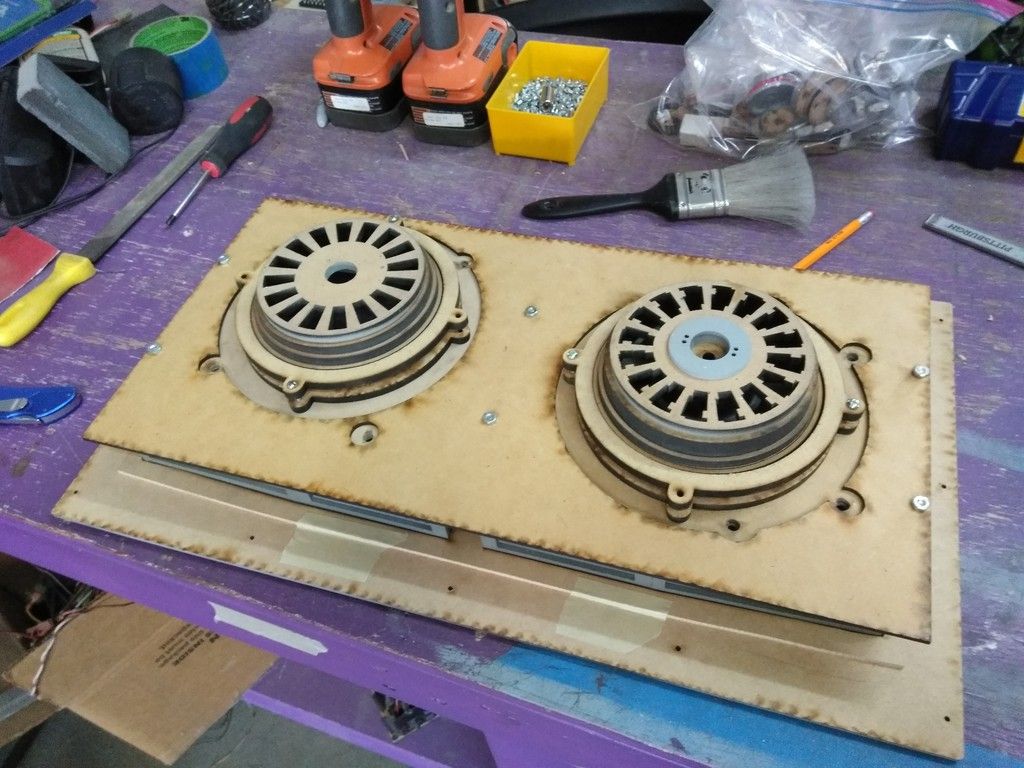
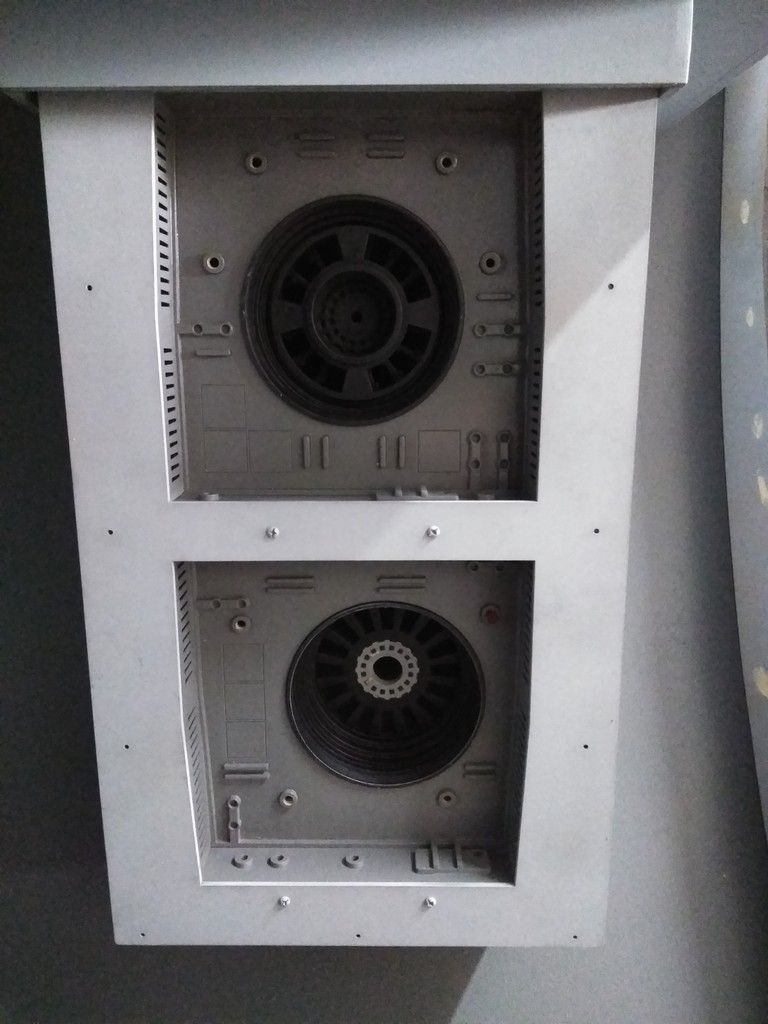
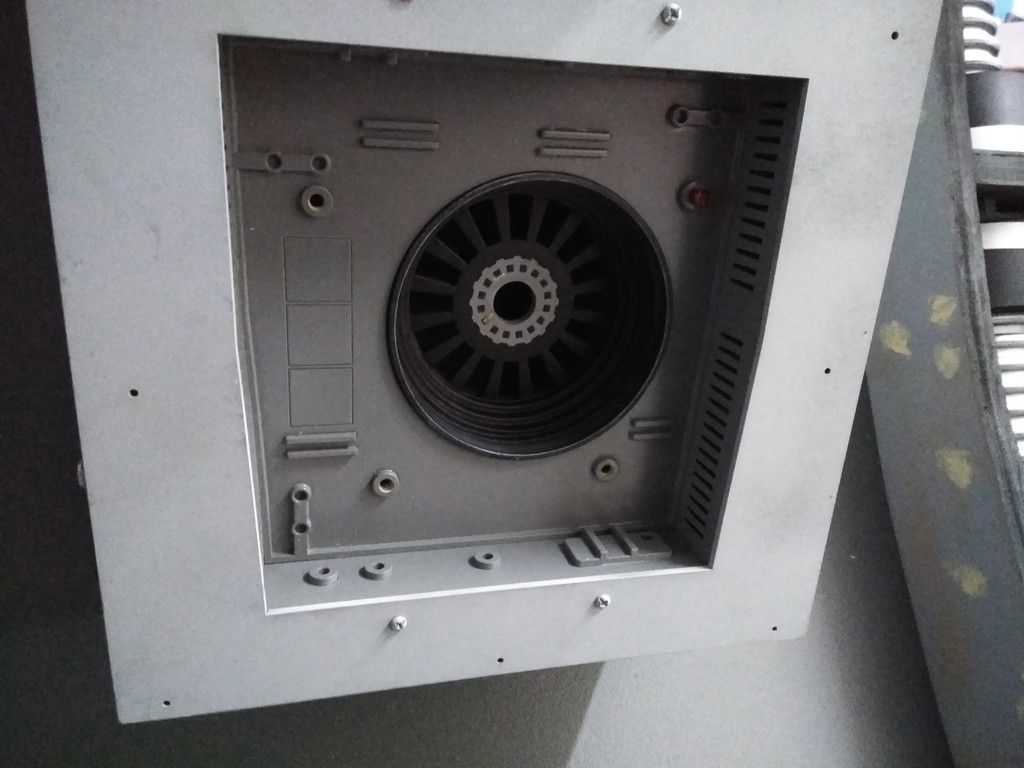
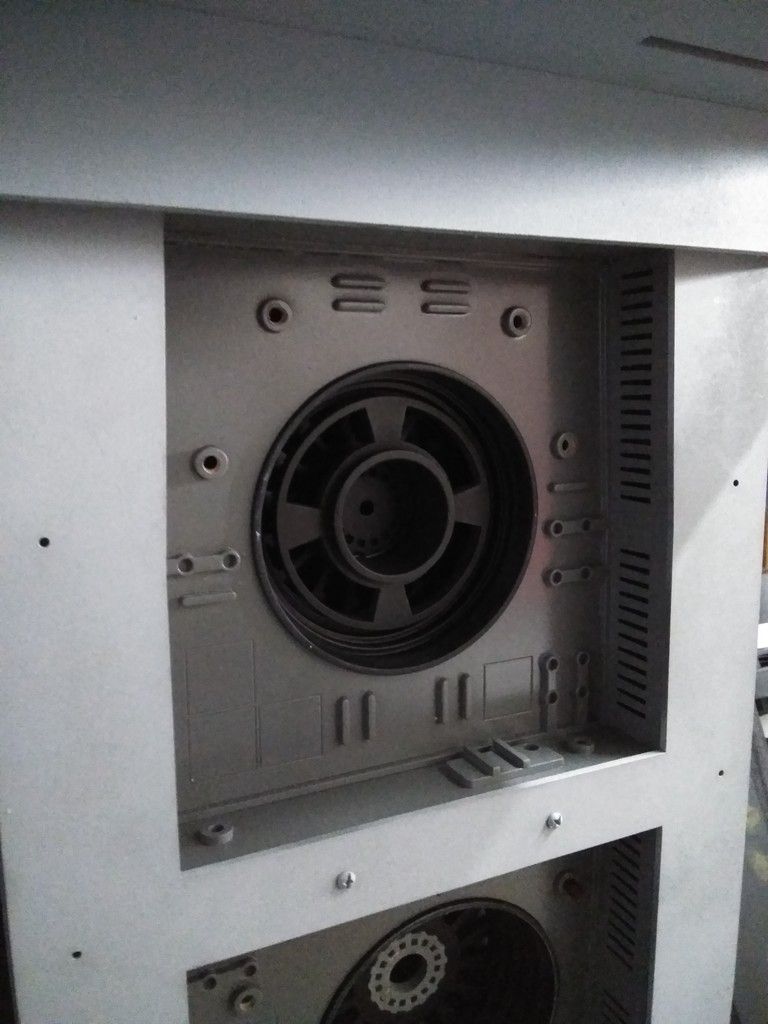
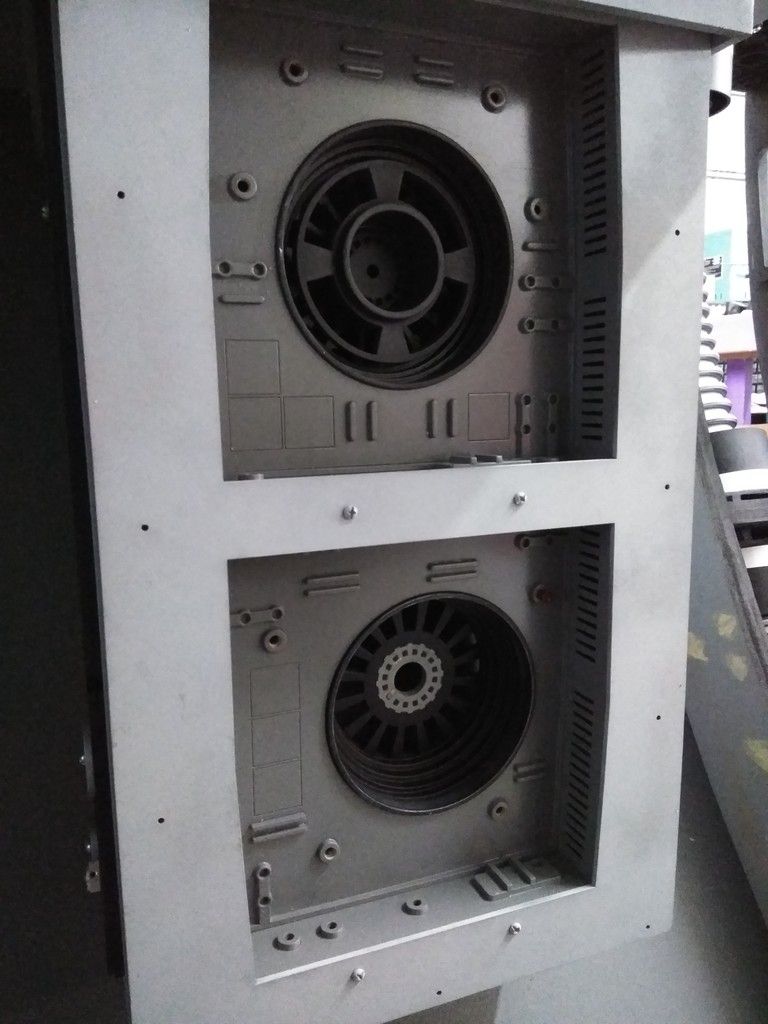
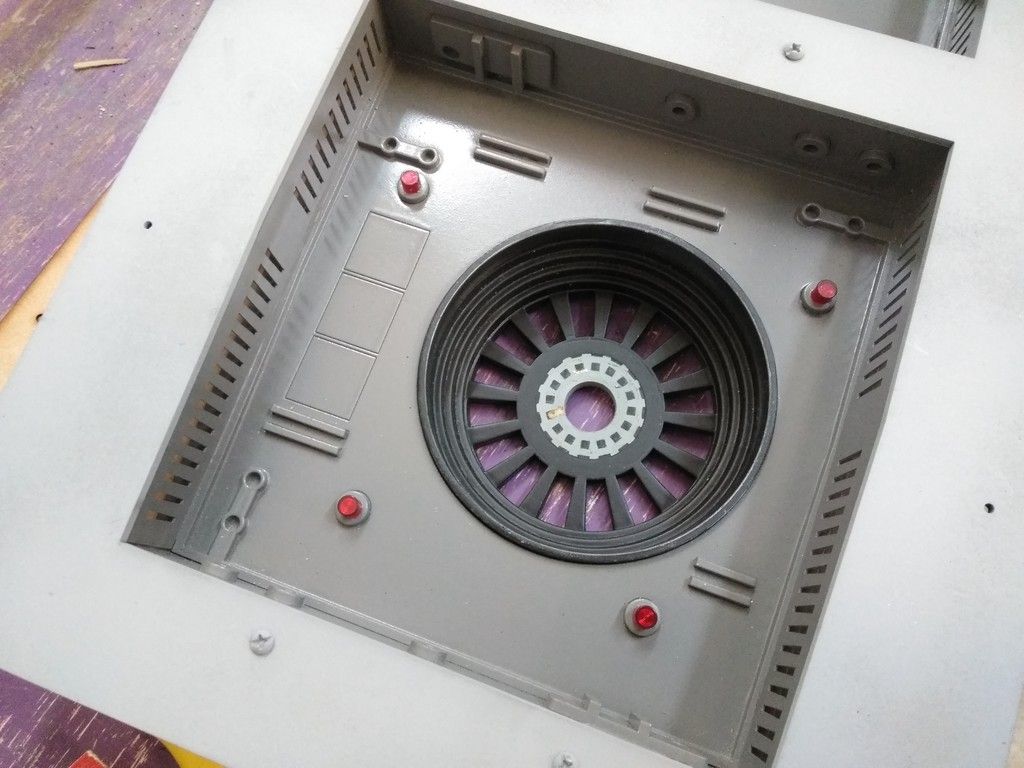
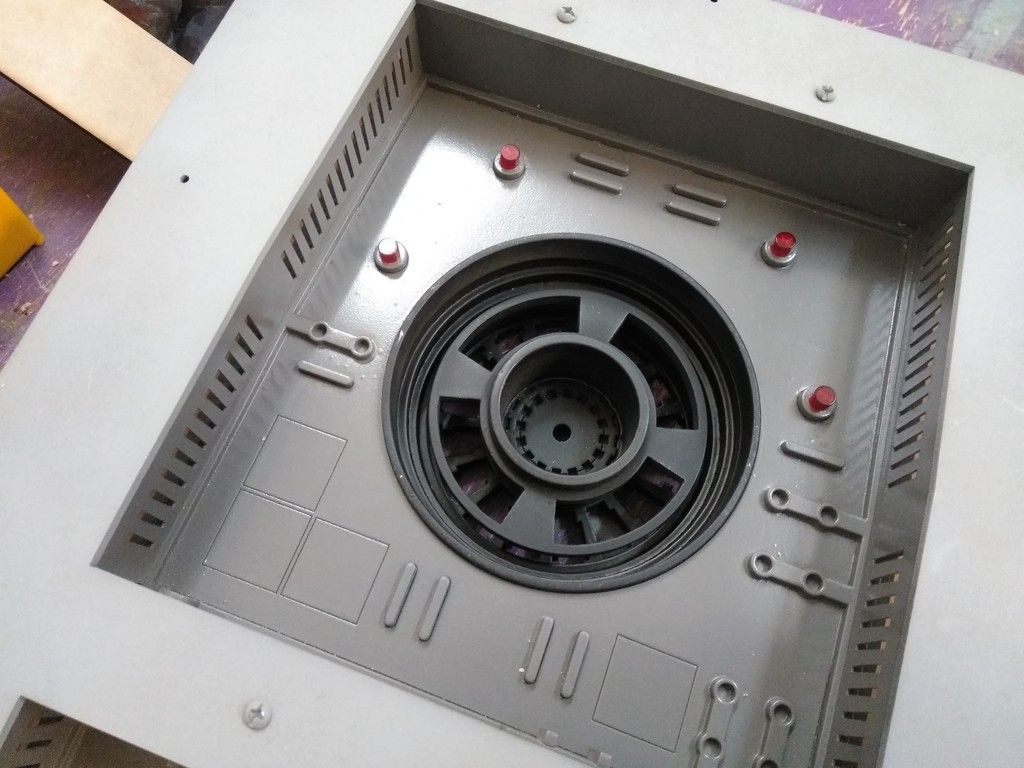
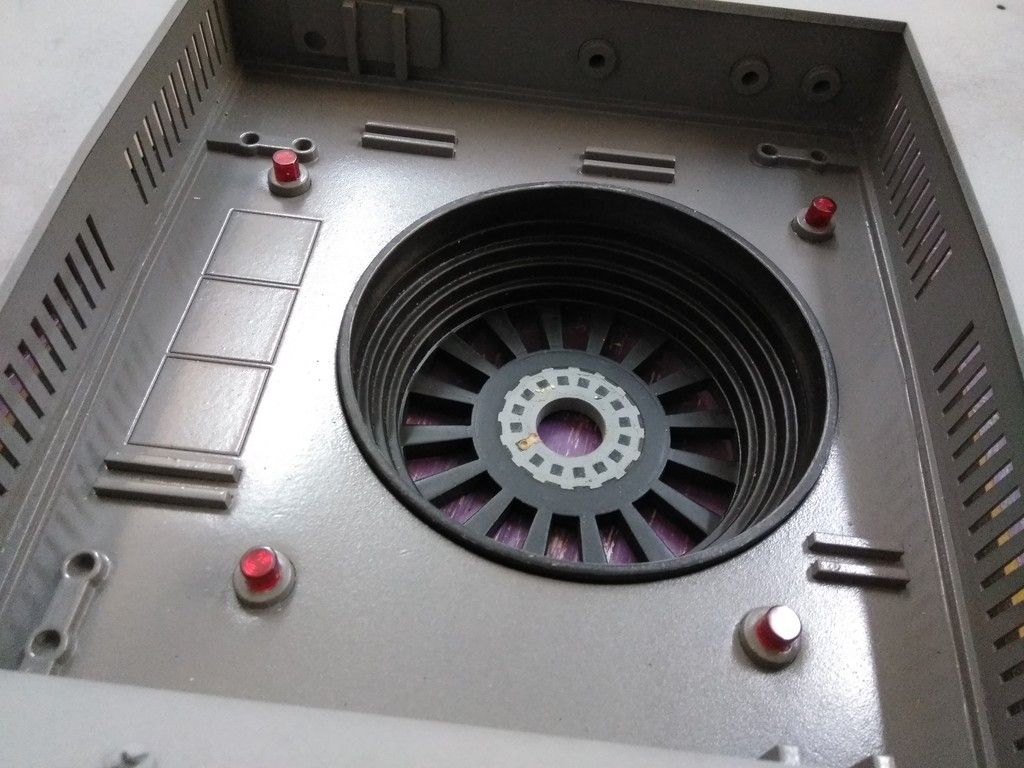
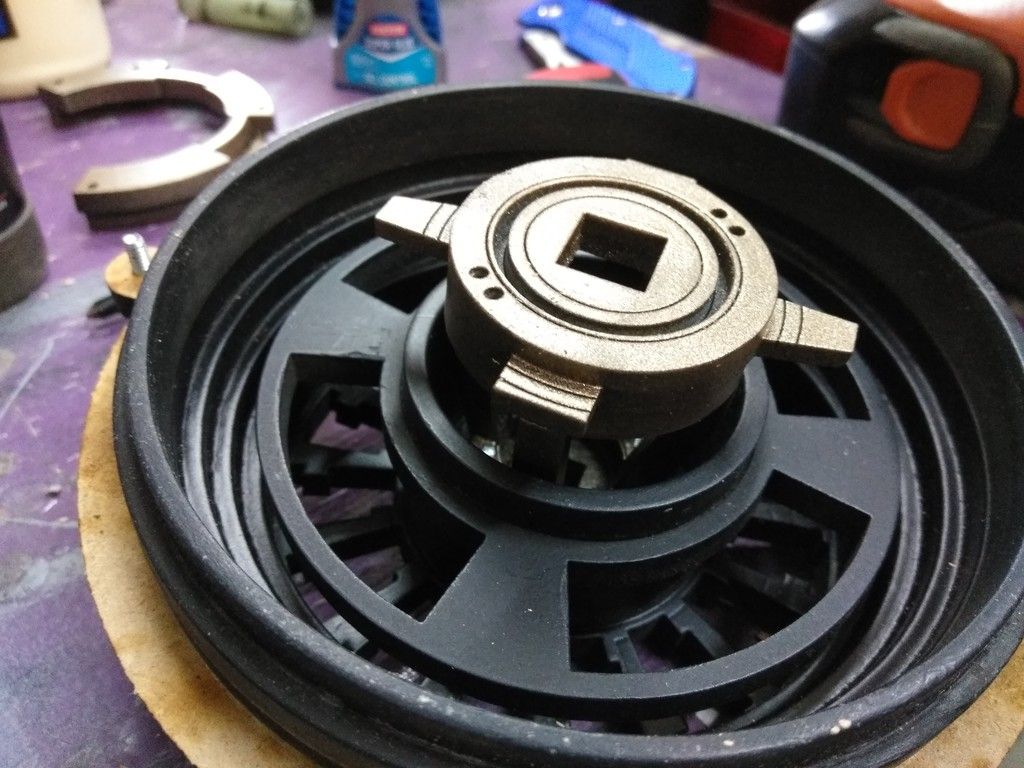
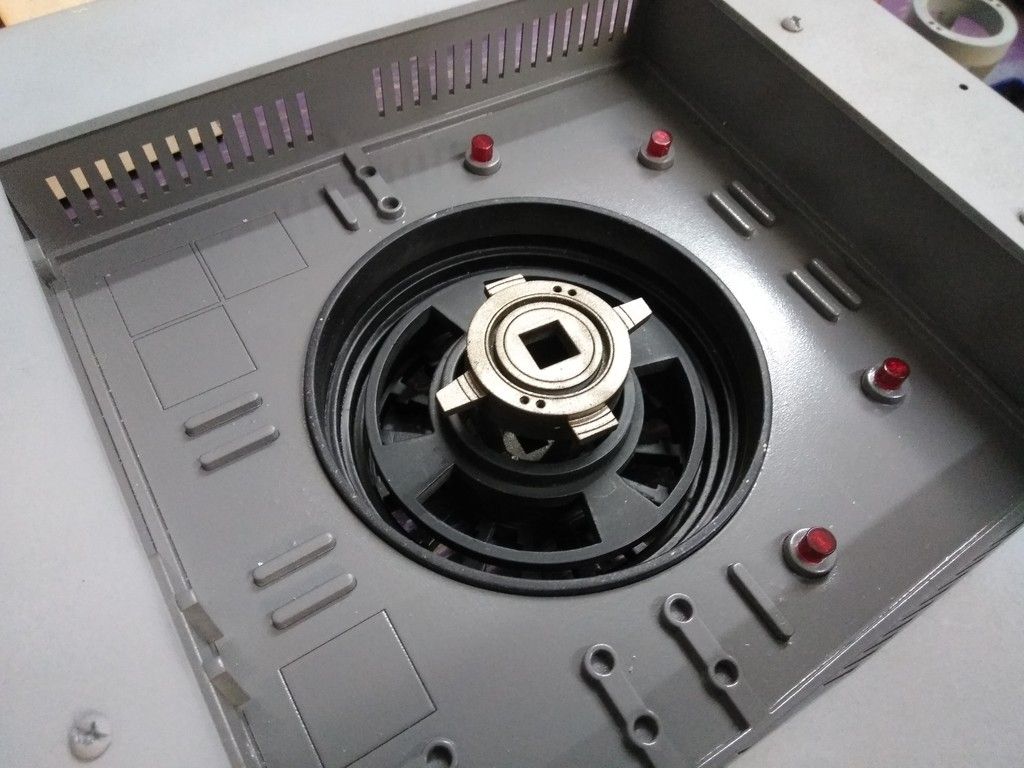
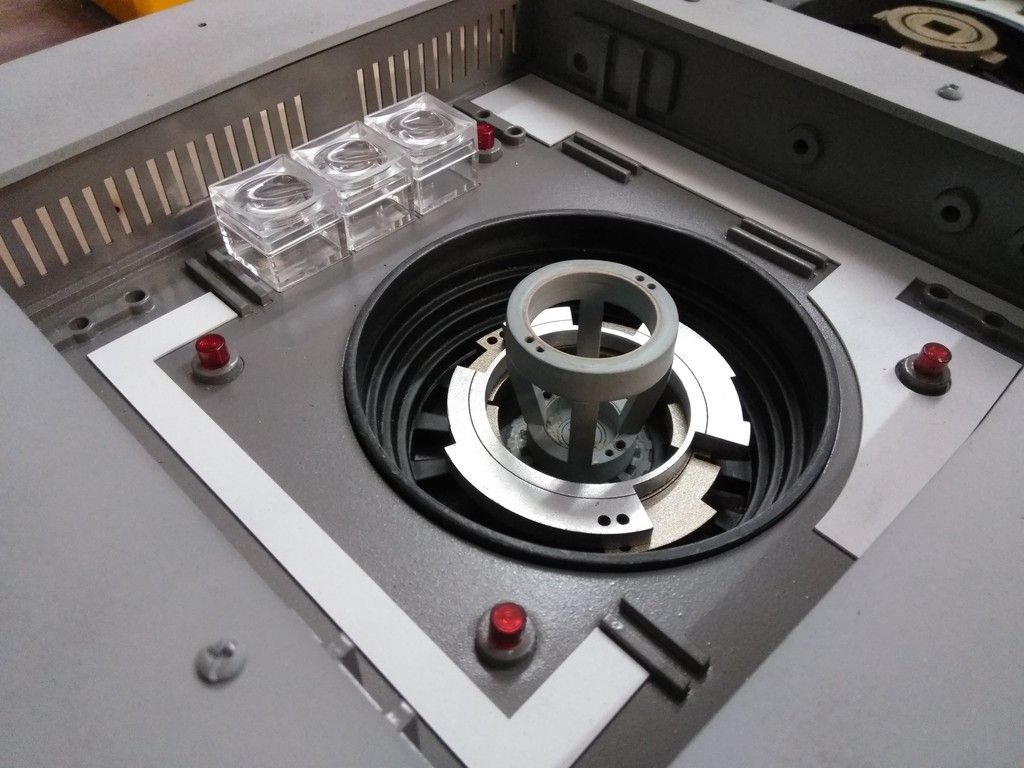
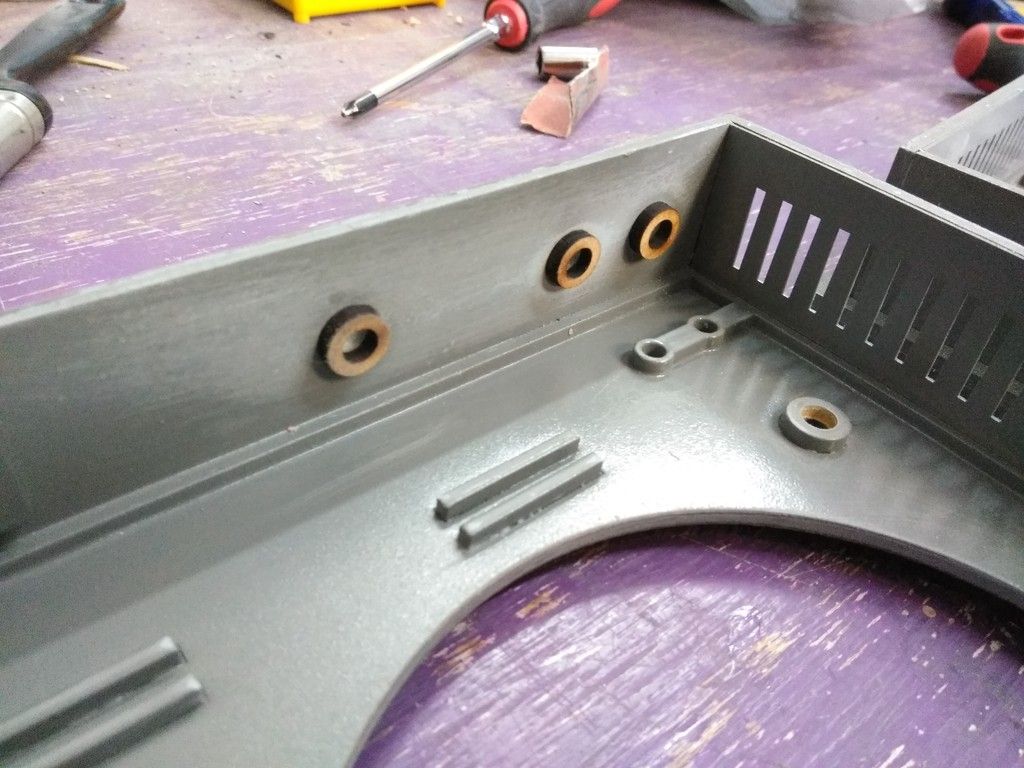
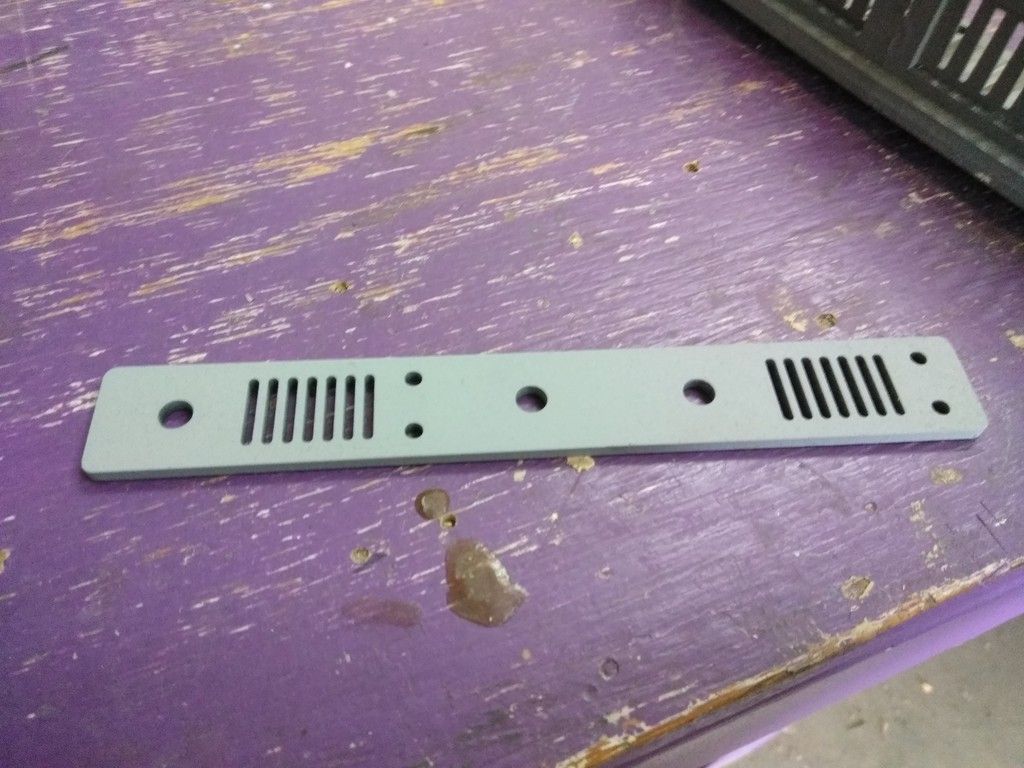
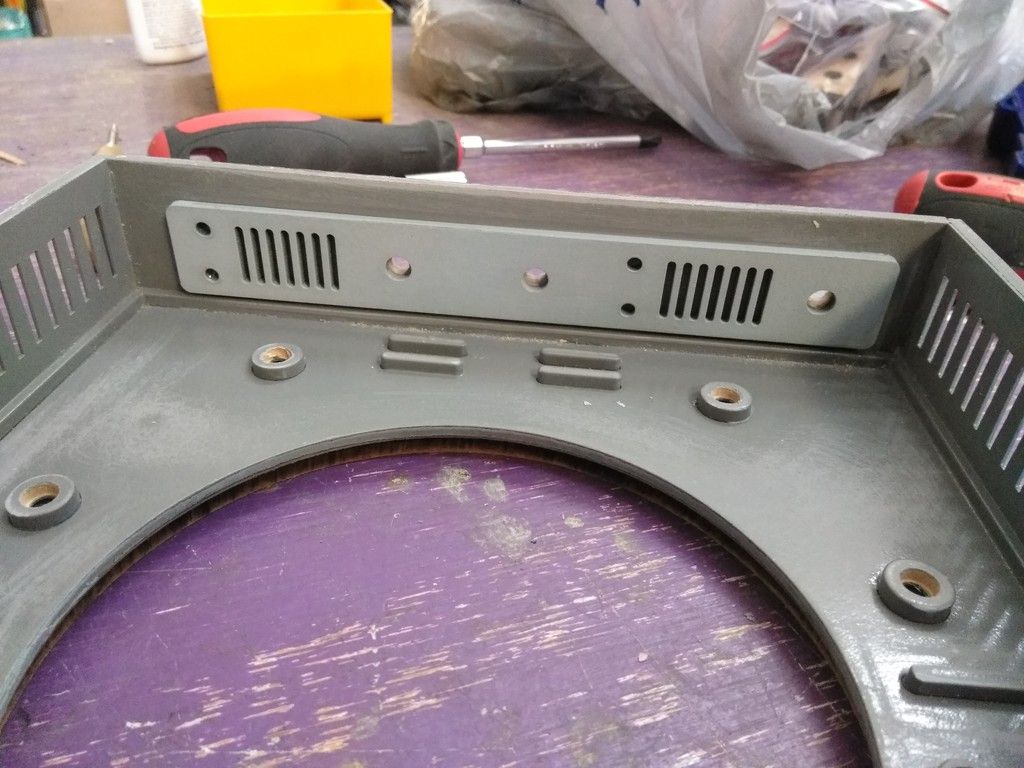
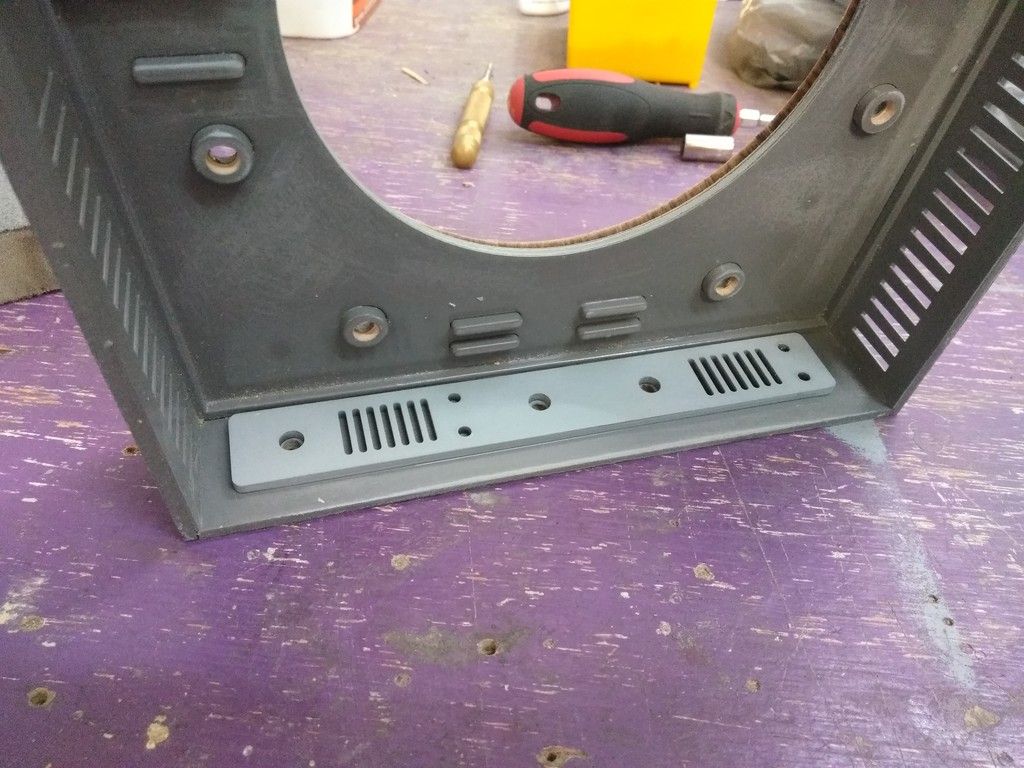
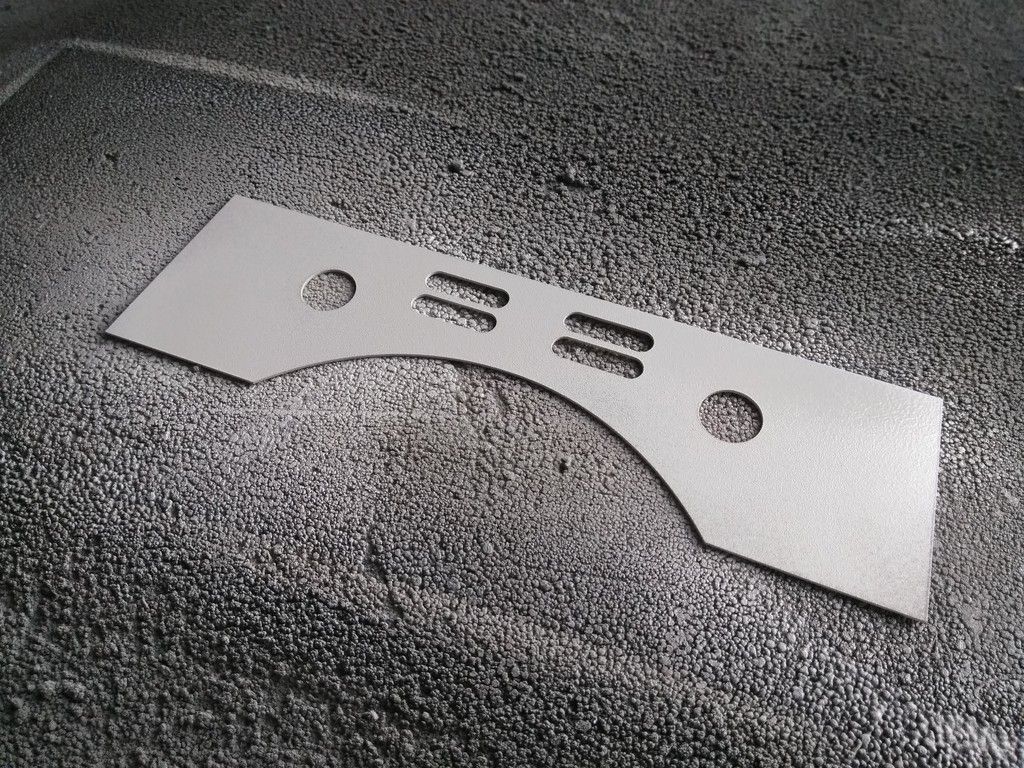
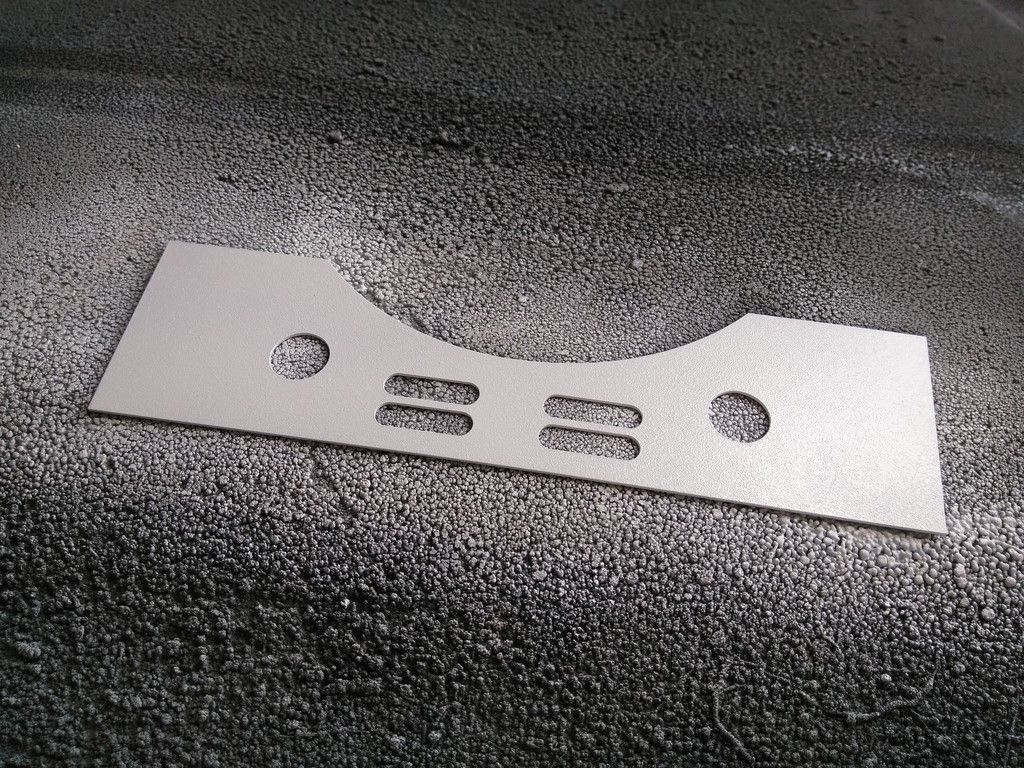
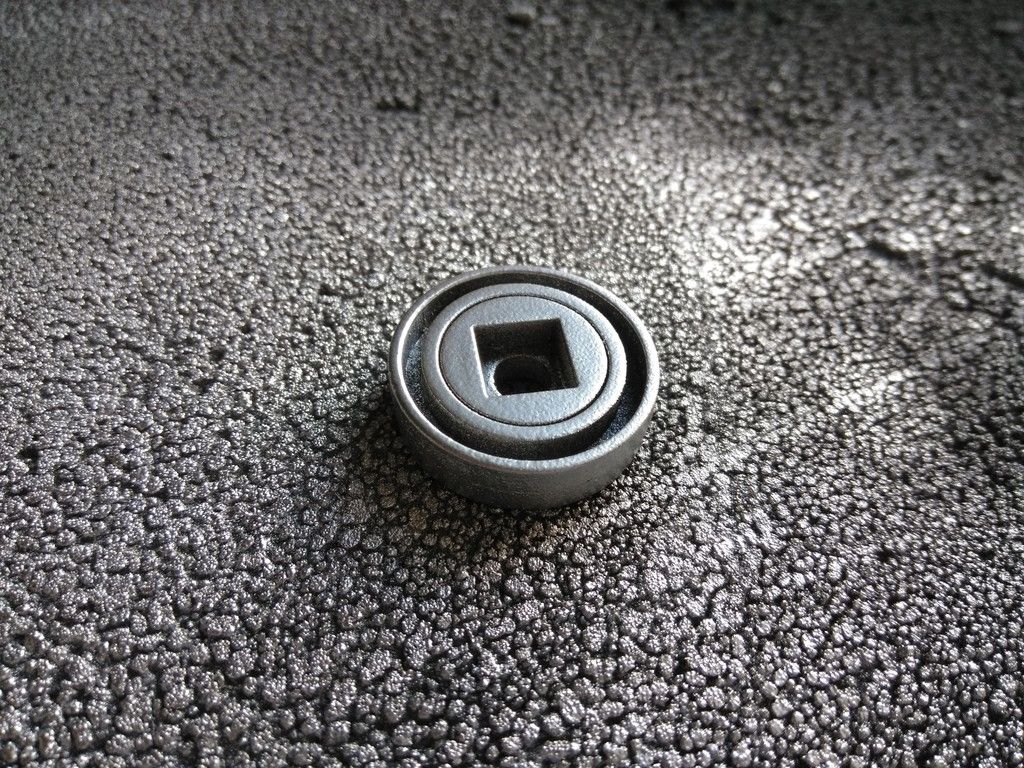
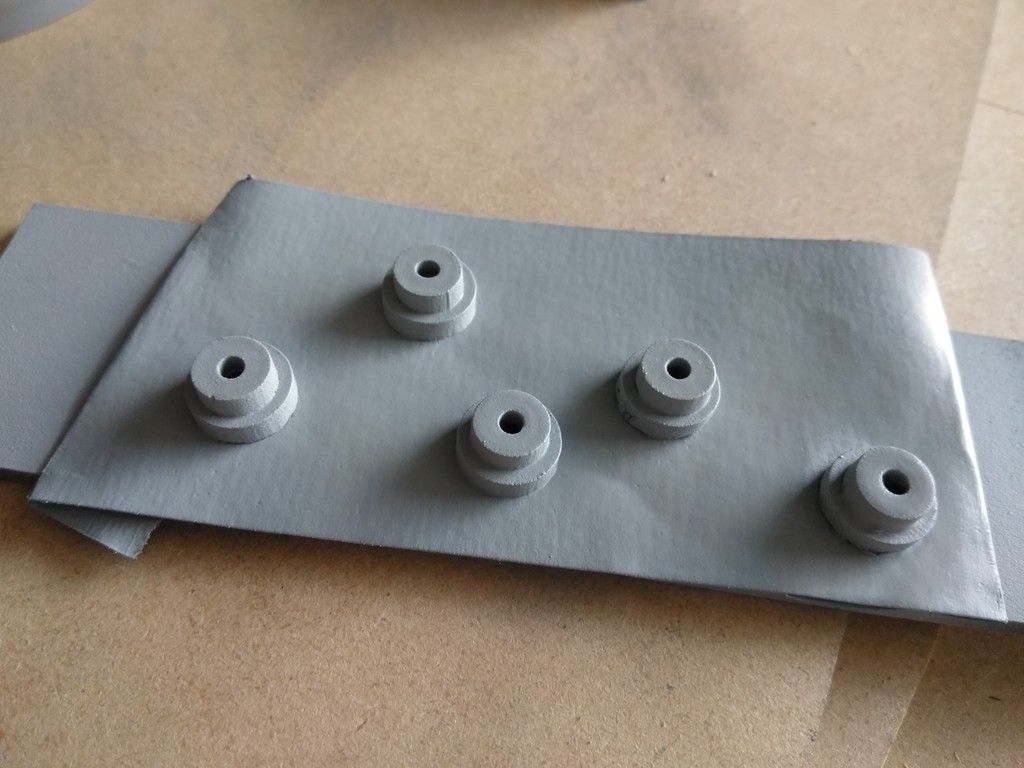
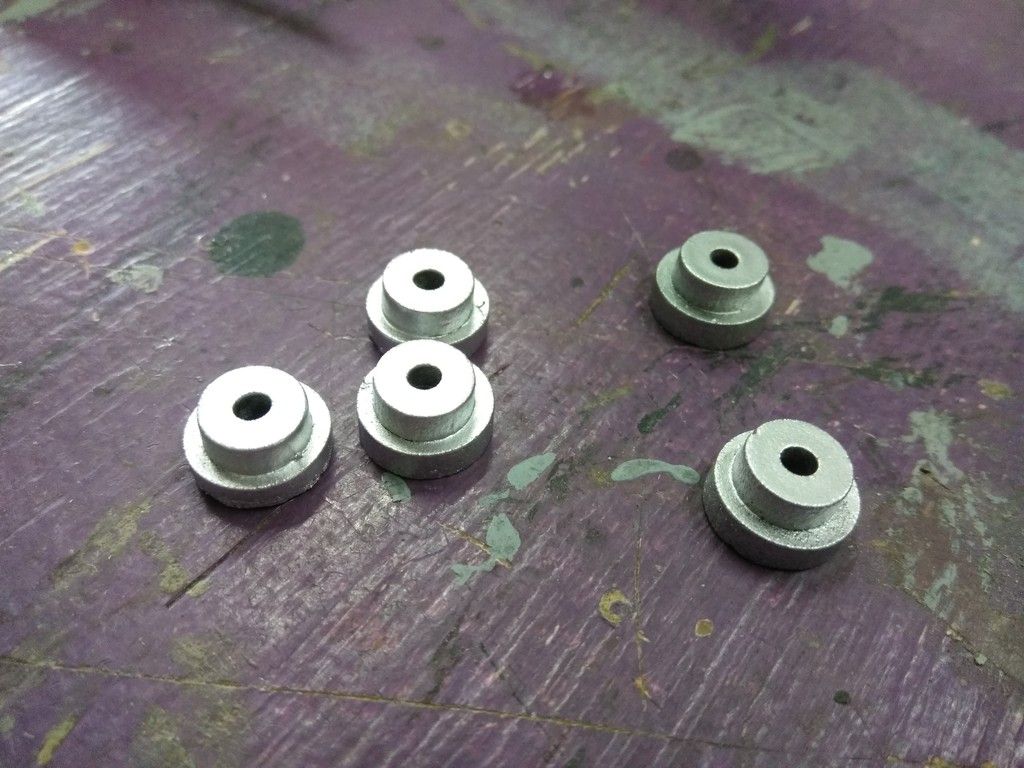
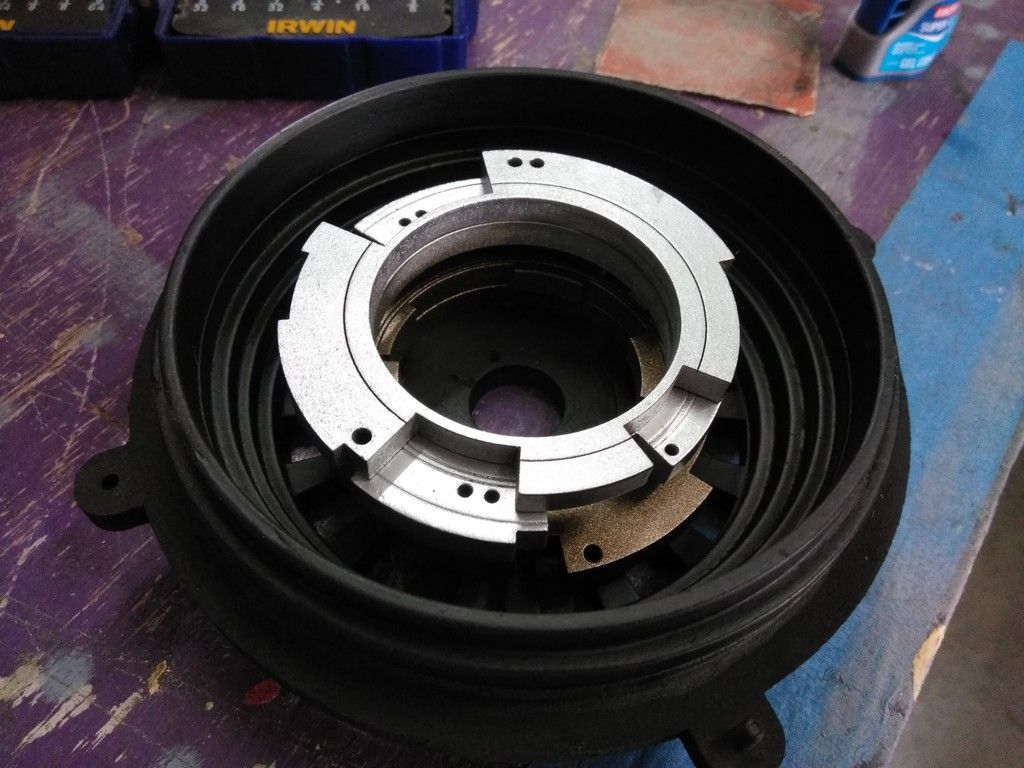
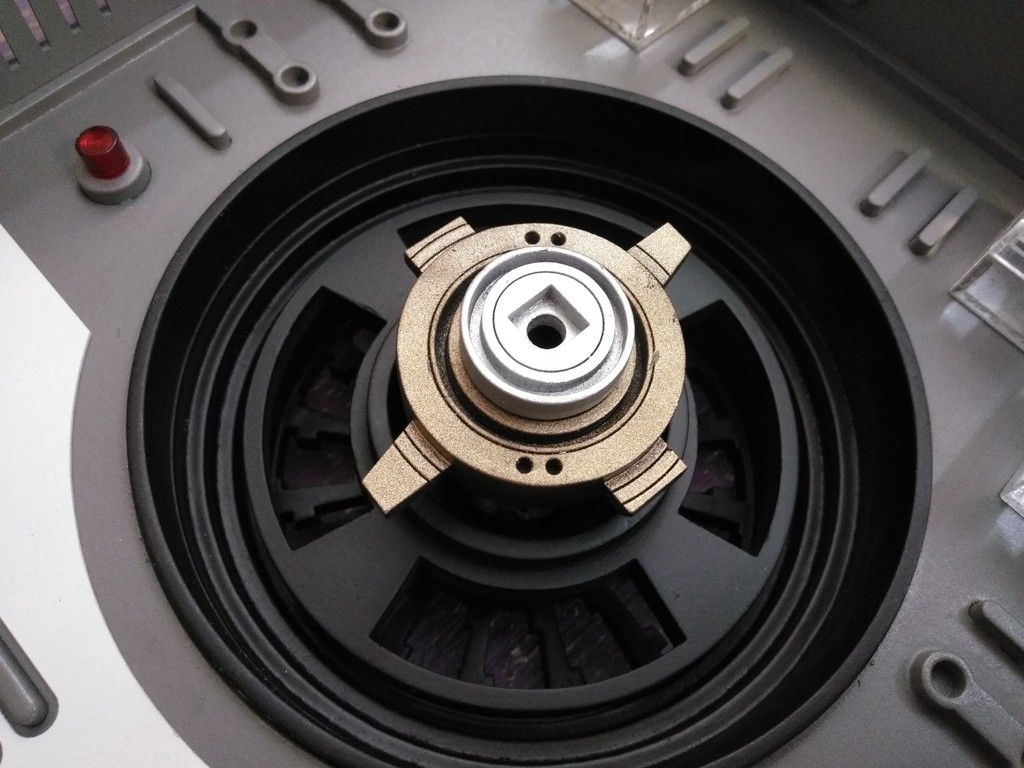
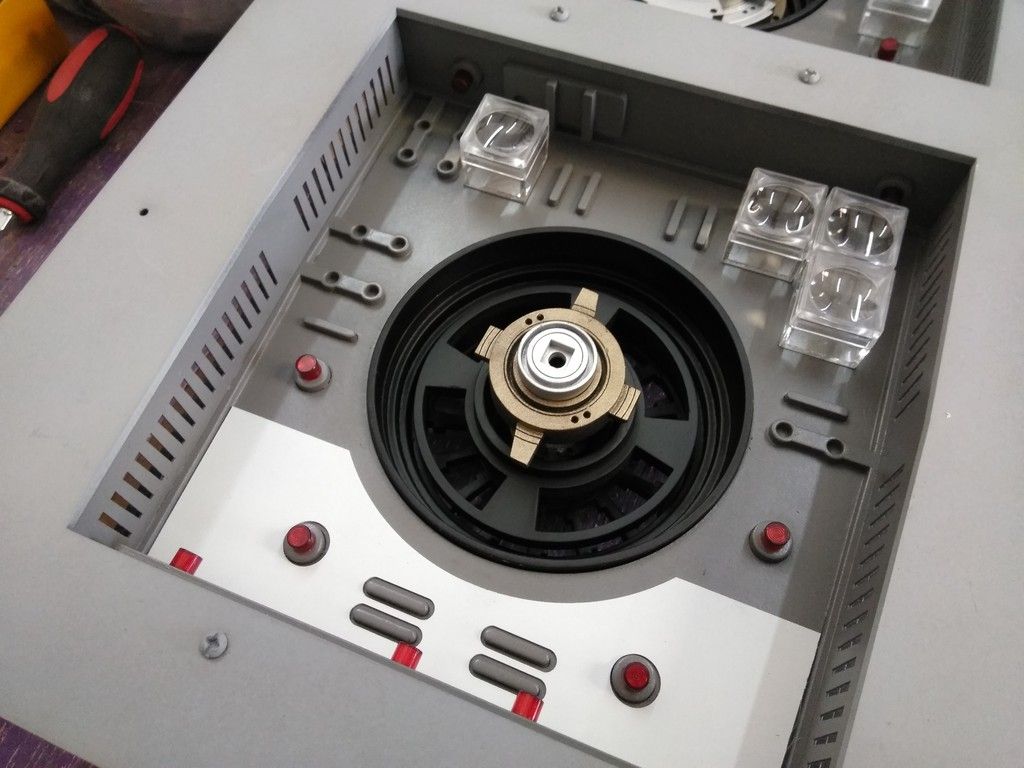
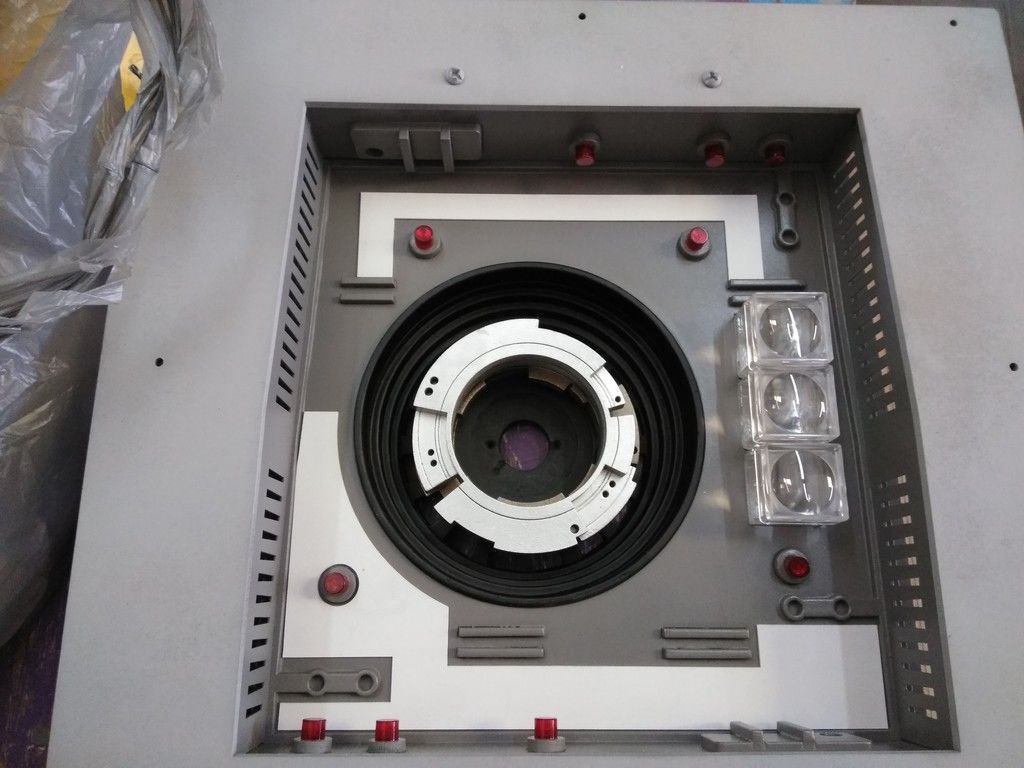
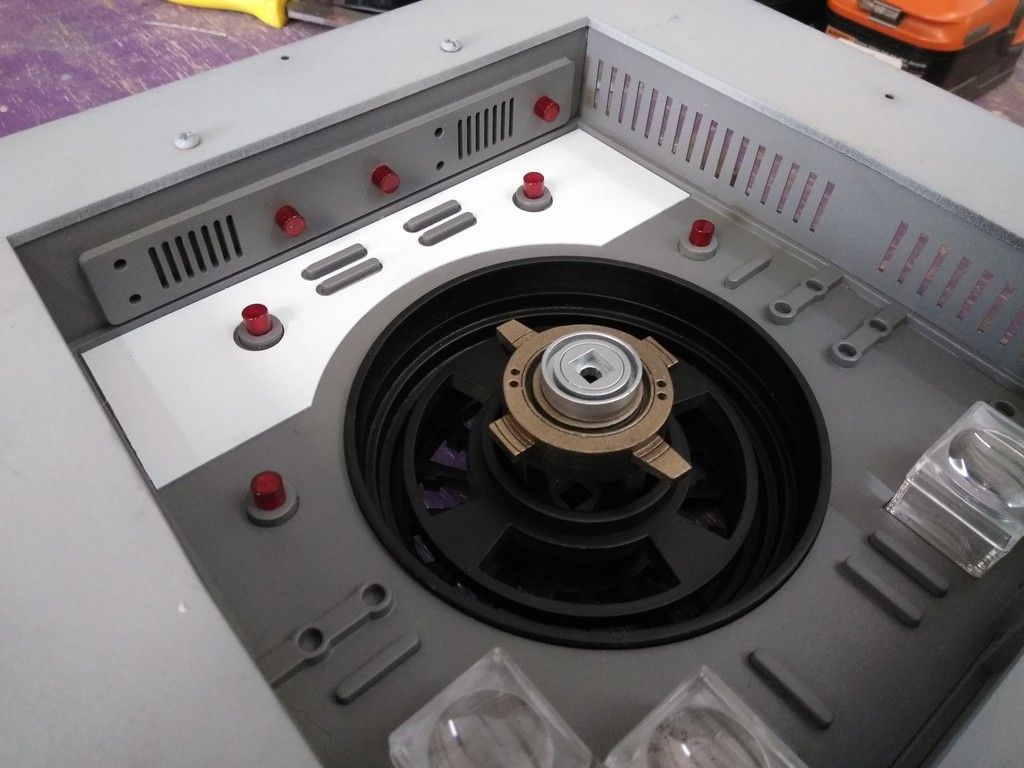
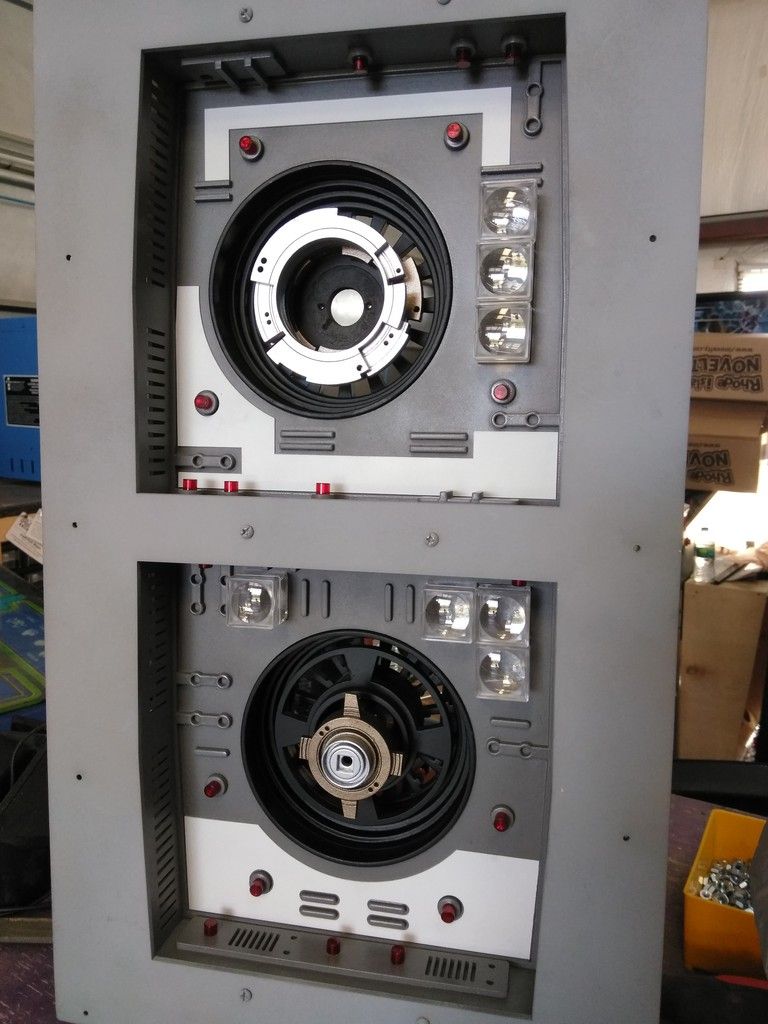
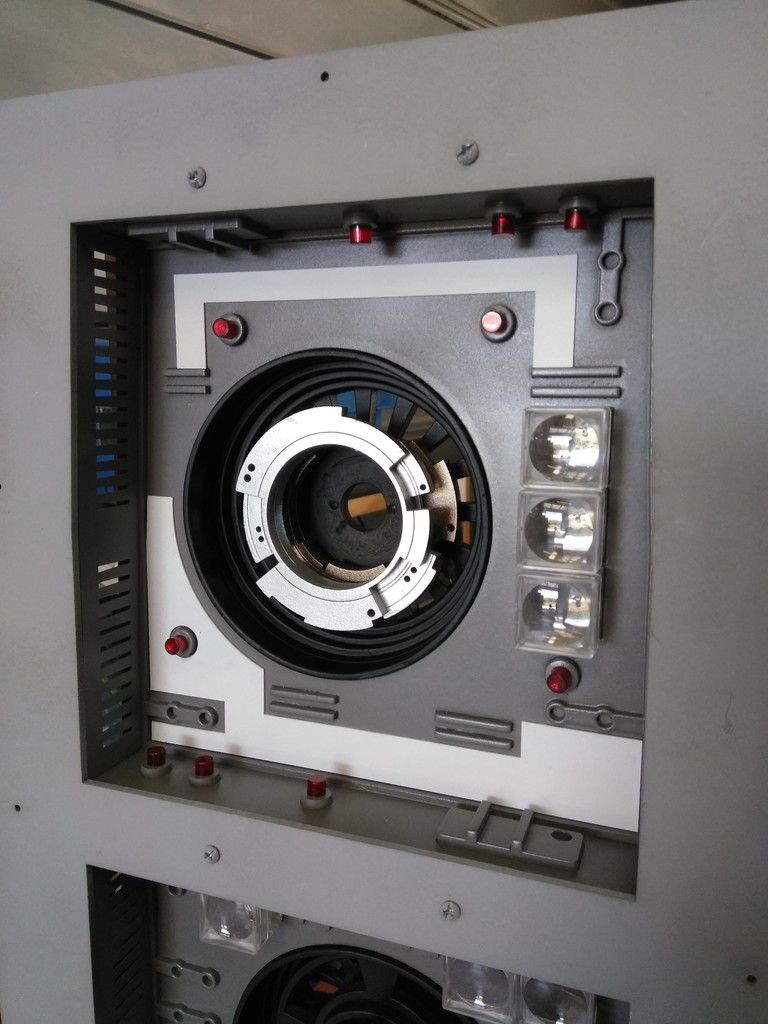
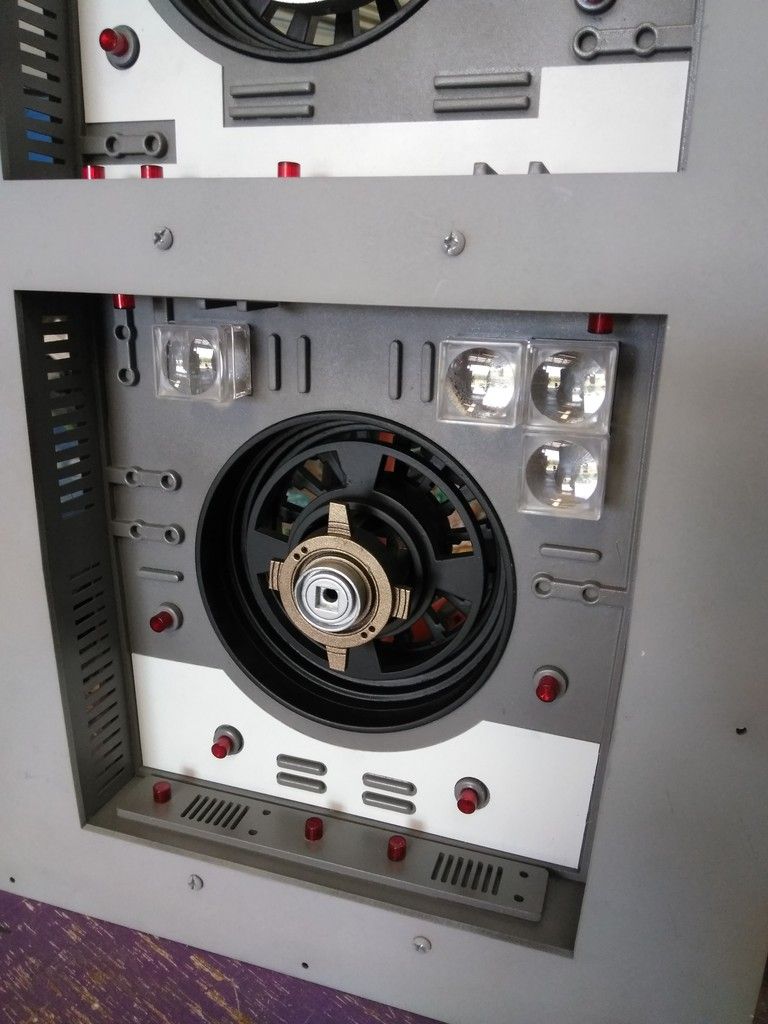
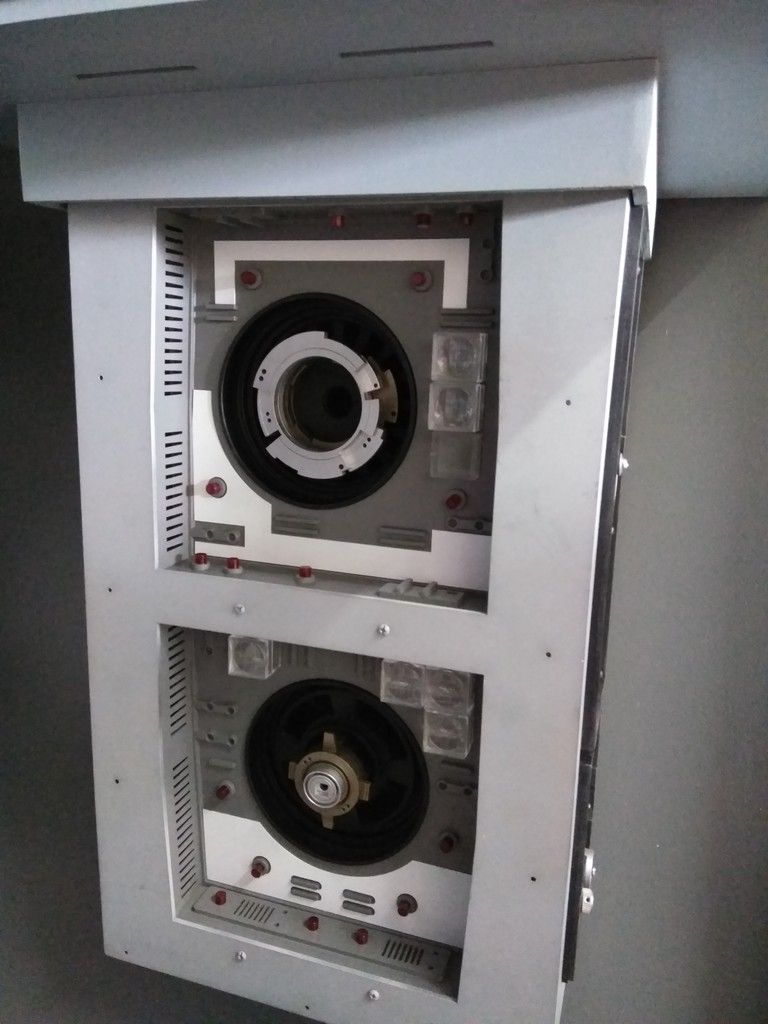
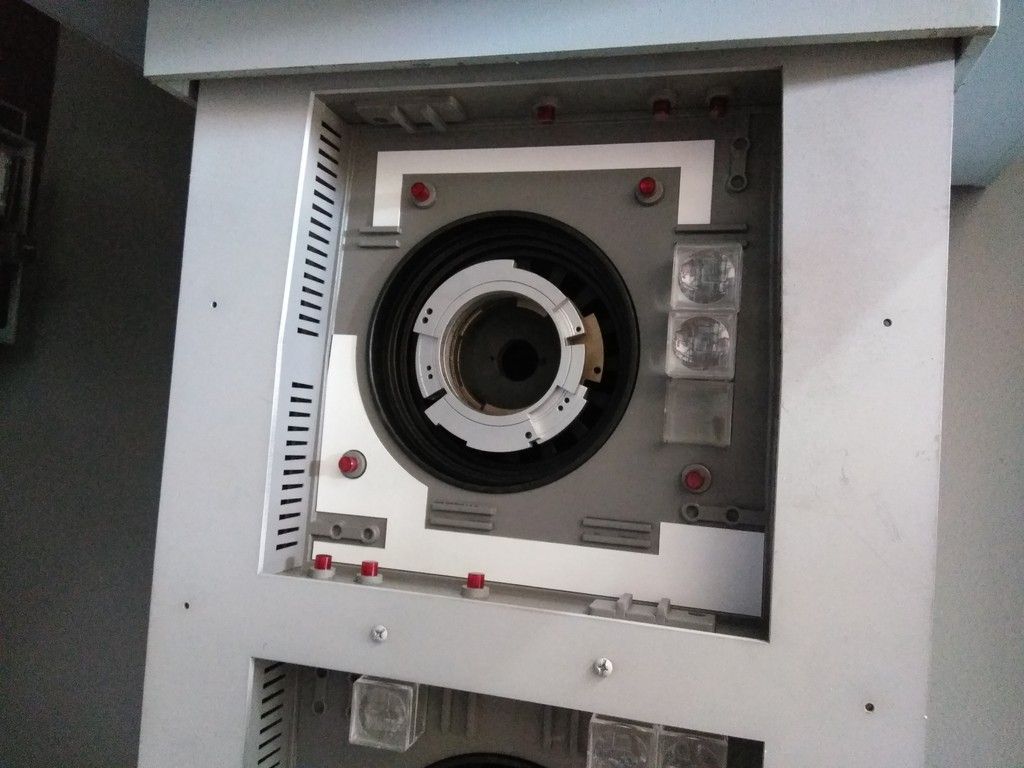
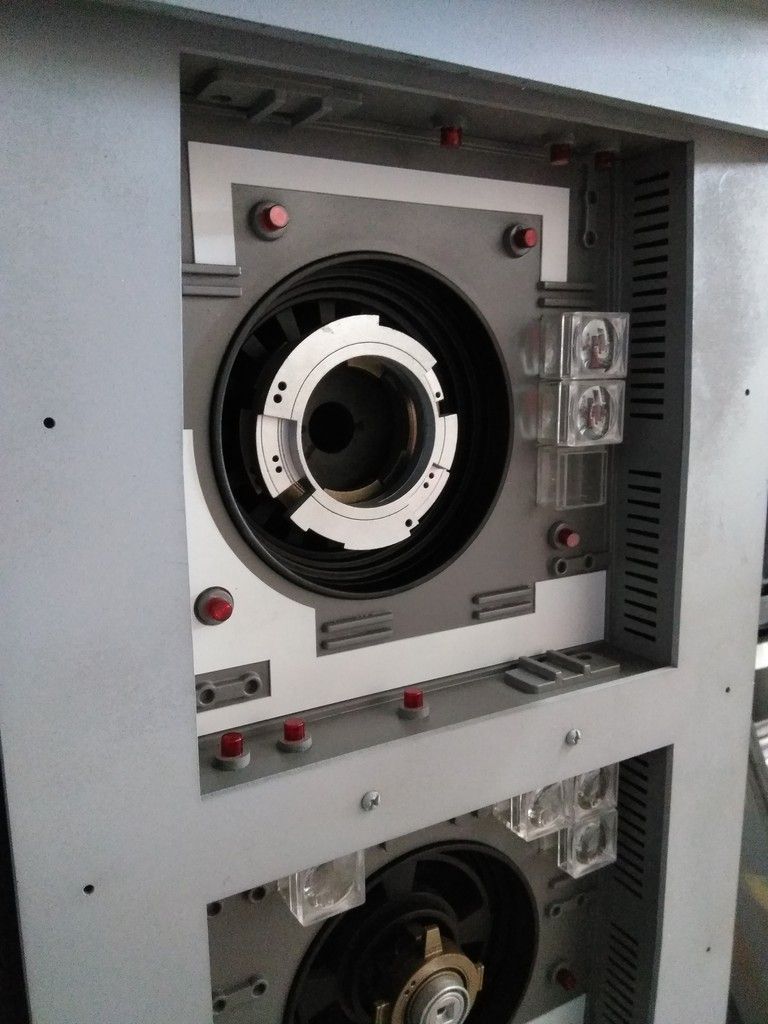
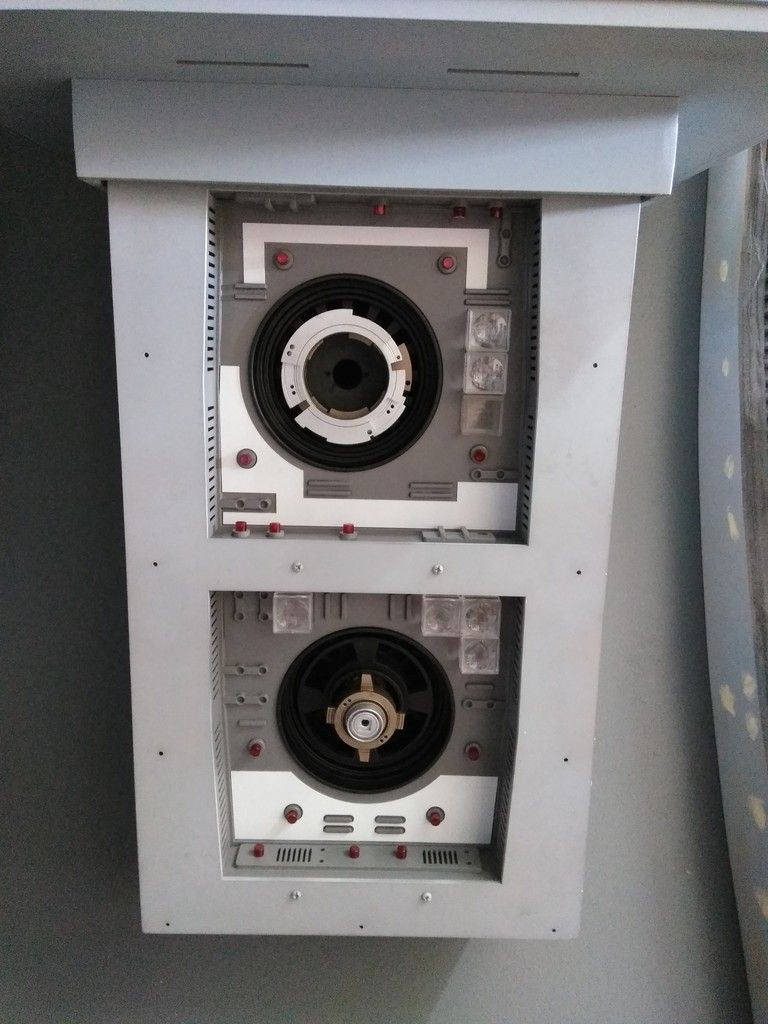
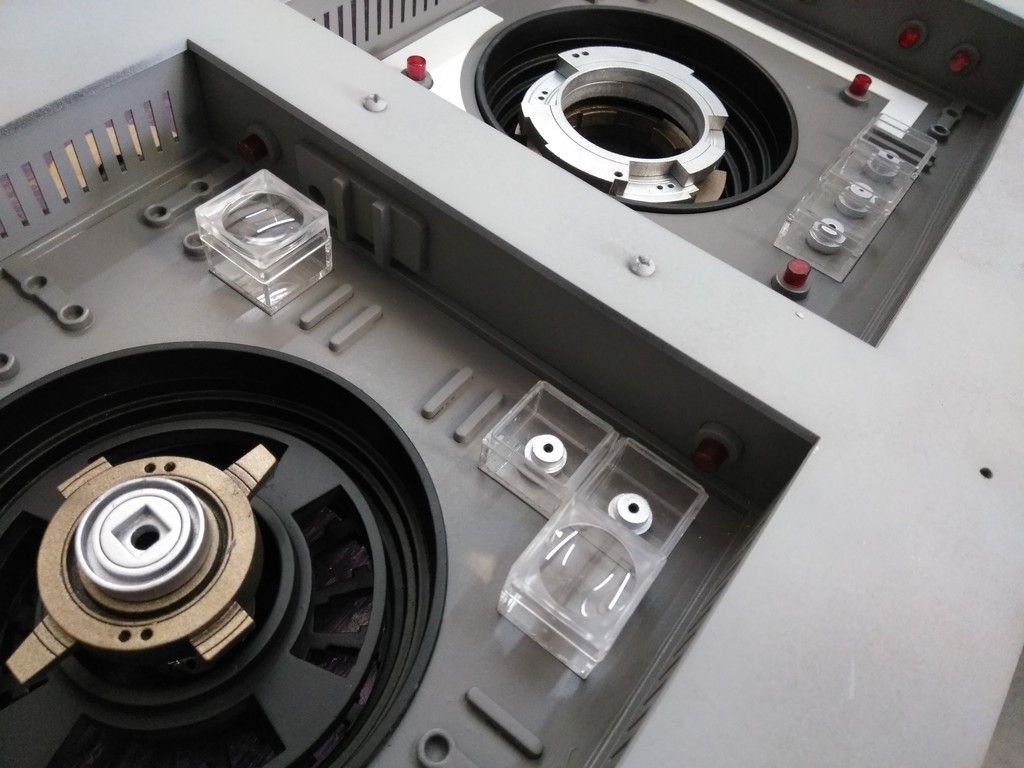
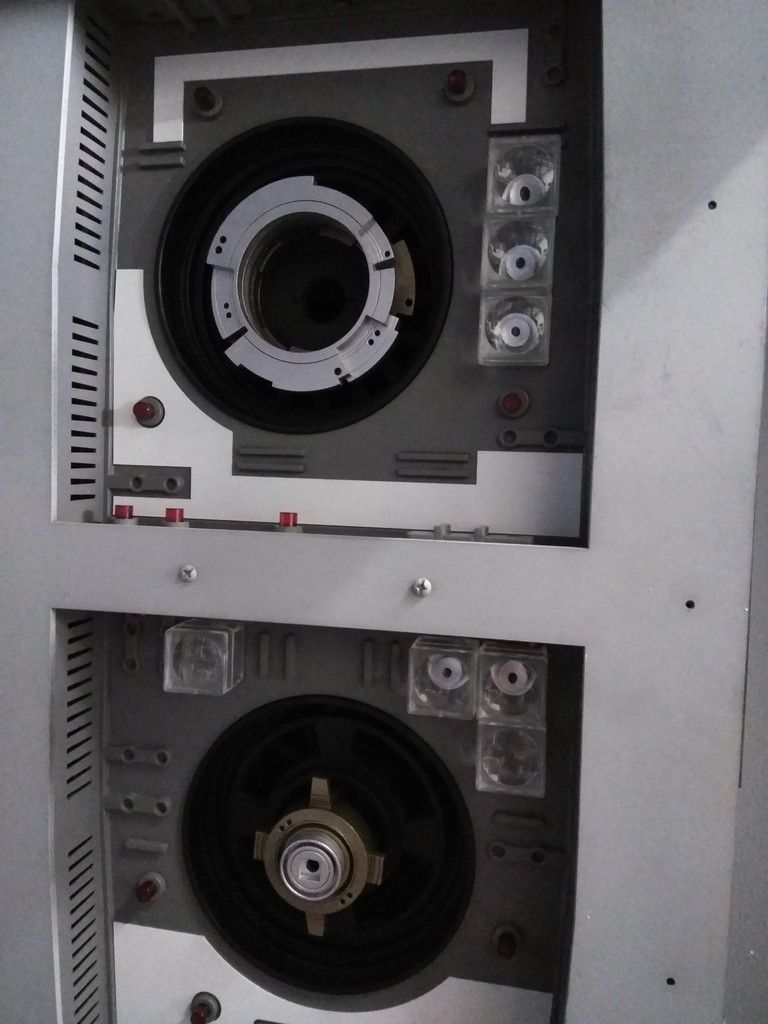
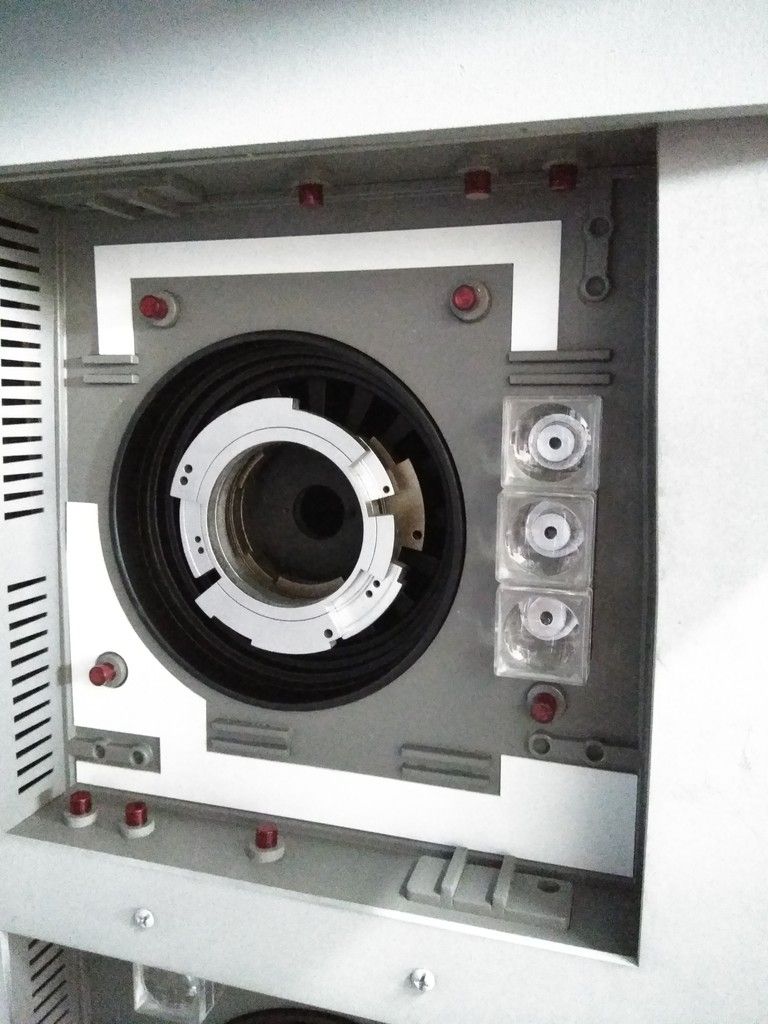
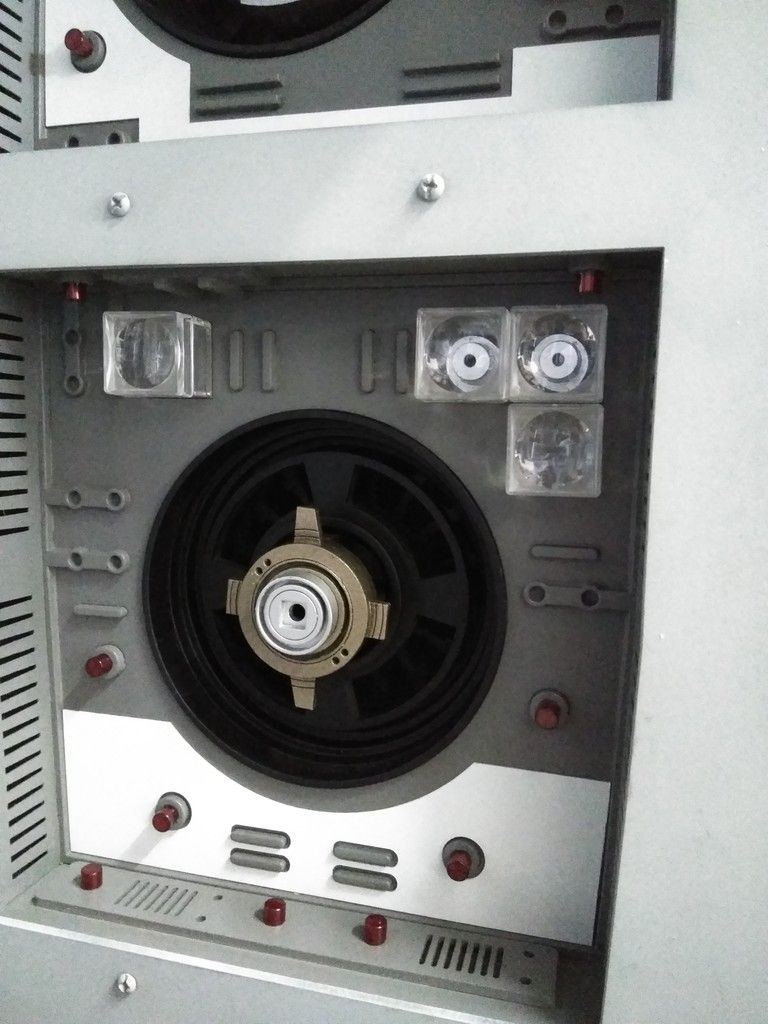
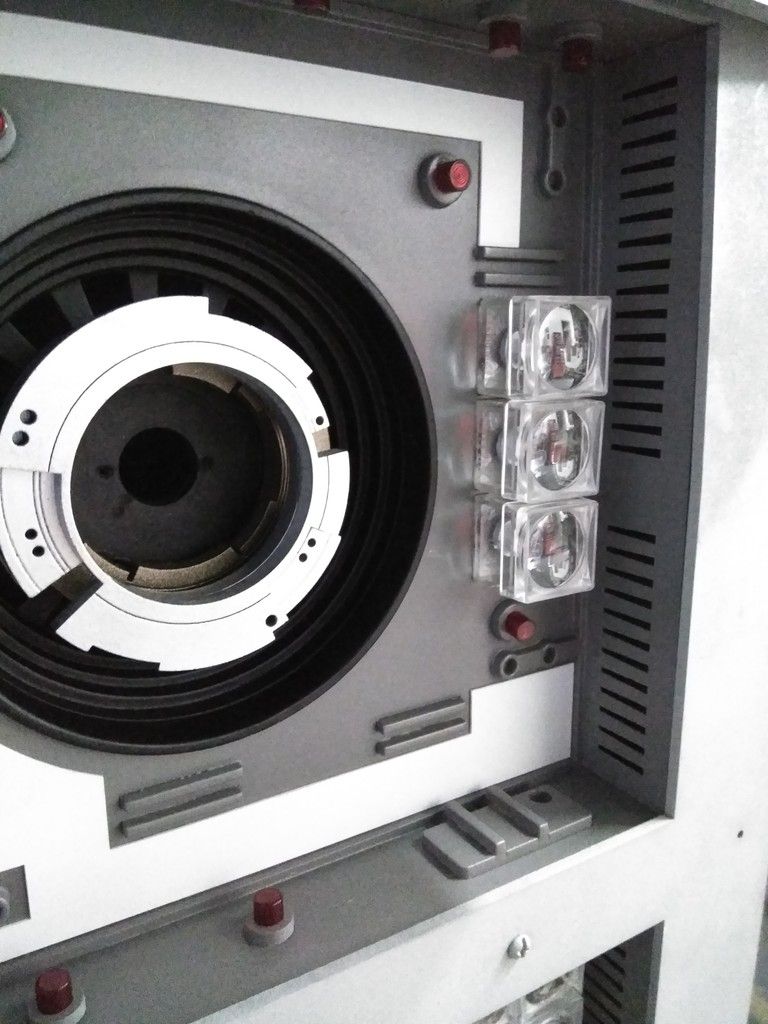
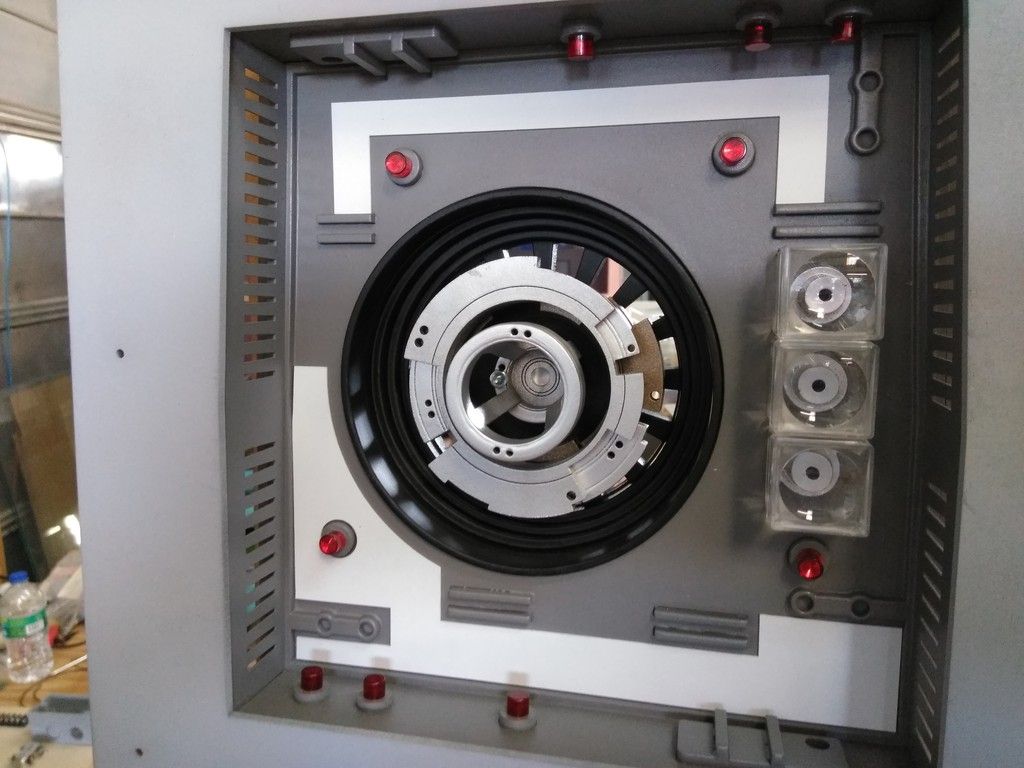
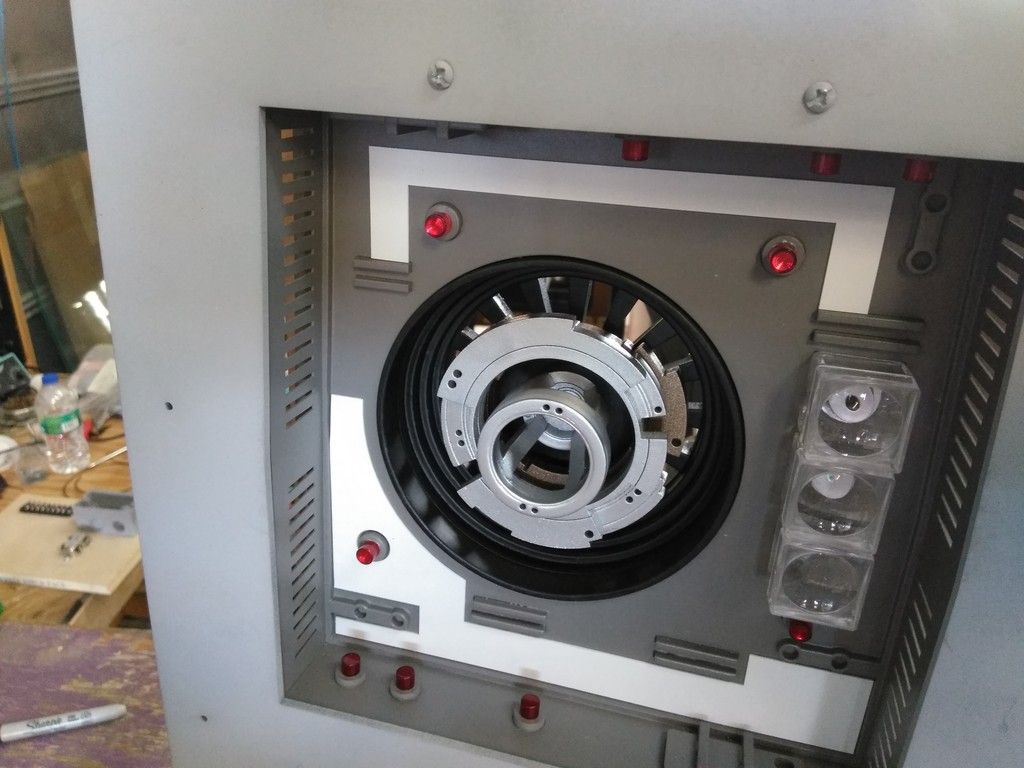
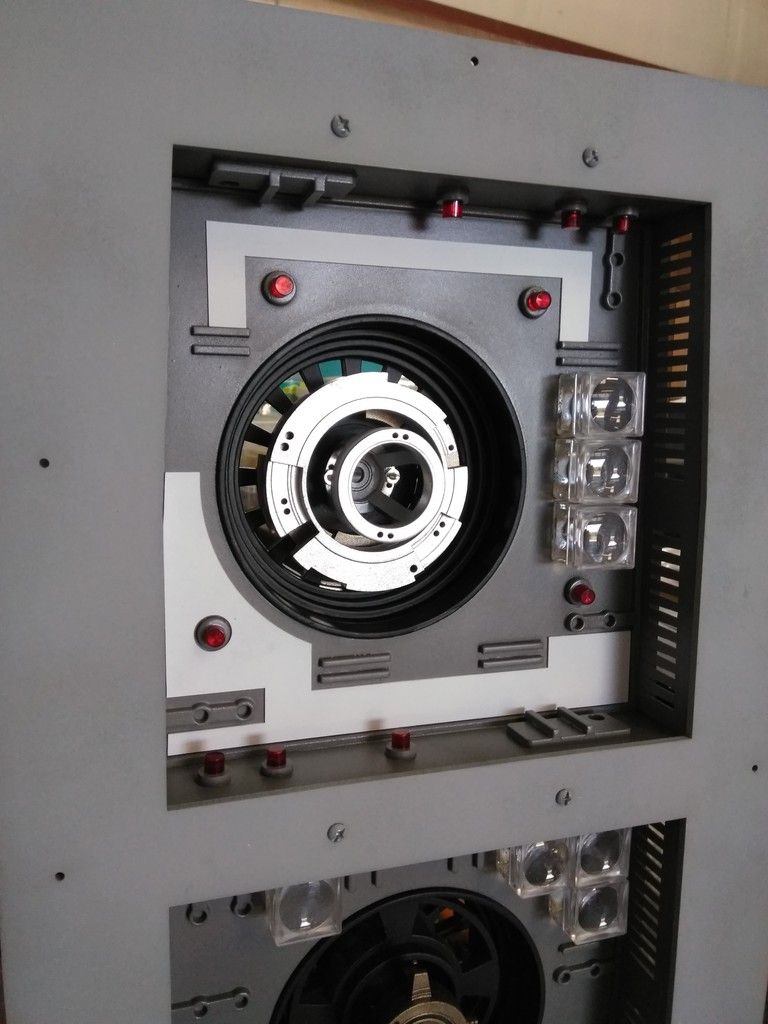
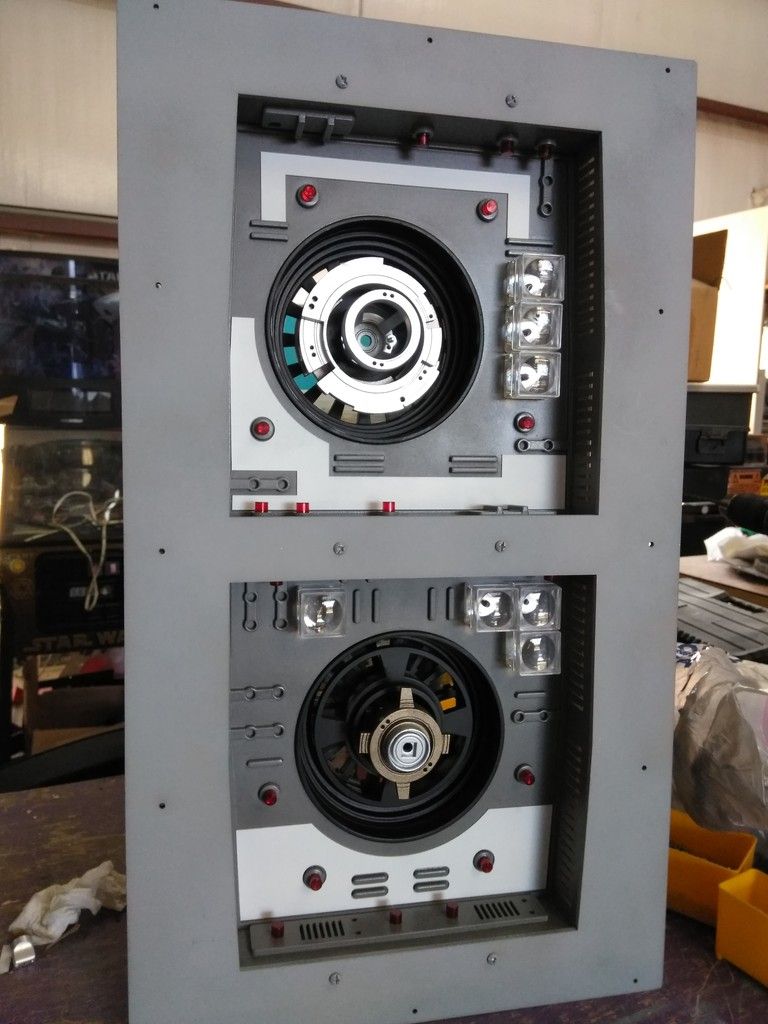
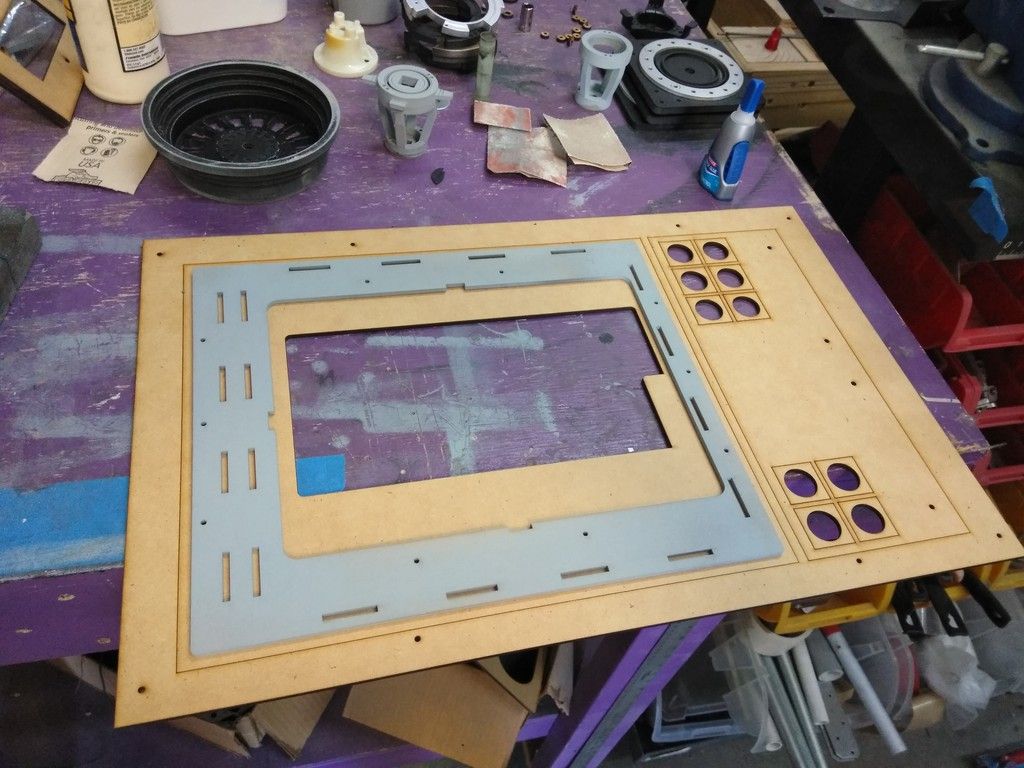
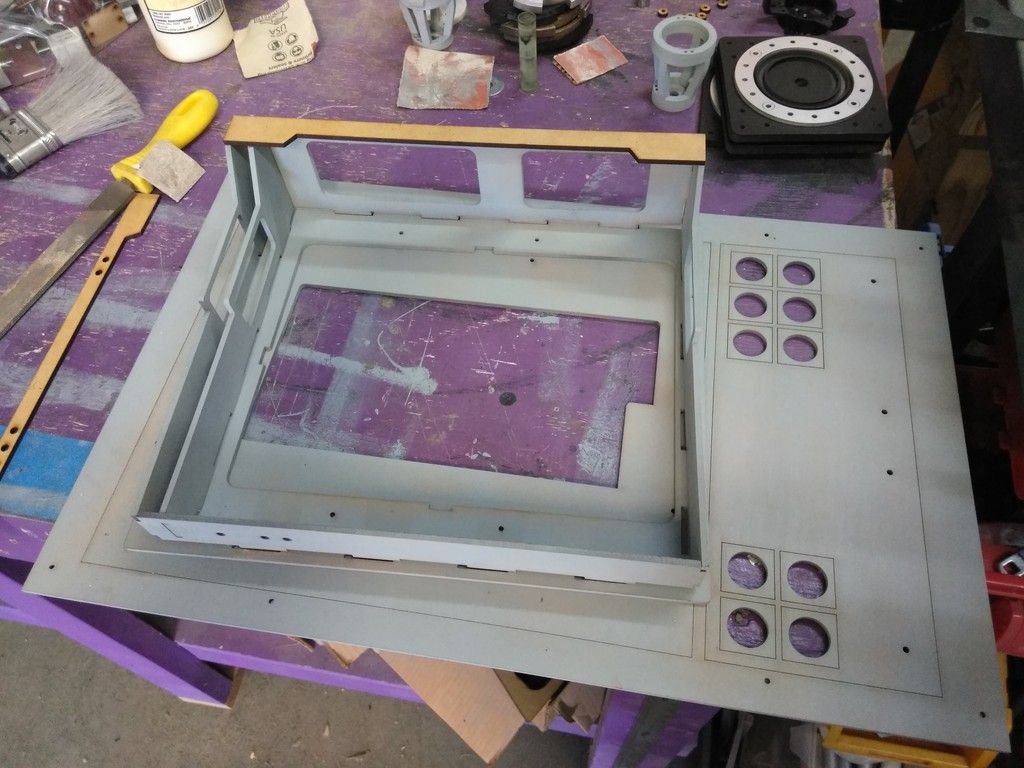
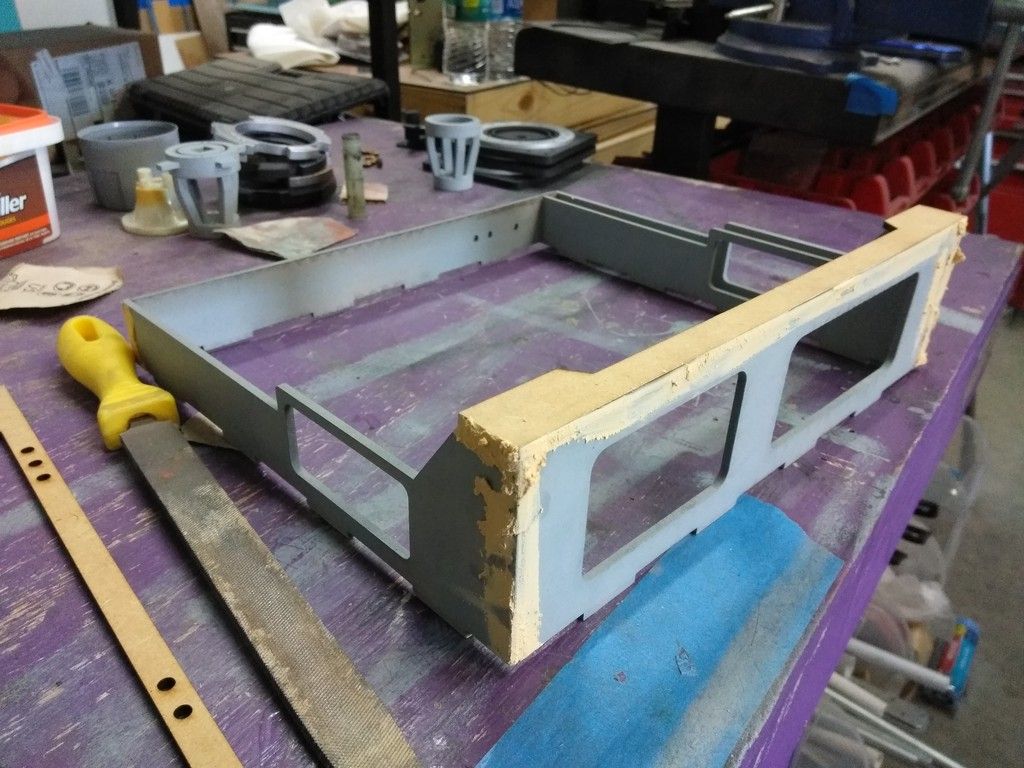
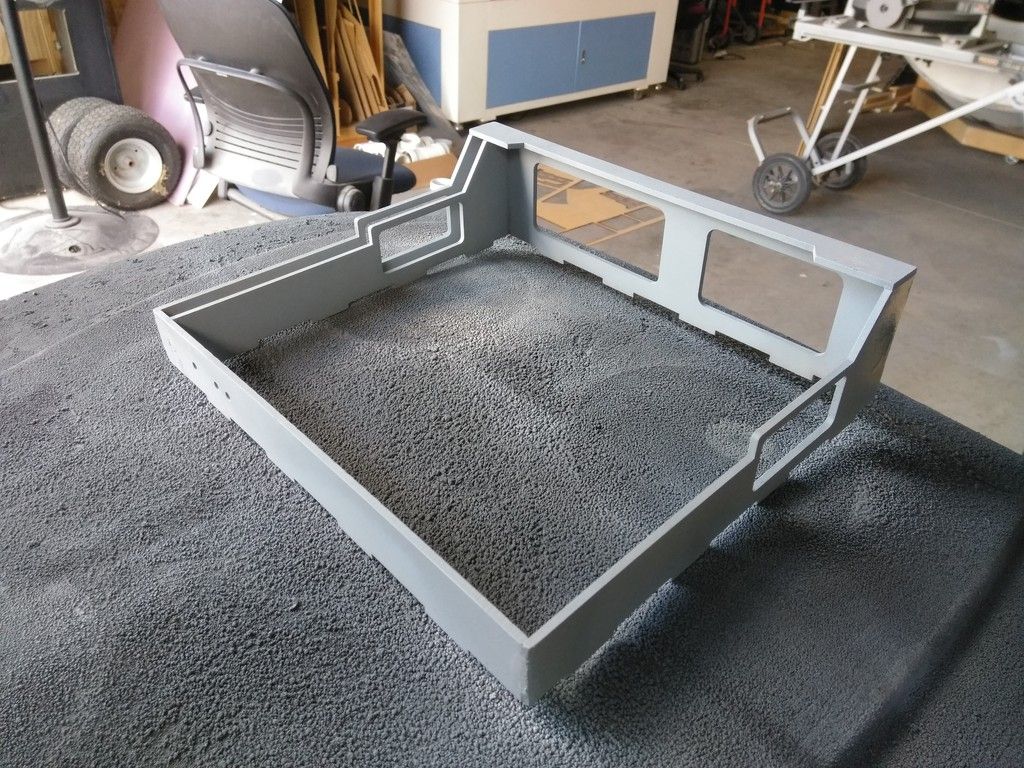
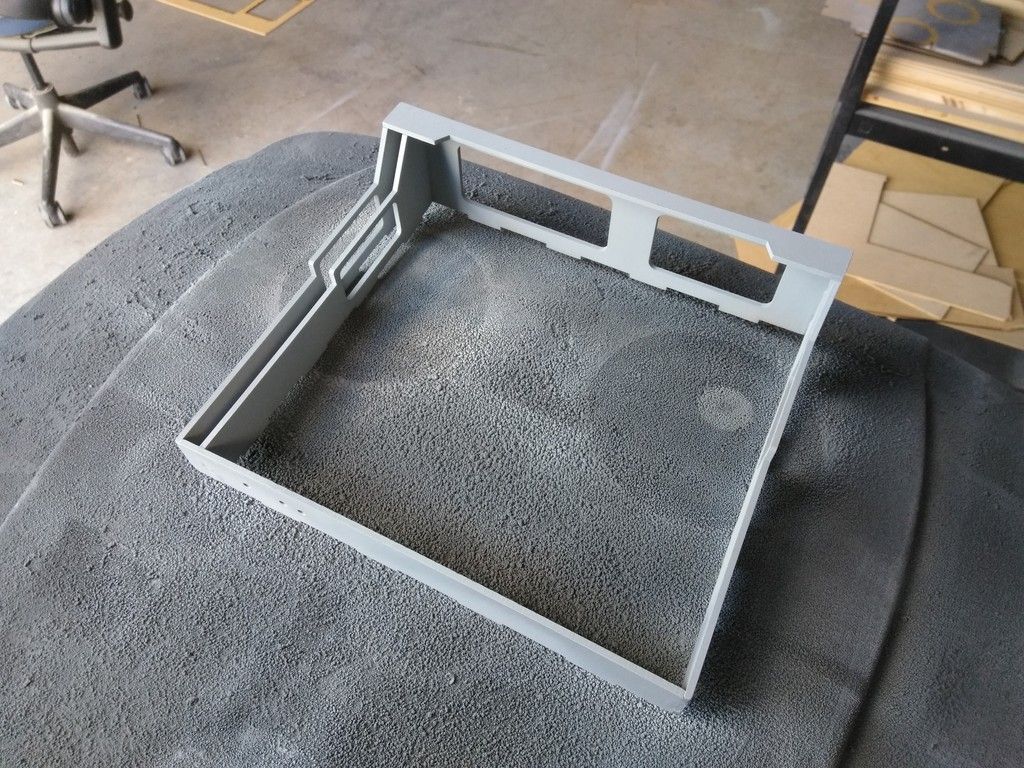
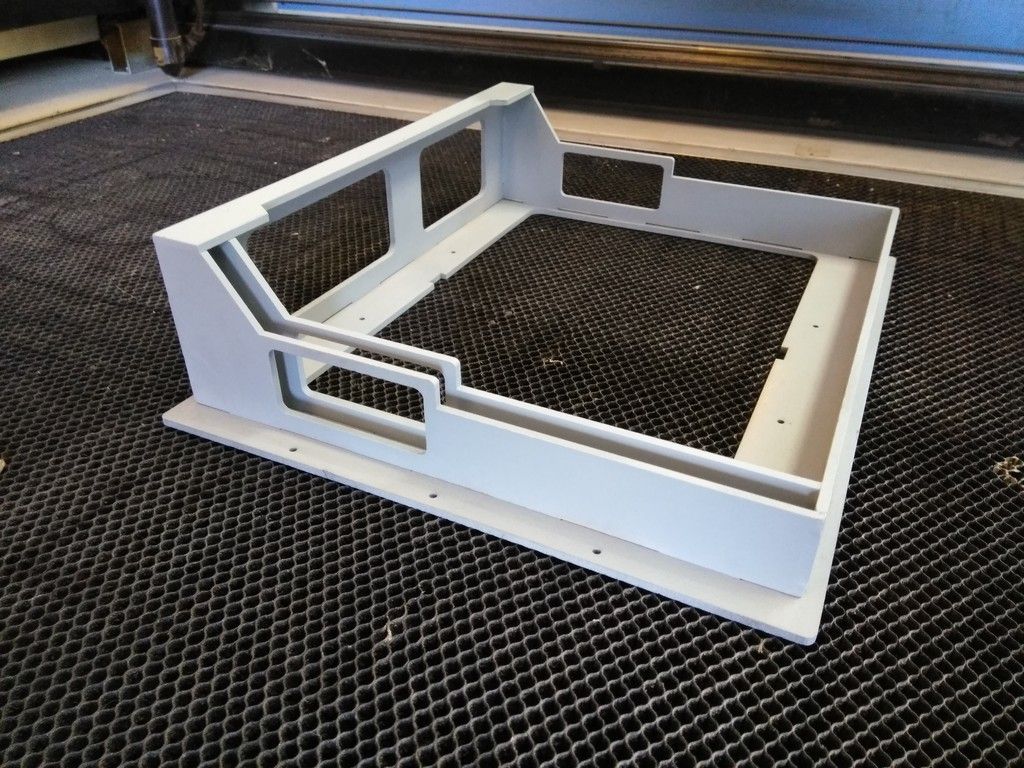
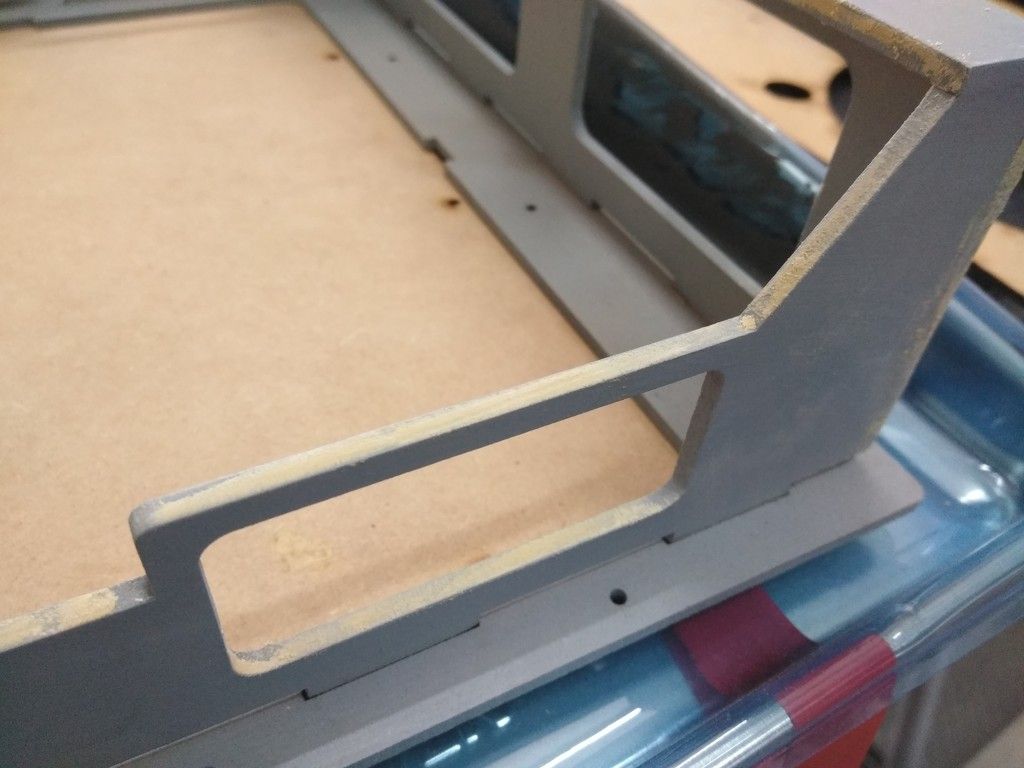
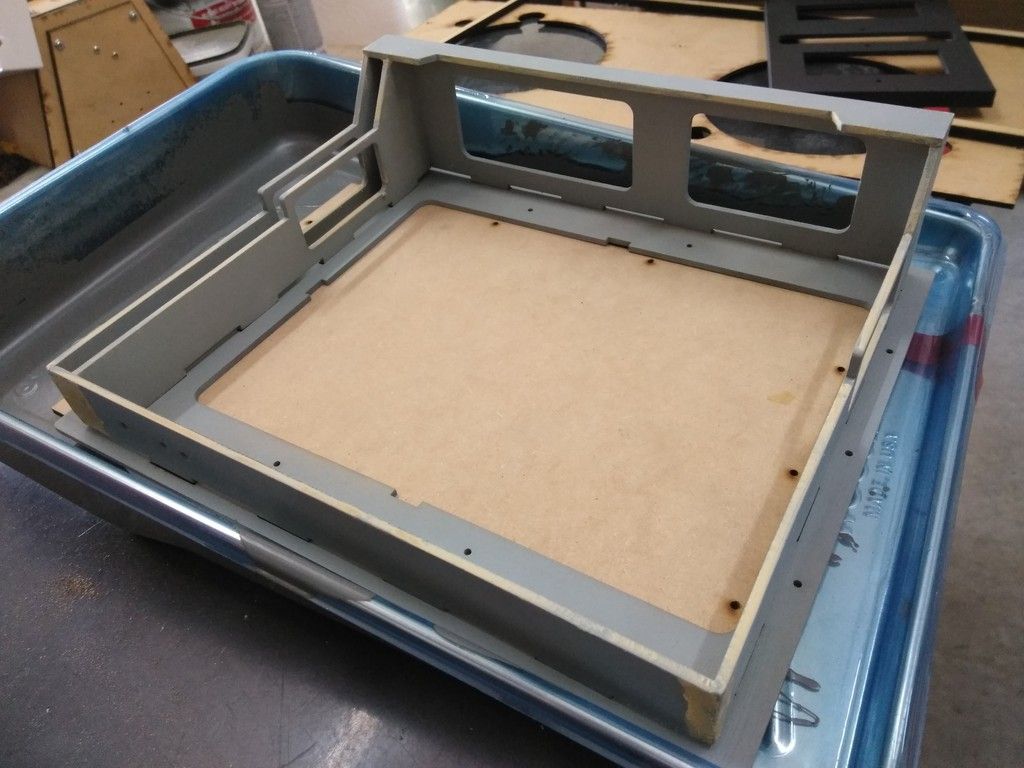
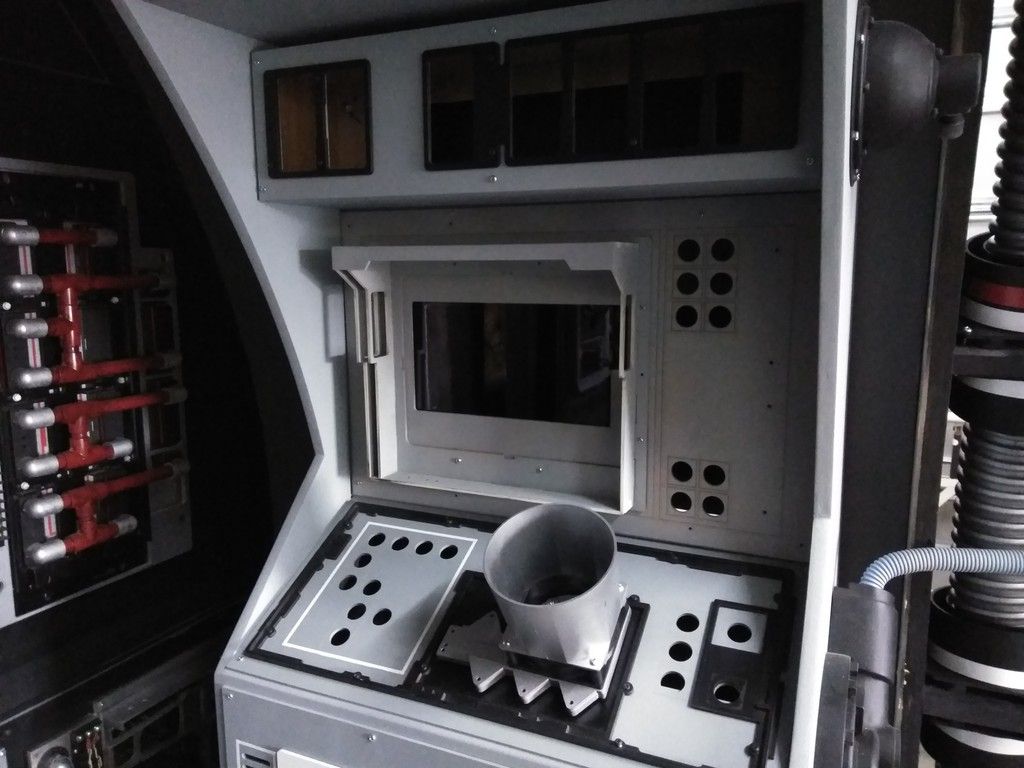
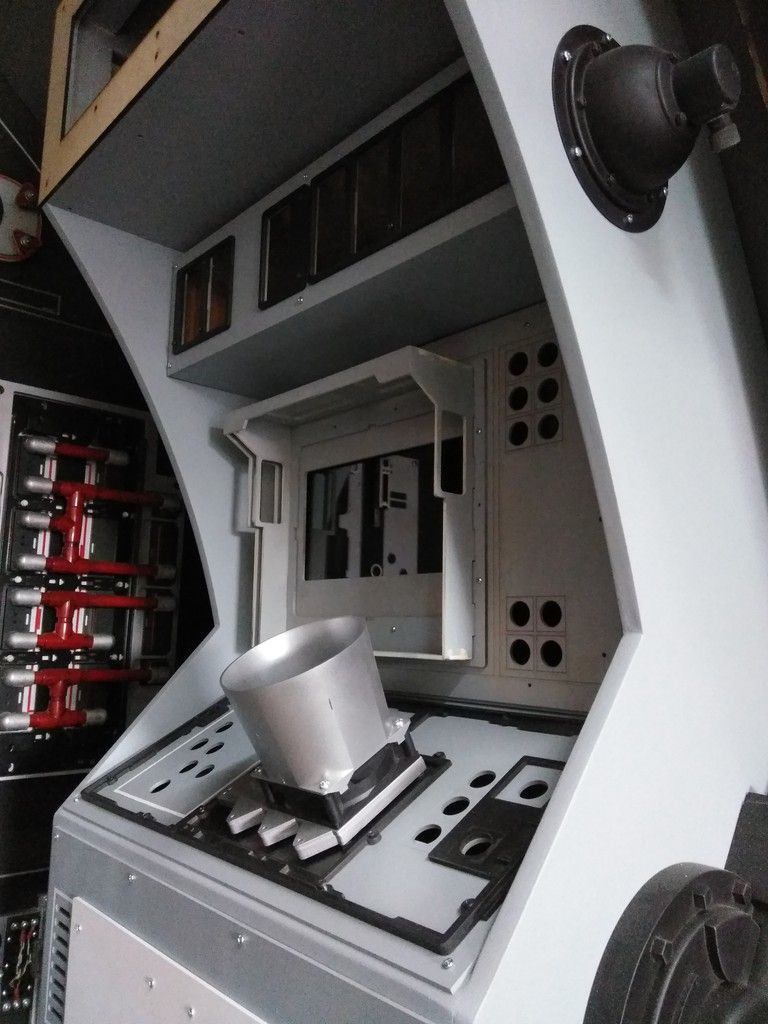
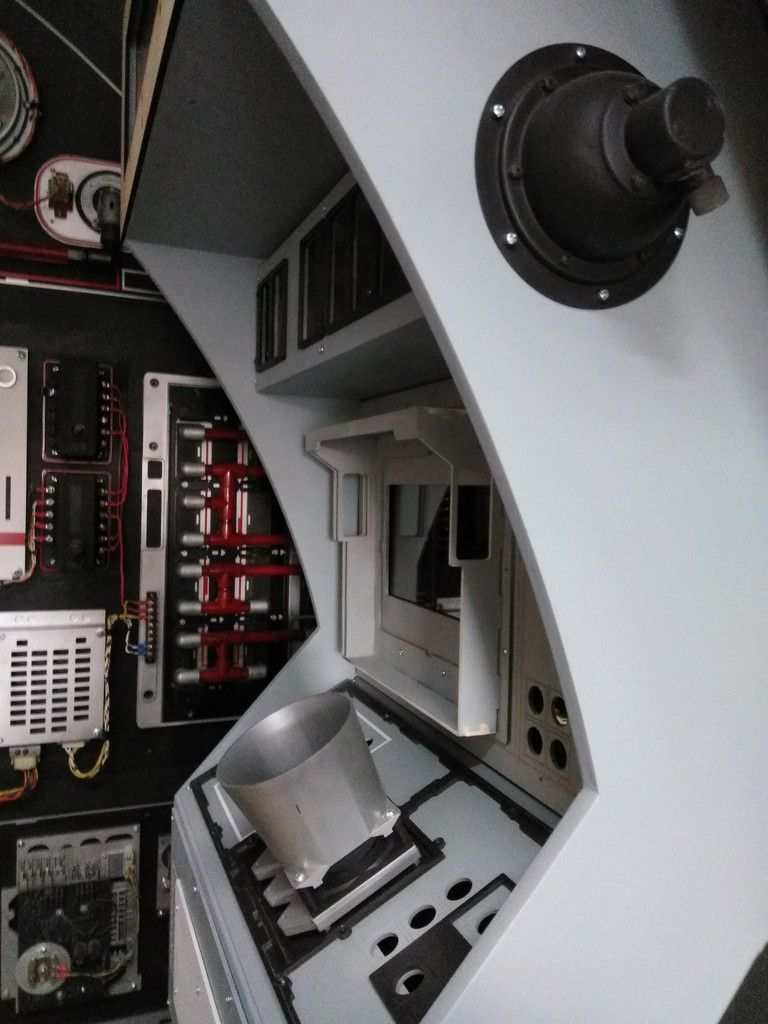
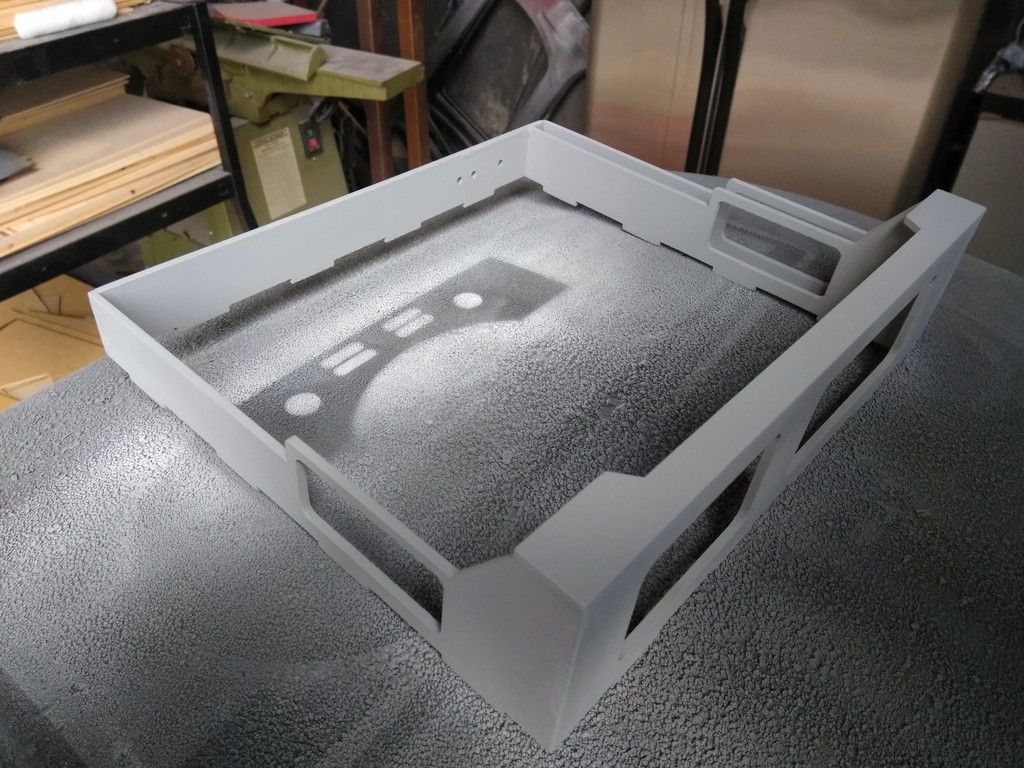
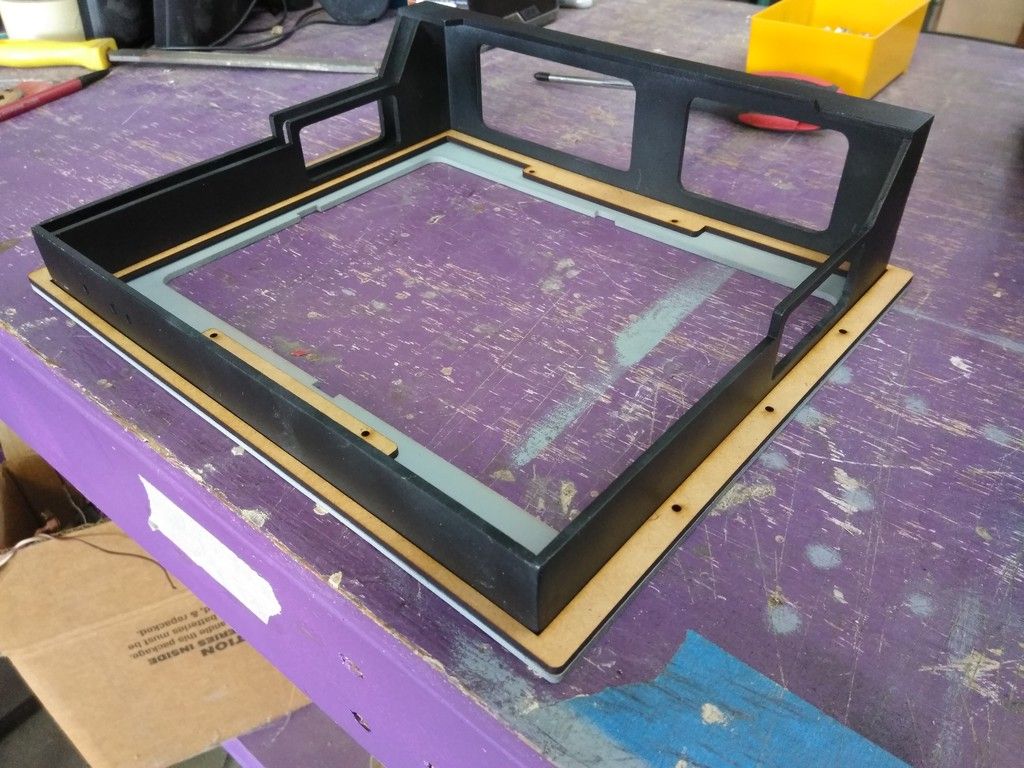
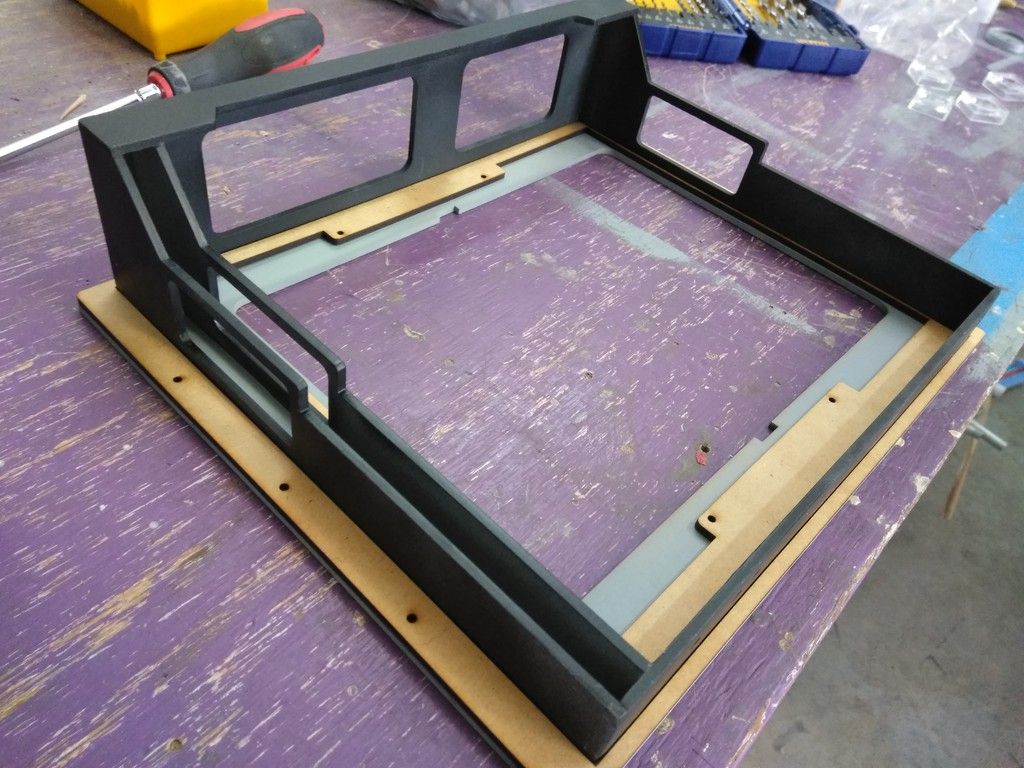
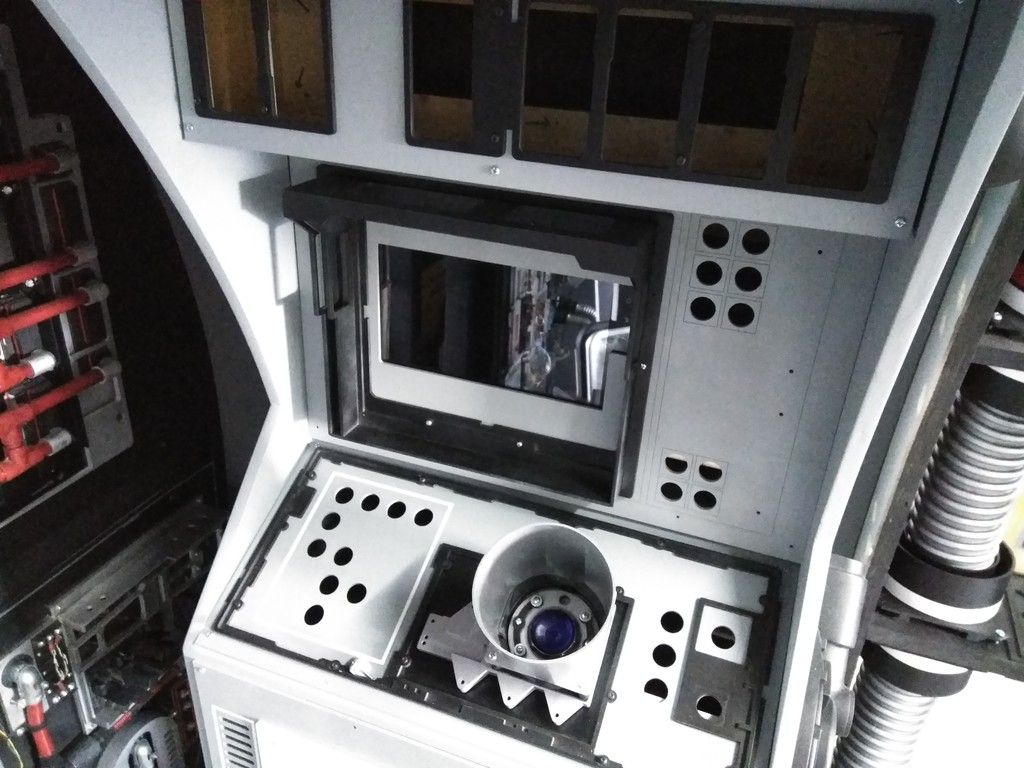
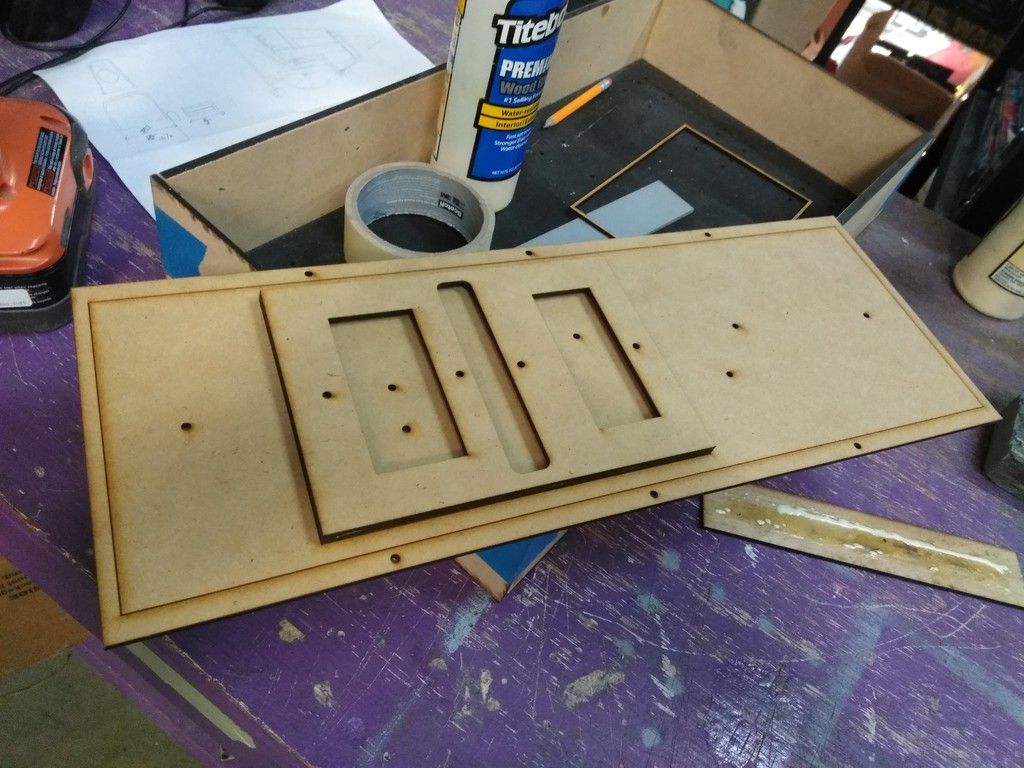
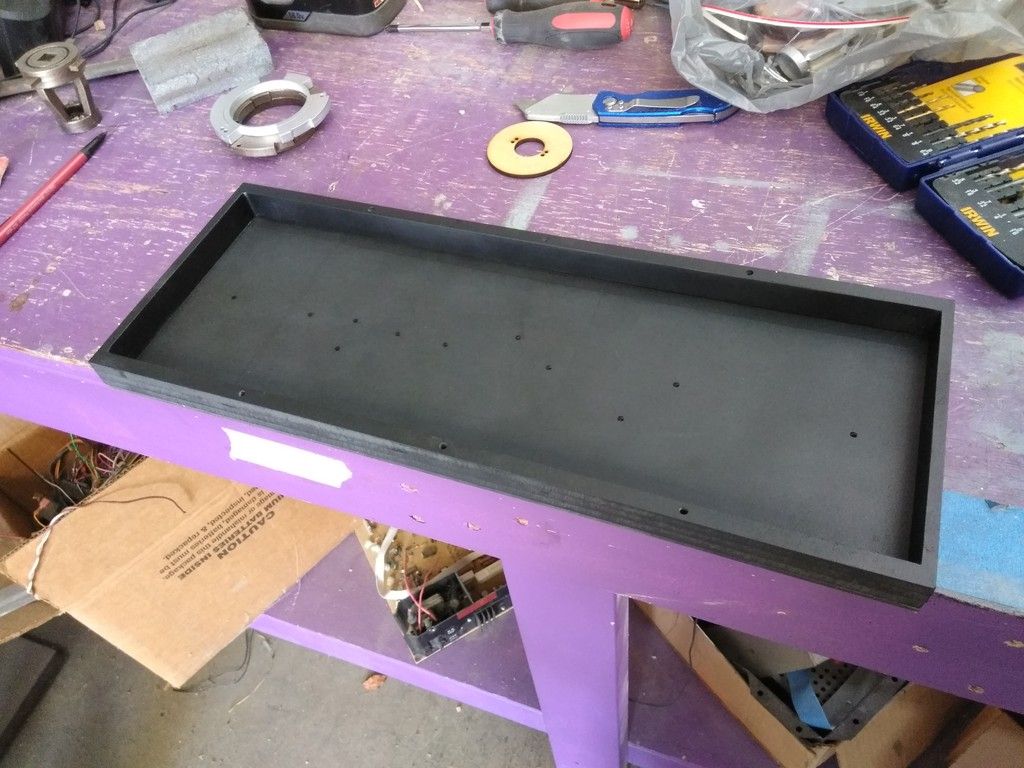
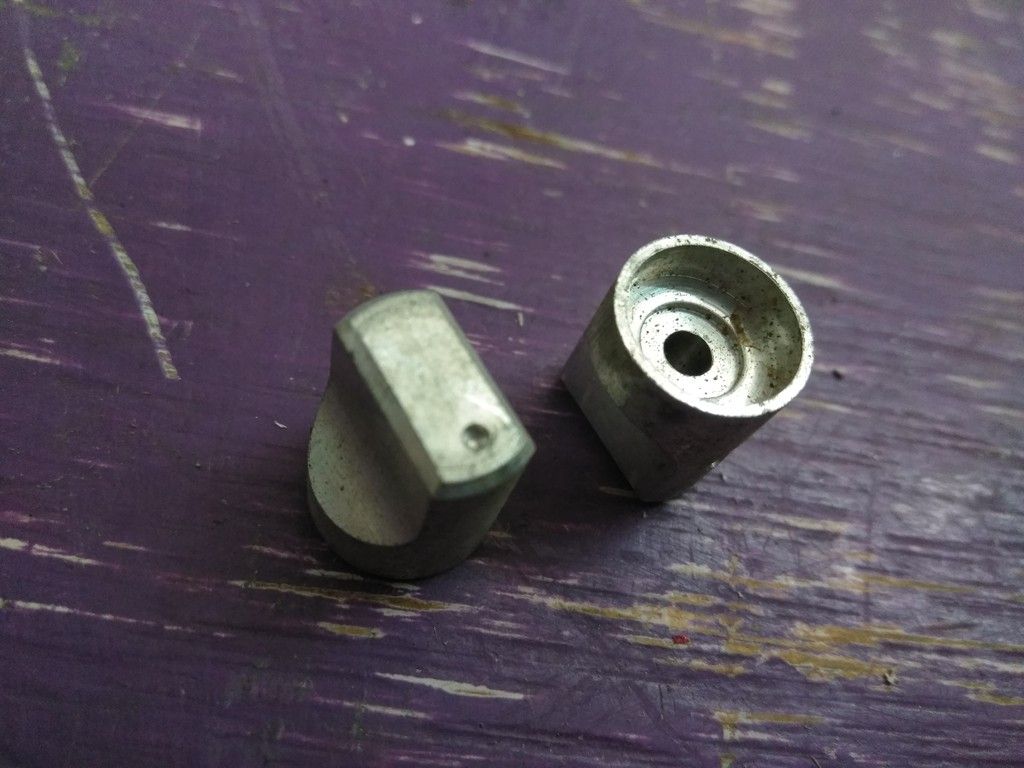
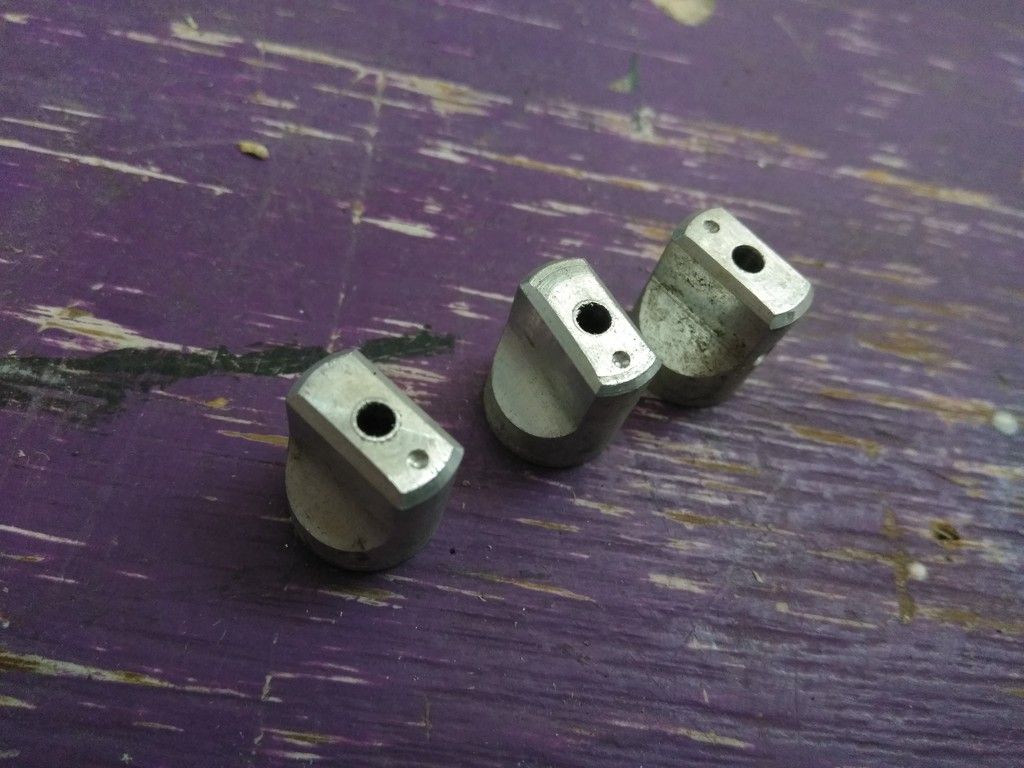
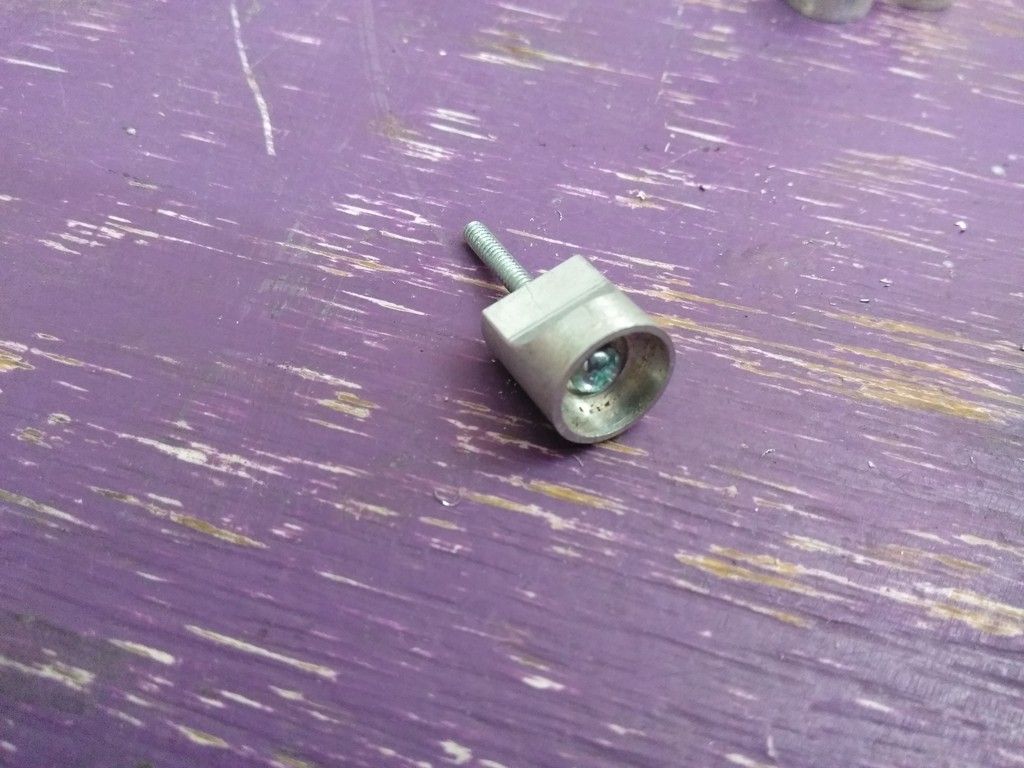
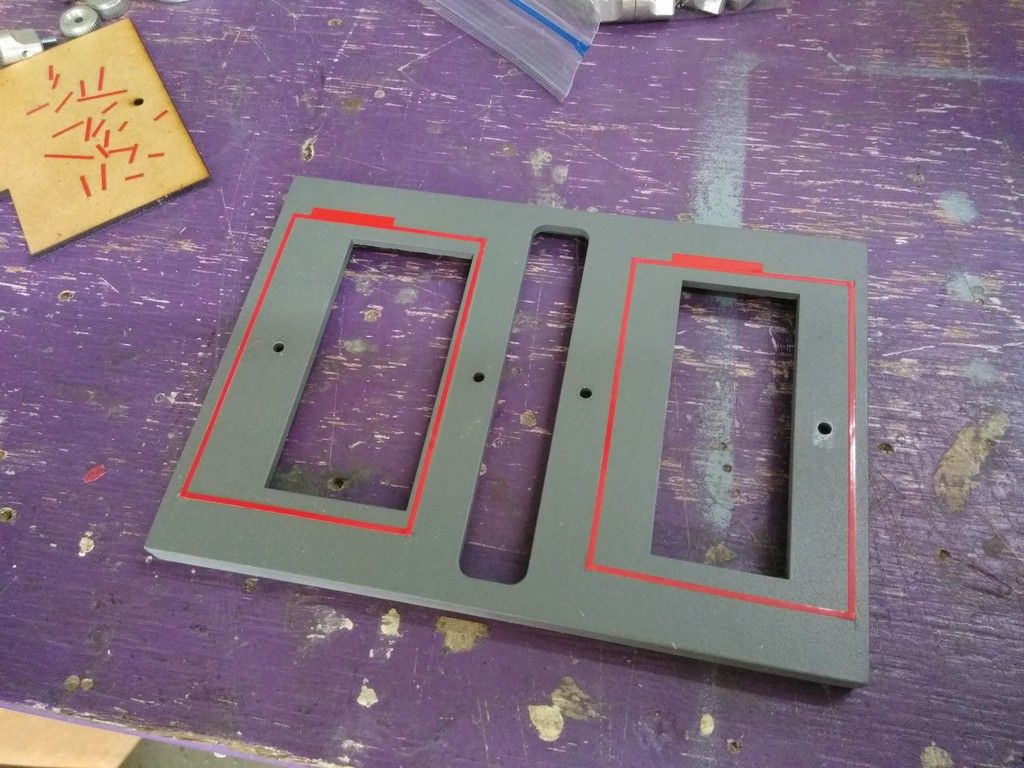
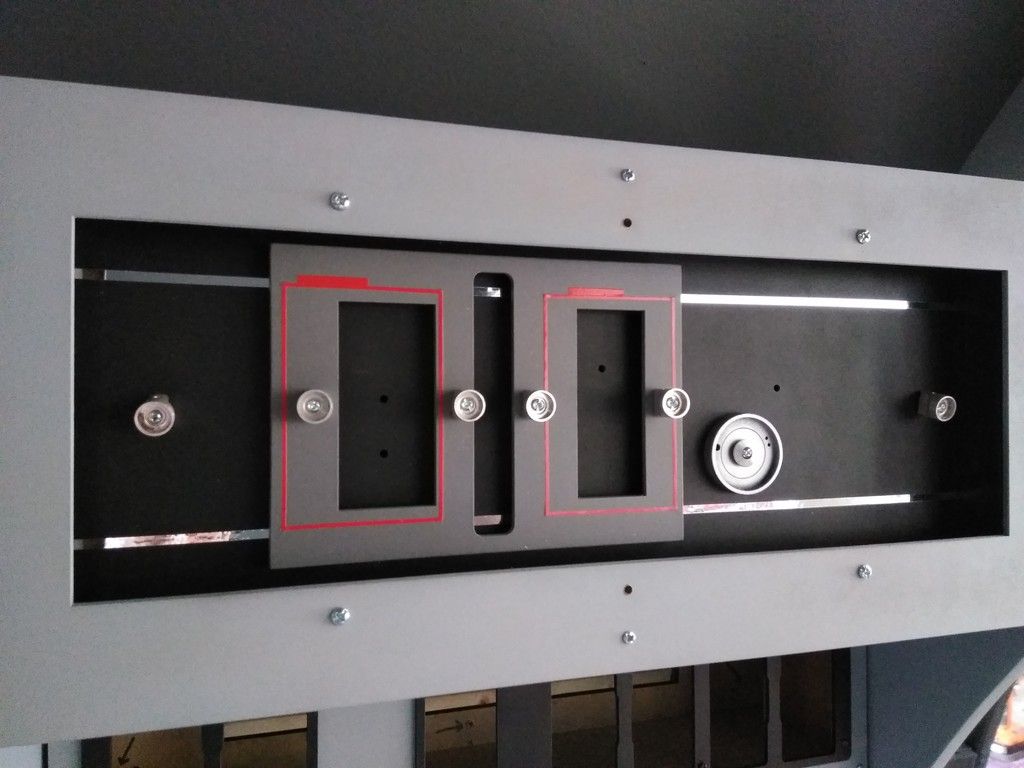
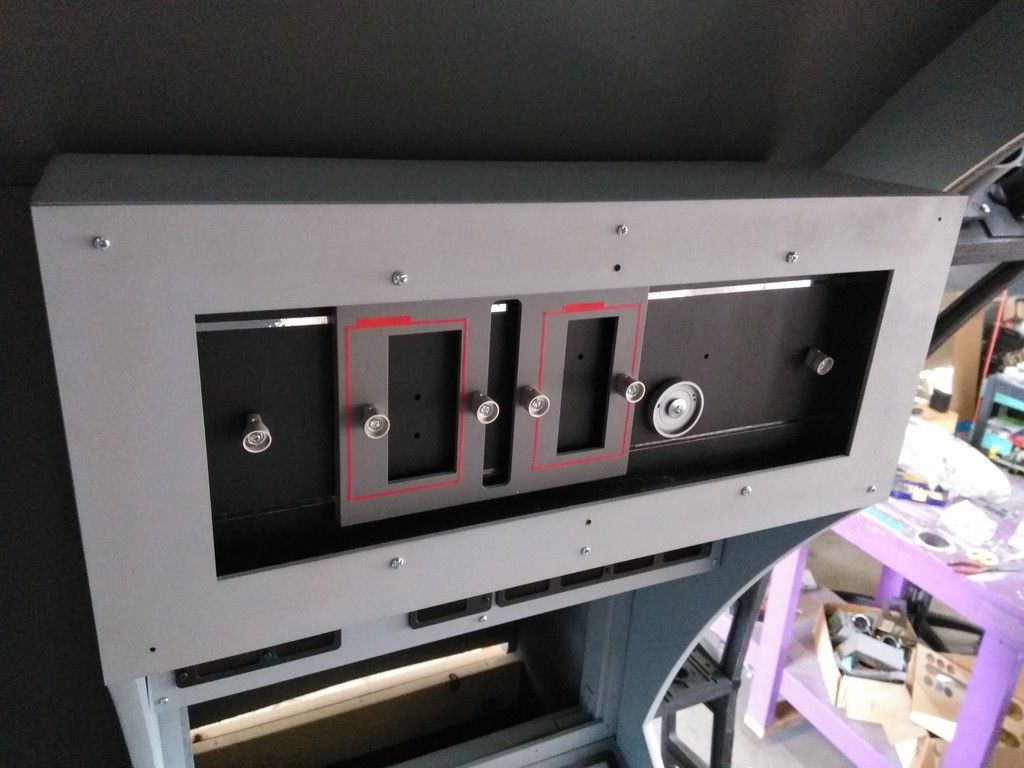
The design of those droid sockets is super clean and detailed. Love it!
Hey Sofa,
Thought you might find this usefull :-
Roughneckone:cool
Man, even in the smallest of things your work is so clean! I know a lot of it is machine guided precision, but still amazing work, even comparing it to an actual feature film prop. I know this is a "replica" but it has soul that something just cobbled together cant have. They just threw stuff together till it looked good to them and ran with it. Here, because of dedication as a fan, you're taking all efforts to match exactly what was shown in the films and that takes time, patience, and dedication right there. Nice work once again!
Sent from my LGLS775 using Tapatalk
Again, thank you so much.I don't know what it is about the Ep. 7 cockpit, but I don't like it as much as the OT cockpit (even though the side and back lightbars were misaligned in ANH). Not enough grime on the seats? Too much of an LED look to the lights in 7 & 8? Not sure...
Hey T,
I know exactly what you mean and I think I know what it is that's missing from the original(s). Aside from the slight panel color change MOST of the greeblies we see in the 7 & 8 (and the soon to be released Solo movie) cockpit appear to be 3D printed. I dont think there are any original parts - I could be totally wrong. The level of detail we get from 3D prints is nice but they dont have that same look and feel as an original metal or molded plastic part - especially when time isn't taken to fill in/smooth out the 3D print itself. Splashing a layer of wash over a 3D print only enhances the 3D look. That was my first reaction to the Ep VII cockpit.
It's still awesome to see on the big screen again!


Oh, yeah. Totally agree. I think it's a number of little details altogether that just make for a slightly different feel from the OT cockpit. I'll still enjoy the movies regardless though. Seeing a near-perfect Falcon interior on-screen is still better than none at all ...and here's hoping the ship survives Ep. 9, to maybe go on to a future set of (non-Skywalker based) Star Wars films!
I think there's something about the specular highlights on the panels themselves that makes it look... let's say "not as cool". The panels have a lot of gloss, and there are almost no features on some of the panels, so that really smooth surface seems lacking. I mean... it's still cooler than any my personal spaceships, of which I have... none.
Looking Great Sofa.:thumbsup
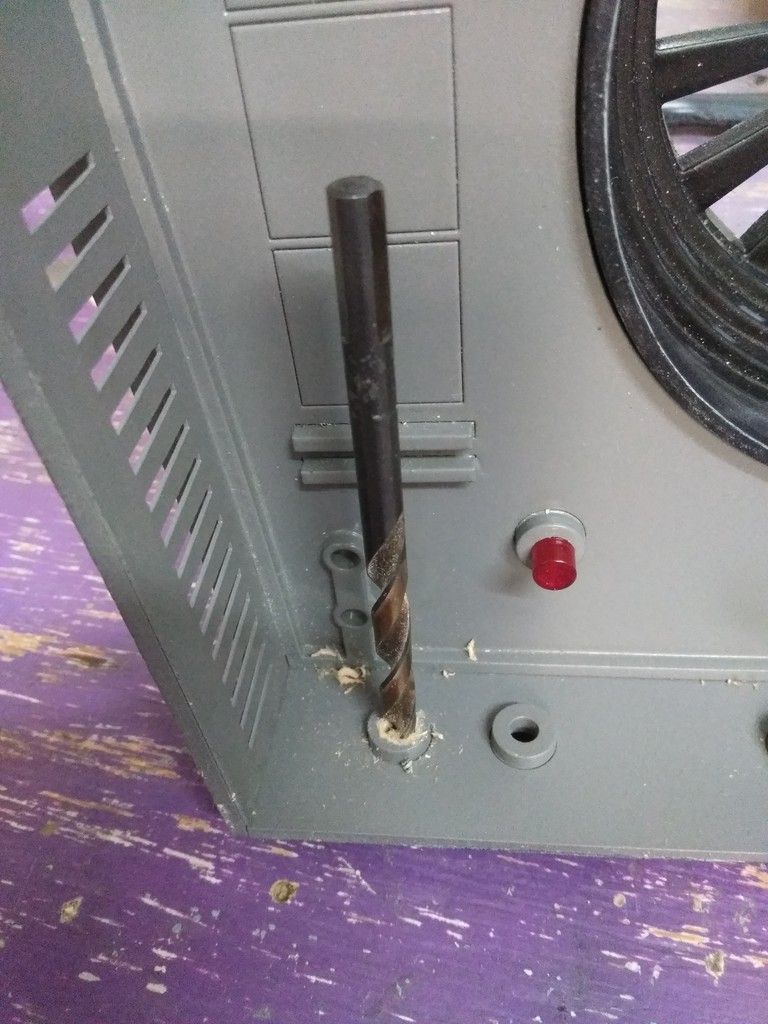
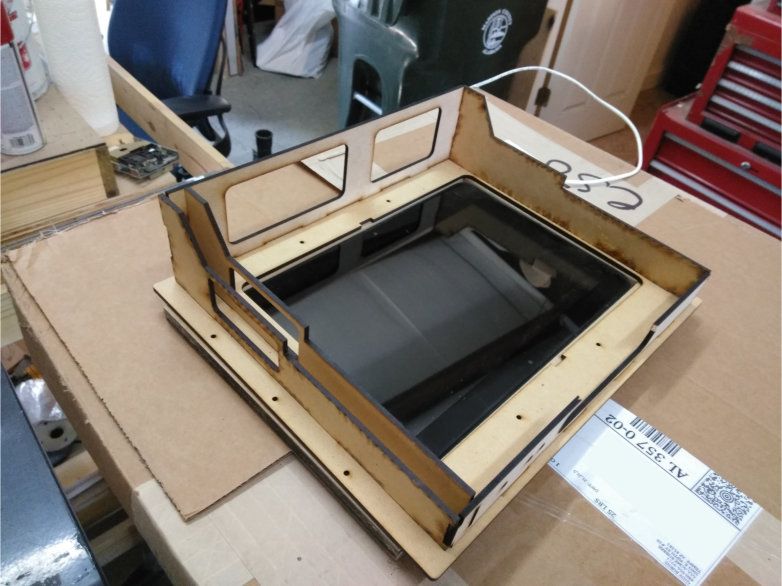
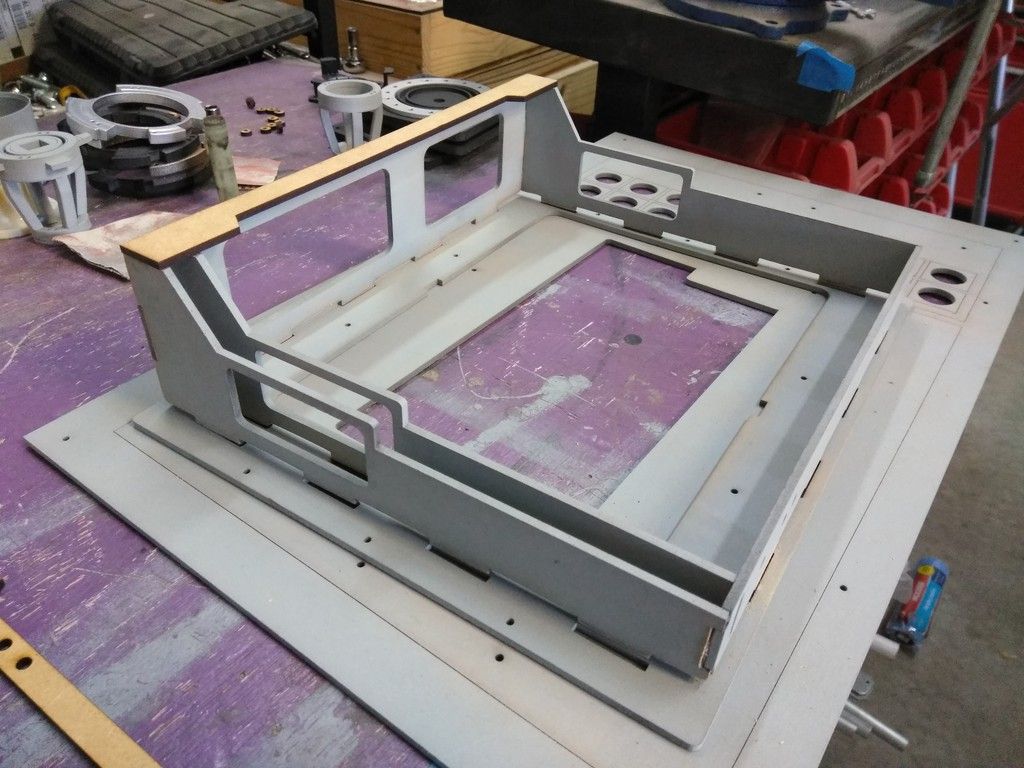
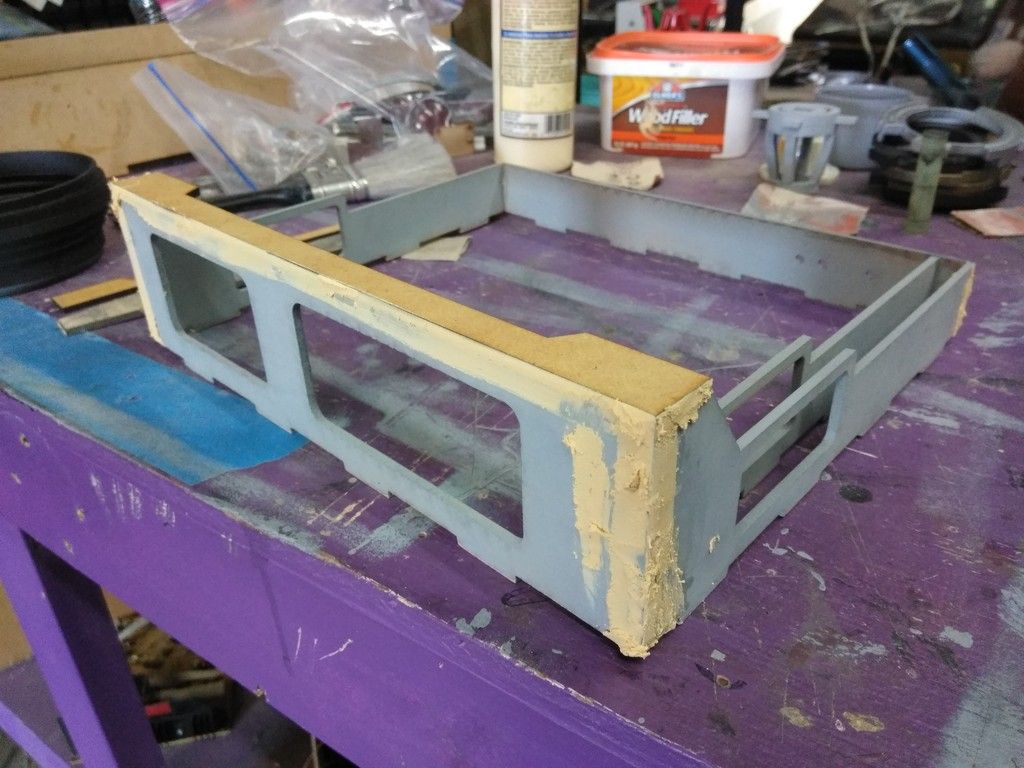
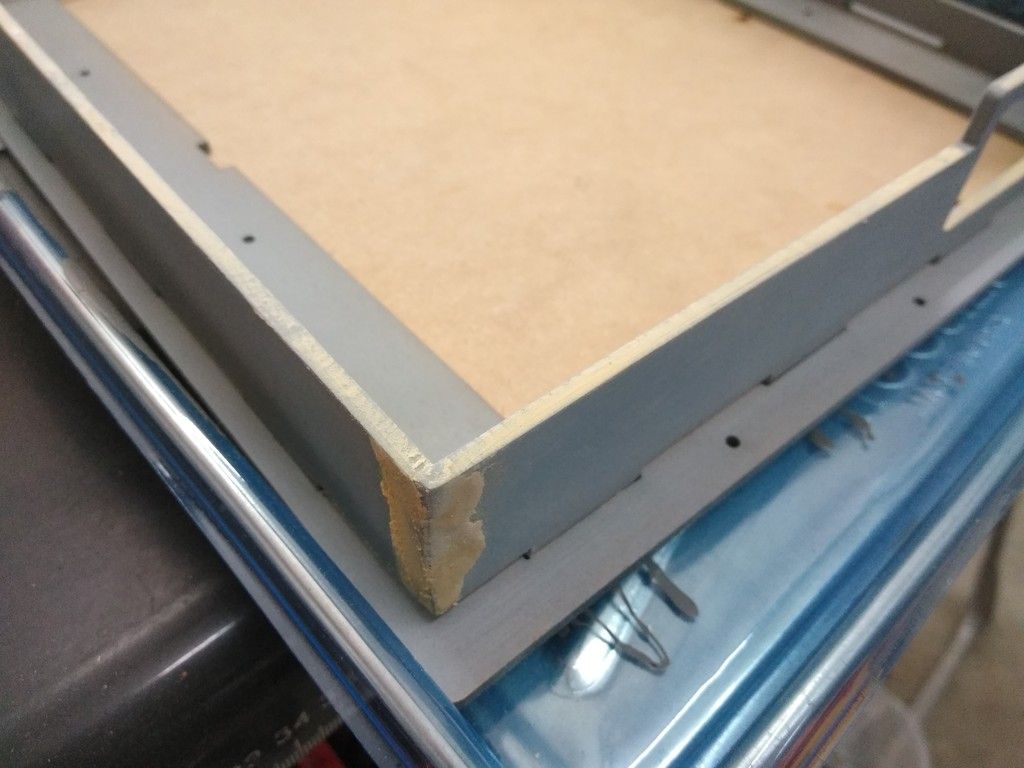
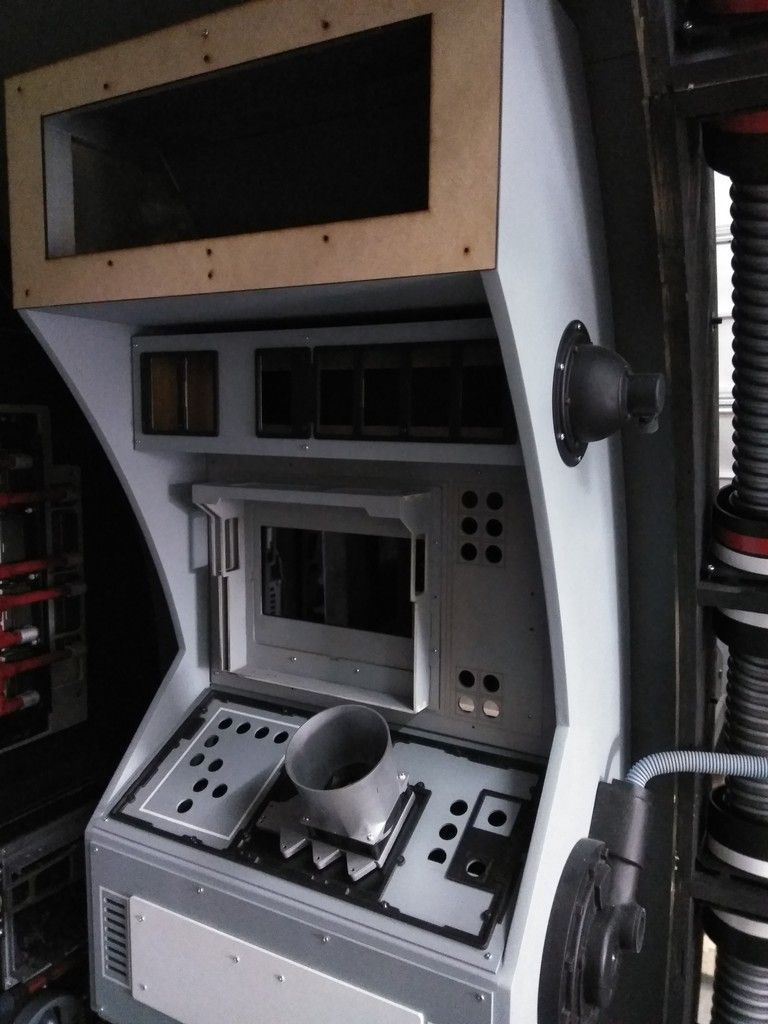
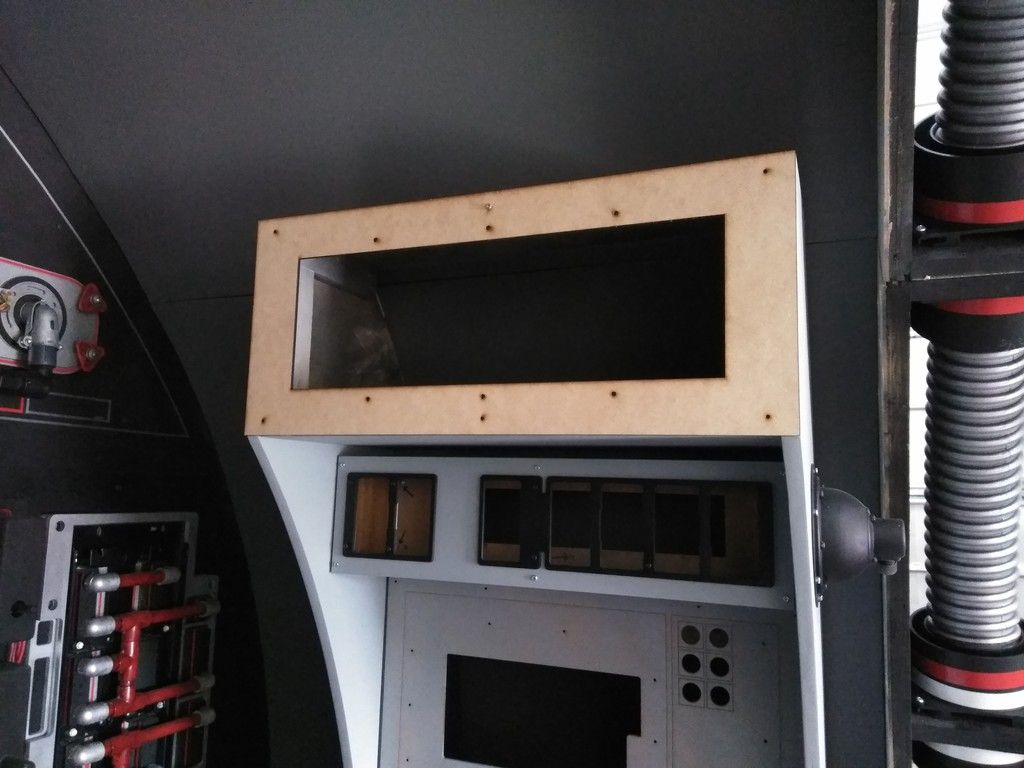
As I've been watching this build I've always thought to myself, "what happens when "Joe-Public" gets their hands on this thing? That cracked MDF realized my fears. MDF is relatively fragile when cut thinly, and I imagine, that at some point people will be allowed to explore the cockpit; will it be a hands-off scenario? Or are you building so people can touch, switch, pull, etc? Personally ... I scared for the details!!!
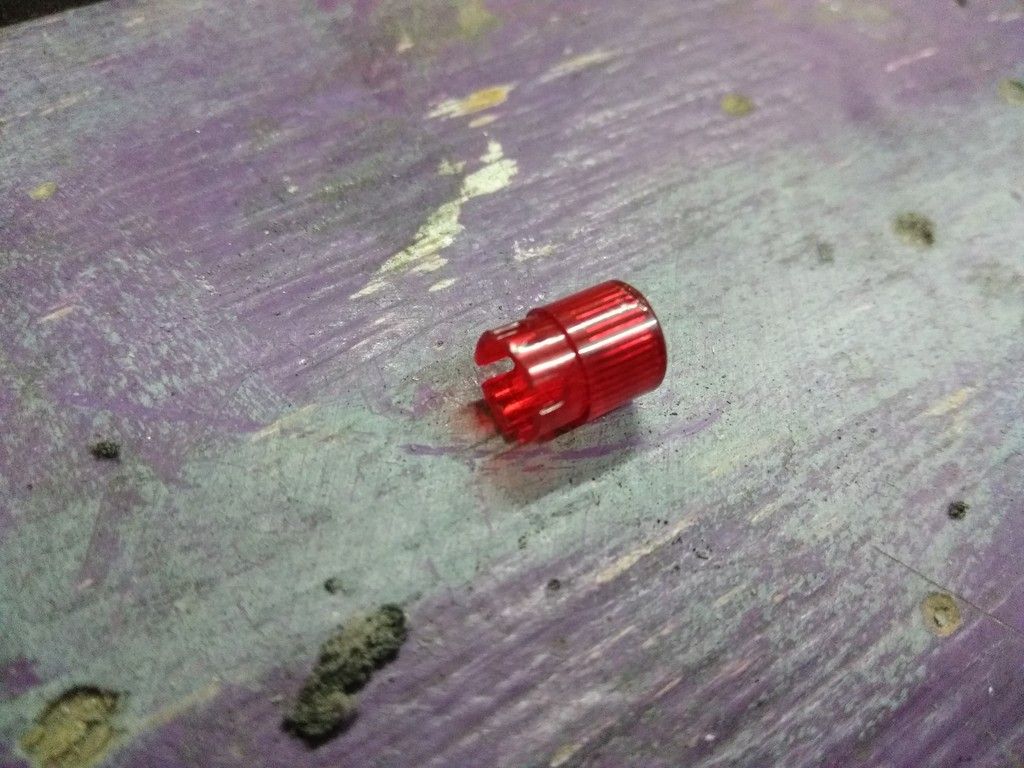
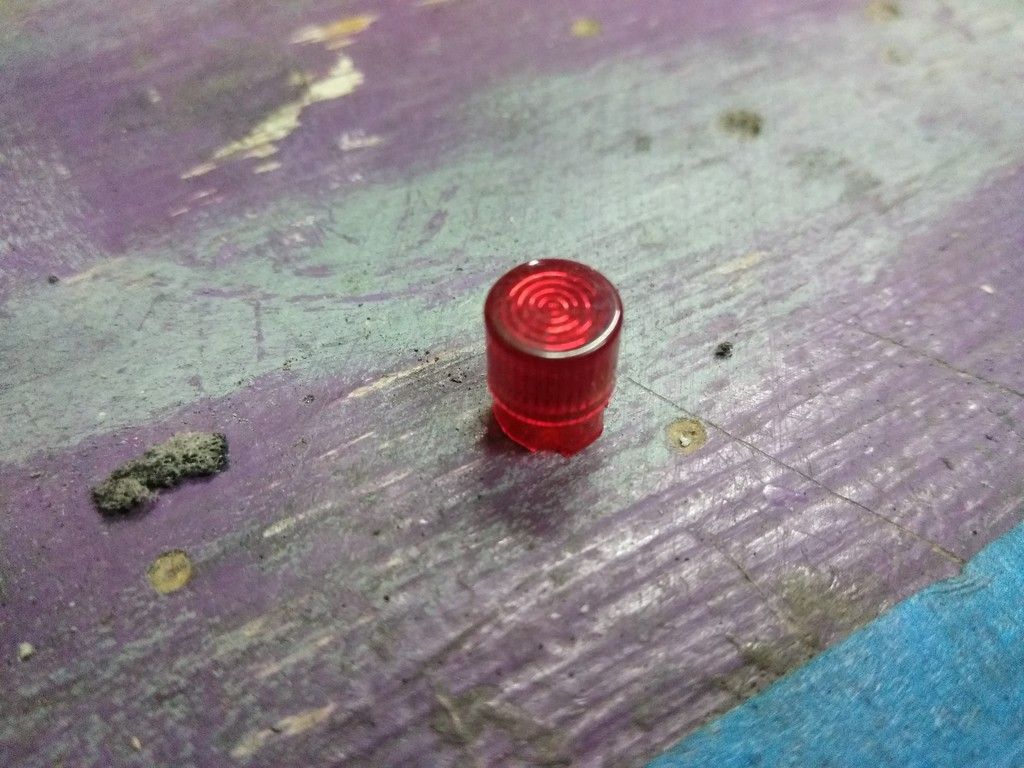
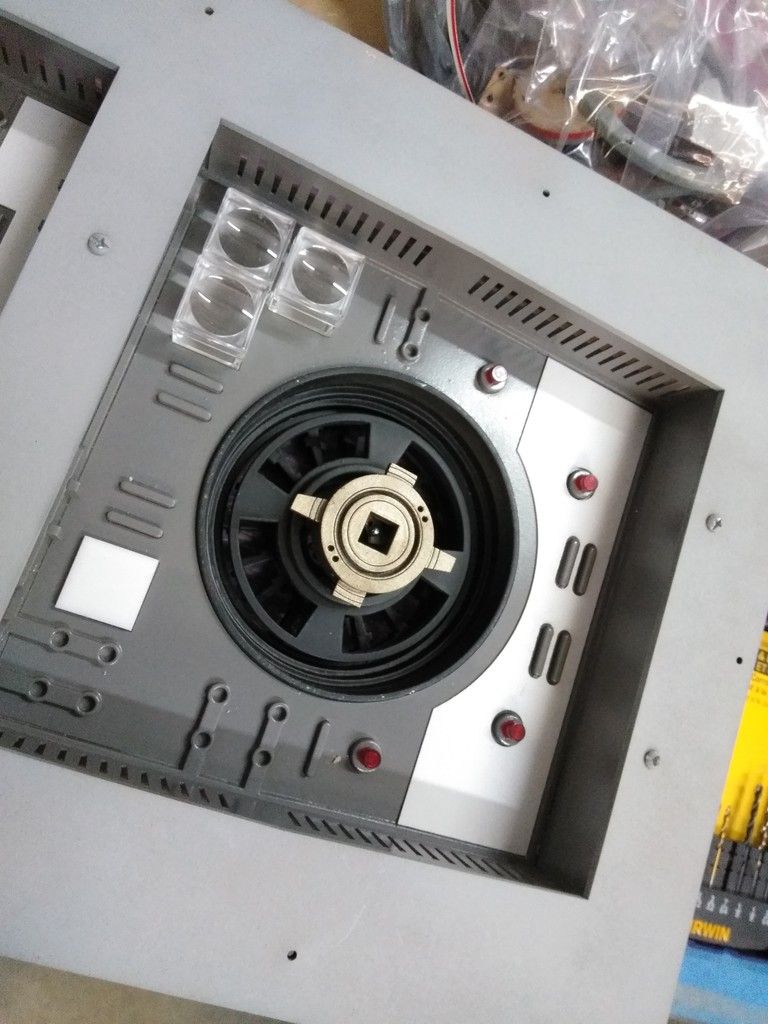
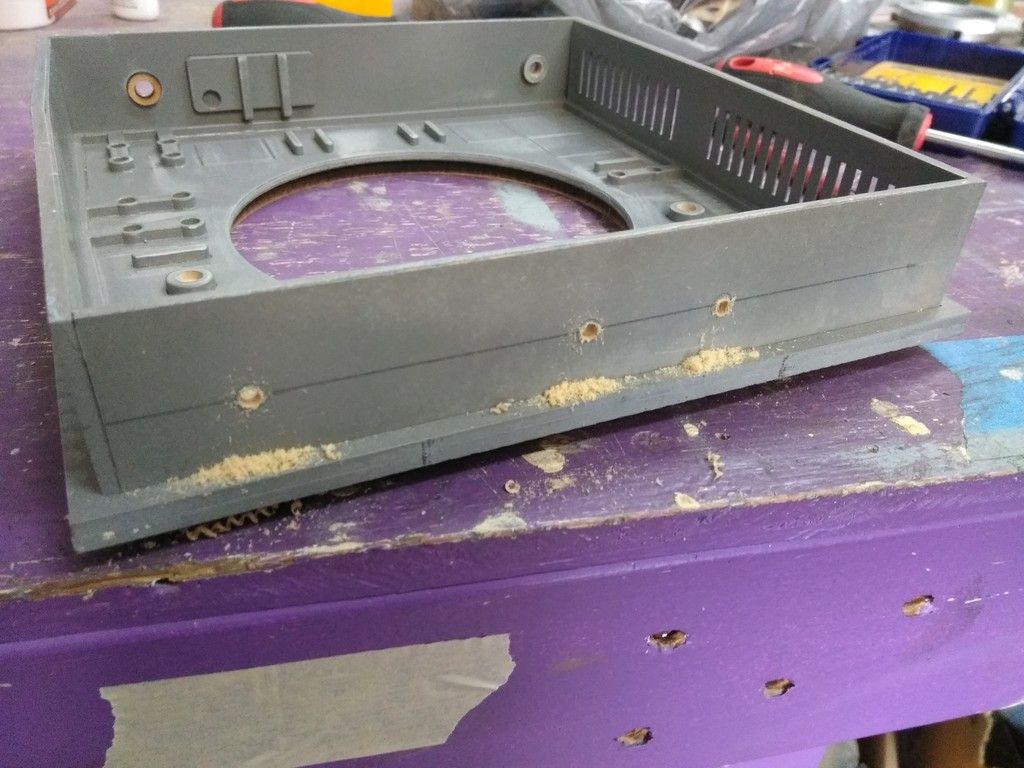
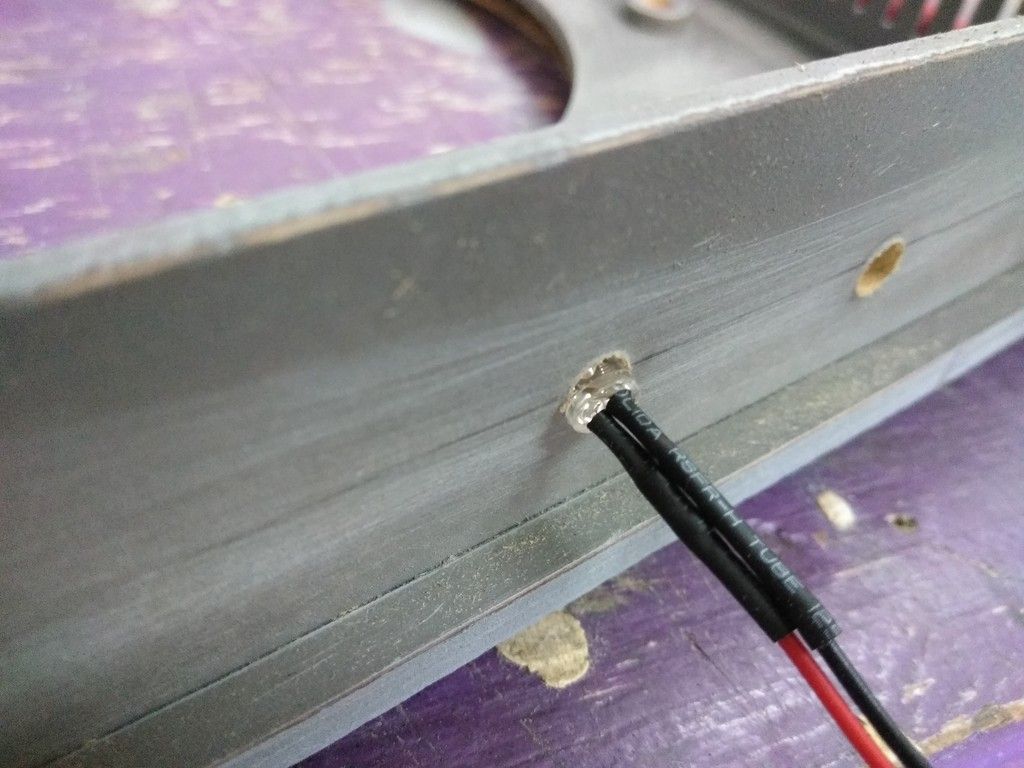
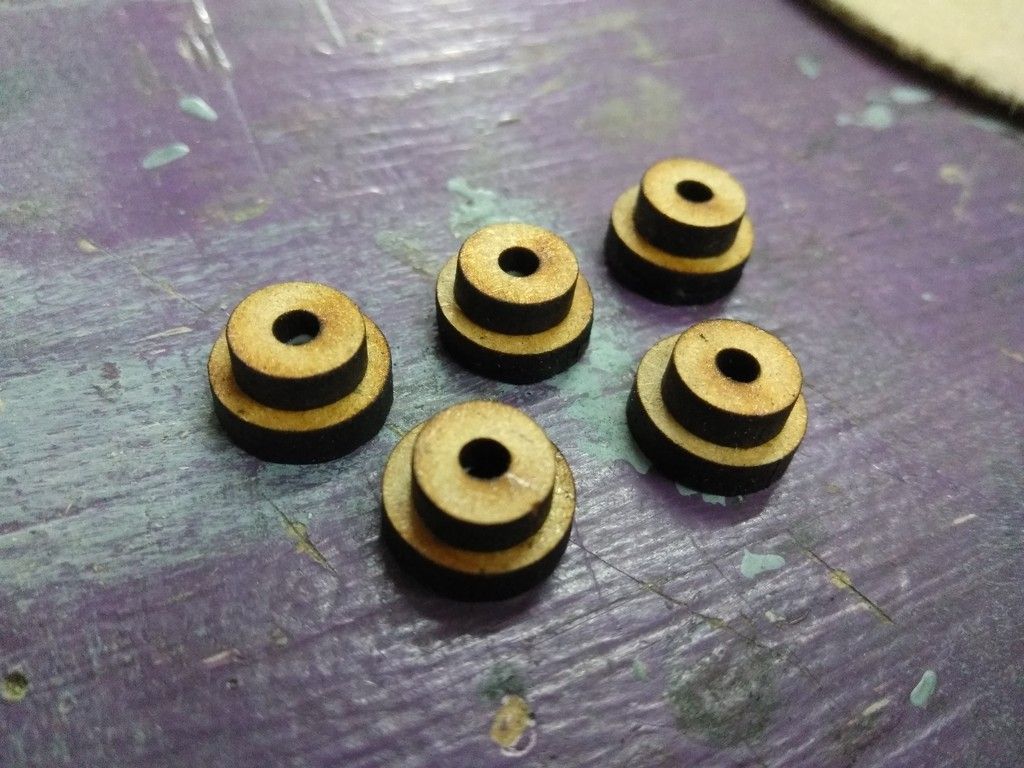
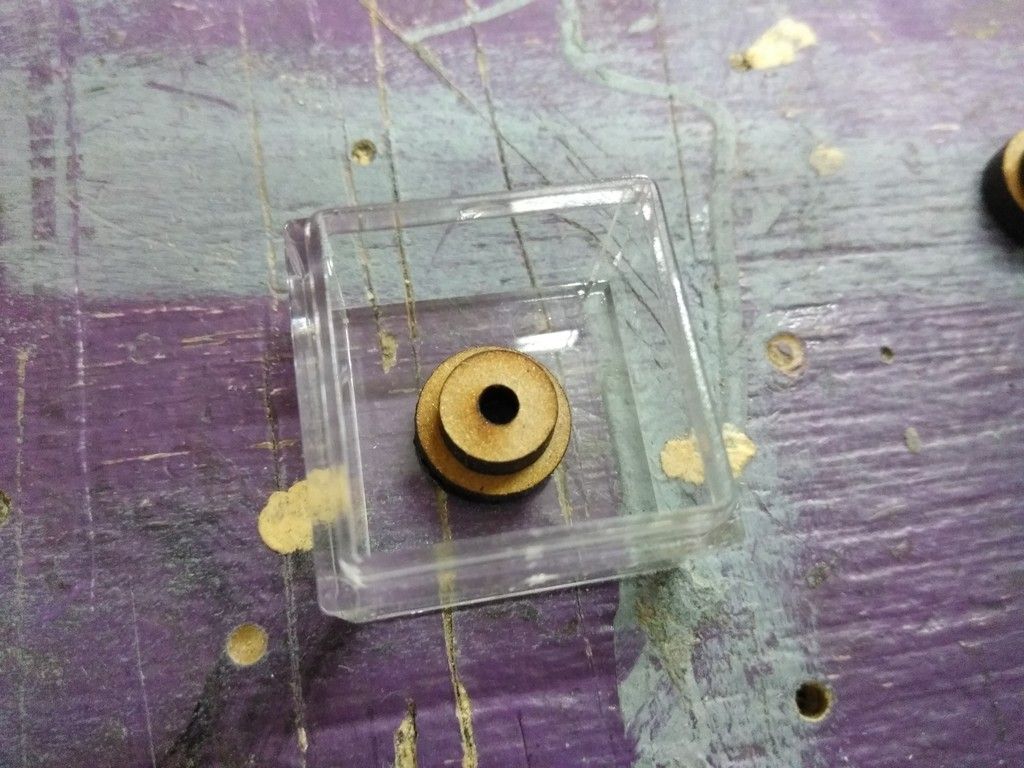
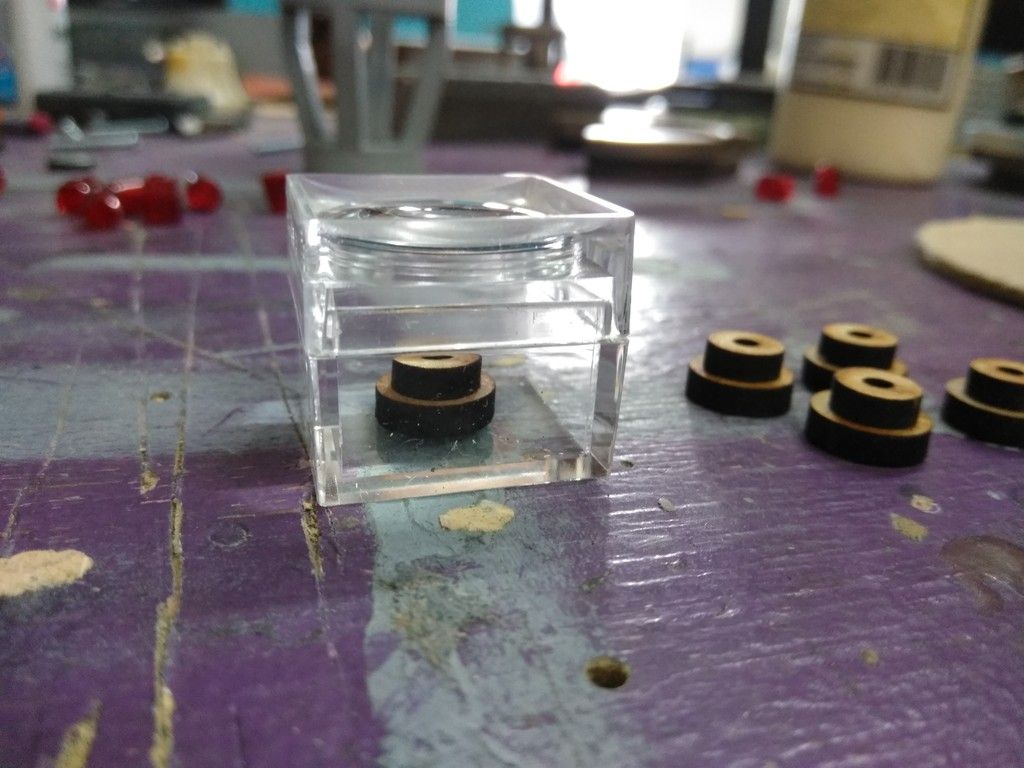
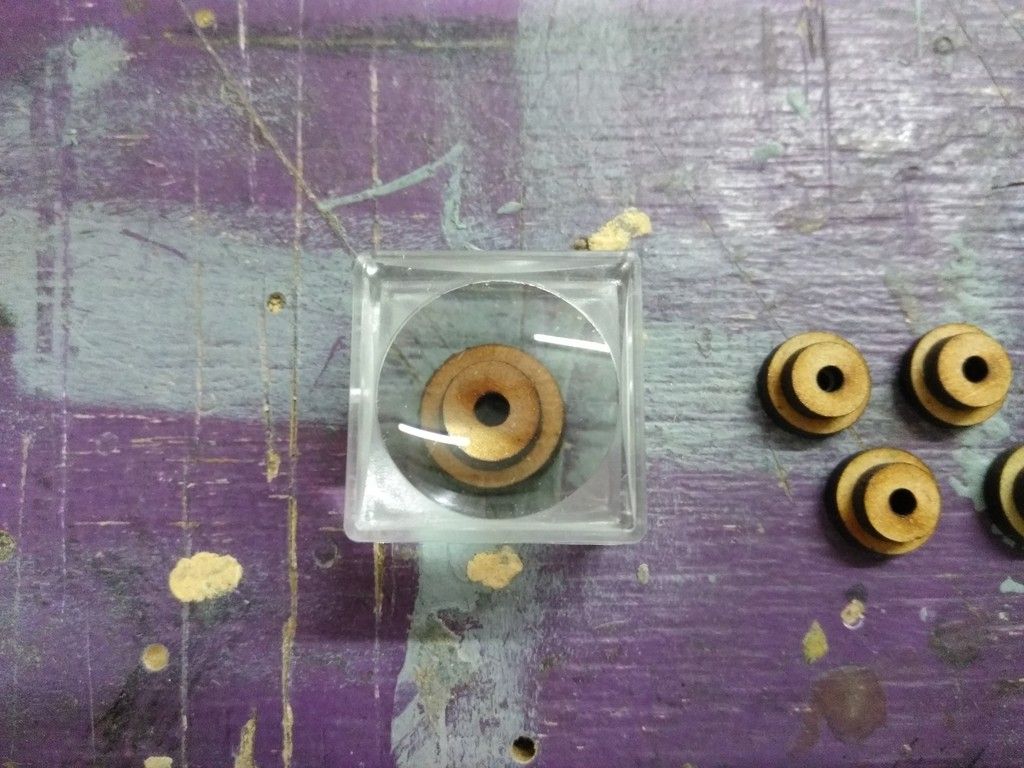
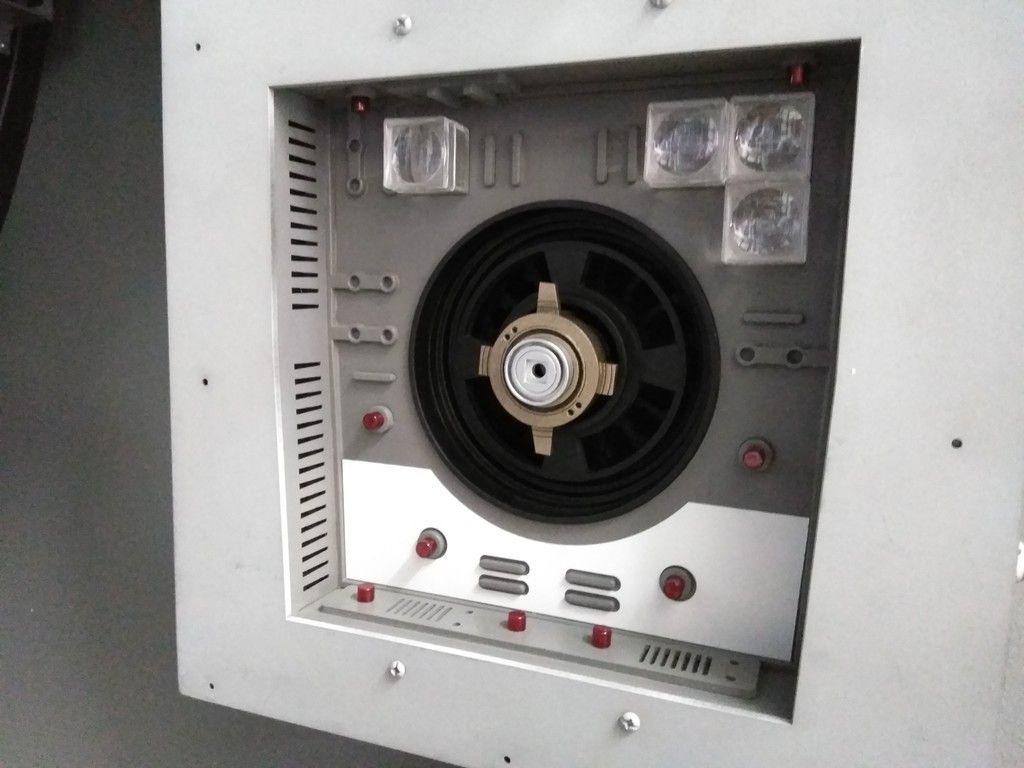
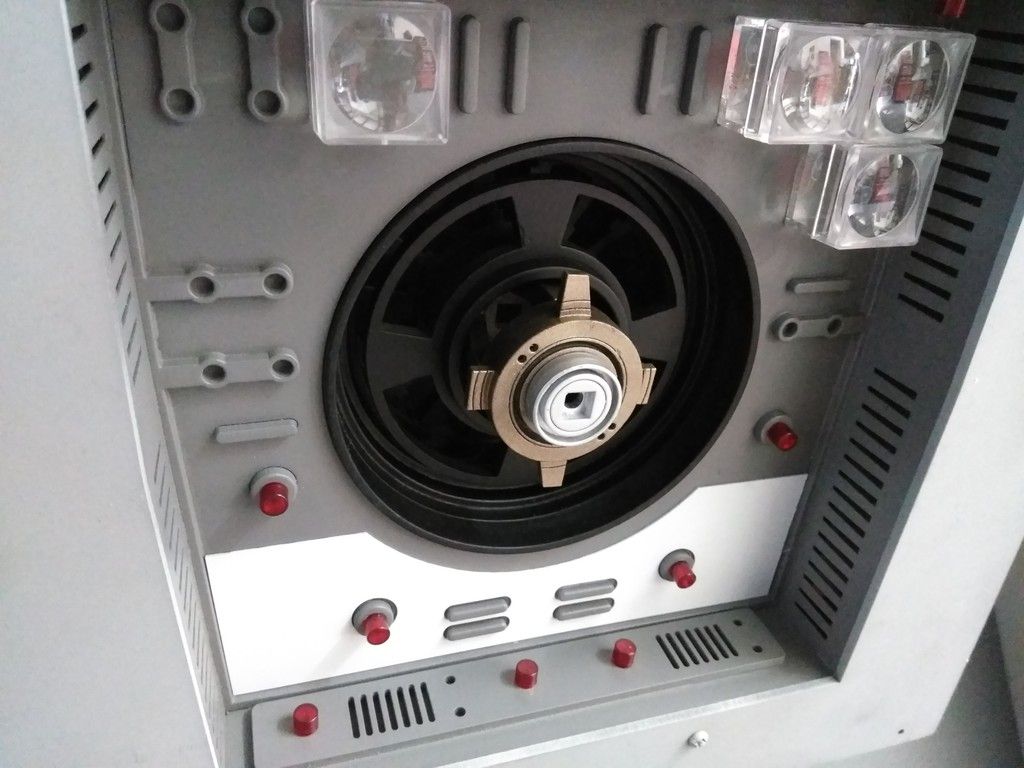
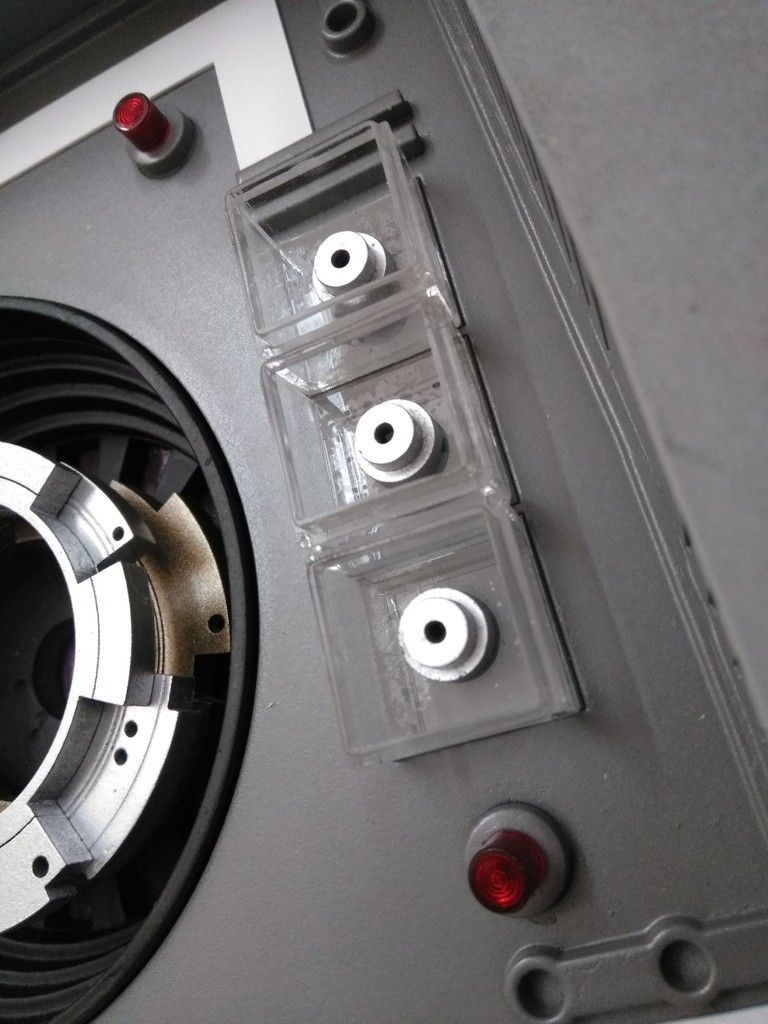
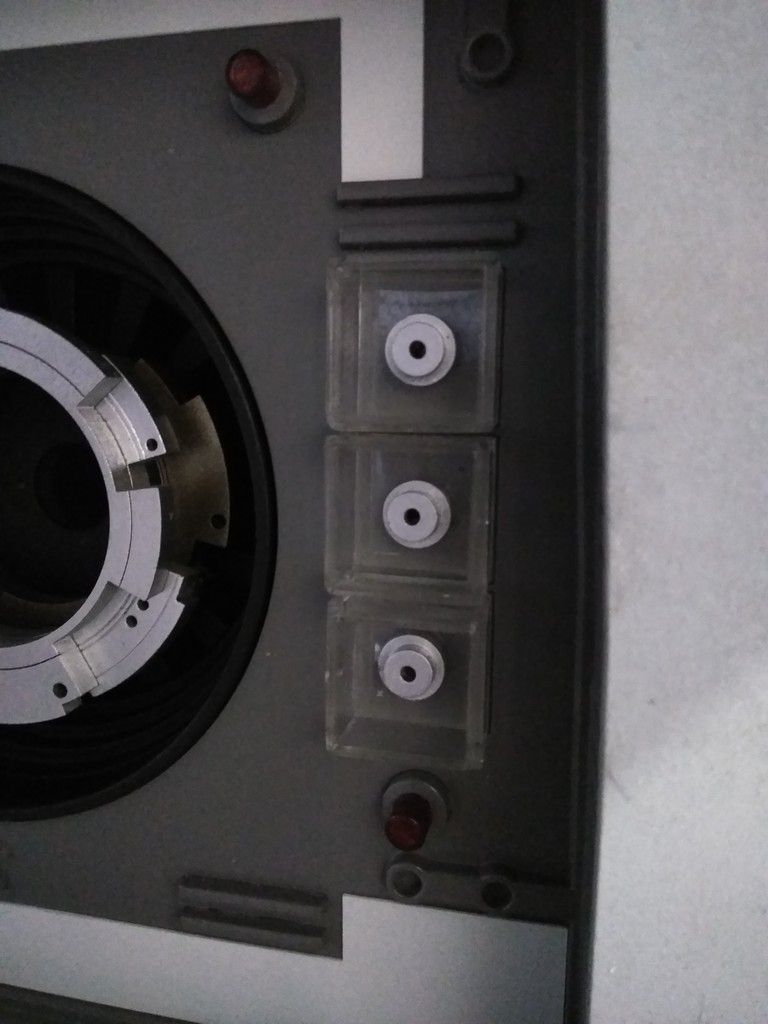
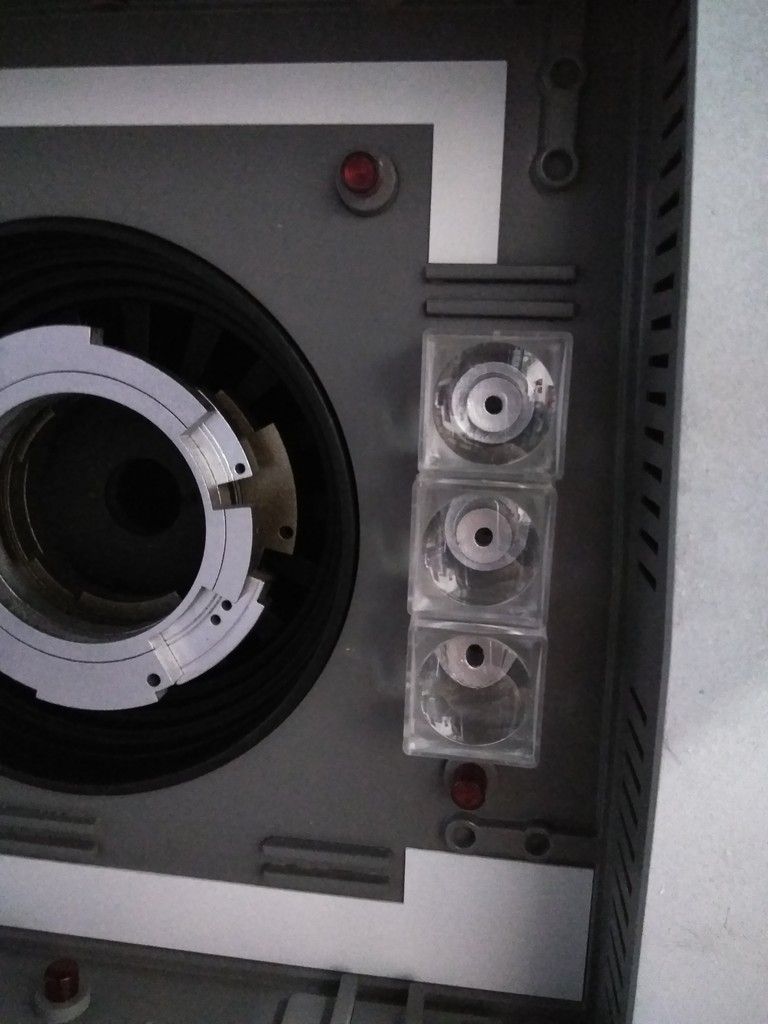
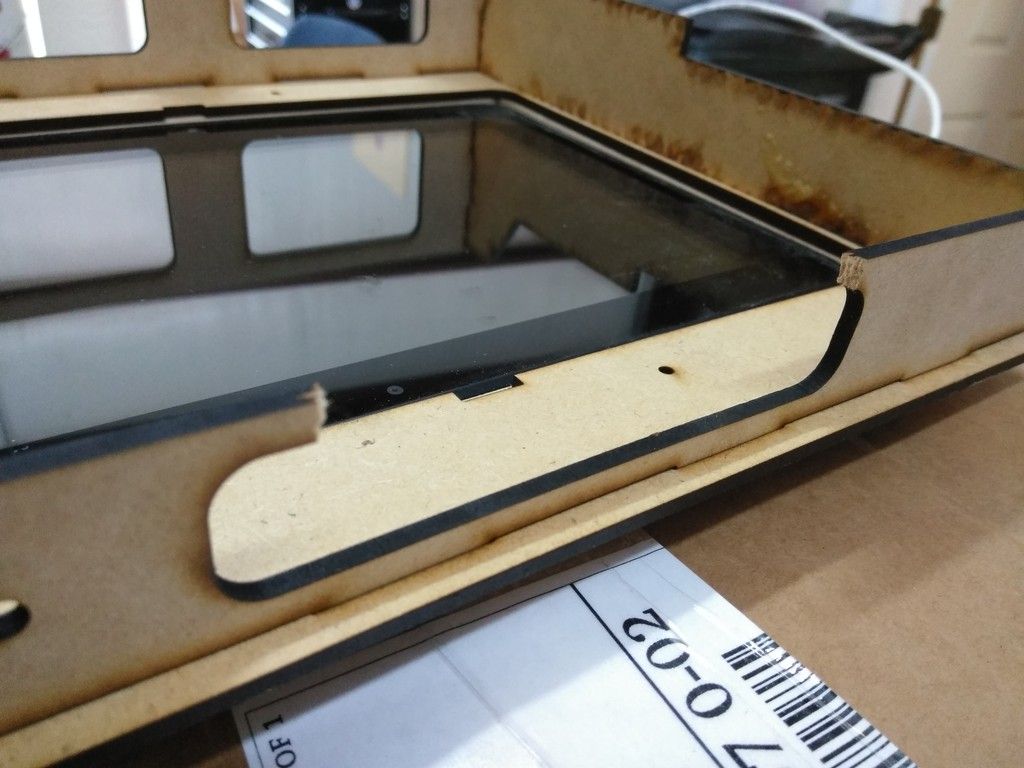
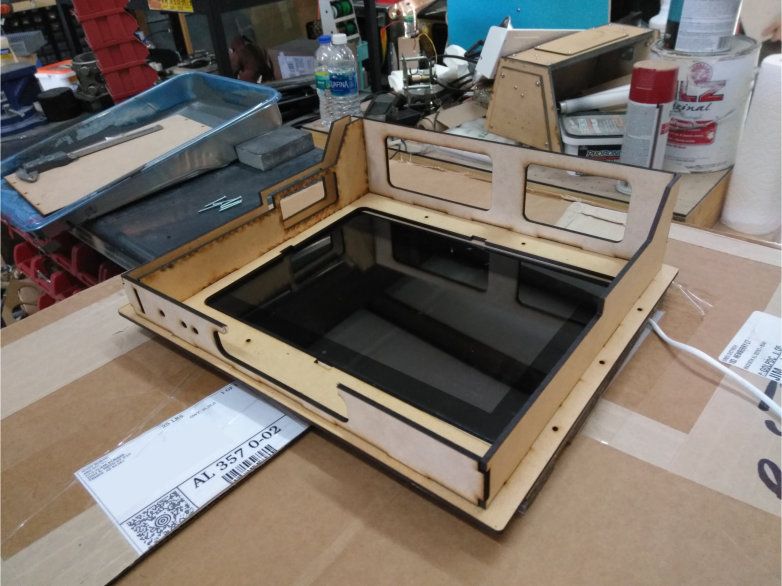
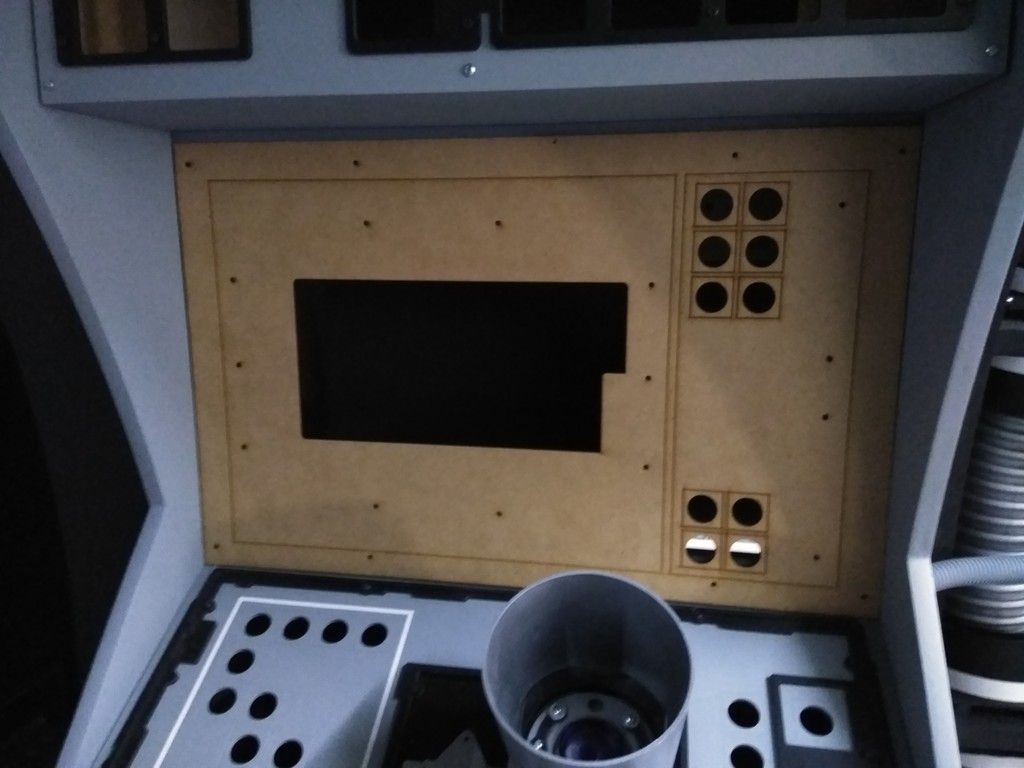
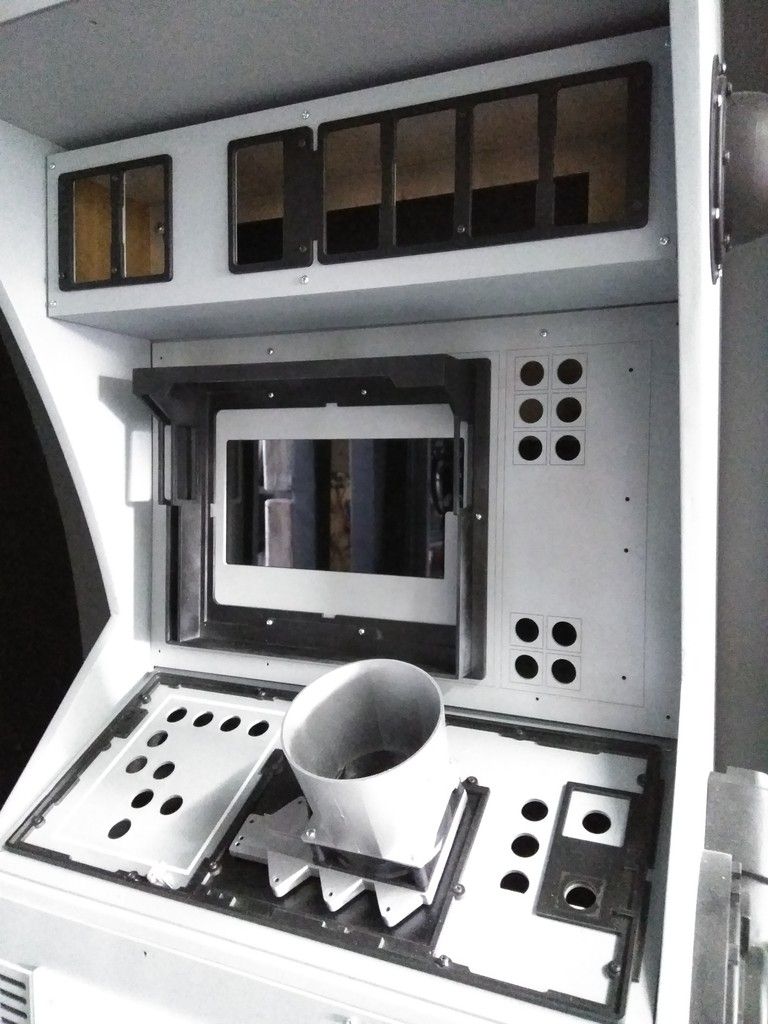
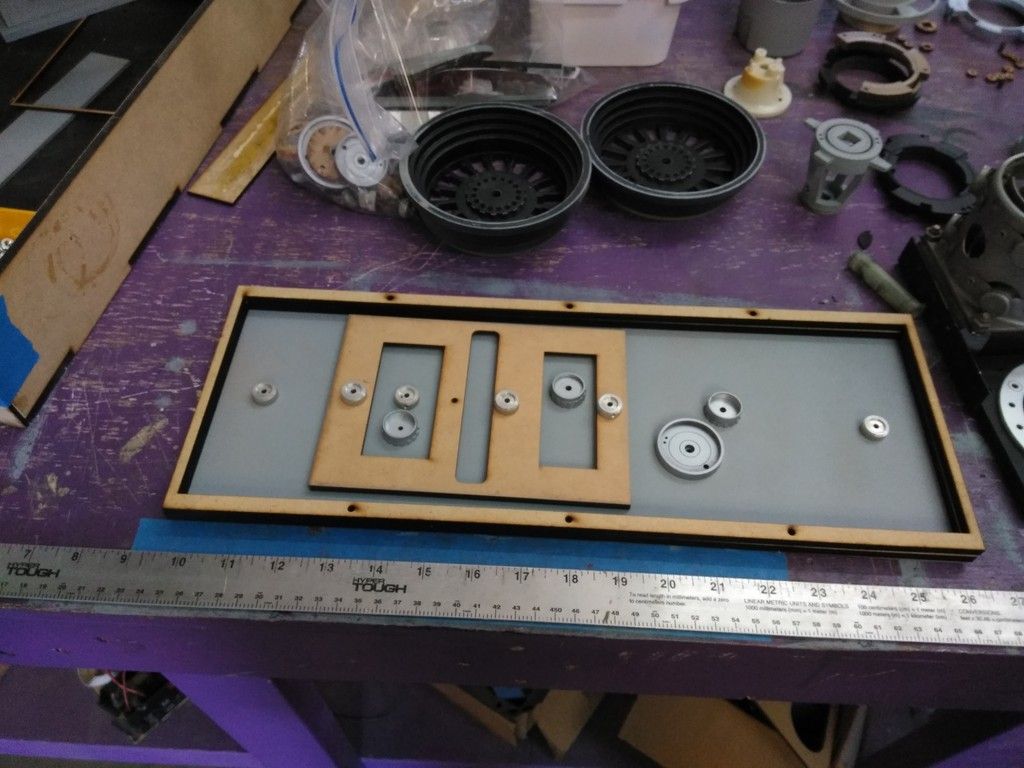
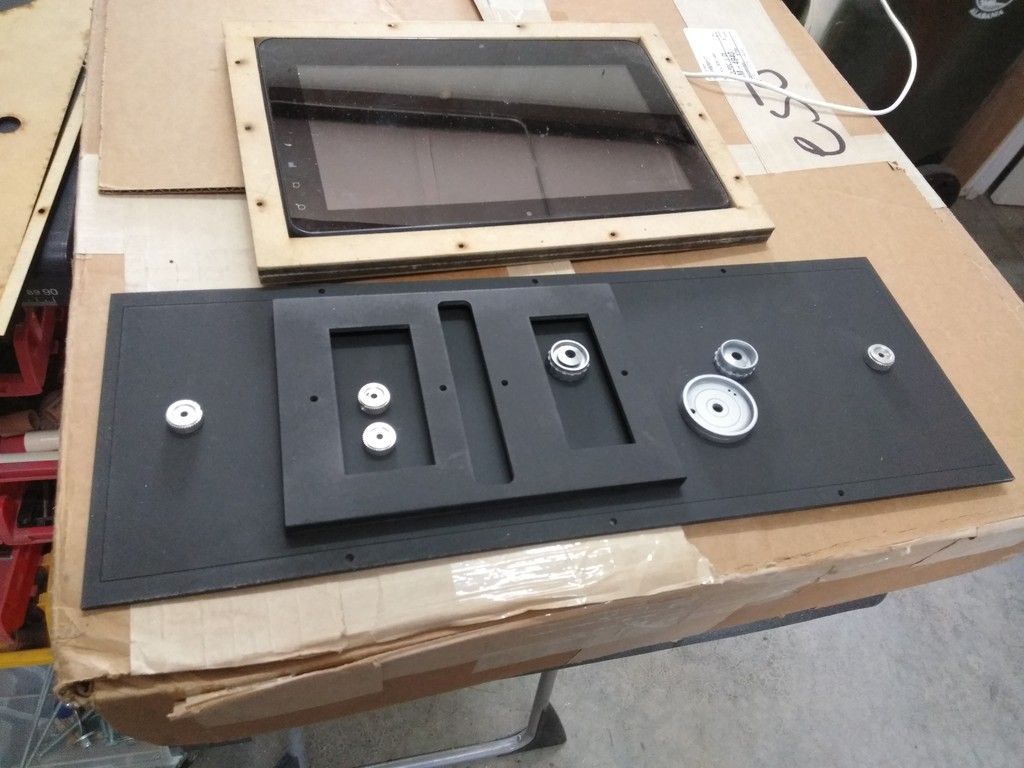
That whole console is freaking awesome! The iPad surround looks great. Less is more, right? The only thing I think are the magnifying boxes need to be painted (save for the lens of course). It kinda looks like a box that a toy comes in. I'm guessing you were planning on adding lights to the little grommets you put inside?
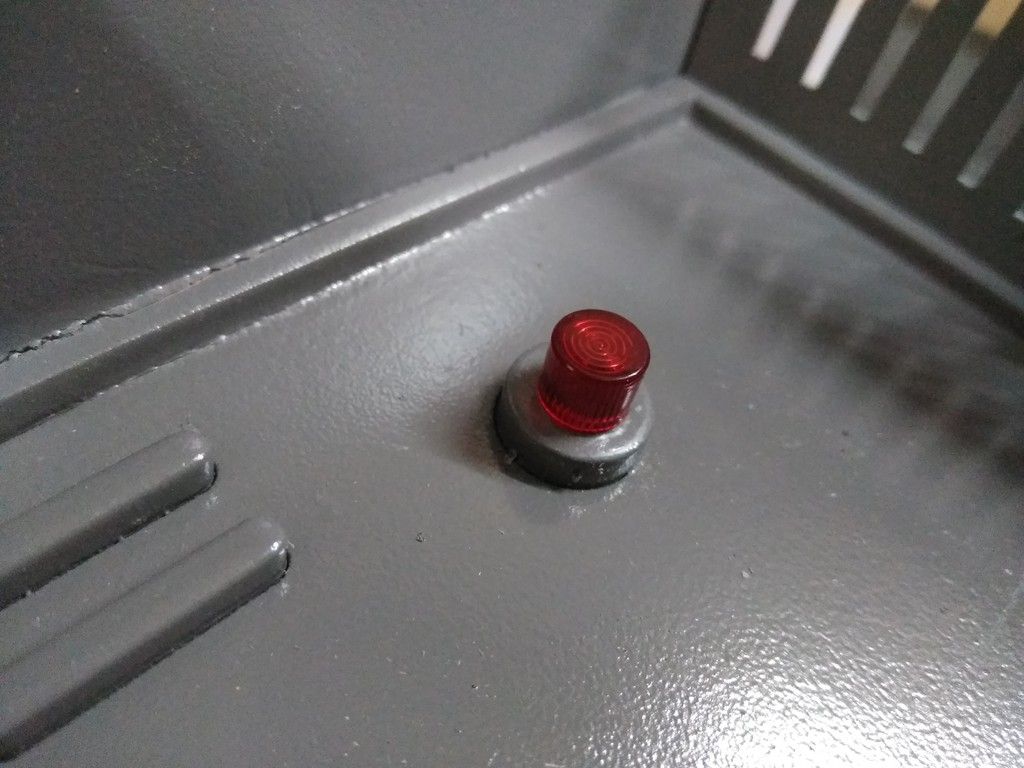
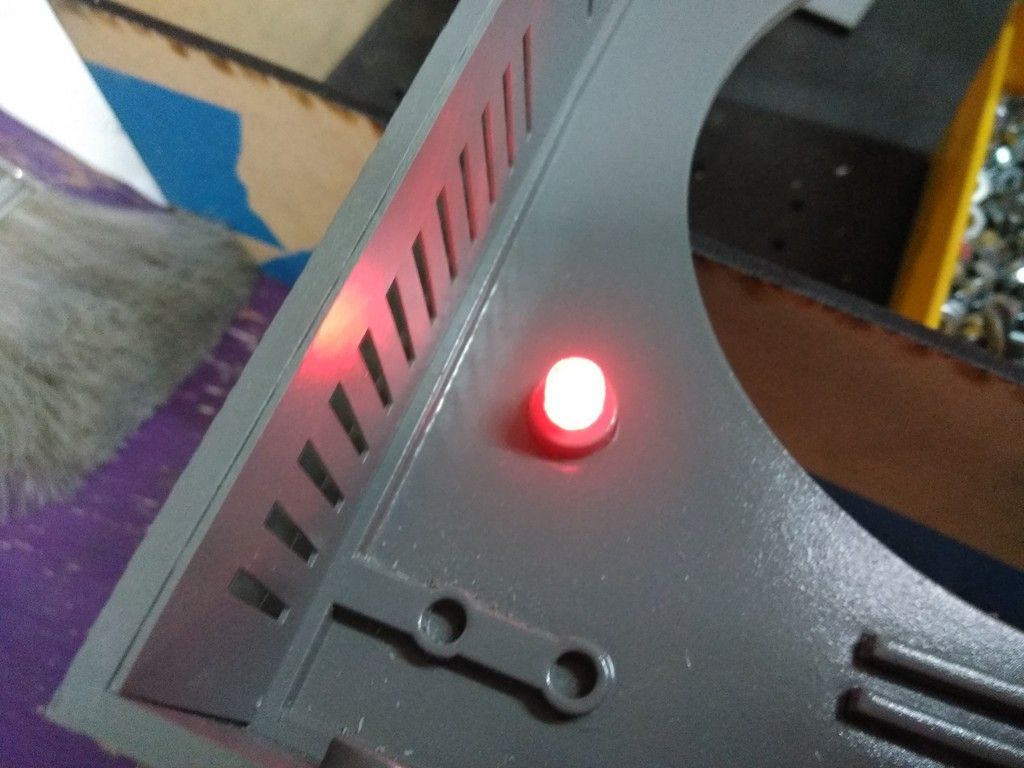
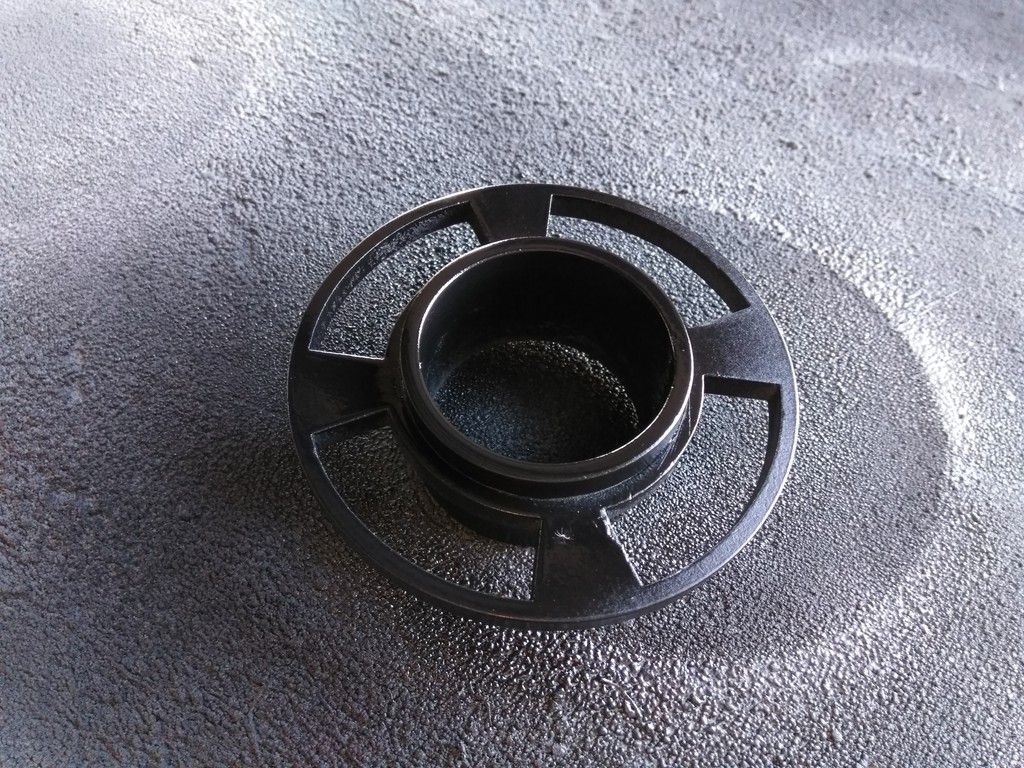
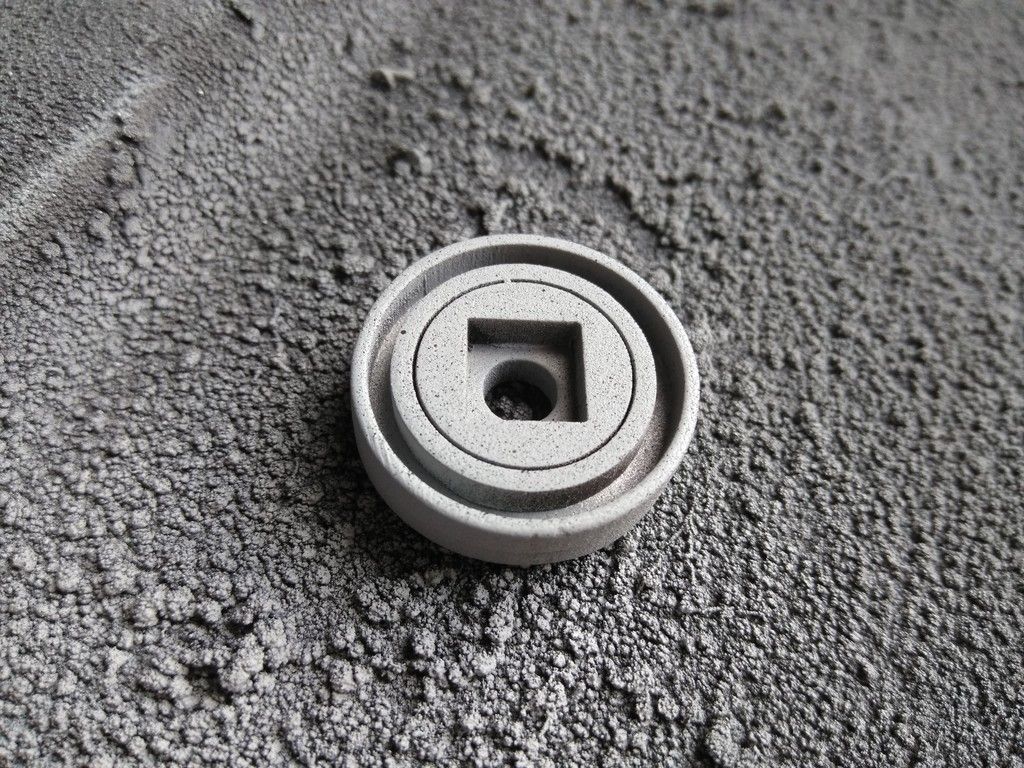
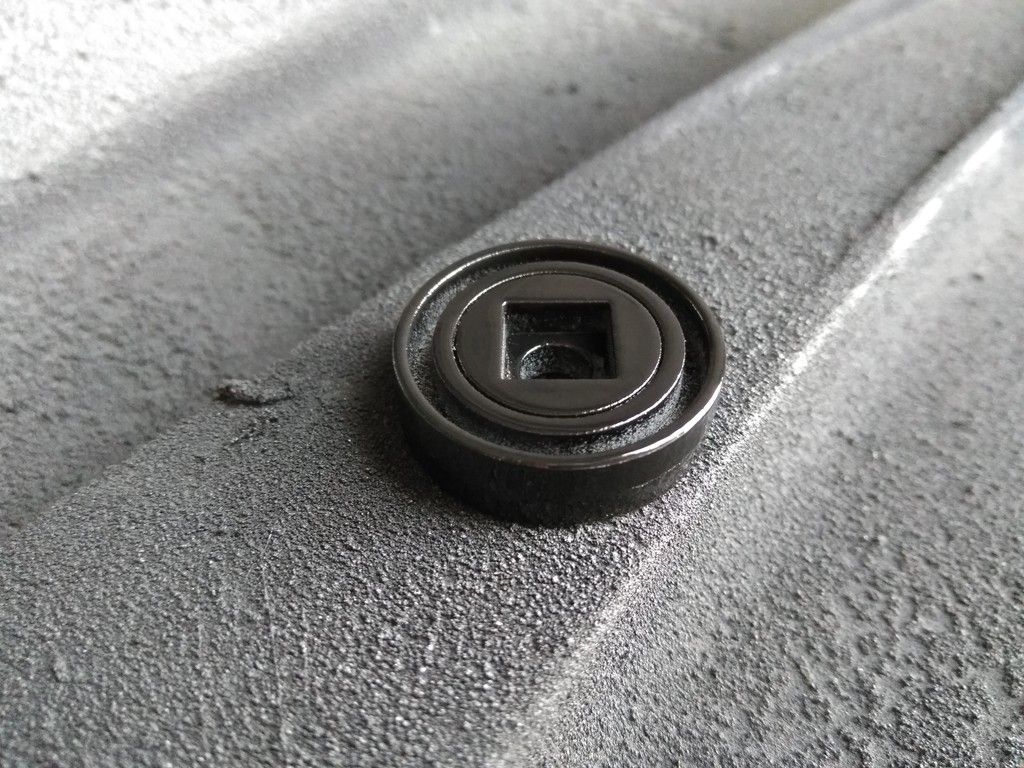
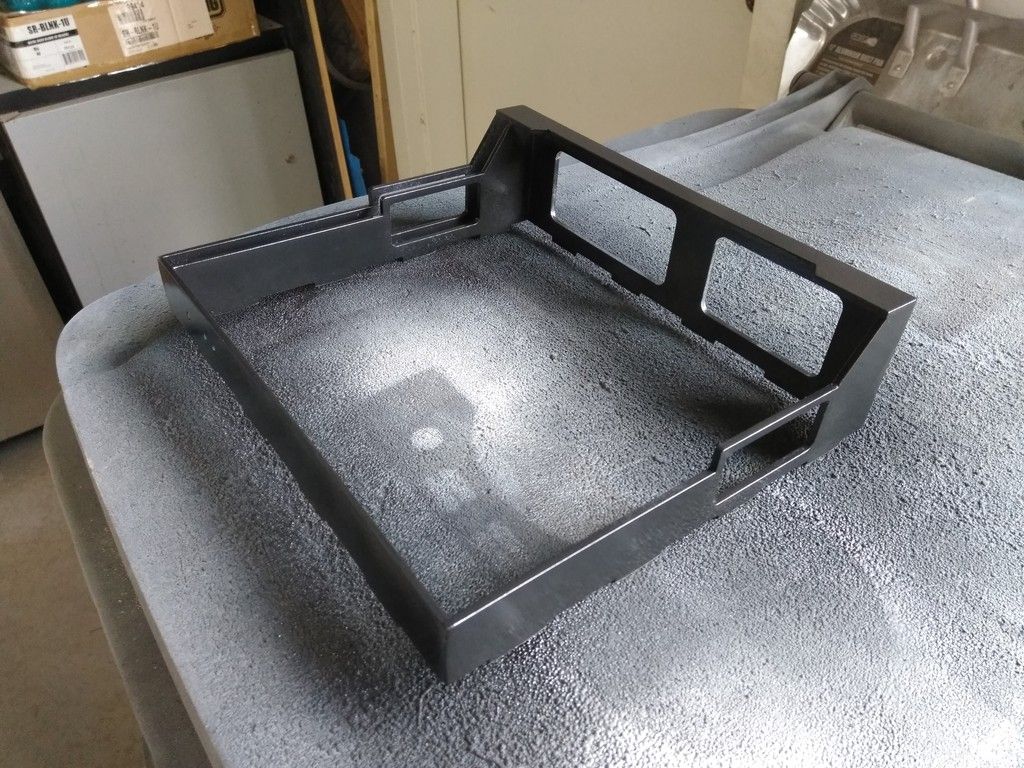
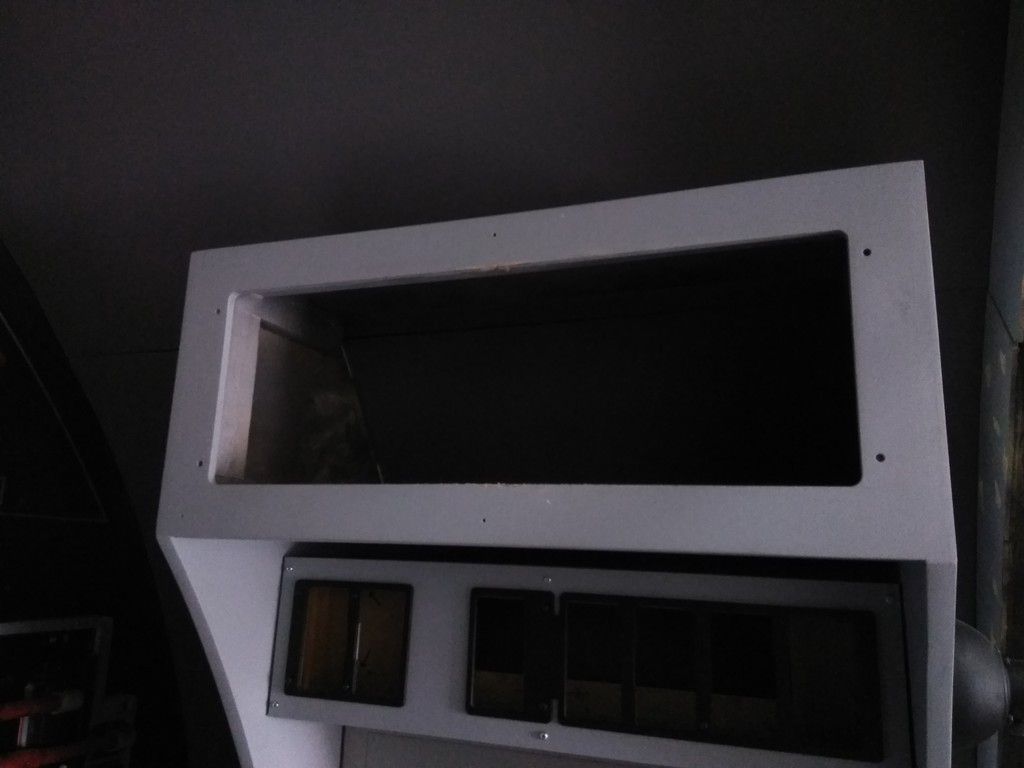
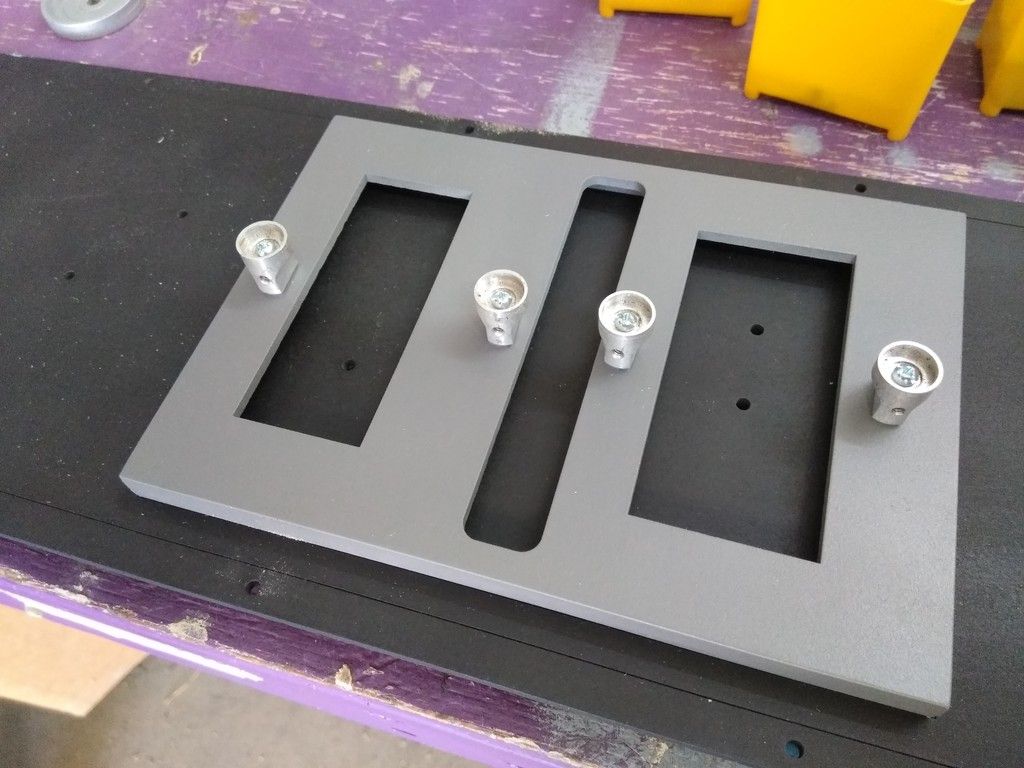
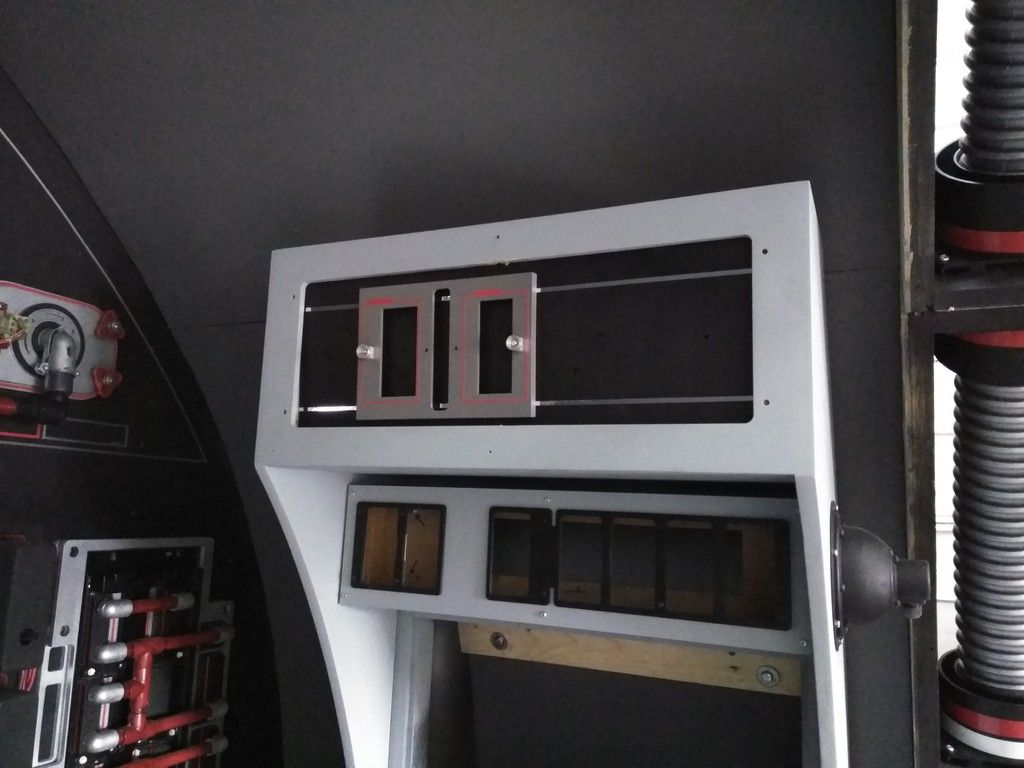
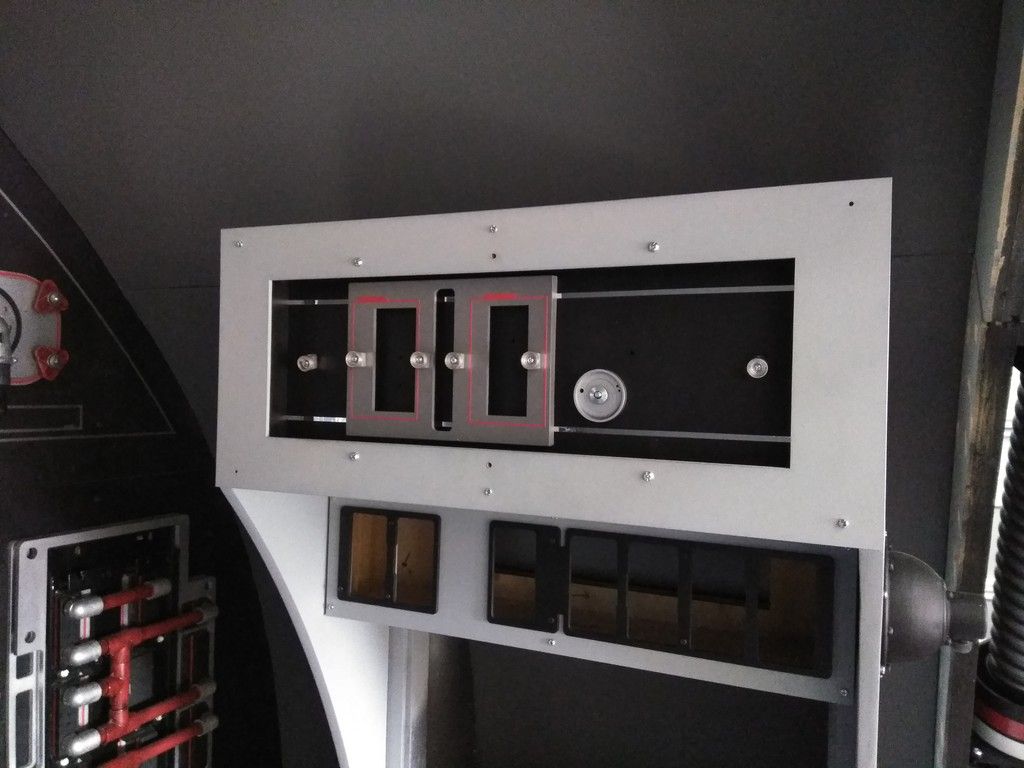
The only other thing I see (because you need more opinions, right?) is all that detail you put into the droid sockets is lost with the black color. Those thing came out so cool and with so much detail, it's a shame it's lost in the dark.
Ok, unsolicited internet critique over. Carry on.