JMChladek
Sr Member
from the 1/144 Finemolds Falcon thread
Ask and you shall receive :cool :
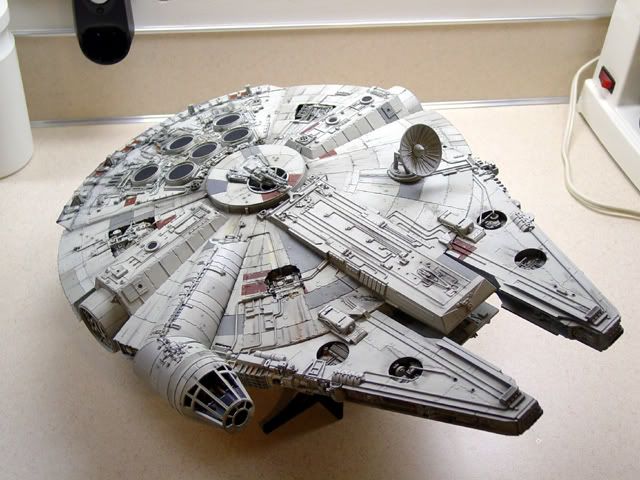
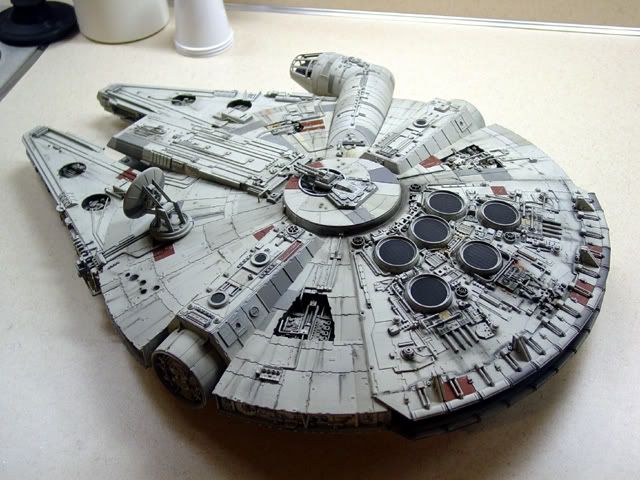

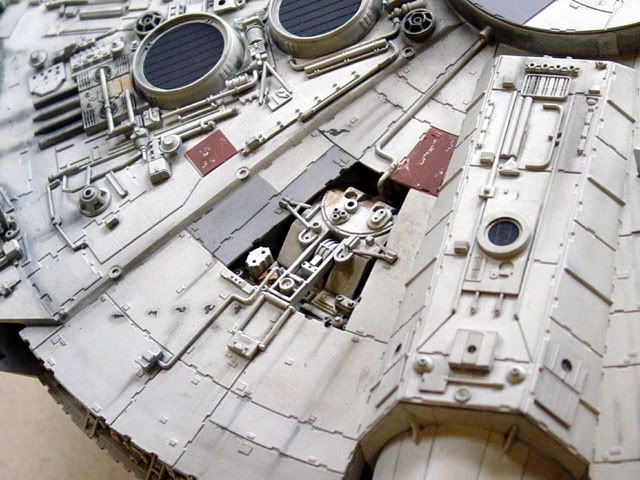
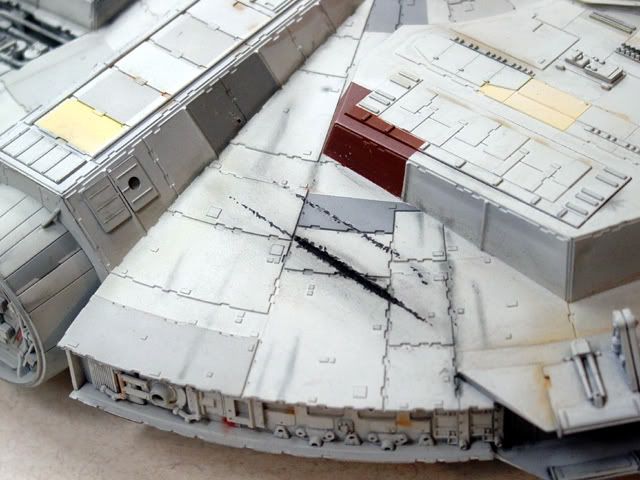
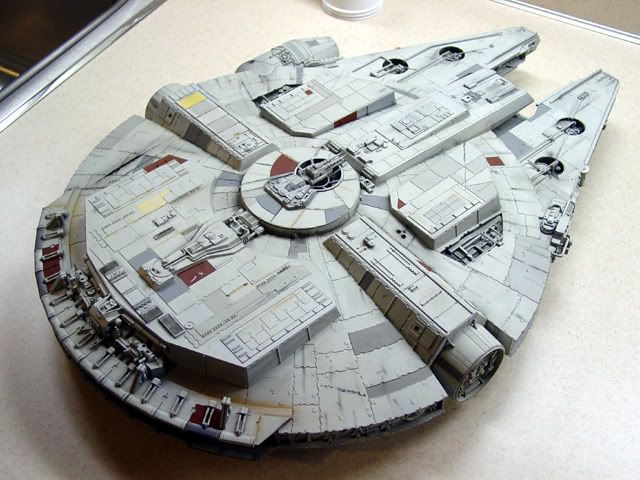
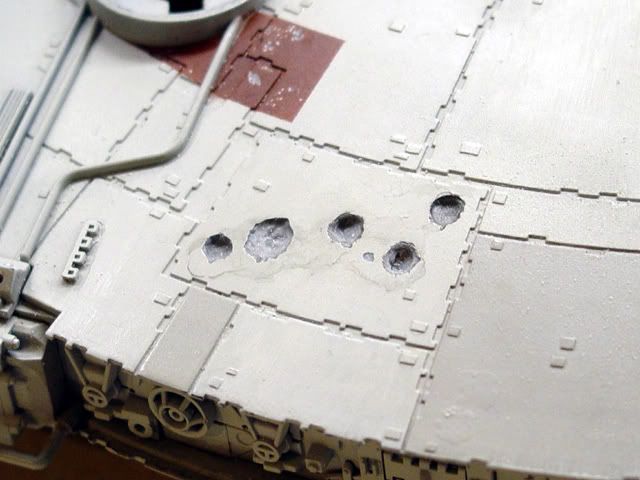
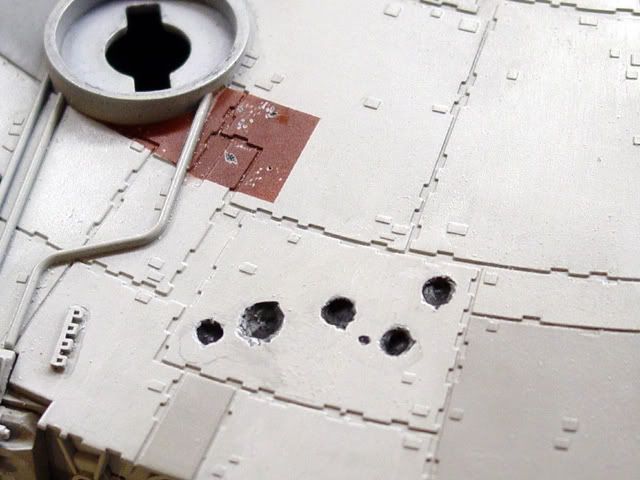
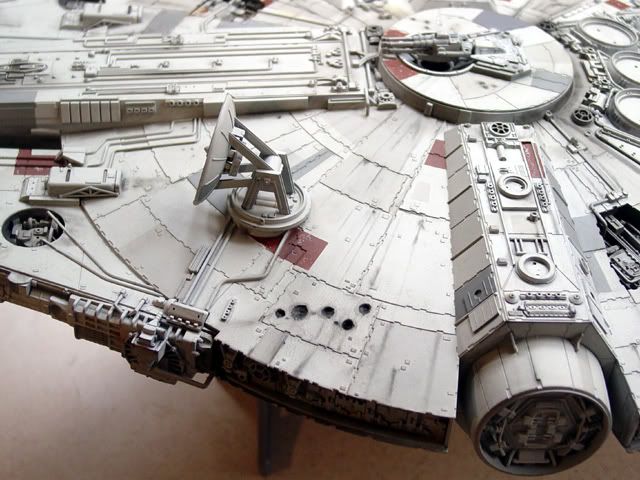
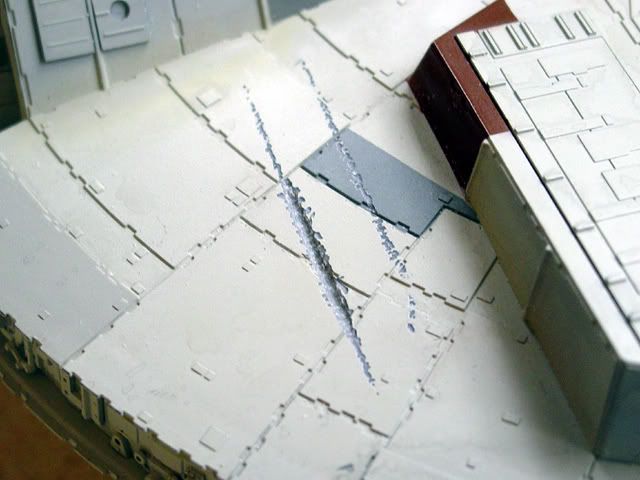
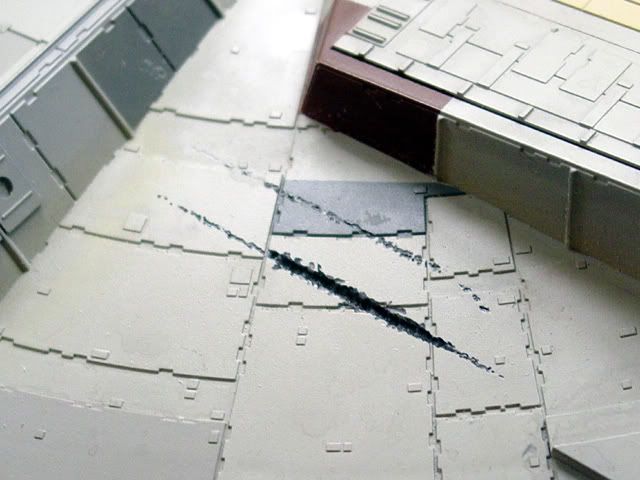
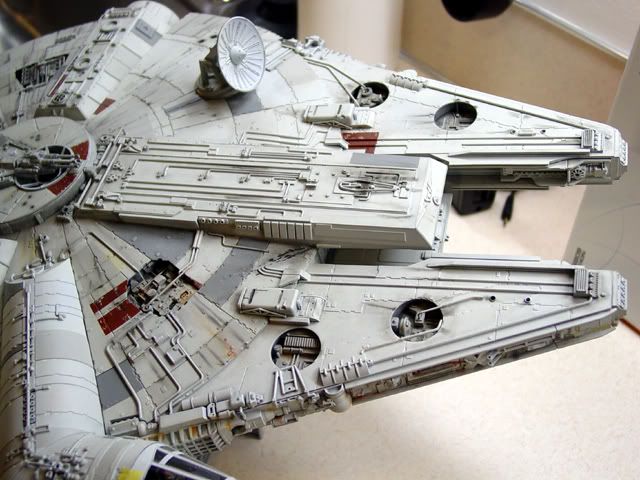
Paint used was a combination of Testors Model Master shades and Tamiya ones. My base coat shade was a straight 50/50 mixture of Model Master Light Gray and Camouflage Gray. A Dremel mini mite cordless tool with #105 and 108 engraving tips was used to add the battle damage and the paint scrapes in spots. The model was pre-shaded in black and covered with a very light wash of Tamiya smoke tint to pop out some of the details in spots. Pastel earth tone chalks were applied with Microbrush applicators instead of Q-tips to get much tighter coverage that looked more in scale. I was attempting to duplicate the appearance of the ESB 32" studio model as close as I could using references from various Lucasfilm publications and what I found of the Phoxim German space modeling website as it has the most EXTENSIVE photo coverage of the 32" Falcon that I have ever seen.
You can find more photos of my model here:
http://s92.photobucket.com/albums/l31/JMChladek/FineMolds Falcon/
Show it off!
Ask and you shall receive :cool :
Paint used was a combination of Testors Model Master shades and Tamiya ones. My base coat shade was a straight 50/50 mixture of Model Master Light Gray and Camouflage Gray. A Dremel mini mite cordless tool with #105 and 108 engraving tips was used to add the battle damage and the paint scrapes in spots. The model was pre-shaded in black and covered with a very light wash of Tamiya smoke tint to pop out some of the details in spots. Pastel earth tone chalks were applied with Microbrush applicators instead of Q-tips to get much tighter coverage that looked more in scale. I was attempting to duplicate the appearance of the ESB 32" studio model as close as I could using references from various Lucasfilm publications and what I found of the Phoxim German space modeling website as it has the most EXTENSIVE photo coverage of the 32" Falcon that I have ever seen.
You can find more photos of my model here:
http://s92.photobucket.com/albums/l31/JMChladek/FineMolds Falcon/
Last edited: