Re: Maleficent 2014! Christening gown done, battle wings a gogo!
I self cast my own head, and in a genuinely safe way and probably safer than trying to get someone to do this for me who is not familiar with the process. It's not perfect but it doesn't need to be, as I still need to trim anyway.
Materials:

Alginate, mixing containers, plaster bandages, measuring cups. Also a swimming cap (leaves a clear line in the the impression to help match up sides, also no need to glue it) and a wide straw, split, taped into an oval in cross section to fit my nostrils, cut into small sections.
Mental Prep:
I am claustrophobic and was alone so I made sure my work room was safe. This meant having my computer/entertainment area away from the work area in case of splashing.
I also played a movie I know very well, has no loud noises and I could use to time. This is to reduce panic related issues while totally enveloped in the alginate. “Okay I will wait to the end of this scene before seeing if it is cured”.
I also put on coveralls but kept a warm layer on underneath. I couldn’t have the heater on due to risk of anything going wrong with it while I had water and had to move while unable to see.
So the main risk factors in doing this are panic related or lack of prep work. So make sure everything is in place and you have a plan for just in case. I didn’t want to waste the product but knew I would if I wound up with the stuff up my nose or in my eyes.
Step 1:
Plaster support/mother, back of head
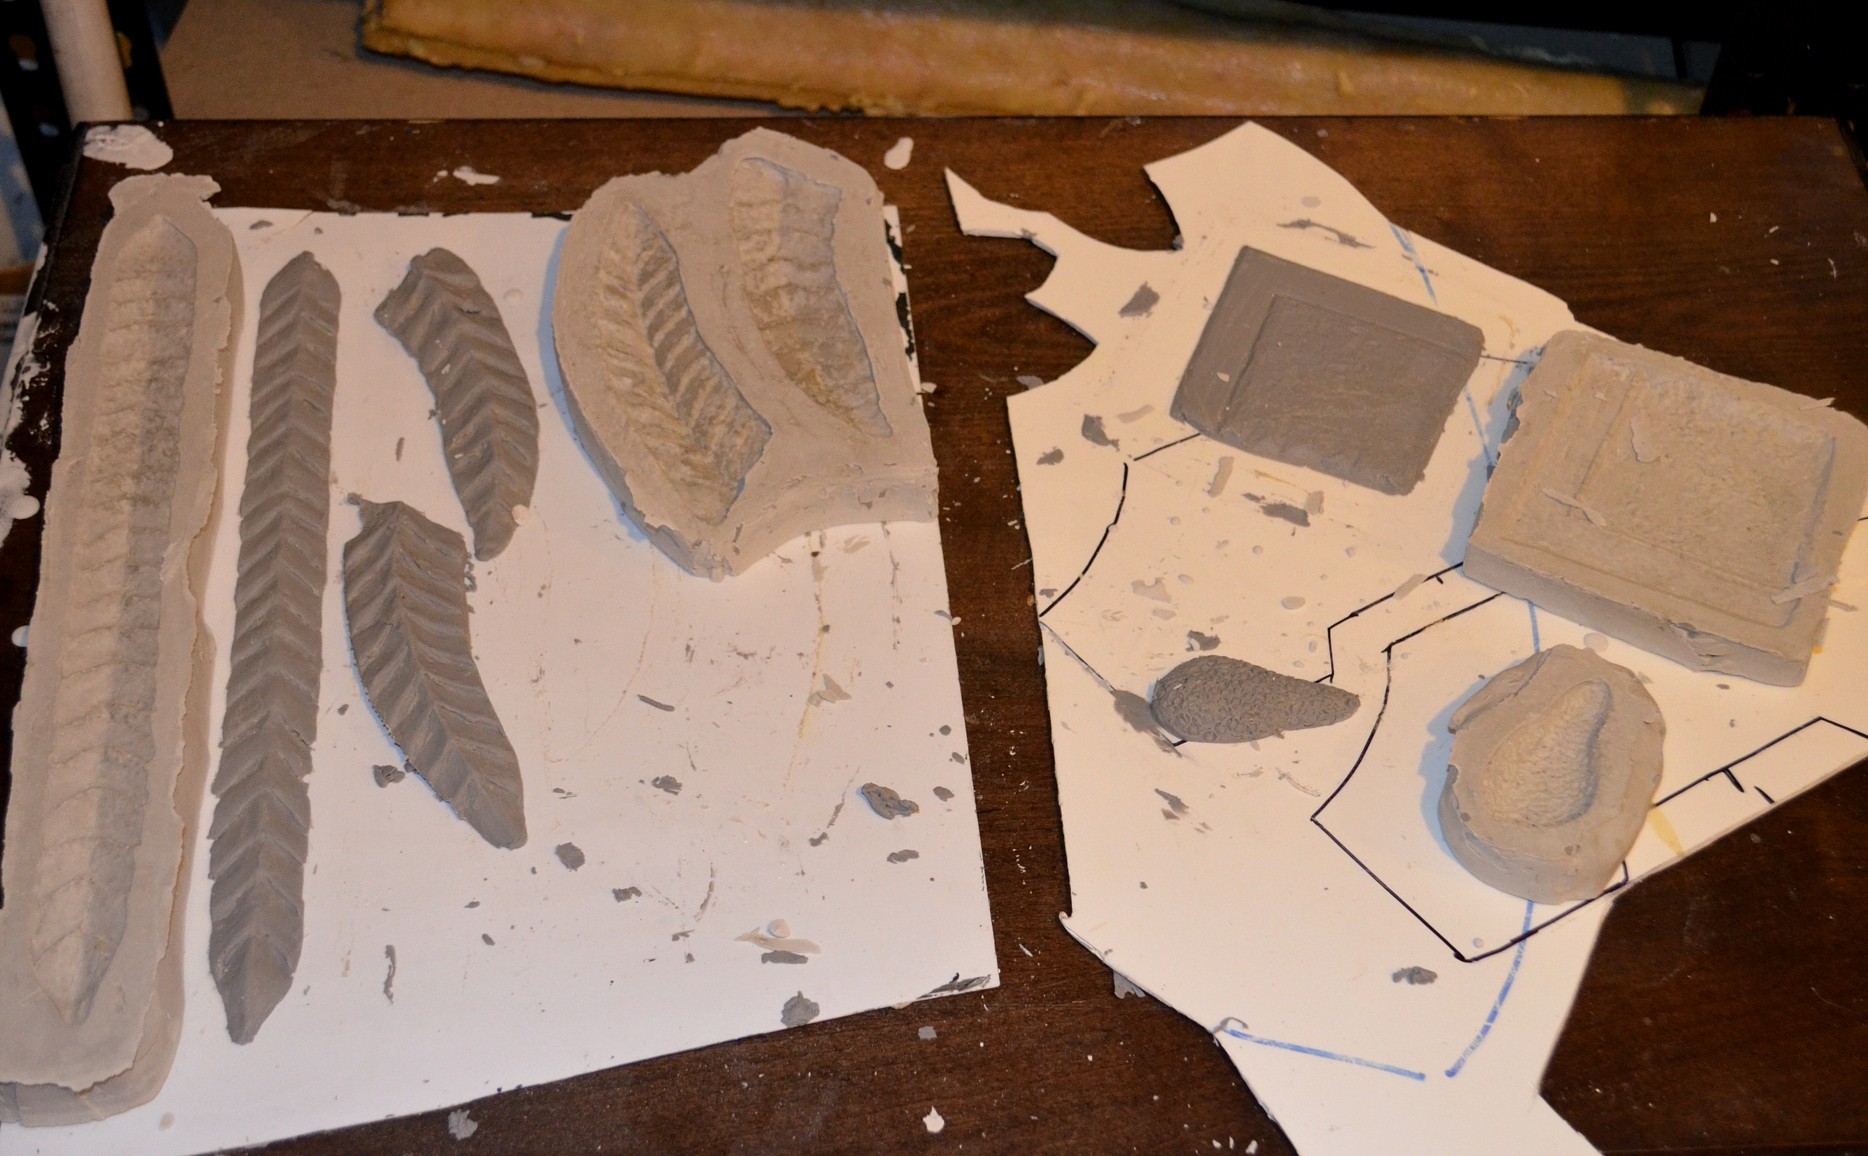
I started by making a plaster shell for the back of my head and for my face. I knew I could just use the bandages straight on my swim cap and skin if I made sure to use a petroleum jelly. This is the same process I I did for my playdough and plaster mold, but this is far more successful as the plaster bandages cure fast and very light. This shell would then be close enough to use alone if there was no alginate left over.
So I cut long and short strips. I used two long strips to define the line from top of head down sides over my covered ears and to the side of my neck. Then filled in the back, with shorter section across and longer strips vertically.
Plaster support/mother, front of head
The face was going to be another issue. From previous experience I knew I would need the mother to be bigger in all directions but not too big. The volume would be filled with alginate and I didn’t want to waste it. So I looked at my other headcast and realised it was perfect due to the amount of clay on there for the silurian. So I laid up the plaster bandages, making sure to not press it right on the clay. I also made sure to leave breathing holes for my nostrils:

I also knew where my jaw line and ears were so was able to align the edges to match the edges of the back of the mold.
Leave the two parts to dry. While best advice is to leave until bone dry I used mine while still damp as it is Auckland and winter so everything is cold and damp anyway. Also the wetness allowed the alginate to really grip and stay put on the inside.
If you don’t happen to have such a head cast already prepared then it is possible to build up clay on a foam wig head, just measure as you go to make sure you have enough room.
Step 2:
Alginate mixing:
Alginate is a bit like plaster in that it can have a long mix time then suddenly fast gel time. I tested a small amount the day before and decided it was easiest to mix by hand as if I was working with a firm tempora and trying to work out lumps. And you will get lumps. General advice is to get rid of them with a mixing bit on a drill but I found even if it was lumpy like porridge it still worked.
Test straws for nasal comfort. Do this a few times to get used to them. I had to use the largest straw I could find.
Head prep:
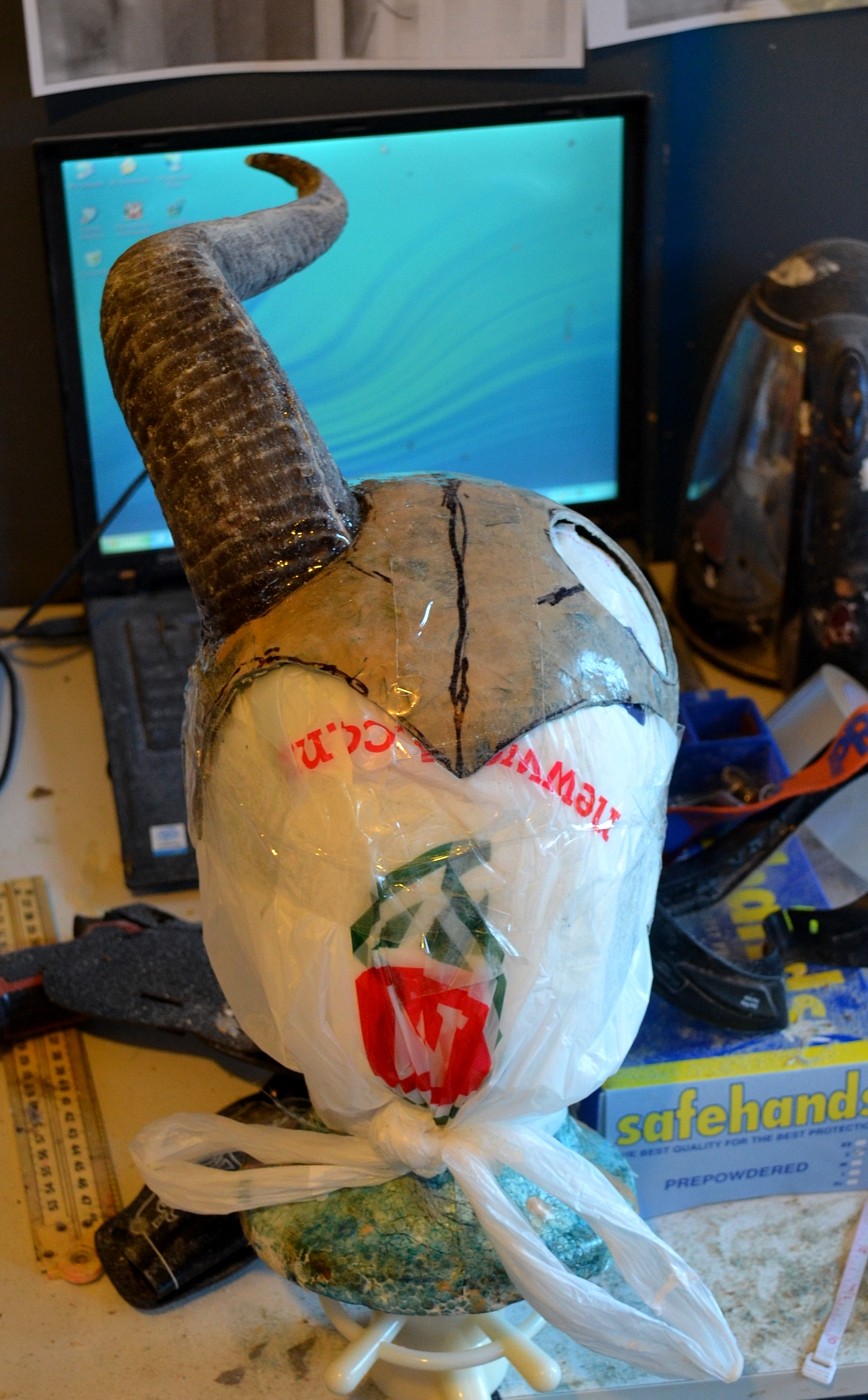
I put my tiny pony tail right at the crown as it is easy to see even under a bald cap. This means I can knock it out when I tidy and trim the cast. Then a fishnet hair cap to hold stray hair and also make the swim cap easier to move without pulling on your hair. Finally the swim cap. I trimmed a shallow D out of the front so as to leave my forehead free of tension and reveal a tiny portion of my hair line- I have a widows peak that does make wigs and prosthetics sit lower than they should.
Then petroleum jelly over your face and neck!
Alginate layup:
You need to work fast! As soon as it gets to the tacky stage start filling in the front of the face and spread from the centre up and to the edges. Work very fast. Trying to get the straws through the holes took me a long time due to a single strand of the strip that caught several times. Blow alginate out of the straw from the plaster side (ie in to the inside) as that is the shortest route out.
Then lean forward while bringing the face mold up to you, with one hand support the mold, with the other wiggle the straws until you find each nostil and then if they are on place carefully press your face in. I also distorted the plaster mold a bit so that it would draw out air trapped inside.
As I had straw problems I wound up with the alginate curing within 30 seconds. Which was great as I did panic a bit and the alginate separated easily from my skin.

As this was my first try and the alginate was already gelling I had to mix an extra cup to fill in the gaps at the side. But it was easy to do and the alginate did self adhere as I did not wait too long between each step. Alginate will not self adhere when cured.
Then I repeated the process for the back. And while it was still very damp I put the front half on (straws pulled out as there were now nice big holes to breathe through) and aligned the two parts. Then I left the front half rest while the back half cured on my back. it was a wetter mix so took longer to cure. It also stuck to me a bit more than the front.
Step 3:
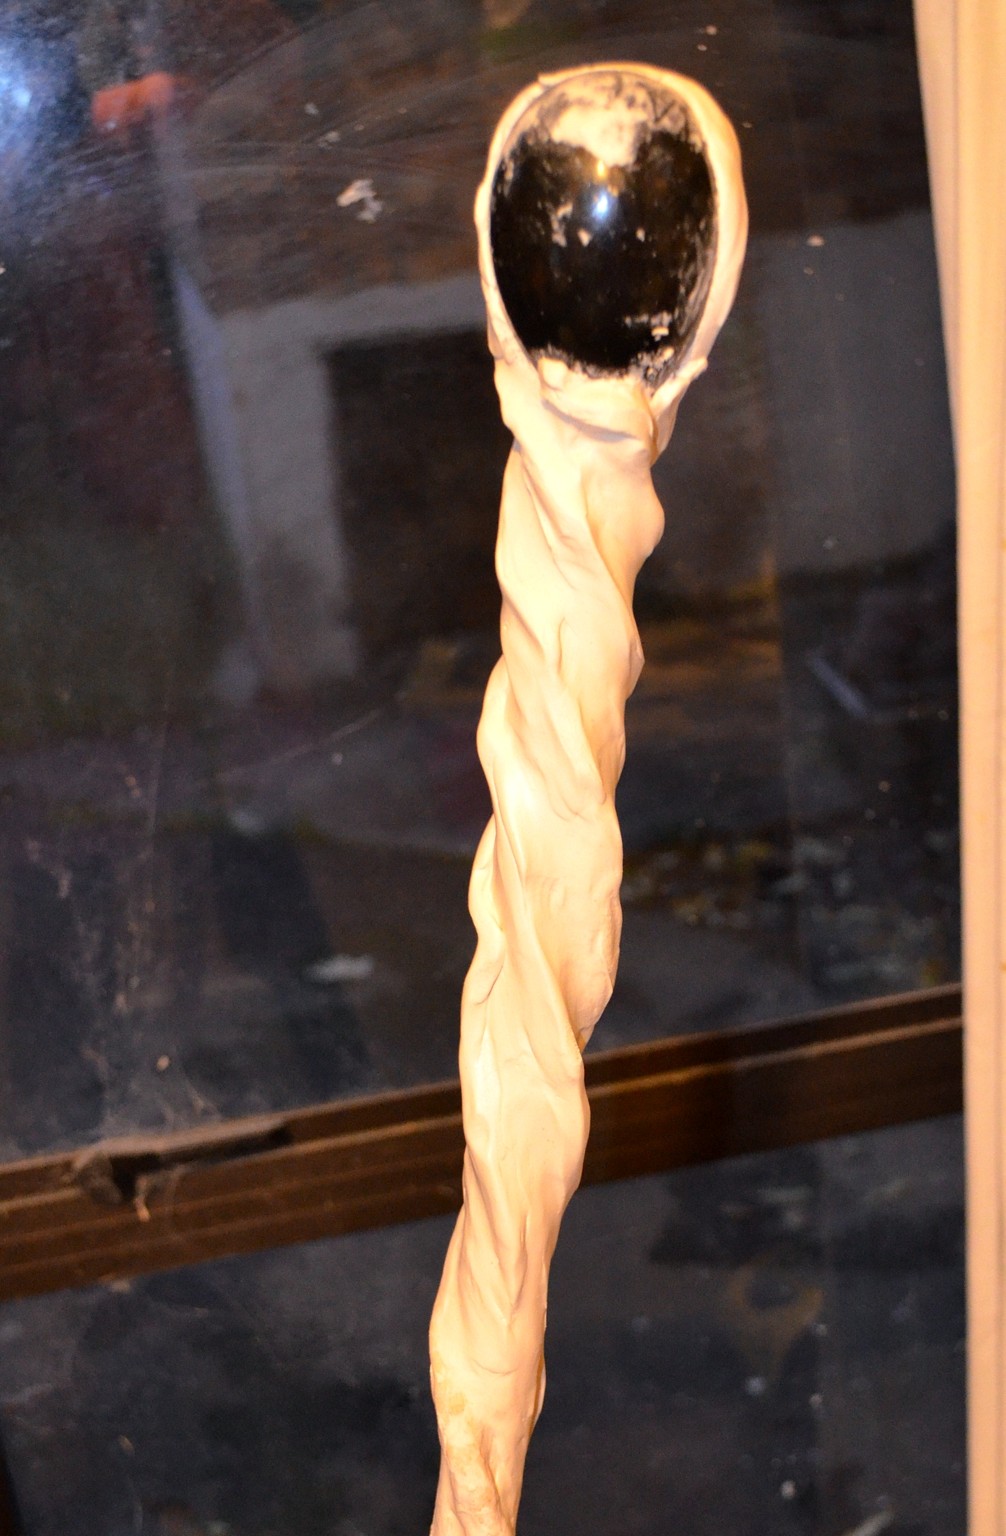
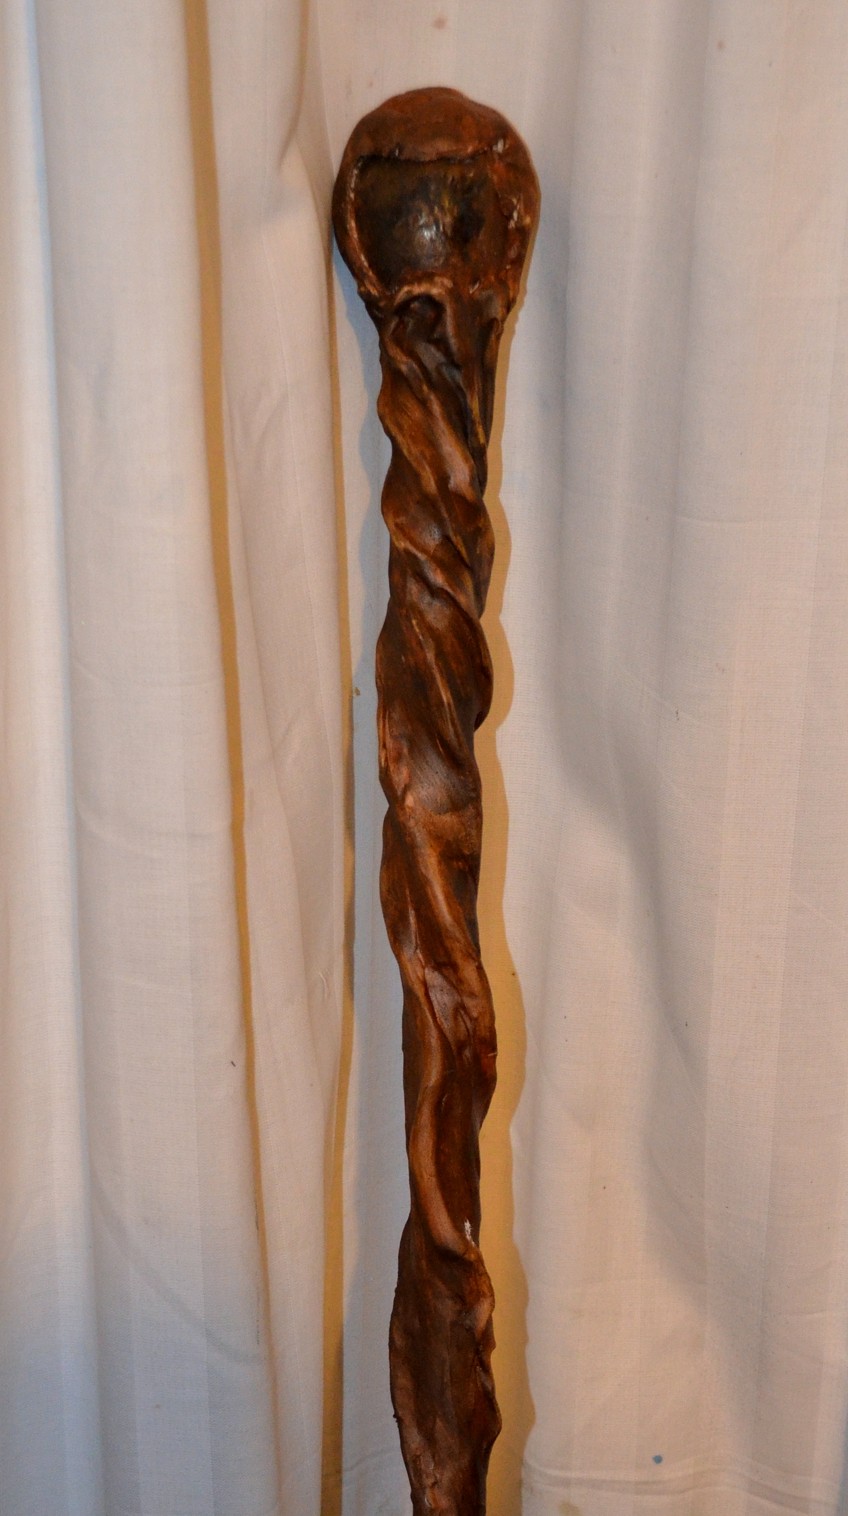
Casting:
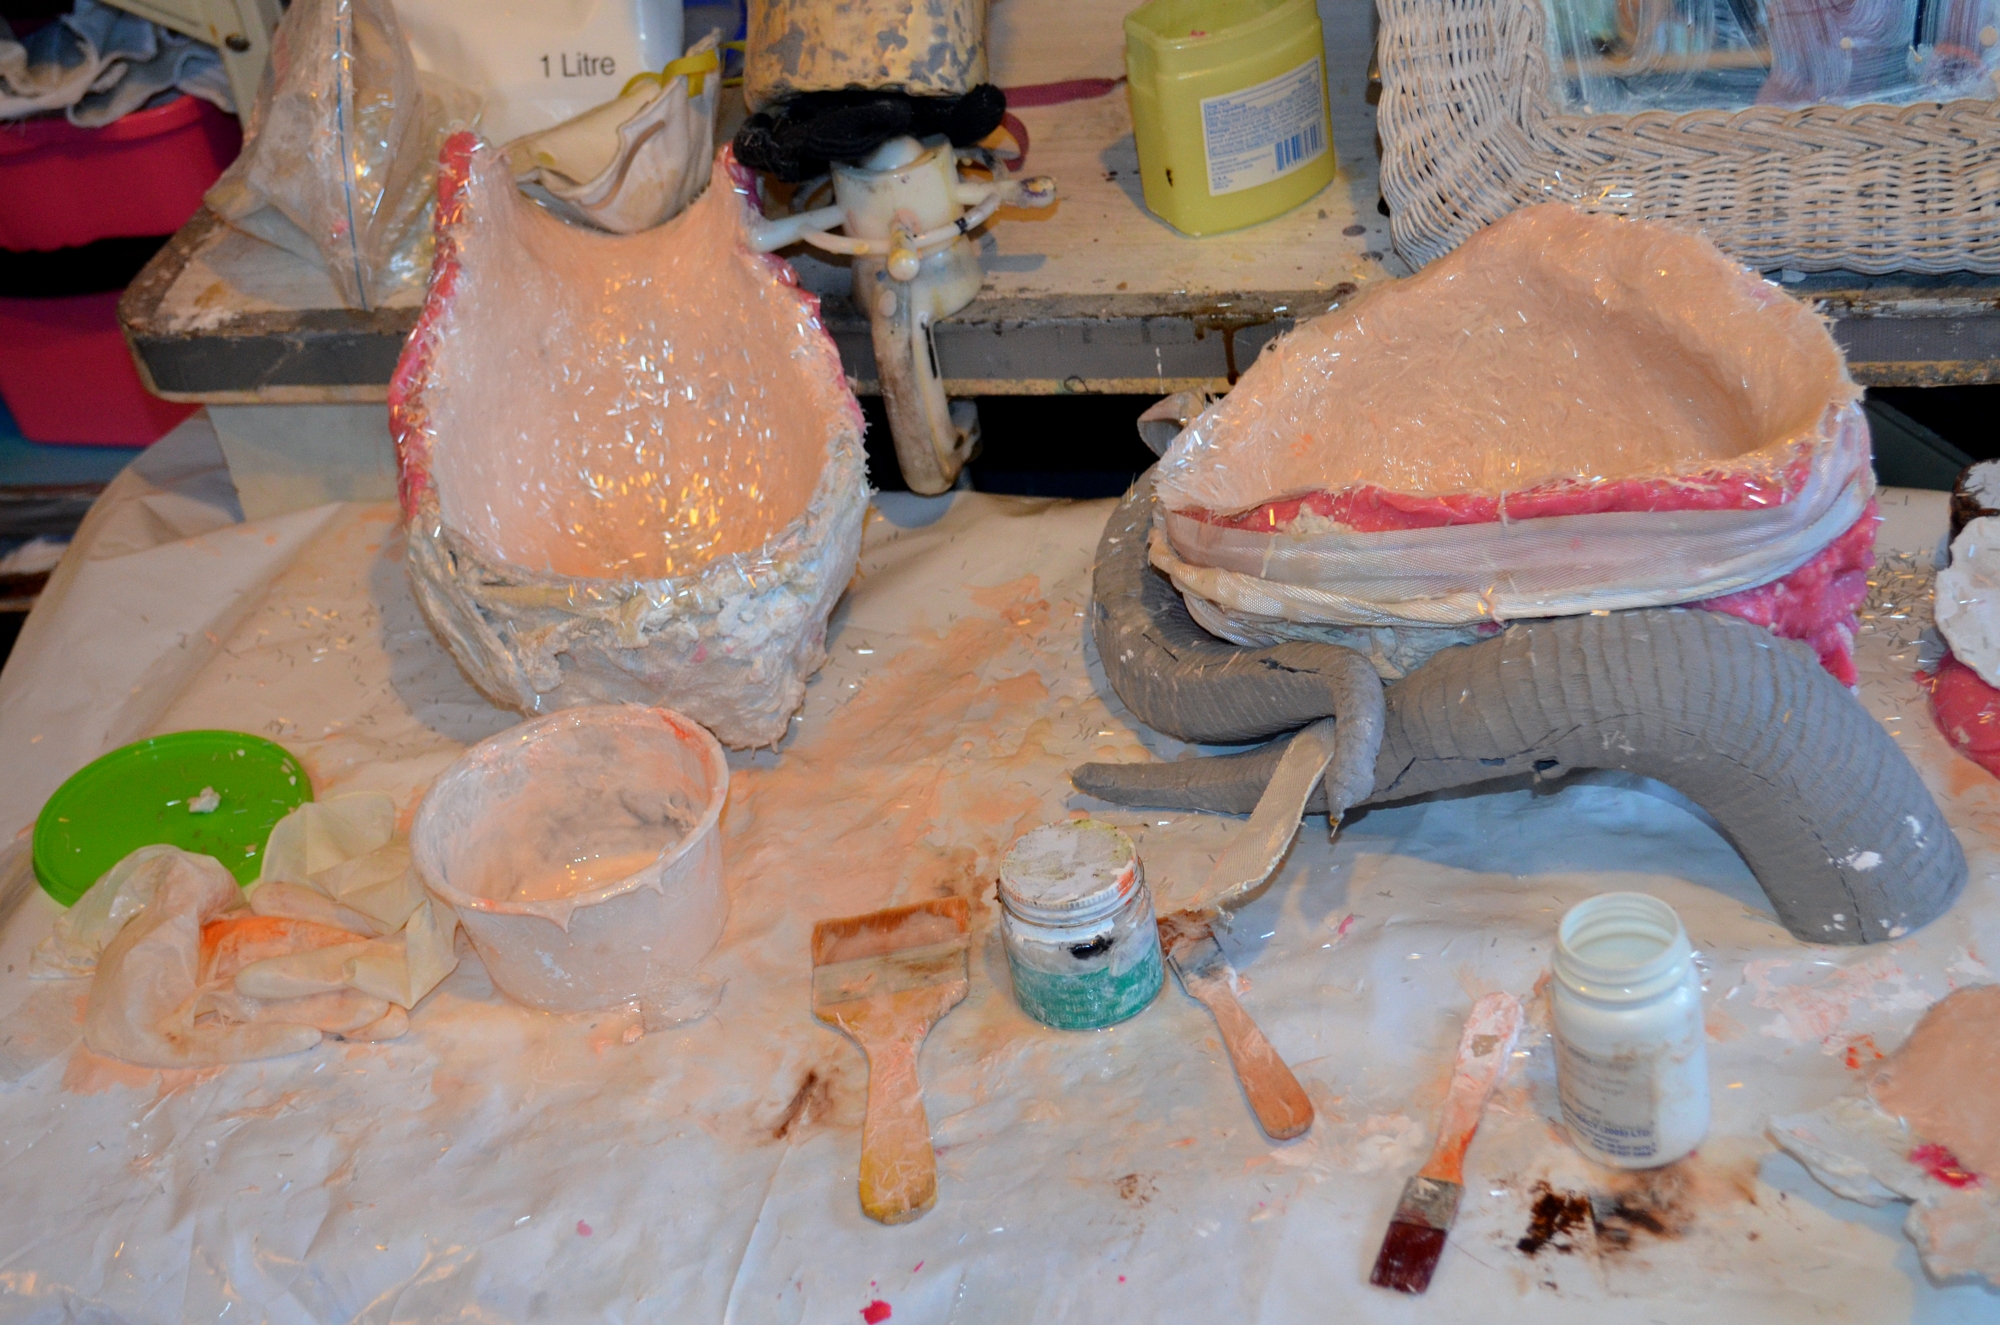
I used epoxy fibreglass resin. With a mix of West Systems microballoons and colloidal silica to make it to a slurry. I tinted it to a pale pale flesh colour, which has since been taken over by the colour of the microballoons.
I used 600ml of resin and about a cup of filler (1/2 and 1/2) then as it was sluming I used chopped strand filler to press and move the resin up the sides.
I tested drying the back mold and forgot to do this for the front. In fact it was fine. Epoxy is not inhibited by water but it won’t cure through water. So you just need to make sure you don’t move the resin too much on the inside.
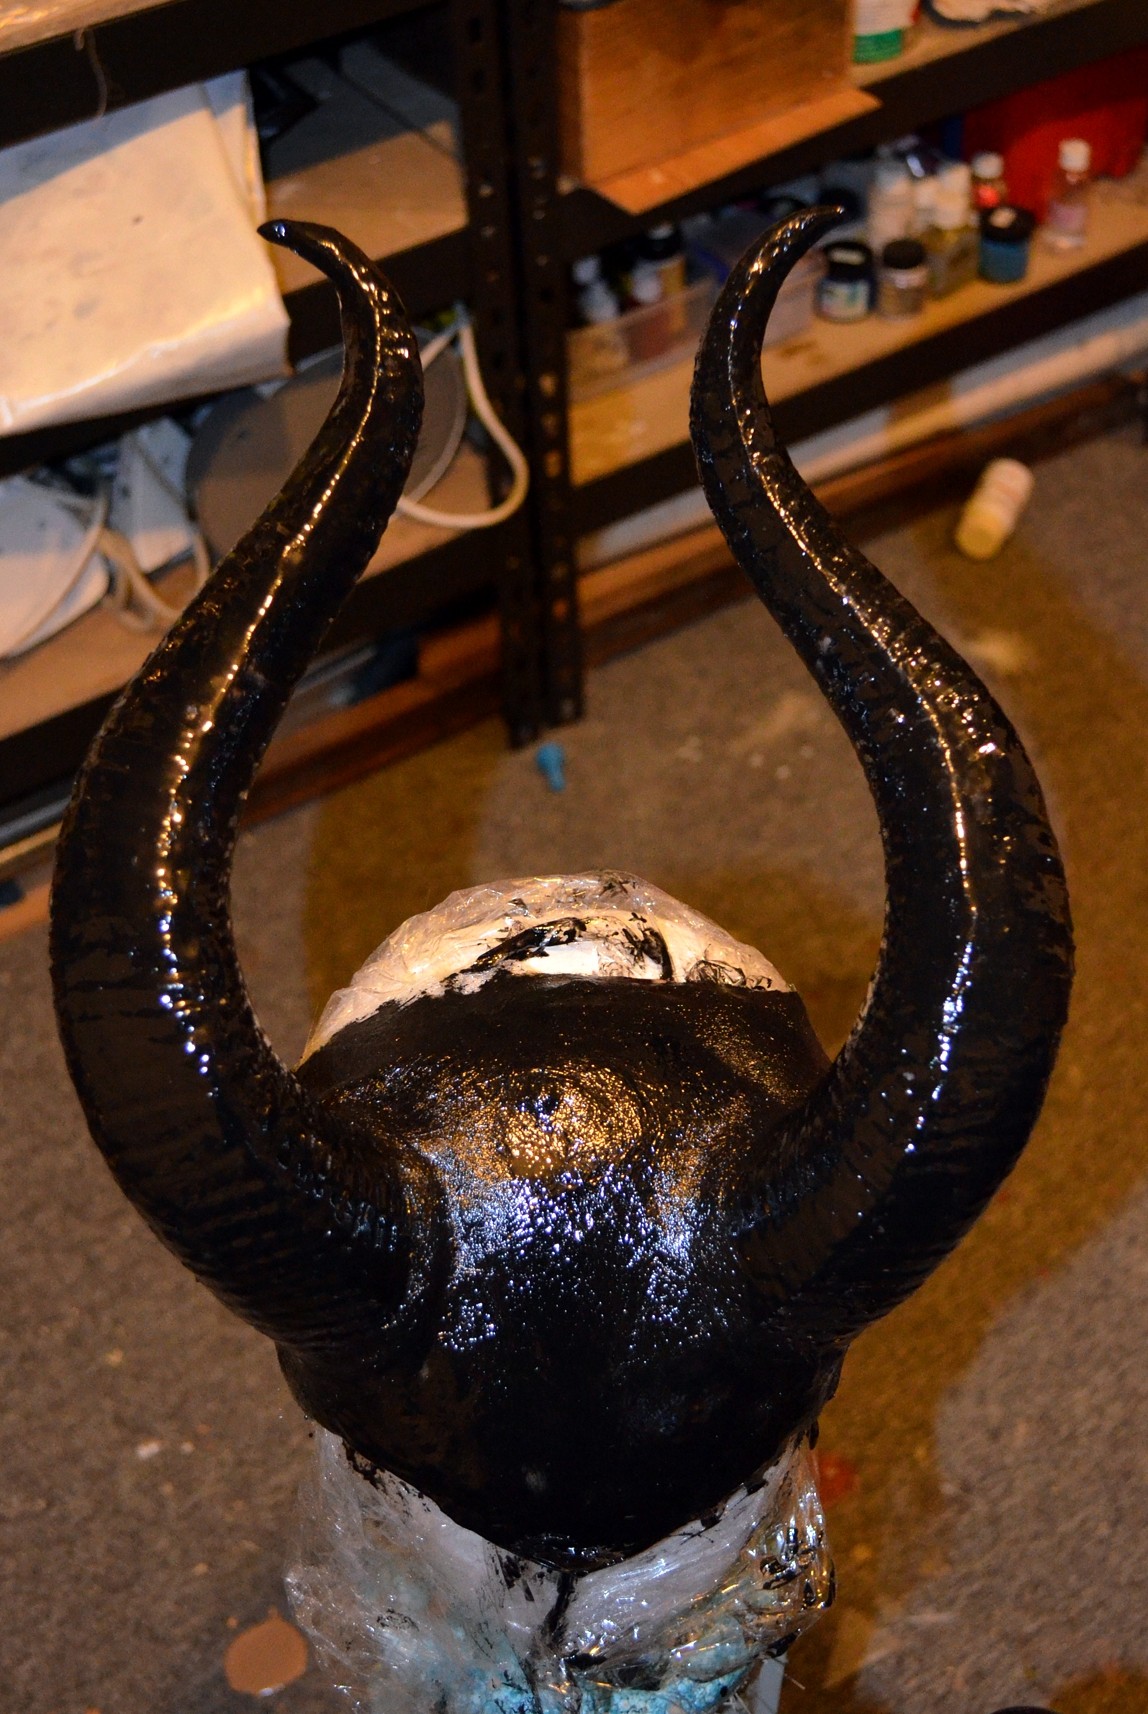
Today I separated the parts and there is still some curing to go- I did not speed up the cure with heat as I did not want to lose the alginate cast due to it drying out. In the shade on a cold damp day epoxy is very resistant to curing!

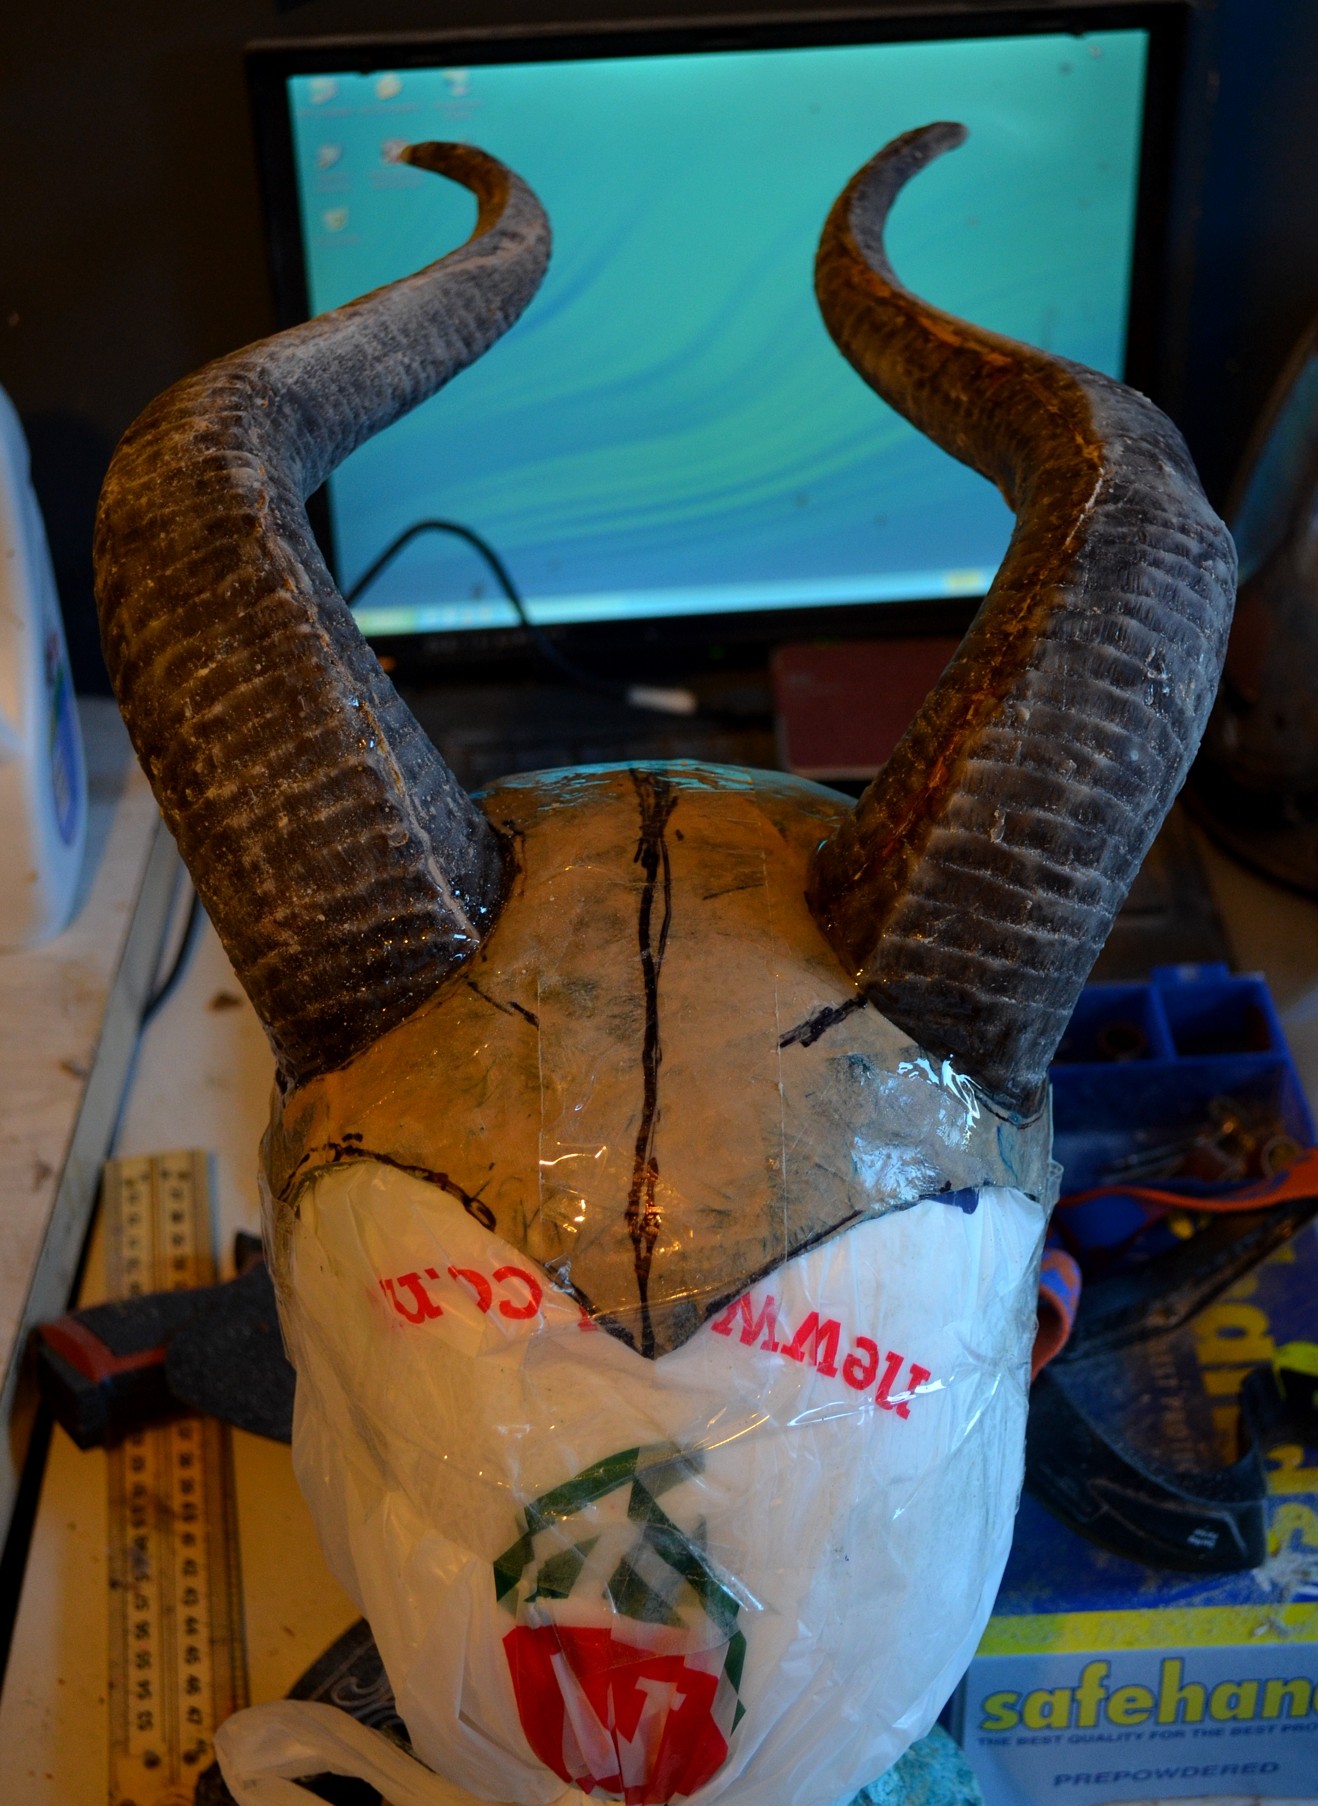
Above mold and cast. with straw stoppers.

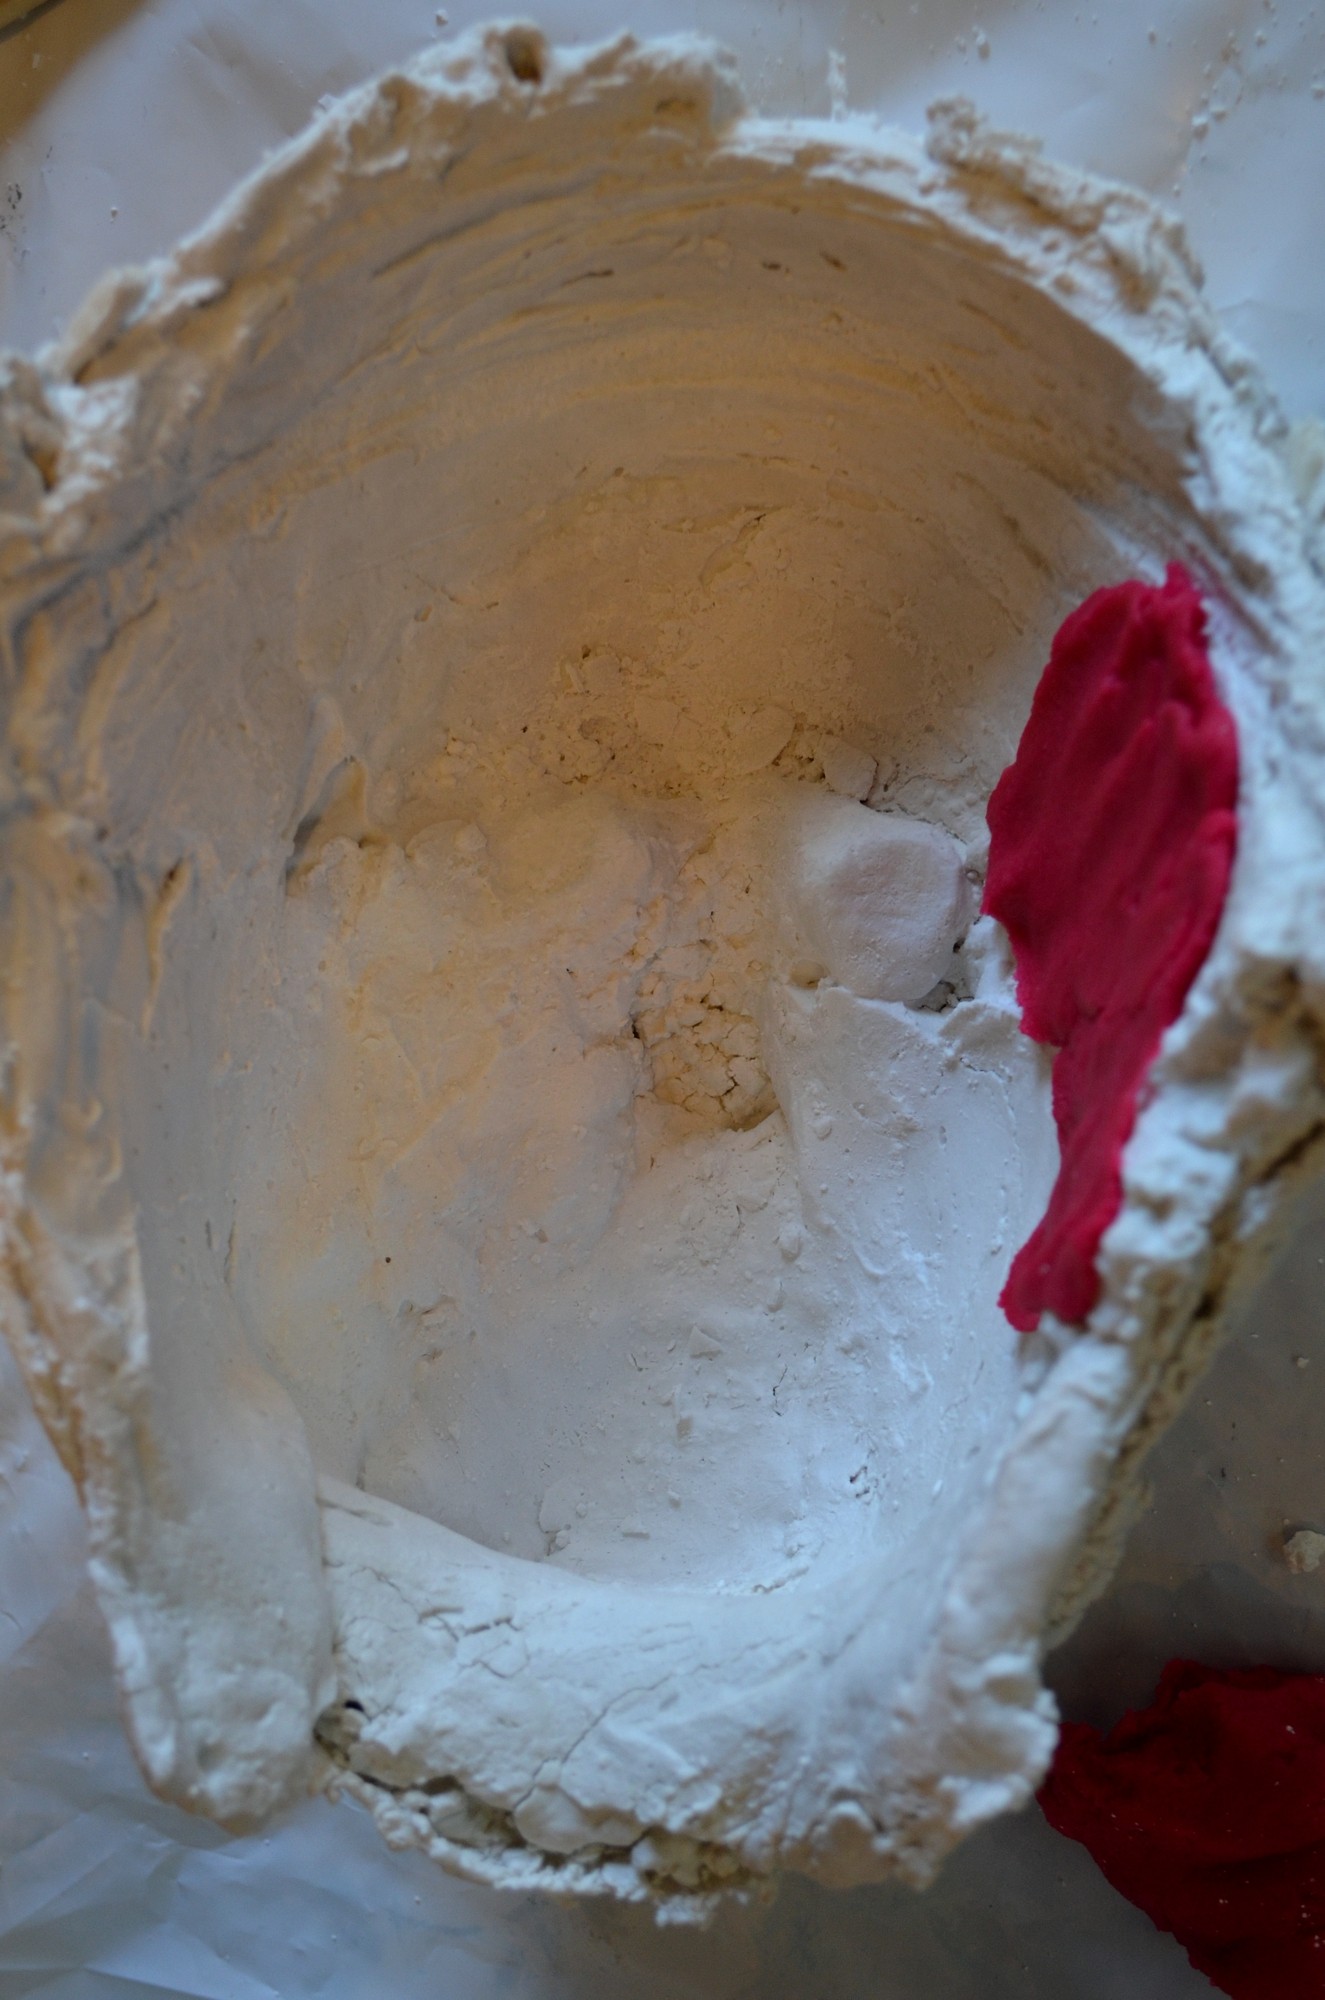
Once the fibres are trimmed these edges will lie closer together. I can see the line of the bald cap so can align where that appears on each half. This also gives me the location for my ears.
My ear casts are still locked in plaster. They are soaking in water and baking soda to break down the plaster.
And don’t freak out when you see your face from the outside! I was surpised how narrow my face is but yeah, those are my eyes, nose and mouth.
")