So here is my build thread of the expertly cast OBLIVION pistol created by RPF members joatrash & Morganthirteen. If you haven't picked one up yet, I highly recommend you get over the the Junkyard and do so now. I had so much fun working on this one!
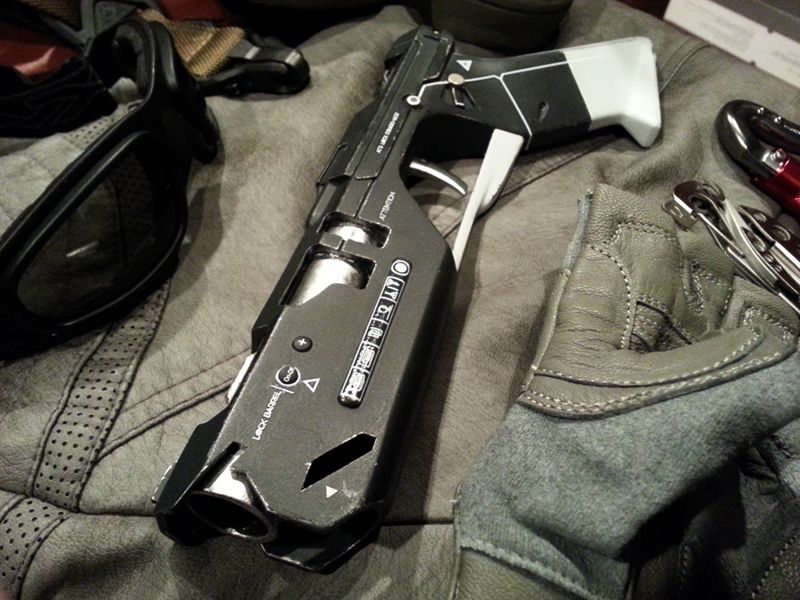
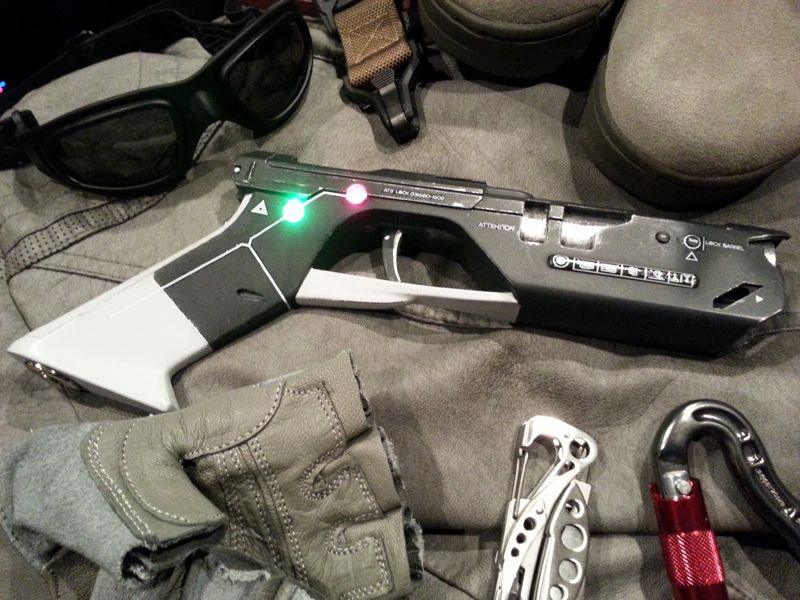
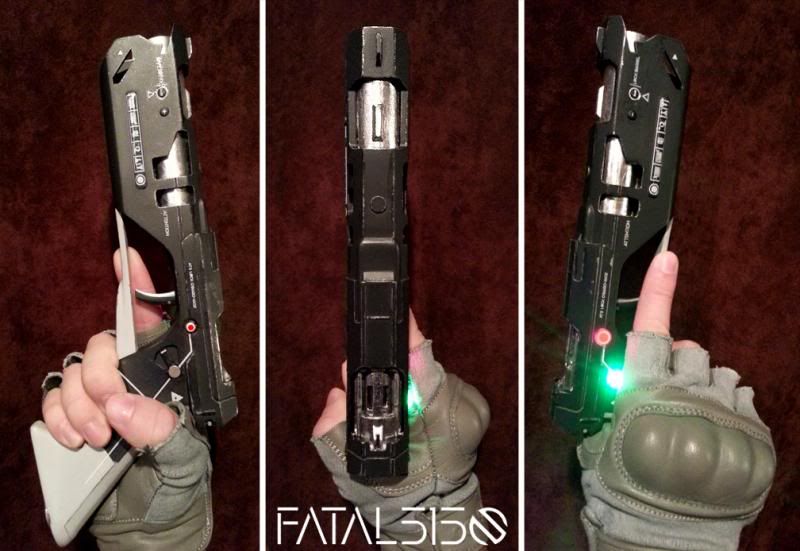
First, the finished result:

*7/8/17 - If your still seeing a bunch of missing pics, let me know and I'll try to get the rest transferred to imgur. F-U Photobucket!
And now, the build . . .
I knew right off the bat that I wanted to upgrade my pistol with working LEDs and enhance it with additional materials wherever possible.
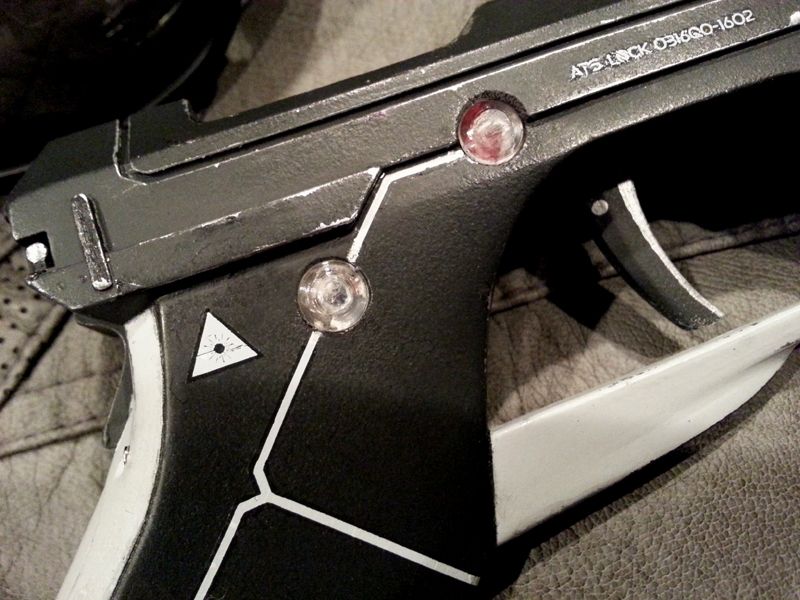
I started by eliminating the resin buttons near the muzzle with a dremel and drilling new holes for some rubber buttons for a more tactile feel. It also appears to me that some versions of the screen used pistol have writing on these buttons. I can't make out what they say, but I thought these black ones from a Comcast remote would be perfect.

I also cannibalized an old broken digital camera I had lying around for it's buttons and some other parts you will see later on in the build.


This particular button has a translucent insert, perfect for the LED light to shine through.

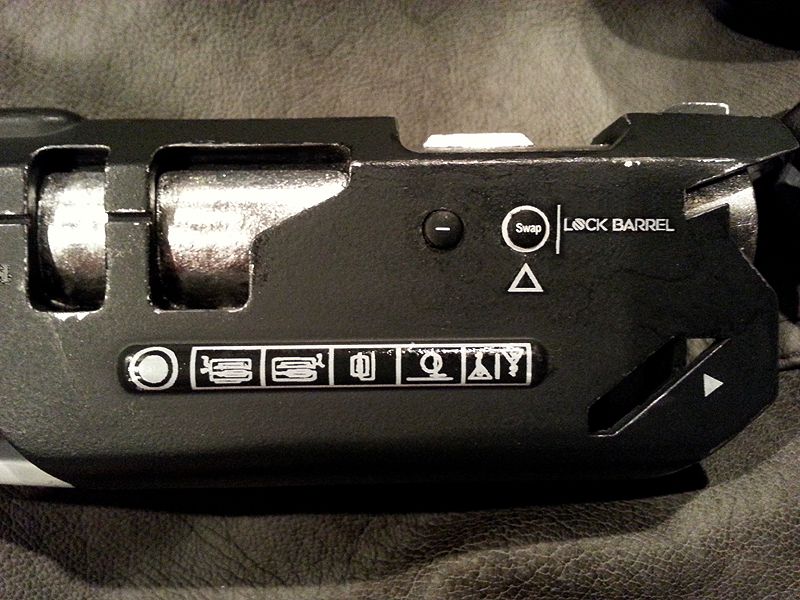
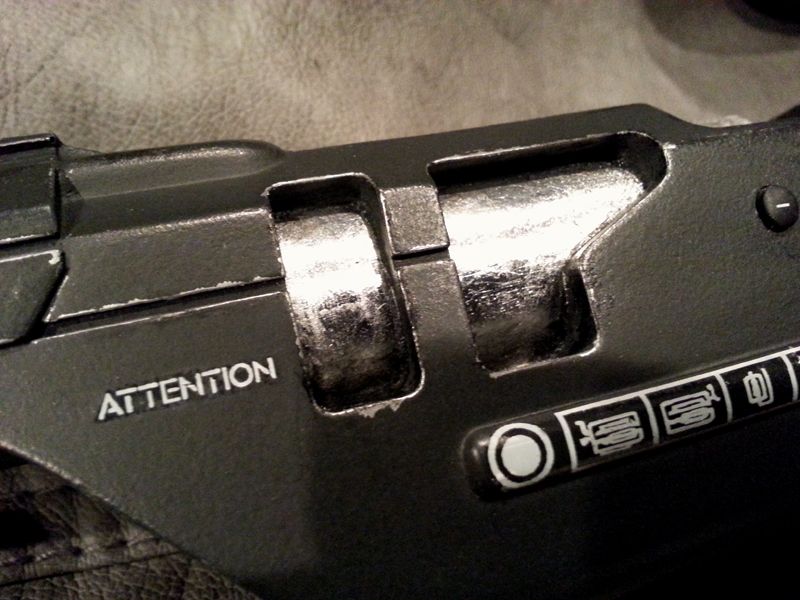
I wanted to replace the selector switch with an actual working one, but this proved to be more work than I was willing to commit to, so I just drilled out the core to replace it with a 6mm neodymium magnet and modified the edges of the switch with an x-acto blade to get it a bit more screen accurate.


For the other side I needed some lenses for the LEDs. I found the ends of these thumbtacks had just the right look.


I had to create a network of tunnels to wire everything together. This was a bit of a challenge.


I snagged a couple red LEDs from some old phone chargers.

Here they are wired up in series with a resistor.

It was a very tight fit.

Test fit with the button. I'll need to fill in around the cracks for light bleed.

All LEDs installed.

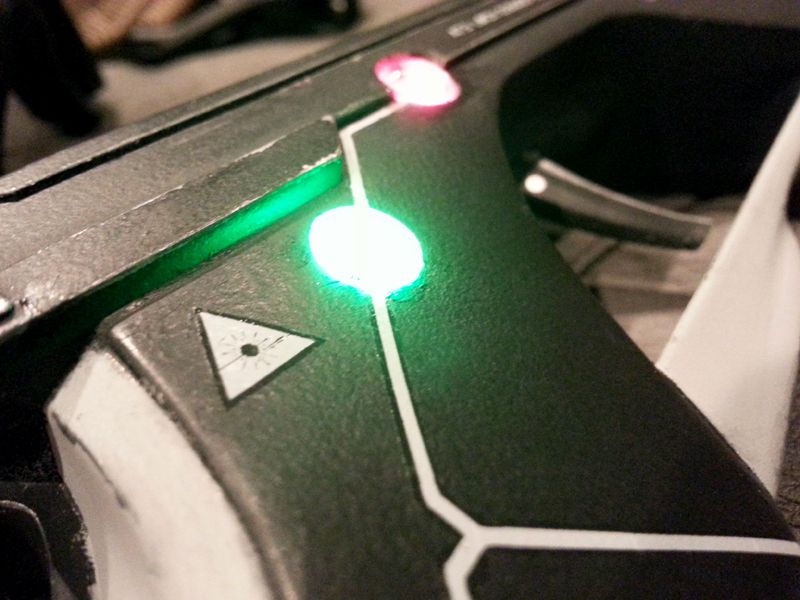
Light test w/lenses in place.

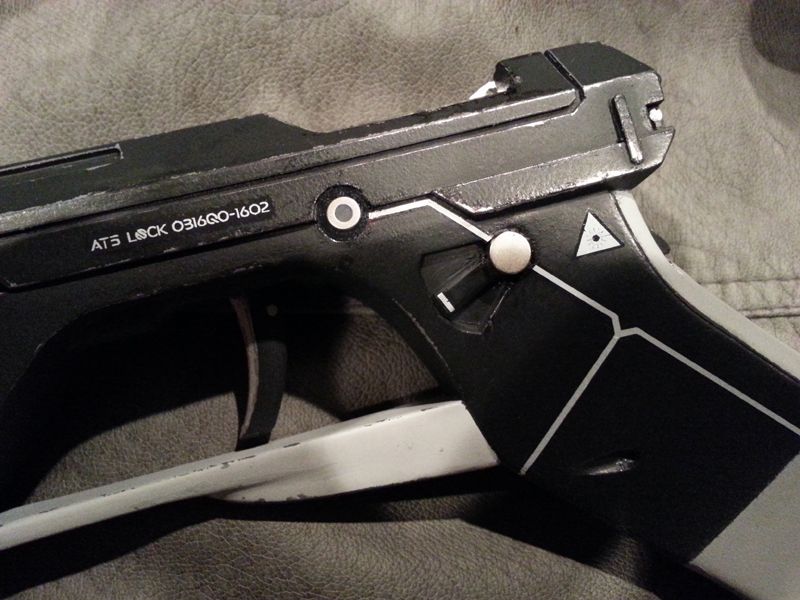
I decided the best place for the switch would be at the base of the grip so I drilled up through the bottom. Here you can see the modified push button switch I chose and the 12v A27 battery wired up pretty primitively w/electrical tape.

Here are some components I used for the button cover itself and the bezel. The button cover is from the digital camera and the bezel is just a part I found in my junk drawer.


Not screen accurate, but it was an acceptable solution in my book, and it works great!

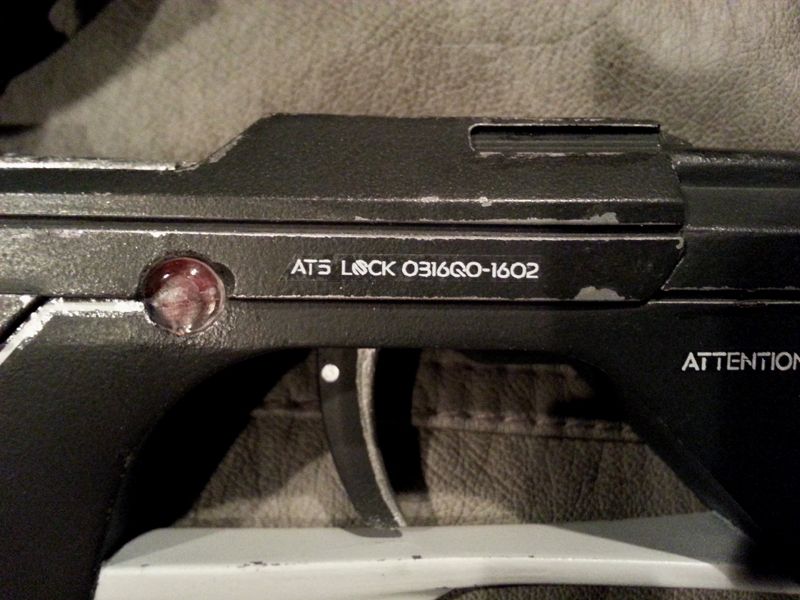
From the side when not depressed.

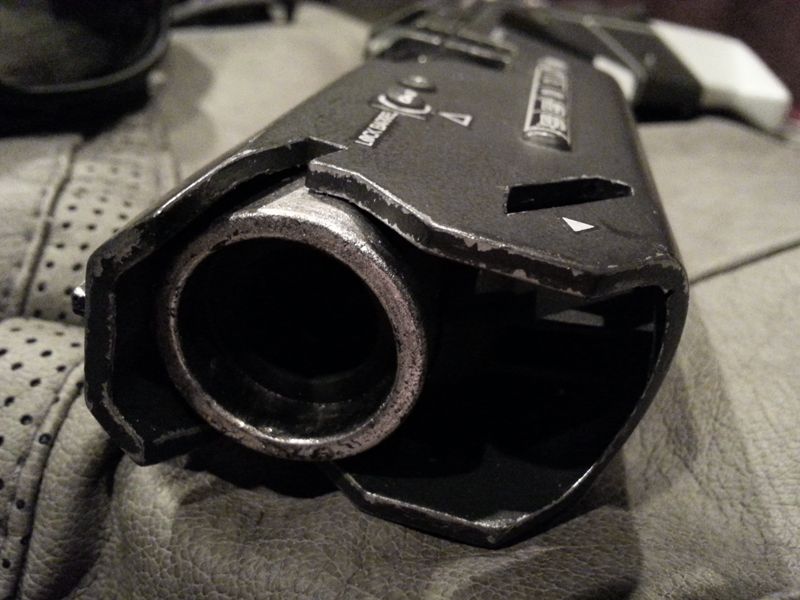
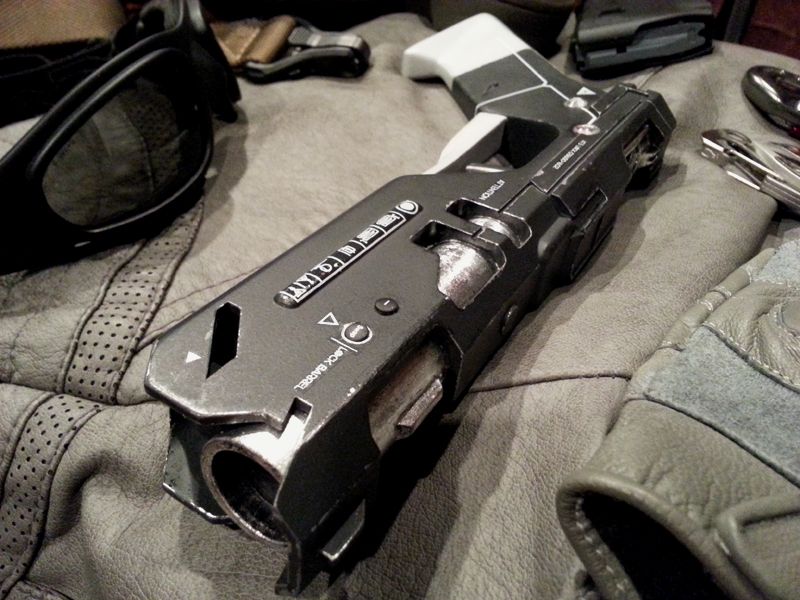
Next I drilled out the bore.


I wanted this piece to look and feel like it was made of metal. And I wanted it to have a bit of a broken-in feel, kind of like in the movie. Not a brand new fresh from the factory type of look. I especially wanted to barrel to stand out with a particular shine. So I decided on some aluminum silver leaf and a Krylon silver pen. I'll get to the leafing in a bit, but before that marked all edges with the pen so it would show through the paint once I knocked it back down.

Here it is all marked up:


Then it was on to the masking phase. I used some fine line tape for the edges and standard paint tape for the larger areas due to it's low tack quality. I probably could have gotten better results with some liquid frisket on the edges, but I didn't have any on hand and I was excited to get it painted.


I went with some waterbased Liquitex spray paint. I had never used this stuff before, but I really liked the color selection they offered and I wanted something that I could knock down easily. It's some pretty high quality stuff. Better be at $12 a can! It is very fragile though, so be sure to use a sealer coat and proper primer if you decide to use this for any of your projects.
I used Neutral Grey 7 for the light gray and Neutral Grey 3 for the dark.

After hitting it with a couple coats of the 7:


Masked and prepped for the 3.

Taken after a fresh coat was just applied:

And shortly after the fun part, taking all the tape off!

Here it is on a white sheet of paper so you can get a better idea of the color:

I used my fingernail to rub off some of the paint along the edges and reveal the silver underneath. I didn't want it to look too beat up, just a little bit of wear and tear.

Now it's time to silverleaf! I started by painting the sizing on the areas I wanted the leaf to stick to.


Right after applying the first sheet:

And cleaning up with a dry brush.


SHINY!


Now for the top


And after clean up


The silver is actually a bit too shiny for my tastes so I dulled it up a bit with some watered down paint. I tried watercolors at first, but it doesn't adhere to the aluminum at all, so I ended up using acrylic.

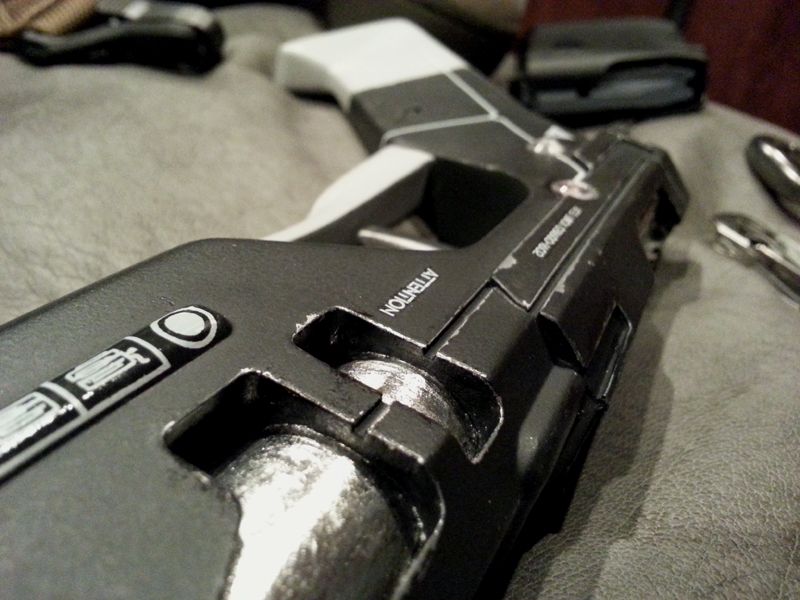
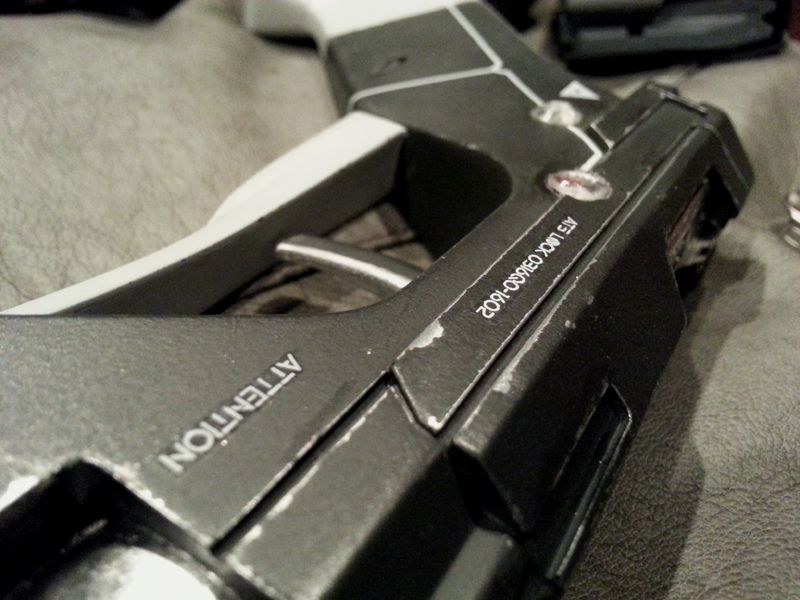
And now, finally the DECALS!


After initial application:

One last final touch. I added some real screws, again from my broken digital camera.

And here it is! I still need to add a clear top coat to affix the decals permanently. This will help hide any exposed edges of the clear carrier as well.

I hope you all enjoyed!
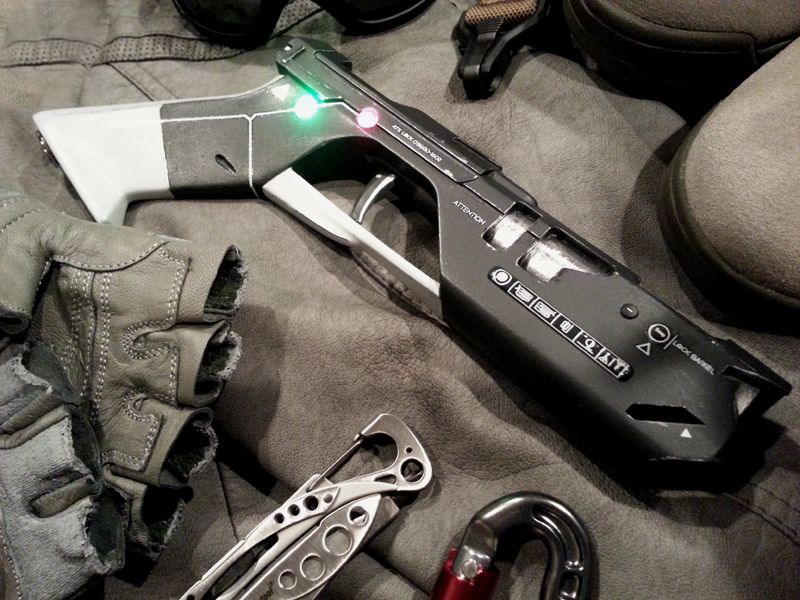
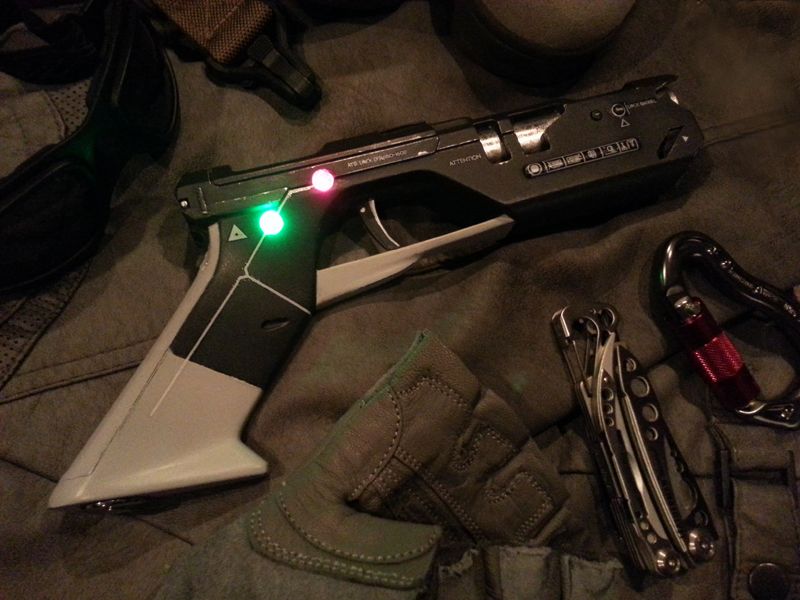
I'll post some more detail shots of the finished product to show off the LEDs and decals tomorrow.
Feel free to post your own builds and processes in this thread if you like.
- Soulinertia/Fatal5150
First, the finished result:
*7/8/17 - If your still seeing a bunch of missing pics, let me know and I'll try to get the rest transferred to imgur. F-U Photobucket!
And now, the build . . .
I knew right off the bat that I wanted to upgrade my pistol with working LEDs and enhance it with additional materials wherever possible.
I started by eliminating the resin buttons near the muzzle with a dremel and drilling new holes for some rubber buttons for a more tactile feel. It also appears to me that some versions of the screen used pistol have writing on these buttons. I can't make out what they say, but I thought these black ones from a Comcast remote would be perfect.
I also cannibalized an old broken digital camera I had lying around for it's buttons and some other parts you will see later on in the build.
This particular button has a translucent insert, perfect for the LED light to shine through.
I wanted to replace the selector switch with an actual working one, but this proved to be more work than I was willing to commit to, so I just drilled out the core to replace it with a 6mm neodymium magnet and modified the edges of the switch with an x-acto blade to get it a bit more screen accurate.
For the other side I needed some lenses for the LEDs. I found the ends of these thumbtacks had just the right look.
I had to create a network of tunnels to wire everything together. This was a bit of a challenge.
I snagged a couple red LEDs from some old phone chargers.
Here they are wired up in series with a resistor.
It was a very tight fit.
Test fit with the button. I'll need to fill in around the cracks for light bleed.
All LEDs installed.
Light test w/lenses in place.
I decided the best place for the switch would be at the base of the grip so I drilled up through the bottom. Here you can see the modified push button switch I chose and the 12v A27 battery wired up pretty primitively w/electrical tape.
Here are some components I used for the button cover itself and the bezel. The button cover is from the digital camera and the bezel is just a part I found in my junk drawer.
Not screen accurate, but it was an acceptable solution in my book, and it works great!
From the side when not depressed.
Next I drilled out the bore.
I wanted this piece to look and feel like it was made of metal. And I wanted it to have a bit of a broken-in feel, kind of like in the movie. Not a brand new fresh from the factory type of look. I especially wanted to barrel to stand out with a particular shine. So I decided on some aluminum silver leaf and a Krylon silver pen. I'll get to the leafing in a bit, but before that marked all edges with the pen so it would show through the paint once I knocked it back down.
Here it is all marked up:
Then it was on to the masking phase. I used some fine line tape for the edges and standard paint tape for the larger areas due to it's low tack quality. I probably could have gotten better results with some liquid frisket on the edges, but I didn't have any on hand and I was excited to get it painted.
I went with some waterbased Liquitex spray paint. I had never used this stuff before, but I really liked the color selection they offered and I wanted something that I could knock down easily. It's some pretty high quality stuff. Better be at $12 a can! It is very fragile though, so be sure to use a sealer coat and proper primer if you decide to use this for any of your projects.
I used Neutral Grey 7 for the light gray and Neutral Grey 3 for the dark.
After hitting it with a couple coats of the 7:
Masked and prepped for the 3.
Taken after a fresh coat was just applied:
And shortly after the fun part, taking all the tape off!
Here it is on a white sheet of paper so you can get a better idea of the color:
I used my fingernail to rub off some of the paint along the edges and reveal the silver underneath. I didn't want it to look too beat up, just a little bit of wear and tear.
Now it's time to silverleaf! I started by painting the sizing on the areas I wanted the leaf to stick to.
Right after applying the first sheet:
And cleaning up with a dry brush.
SHINY!
Now for the top
And after clean up
The silver is actually a bit too shiny for my tastes so I dulled it up a bit with some watered down paint. I tried watercolors at first, but it doesn't adhere to the aluminum at all, so I ended up using acrylic.
And now, finally the DECALS!
After initial application:
One last final touch. I added some real screws, again from my broken digital camera.
And here it is! I still need to add a clear top coat to affix the decals permanently. This will help hide any exposed edges of the clear carrier as well.
I hope you all enjoyed!
I'll post some more detail shots of the finished product to show off the LEDs and decals tomorrow.
Feel free to post your own builds and processes in this thread if you like.
- Soulinertia/Fatal5150
Last edited:


")