You are using an out of date browser. It may not display this or other websites correctly.
You should upgrade or use an alternative browser.
You should upgrade or use an alternative browser.
Oblivion Jack Harper's Pistol - Build Thread (Pic Heavy!)
- Thread starter Soulinertia
- Start date
-
- Tags
- oblivion
Thanks for the feedback guys, I really appreciate it!
Last edited:
Started work on a holster:
MAD SKILL, man! The holster looks dead on too! OK that does it, now I want a pant to go with the holster. ")
Rysjin7717
Well-Known Member
Awesome work SI and the silver leafing is a great idea to incorporate into props and related items.
opcorn :cool
opcorn :coolRe: Oblivion Jack Harper's Pistol - Build Thread
They look good but that company wants 50 euro for shipping just a few lenses.
I'm thinking some small lengths of acrylic rod of the right diameter would work too.
The solution for the led lenses was very clever. For those that need them, the correct led lenses can be found here:
https://www.elfaelectronics.com/elfa3~ex_en/elfa/init.do?toc=20642&name=+Lenses+for+LEDs+
I'm sure there's a more local distributor if you're in the US but this is a good place to get them in Europe.
They look good but that company wants 50 euro for shipping just a few lenses.
I'm thinking some small lengths of acrylic rod of the right diameter would work too.
Last edited:
Re: Oblivion Jack Harper's Pistol - Build Thread
Try sending them an e-mail. I've had electronics companies want up to $100 to send parts that would fit in an envelope but when you send them a e-mail about it will work with you.
They look good but that company wants 50 euro for shipping just a few lenses.
Try sending them an e-mail. I've had electronics companies want up to $100 to send parts that would fit in an envelope but when you send them a e-mail about it will work with you.
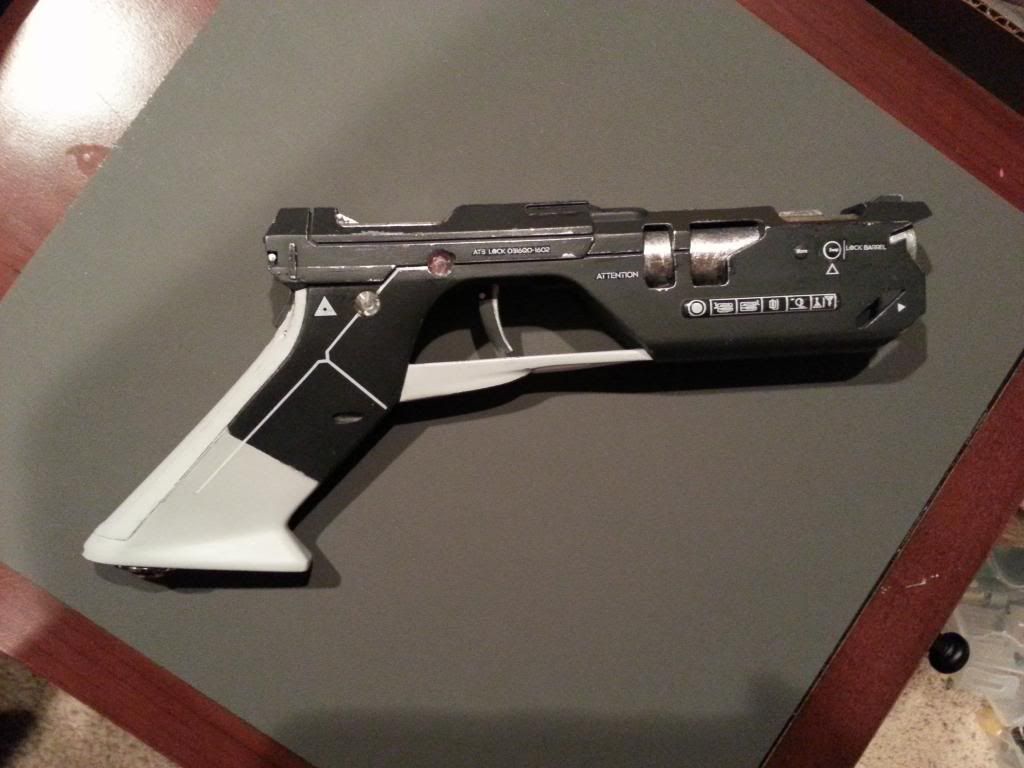
Dude the holster rocks! just as much as the great job you did on the pistol. just one question I have to ask. have you flipped the pistol around In the holster? Just to see If they possibly made It backwards somehow for the movie.
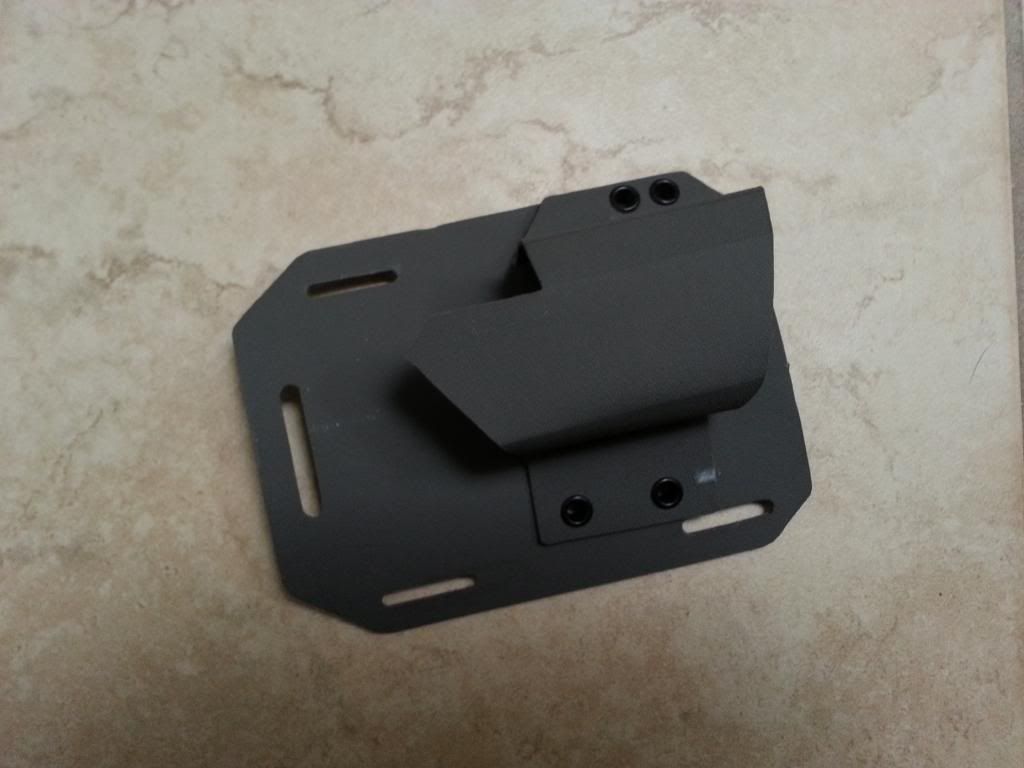
I did try flipping it around in the holster, but it's an awkward fit and it doesn't look right. Part of the cut-out along the top and beveled edge of the holster lines up perfectly with a ridge along the top edge of the pistol, so I'm confident it was made that way on purpose.
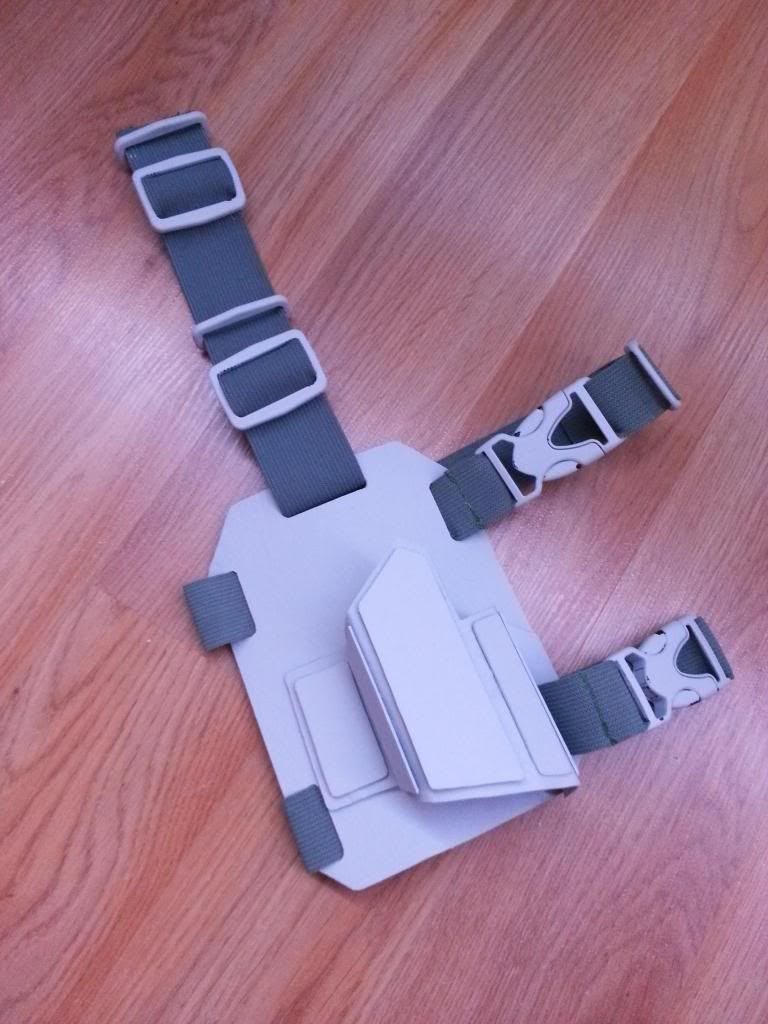
Here are some progress pics of the holster I'm working on:
I started with a piece of gray Kydex which turned out to be a bit too dark
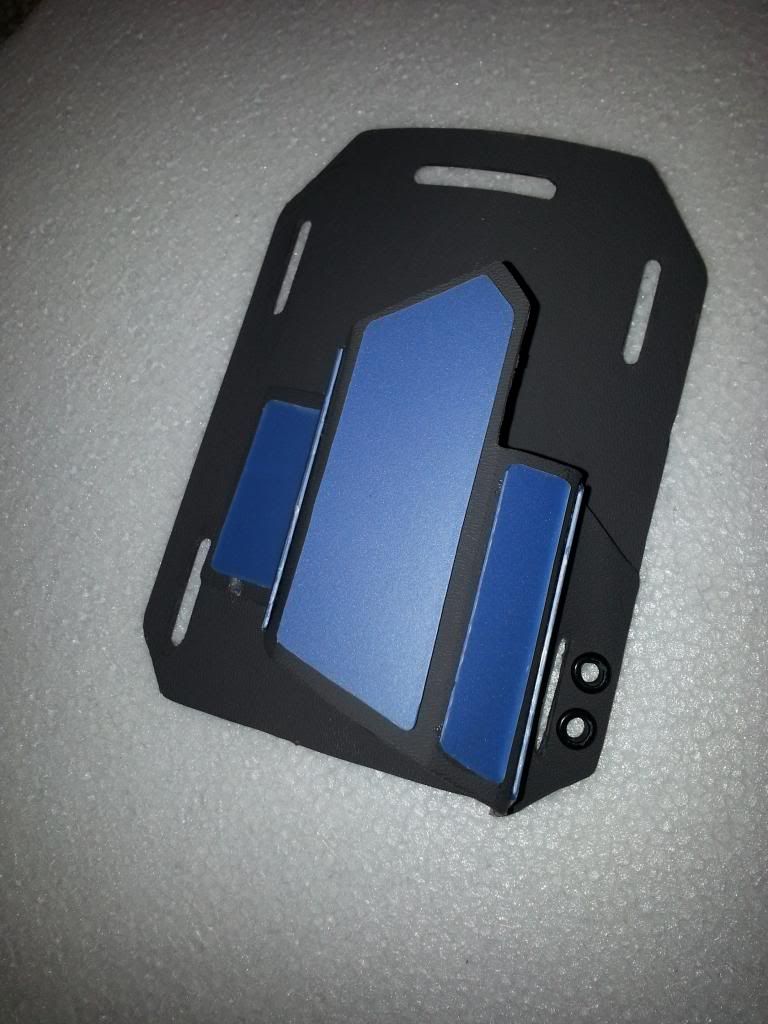
Drew out and cut some basic shapes with the dremel
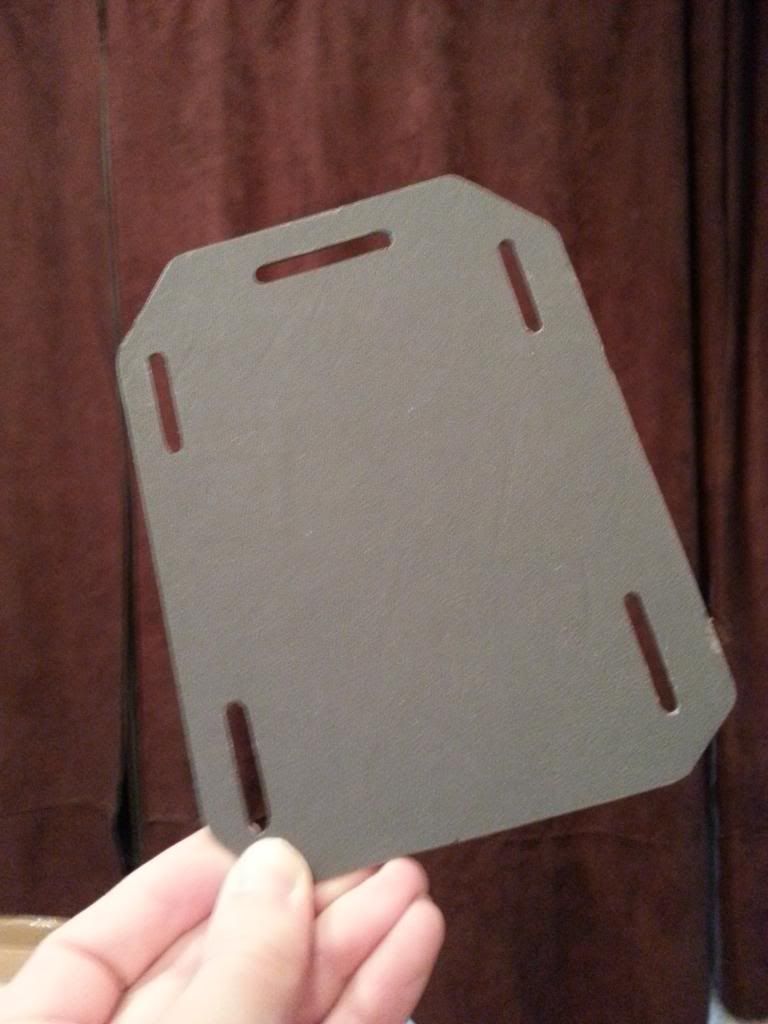
Then I used a heat gun to form it
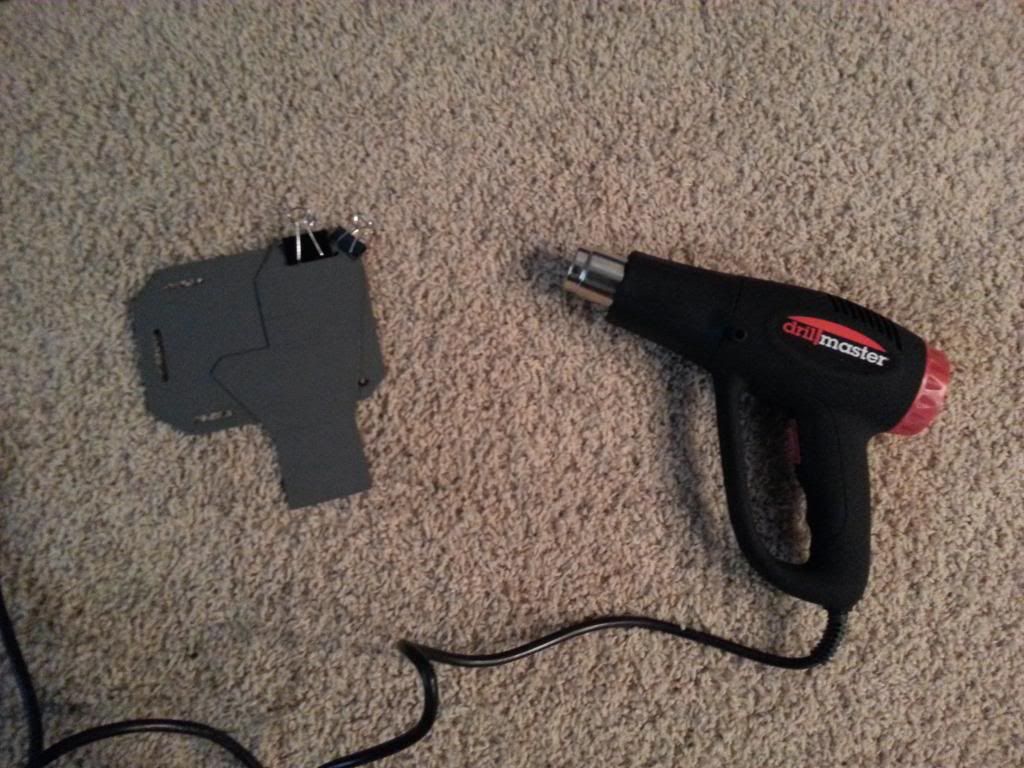
I found it was pretty easy to do with a pair of thick gloves and heated one section at a time forming it over the edge of an aluminum box I had lying around.
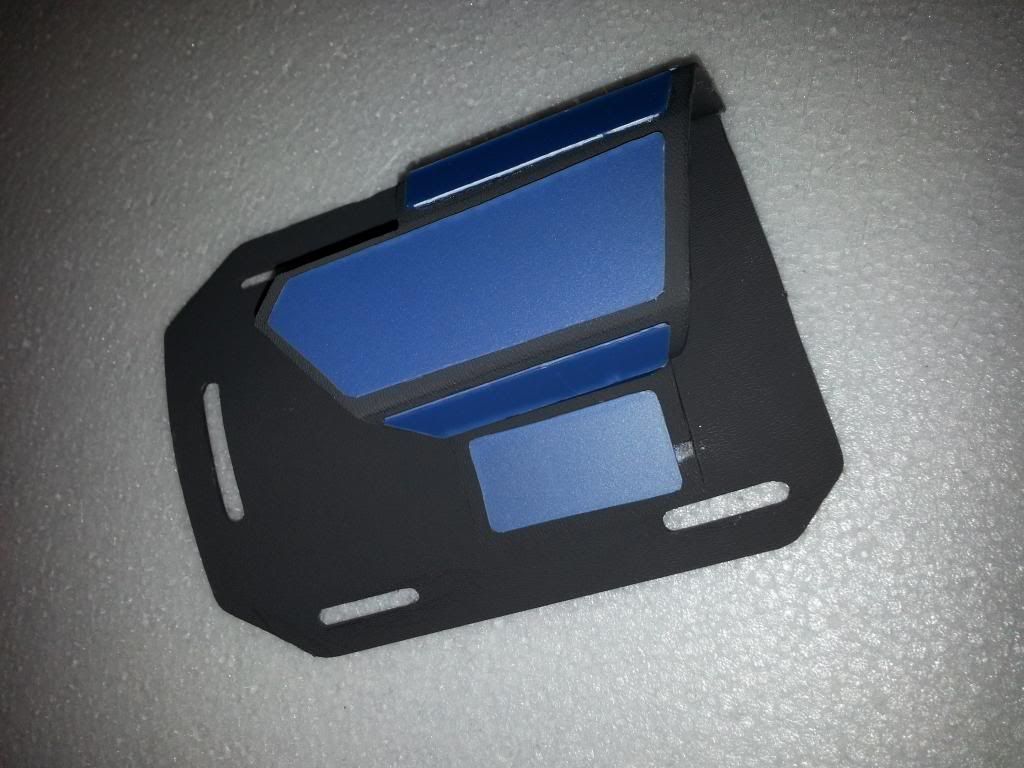
Then I cut some shapes out of a plastic lid to an old tupperware container
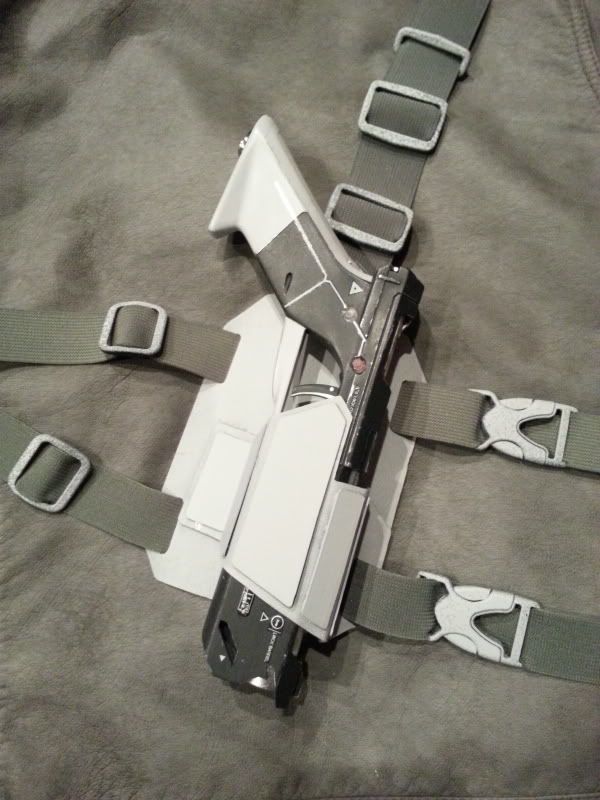
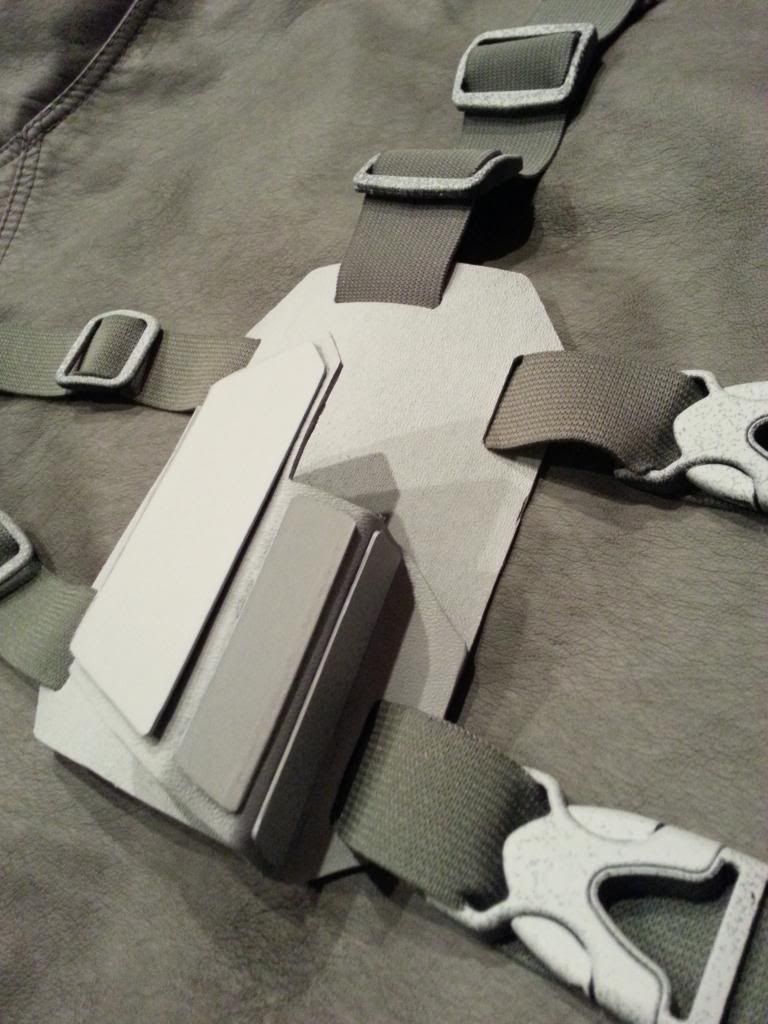
After initial spray coat with buckles and straps installed. I still need to cut and stitch them in place
w/lights!
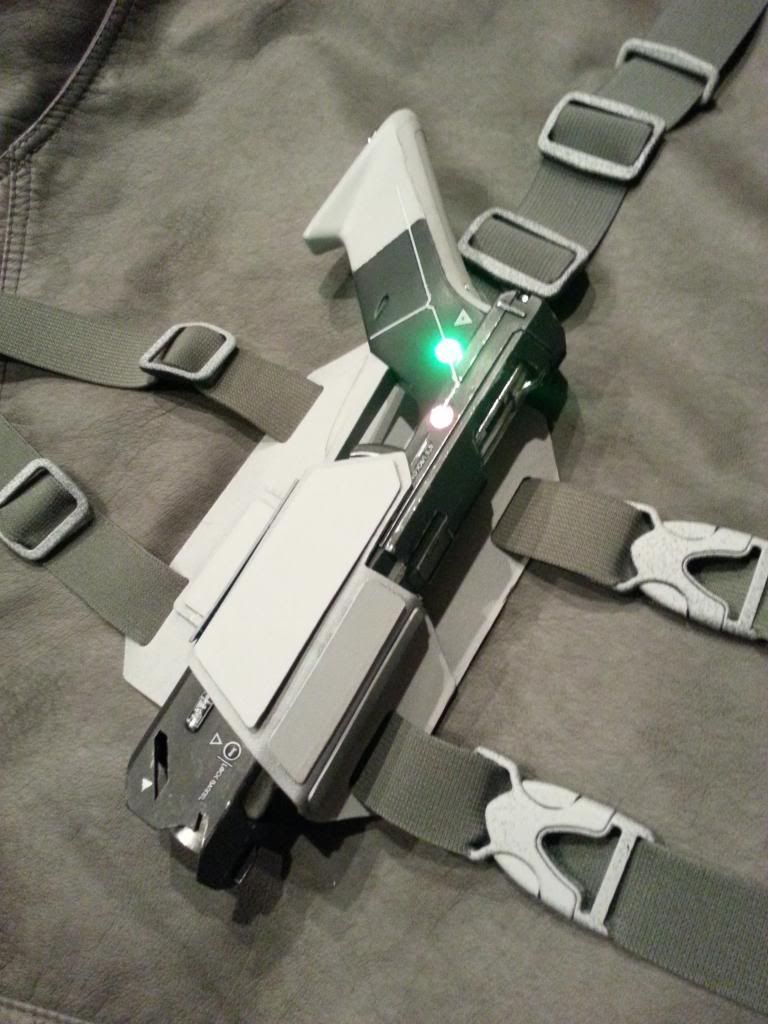
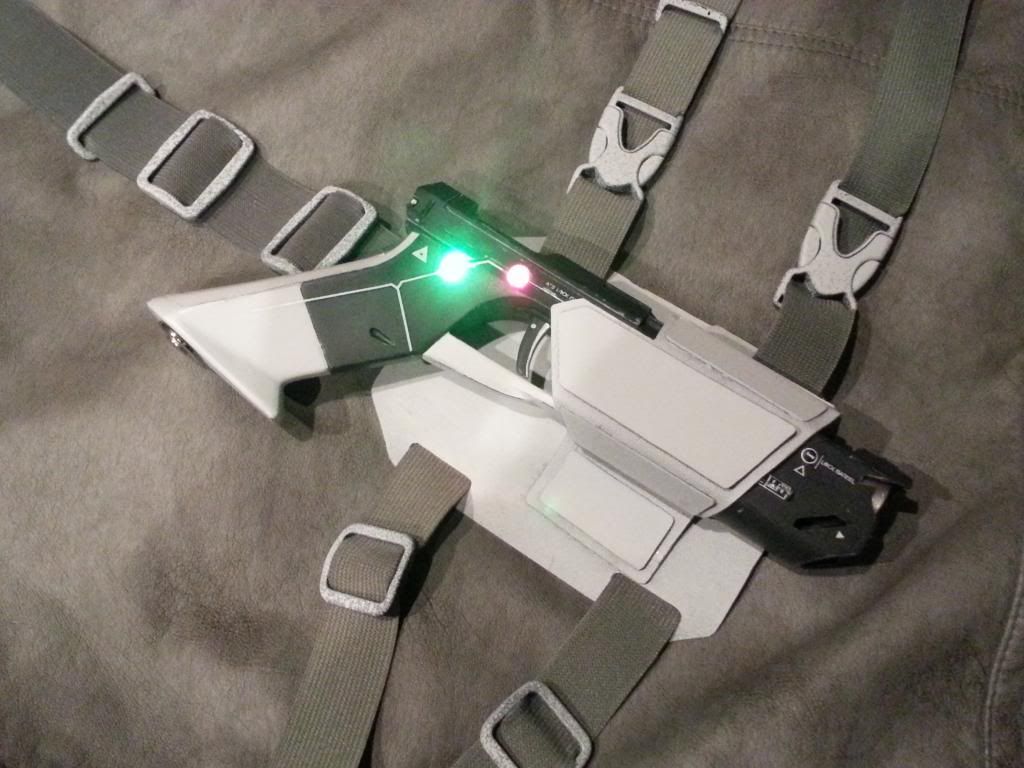
I'm going to try to 3D print and replace the top panel with the "49" routed out of it.
Stay tuned for more updates . . .
I started with a piece of gray Kydex which turned out to be a bit too dark
Drew out and cut some basic shapes with the dremel
Then I used a heat gun to form it
I found it was pretty easy to do with a pair of thick gloves and heated one section at a time forming it over the edge of an aluminum box I had lying around.
Then I cut some shapes out of a plastic lid to an old tupperware container
After initial spray coat with buckles and straps installed. I still need to cut and stitch them in place
w/lights!
I'm going to try to 3D print and replace the top panel with the "49" routed out of it.
Stay tuned for more updates . . .
Chrisisall
Sr Member
This is just all kinds of awesome!:thumbsup
Wow this gun is amazing!!
Computersfx
New Member
Damn!! Epic job!!!
Finished painting the buckles and sewing the straps. I should have went with a lighter gray elastic, oh well. Maybe I'll try dusting them with some spray paint.
Also updated the red LED cover:
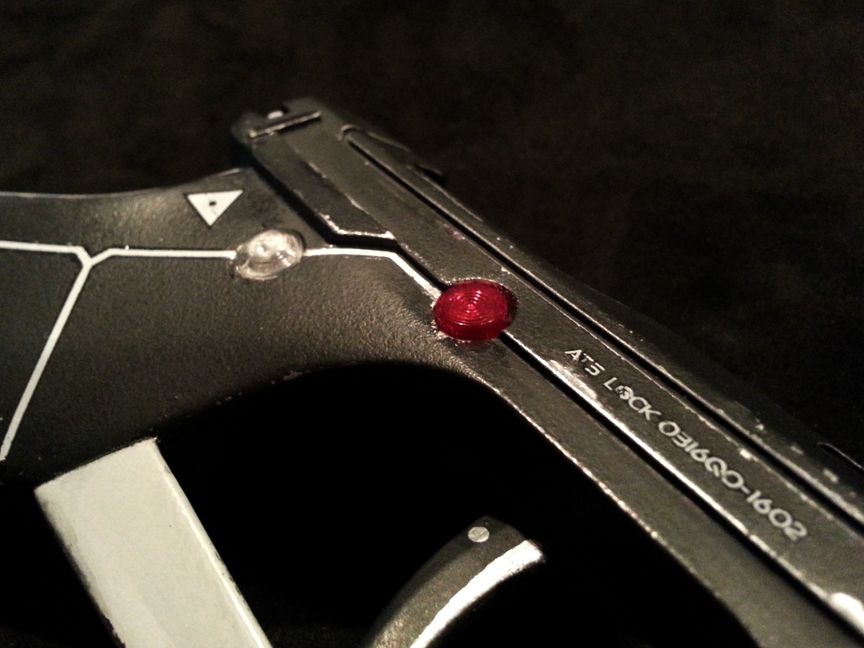
Also updated the red LED cover:
Similar threads
- Replies
- 28
- Views
- 1,450
- Replies
- 8
- Views
- 1,110